
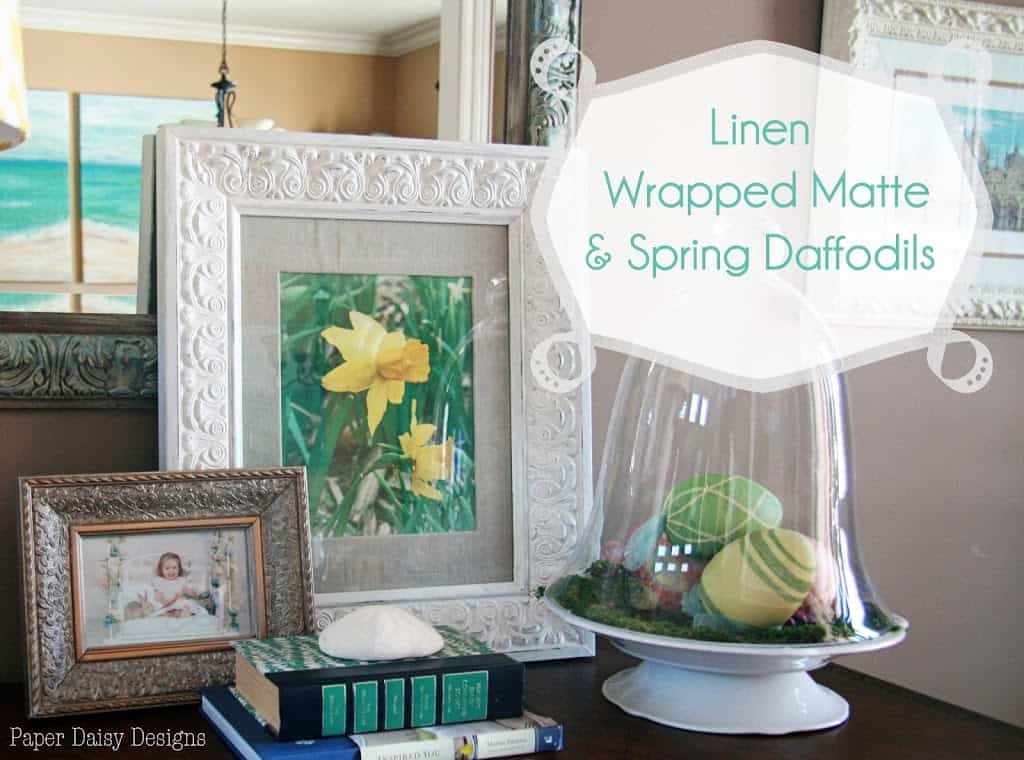
But I’m excited to share my entry vignette today because it does make me smile and make me hopeful for the warmer days to come. And stay tuned there’s a giveaway involved!

I’ve been wanting to use layered art on this foyer table for a while now. I wracked my brain for a while on what I could use that would say, “Spring!”. I decided that daffodils and tulips are the quintessential signs of spring, even if mine are still buried under snow. I went flipping through my iPhoto gallery and found happily several candidates.
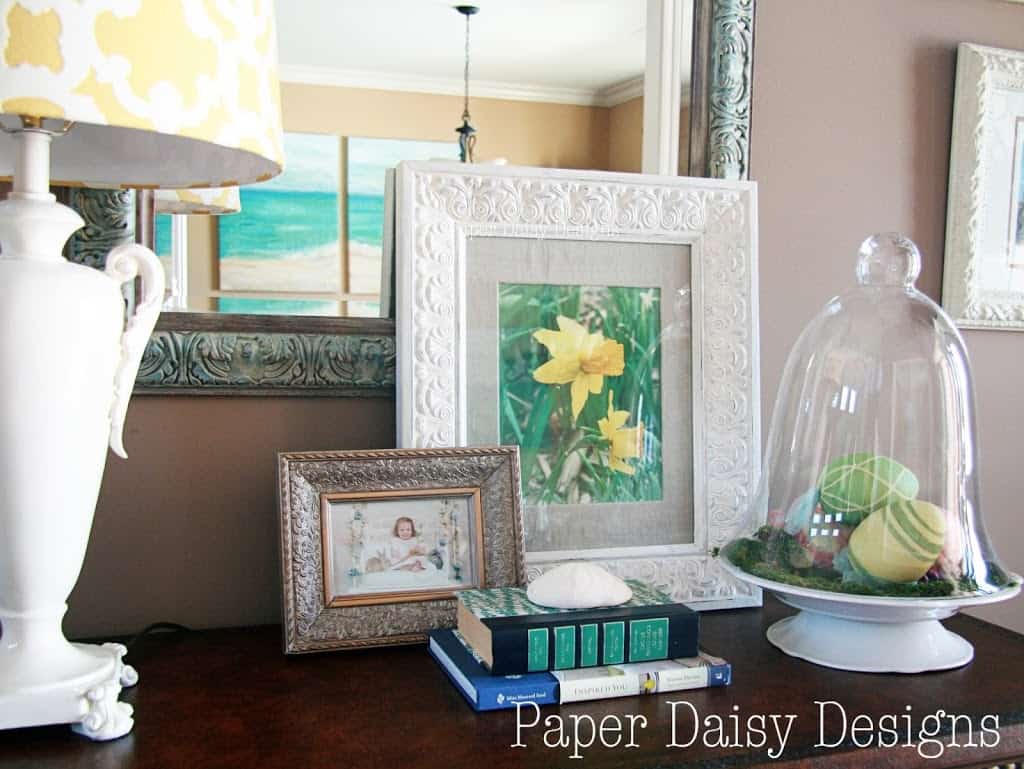
Once that was decided, I had some painting to do on this dented frame I picked it up on clearance at Hobby Lobby. I printed the photo on my Canon printer because I was too lazy to upload the photo and drive to the store. Did I mentioned it’s still cold here?
I got lucky and found the 11×14 matte I needed in my stash, but it was navy. I probably would have painted it, but my friend Carrie was visiting and she said, “Are you going to cover it with Linen? That’s really popular right now.” And I had to admit, I hadn’t thought of that, but she had an excellent idea.
So thanks to my sweet and hip friend, I’m sharing a linen wrapped matte tutorial today.
First, assemble your supplies. Missing here is a bone folder or some other tool might work.

You’ll notice I didn’t use spray adhesive. It’s not something I keep in my craft supply closet because it’s messy and I can’t stand that chemical smell.
I figured it could be done without spray adhesive because it was going behind glass. I used a tape runner that dispenses little glue dots. I’m a scrapbooker, remember?

I did end up putting more dots along the outside edges. But the thing to take away from this is that I think just about any dry glue would work, like double sided tape or a glue stick. I’m obviously a fan of using what you’ve got on hand. Do not use hot glue that’s for the back.
Cut a small slit in the middle of your fabric and then place the fabric onto the glued matte and smooth out the fabric. This is probably the most important step for a clean look. Hence the reason there’s no photograph! Ha!
Next you will want to cut an “X” in your fabric, so that you can wrap it around the matte.

Very Important Tip: Do not cut too close to the corner. Leave a little extra fabric there. If you cut to far, you’ll see the cut edge of the fabric and it won’t look professional. I’ll show you how to handle the corner in a second!
Here’s where you use that glue gun.

You’ll also notice I also trimmed the fabric a little. Continue glueing around the inside and outside of the matte.
For the outside corners this is one of the ways I handled them.
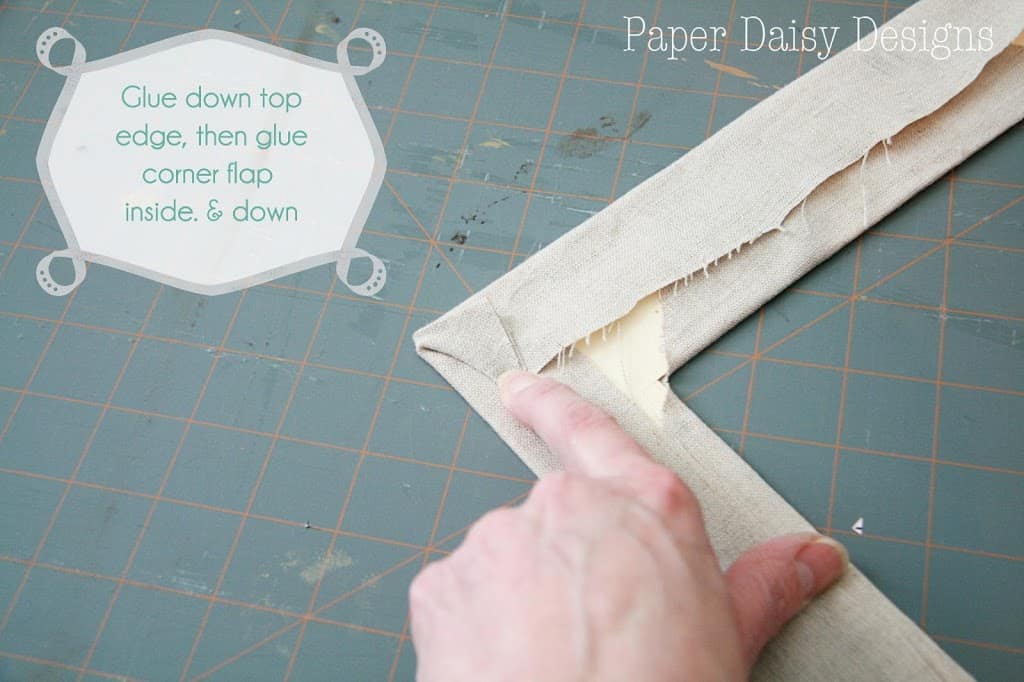
For the inside of the matte, I applied a small amount of glue right inside the corner and used my bone folder to push the fabric into the glue and over the edge. Like this:

If you look at the top of this photo, you’ll see how I folded the other outside corner. Folding either way works and didn’t add too much bulk. I guess if your fabric was very thick you might want to miter the corner, but again, I didn’t want frayed fabric to show.
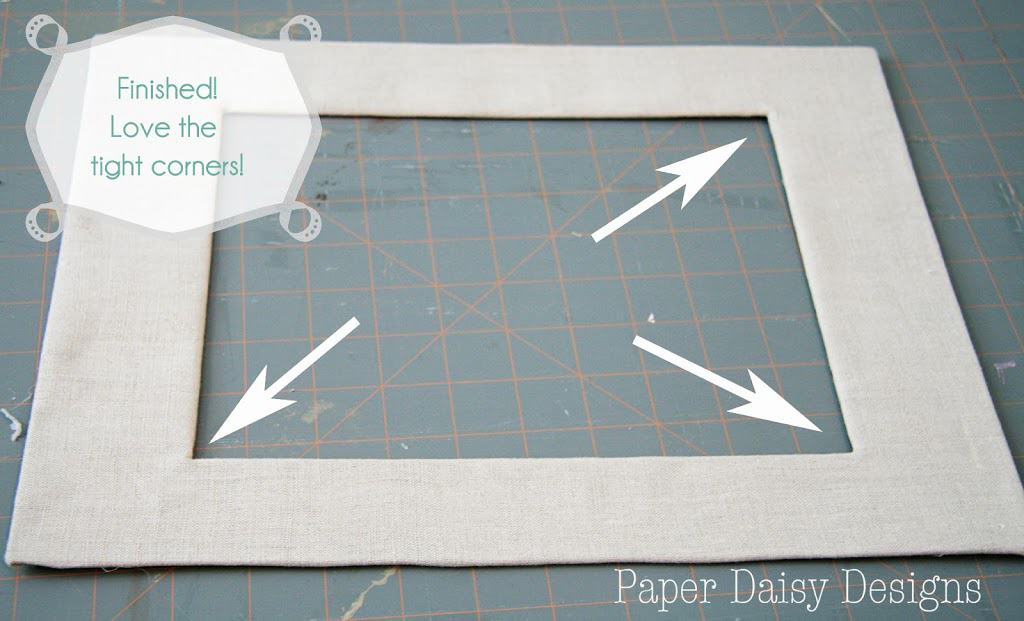
Repeat that for all four corners and there you have it!
Here’s another look at the matte in action.
And now for the giveaway. I’m going to give away 5 digital copies of my Daffodils in Spring photograph. I have it cropped to an 8×10 right now, but winners can choose the size that will work for them!

Just become a follower and leave a comment. If you are already a follower, just leave a comment stating so and you’ll be entered. I’ll contact the winners, chosen randomly, on March 13th.
Be sure to enter below and also check out other wonderful spring projects at the 6 Days of Spring Party.

Happy Spring and Good Luck!
Also linking up to:


Show me What Ya Got @ Not just a Housewife
Tabletop Tuesday @ A Stroll thru Life
WOW Us Wednesday @Savvy Southern Style
Spring Thing @ DIY Showoff
Hooking up with HOH @House of Hepworths
Transformation Thursday +The Shabby Creek Cottage
Under $100 Beyond the Picket Fence
Working with What you Have @ Emily A Clark
Spring Thing @ At the Picket Fence


6 Comments
Carrie
March 8, 2013 at 5:14 pmHi Leslie! The daffodil photo is beautiful! I would put mine on my Bombay chest in the foyer–just like you! Thanks! Great tutorial today!
Debbie @ MeandMyDIY
March 8, 2013 at 7:14 pmHi Leslie, I love your framed print! What a great idea to use linen. Of course Carrie would come up with something like that. She's got amazing taste. Thanks for the detailed tutorial. I wouldn't have thought to cover a matte, but you make it look pretty easy. I have a couple of paintings done on glass (by my grandmother…so special) and when I framed them, I used a piece of linen
Rita
March 9, 2013 at 9:11 pmLove the linen mat. Thanks for sharing,
Darlene Nemeth
March 10, 2013 at 4:48 pmHi Leslie,<br />Thanks for sharing. Very nice Vignette. I especially like the lamp.<br />Bye for now Darlene.<br />Almost forgot, I pinned it. 🙂
Emily - Emas Grand Ideas
March 14, 2013 at 2:43 amLove the matte idea, your photo and vignette are beautiful. I found you today through Wow Us Wednesday. I am a new follower. 🙂 I look forward to reading more!
Emily A. Clark
March 28, 2013 at 2:19 amThe linen is the perfect touch. Hope your snow is all gone! Thanks for linking up 🙂