
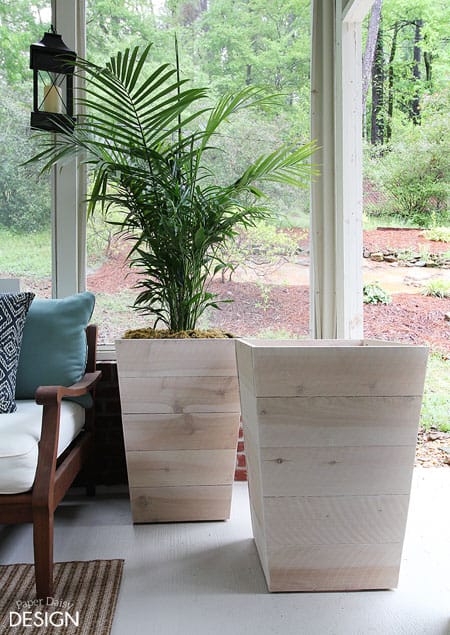
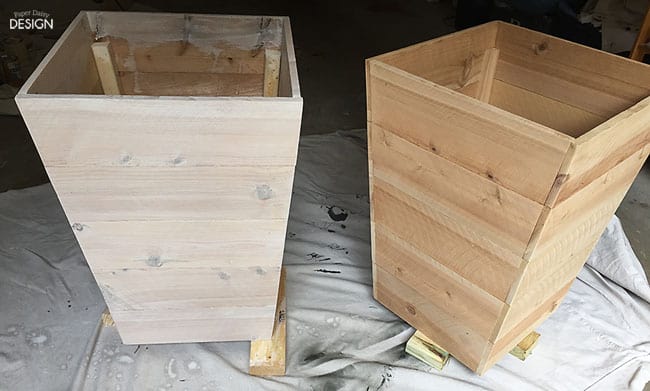
I’ve been wanting to build a pair of planters for our porch for quite some time after seeing Wooden Planters online. I wanted them to be substantial, yet modern and clean lined. Unlike other wooden planters, I designed these modern trapezoid planters so that all the construction was hidden from view.
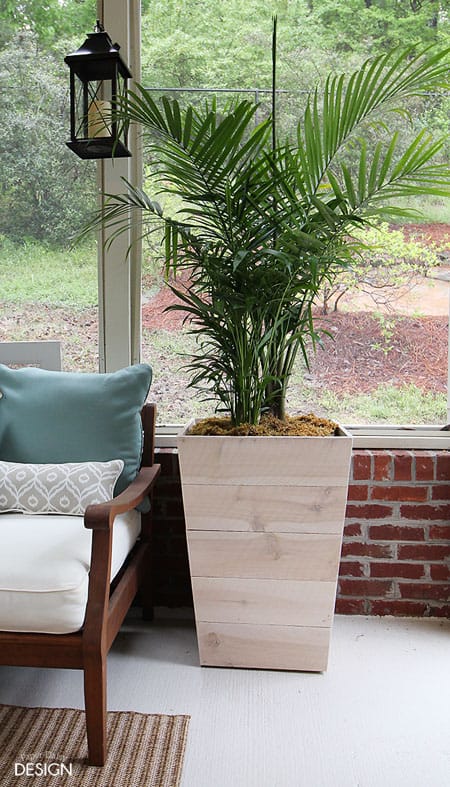
Only the sides have visible nail holes. But beyond their cool appearance, one of the best parts beyond the design, is they can be built for around $25!
Once we figured out the actual construction plans, we realized just how simple they were going to be to build. Inexpensive, yet attractive, cedar fencing was my chosen building material.
Before you begin building your planter, you will want to purchase the pot that will go inside. All measurements can be modified to fit your pot. I purchased ours at The Home Depot. They were 16″ in diameter. There is ample room on every side of the planter to accommodate the pot.
You will note that the construction plan calls for the support boards to be treated 2×4’s instead of the scrap wood we used and what is photographed. This creates a much sturdier construction with one continuous piece of wood supporting the planter. Not that my version isn’t sturdy, but I decided to add reinforcements once I decided I should have feet to get the cedar off the ground for a longer life.
Supply List for one Planter, Should cost around $25!!
5 6ft cedar fence boards, untreated
2 2x4x8’s, pressure treated
4 galvanized fence caps
galvanized nails and/or screws
Suggested Tools
Miter Saw (Like Ryobi 10″ Sliding Compound Miter Saw)
Nailer (Like Ryobi 18 GA Cordless Brad Nailer)
Large level
Pencil
Tape Measure
Here are the plans and directions.

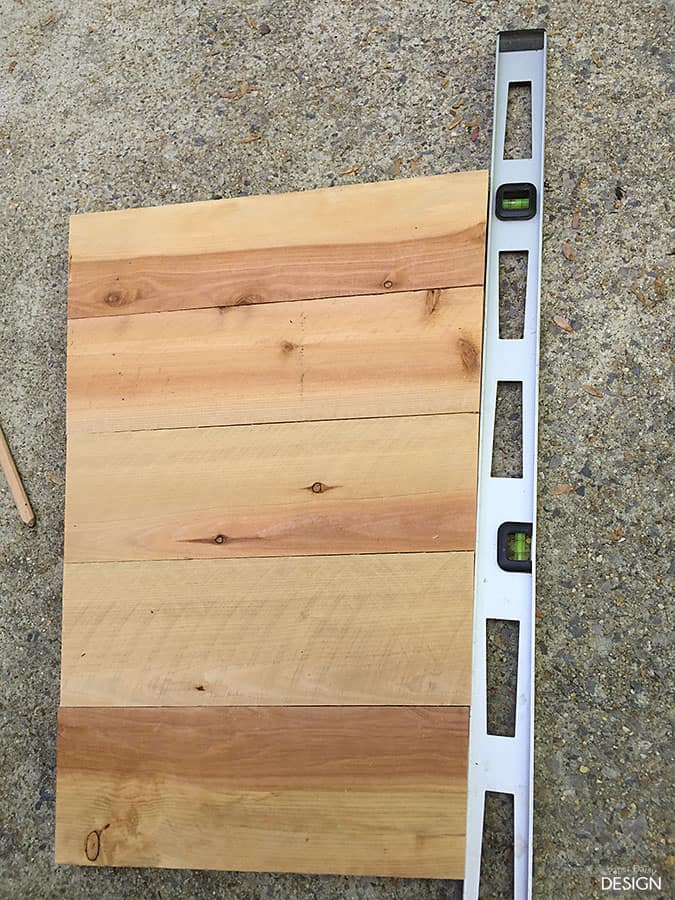
1. Begin by laying out 4 planks of cedar fencing. Mark the top of the top board at 19″. Mark the top of the bottom board at 15″. TIP: Fence boards have a rough cut and a smooth side. Place the smooth side down as you nail the planter together for a smoother finish.
2. Draw a line diagonally, with a straight edge or level, connecting the top 19″ mark to and through to the bottom board at 15″. See layout above.
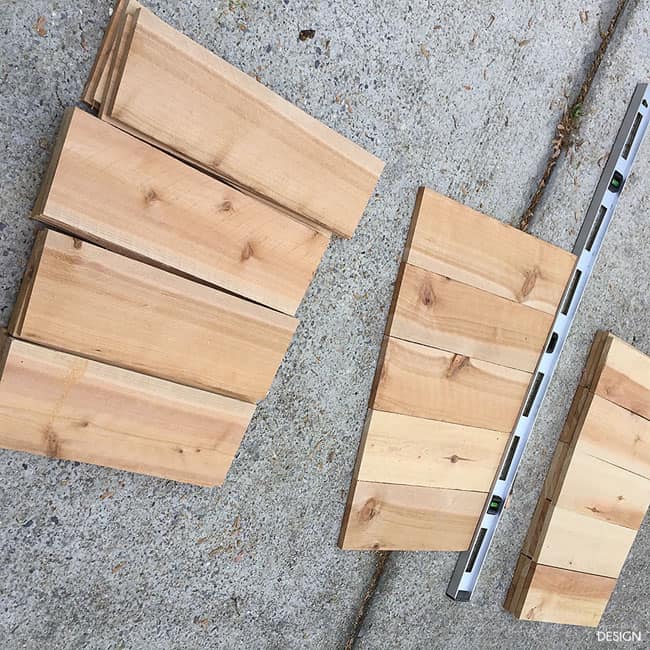
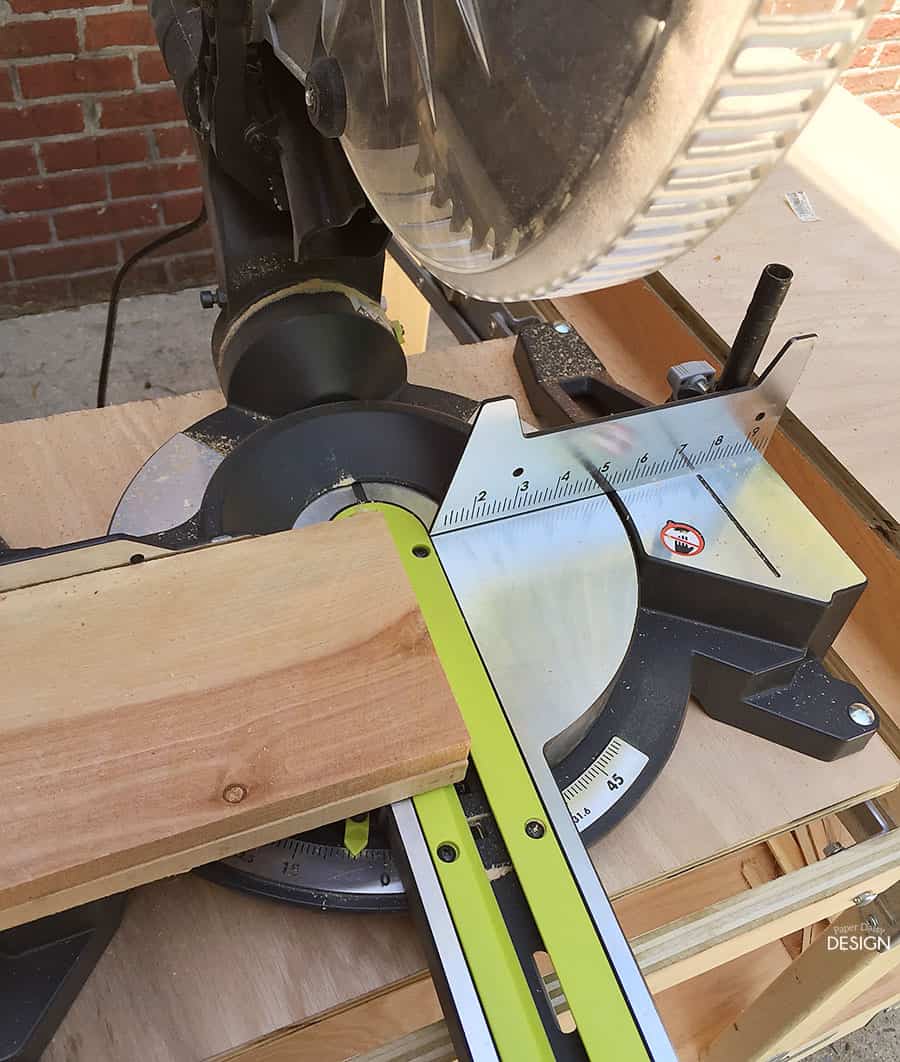
3. You should find that each of the board will need to be cut at a 5 degree angle. Do this for both the front and the back.
4. Attach 2×4’s to the front and the back. The placement of the edge of the 2×4 should be the exact depth of your fence board. (In our case, 3/4″)
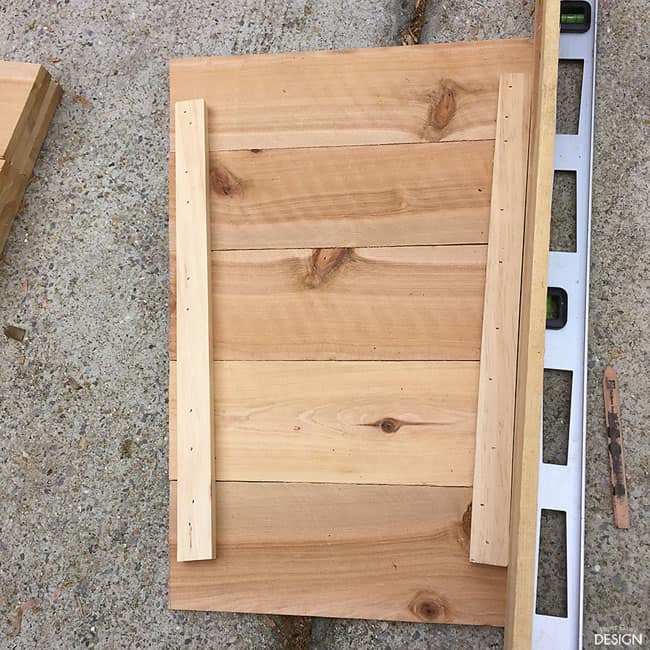
NOTE: Your 2×4’s will become your feet of the planter. This will make your construction much easier. You will need to cut the bottom of the 2×4 at 5 degree angle and allow the boards to stick out around 1/4 of an inch or desired height. Add the galvanized caps (fence brackets) to the end of your 2×4’s now.
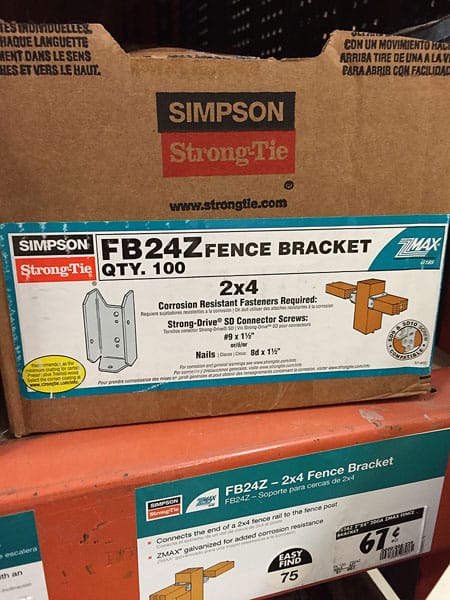
These are what I used to cap the ends of the feet.
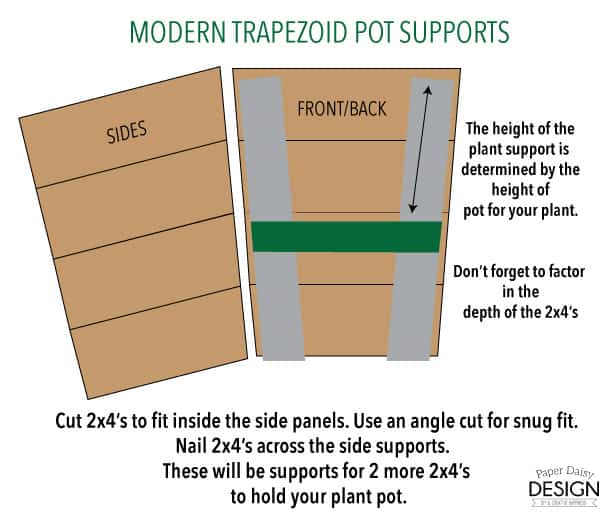
Here is a drawing of the supports that become the feet.

5. Cut the side boards that will butt up next to the front and back sides against the 2×4. This means you will subtract the depth of the fence boards. In our case this depth (3/4 inch thick board x 2 = 1 1/2″)
6. Nail the side panel to the 2×4. Repeat for the other side. (If your planter will be completely exposed to the elements, you might consider using galvanized screws. Ours are being used on a screened porch and I did not want to see screws.)
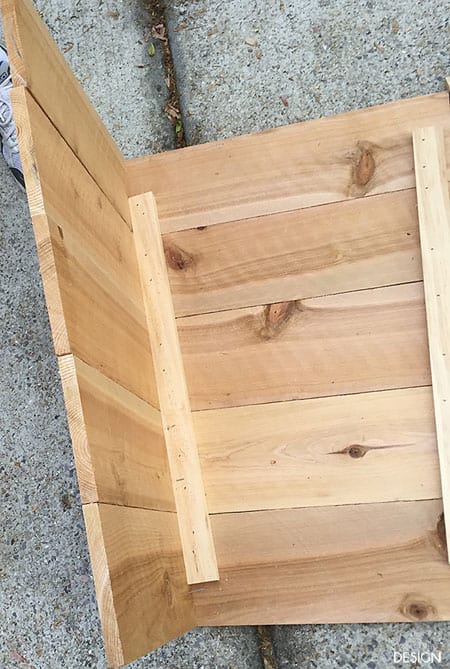
7. Nail 2×4’s for supports for a board or another set of 2×4’s to hold your pot.
In the photo below, I’m demonstrating where the supporting 2×4’s go before I nail on the back. The tape measure is marking the height of my pot for the plant.

8. Nail the back in place to enclose your planter. Now you can stand your planter and add the crossbar 2×4’s to hold your pot. They do not have to be nailed in.
Because I did not use 2×4’s for my panel construction and instead used scrap wood, I took the additional step of adding 2×4’s in between the feet to provide additional support. I don’t think this is necessary, if you build according to the plan.
Notice the galvanized “caps” to help protect the wood from coming in direct contact with moisture.

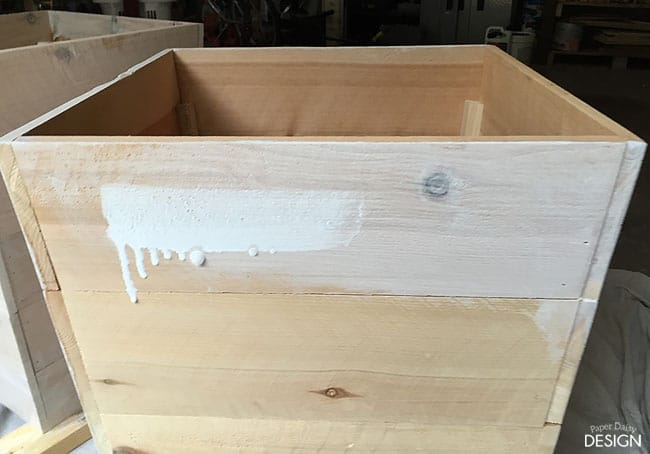
9. Sand and finish your planter however you desire. I considered adding only a clear coat, a very attractive option definitely. Instead I went with a whitewash finish.
I will caution you to try your chosen finish on a scrap piece of cedar wood. I found the cedar to be extremely porous. In order to get the look I wanted with the whitewash, a water-based finish,(Minwax White Wash Pickling Stain) I had to add a good deal of water and some water-based polyurethane. Sorry I can’t tell you what the ratios were, I just kept adding until I got the desired look.
The addition of the water made the finish extremely runny, but I was able to achieve the level of transparency I was looking for. When the whitewash was undiluted the finish was very opaque, almost like paint. I have a used this whitewash in the past I had no problems getting a transparent finish it must have been that the untreated fibers of the cedar just sucked the finish up.
And there you have it! It might look complicated, but truly it’s very simple once you figure in the angles. Thankfully all the angles should be consistent.
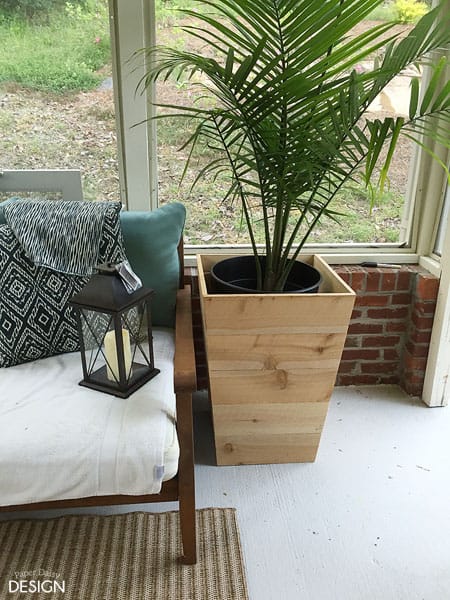
I chose to add some moss to the top of my planter to camouflage the pot.
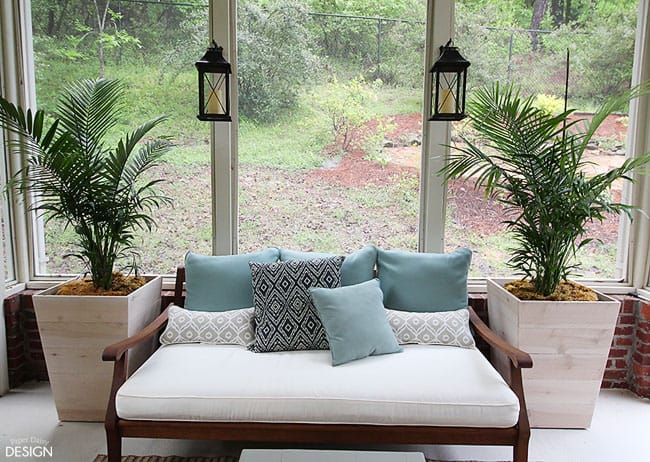
I love the statement they make in the space and how they add height and drama with the addition of palms. I used 2 types of palms in each pot, a majesty palm for height and a cat palm for some added width. They both have plenty of room to grow in this large pot.
I think I’m well on my way to creating a Calm Tropical Retreat. These planters are just one of the projects I’m designing and building for the One Room Challenge hosted by Linda at Calling it Home. I’d love for you to follow me on my journey through 6 week makeover.

This post features affiliate links which means that I make a small commission off of products you purchase after following the link.
Thank you for your support and allowing me to share my projects with you!
Shared Here | Stone Gable: The Scoop | A to Z Homestories: Tutorials & Tips | Savvy Southern Style: Wow Us Wednesday |
Turquoise Home : Work it Wednesday | Petite Modern Life: Think and Make Thursday


5 Comments
Alli
April 22, 2015 at 8:08 amVery cool! Will be making these in the near future! Thank you for the tutorial!
Jessy @ The Life Jolie
April 22, 2015 at 2:16 pmThis is such an awesome idea- definitely pinning for future reference. I stopped by from The Scoop.
6 Inspiring Porch and Patio Makeovers -
April 7, 2016 at 5:55 pm[…] Or check out the posts related to the makeover like the DIY Modern Trapezoid Planters. […]
Porch and Patio Makeover Reveal -
May 2, 2016 at 9:26 am[…] The planters we built out of cedar fencing add height and drama to the long side of the porch. Plans and a complete how-to can be found here. […]
9 Essentials for a Stylish, Cozy Screened Porch | DeeplySouthernHome
May 1, 2019 at 6:19 pm[…] that lifts the plant higher making it seem much more grand, creating a canopy of palms overhead. Here is a link to build your own for less than $20 a […]