
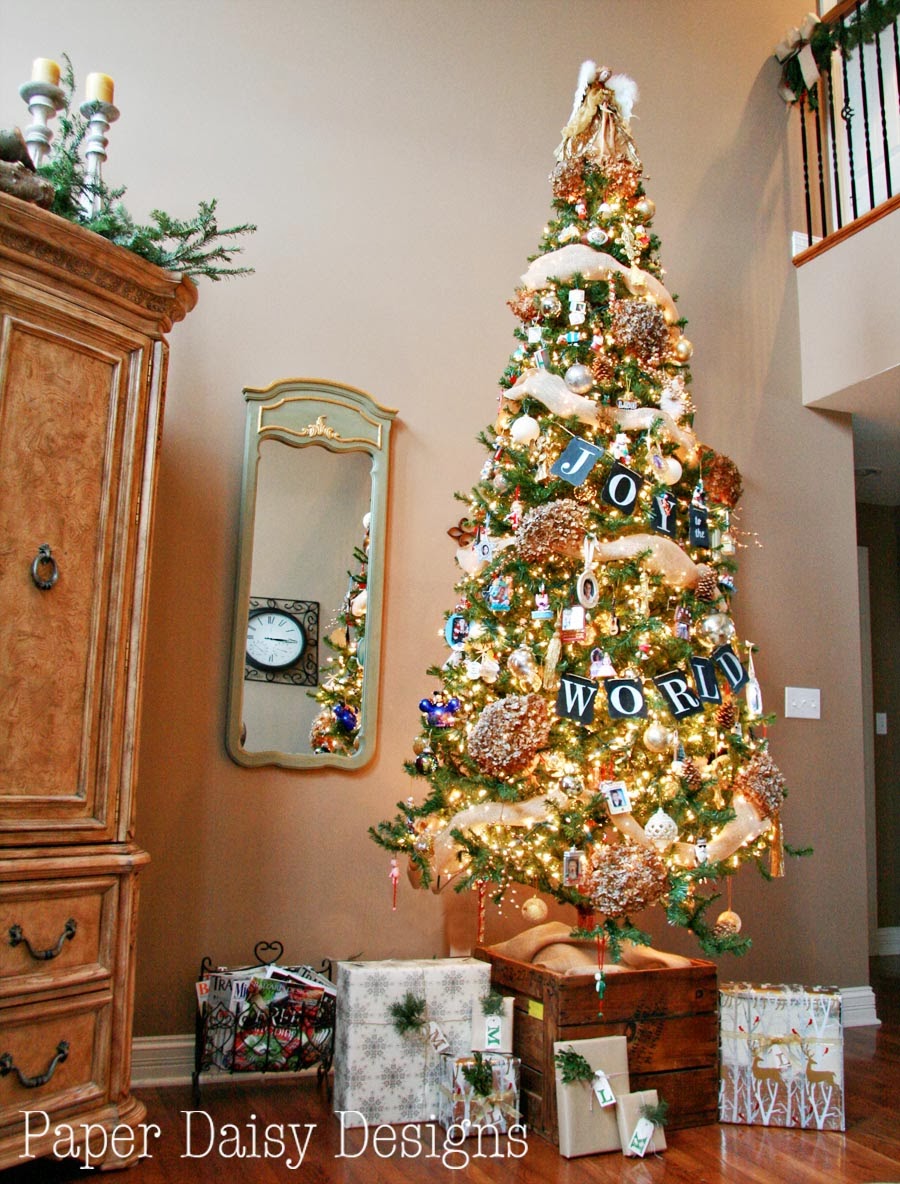
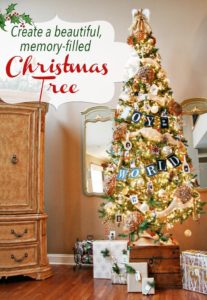
I hope by now you’ve gotten several looks at our Christmas tree. Today, I’m sharing a little tutorial on how I created the “Joy to the World” chalkboard banner.
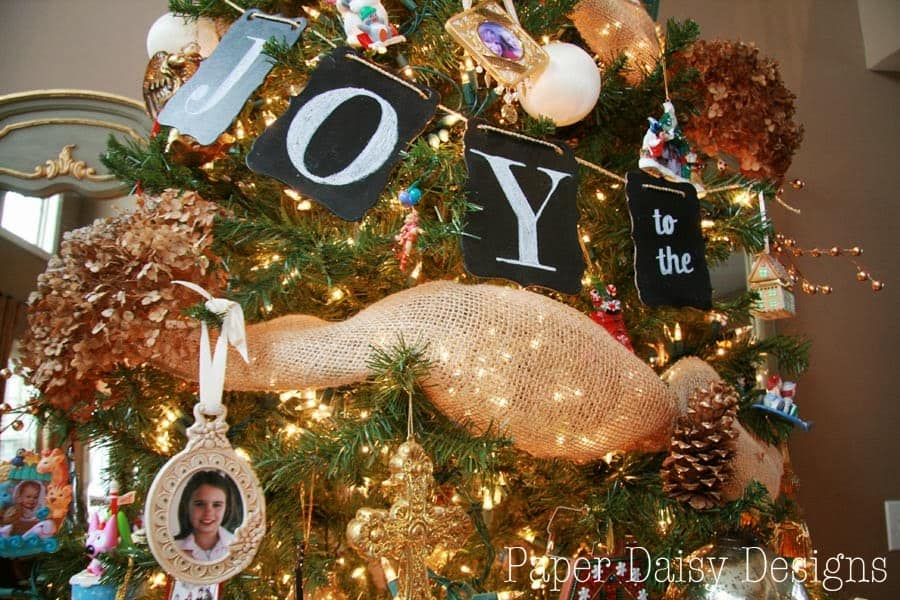
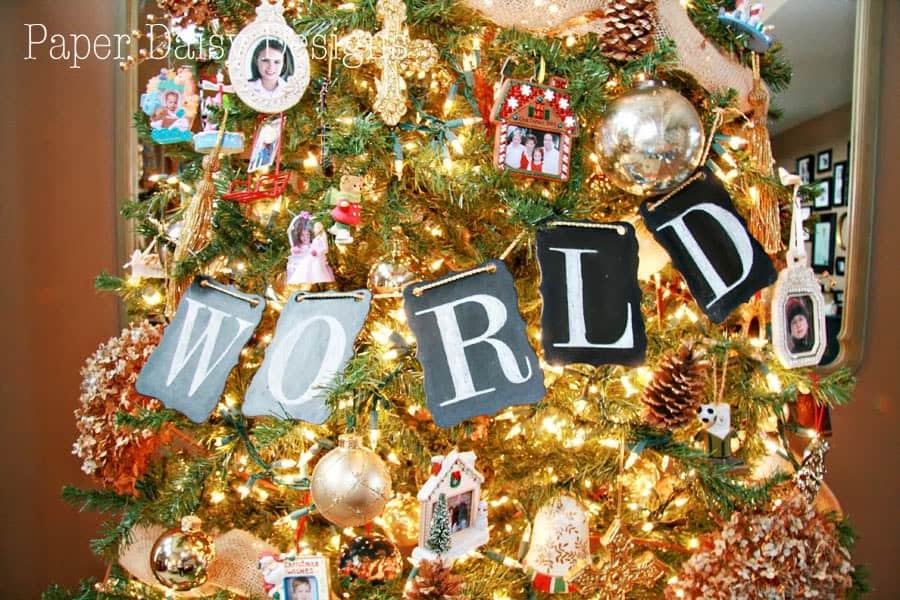
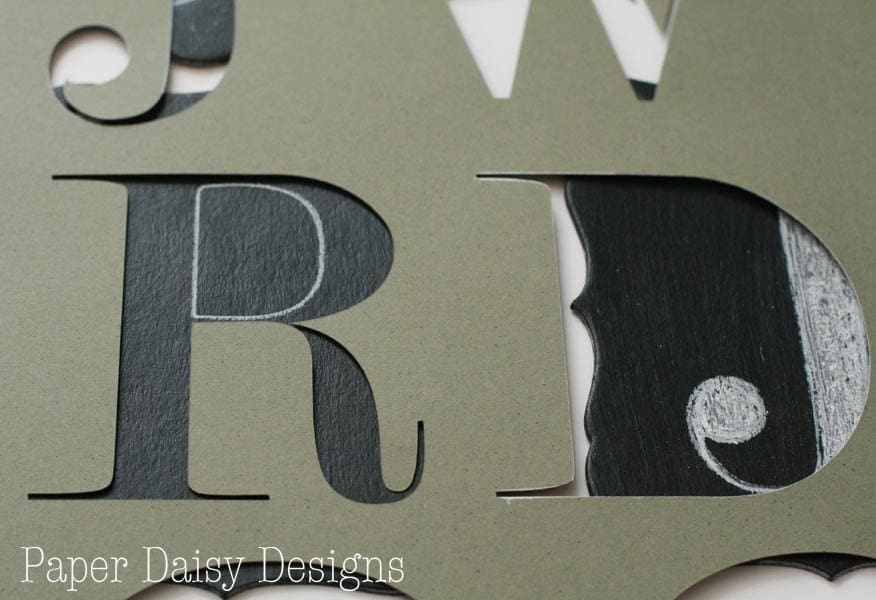
A few close ups.
To create this banner, I started with a chipboard album and one extra piece of chipboard that was similar in shape. These types of albums are readily available at your local craft store. Mine was from my stash of supplies I received as a designer for GCD Studios.
Here is an affiliate link to a similar one on Amazon. Blackboard album

Because the chipboard album came with holes, I only had to punch holes in one piece. I used a Crop a Dile, Big Bite. It’s not a craft tool I use very often, but for times like this it sure comes in handy. You could also use a eyelet setting tool to make holes in chipboard.
I painted the chipboard with black chalkboard paint. Before I started on drawing in the letters, I forgot to prime the chalkboard with chalk first. Probably should have done that, but I can always give it a quick coat of paint if I need to change the letters eventually.
Instead of hand lettering like I usually do, I used my Silhouette to quickly cut out the letters in cardstock to use as a make shift template. I’m too cheap to use the stencil material on something like this.
Here’s a good tip. Keep both the letter and the “outside” and trace the inside parts of the letter first.
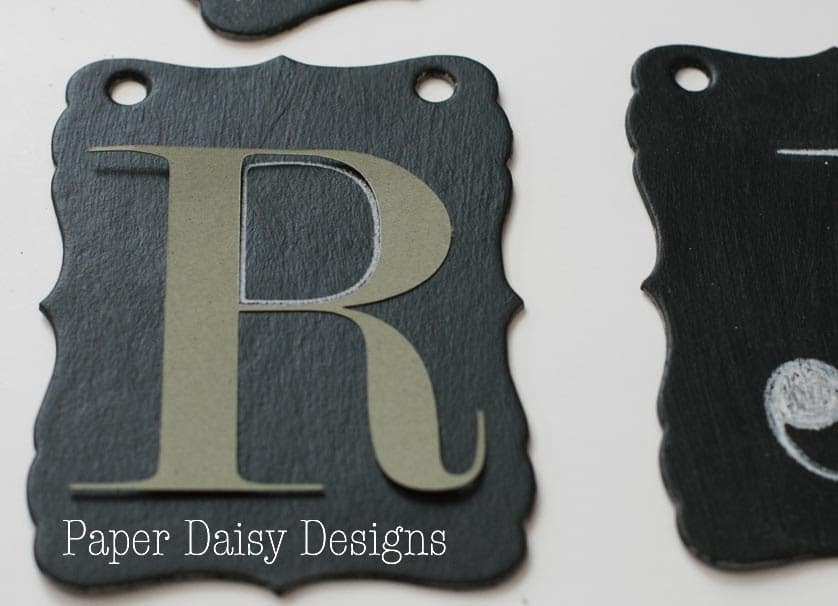
Using the letter instead of the “outside” will allow you to center your letter perfectly instead of trying to guess what is behind the cardstock.
I used a chalk pencil for the tracing and then filled in the thicker parts with ordinary chalk.
String up your banner with ribbon or string and your done!
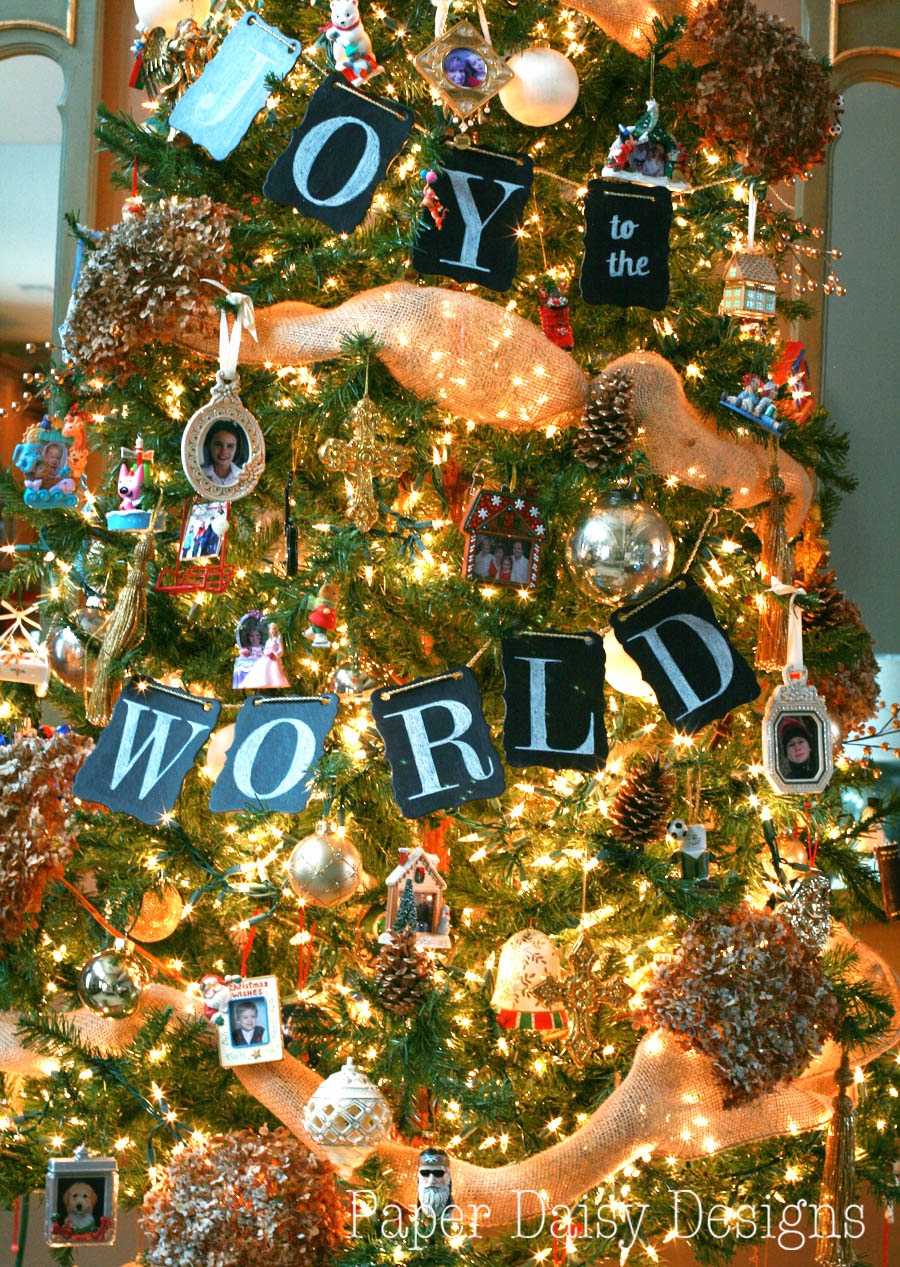
The result is a super quick, easy and dramatic Christmas banner that’s sturdy enough to use year after year. I can even change the message if I can come up with something with the same number of letters. 😉 Or maybe even use for different holidays.
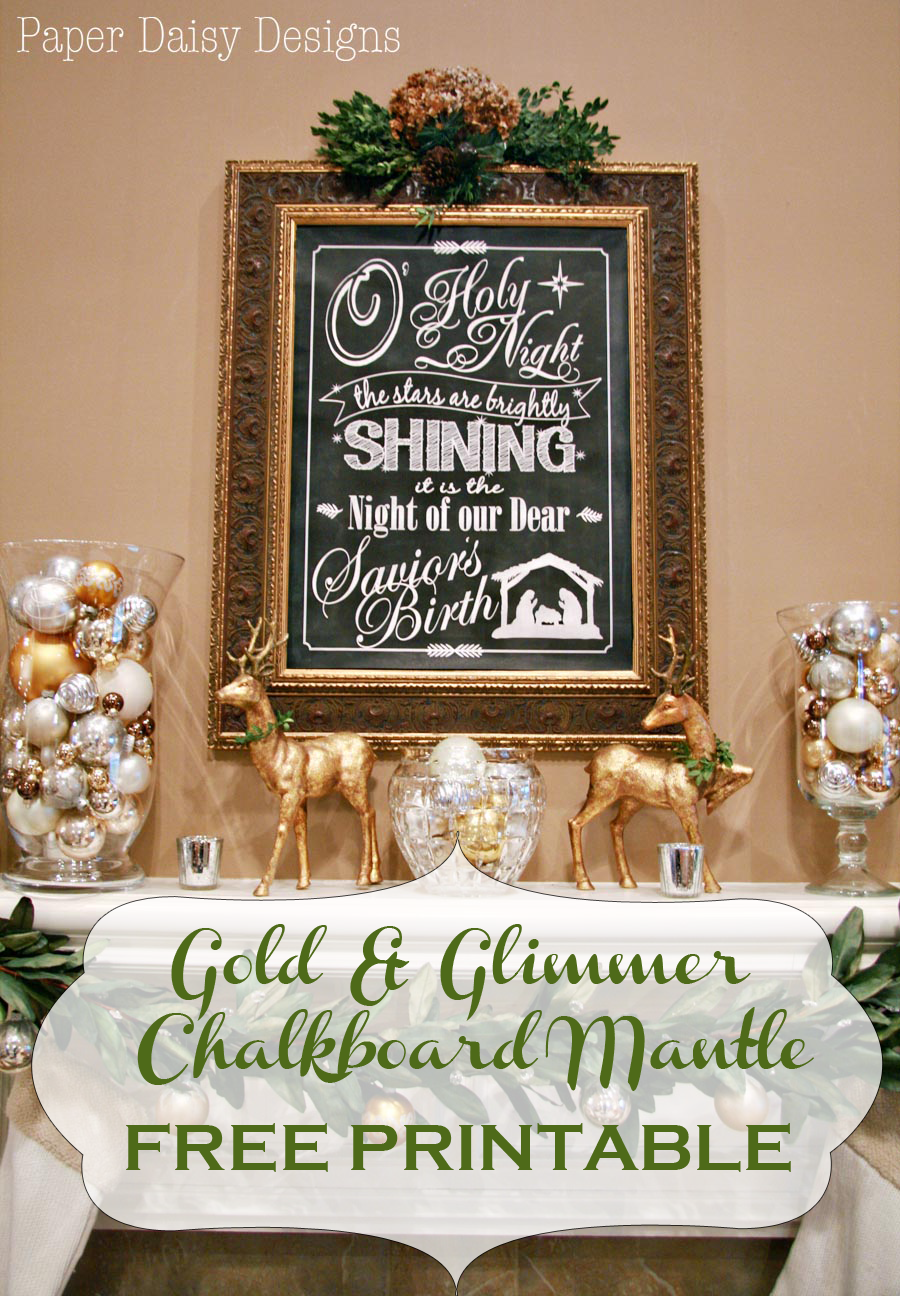
I like how it keeps our very traditional and memory-filled tree current and festive. It also is a reflection of the Chalkboard art on the mantle. And guess what you can have a print just like mine.
Here is a link to the printable, so you can make one of your own!!

Sharing Here: That DIY Party @ DIY Show Off / Nifty Thrifty Tuesday @ Coastal Charm / Mod Mix Monday@ Mod Vintage Life / Inspire Me Tuesday @ A Stroll through Life / Make it Pretty Monday @ The Dedicated House / Feathered Nest Friday @ French Country Cottage / Be Inspired Friday @ Common Ground / Friday Link-up @ Redoux / Frugal Friday @ The Shabby Nest / Party Junk @ Funky Junk Interiors / Wow Us Wednesday @ Savvy Southern Style / Be Inspired @ Elizabeth and Co / Pin ME Party @ Diana Rambles /Weekly Creative Party @The Creative Girl / Amaze Me Monday@ Dwellings-Heart of your Home / Fabulously Creative Friday @ Jennifer Rizzo / Sunday Show Off @ Twigg Studios / Grace at Home @ Imparting Grace / Show & Tell Friday @ My Romantic Home /The Inspiration Gallery @ Craftberry Bush /Inspire Me Please @ Liz Marie Blog/


4 Comments
marty (A Stroll Thru Life)
December 11, 2013 at 12:13 pmYour tree is gorgeous and the banner is fabulous. What a great idea. Thanks tons for linking to Inspire Me. Hugs, Marty
Linda@Coastal Charm
December 13, 2013 at 5:03 amOh what a beautiful tree! Thanks so much for sharing at my party…I know my readers love your chalkboard garland as much as I do. Gotta go share on facebook.<br /><br />Blessings,<br />Linda
Gold and Glimmer Chalkboard Mantle, Christmas 2013 -
November 26, 2016 at 9:16 pm[…] You can see I also made a chalkboard banner for my tree. Check out the complete tutorial here. […]
Christmas Home Tour Part 2 · DeeplySouthernHome
December 7, 2018 at 8:05 am[…] The chalkboard Joy to the World banner is also from many years ago. It’s been used on a Christmas tree, on the mantle and now on the open shelves. I’d say it’s a worthy craft. Here is a link to the tutorial. […]