

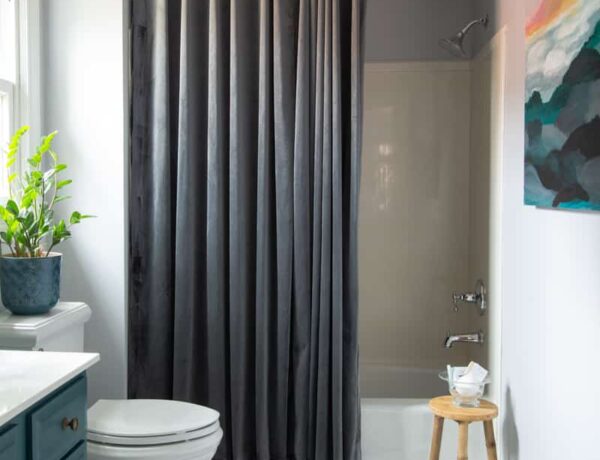
Ah, there’s nothing better than a nice hot bath at the end of a long work day! I wish I could say I relax in the tub and free my mind of the stress of the day, but that is not me and not how my brain works. Nope, my mind doesn’t free easily, so I have found the best way to actually relax in the tub is to have some distractions.
Most recently, it’s been my favorite little show on Netflix, Grace & Frankie. It’s a fairly light hearted show that is only 3o minutes long. The perfect length for a soak in the tub!
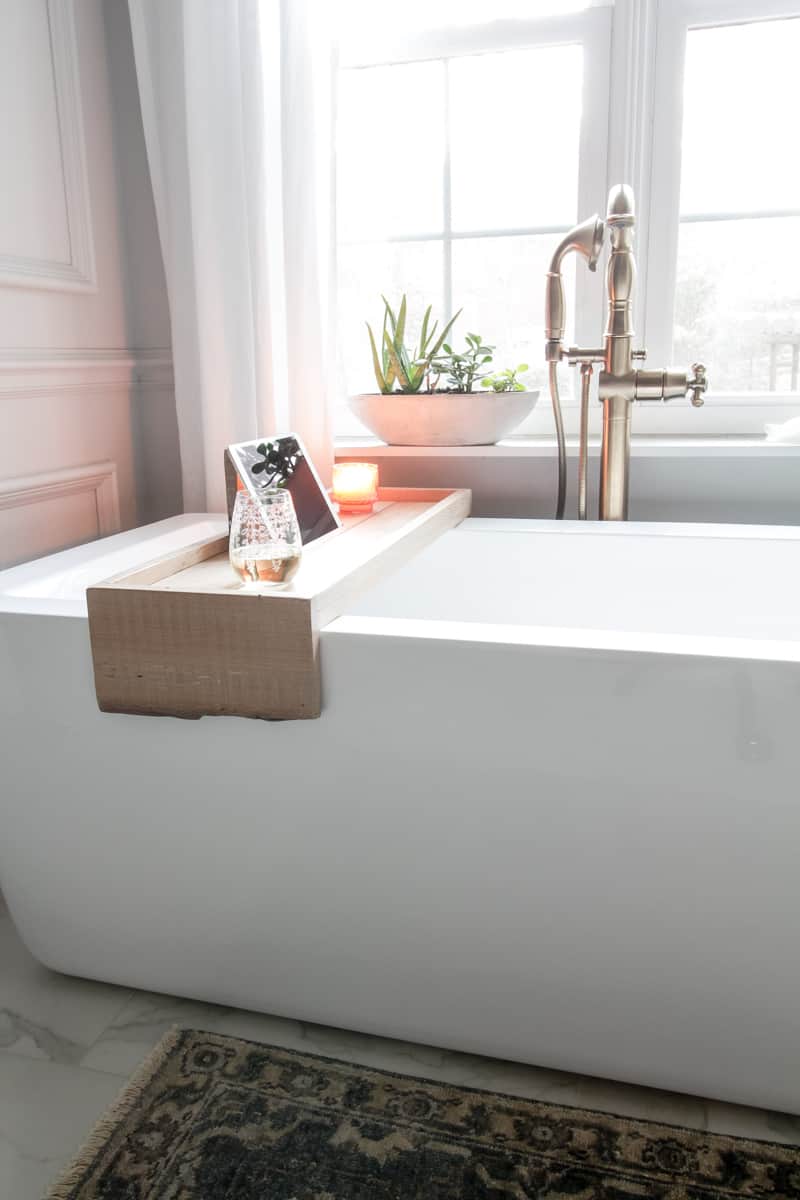
But I had been cramming my iPad with a stand on the pretty little table off to the side of the tub and then I had no room for a beverage! Gasp! What’s a girl to do? Just kidding, clearly this is a first world problem.

Well, this girl, without question, builds what she needs! In fact, building out of necessity is my favorite kind of build. A chance to marry form and function and of course, make it beautiful.
For my bathtub tray I worked with some reclaimed white oak which means the boards were not perfectly level or square. I decided to just embrace it. In truth, a build like this just needs to be square enough to assemble with a nice fit. The rest of the imperfections I like for their organic nature.
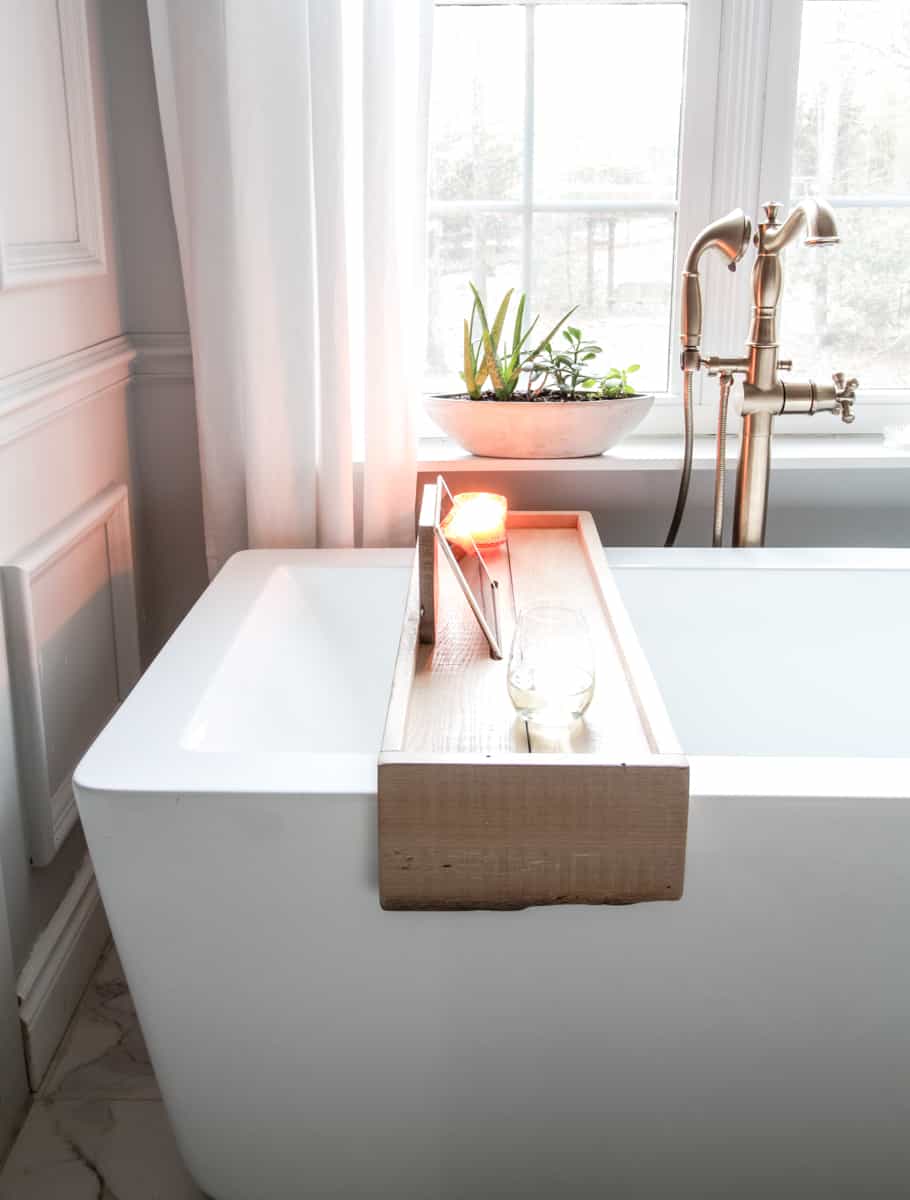
I finished the wood with a white wax to give it a soft, cerused finish. I’ll get more into that below.

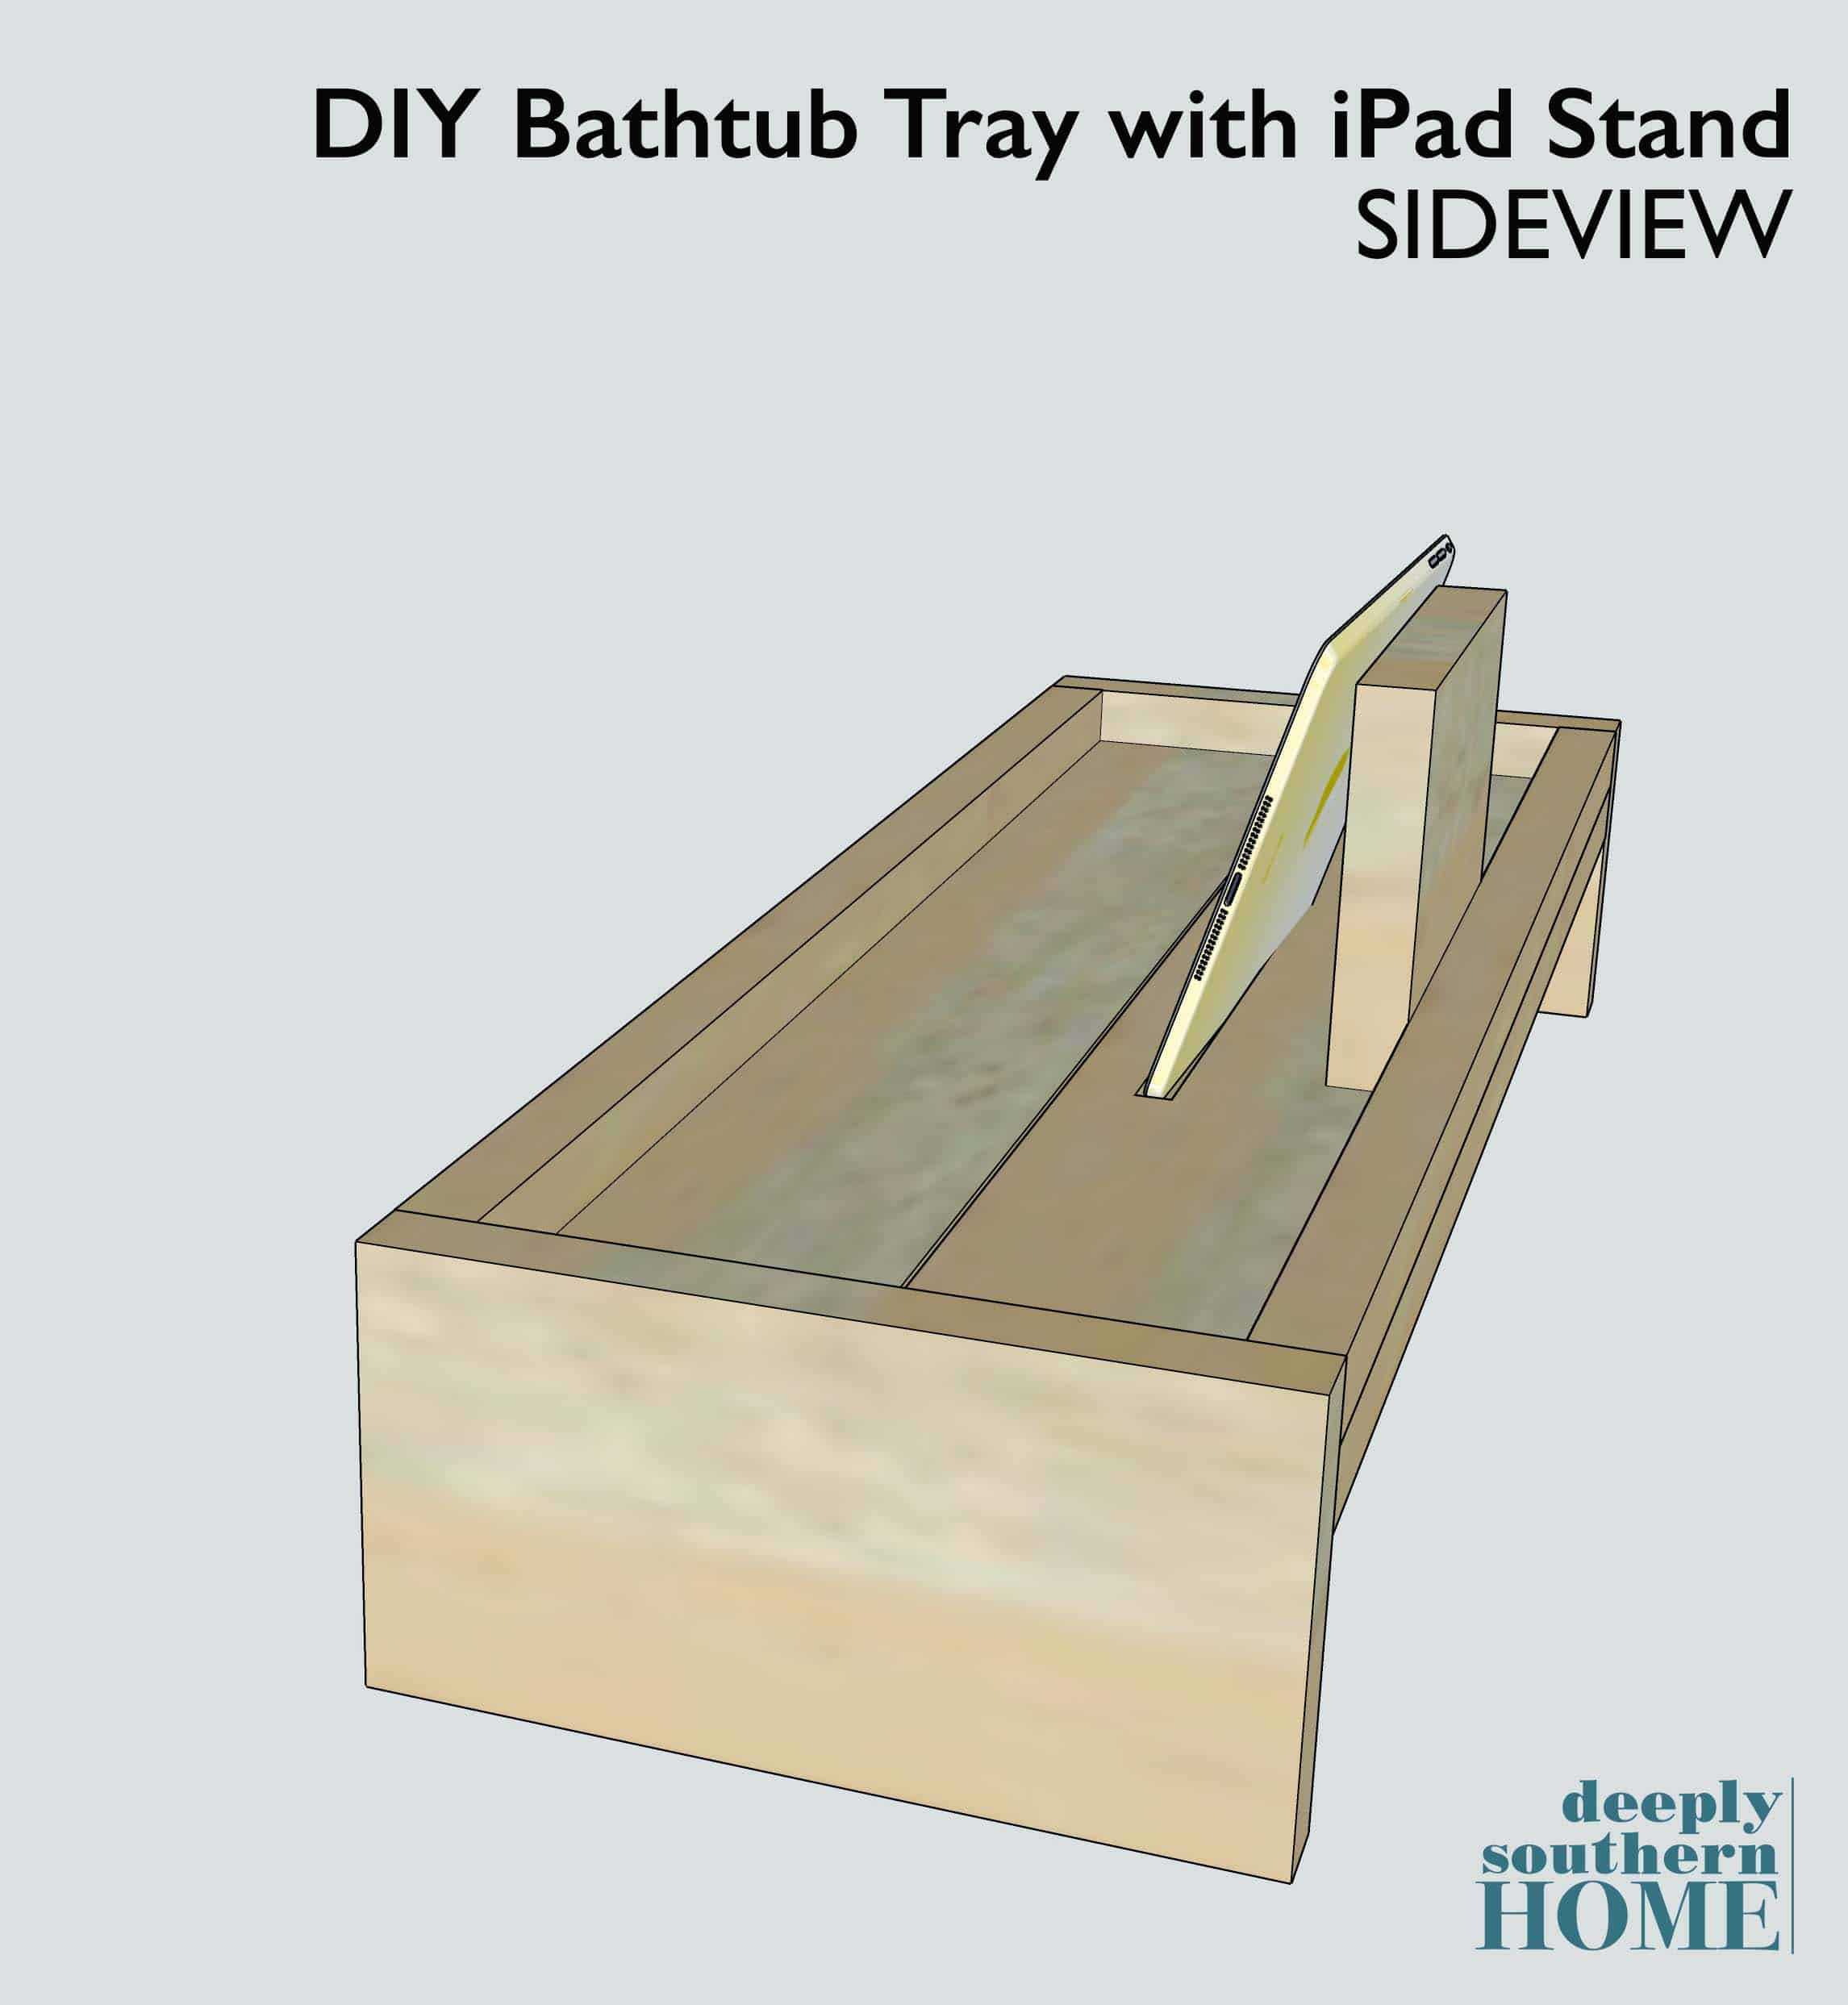
Here is a rendering of the design. 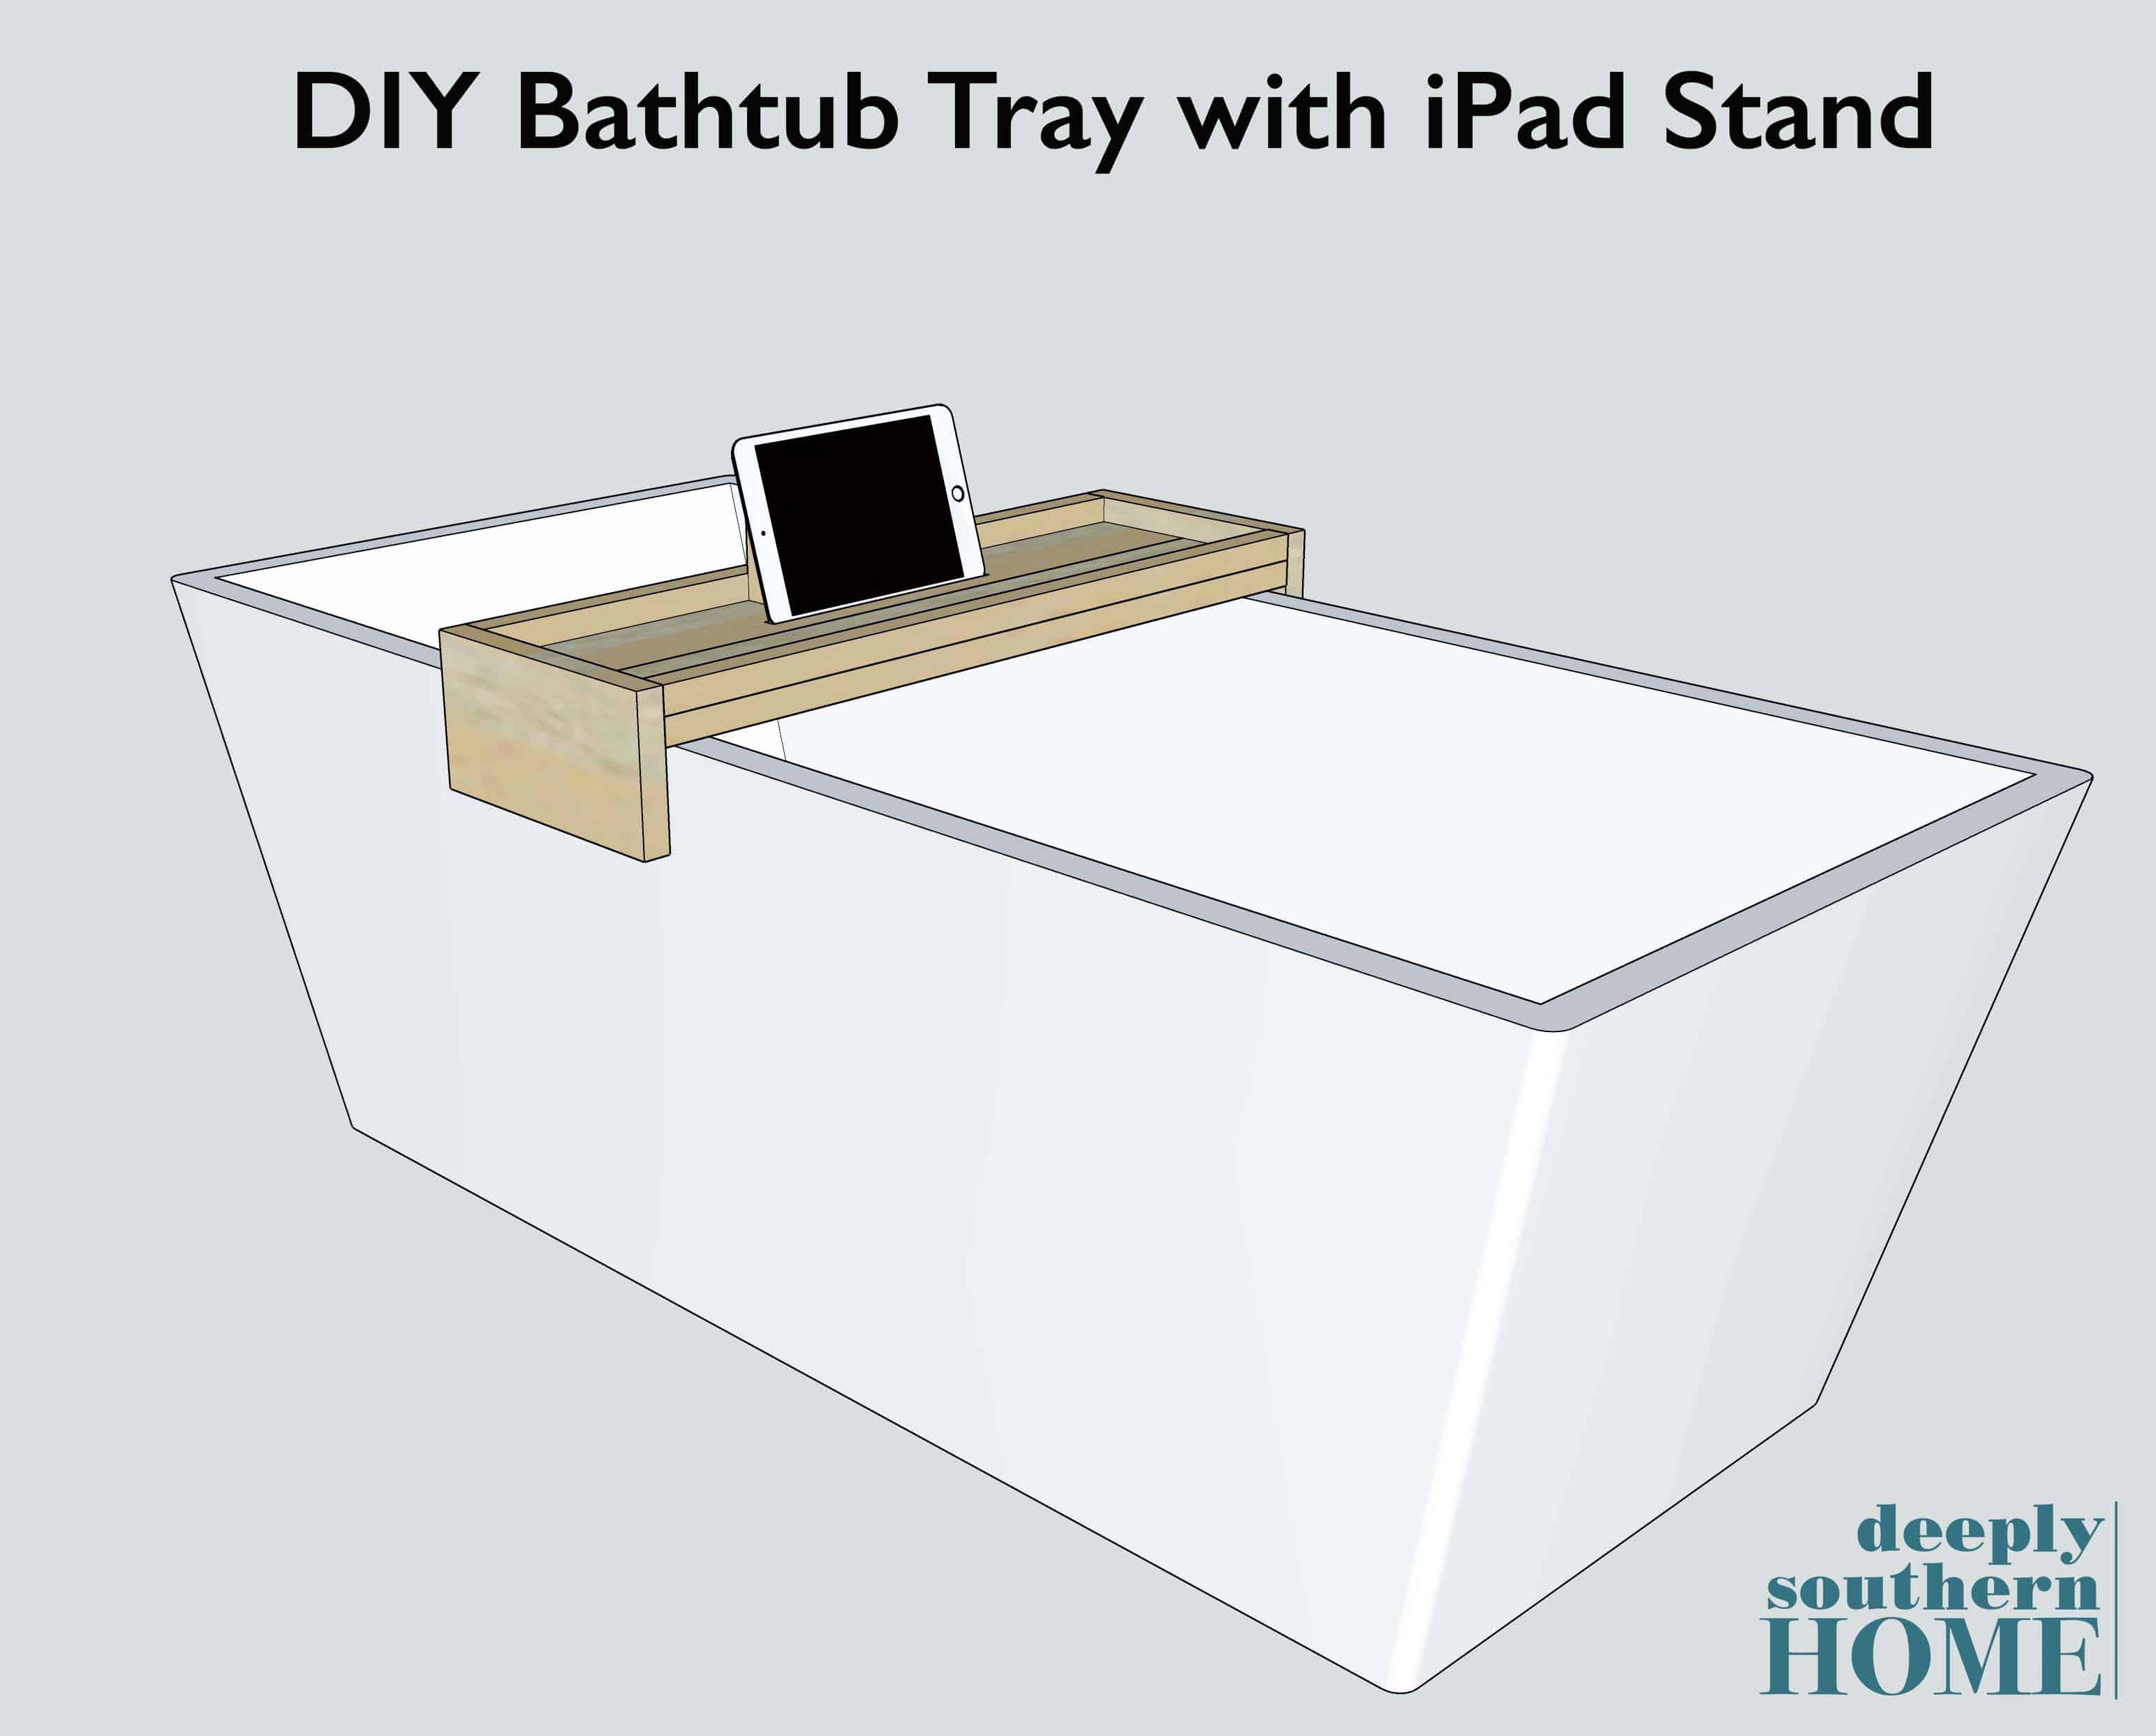
If you would like for your bathtub tray to hold a book instead you could add an extra piece of trim in front of the recess for the iPad. You could also gussy up your tray with a routered glass holder. (Which I had planned to do but I didn’t purchase a circle template before I started the build.)
How to build a bathtub tray
You will likely want to create a custom build to suit your tub. I will supply measurements, but feel free to modify as necessary. I had irregular wood. It was mostly a true 1″ thickness and 7 1/2″ wide, which I ripped down to 5 1/4″ before I began.
Building & Finishing Supplies
1″x 8″ wood, roughly 10 feet board length
1 1/2″ pocket hole screws
Wood glue
Sandpaper of various grits, 80,150,200, 400
Annie Sloan White Wax
Wax brush
Tools
Drill with 1/2″ Forstner bit or equivelant
Palm Router with 1/2″ bit
Table Saw
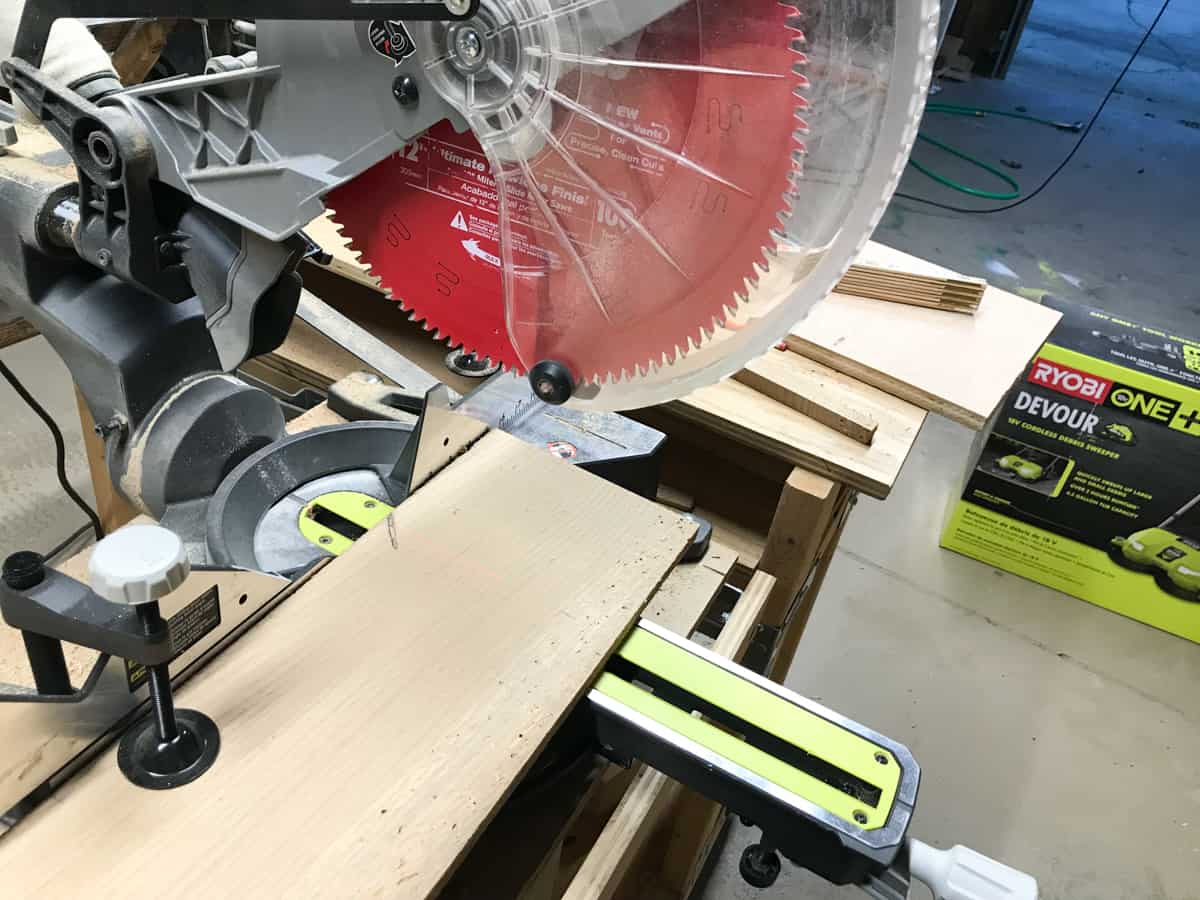
Miter Saw
Right Angle Clamps
Sander
Pocket Hole Jig
Tape Measure
Pencil
STEP 1
Cut the boards to desired width. Be sure to allow enough space for the sides to fit comfortably over the tub without scratching. Mine were 30″ long.
Cut the side overhang boards to the width of your 2 wood planks placed side by side. Mine was 10 1/2″.
Cut the support stand to 5 1/2″ by 7 1/4″.
Then rip down the lip edge from off cut of wood or extra stock. The finished size of the lip is roughly 1″ x 1″. If you want to use new wood you could use a piece of trim molding.
Sand boards before assembling if necessary.
STEP 2
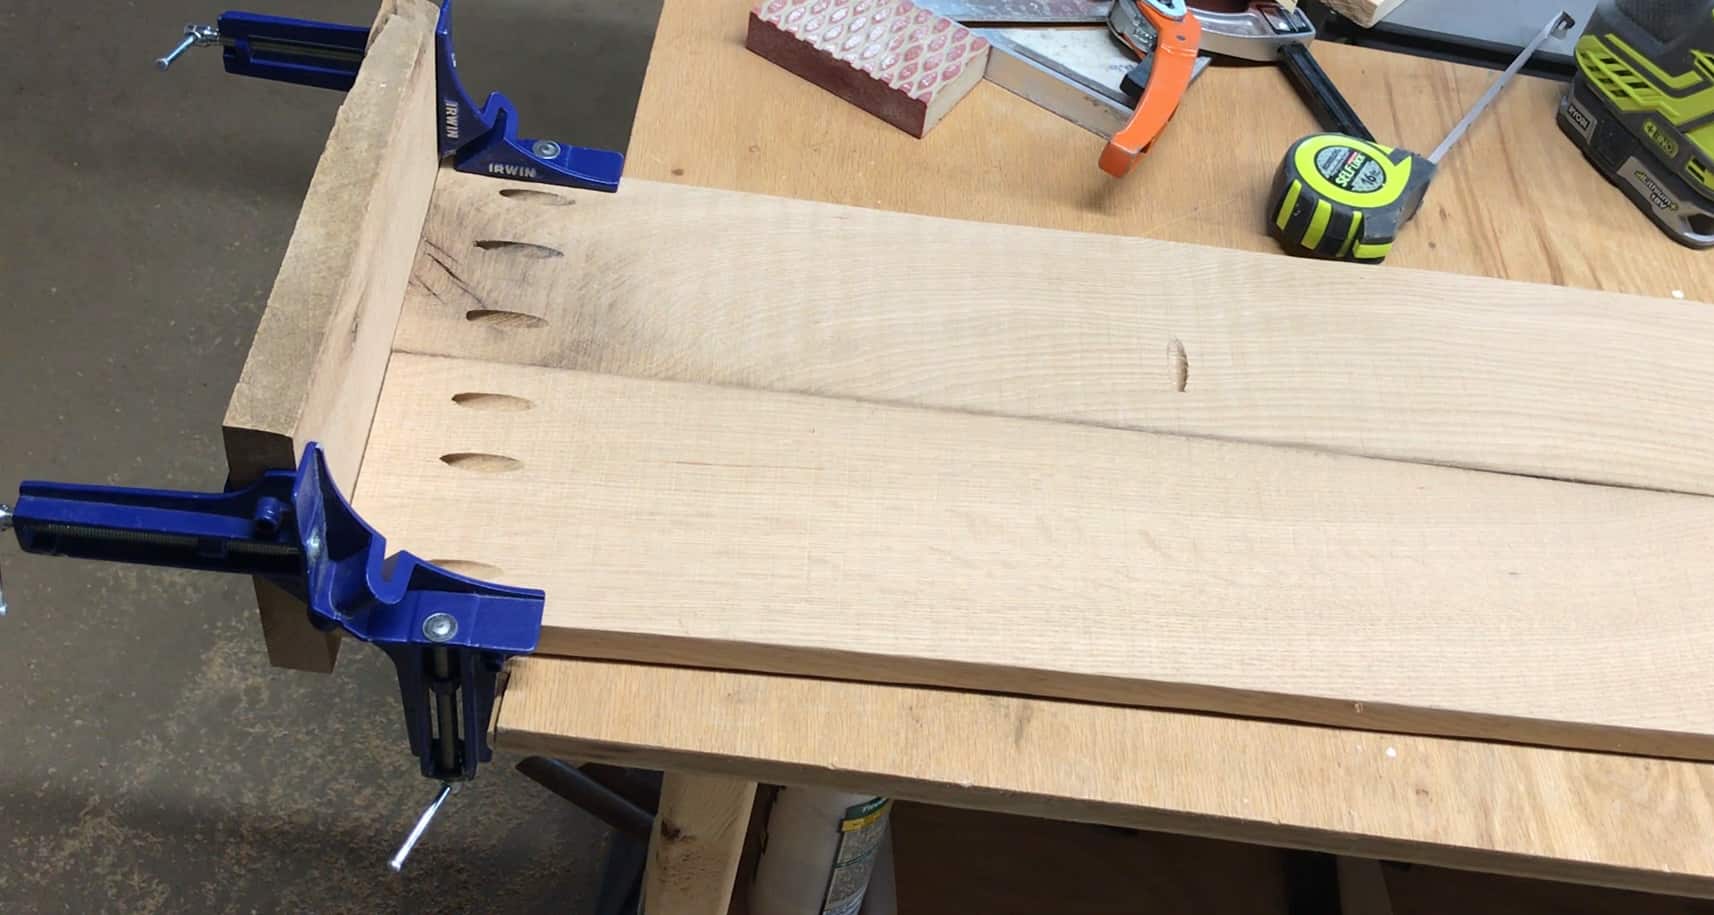
Add pocket holes to the underside of the boards, along the sides to attach the side overhang boards. I also added one in the middle. ( My boards were not perfectly straight so there is a bit of a gap on either side, which I thought might come in handy if there is ever water on the top. It could drip out through the middle.)
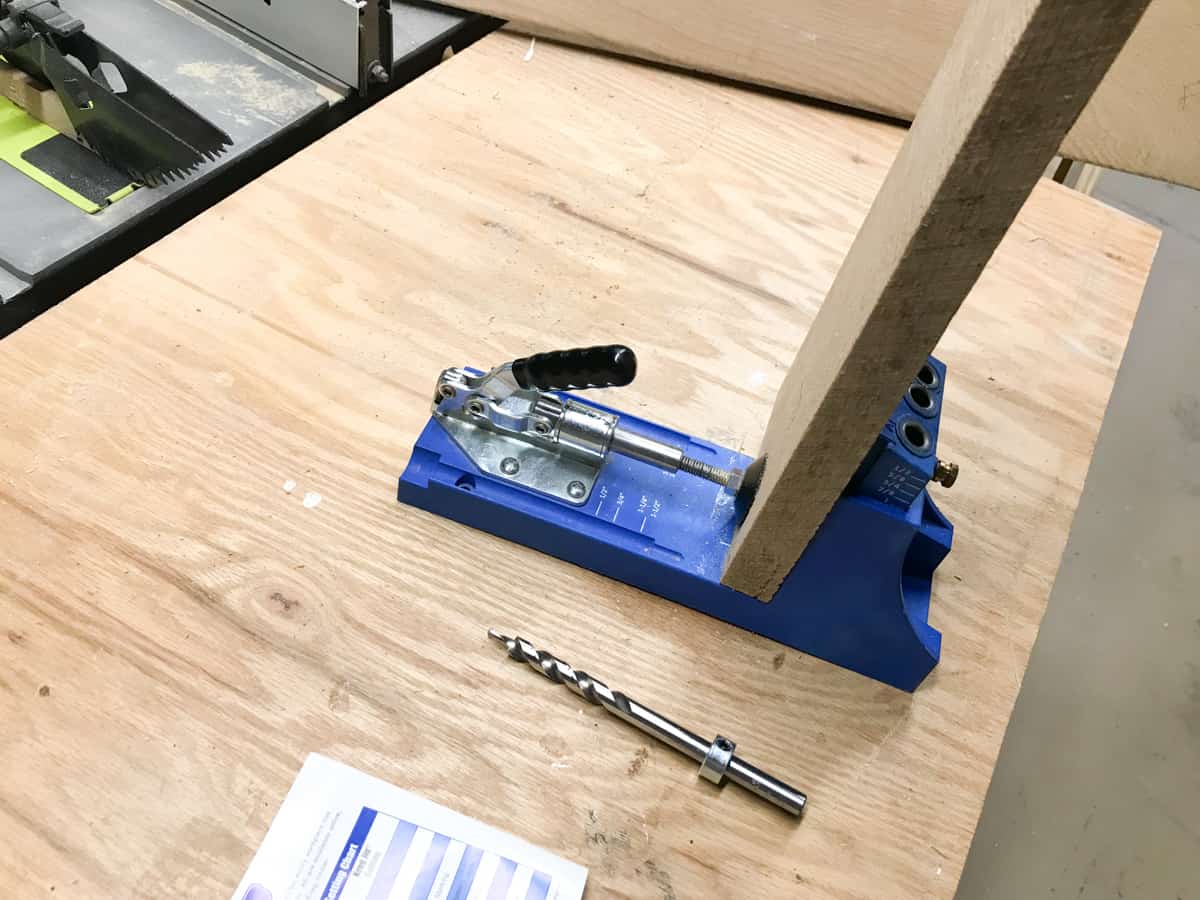
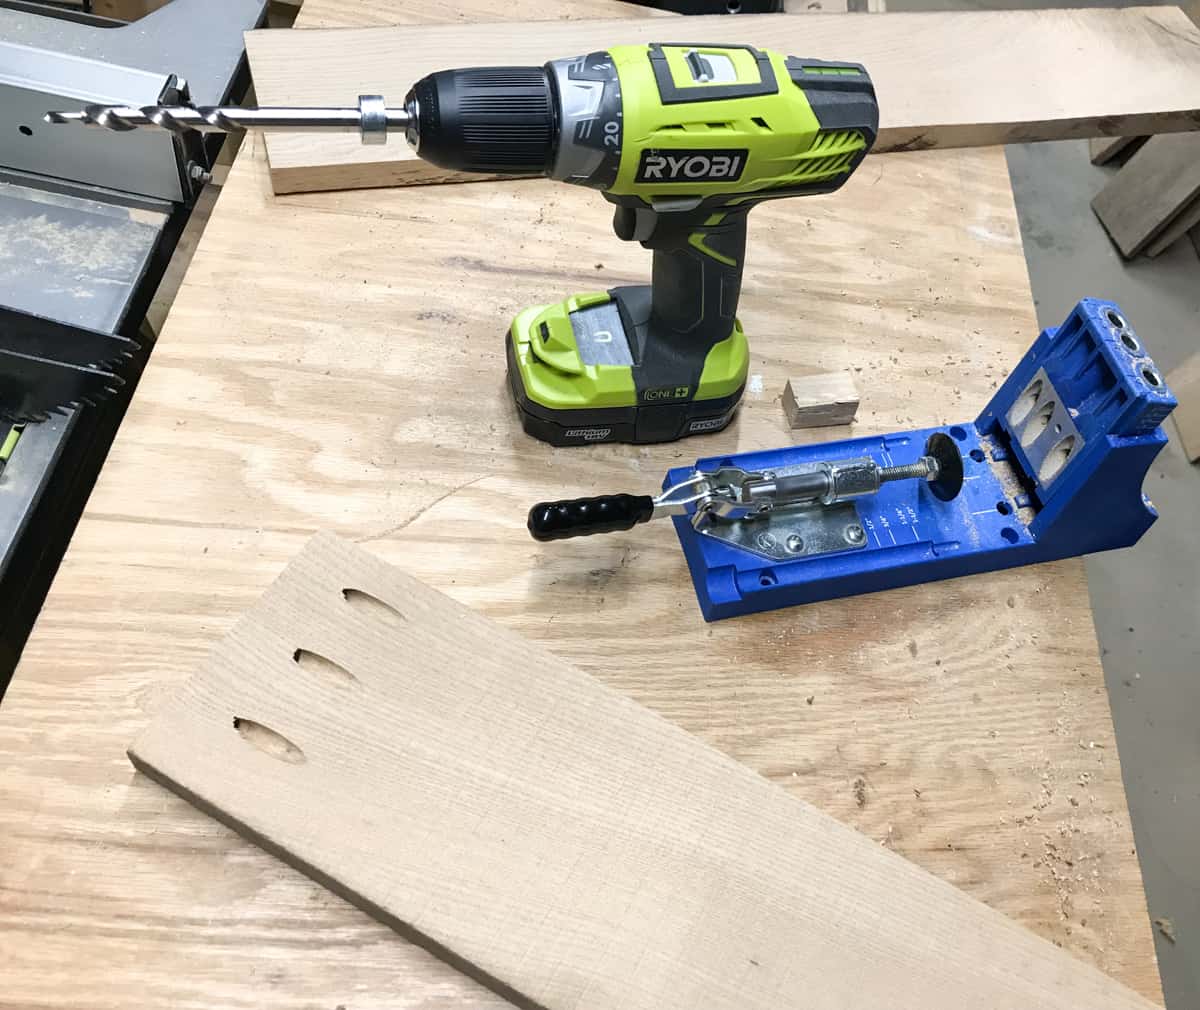

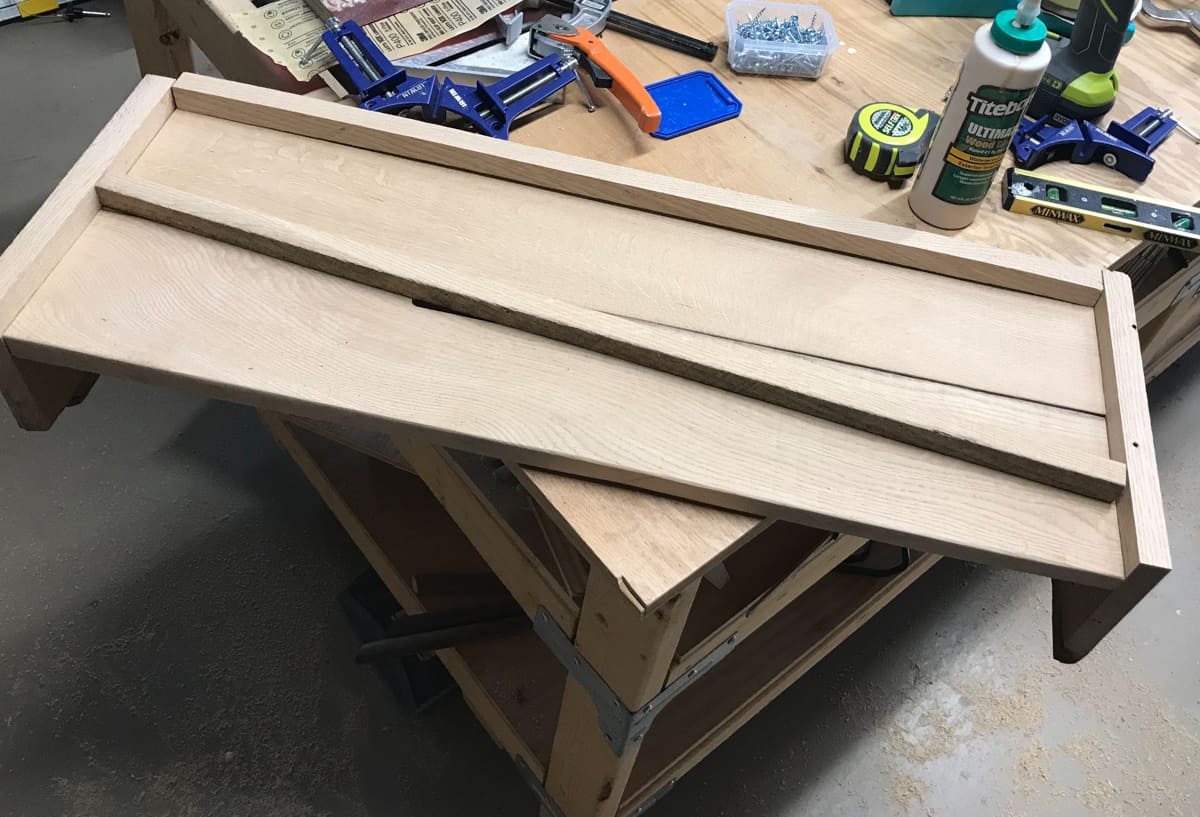
Attach the two boards together in the middle. The sides will be attached in STEP 4.
STEP 3
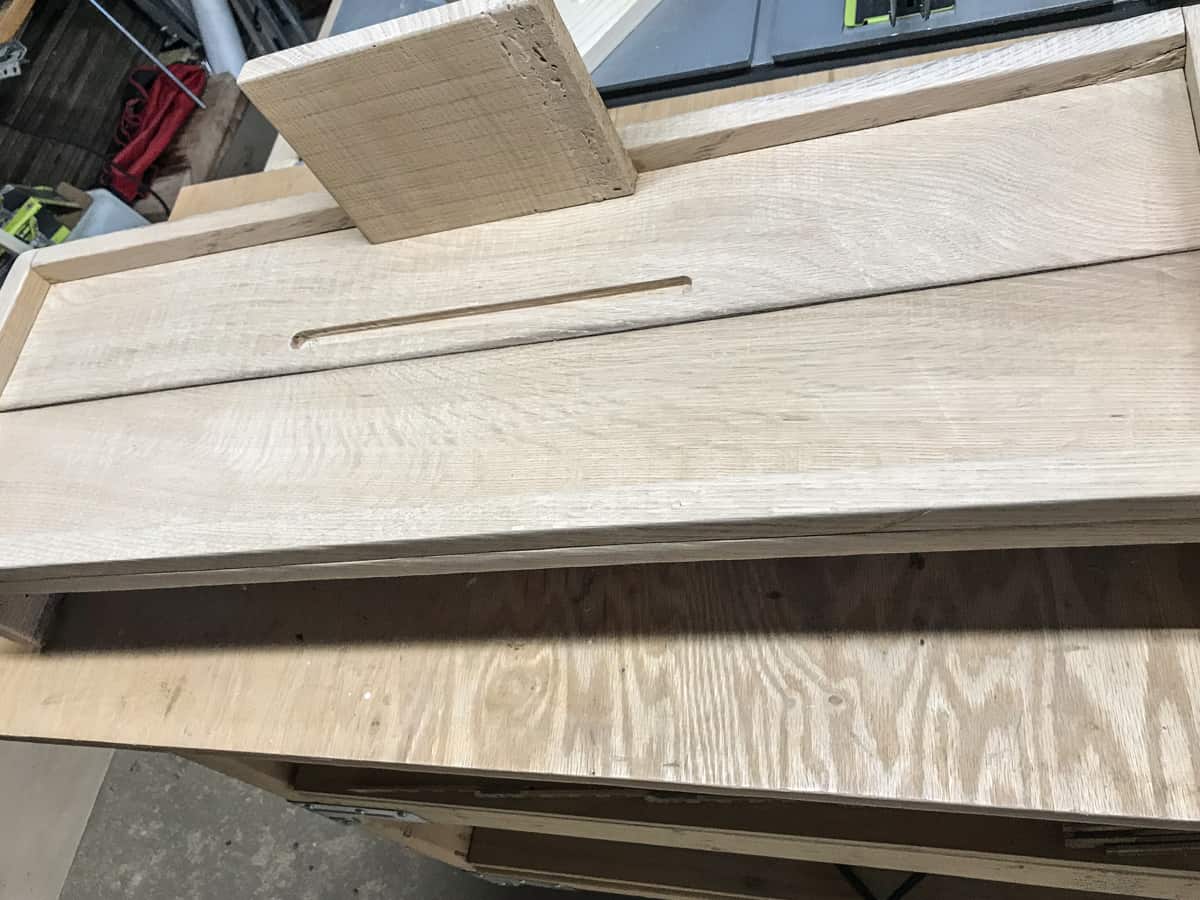
Router out the iPad holder. If you intend to use it for a book instead consider a wider edge.
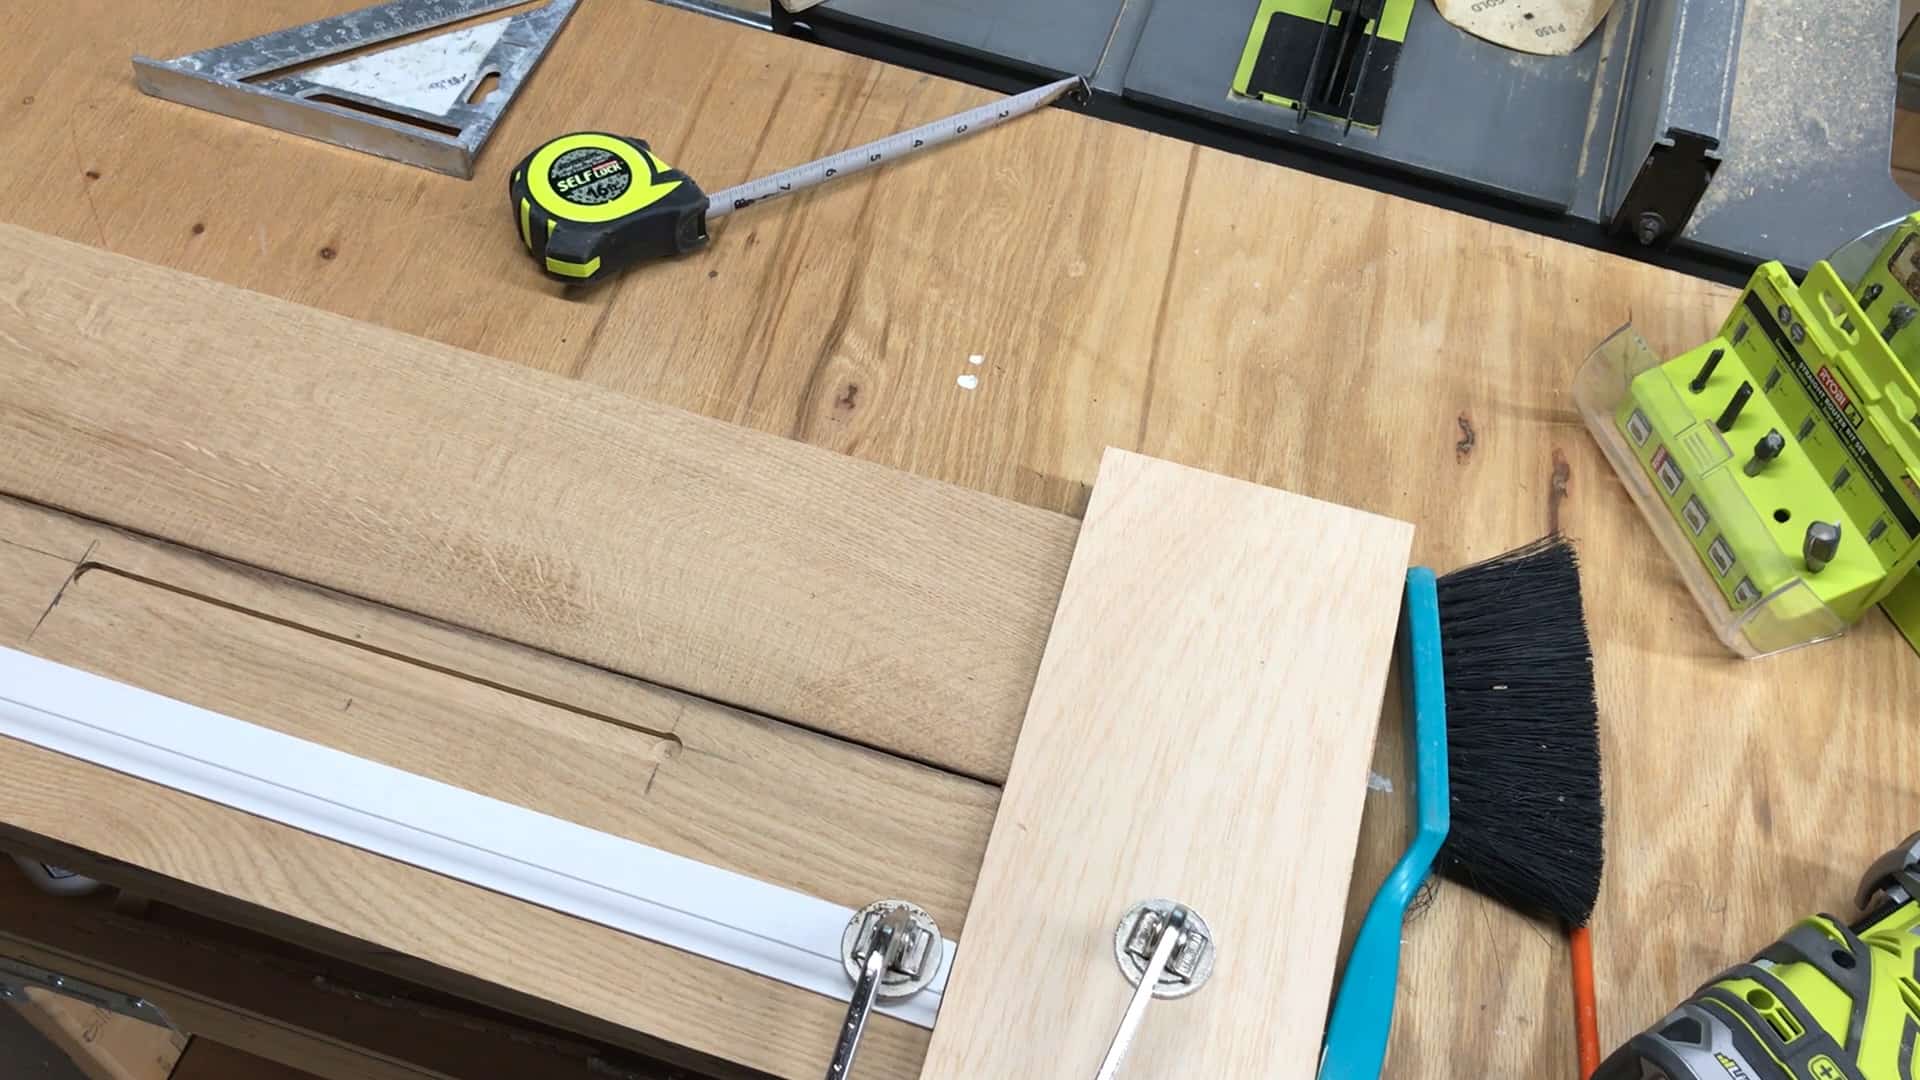
Find the center of your board and mark out 10 1/2 inches in length to router.
If using a palm router like this one, start by drilling a hole to set the router bit into. Always clamp your working boards securely to a work surface.
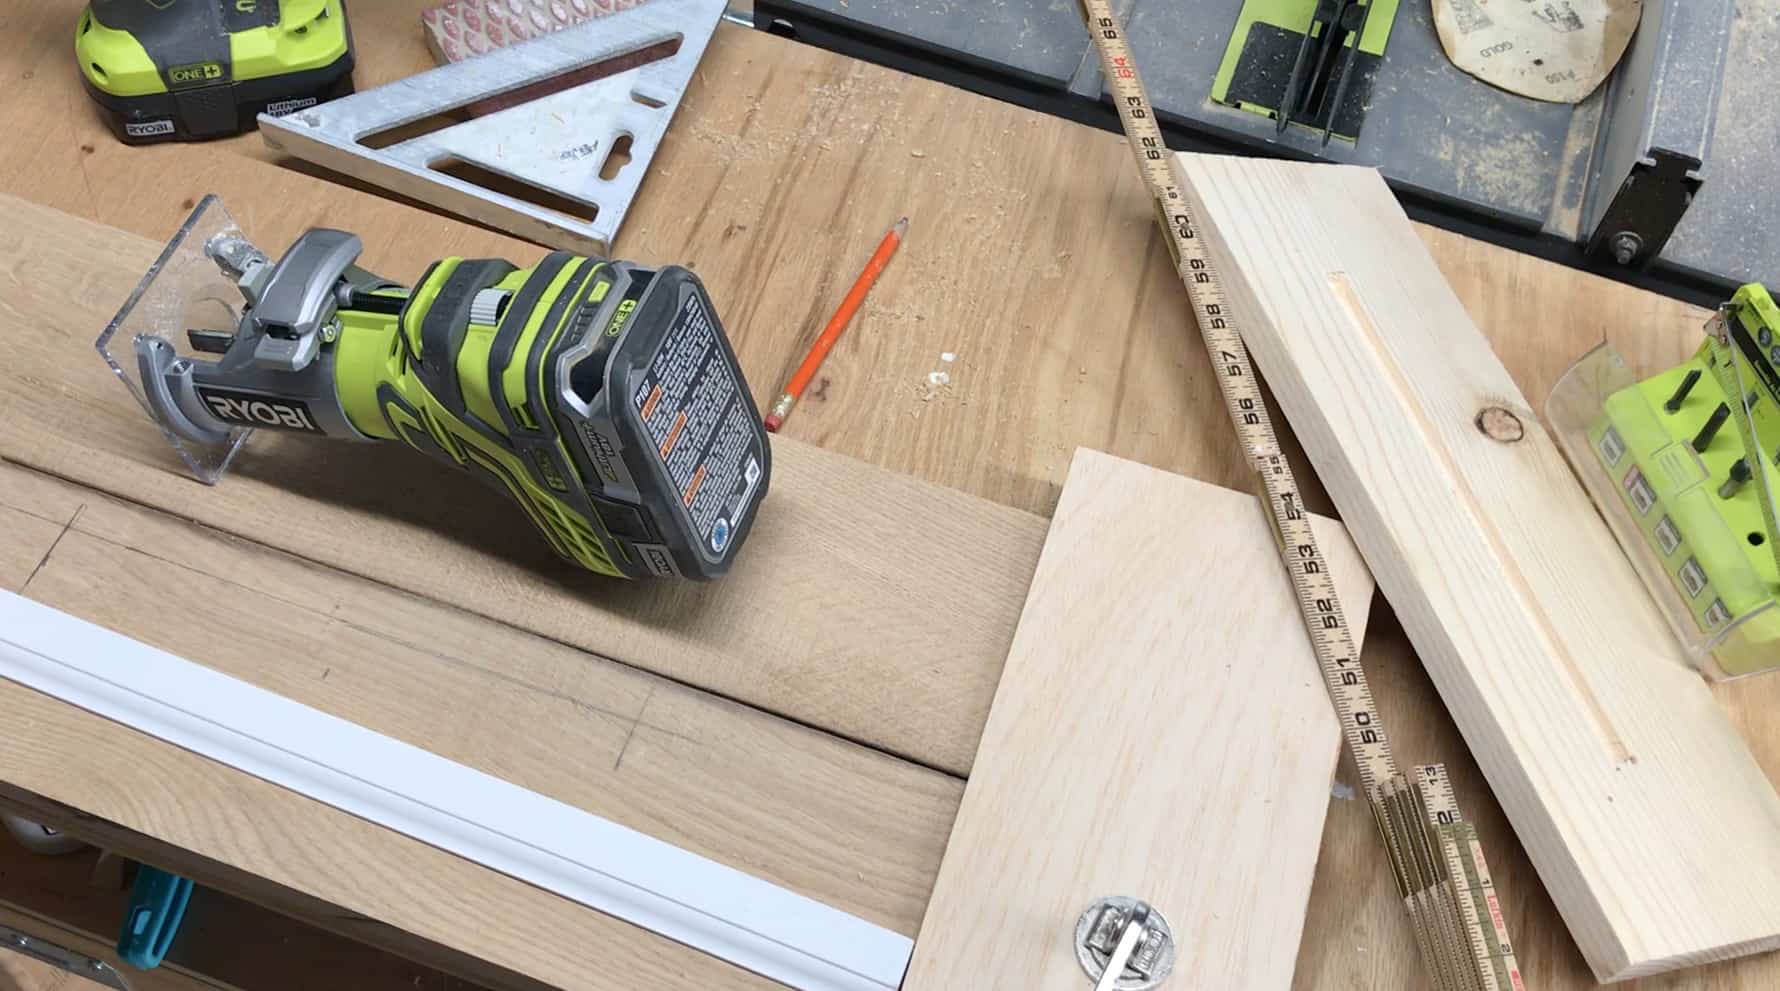
I found a depth of 1/4″ to be sufficient.

Clamp a straight piece of trim to the board as a guide. If you are unstable or unsure of your ability to cut straight, clamp another piece of trim to the opposite side of the router to create a channel to slide along.
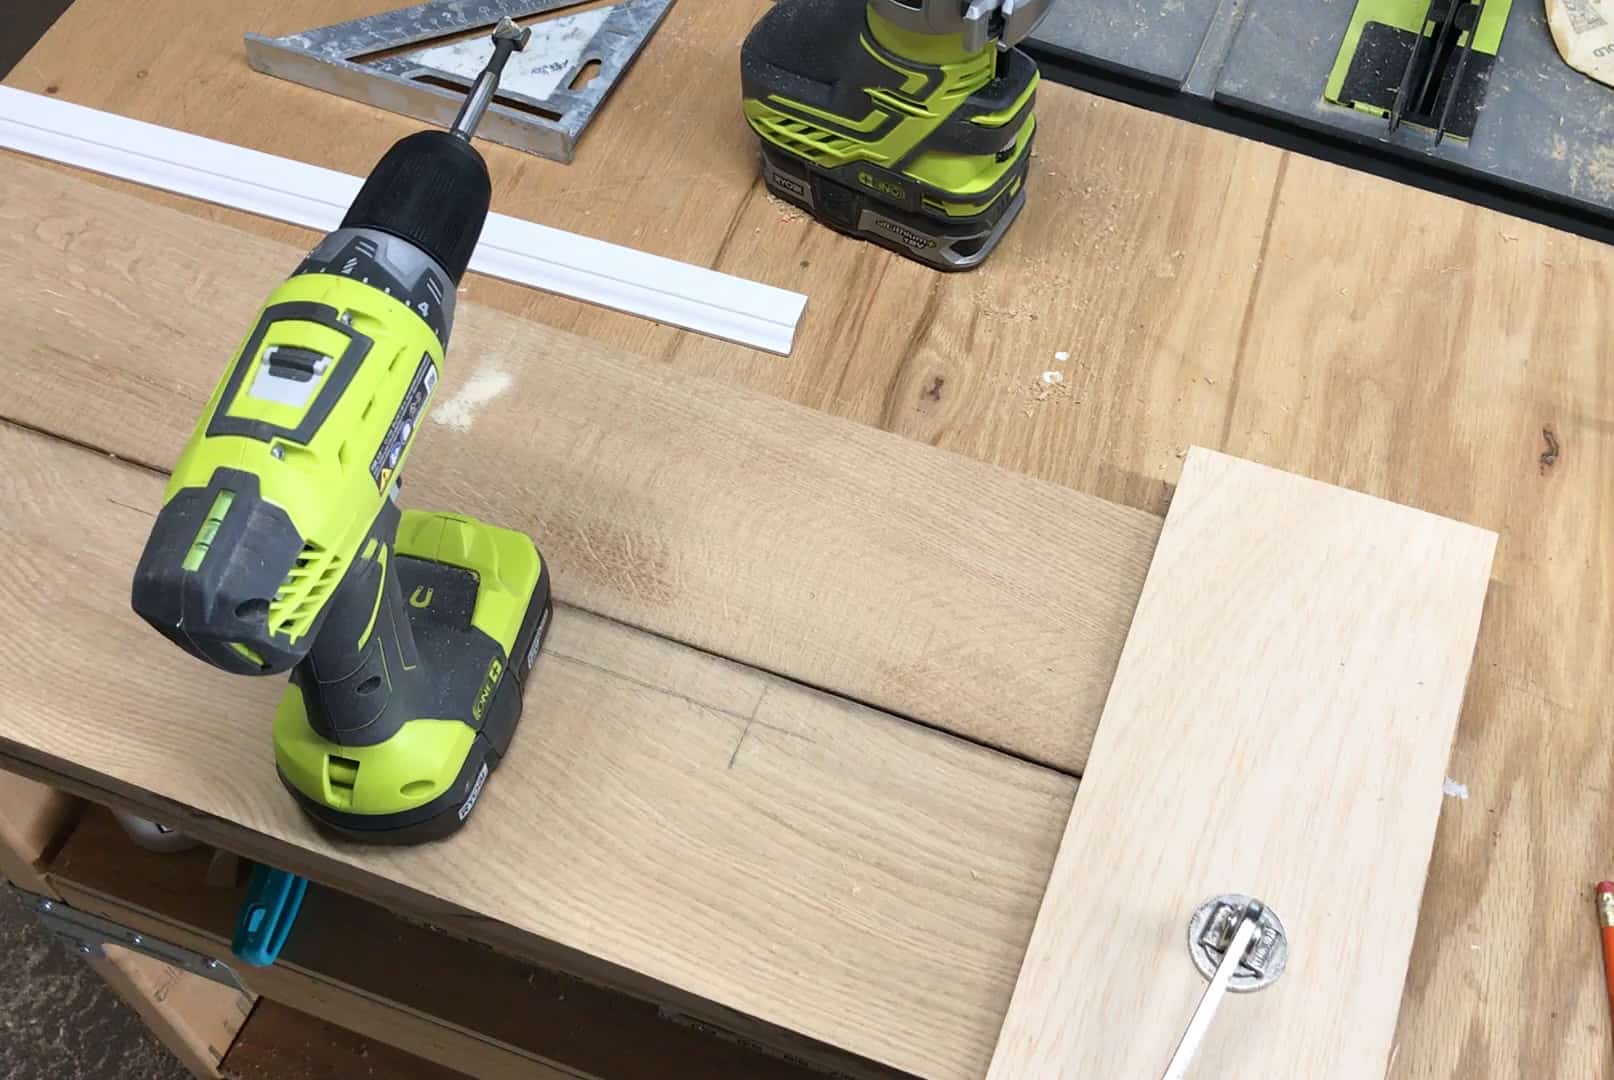
STEP 4
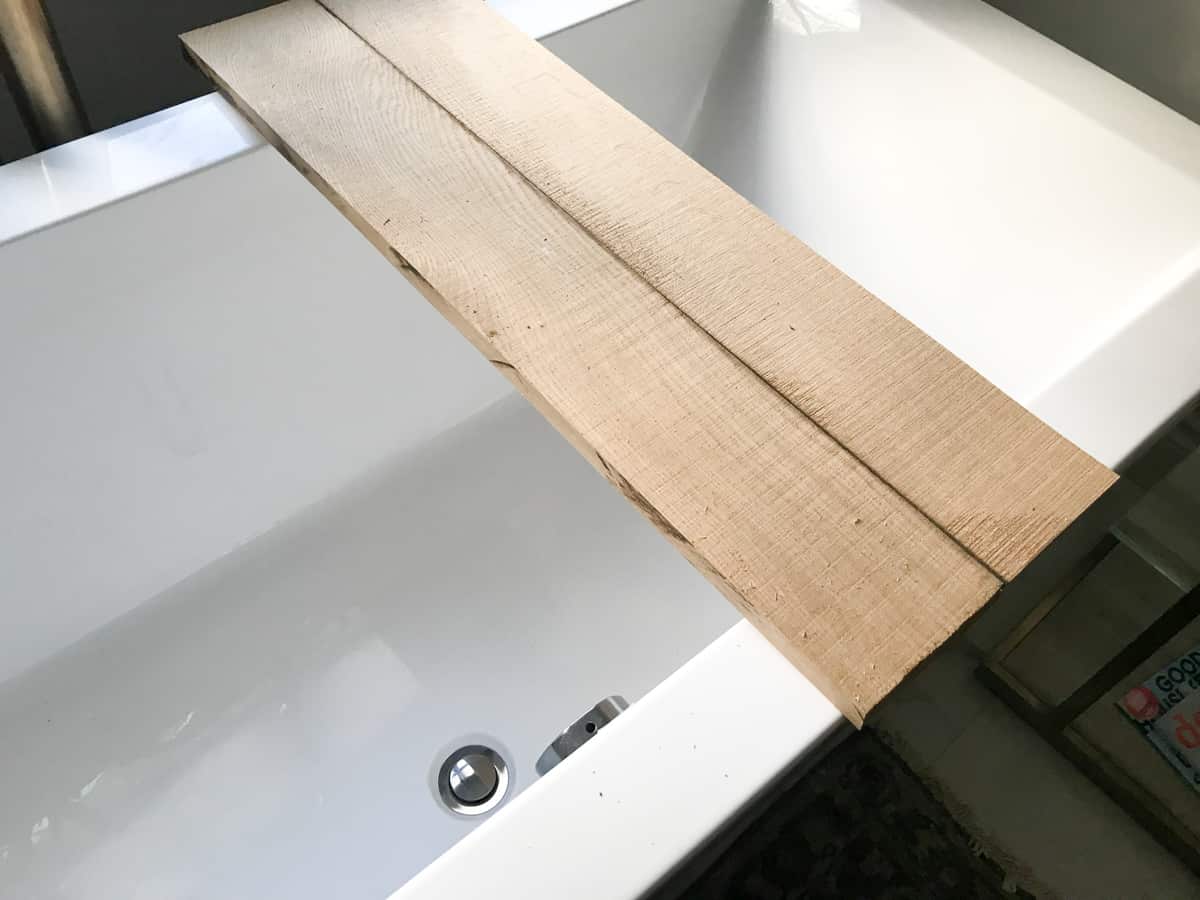
To attach side overhangs, mark the depth of your lip edges onto the board as a guild while clamping.
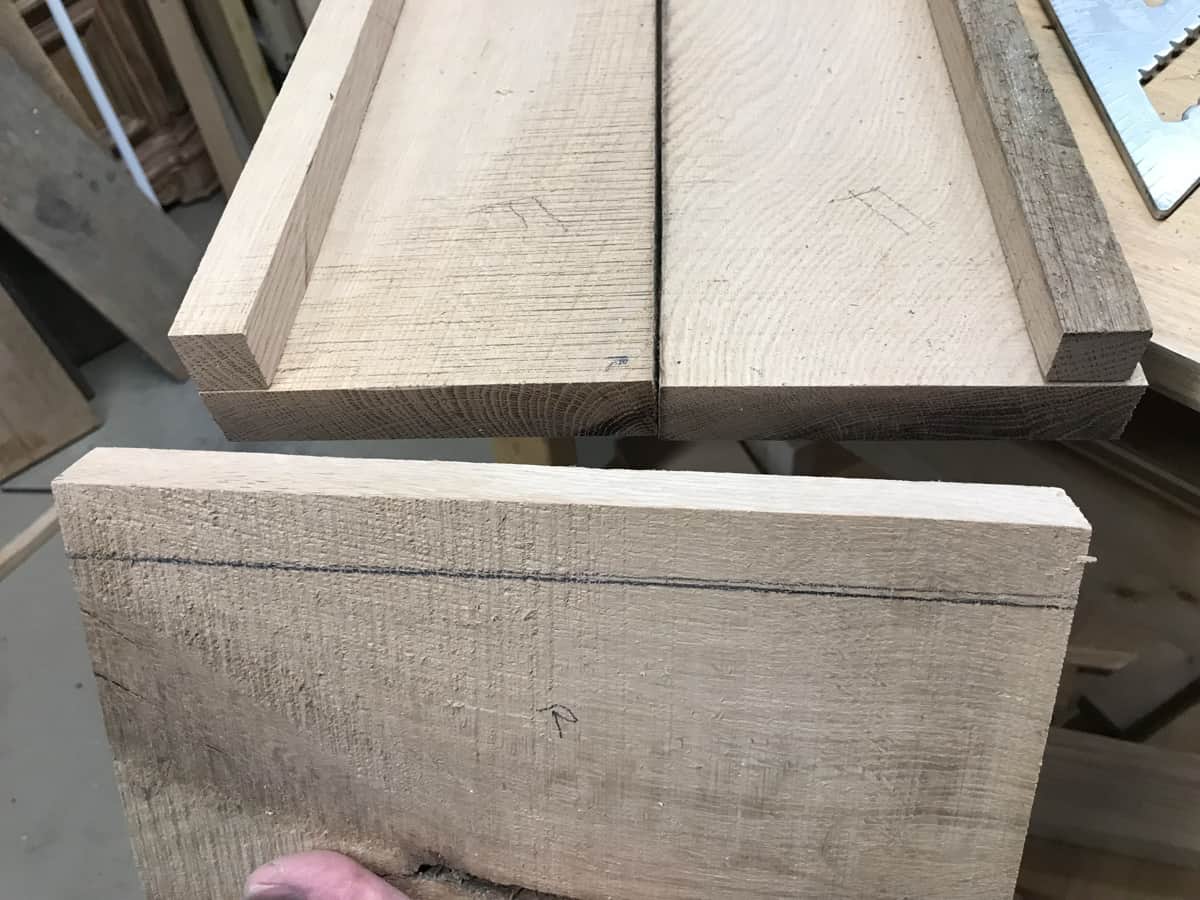
This photo is before I sanded and planed the boards.
Right angle clamps hold the boards tight and aligned while screwing into the pocket holes.
STEP 5
Attach lip edge to the sides of the tray with wood glue and nails from the bottom. I also countersunk screws from the bottom for extra durability and to force my uneven wood to sit flush.
STEP 6
Attach back support with wood glue and nails. Nail from the bottom and side lip edge.
STEP 7
Apply desired finish to your bathtub tray.
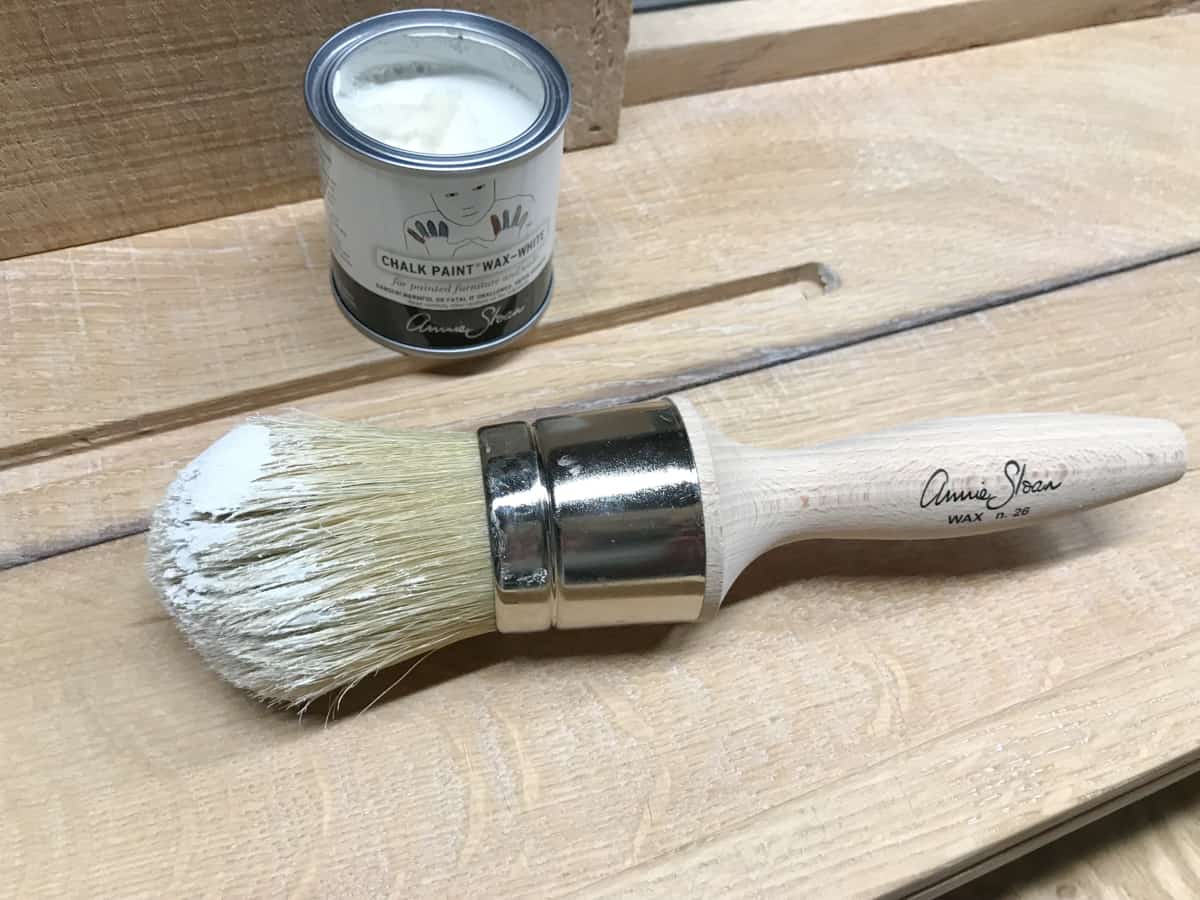
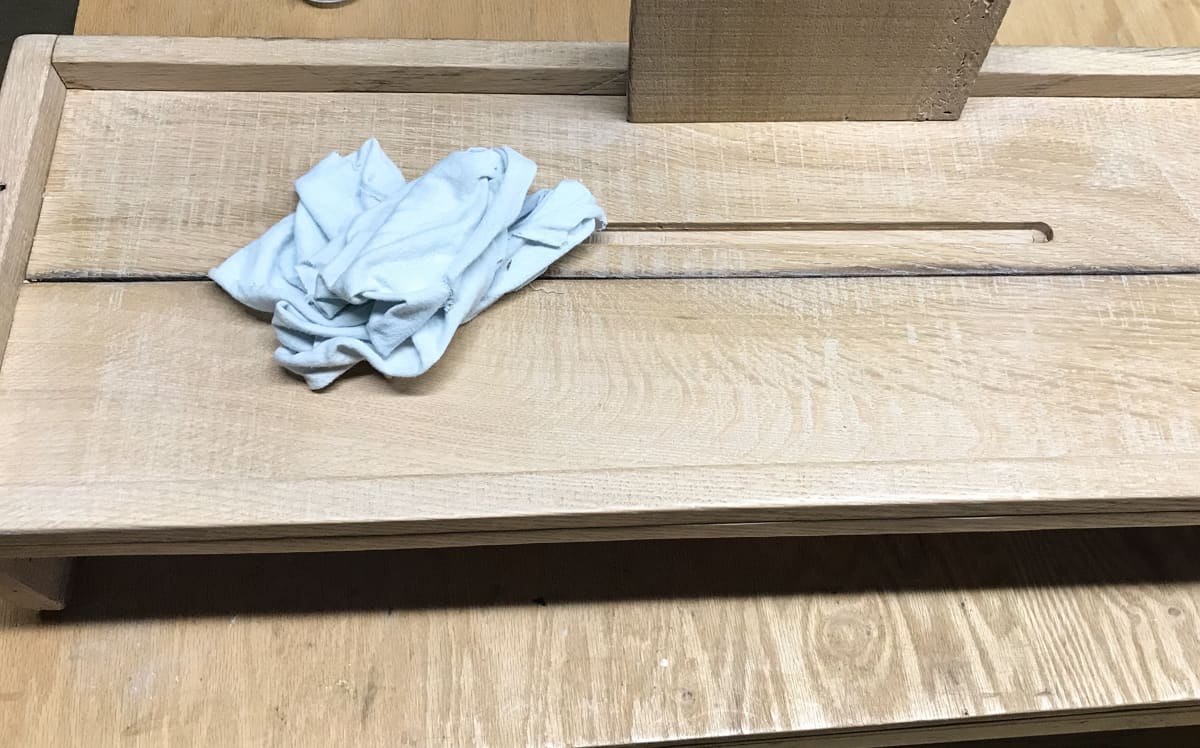
I used Annie Sloan white wax to give my white oak a cerused finish.
Apply wax with a brush, taking care not to over apply. Buff with a soft cloth after about 10 minutes.
I might go back and add a clear matte finish after the wax cures, just for extra water protection. But for now it seems sufficient. This is my favorite matte finish.
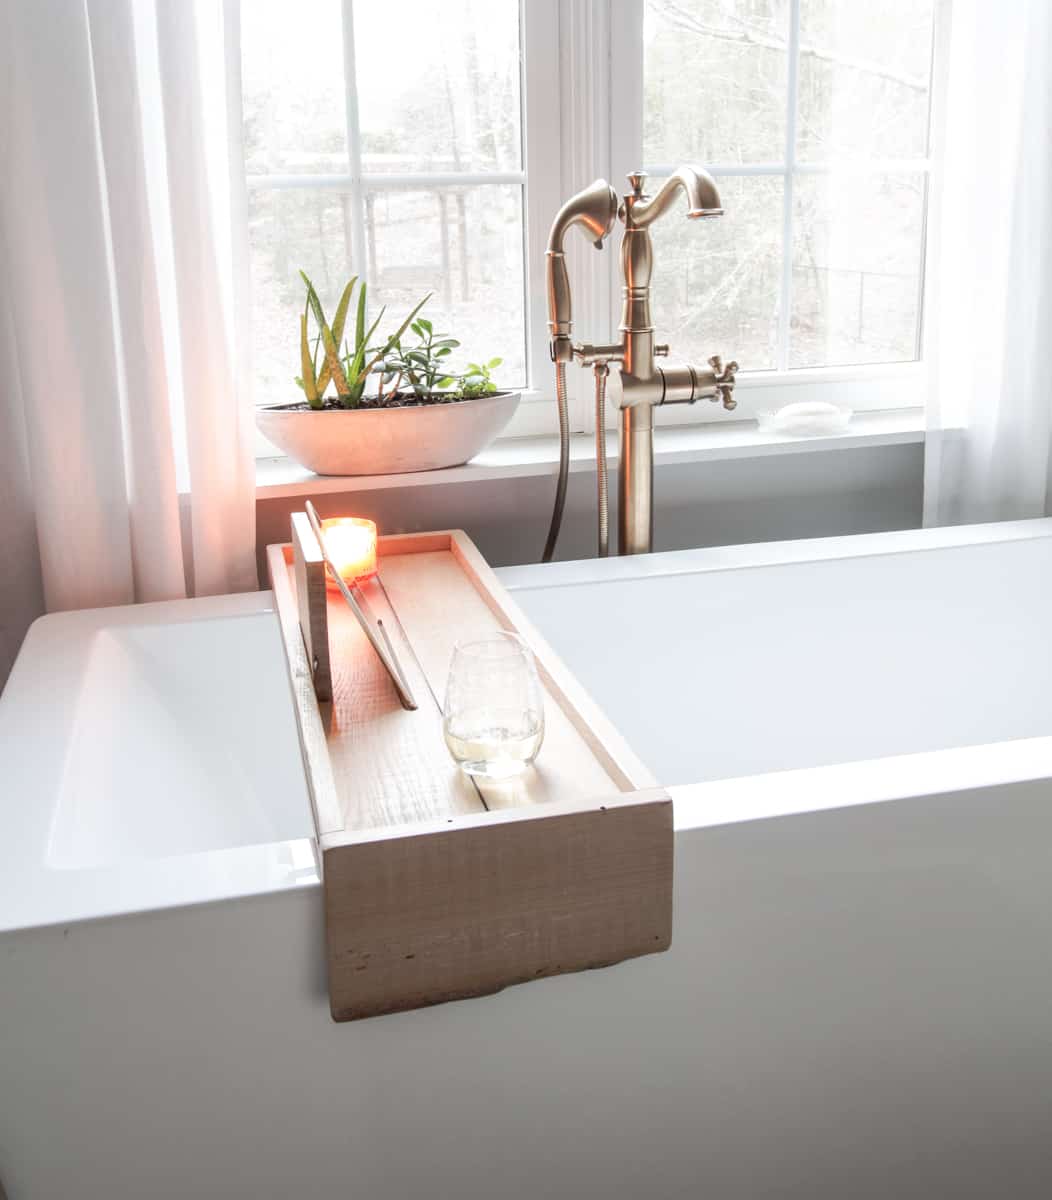
Now set your finished tub tray over your tub, gather your favorite bath time necessities and relax!!


2 Comments
Bathtub Tray – Free Woodworking Plan.com
July 11, 2018 at 5:52 am[…] Tray free building instructions.Use reclaimed wood to build a rustic bathtub tray. Free instructions available at the […]
woodworking projects
August 26, 2021 at 11:57 pmLooks like you are using all the tools and machinery brand new. Did you buy them from amazon or?