
This is one of those posts that unfortunately has been a long time coming, but I wanted to get this right. My hope is this post will be extremely helpful for homeowners struggling with a fireplace that is outdated or just not their style.
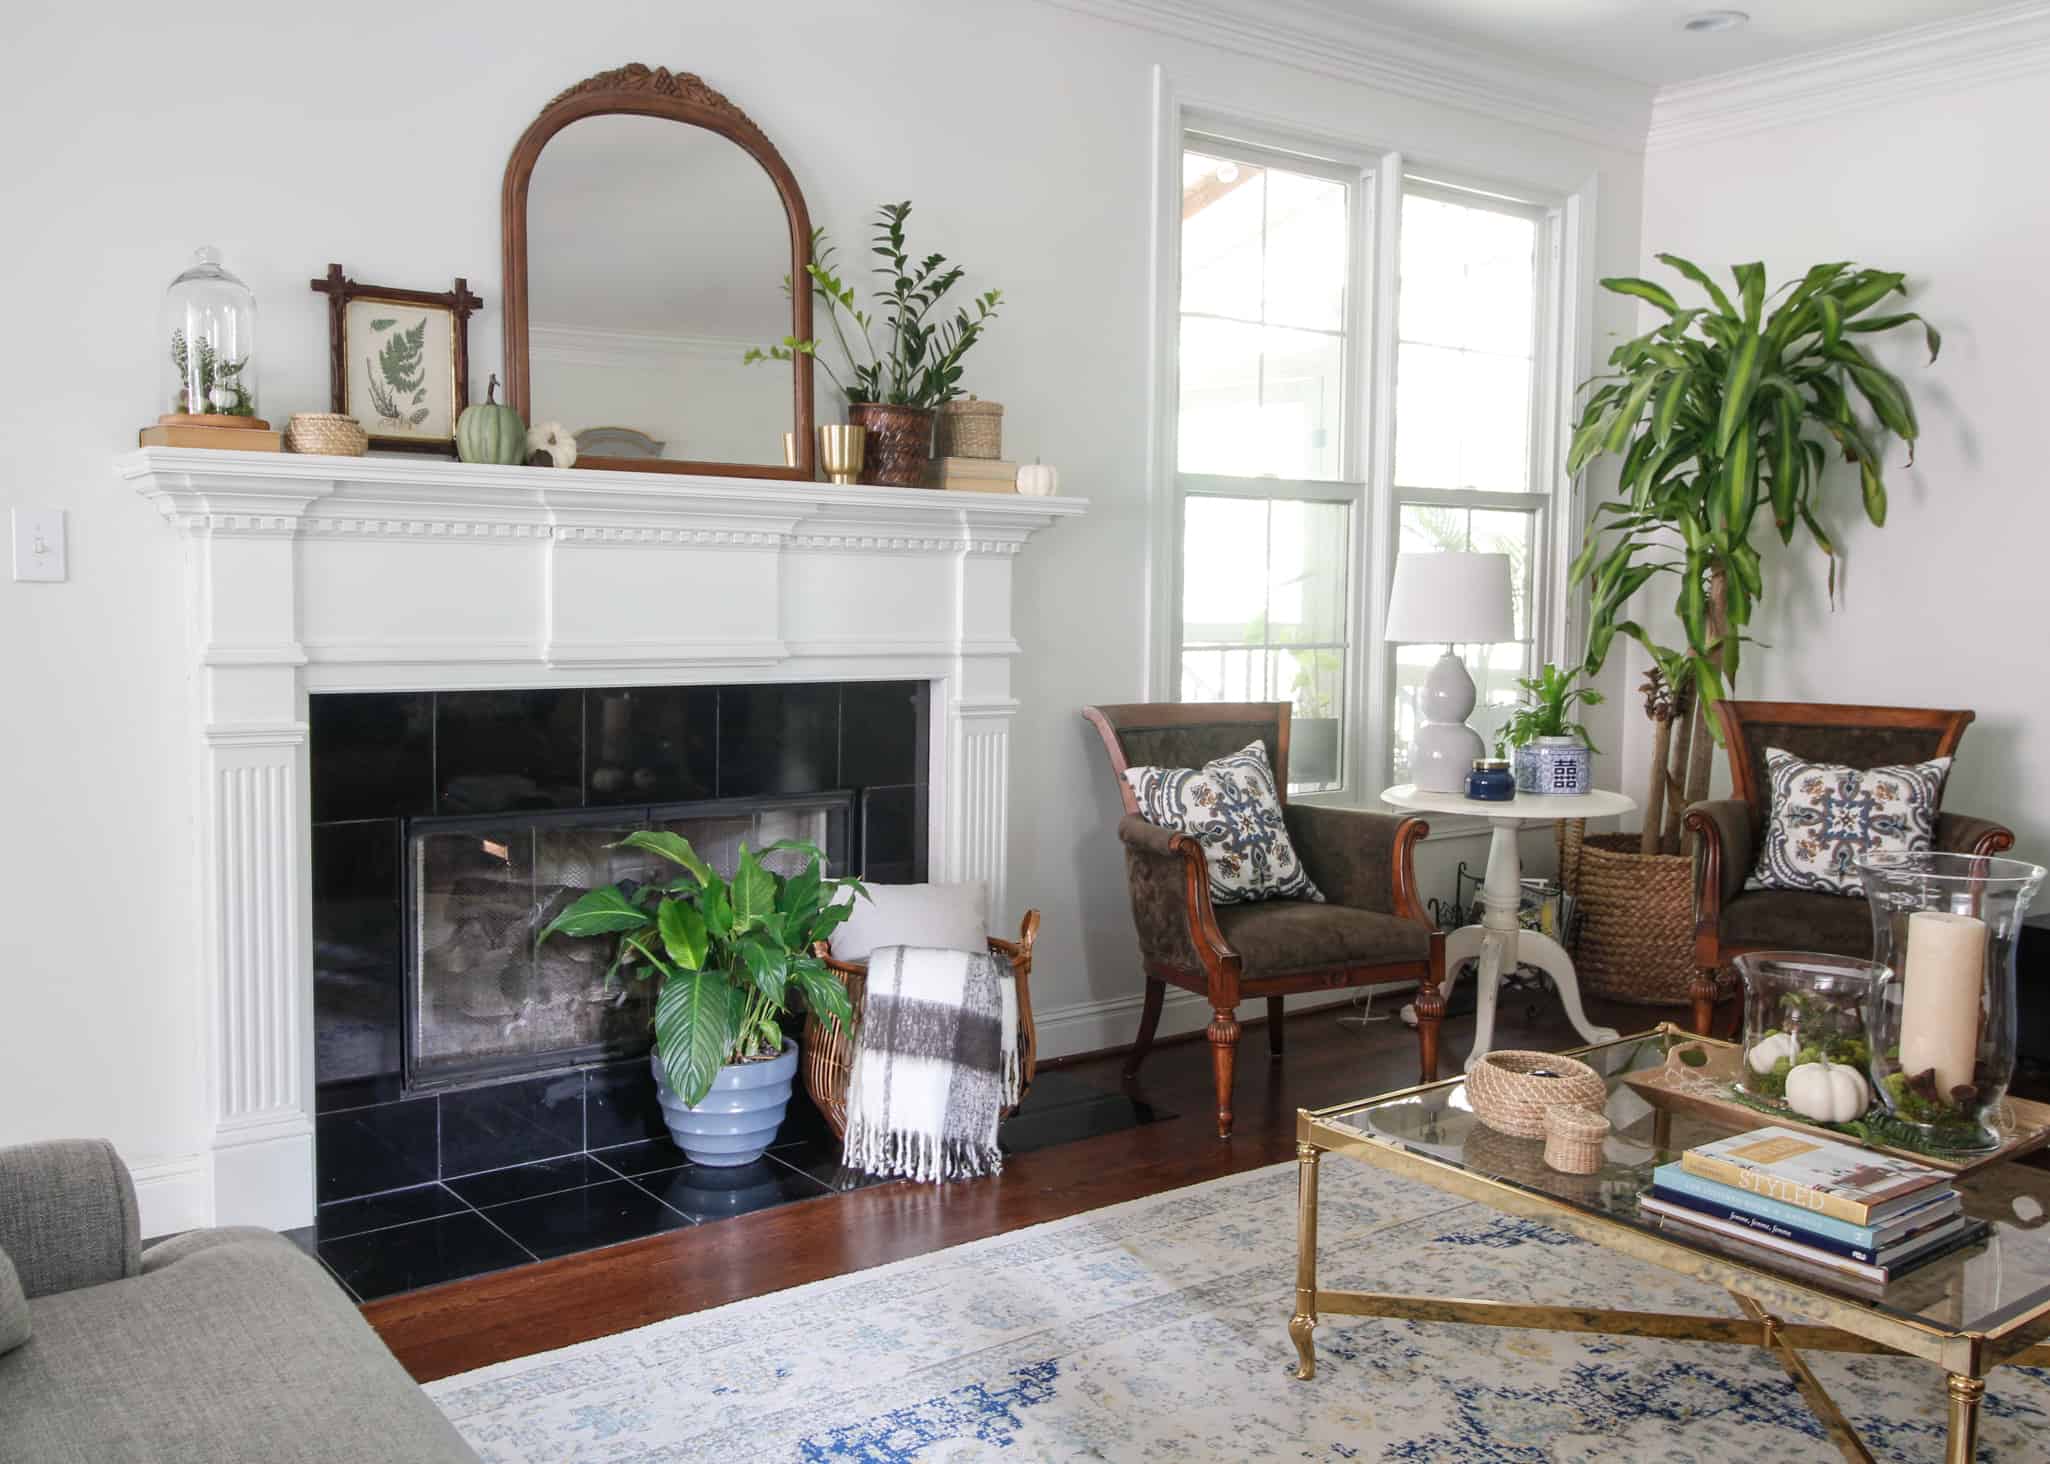
Our fireplace actually did not fit either of these categories. The black granite was not ugly nor outdated. But in our living room, that is right off of the screen porch, the original black granite fireplace surround created what felt like a black hole that sucked what little light was there right out of the room.
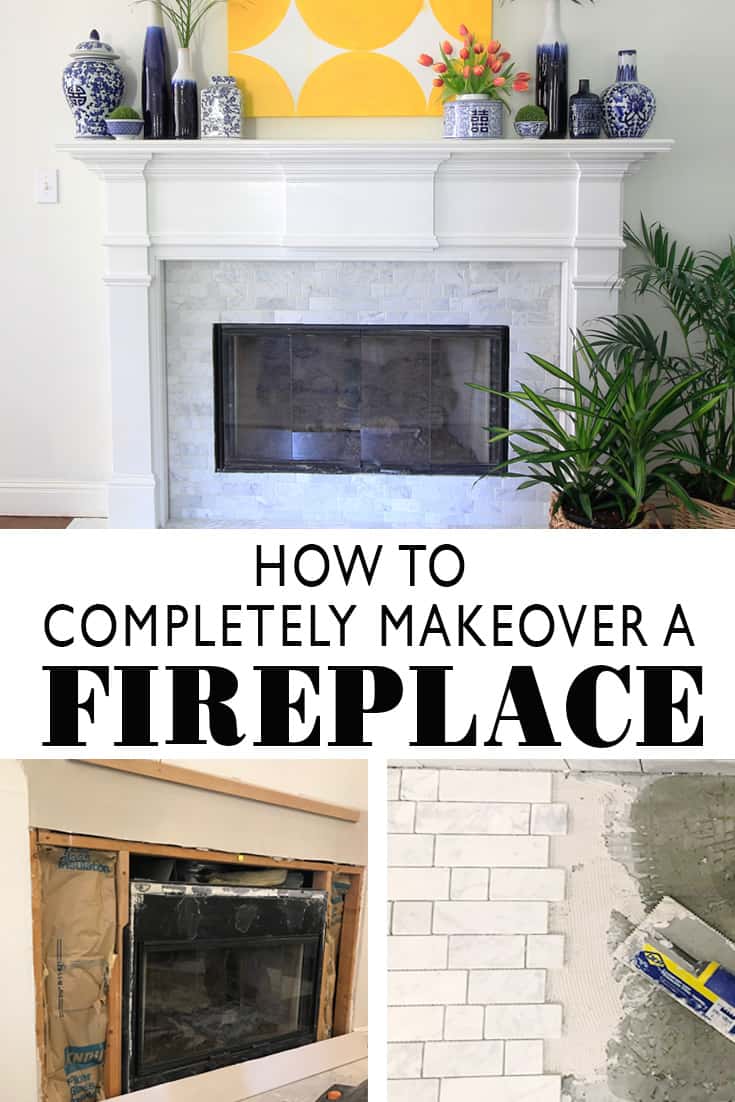
Before
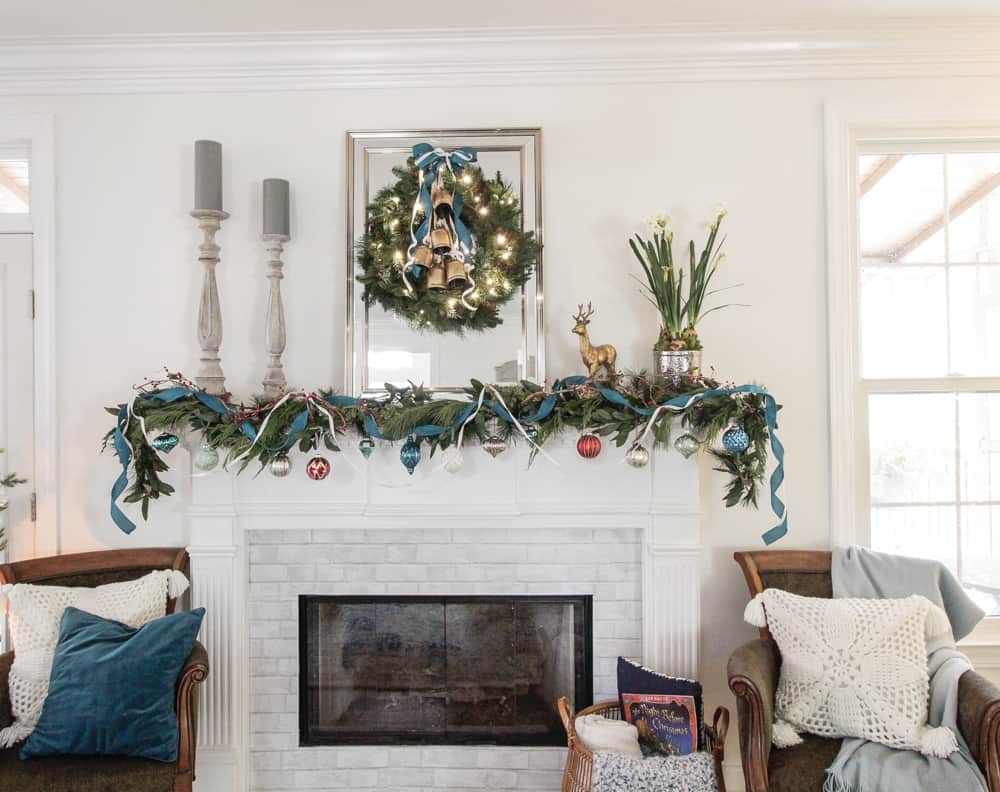
Before you think I was just creating projects for myself. I actually tested this “black hole theory” this winter by covering the tile with faux white brick removable wallpaper. The difference astounded me. The whole room seemed instantly brighter, the room felt lighter in every way and the black hole was no more!
Here is how it looked at Christmas with the wallpaper covering the black granite.
I knew then that re-tiling the fireplace was a project I had to do!
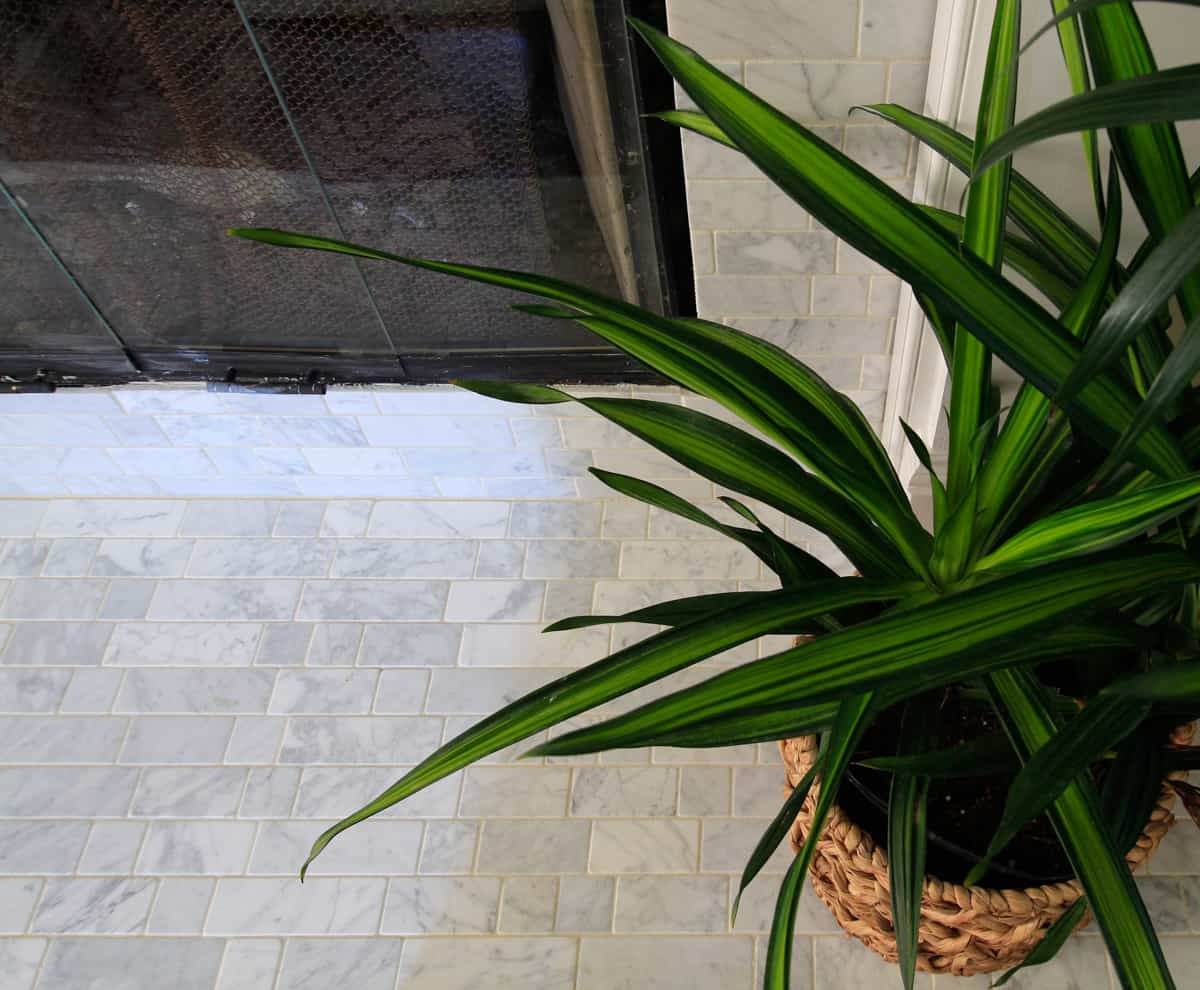
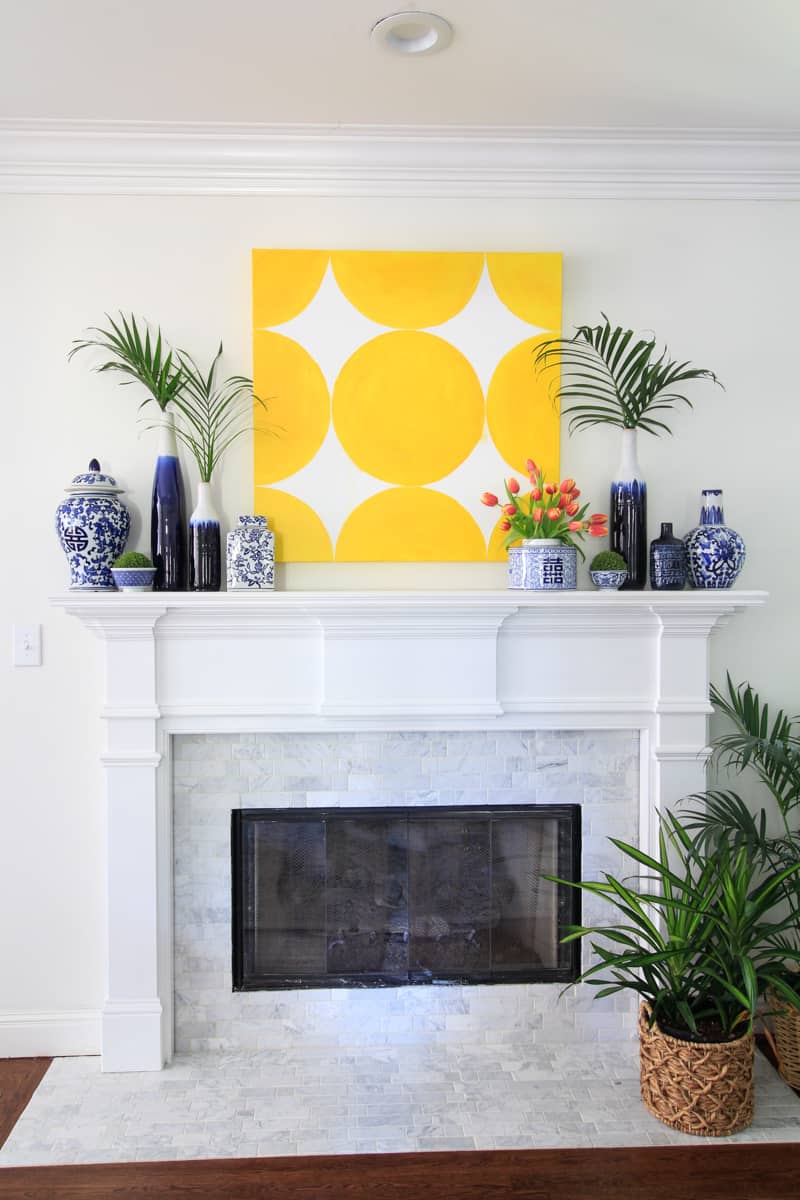
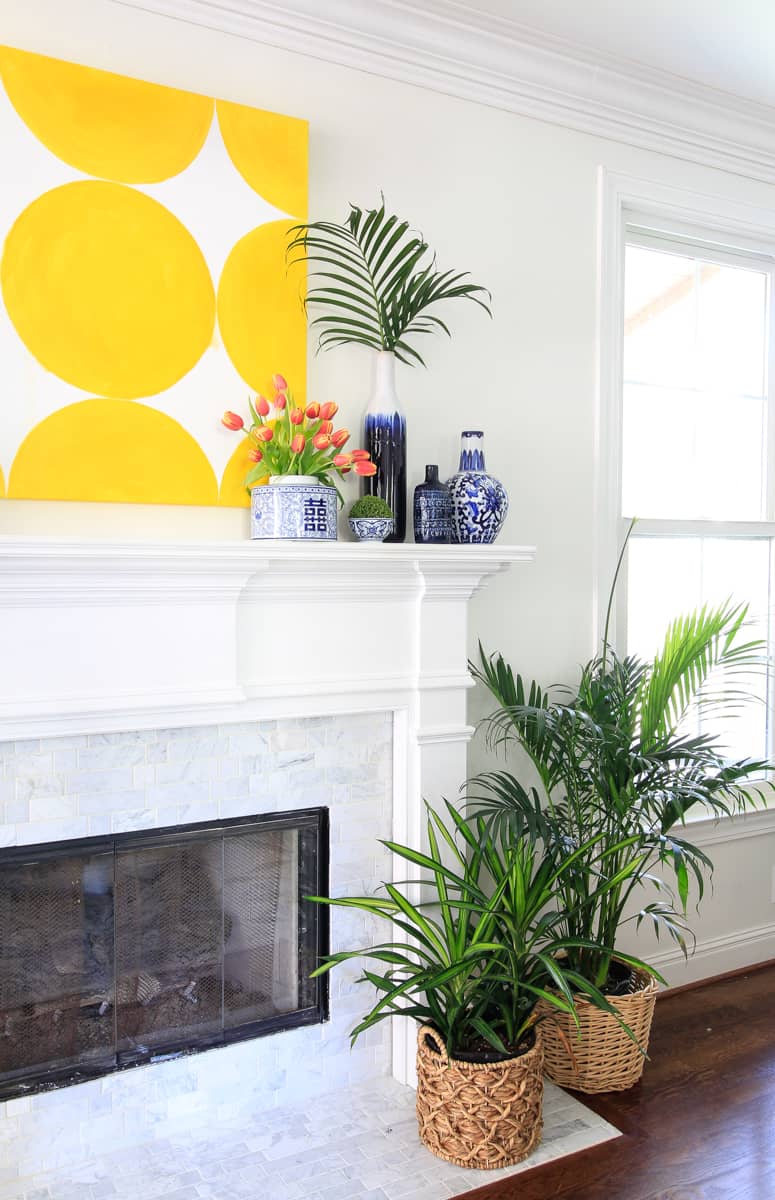
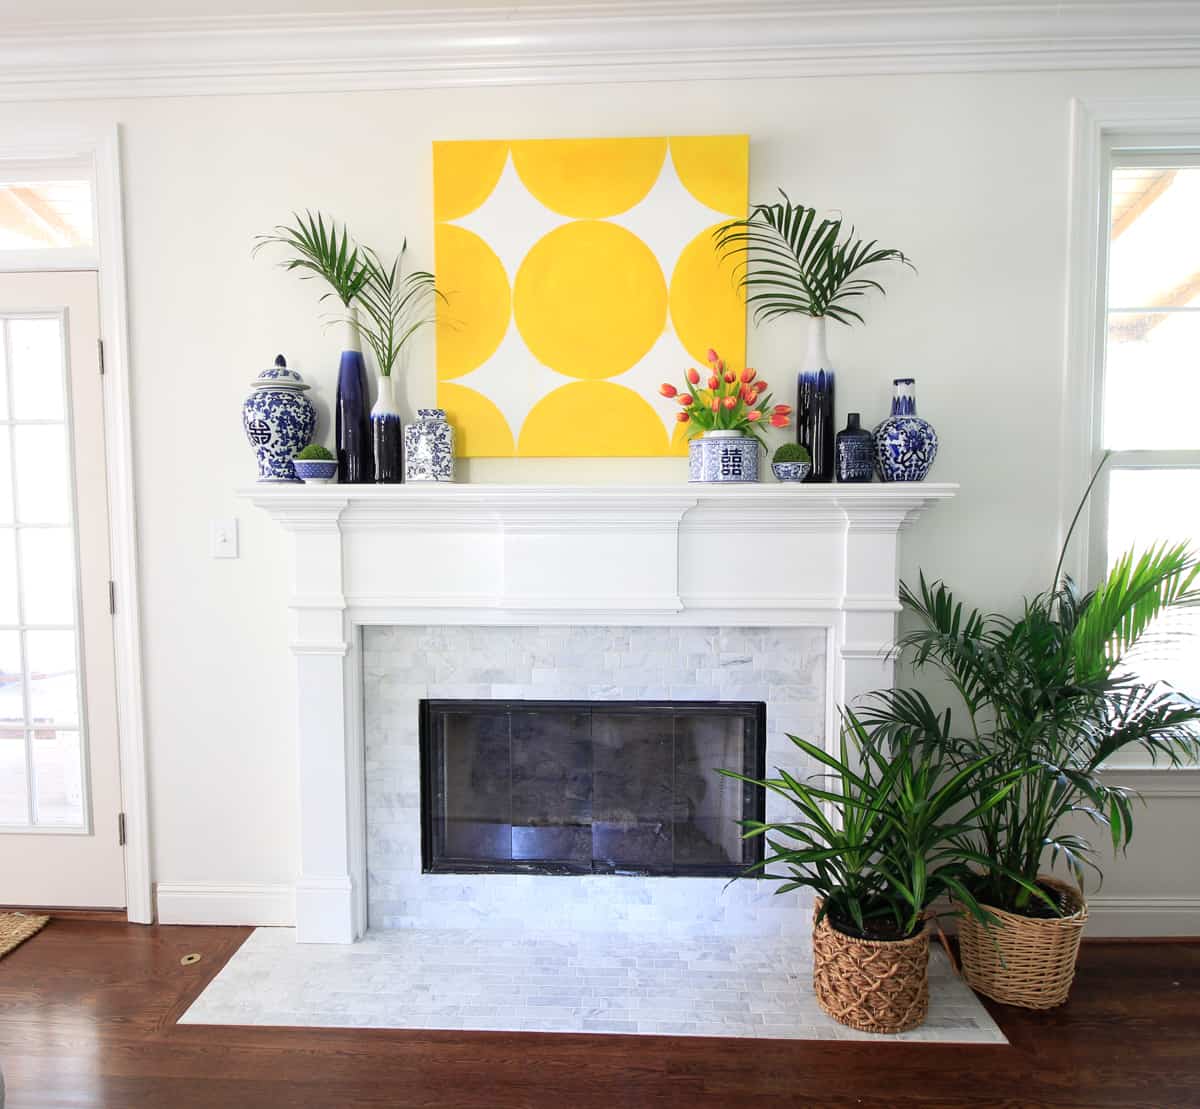
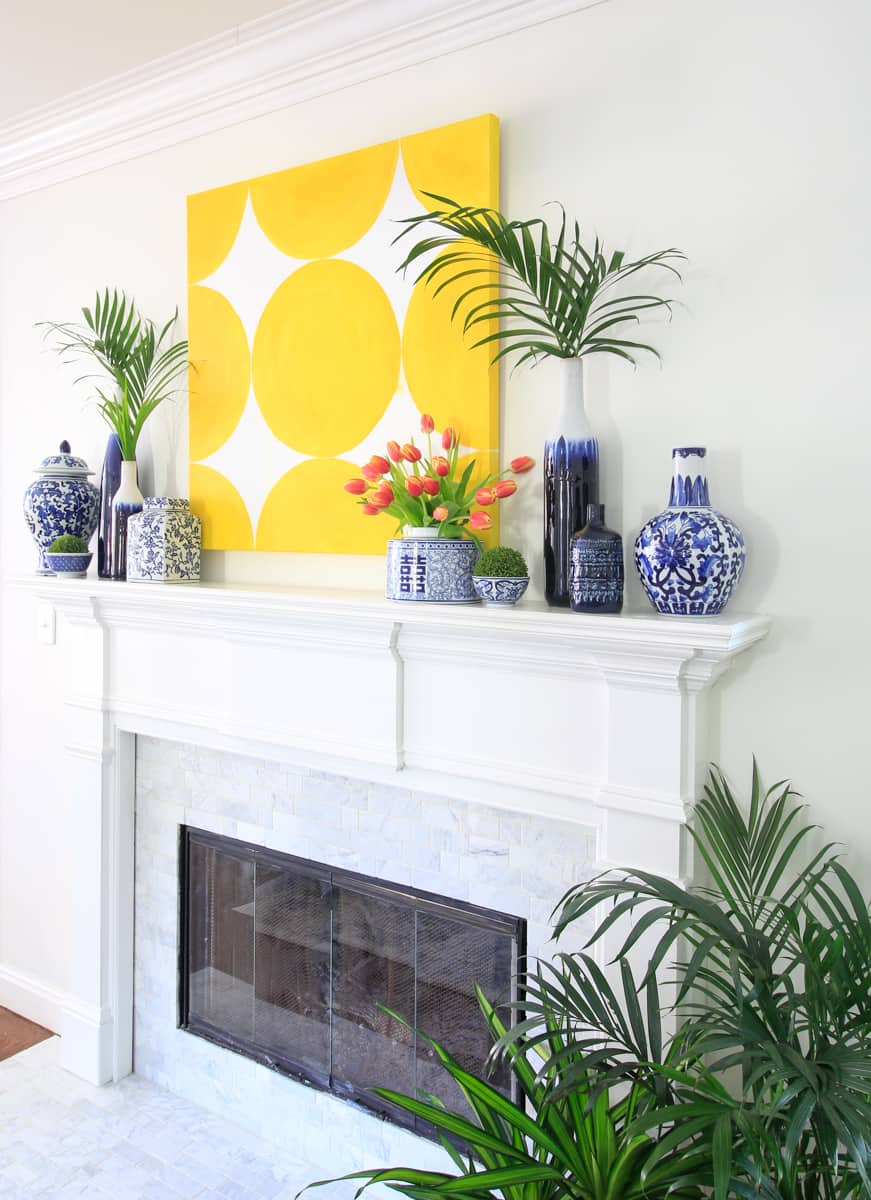
With the help of Jeffrey Court, Inc. my dream fireplace makeover became a reality. They kindly gifted this beautiful mosaic marble tile. I love the variation in the tile size. The subtle pattern elevates this marble tile above all the other subway style patterns.
While there were quite a few steps involved and definitely a few unknowns in a project like this, I feel confident this is a project you could tackle in a weekend.
This video tutorial will walk you through the entire process from demo to installation and every step along the way.
Fireplace Makeover Tutorial Video
Here are the tools you might find useful for this project.
(Affiliate Links provided for your convenience. Links also on photos below.)
Demo
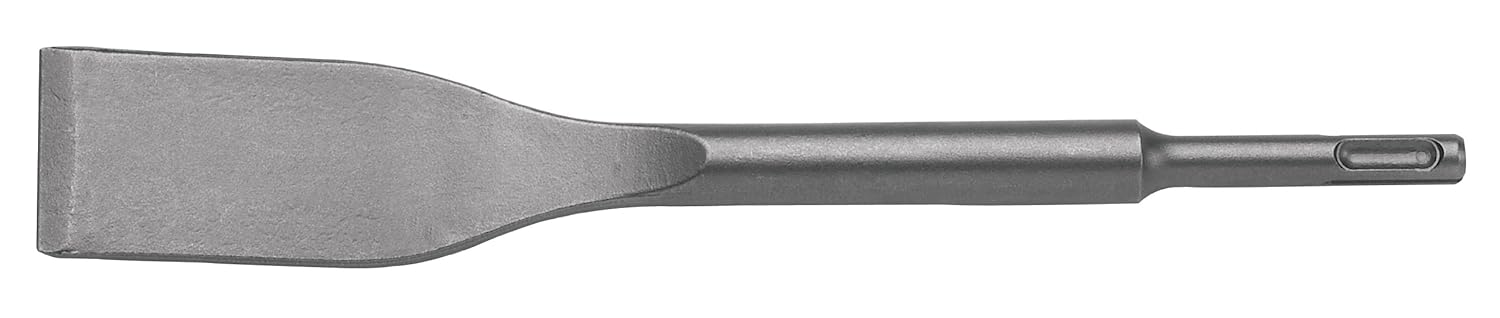
Chisel blade bit
3 Pound Club Hammer
Drop Cloths
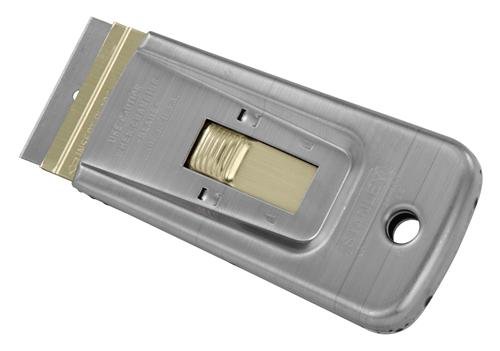
Razor Blade Scraper


Tile
V-Notched Trowel
Modified Thin-Set Mortar
Tile Saw
1/16 Tile Spacer
Wedge Style Tile Spacer
Painters 6 in 1 tool
Tile Sponge


Grout
Painter’s Tape
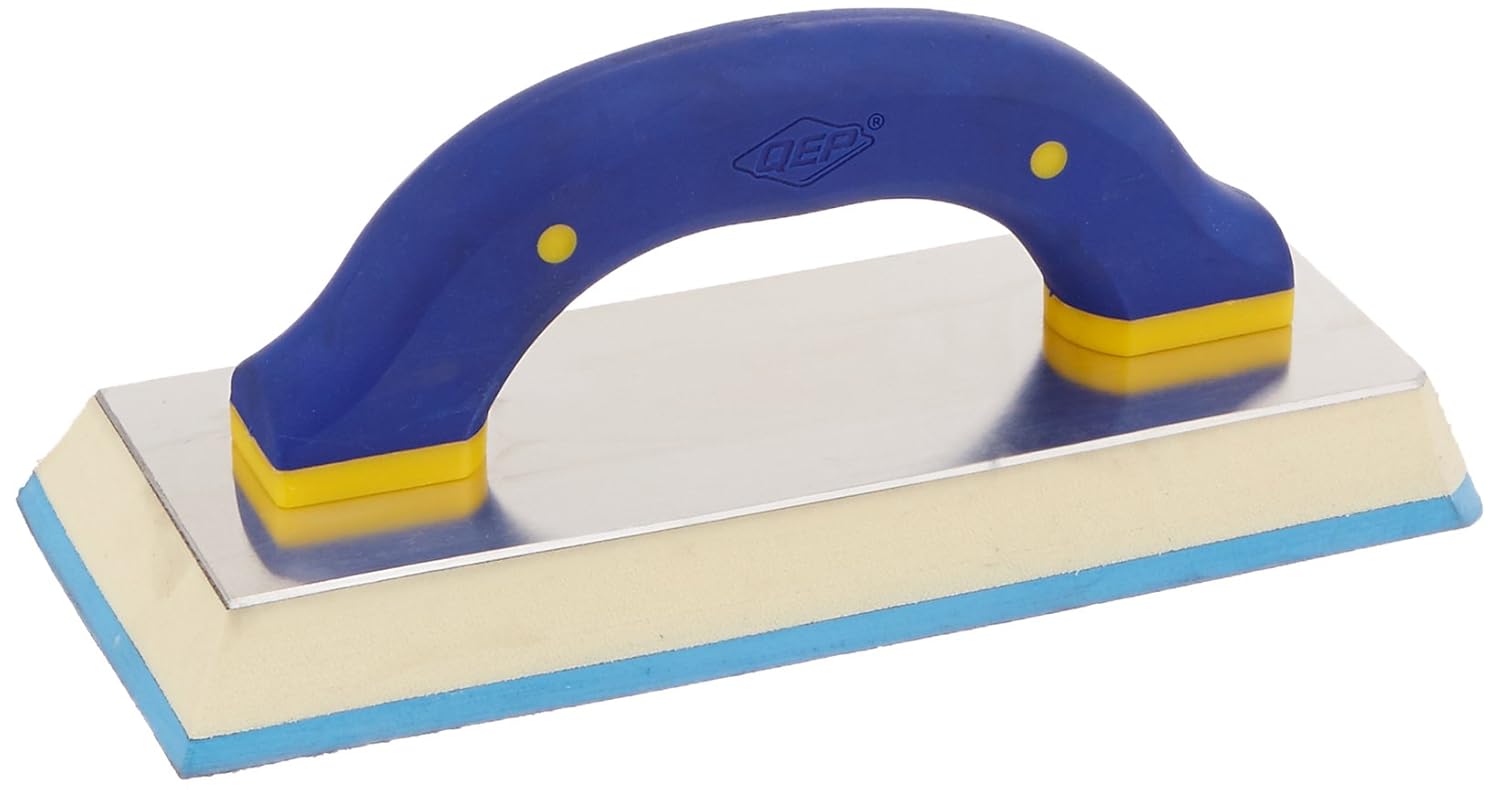
Rubber Float
Gloves
Grout
Bucket
Microfiber Sponge/cloths
Tile Sponge
It is remarkable how much brighter the marble tile is. It completely transformed our living room.
Look for a follow-up post detailing how I cleaned up the look of our mantle. The existing mantle was a classic federalist style but our home’s architecture is not at all federalist style.
I simplified the excessive details, keeping the traditional style. Making modifications to the mantle saved money and conserved materials. 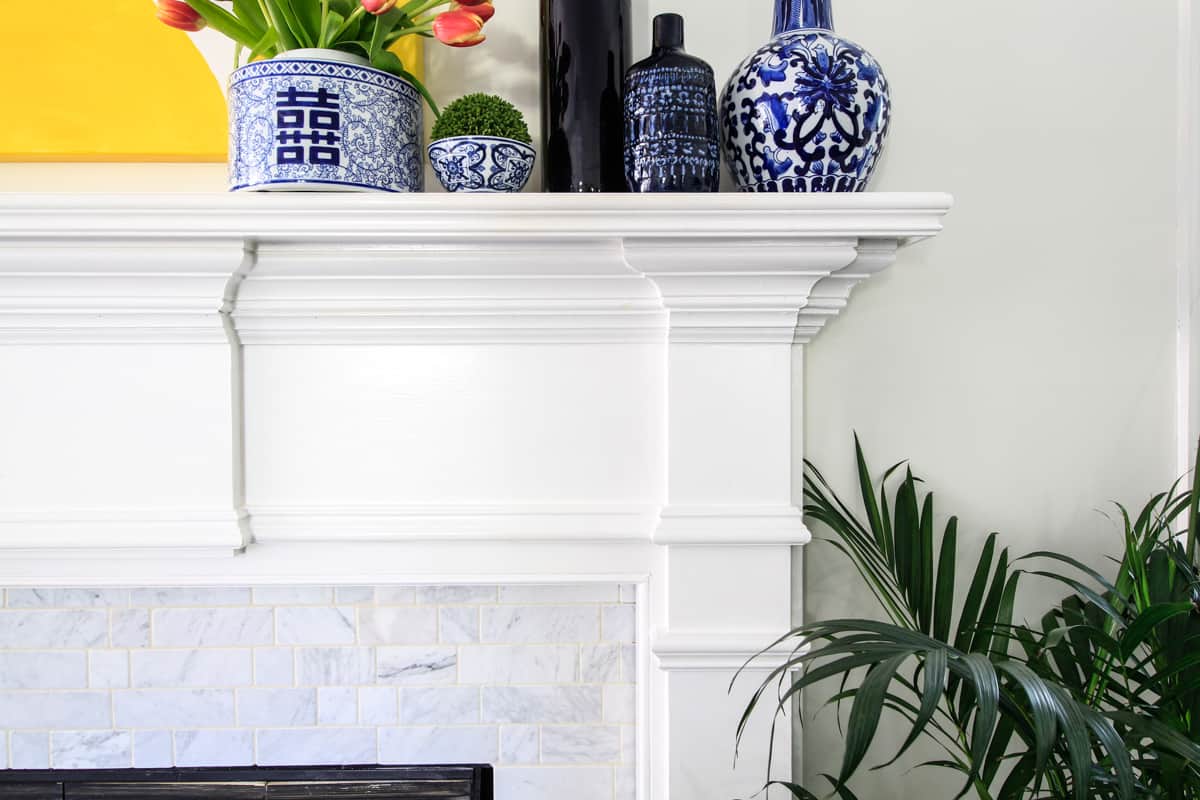
Do you have a fireplace you want to give a makeover? What is the one thing that keeps you from tackling the project?
Hopefully, watching the video above will elevate your fears and give you the confidence you need to start this weekend!
I’d love to hear about your makeover so be sure to come back and tell me how it went. Also, don’t hesitate to ask questions too!


14 Comments
laura
July 11, 2018 at 7:39 amHi Leslie
This looks amazing! We have similar granite squares in our master bedroom fireplace. We have a stack of stacked stone in our garage! I think we need to start! Thanks for the motivation and video! laura
Leslie
July 27, 2018 at 7:39 amOh, that sounds lovely! Glad you found the tutorial helpful!
Marty Oravetz
July 11, 2018 at 8:54 amWow, this is such a great transformation. Love the marble and it makes the whole room look so much brighter.
Danielle
October 7, 2018 at 12:05 pmHow is everything holding out with the tile on the metal surface? Does your surface get very hot? My surface gets warm to the touch but I can hold my hand on it forever without it getting hot. I am just nervous about this.
Leslie
October 13, 2018 at 8:49 amI actually don’t use the fireplace. I need to hire a chimney sweep to come and check it out before I turn it on. I just haven’t made that a priority. But, tile was on the metal parts already and I know the fireplace was used. I think that is very common practice. Use the adhesive to hold it until the mortar dries. Also, if you have heat like that I would definitely use Durarock instead of drywall like I advise in the video.
Fall Living Room Refresh · DeeplySouthernHome
December 5, 2018 at 12:40 pm[…] console under the TV was even a completely different piece of furniture. And of course, I gave the fireplace a complete makeover this […]
Rhonda Simpson
July 16, 2019 at 10:23 amI’m still deciding on my fireplace but I have to do demolition on my fireplace But I love the wall paper idea you used while you were deciding what you were going to do Could I please ask you where you found the wallpaper because it’s a great idea and if you remember the name of the wallpaper and also the name of your tile I love it also Thanks
Leslie
July 23, 2019 at 2:24 pmI am so glad that was helpful!! It really did help me feel better about the fireplace until I could demo it. I actually got it at Target! Here’s a link.https://rstyle.me/+SC9GZyOzDyAGu81fIjZ-XA
Aron
May 10, 2020 at 3:59 pmHave you had any staining from the gorilla glue you used for the metal?
Leslie
May 11, 2020 at 1:39 pmNo, I haven’t seen any.I also used mortar. The glue was just for a temporary hold.
Sharel Ann Miller
September 26, 2020 at 6:44 amYou said you updated the mantle surround, I do not see the video
Courtney
December 15, 2020 at 10:48 amLooks great! How many sq. ft. of tile did you end up using? Thanks!
Taryn A Jensen
April 9, 2021 at 9:09 pmHi All – I was wondering how you updated the mantle surround. Do you mind sharing?
Leslie
May 6, 2021 at 8:32 amI removed the dental moulding and covered it with a cove-type moulding. It was too colonial for our house.