Who is ready for fall? And fall colors too? Me!! I couldn’t wait for the appropriate fall temps to arrive here in Alabama to begin decorating. I think I might just be trying to will cooler weather to come!
This post is sponsored by JOANN and may contain affiliate links. All opinions and designs are my own.
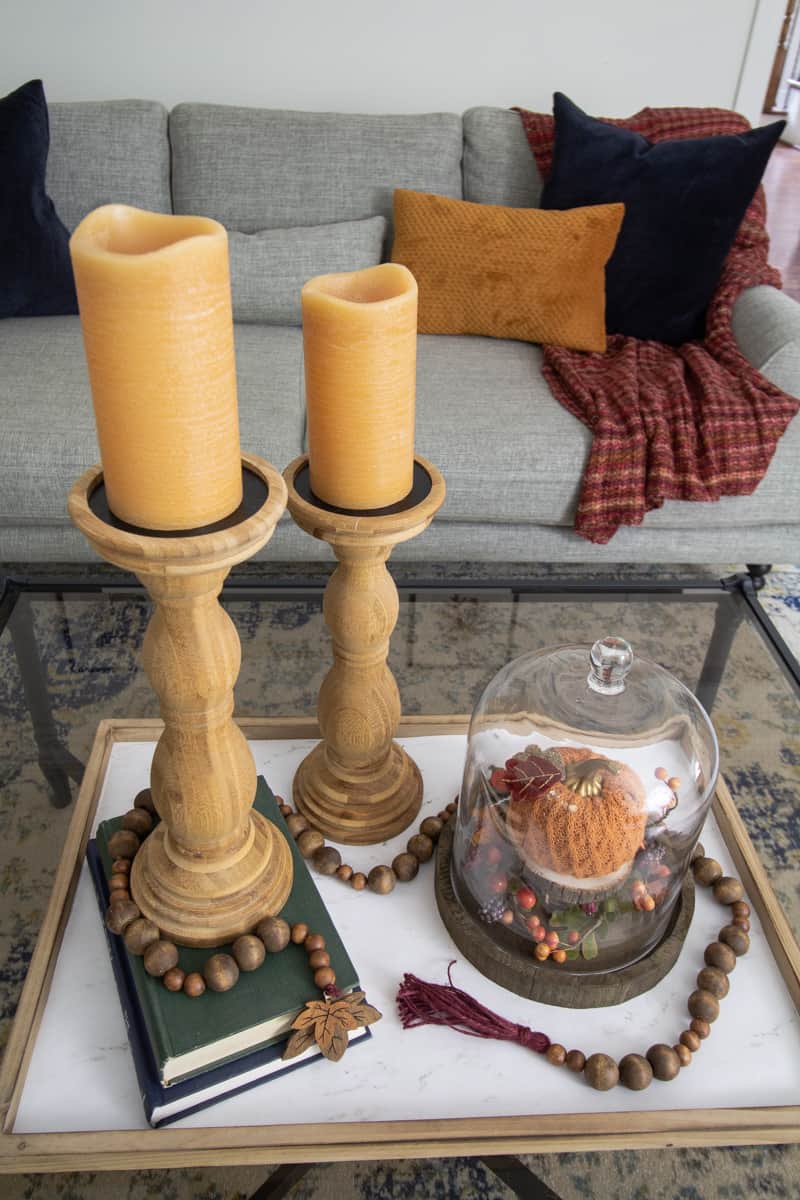
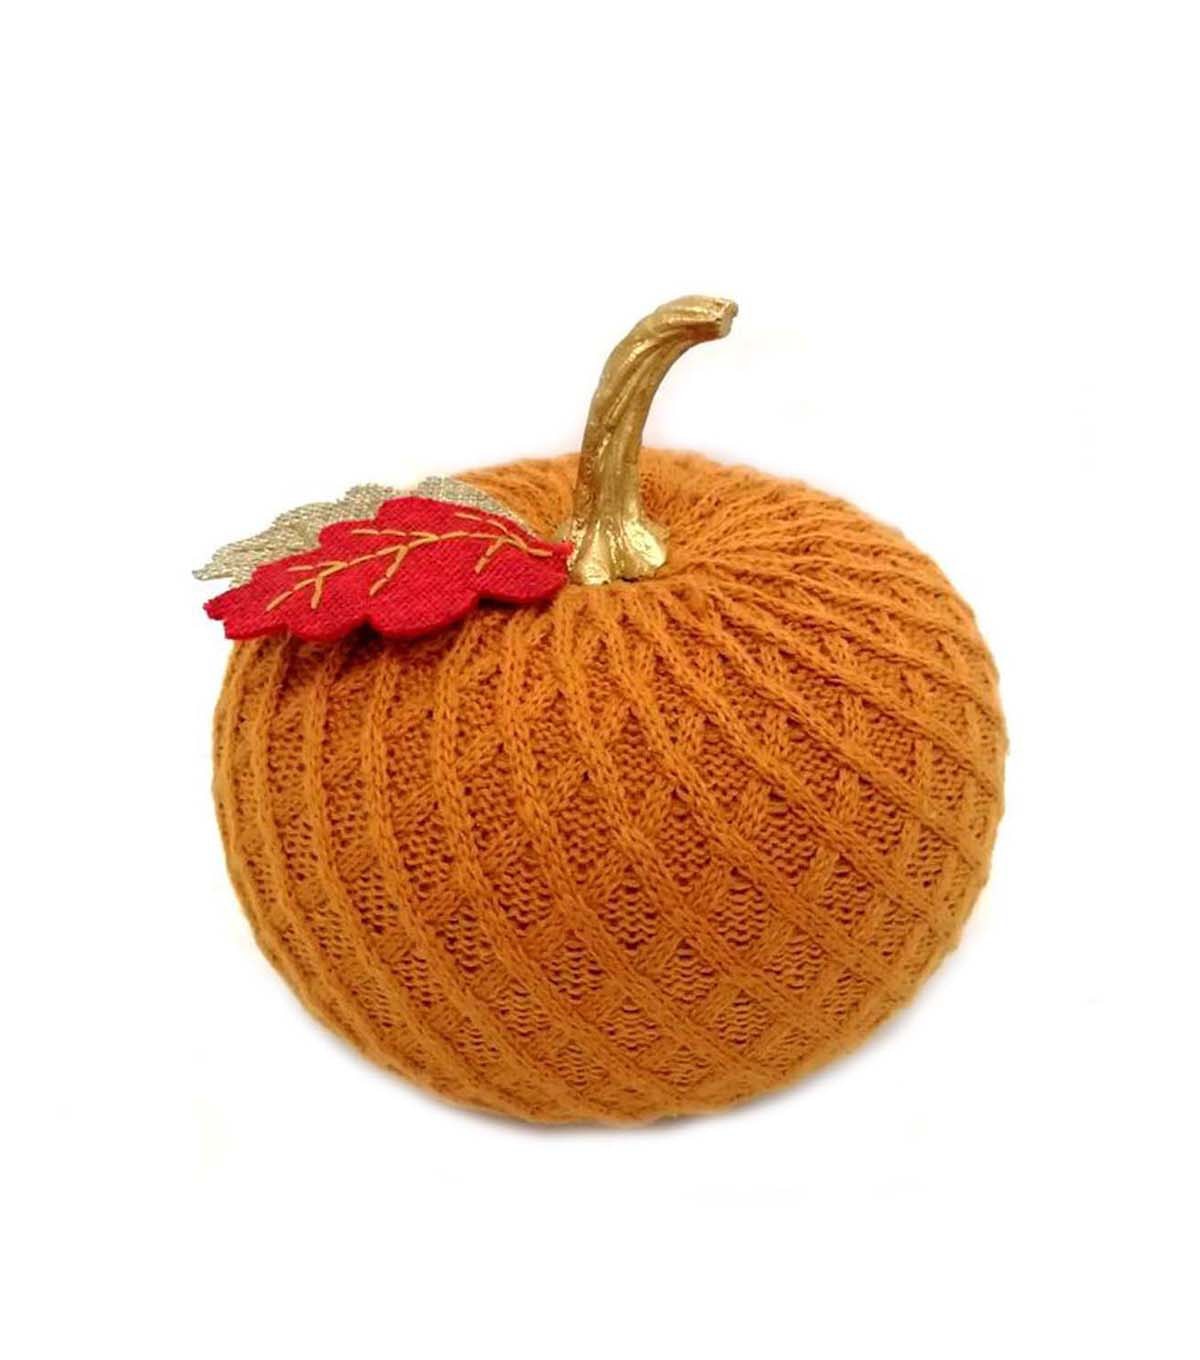
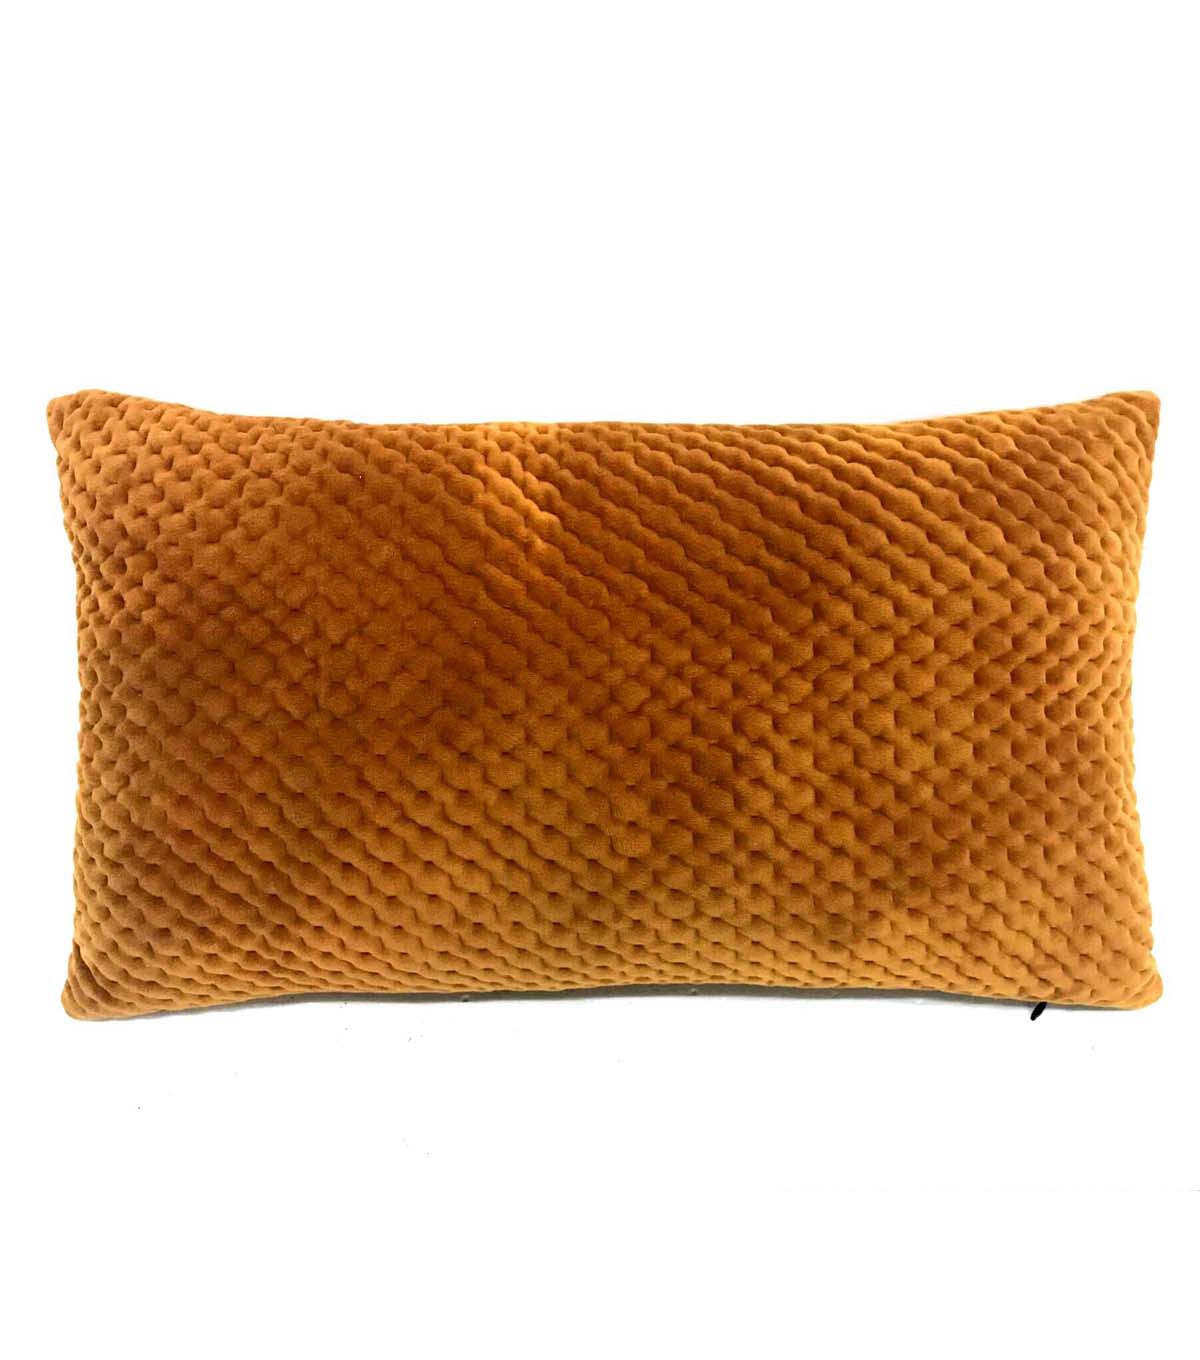
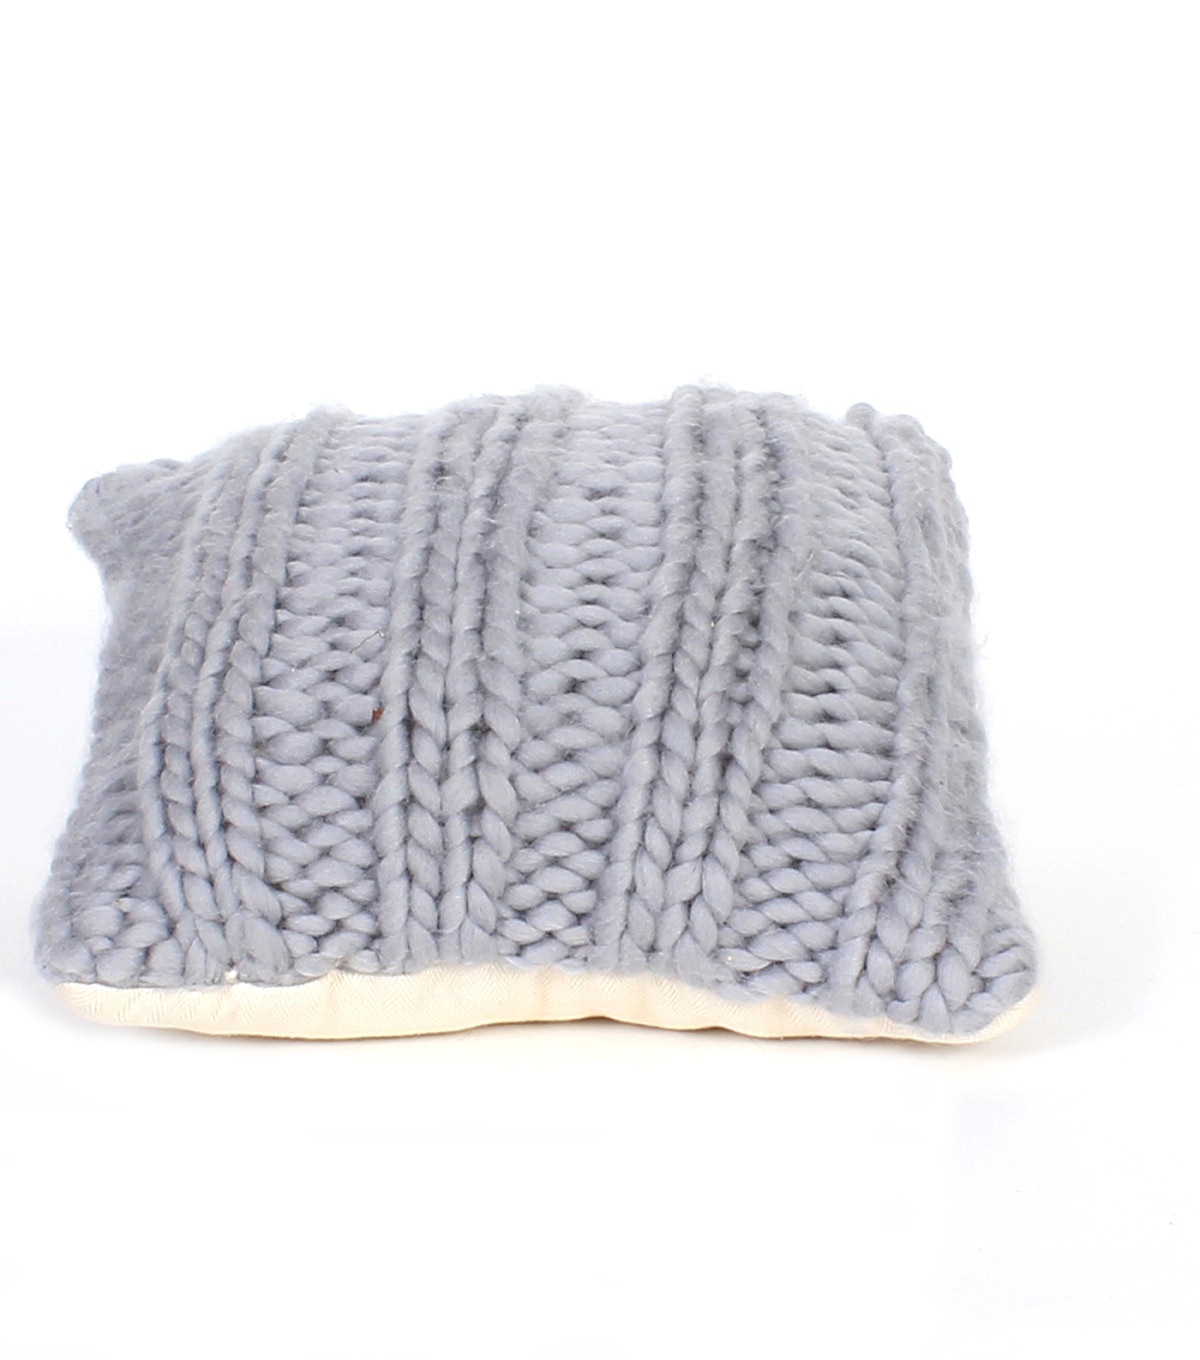
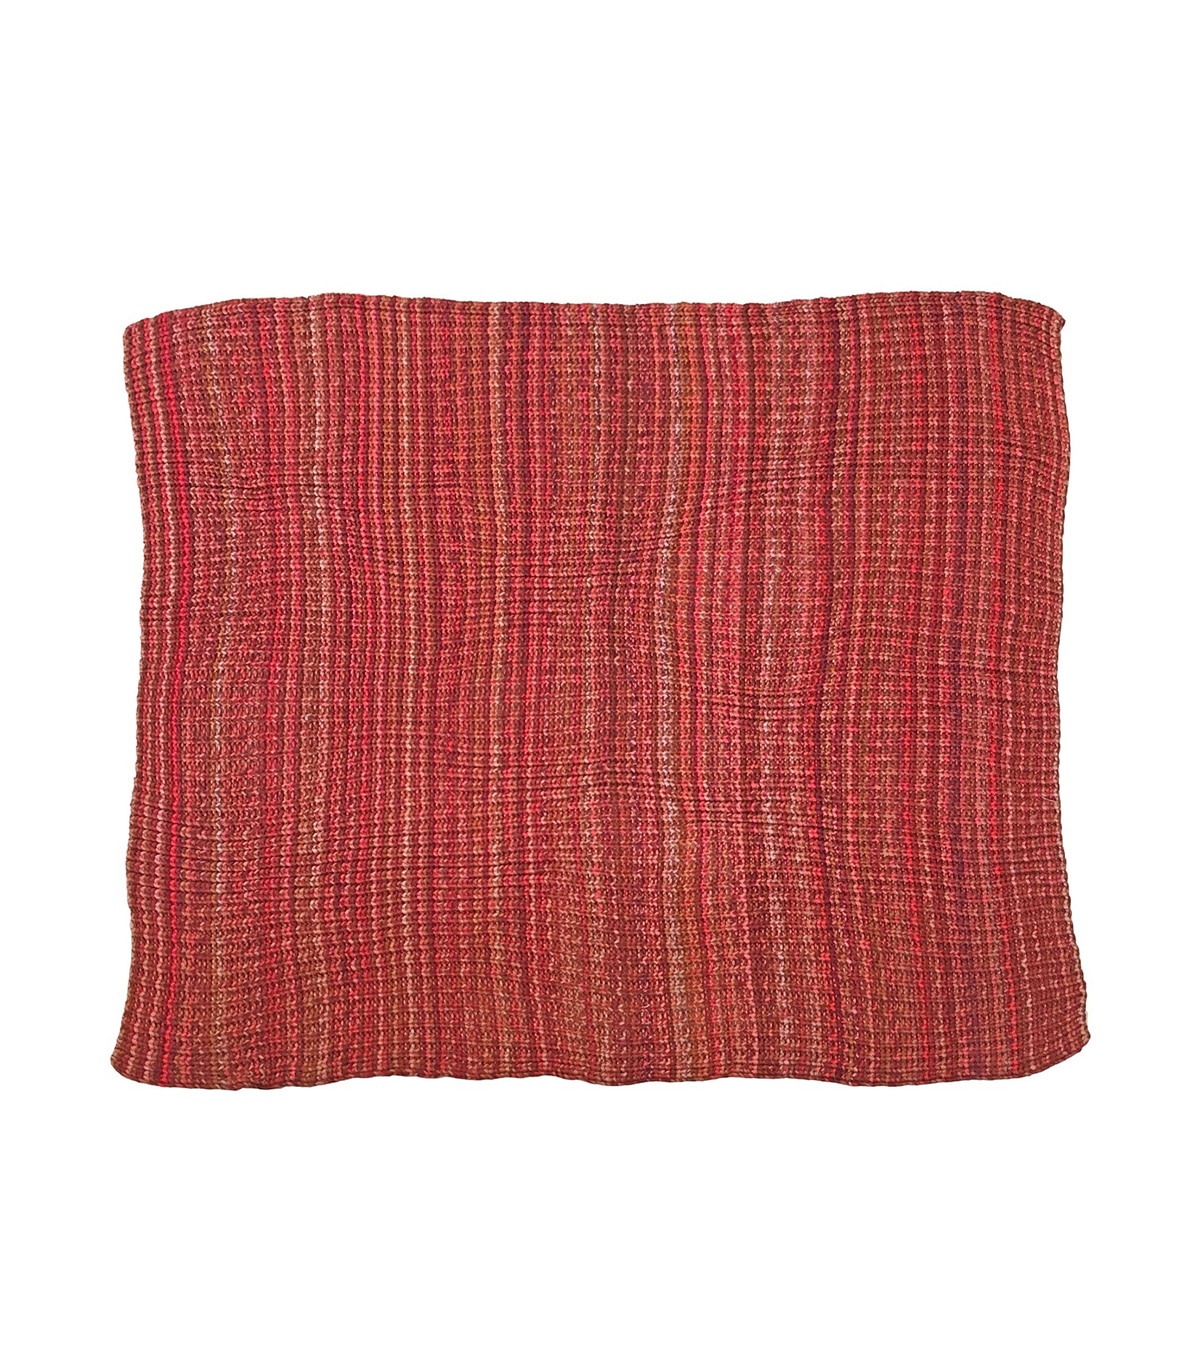
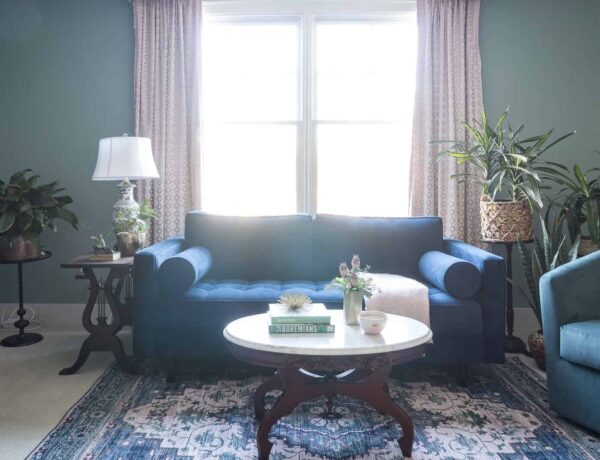
The fall collections at JOANN captured the perfect tones of crimson and burnt orange. I knew they would be perfect to compliment the grey and navy in my living room.
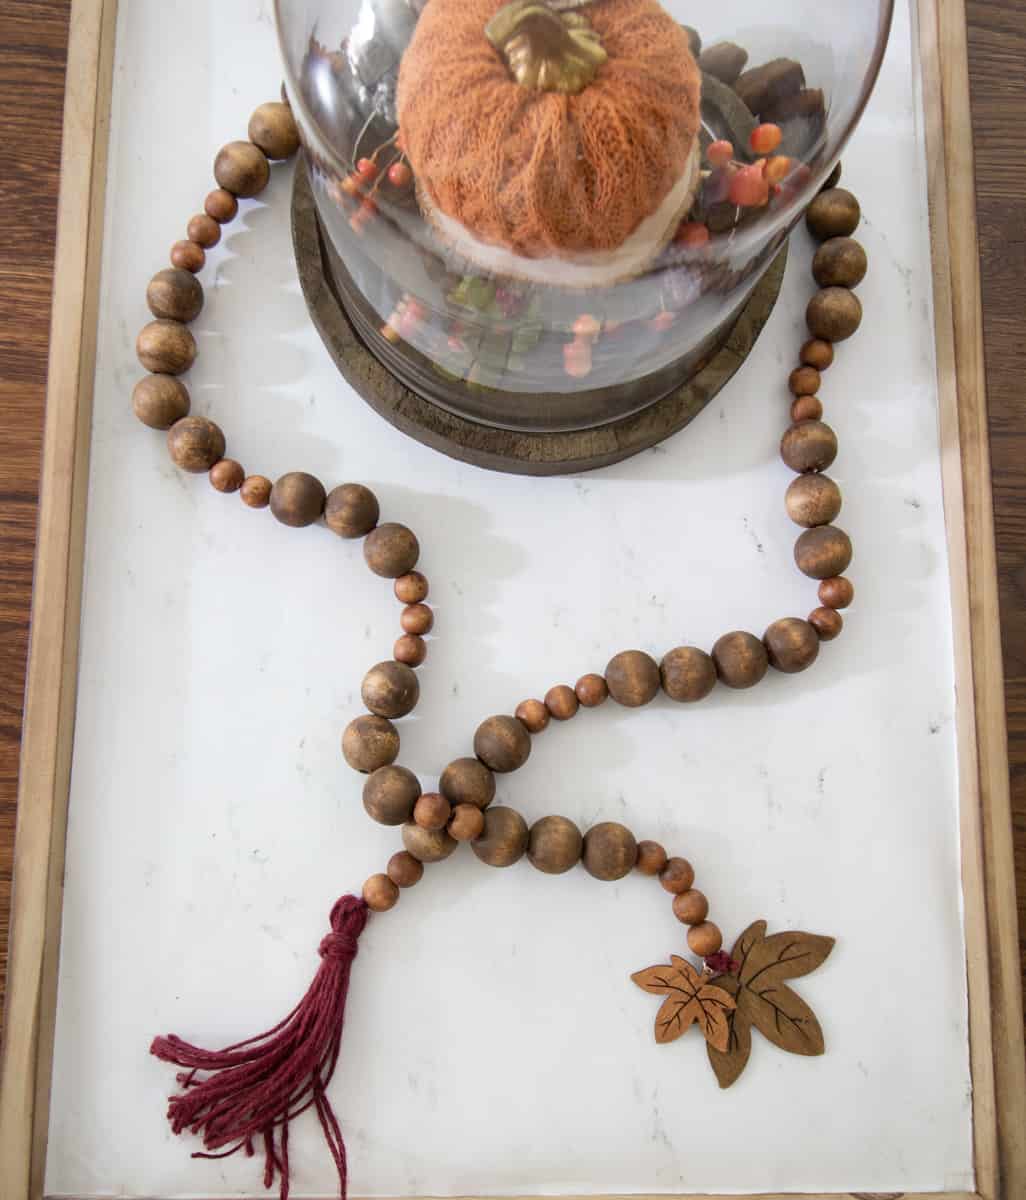
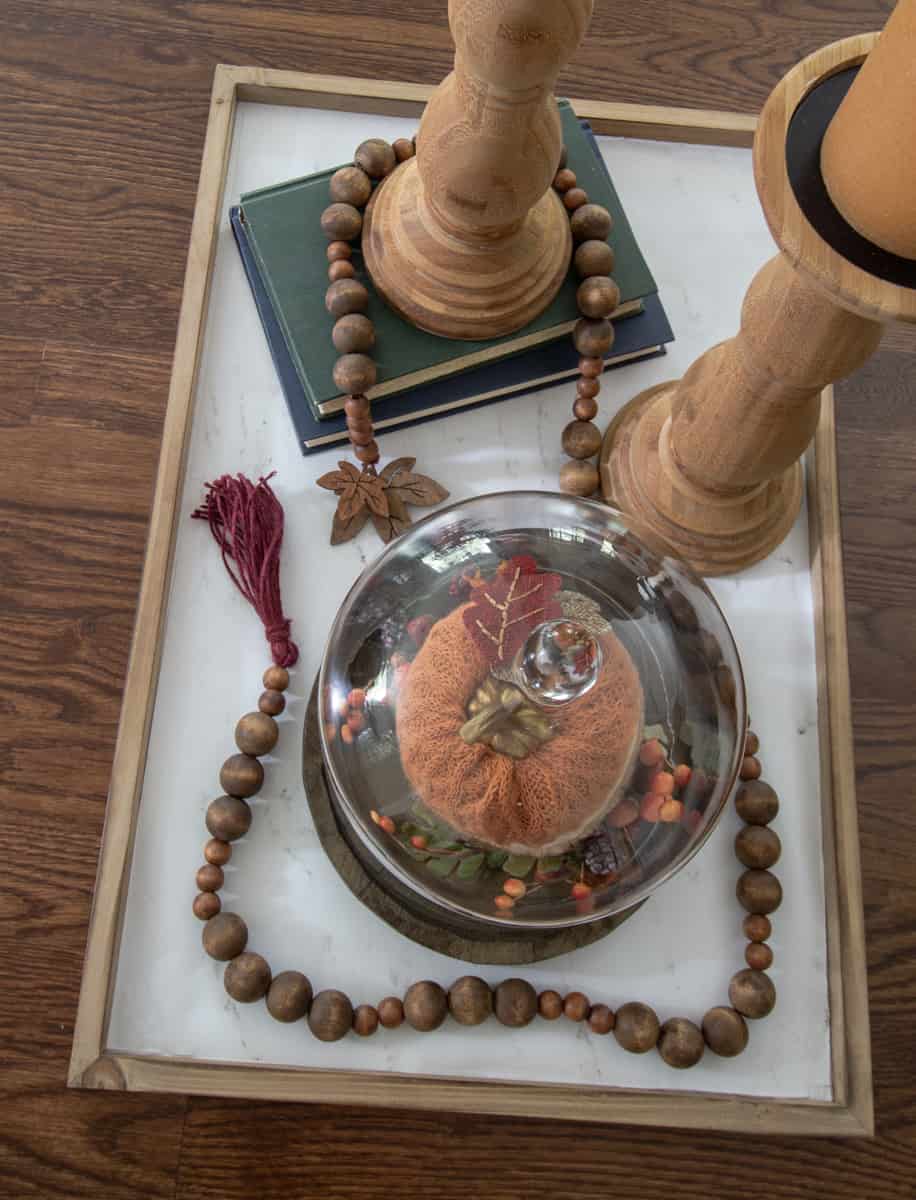
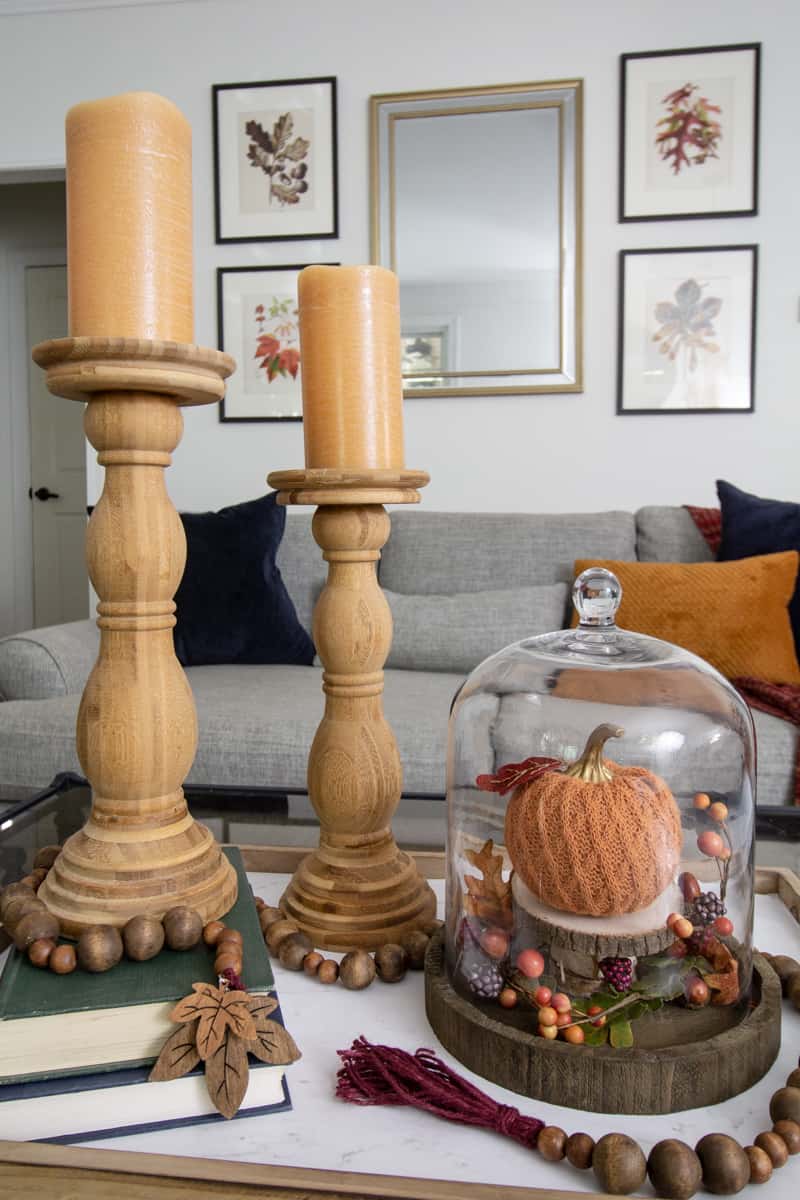
I created this wood bead garland with fall leaves charms and warm wood tones to add an extra layer of texture and interest to my coffee table vignette. I know this bead garland would make the perfect fall accessory for anywhere in your home too!
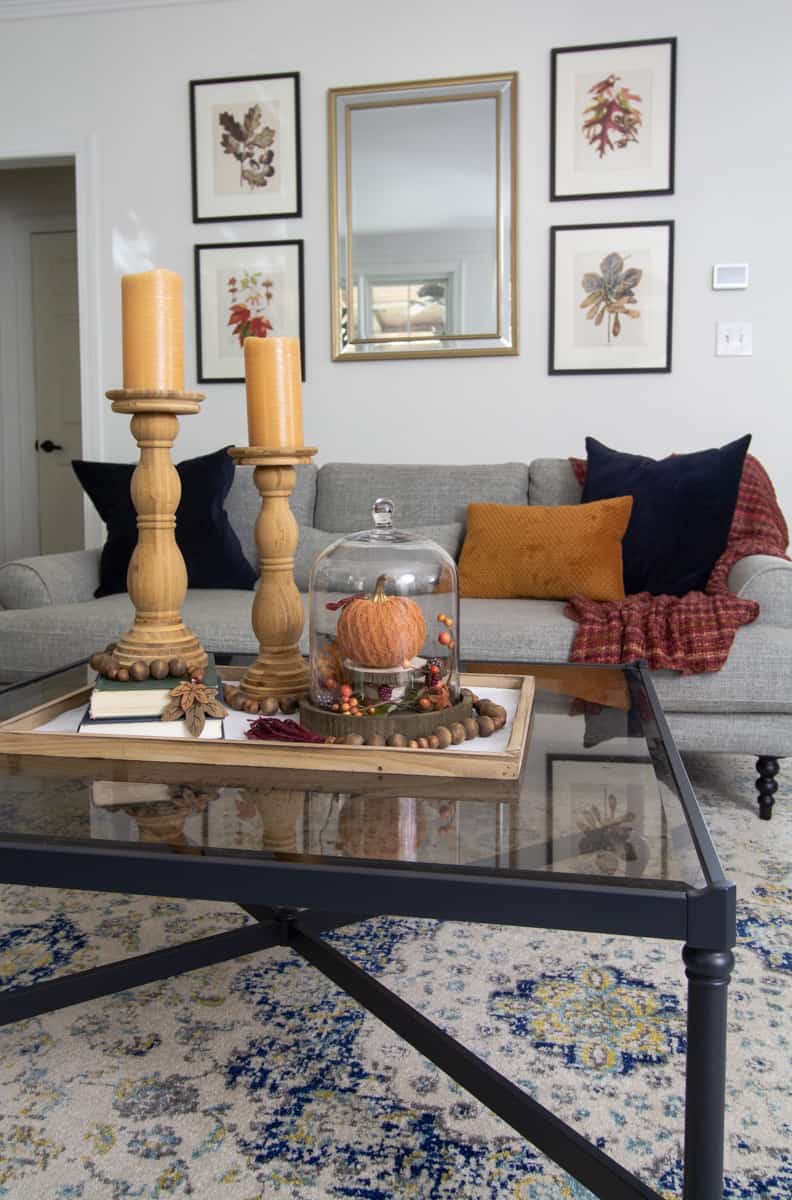
SHOP The Look
And the best part about this craft? It’s the perfect get cozy, drink a pumpkin spice latte or tea, stay-in, kind of craft. Tune into your favorite show or tunes and make it an afternoon! There are a few extra steps because the beads are stained but it’s totally worth it!
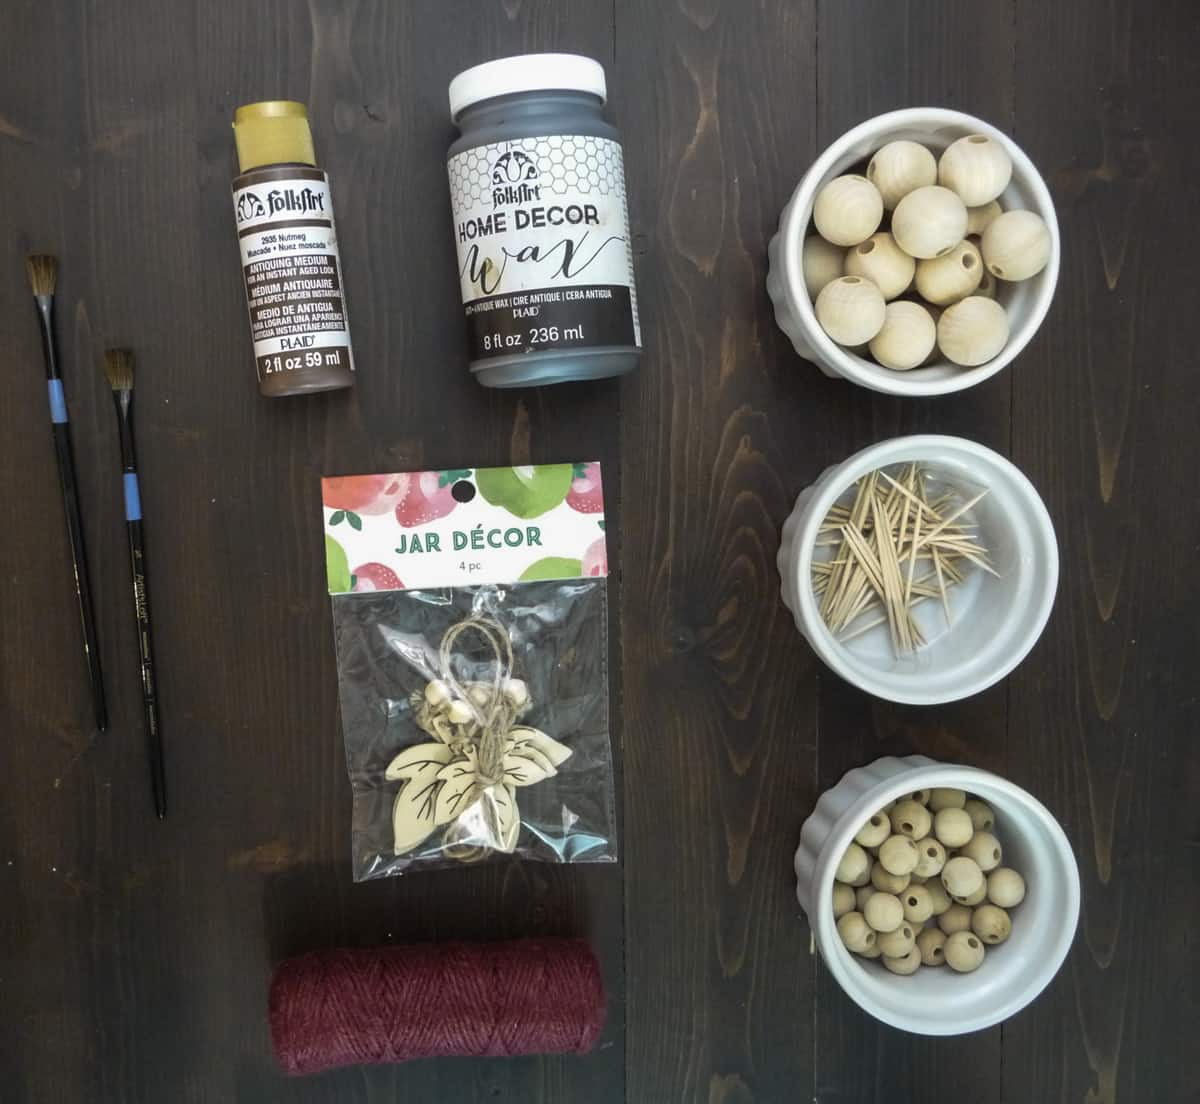
- 25mm Wooden Round beads 19 pc (Need 2 packages.)
- 16mm Wooden Round Beads, 40 pc
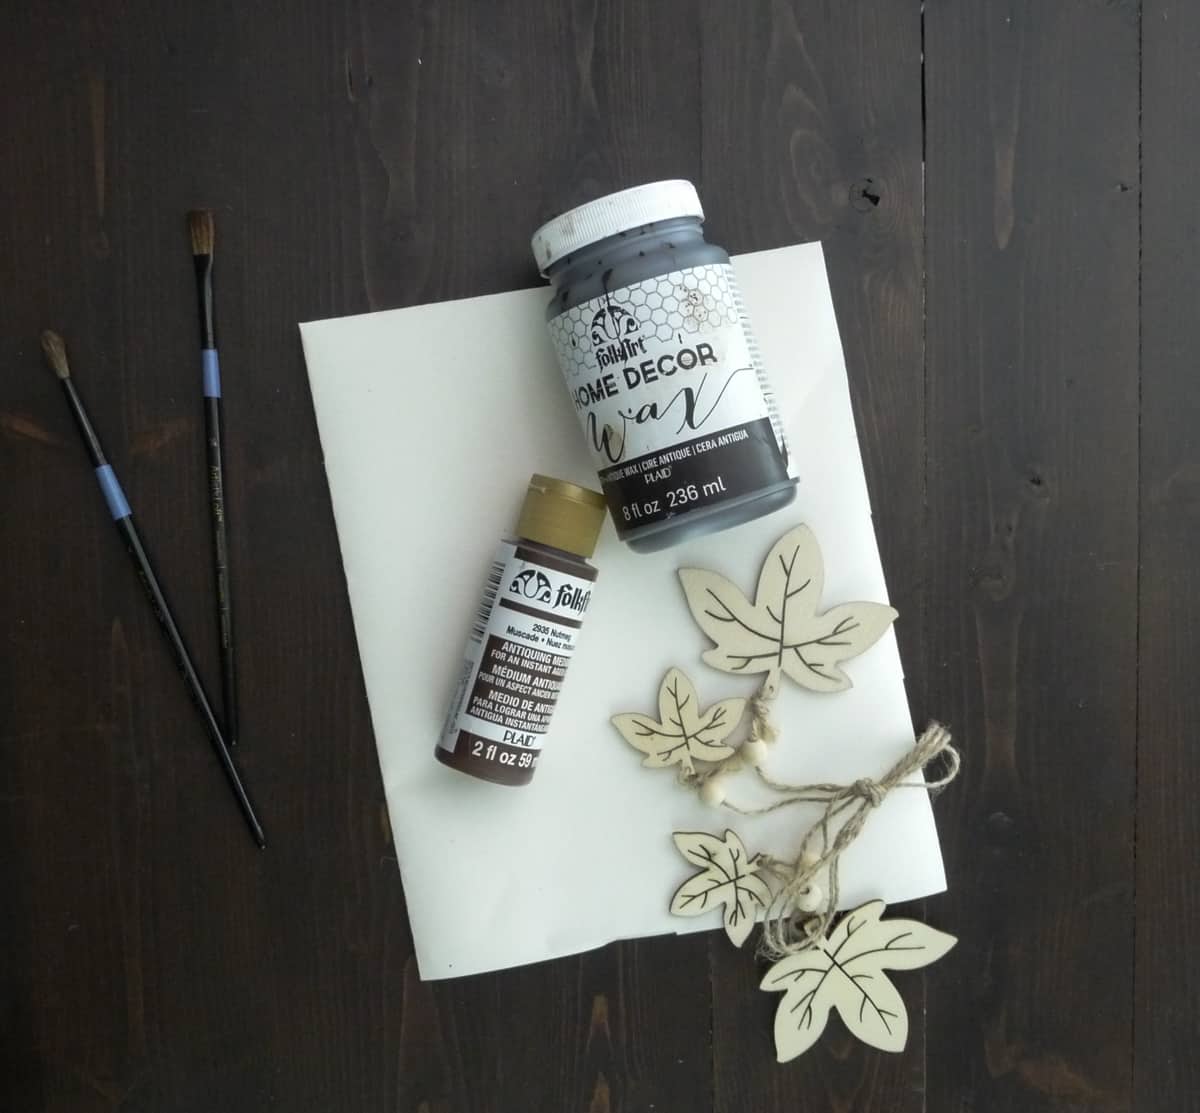
- Wooden Jar Decor, Leaves
- FolkArt Home Decor Antique Wax
- FolkArt Antiquing Medium, Nutmeg
- Colored Jute Twine
- Paintbrushes
- Jewelry jump rings
- Toothpicks
- Styrofoam
- Clear Matte Finish, Krylon Low Odor
- Gloves (optional)
- 4.5″ piece of card stock or matte board
- Clear Tape
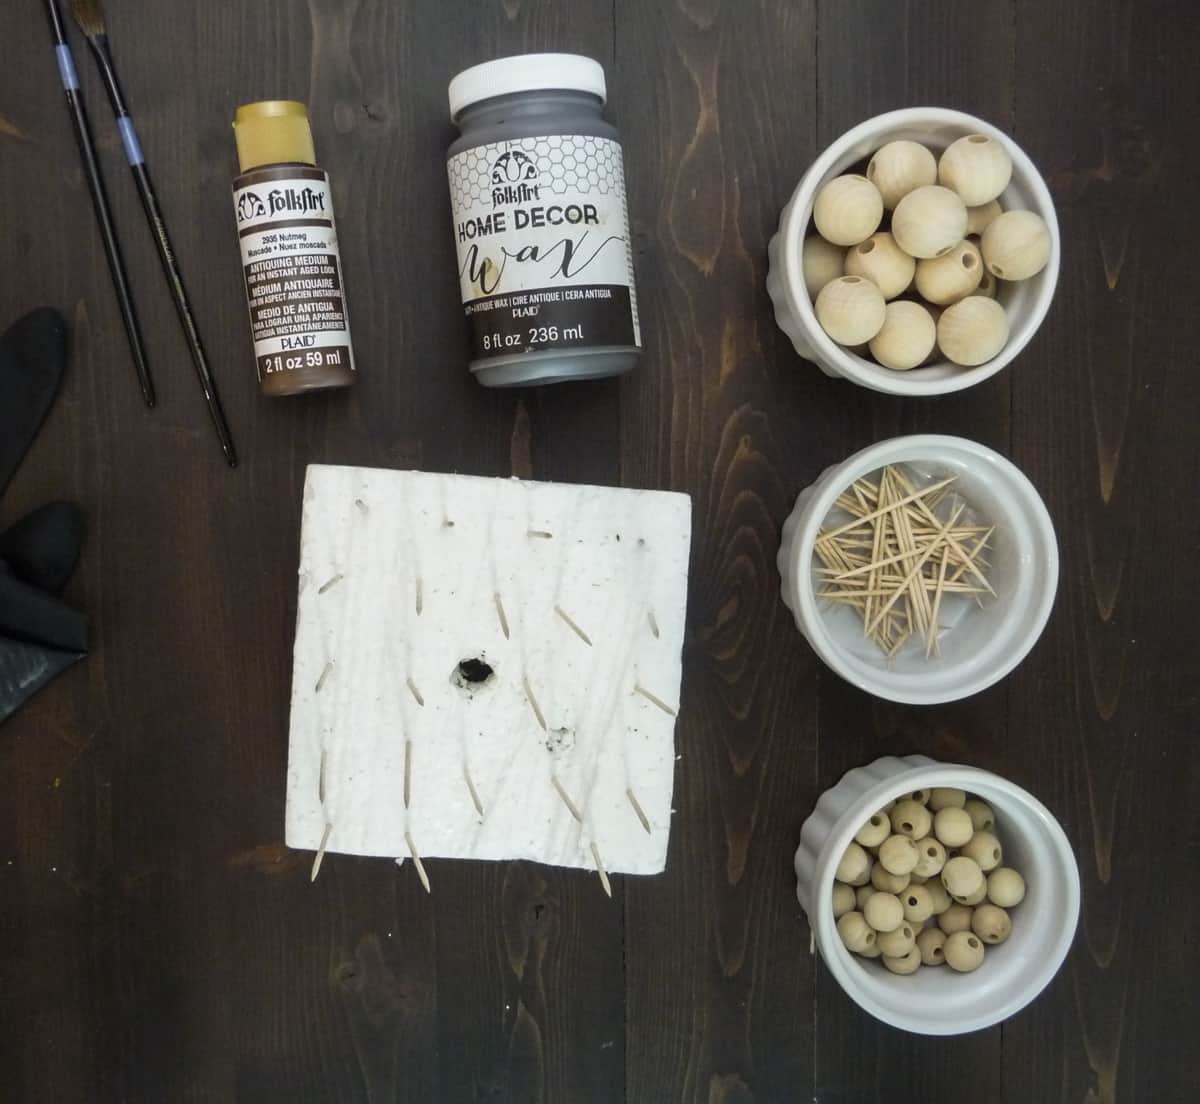
Step 1: Place toothpicks into styrofoam to serve as a drying rack for the beads.
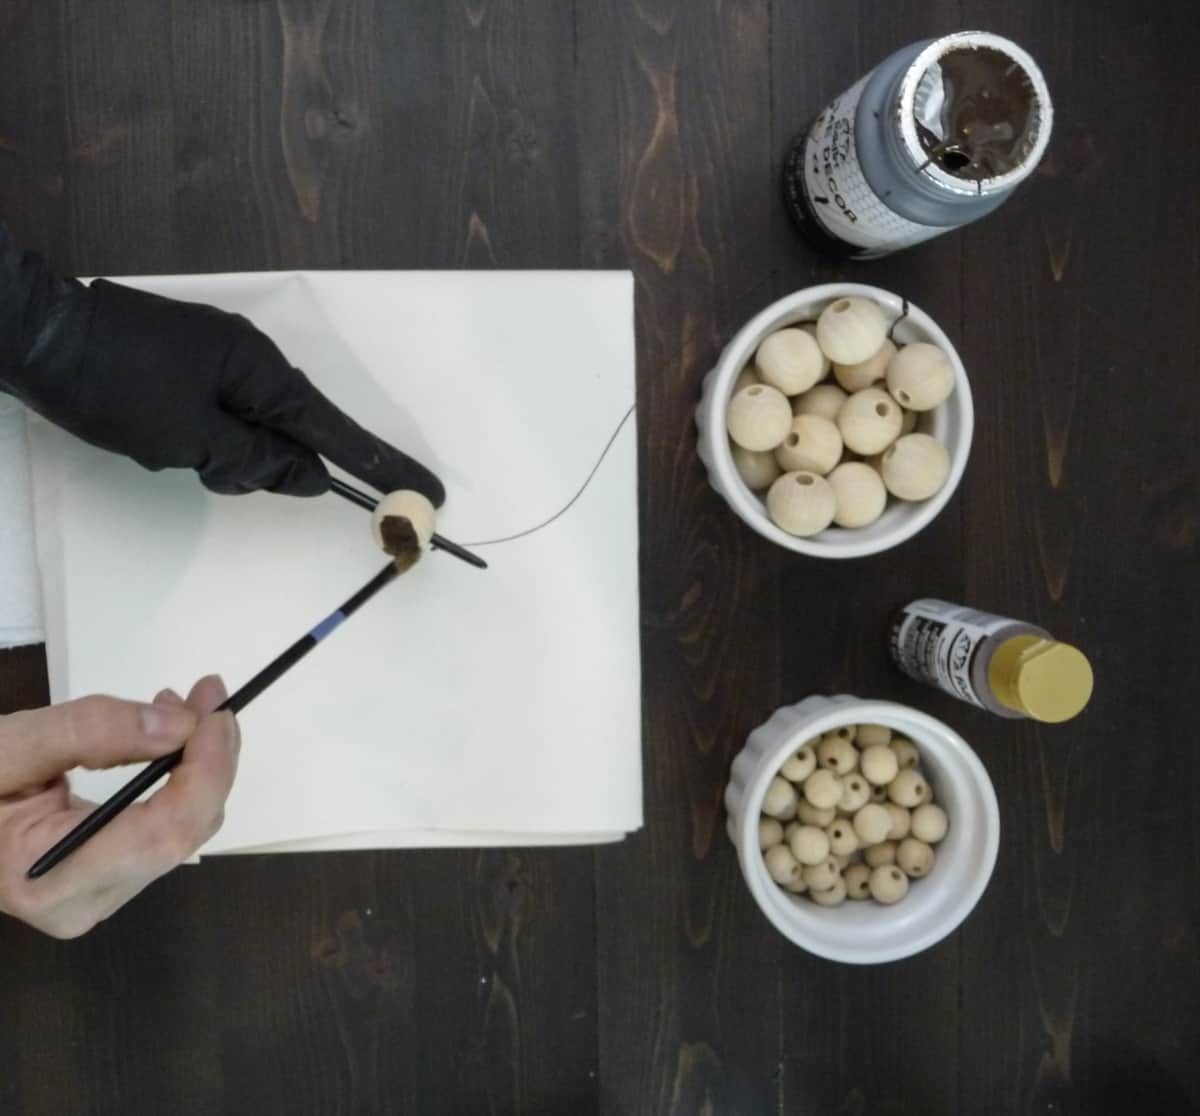
Step 2: Begin painting all of the large beads with the antiquing wax. I chose to wear gloves on one hand to handle the beads. Place a bead on the end of a paintbrush for ease of painting.
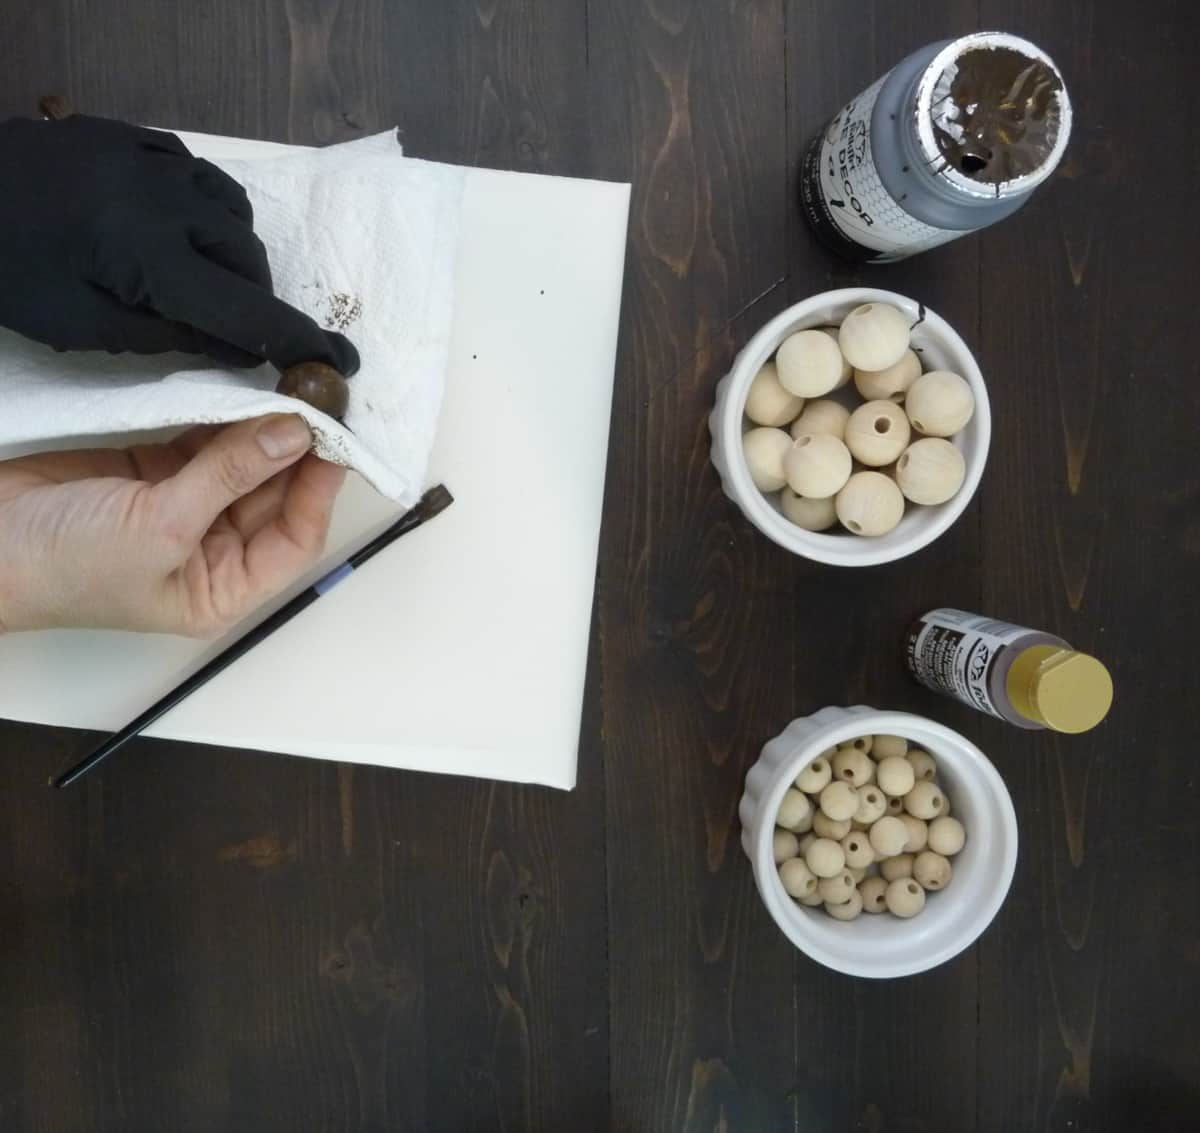
Step 3: Wipe off excess wax and place on toothpick.
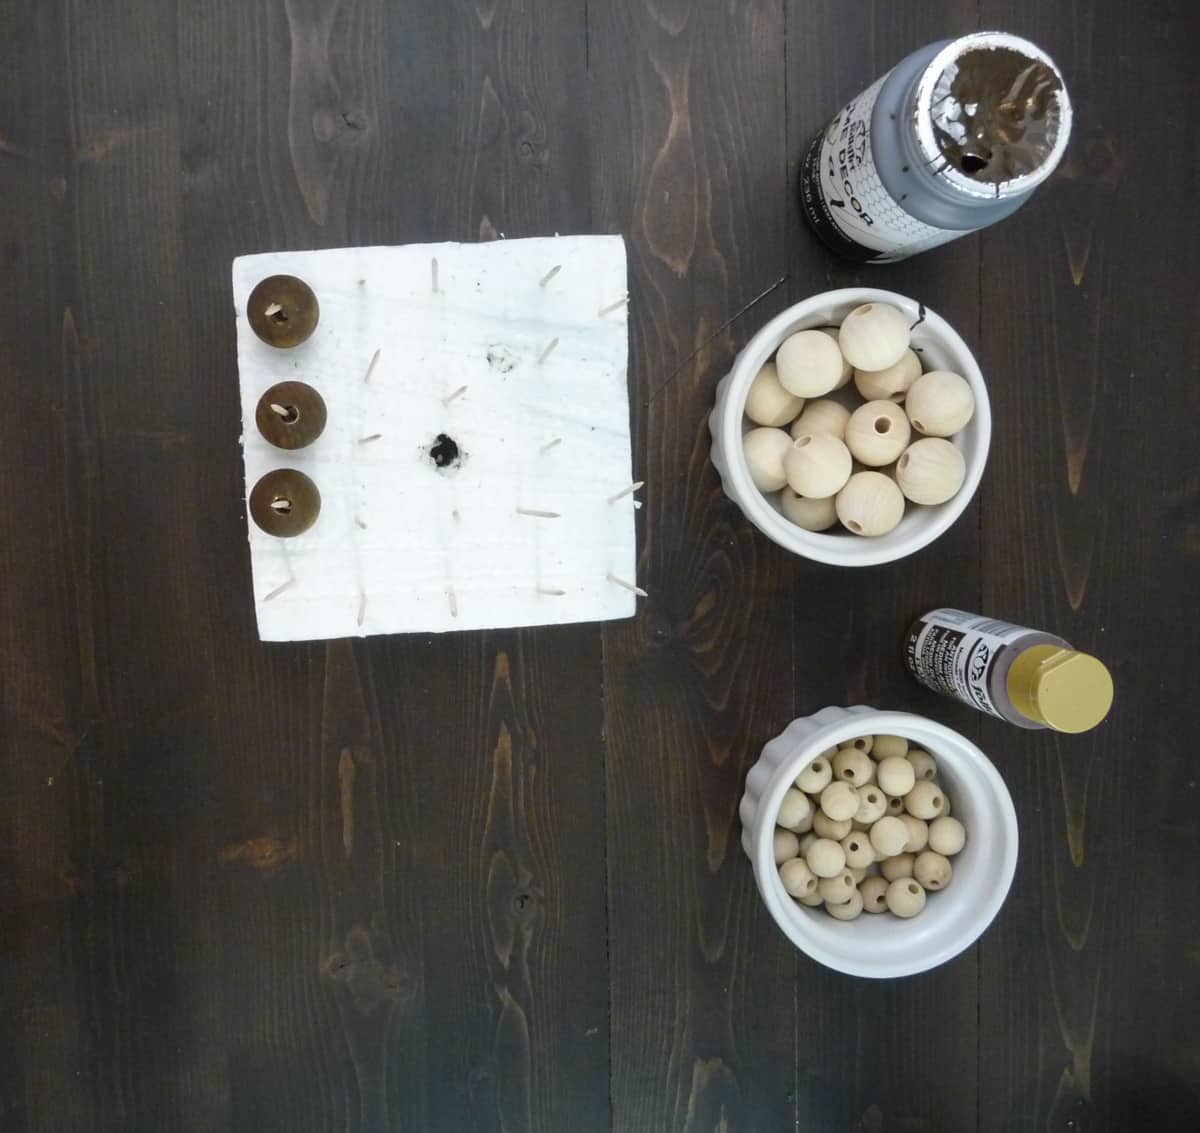
Repeat until all 25mm beads are painted.
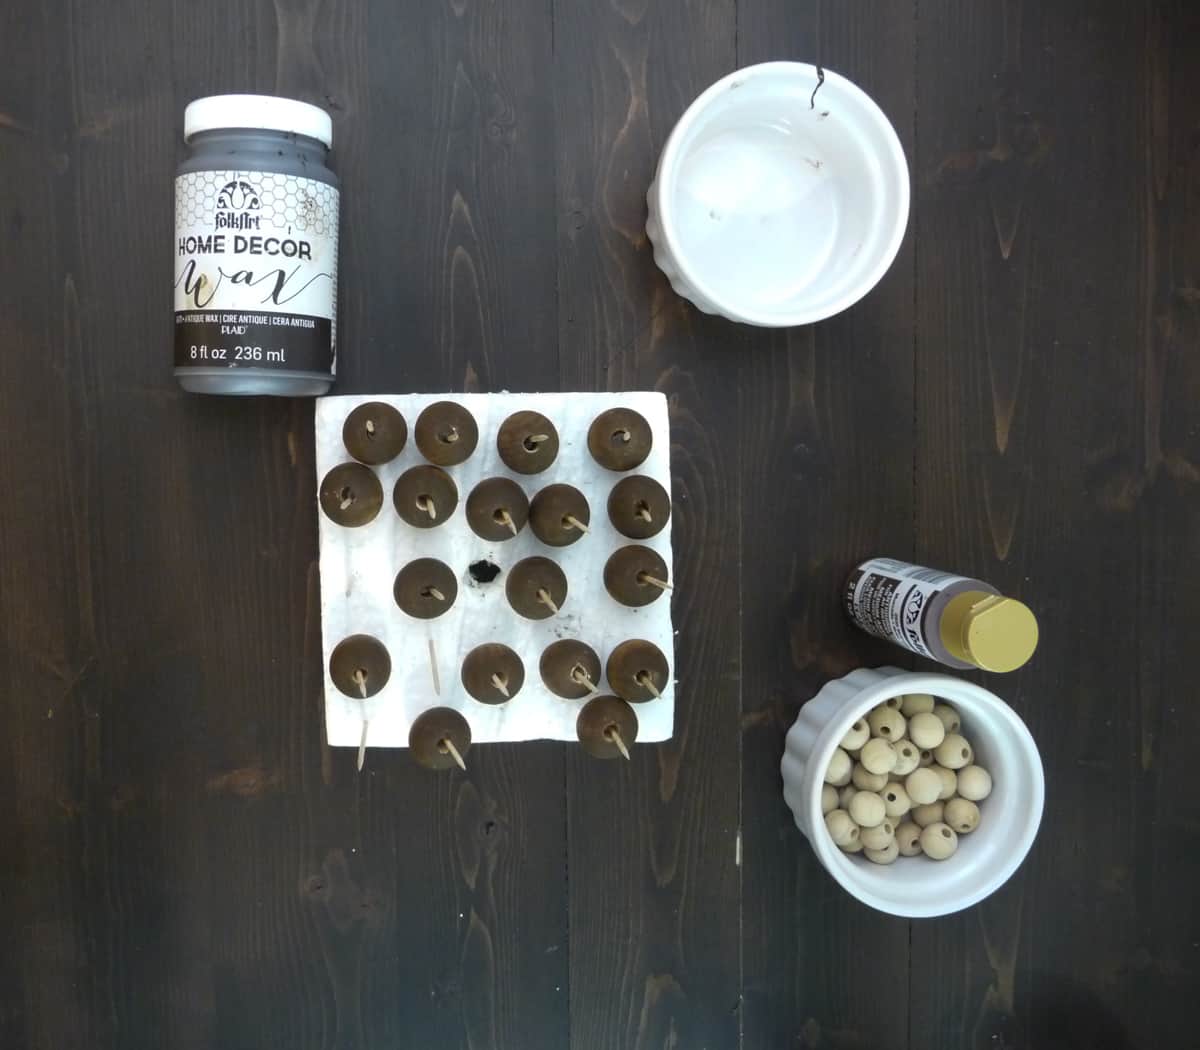
Step 4: Paint all 16 mm beads with Antiquing medium in Nutmeg. Try adding several to the end of a paintbrush to speed up the painting process.
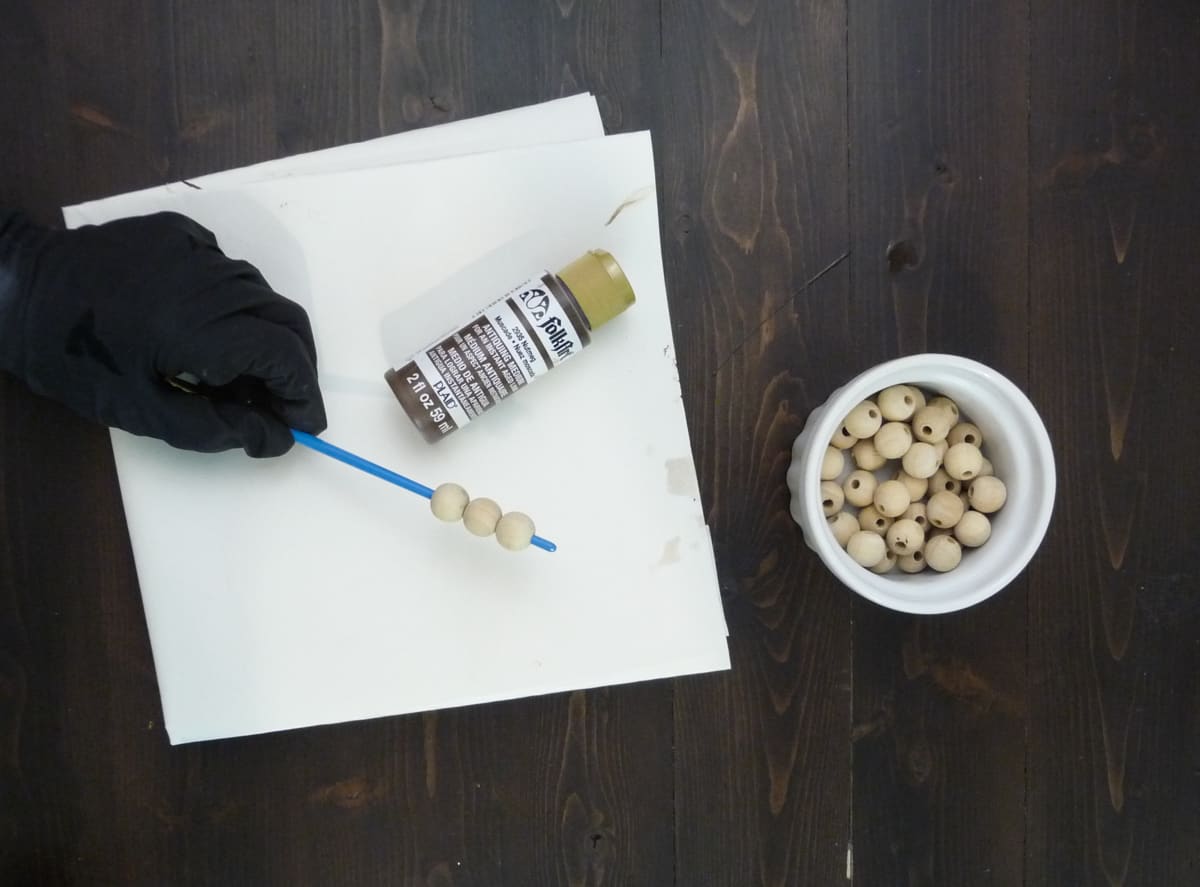
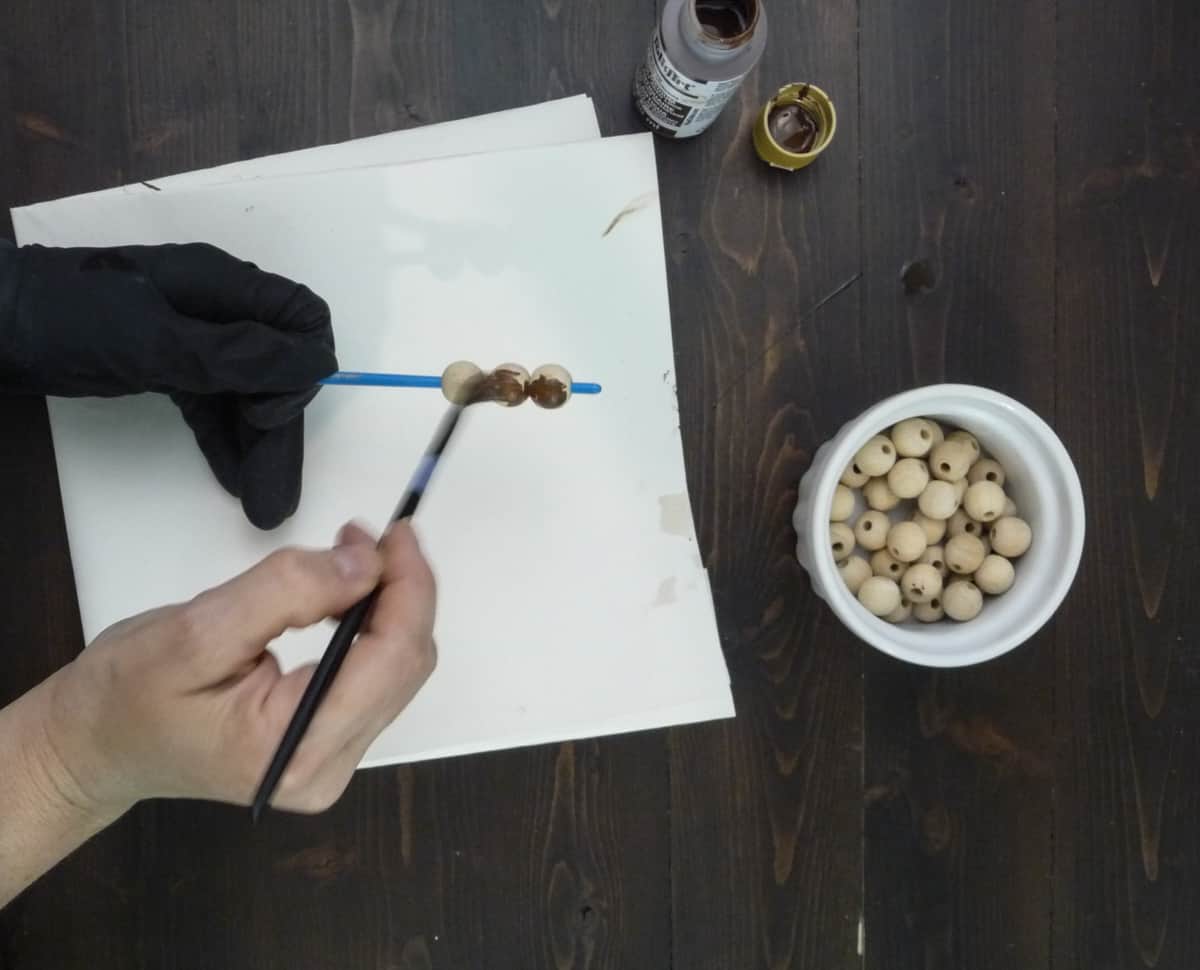
Step 5: Wipe the excess paint off of the small beads as well.
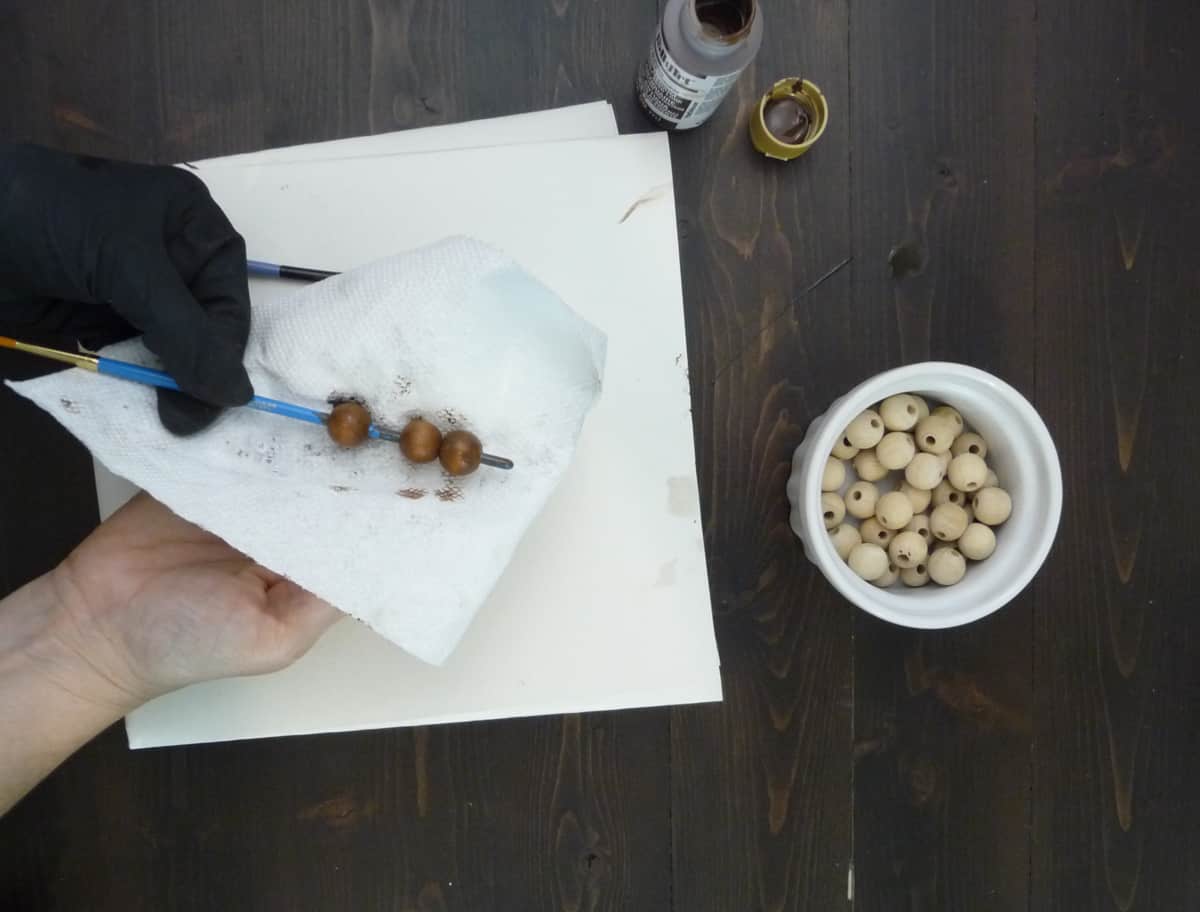
Step 6: Once the small beads are dry, spray them with a matte clear finish.
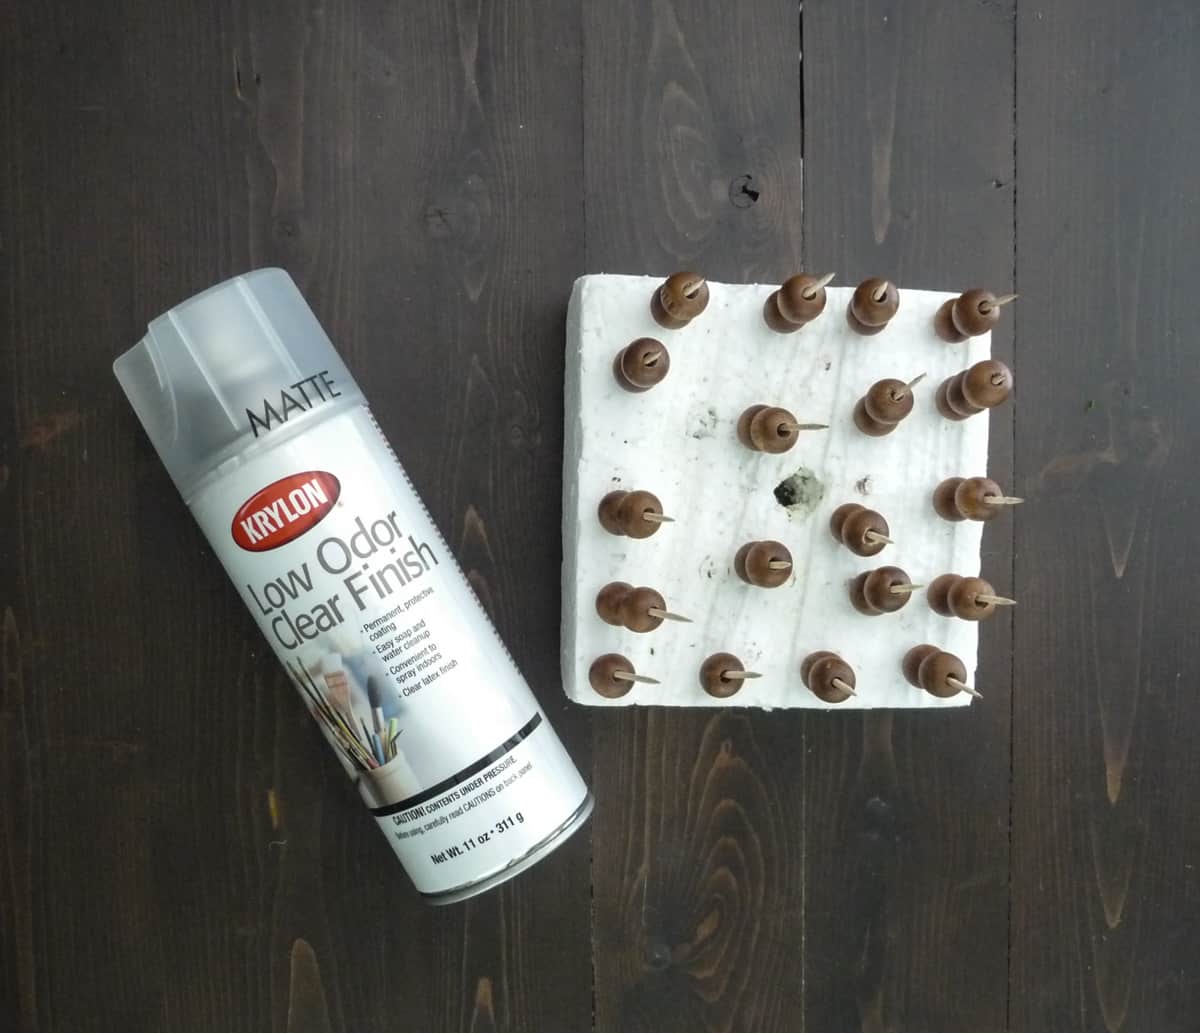
Step 7: Once the large beads are dry, buff them with a soft cloth. The wax needs no extra finish.
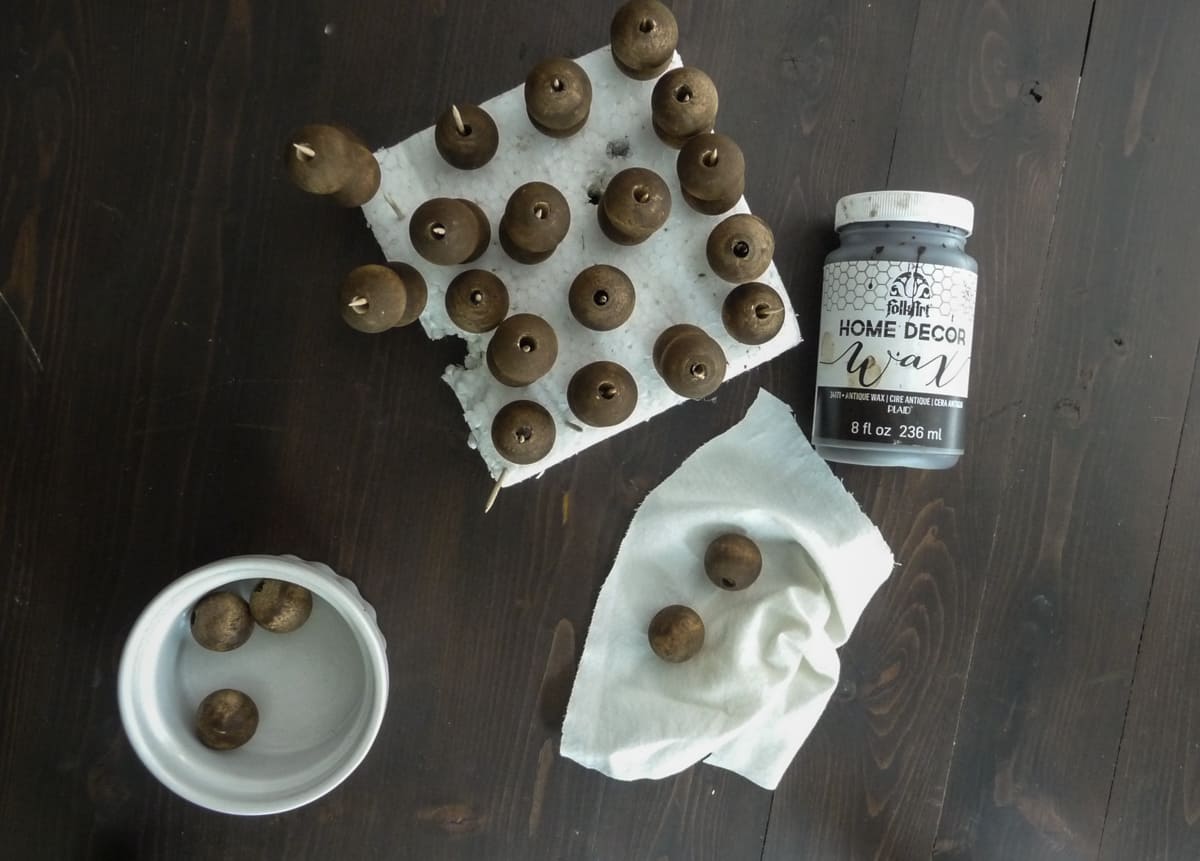
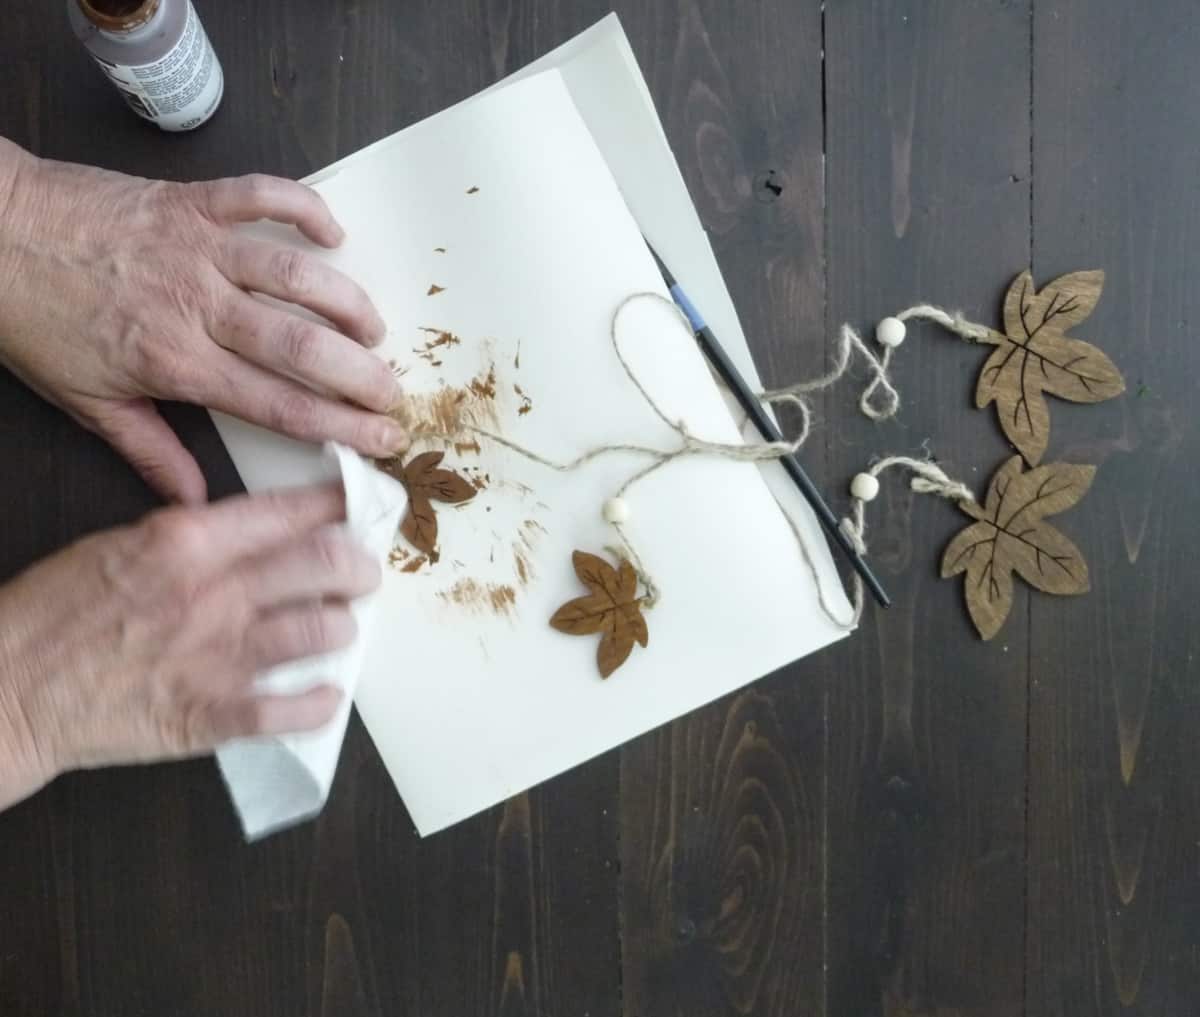
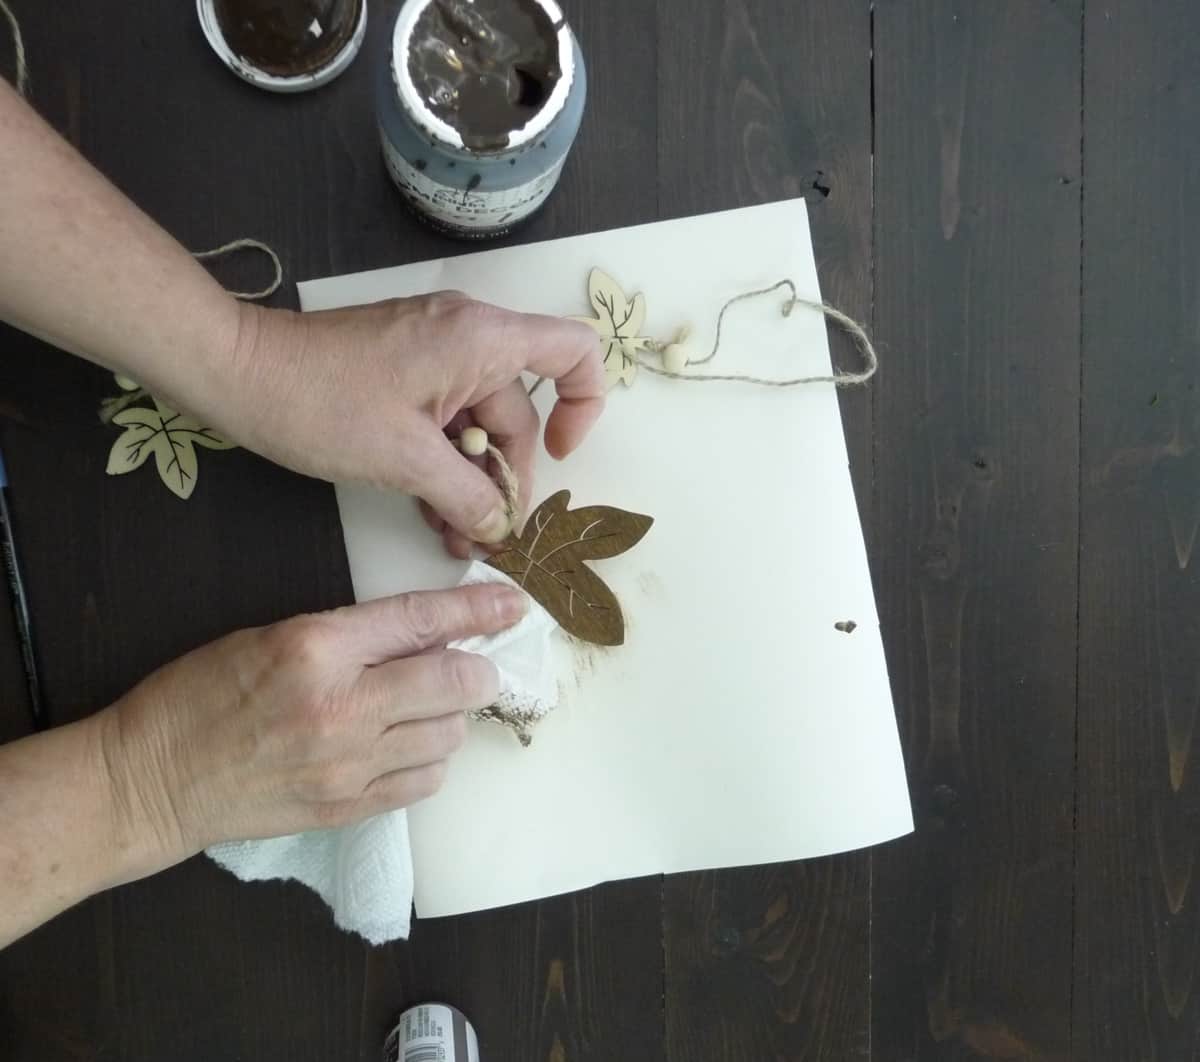
Step 8: Paint wood leaves and wipe off excess just as for the beads.
Step 9: Prepare tassel for the end of the bead garland. Wrap jute around a 4.5″ piece of board or card stock. Create about 20 loops.
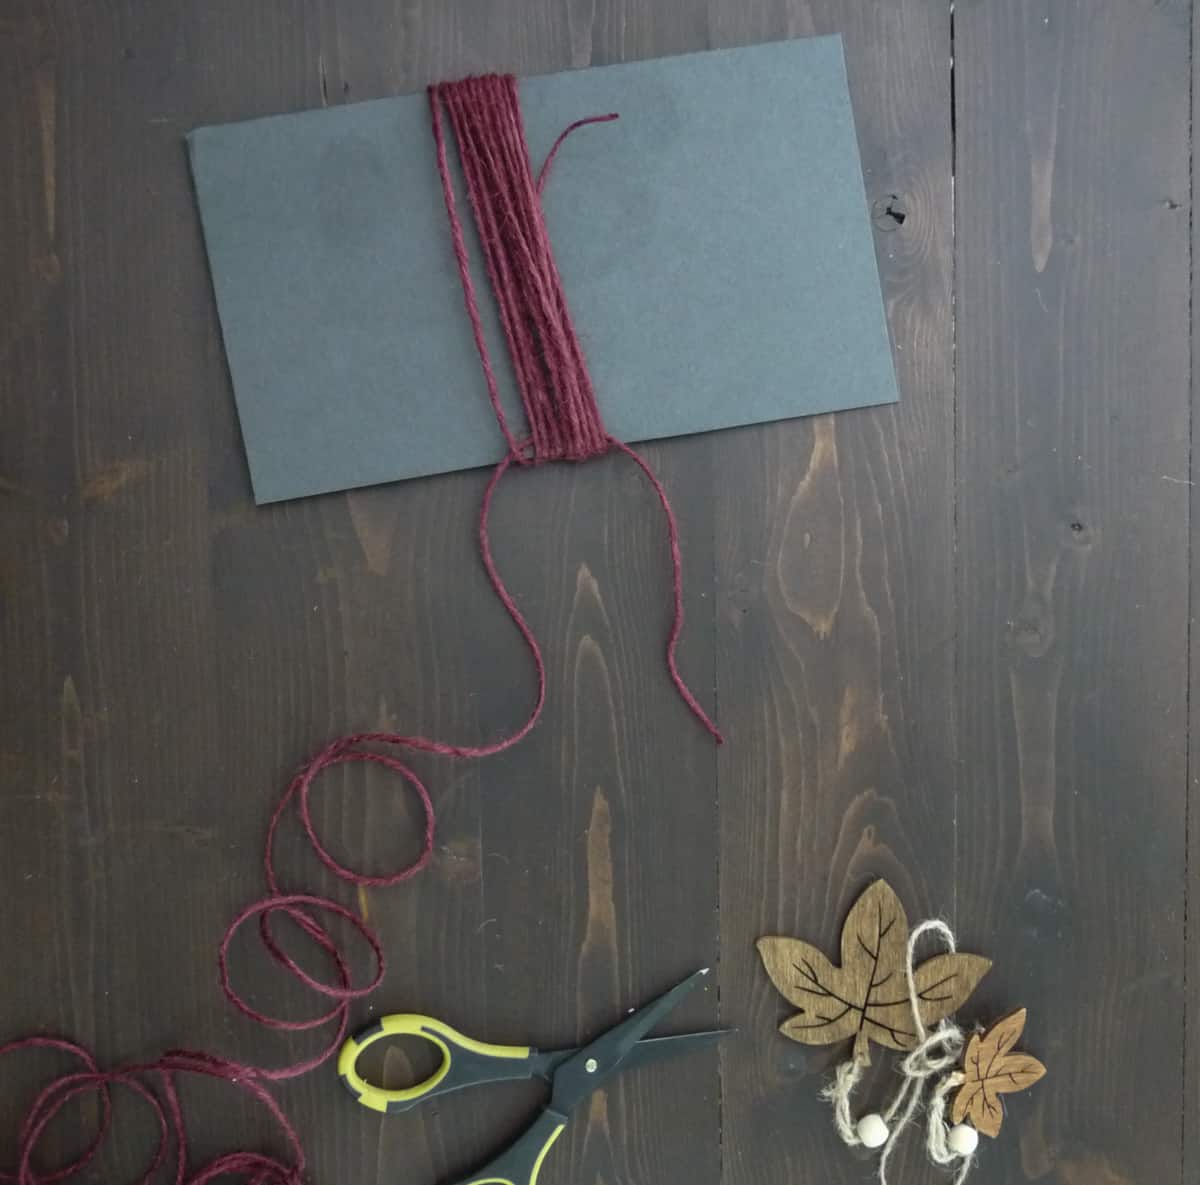
Step 10: Cut a 2ft length of jute and tie a knot at one end of the loops.
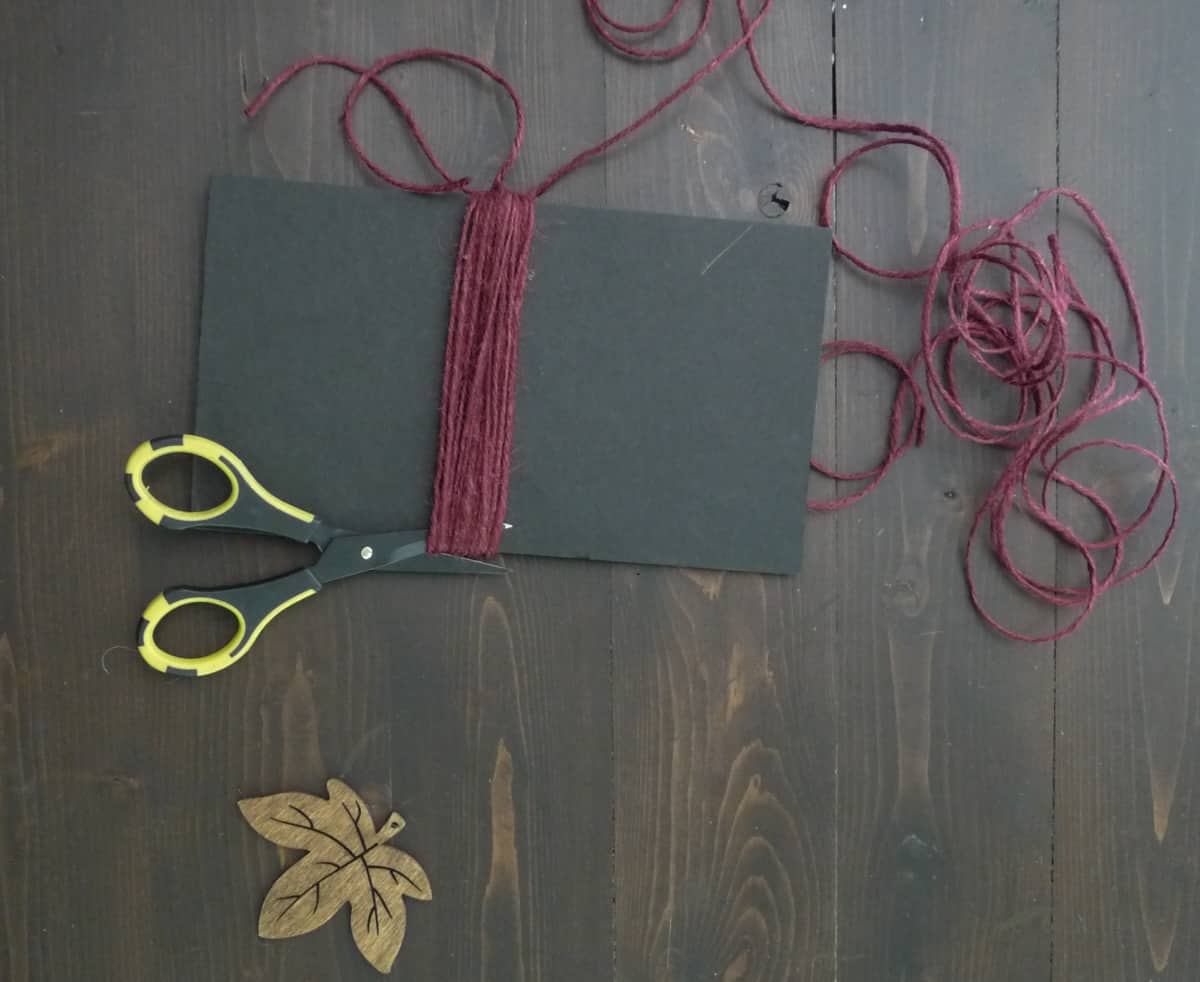
Step 11: Cut the opposite end of the loops.
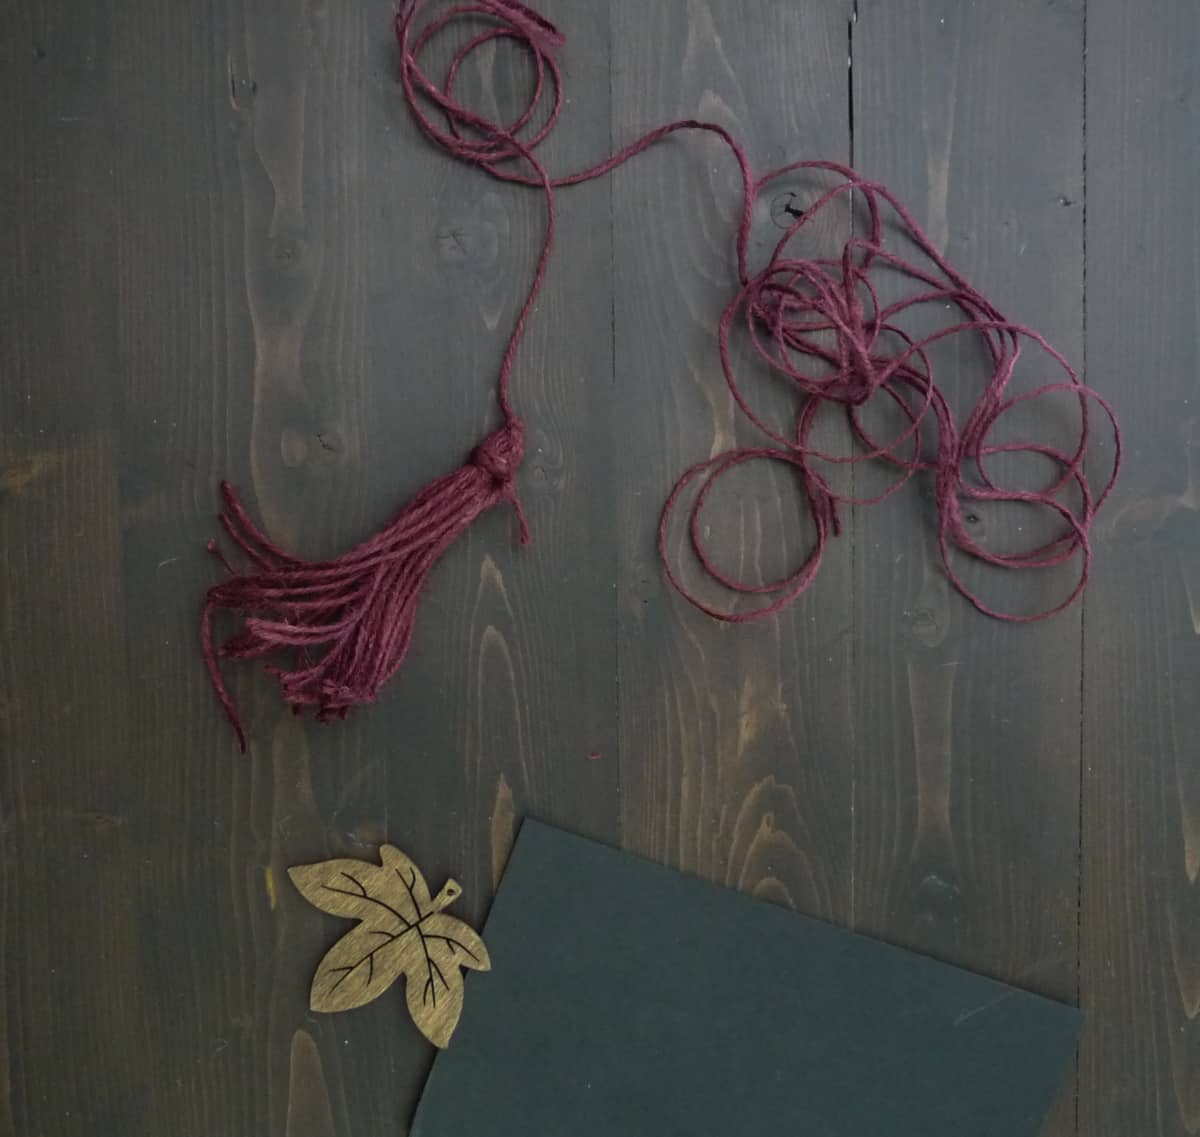
Step 12: Wrap jute around the top of the knotted end to form a tassel. Knot and trim ends. Also, be sure to knot at the top of the tassel so it does not slip.
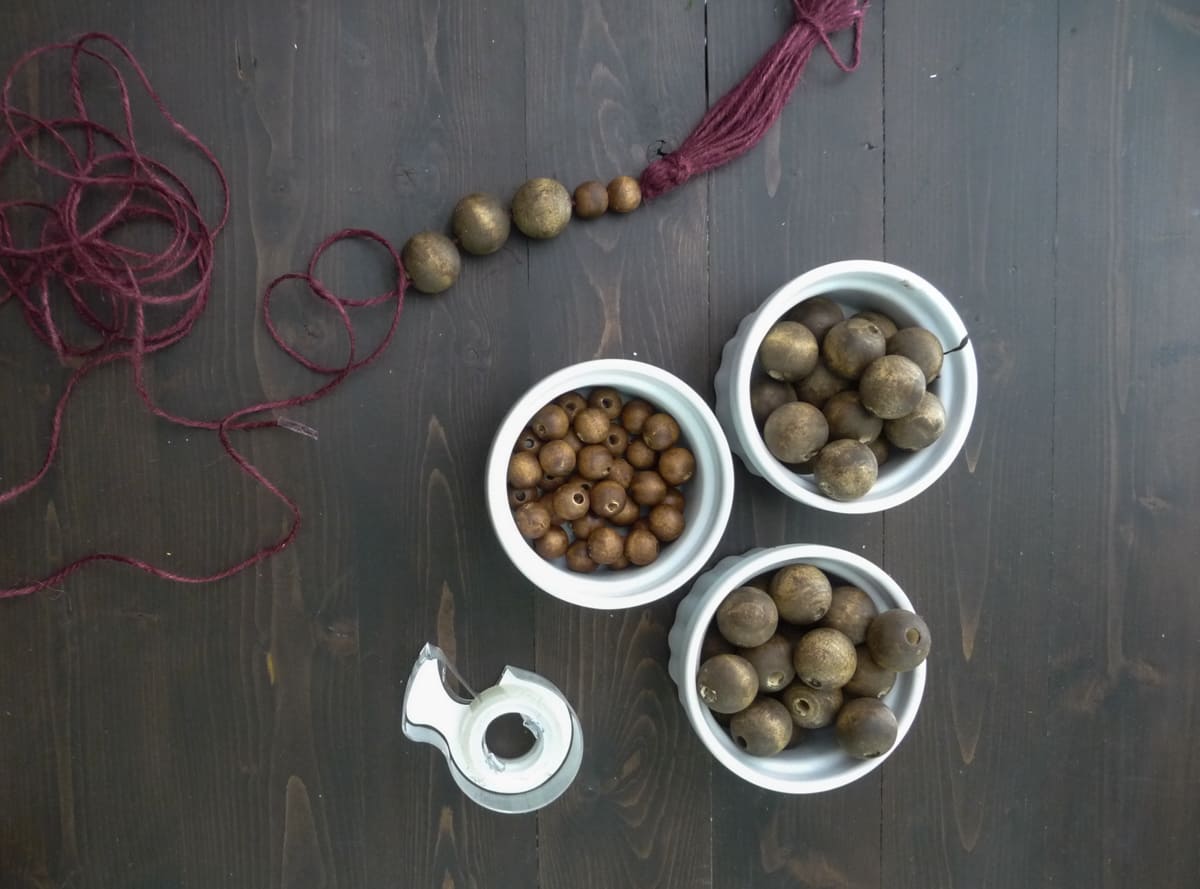
Step 13: Begin stringing beads. To ease threading, it is helpful to add a bit of tape to the end of the jute.
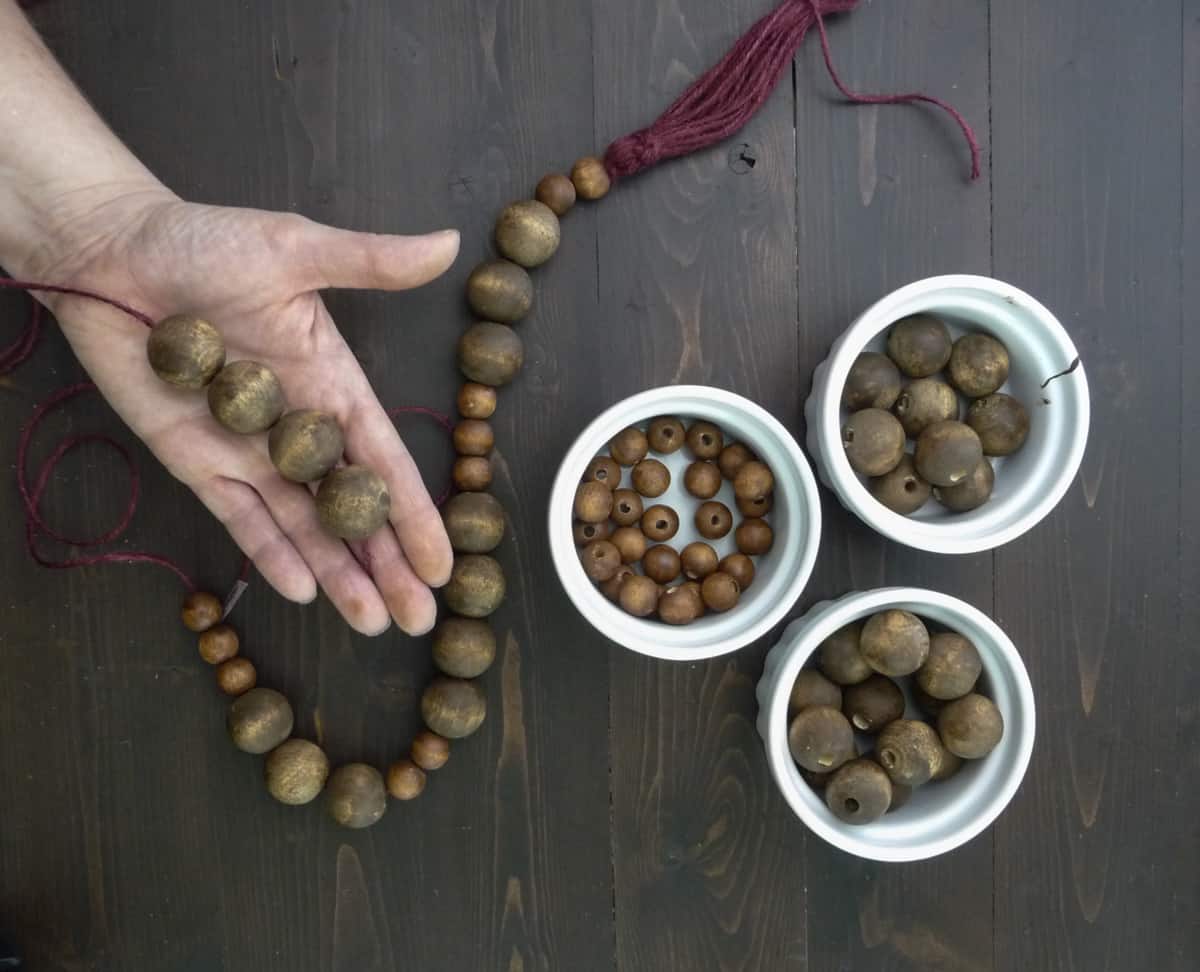
Step 14: Establish a pattern if desired. This garland starts with 2 small beads, 3 large beads, 3 small beads and then 4 large beads. Continue pattern until all of the beads have been used.
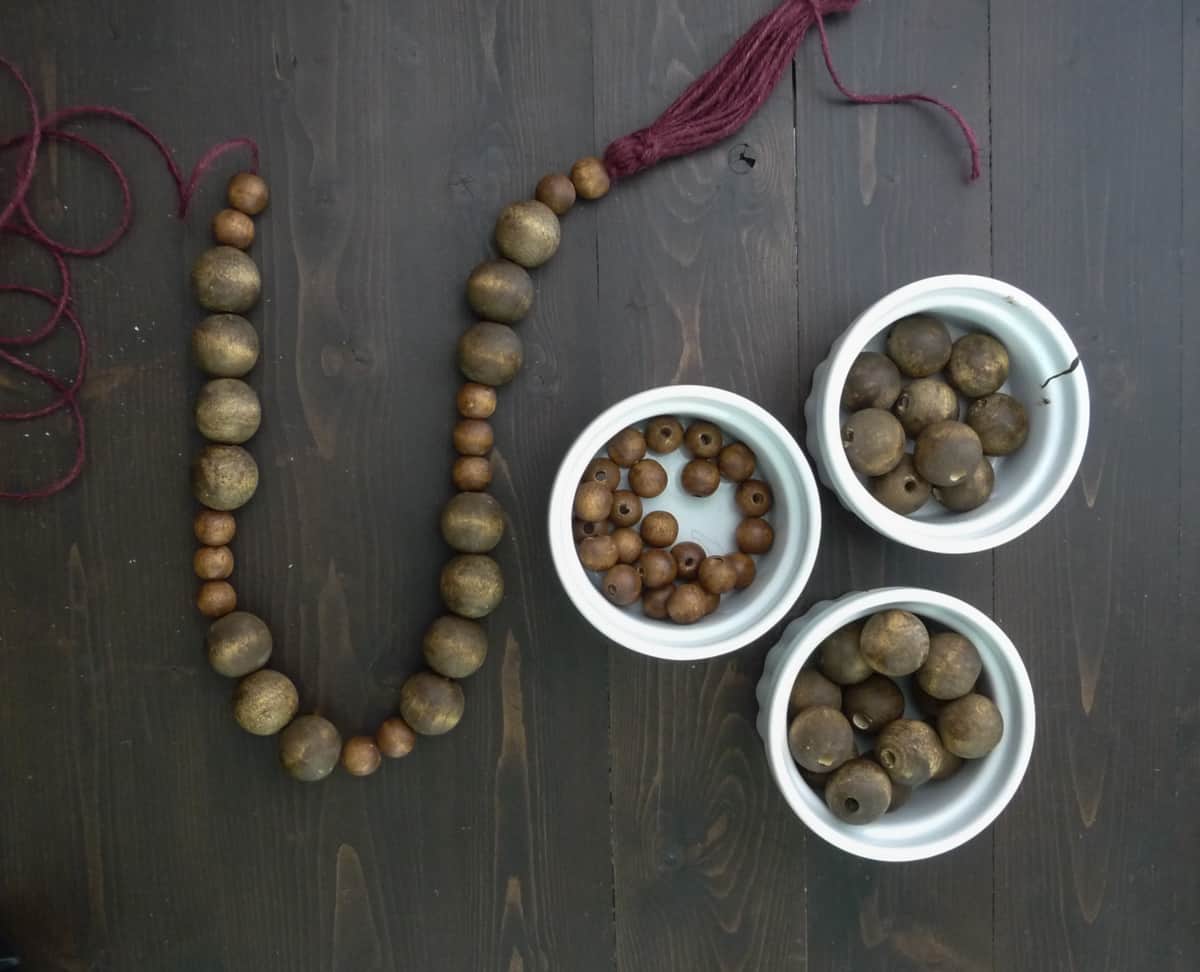
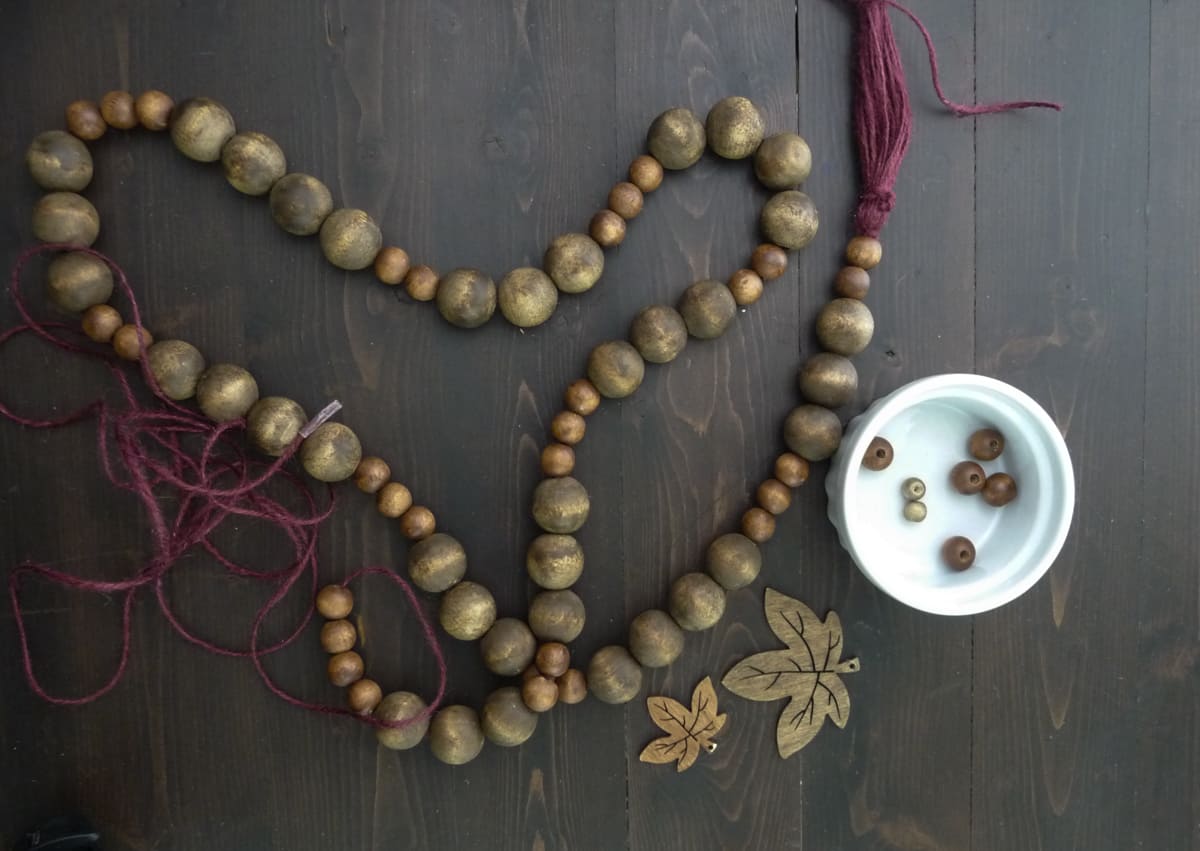
Step 15: Tie a knot at the end of the beads.
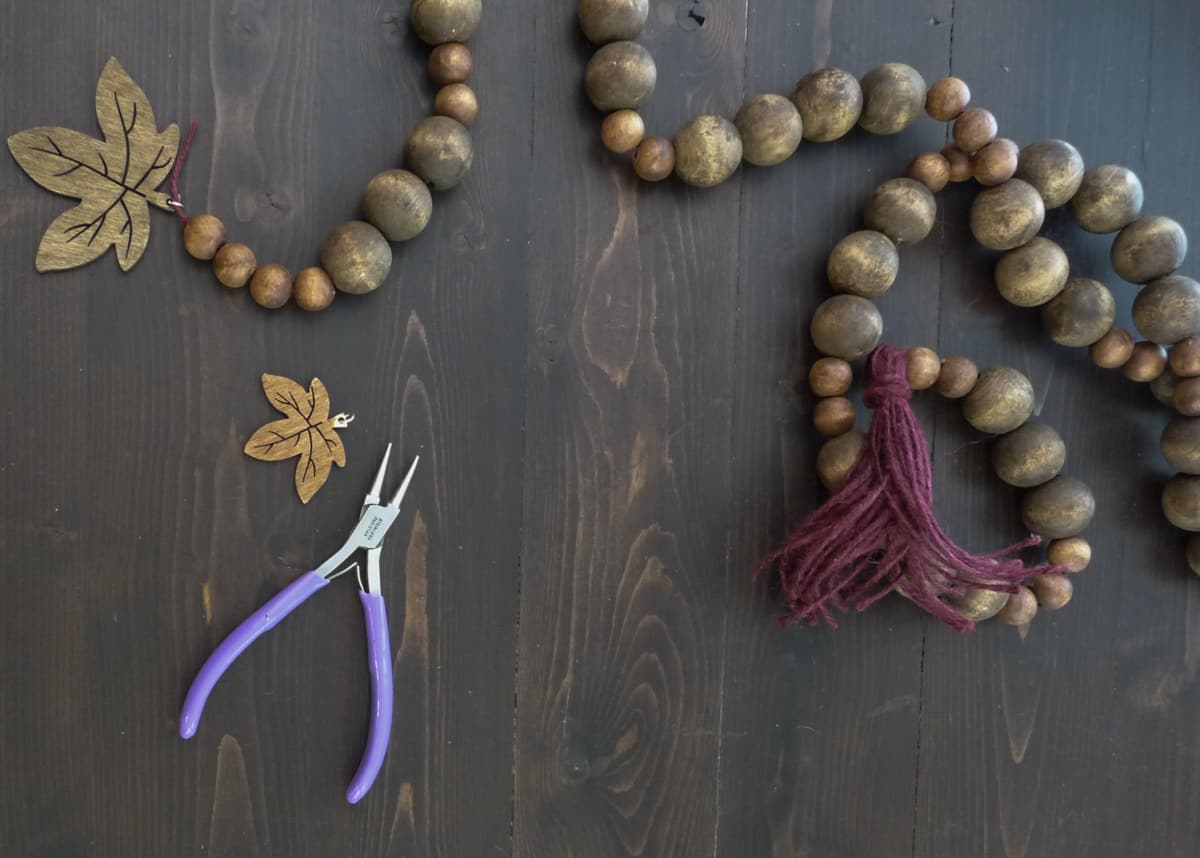
Step 14: Remove twine from leaves and add jump ring to the hole.
Step 15: Add to end of garland. Secure with knots.

I love how the antiqued tones of the beads blend perfectly with all of the colors of fall!

This post is sponsored by JOANN and may contain affiliate links. All opinions and designs are my own.





1 Comment
Simply Fall Home Tour · DeeplySouthernHome
September 20, 2018 at 3:21 pm[…] I look forward to sharing the recent updates in the living room next week! I am finally feeling like the room is looking like what I had hoped for the last few years. This is a photo I took last week for the Wood Bead Garland Tutorial post. […]