Bonjour!

For this layout, I went crazy with my diecut machine, the Slice. I cut the banner, the flag, the circles and the arrows.
I also cut the word “fun” for the title with the Slice and then cut a circle around where I had cut. I decided to back the word with brown to give it the greatest amount of pop.
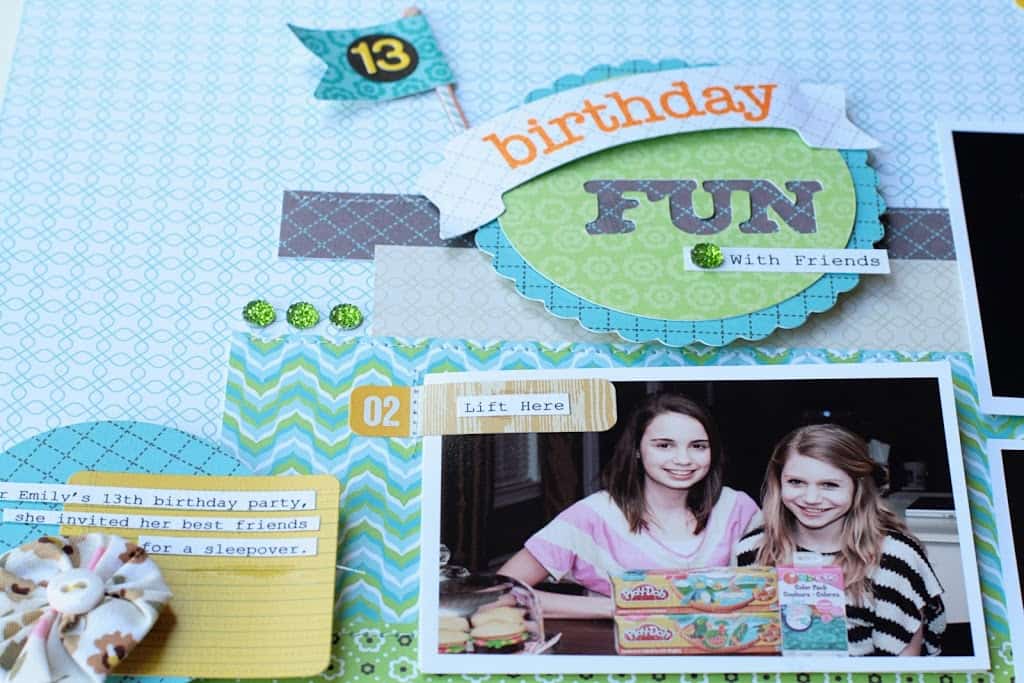
You can see from this photo, I added depth to be banner by adhering one side and then squishing the other side closer before I adhered it to make it ruche up a little.
I used an acrylic stamp for the word “birthday”. I was able to bend it slightly on a clear mounting block to follow the curve of the banner.
I wanted to include her other friends in the layout as well, but wanted to keep the layout uncluttered and on one page. So I created little flaps with the sticker tabs.
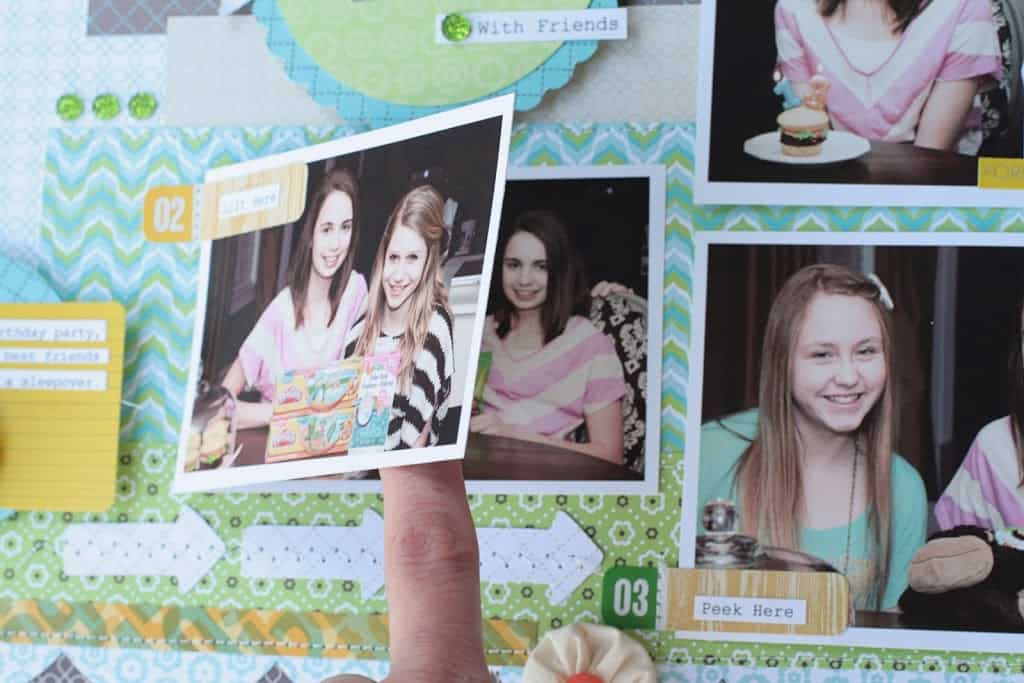
I stitched along the edge of the photo for extra support of the tab and the hinging action. 🙂 When my daughter saw the layout she was kind of upset her other friends weren’t included. Once I showed her the photos flipped to show her other friends, she loved it!
I hope you enjoyed today’s post and maybe you’ll be saying “bonjor” to flipping photos on your pages!
Supplies: Papers: GCD Studios, Bonjour line, Die Cut machine: Slice by Making Memories, Stickers: Studio Calico, Glitter stickers: Queen & Co., Flowers: Amy Tangerine, Flag stick: GCD Studios.


