When I was given my assignment to make tags for this month for
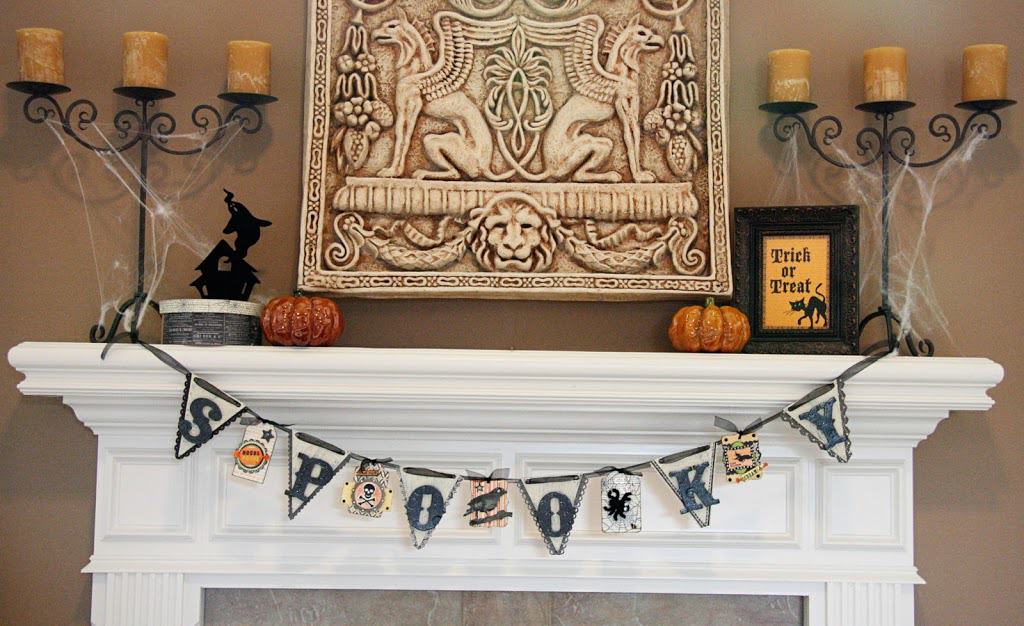
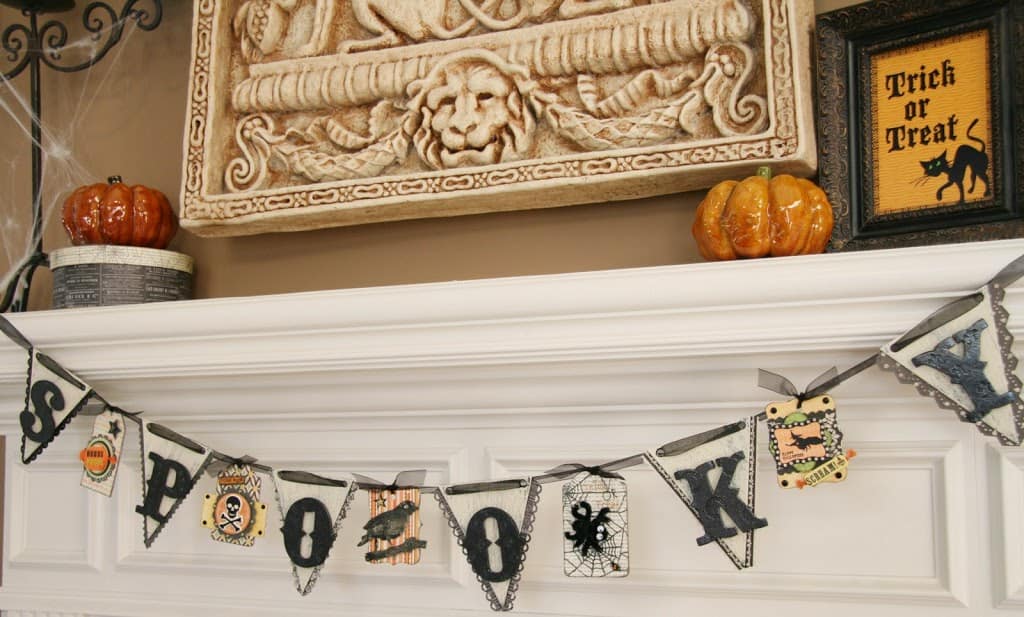
GCD Studios, all I could think about was how I’ve always wanted to create a Halloween banner for our mantle. I thought I’d combine the two projects and make a banner with tags!
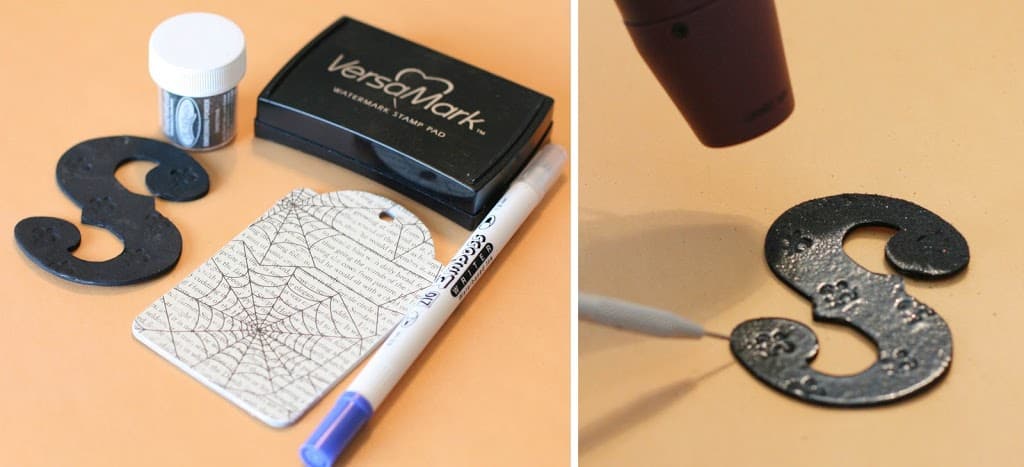
I started by debossing my “Spooky” letters (GCD Big Alphabet Chipboard Letters) with the various Chip Art Tool designs. After I painted a black base, I added some sparkle with some glittery embossing powder. I also used an embossing pen to outline the spider web on one of the tags and embossed it.
I loved the idea of using glitter embossing powder, so I didn’t end up with inevitable loose glitter all over the floor!
I then painted each GCD Studios chipboard banner with black paint, crackle medium and then cream paint. I adhered the letters with Pop Dots and trimmed with various GCD Studios patterned papers with decorative edges. The Paris Nights Decorative paper pack has strips of decorative edge pieces that worked great for this.
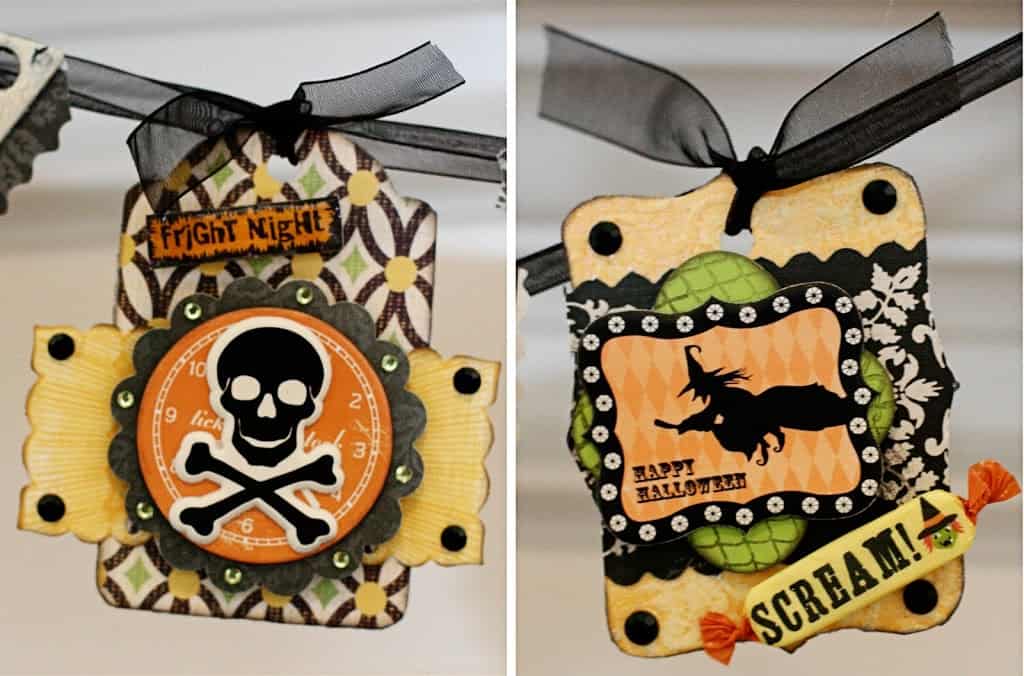
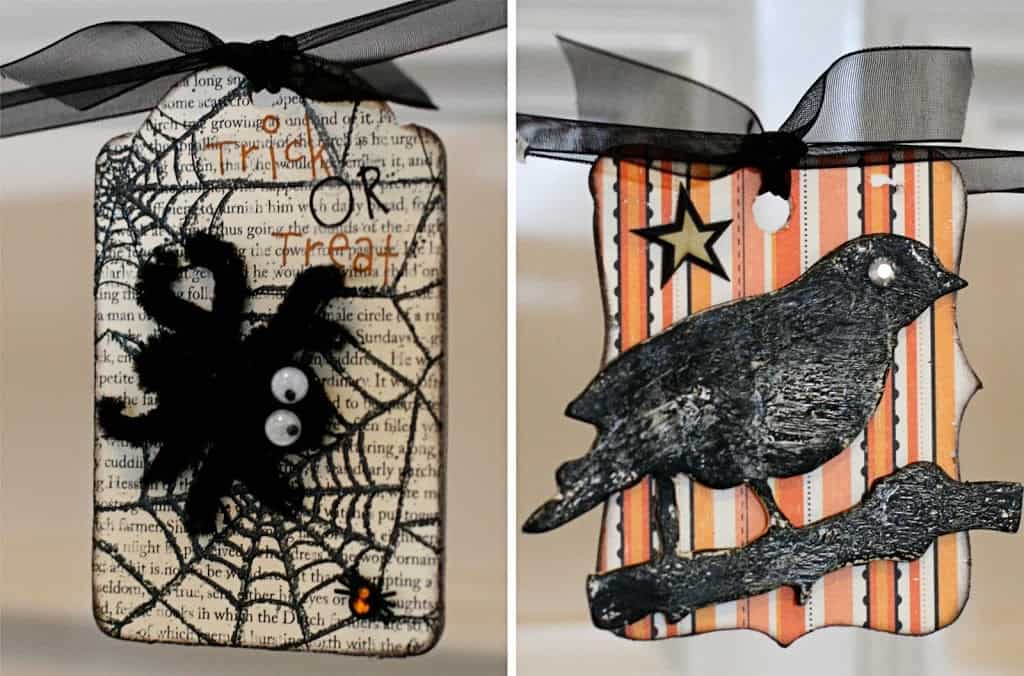
Next, I moved onto the tags. I loved the idea of each tag being its own distinct little gem. I glued patterned paper to the tags and filed the paper to get precise edges of the tags.
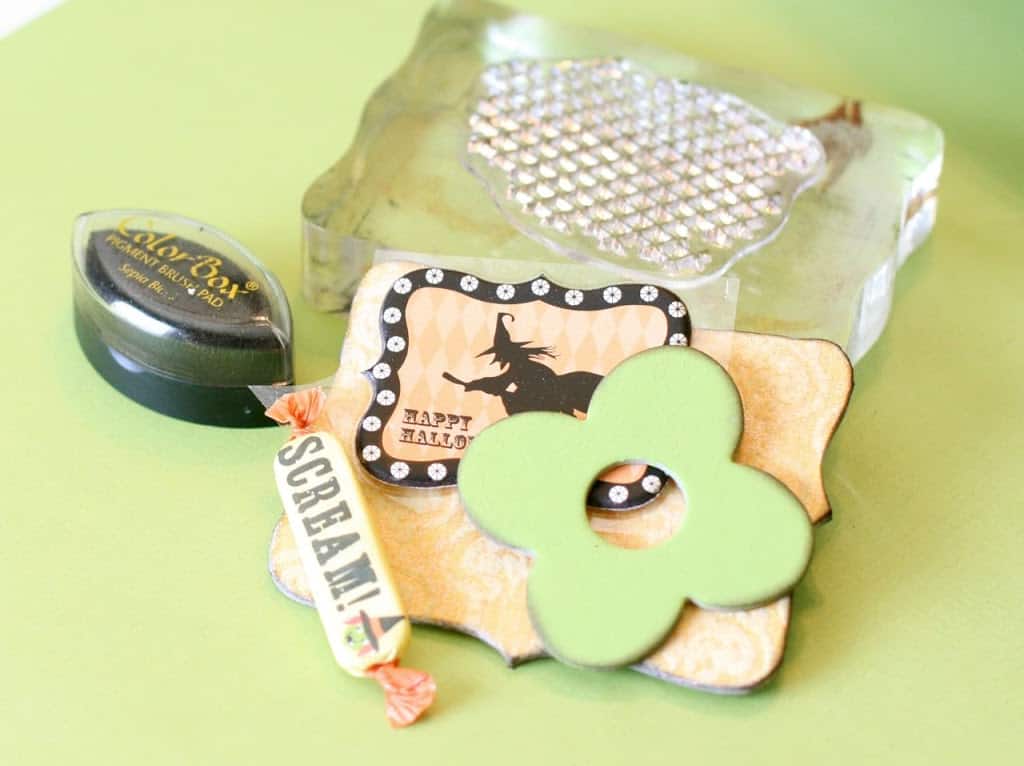
I layered various stickers, punches and chipboard pieces for extra dimension. Here is an example of the start of the witch tag’s assembly. Every tag was also edged with Sepia Black ink from Color Box.
I love how, with these two tags, I was able to use patterned paper not traditionally associated with Halloween from the Lydia and Paris Nights collection.
The main features on these two tags are a spider I made with pipe cleaners and a crackle painted
chipboard bird.
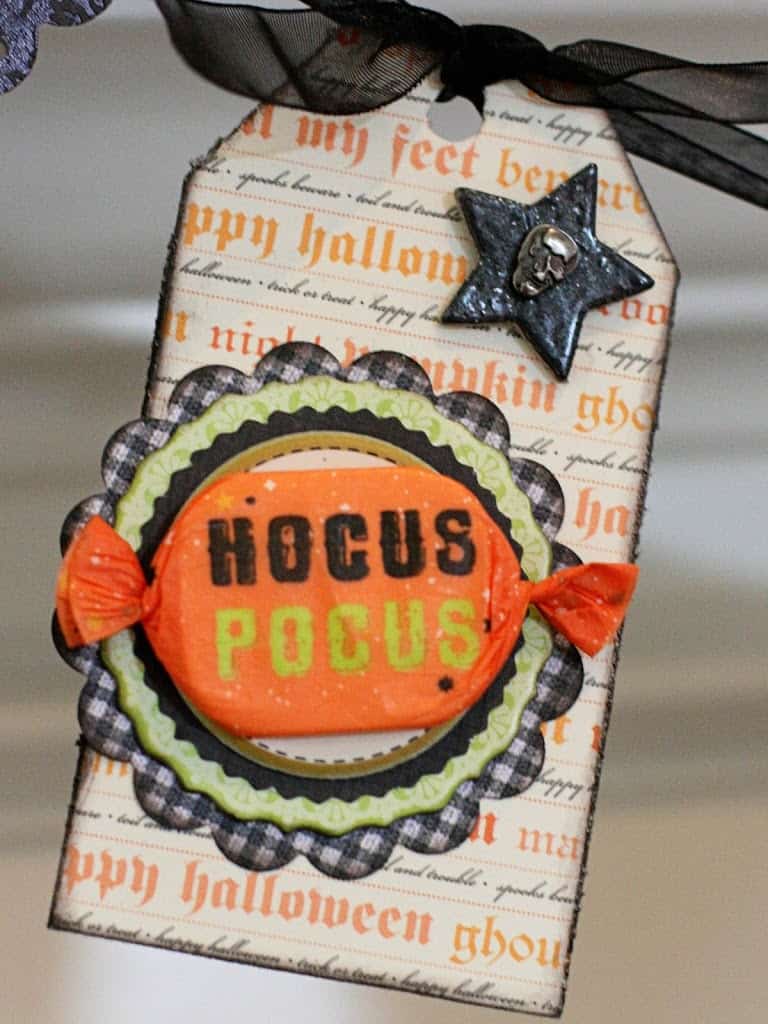
And lastly, this tag’s focal point is this adorable sticker made to look like a piece of candy and lots of layers underneath.
Here’s another look at the banner.
See that Trick or Treat framed art on the mantle? I created this fun image to share with you,
download here. Just print it out and place it in a 5×7 frame you’ve already got around your house!
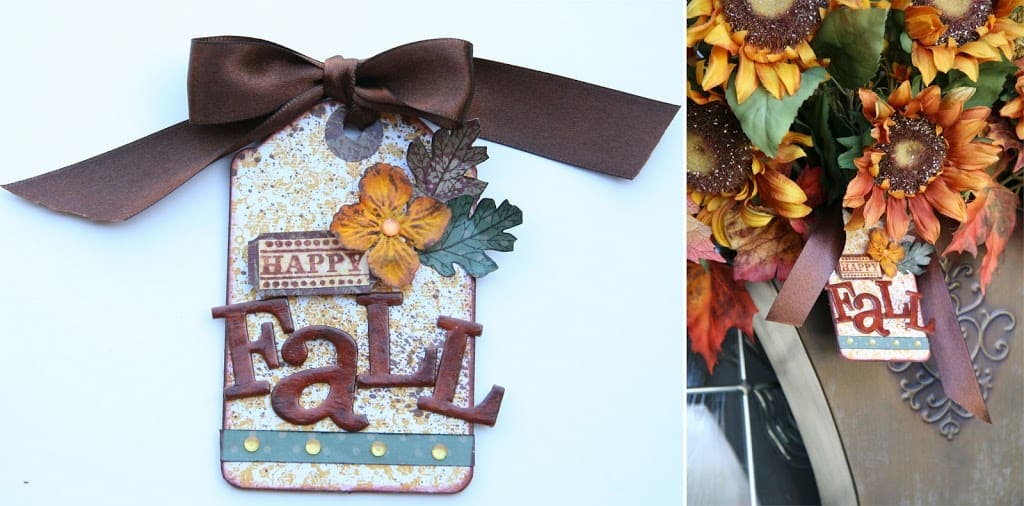
And lastly, because the assignment called for us to make a fall tag as well, I turned my fall tag into an embellishment for my front door arrangement. I think the house is ready for fall!
I hope you are inspired to dress your house with your scrapbooking supplies for the fall holidays.
Halloween Banner Supplies:
Chipboard: GCD Studios (shapes, tags, banners and bird) Patterned Papers: GCD Studios (Paris Nights and Lydia Collections and Making Memories) Stickers: Martha Stewart & Making Memories Brads and Gems: Recollections Ink: Colorbox Stamp: Bo Bunny
Fall Tag Supplies:
Chipboard Tag: GCD Studios Patterned Papers: GCD Studios Chipboard letters: Heidi Swapp Stamp: Inkadinkadoo Ink: Colorbox Stamp: Stampcraft Flower: Prima
Thank you for subscribing to Paper Daisy Designs. Please continue reading on the blog. I appreciate having you as a reader.


Thanks for such an inspirational Halloween banner !