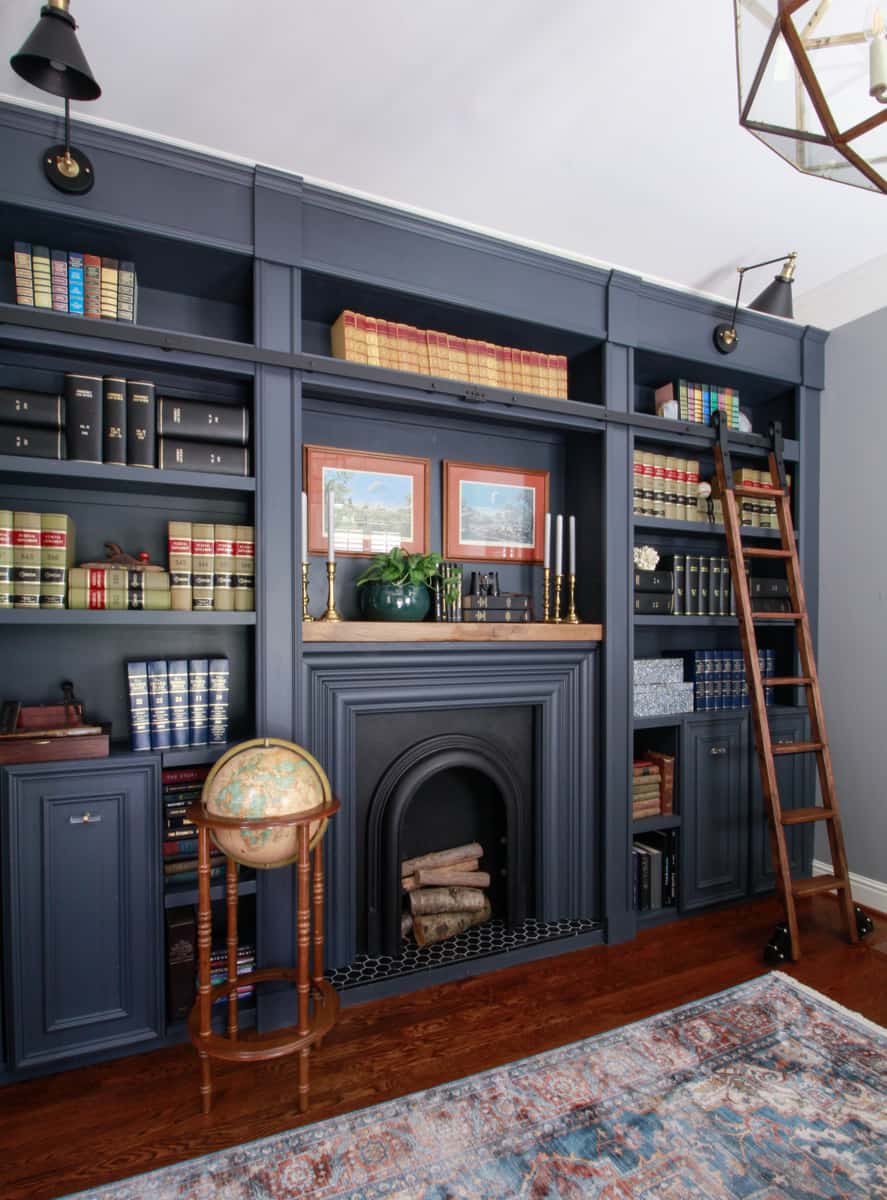
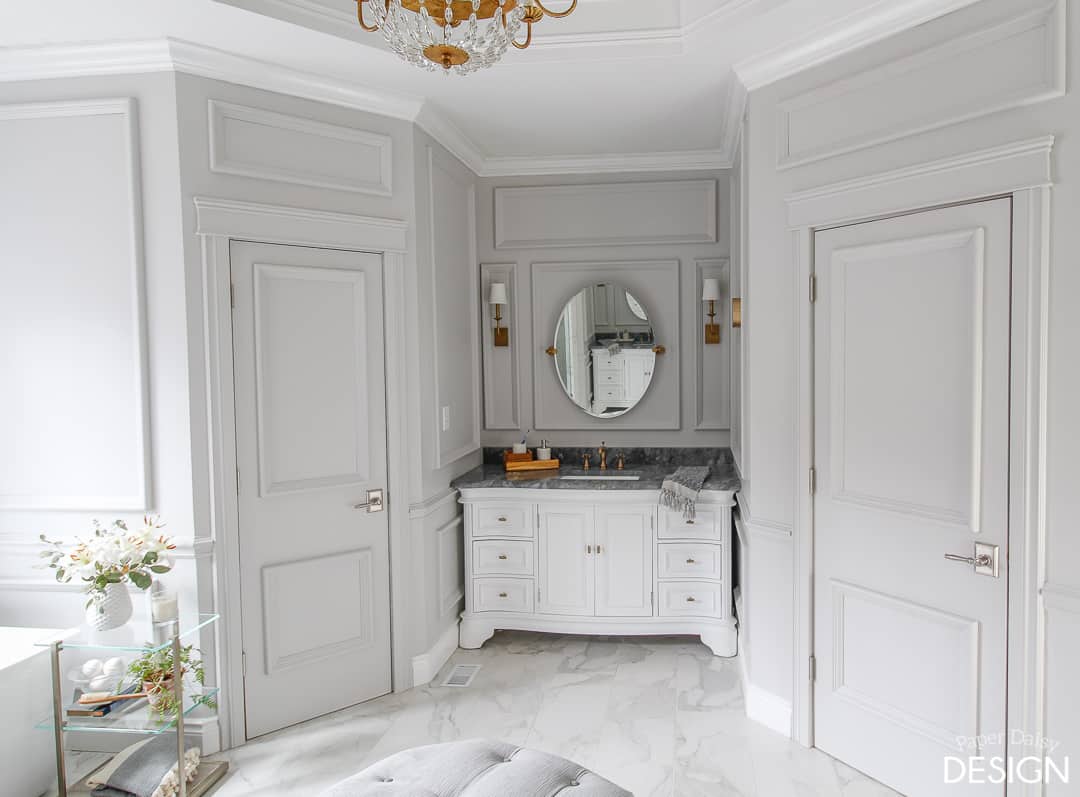
We have added our share of built-ins and moulding to our home through all of our home improvement projects. We have built custom closets, added bookshelves to existing cabinetry and we have even completely clad our master bathroom and our dining room with moulding of all sizes and shapes!
What we have learned from these past projects is that filling all those nail holes properly is time consuming and honestly kind of frustrating!
This post is sponsored by Ryobi Powertools. All thoughts and opinions in this review and tutorial are my own.
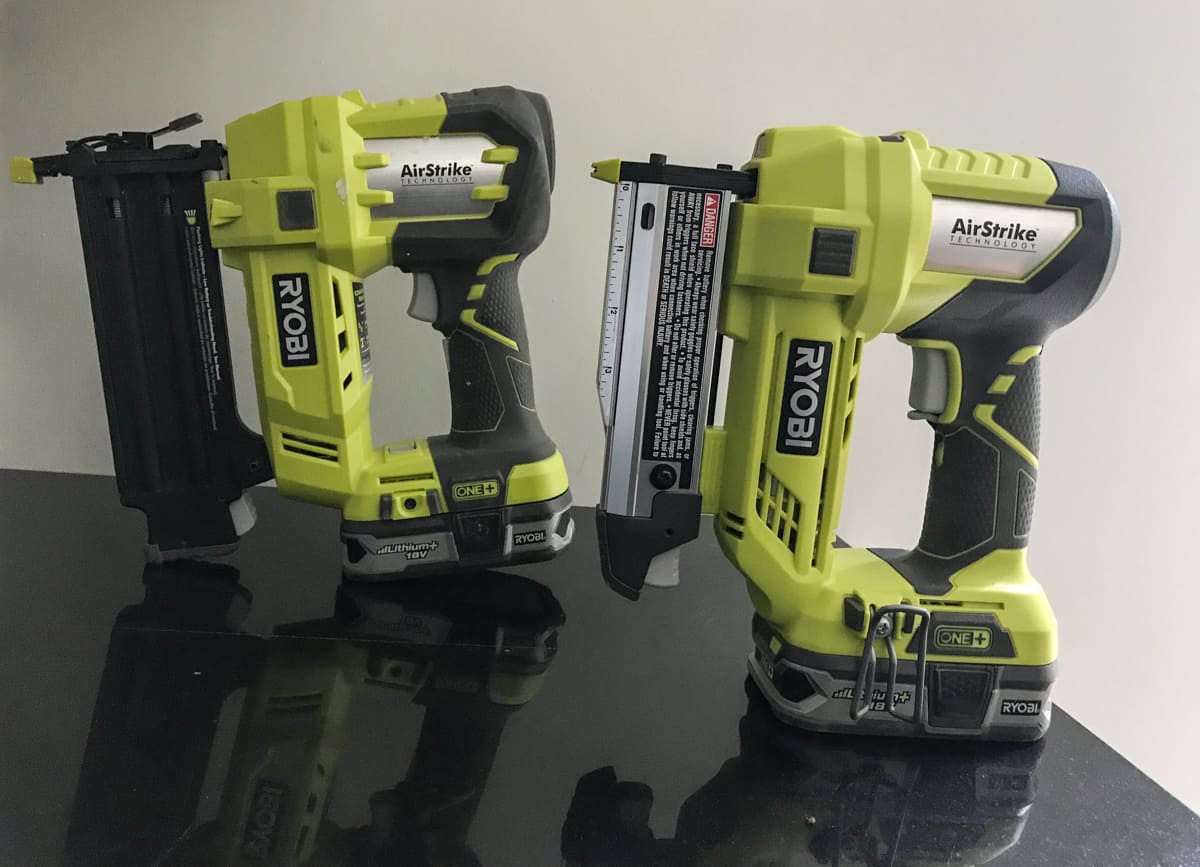
Don’t get me wrong we love our Ryobi One Brad Nailer! The nails are perfect for building projects, but they are larger, 18 gauge, and require filling or caulking. (I prefer to fill holes with some type of filler and sanding instead of using caulk. Caulk can shrink leaving behind an indentation you were trying to hide.)
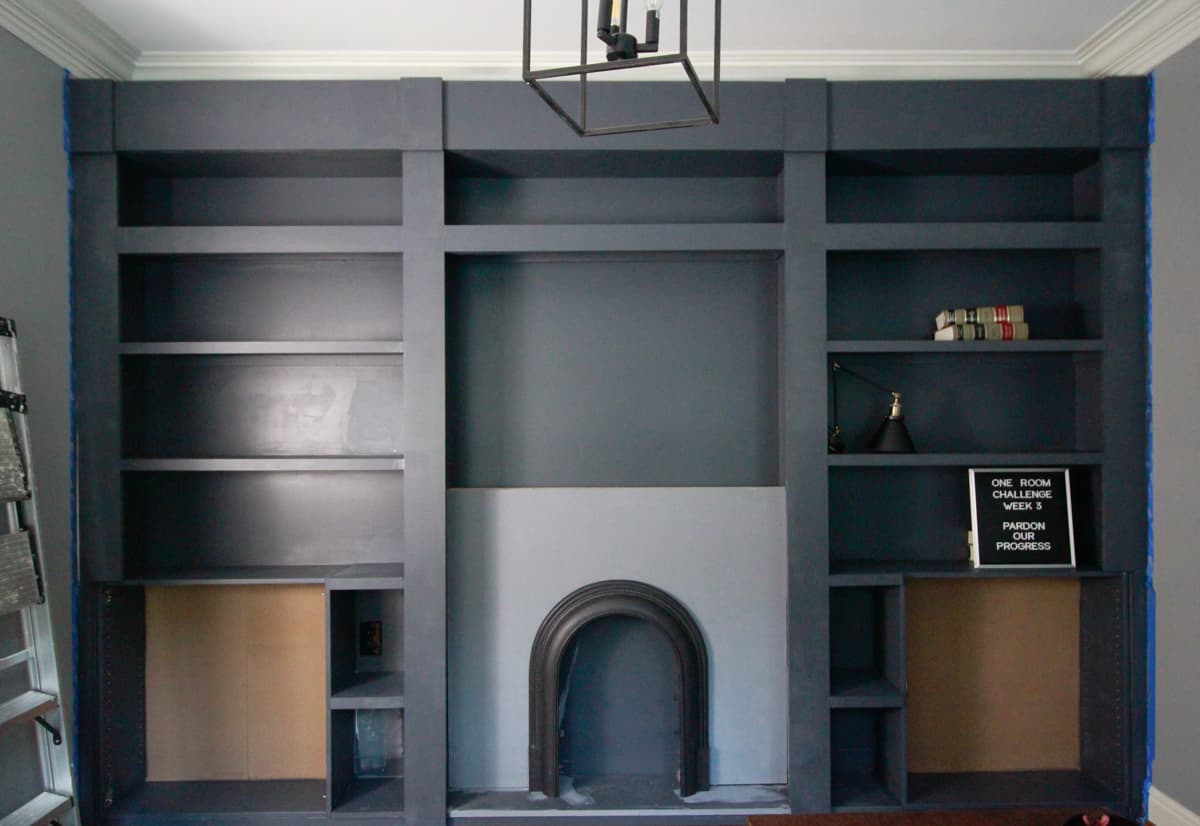
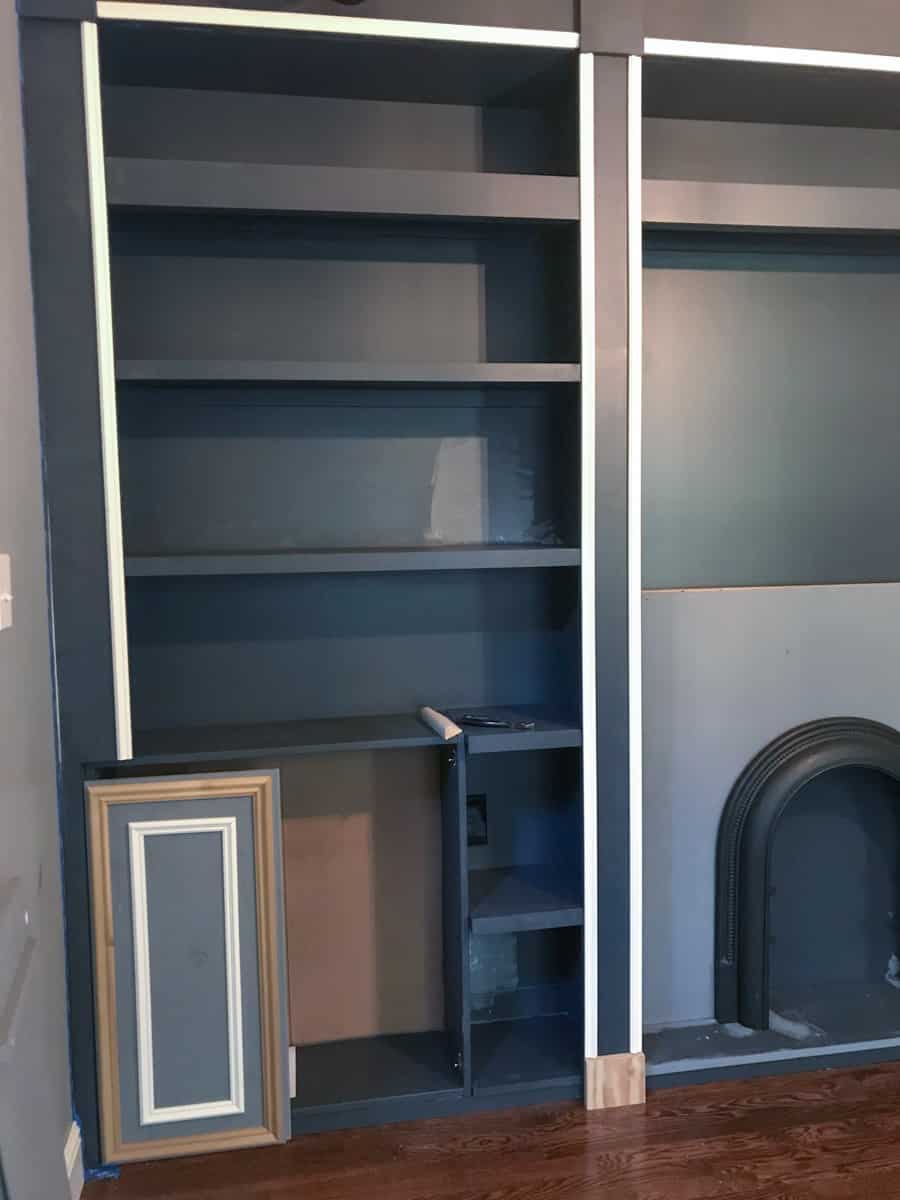
Once we got to this stage of the library built-in wall, I had already filled and sanded all of the holes left from using the brad nailer.
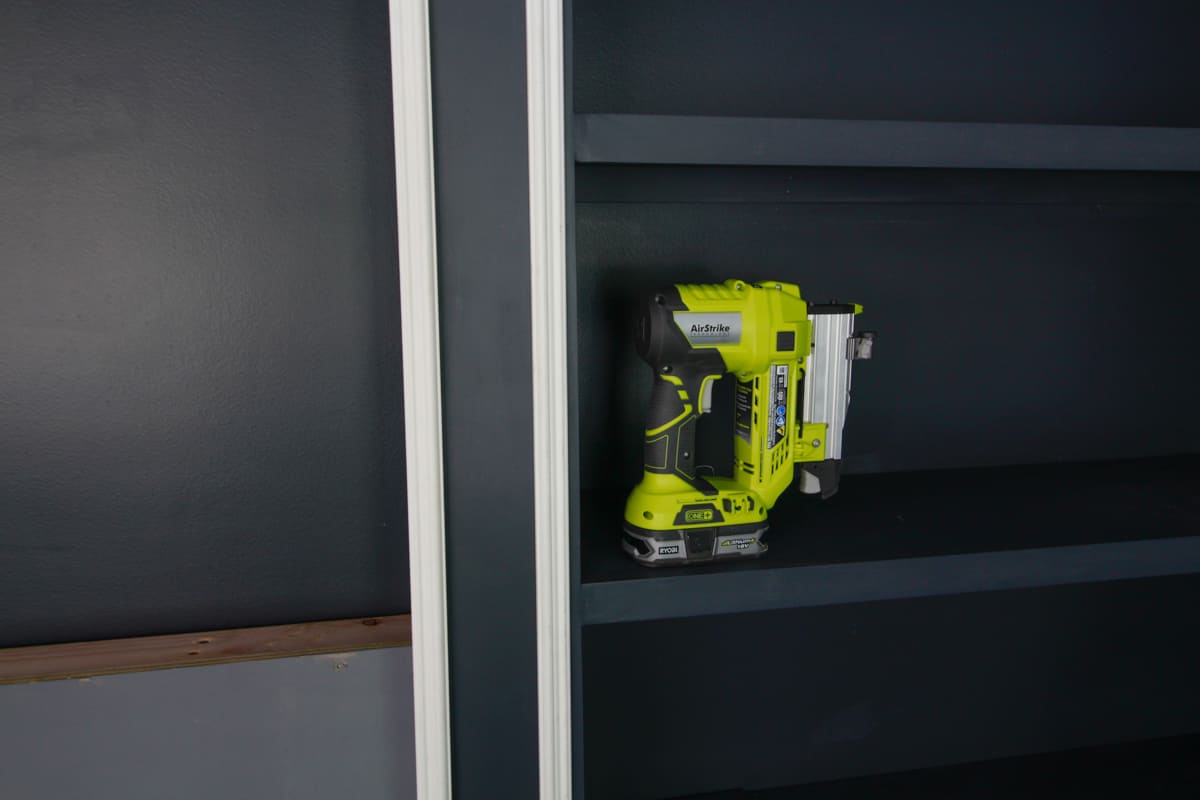
In hindsight, I definitely could have used the Ryobi One Pin Nailer to add the 1×2’s to the edge of the shelves. I quickly learned the smaller, 23 gauge nails, completely disappear, especially after painting. The pin nailer could have saved me a great deal of time. But not having used a pin nailer before, I wasn’t certain how much wood it could support. Now I know the nails are not only small, but strong! Live and learn they say!
Once it was time to add the trim & moulding, my pin nailer arrived and I was ready to put it to work. It preformed beautifully! It was easy to use, completely trouble free and delivered the nails accurately and solidly.
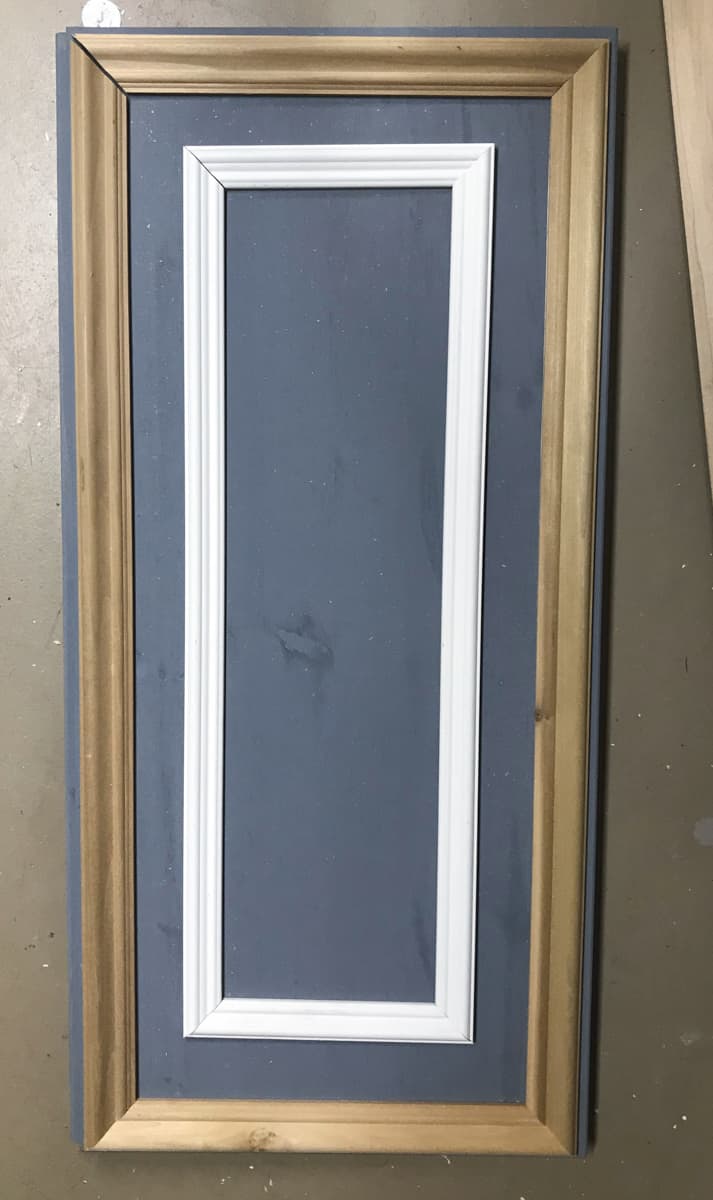
It was quick and easy to add trim to these flat panel cabinet doors we installed in the wall from Ikea.
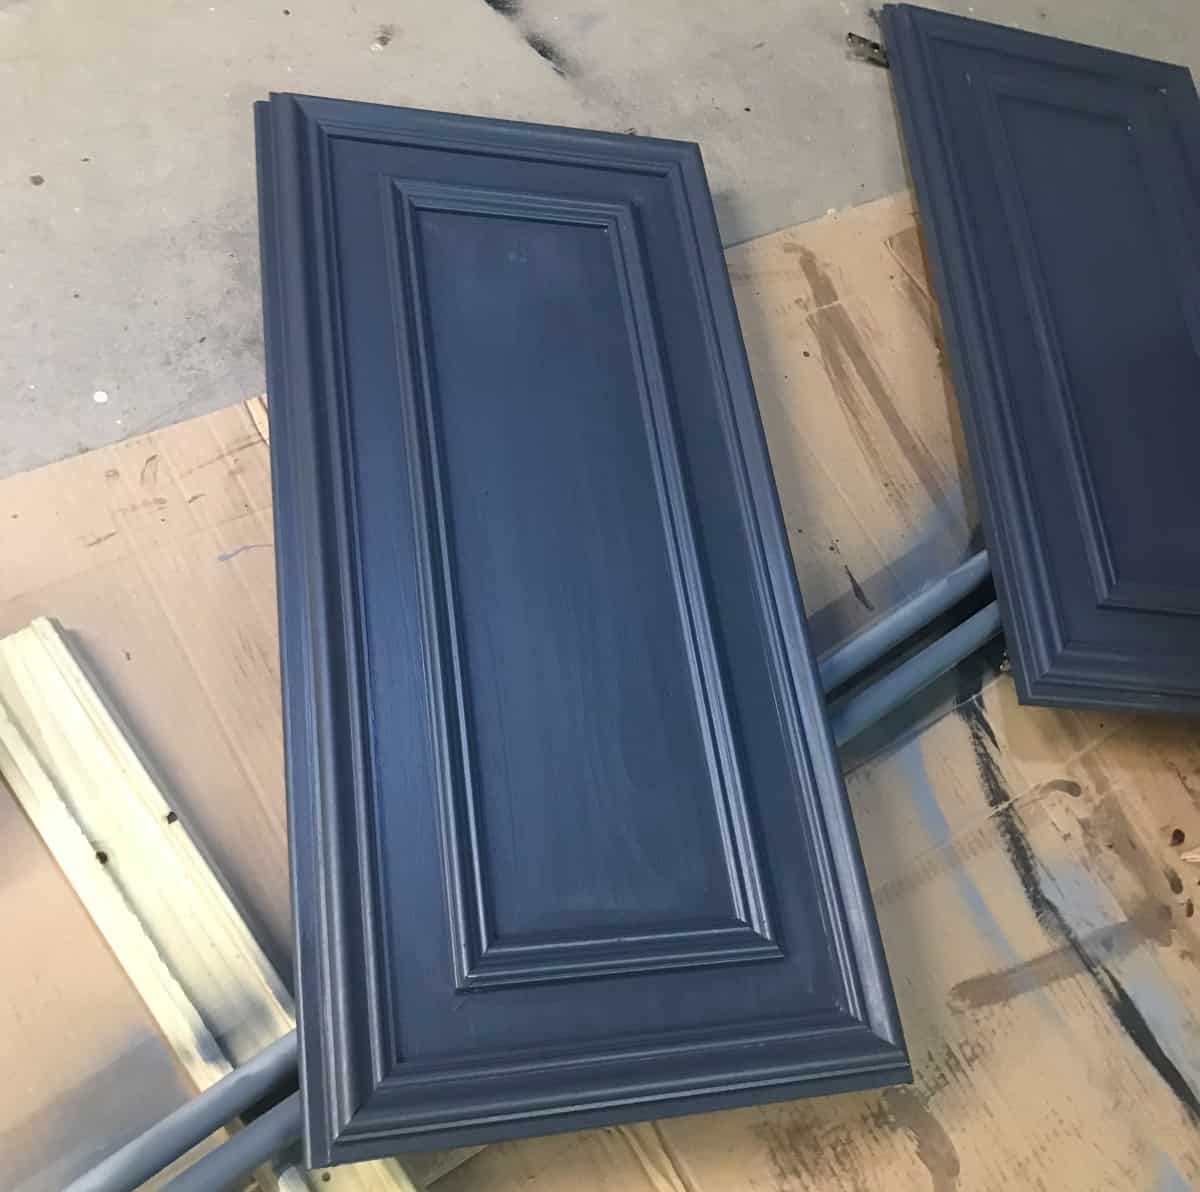
Once I had all of the pieces cut to size, I used the pin nailer to add the moulding. One coat of paint and the holes were completely invisible! And even if you weren’t painting, the nails are so small, you would have to look extremely close to see them.
I give some easy tips to make quick work of cutting and applying all of this trim to 4 doors in the video below!
Watch this video as I explain how I used the pin nailer, in detail and how to add trim and moulding to cabinet doors, as well as how I added trim to the built-in library wall!
I’ll be keeping my Ryobi brad nailer handy for all kinds of building projects, but for finishing the pin nailer is definitely my new best friend!
Special thanks to the continued support of Ryobi Powertools! Their continued support help make my various building projects possible! All thoughts, project designs and opinions are my own.







4 Comments
How to Add Moulding to Cabinetry and Built-Ins – UTAHGateway.com
May 21, 2018 at 10:18 pm[…] post How to Add Moulding to Cabinetry and Built-Ins appeared first on […]
Top Women Bloggers into Power Tools – Tools Critic
June 29, 2018 at 8:45 am[…] Favorite post: How to Add Moulding to Cabinetry and Built-Ins […]
Dawn
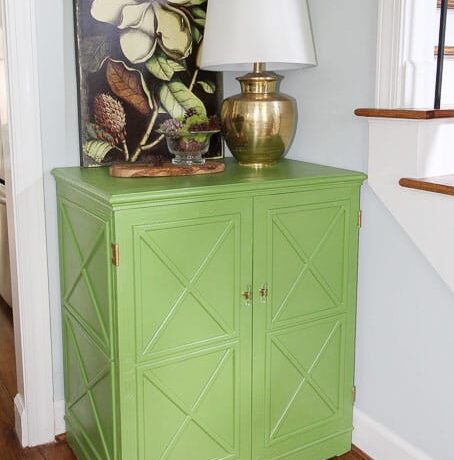
July 31, 2021 at 11:04 amI love the paint color you chose for your cabinets. Can you tell me what paint you used and the color?
Michelle
November 3, 2023 at 2:44 pmThis is amazing!