Creating a Mask and a Challenge
Creating a mask is a great technique to use with acrylic paint or mist. And today, I’m going to show you how I did both!
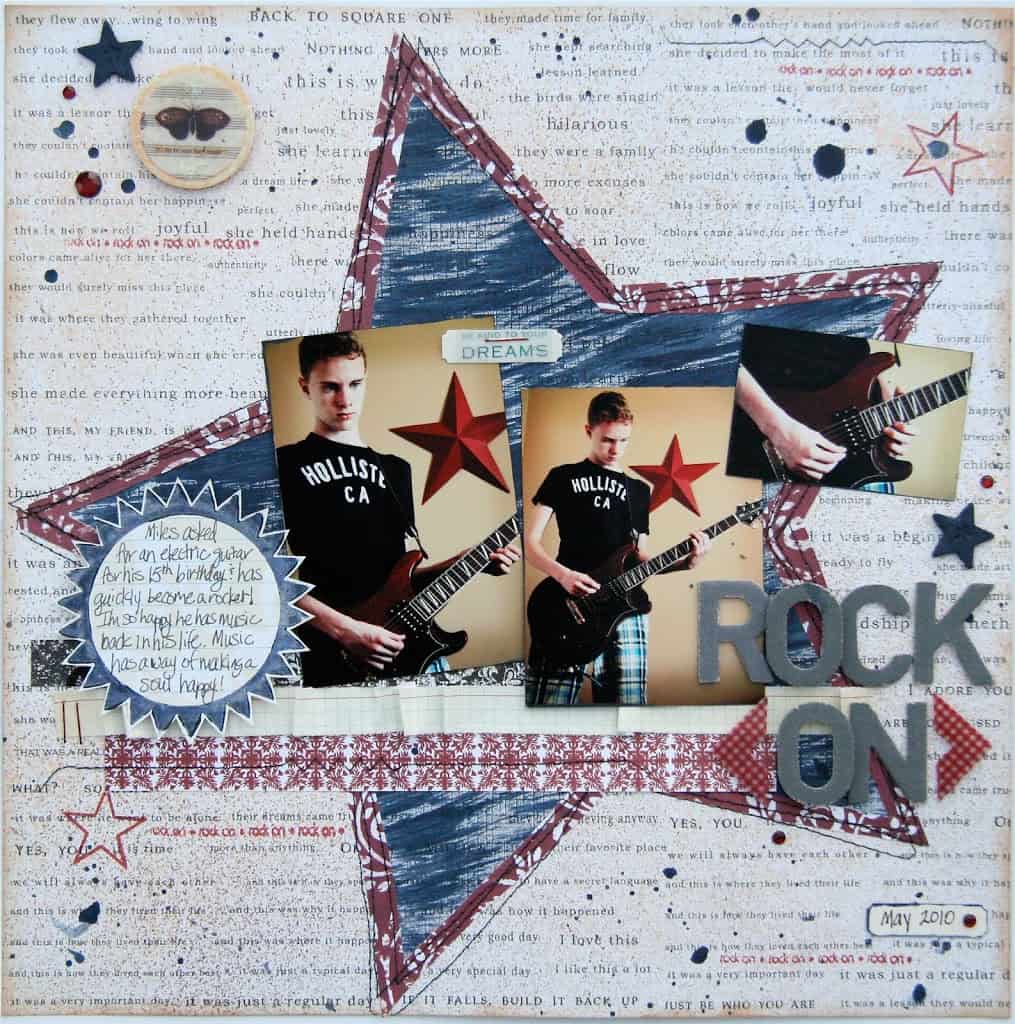
I wanted to use a star theme on these “Rock Star” photos of my son with his new electric guitar. Here’s what I created.
To create my extra large star mask I started in my publishing software program, Pages, and made a star as big as would fit on an 8.5” x 11” paper.
Once this printed I placed it on top of a scrap piece of 12” x 12” paper, and used a ruler to enlarge my star to fill up most of the paper, then I cut new star out.
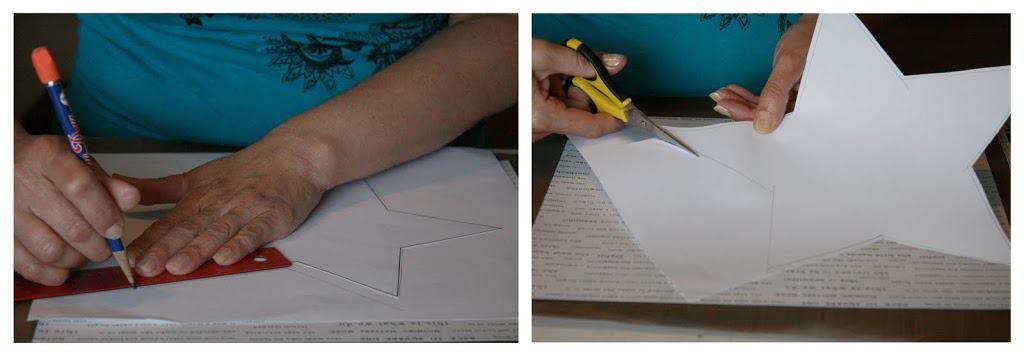
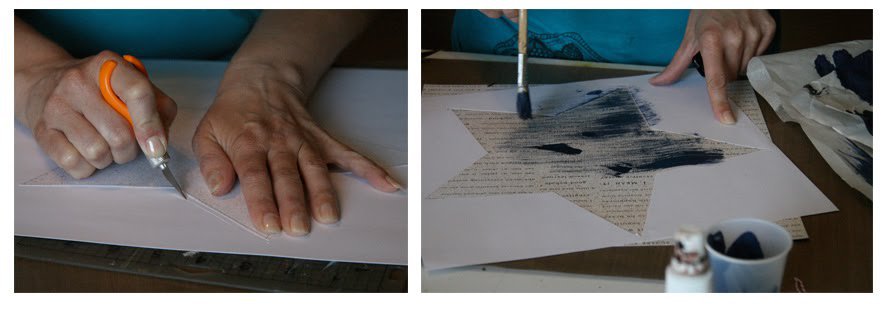
Then I cut the star out using a craft knife so I could have a negative space to paint in. Again, I cut the star out leaving an additional border, to enlarge it further.
Next, I adhered the star to my background paper (which had been previously misted with Cream Metallic and Brown Mist). Using an old paint brush, I dry brushed slightly watered down paint to the inside of the star.
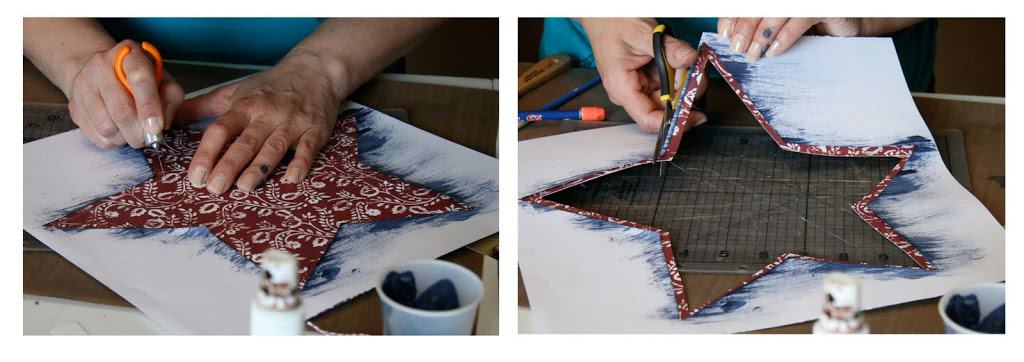
Once I finished painting, I removed my mask and used it to cut out the same star shape on my patterned paper. I began by cutting all around the inside of the mask and once this was finished I used scissors to cut on the outside of the mask.
Then I was ready to adhere the cut star on top of the painted star. I decided to machine stitch around the paper star to further highlight it. Here’s a closer look.
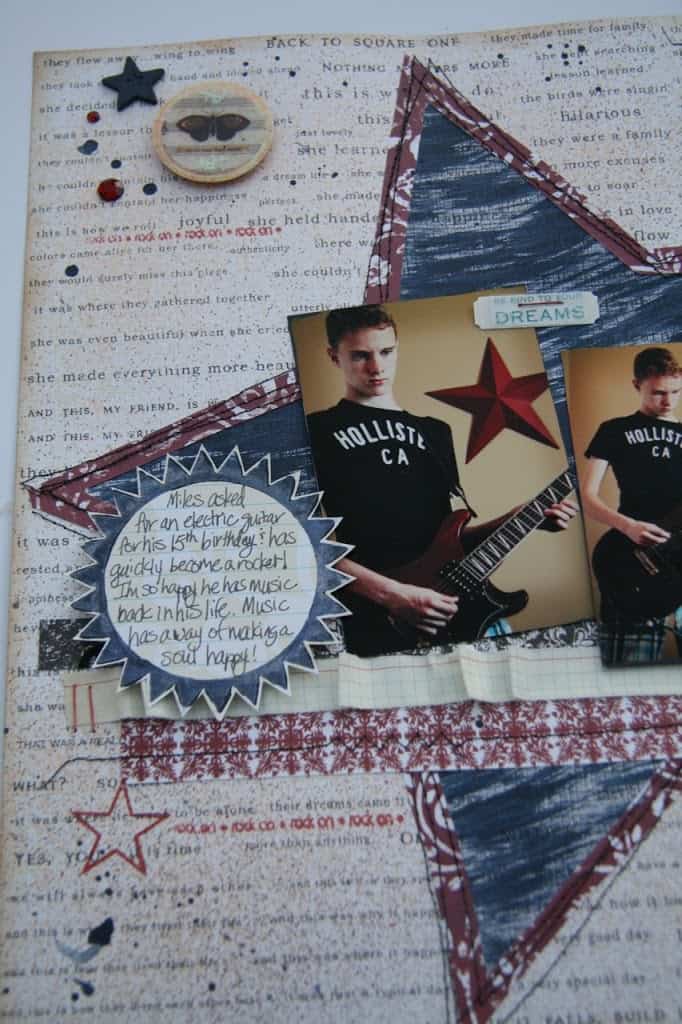
I used the Melody Ross Chip Art tool to de-boss a tiny star inside a larger one and painted it with the same blue paint I used in the mask and in droplets on the background.

Supplies:
Patterned Paper and Transparency Designs: GCD Studios Artsy Urban by Melody Ross. Chipboard letters: American Crafts. Chipboard: Maya Roads. Mist: Maya Mist. Paint: Folk Art {Midnight Blue}. Stamps & Rip Strips: Studio Calico. Ink: Ranger Distress Ink {Fired Brick, Tea Dye}. Rhinestones: Studio 18.
I hope this inspires you to create your own mask, whether it’s oversized or just cut with die cut machine or a punch. Mist works just as great as paint. It all depends on the look you are trying to achieve.
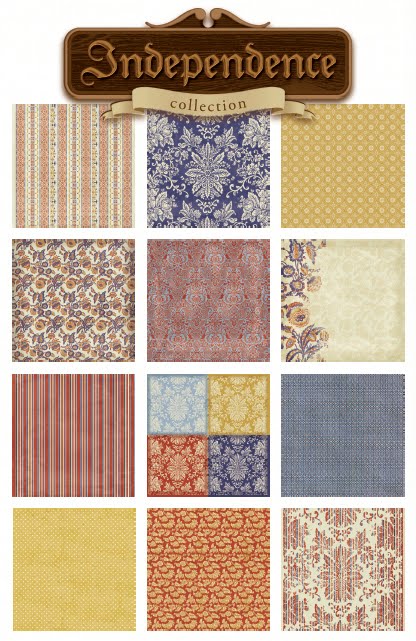
Check out this challenge posting at Scrapbooks.com for more details. The prize is the complete Independence collection!
I hope you join me in this challenge!! I’m looking forward to seeing what you create!


love this – it's the perfect teenage boy page!
Gorgeous page and great tutorial! Thanks for the inspiration!!!
really cool! thanks for the tutorial!1
Thanks for hopping over and leaving a comment on my page. I am becoming hooked to GCD Studios papers. This is another great page and I love the negative mask + border idea.