And how to tie a San Diego Jam Knot
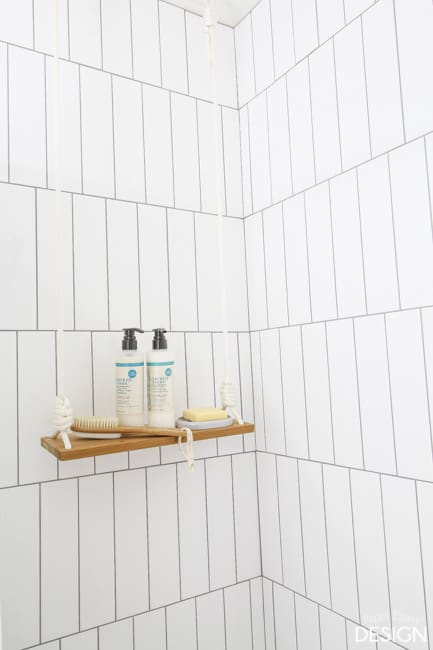
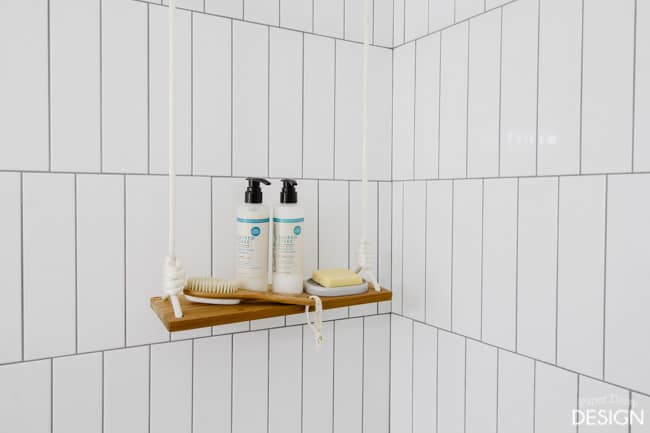
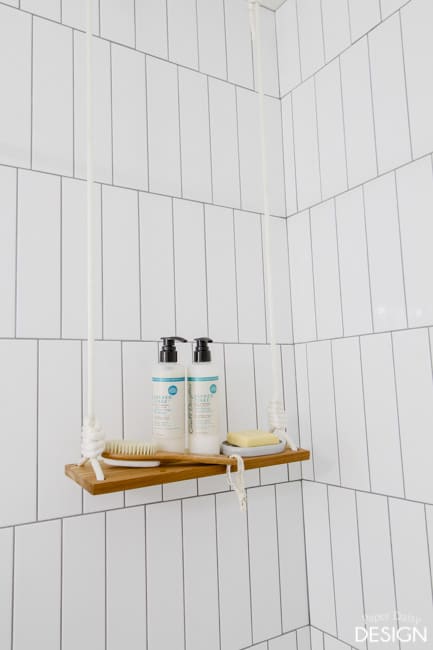
Add a little whimsy and a bit of storage to your space with this rope swing shelf. The coolest part of this swing shelf, I think, is the knot I used to tie it all up. This particular knot is known as the San Diego jam knot and I’ll teach you how easy it is to tie in the video tutorial below.
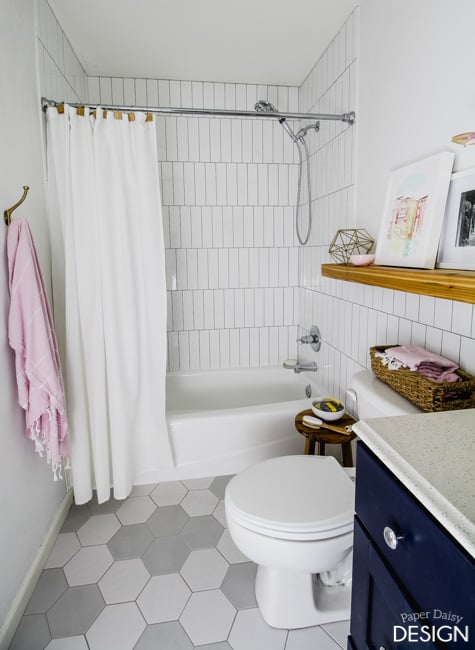
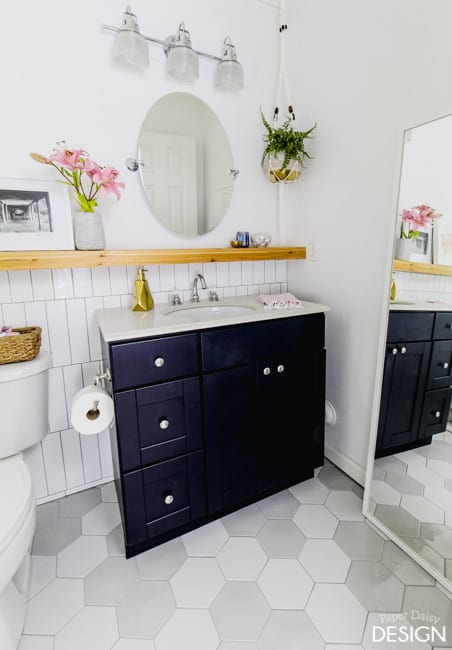
When we renovated our daughter’s bathroom, we did not want to add a recessed niche. We all agreed we liked the look of the clean vertical tile lines uninterrupted.
But without a niche, bottles, and soaps quickly cluttered up the tub corners, so I thought a swing shelf would be a fun solution and infinitely happier than a wire basket.
To assemble your own swing shelf here’s what you will need:
• Wood, I used a scrap of cedar left over from the floating shelf we built for the room. I give details below.
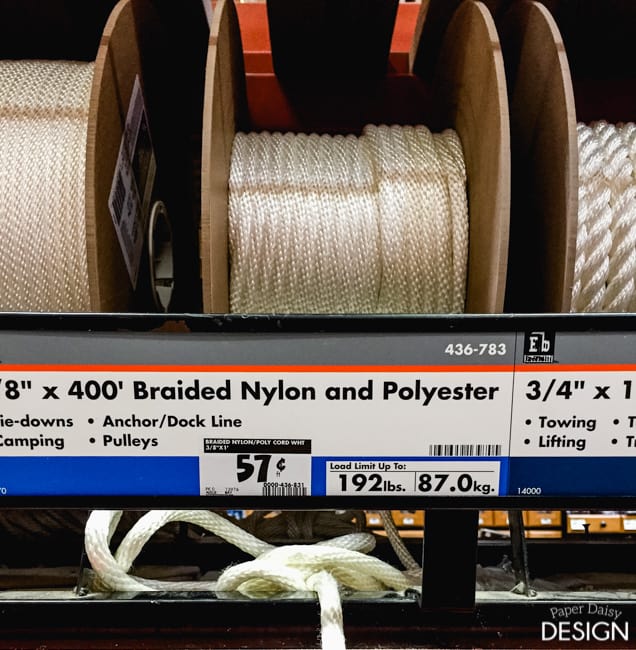
• Rope, about 20 feet of 3/8″ Braided Nylon Rope (Poly Cord). It’s available by the foot at The Home Depot.
Here’s what it looks like on the shelf
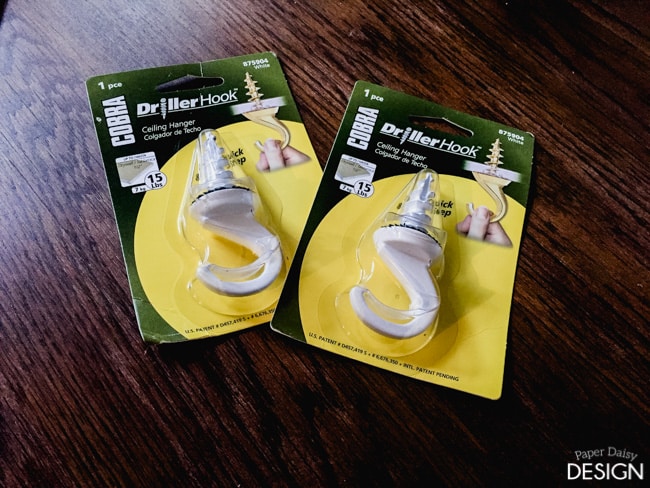
• Drywall Anchor Hooks: the ones I used will hold up to 15 lbs.
These are the hooks I used, also from The Home Depot.
How To Prepare the Swing:
Begin by cutting your wood to the size desired. Our swing shelf is 5.5″ deep by 16″ long. I chose to use cedar wood because it naturally handles exposure to moisture better than wood like pine or oak. You could easily purchase a super inexpensive cedar fence board to use for your shelf!
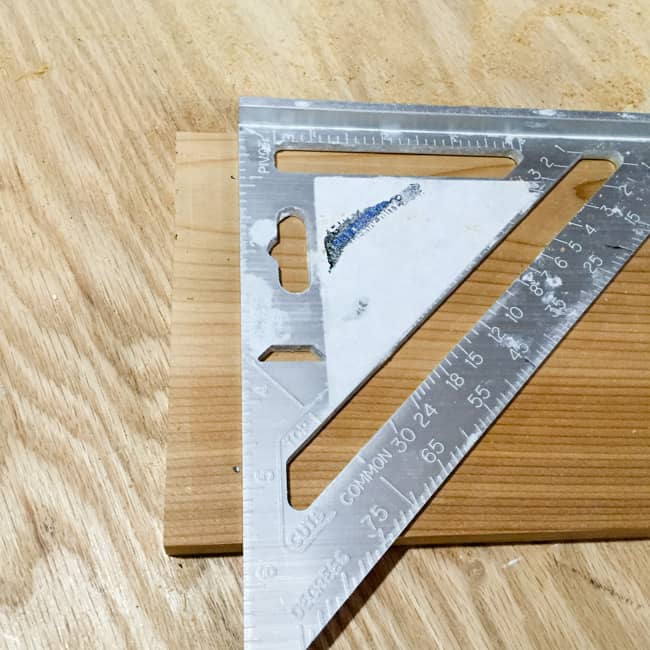
• Mark where you will drill the holes for the rope, about an inch from the edges of both sides.
• Using a drill bit specifically for boring holes into wood is recommended. A regular, large bit will likely cause the wood to crack.
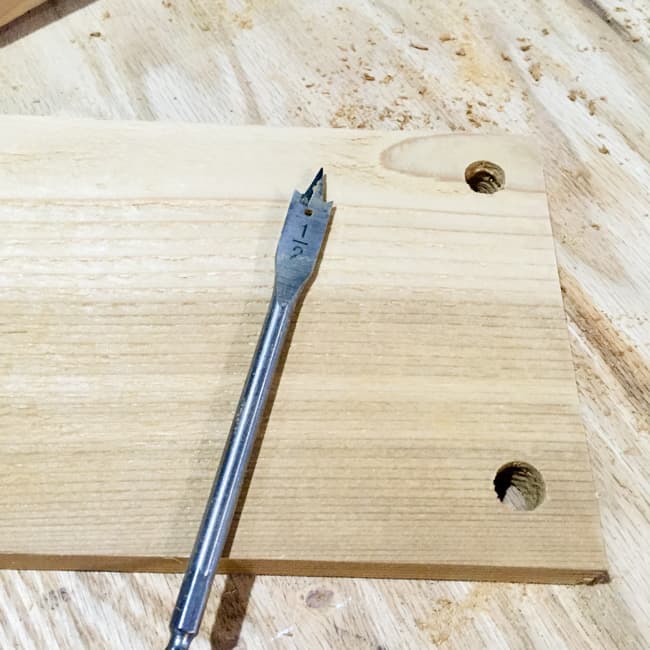
Be sure to clamp your piece of wood to a work surface before drilling. Even though you can see there is a small starter hole on the left-hand side of the board, I would not recommend pre-drilling. If you have the right bit, like those that come in this wood drilling kit (affiliate link), it is not necessary. Pre-drilling caused the wood to crack. We had to cut a new piece of wood after this photo.
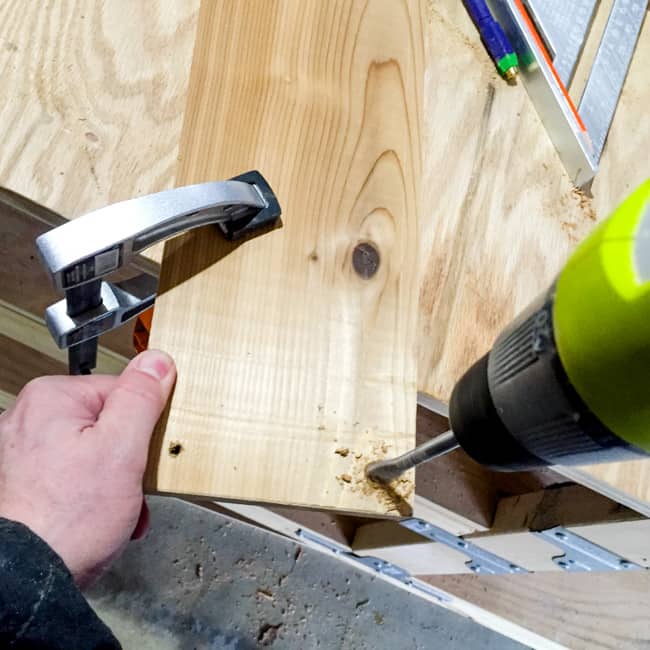
• After drilling holes, sand your wooden swing until it is smooth. If you are using a fence board, extra sanding will be necessary.
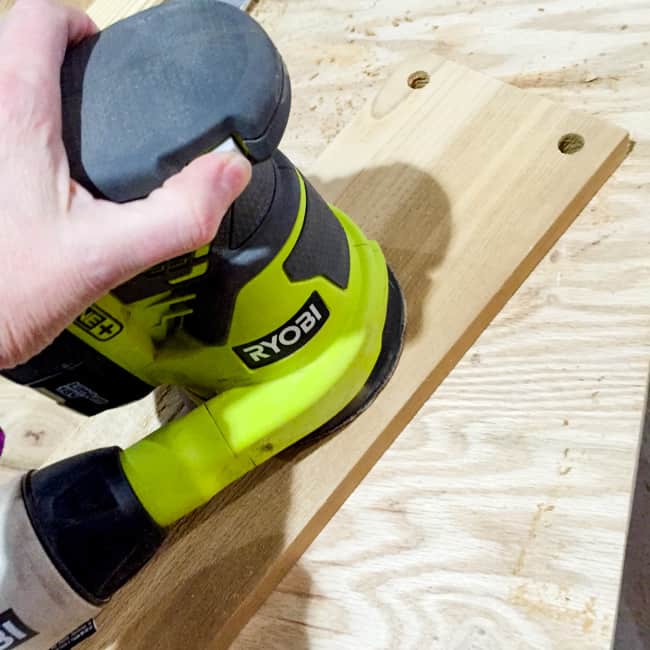
• Don’t forget to use a small piece of sandpaper to smooth the inside edges of the holes for the rope. This will prevent the rope from snagging while being feed through the hole.
• Finish your shelf with an appropriate sealer.
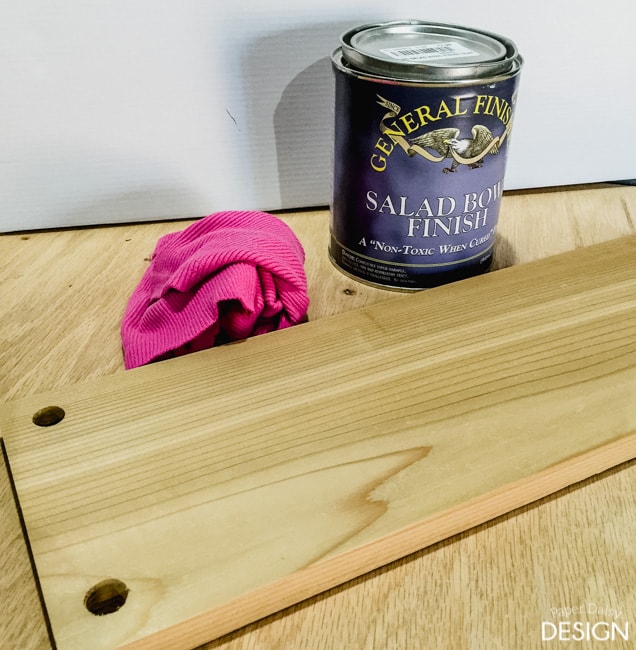
• Now, you are ready to tie your knots.
• After you tie the knots for the swing, you want to hang your shelf and get it level. I made a mark on the rope where the loop should be tied. All of this is described in the video below.
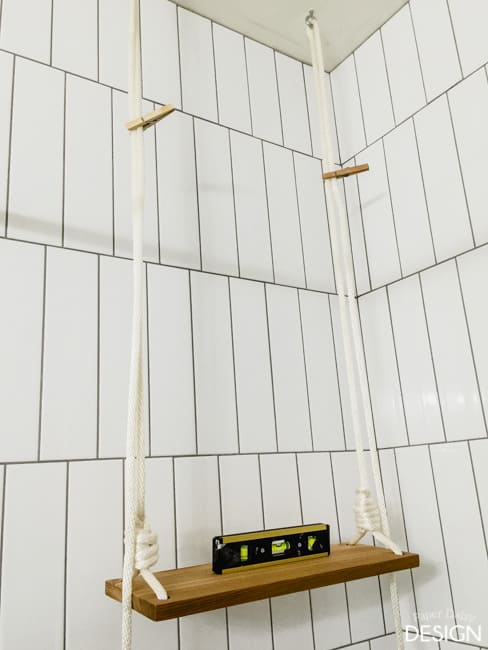
Initially, I wanted to use the eye-bolts as hangers, as seen here in the ceiling, because I thought they looked more authentic, fitting to the swing ambience. They seemed to work fine until I started messing with the knots, then the one on the right came out or the drywall. It was time to get practical and use the anchor hooks shown above.
I felt that demonstrating how to tie the San Diego Jam knot was the perfect time for me to venture into YouTube tutorials. It’s just kind of something you need to watch and learn. It’s really quite easy when you get the hang of it.
How to Tie the Knot:
Here are some more helpful tips:
- Consider hanging your shelf close to a wall for less movement.
- Spend some time adjusting your knots to get the shelf to hang level and not flip. There is definitely a sweet spot to be found. Not unlike when you hop on a wooden swing!
- If your shelf just won’t quit flipping you can attach these strips to the back of the wood and the shower or any wall. We’ve not had much of an issue, we’ve only had things fall once. We have also found that the more weight that is on the shelf the more stable it becomes.
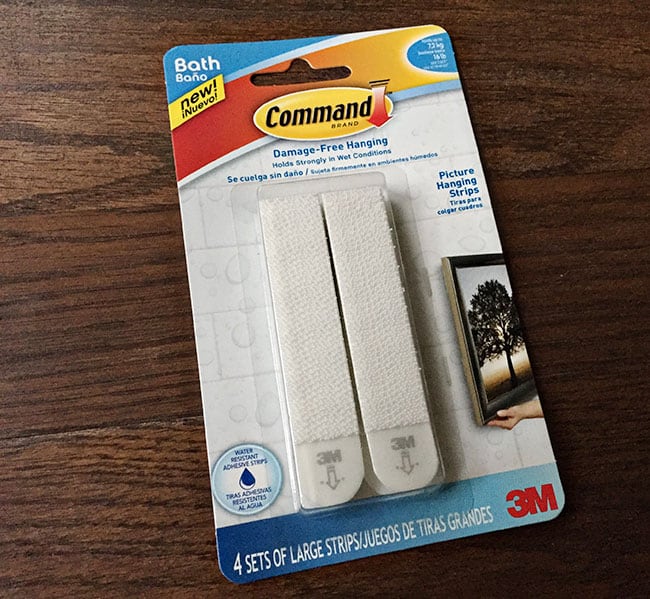
These adhesive strips are meant to hold in wet conditions. Who knew?
We have so many favorites in this bathroom makeover, but this playful storage solution is a winner that makes us both smile.
Want to see more of this modern bathroom makeover? Click here.
Can you think of other places a swing shelf could be just the solution you need for a little extra storage and just a little childhood nostalgia?





7 Comments
Sarah
February 16, 2016 at 12:37 pmSuch a great post – and you did a fabulous job on your video!! Congrats!! 😀
Leslie
February 21, 2016 at 8:17 pmThanks Sarah!
28 Great DIY's for Organizing a Tiny Bathroom - Ritely
March 6, 2017 at 2:41 am[…] 15. Rope Swing Shelf in Shower […]
pokemon go ultimate hack for android
April 20, 2017 at 12:51 pmOh Cindy I was so hoping you would show us an earring tute on these gorgeous beads so I am anxious for Friday. . I just finished making the Dogwood Flowers and have not been able to figure out how to make a matching pair of earrings for these lovely flowers.Can you come up with a tute on those also? I love it when you can make a matched set of anything.
12 DIY BATHROOM SHELVES TO ORGANIZE YOUR SPACE IN STYLE - DIY
September 1, 2017 at 6:29 am[…] Tutorial via Paper Daisy Design […]
Decorating The Bathroom On Budget – Cool DIY Ideas You Should Try - interior4you
June 11, 2018 at 8:06 am[…] But what about the ceiling? Maybe you could use that surface somehow. The swing shelf featured on deeplysouthernhome shows you how such a strategy can work out. This is basically a swing used as a shelf. It’s […]
Seamless Floating Shelf - DeeplySouthernHome
July 16, 2018 at 3:07 pm[…] That’s right! I hung a swing shelf in her shower to hold shampoo bottles and soaps. The full tutorial, including a video on how to tie the knots can be seen here. […]