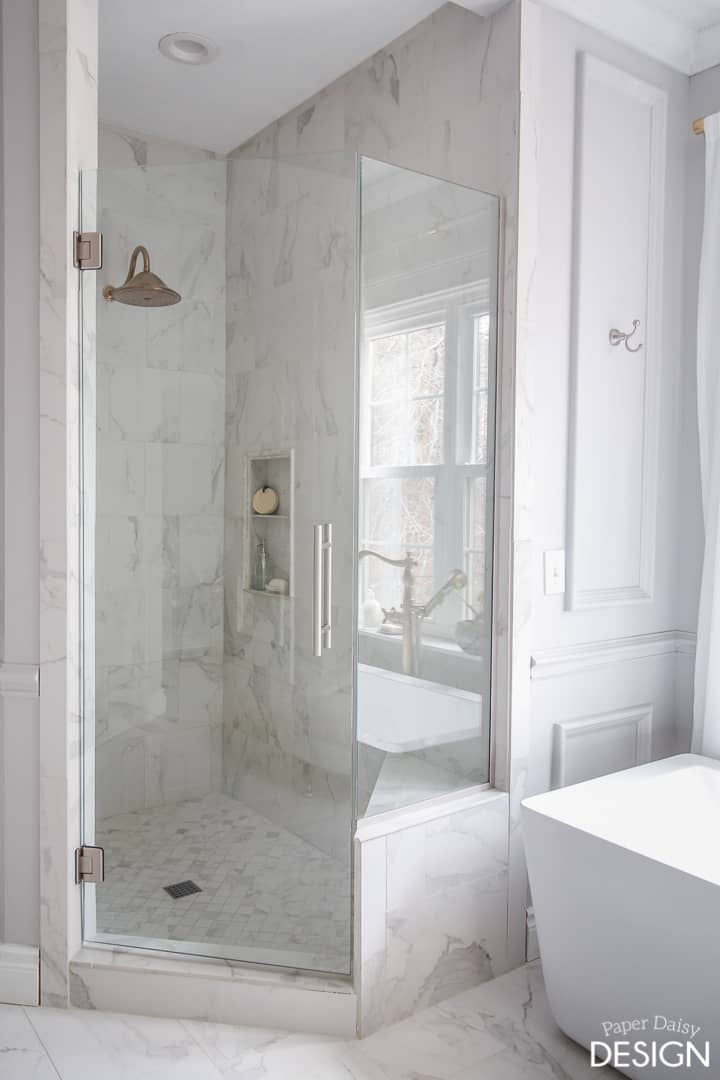
People often walk into our newly remodeled master bathroom and remark, “You did this? How did you do it?”
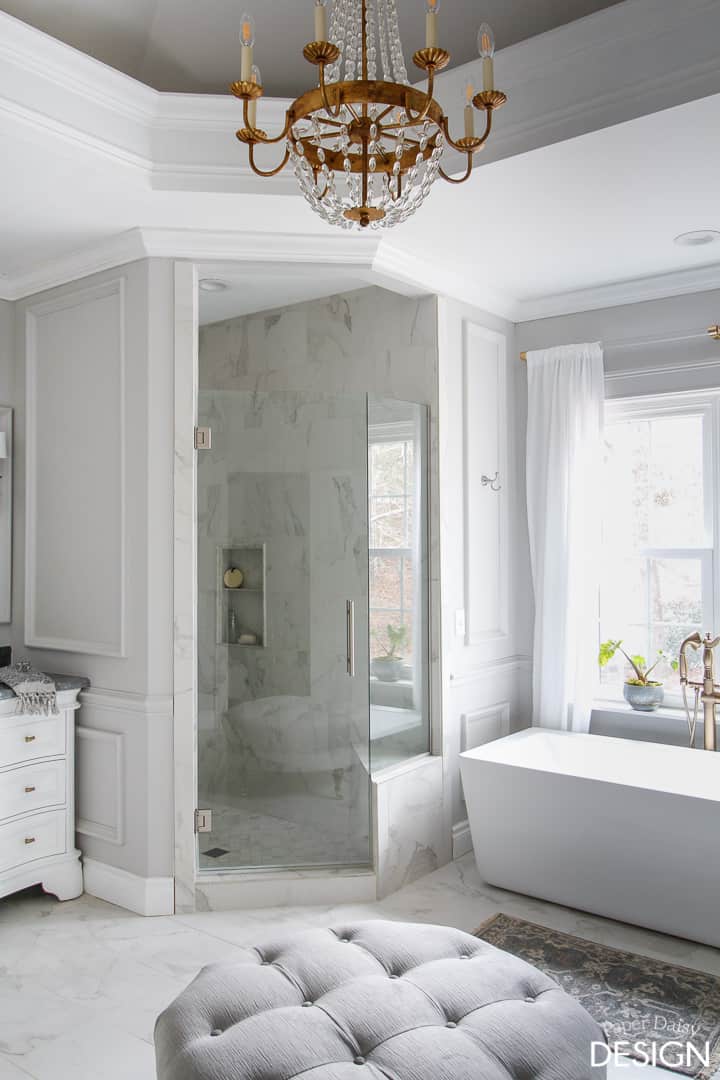
While I understand the bewilderment, I approach any project of this scope and scale the same way most people tackle any big challenge. By breaking the project down into achievable steps and mini-goals, anything is possible.
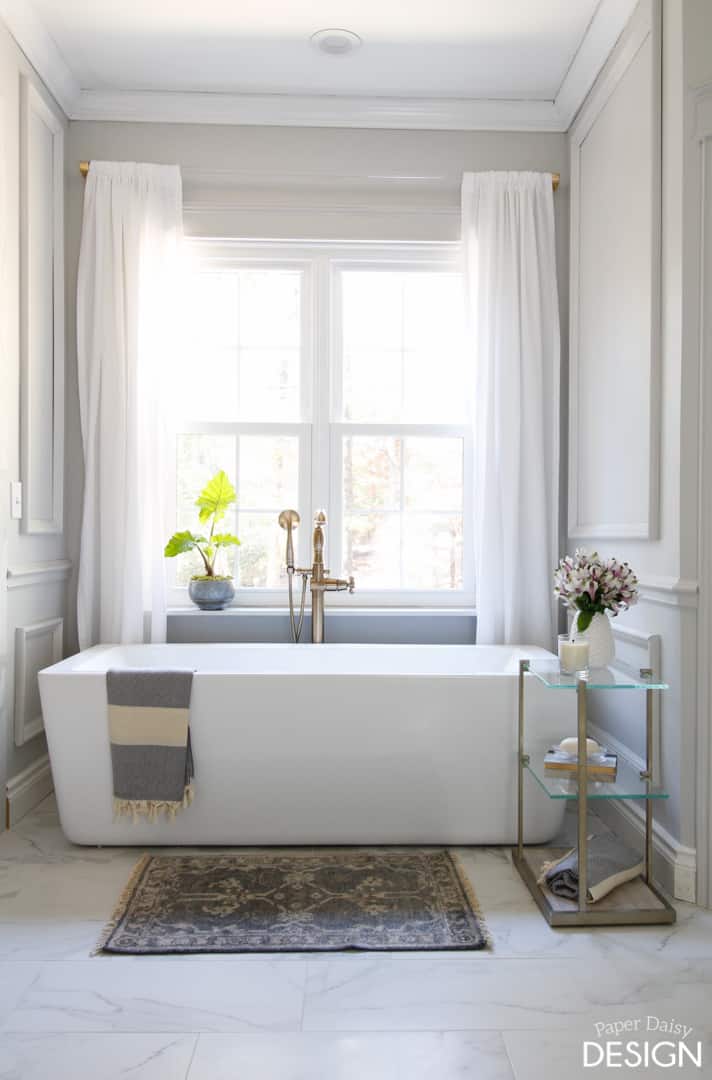
Add in a tight, public deadline for your project, like the One Room Challenge and before you know it, you have a completely transformed space.
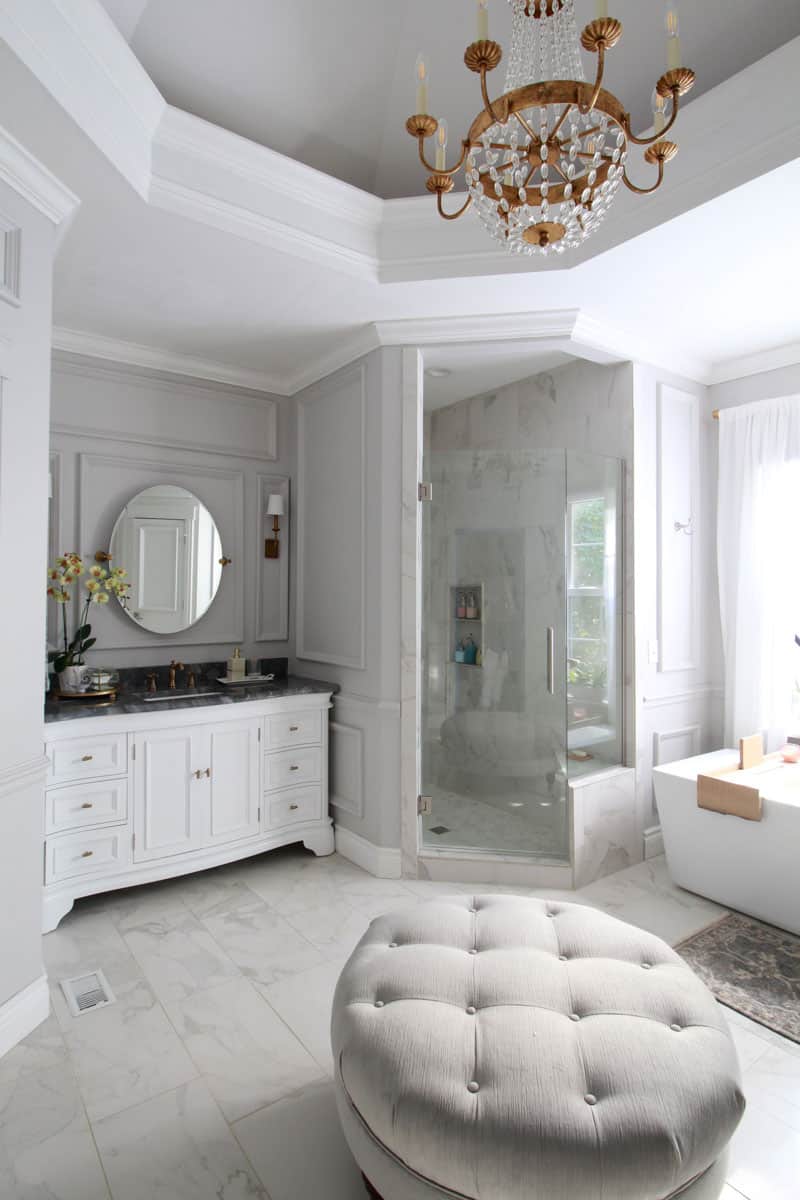
But what does this really look like? Well in the video below, I think I’ve shed some light on this. I take you from start to finish on the transformation of our master bathroom.
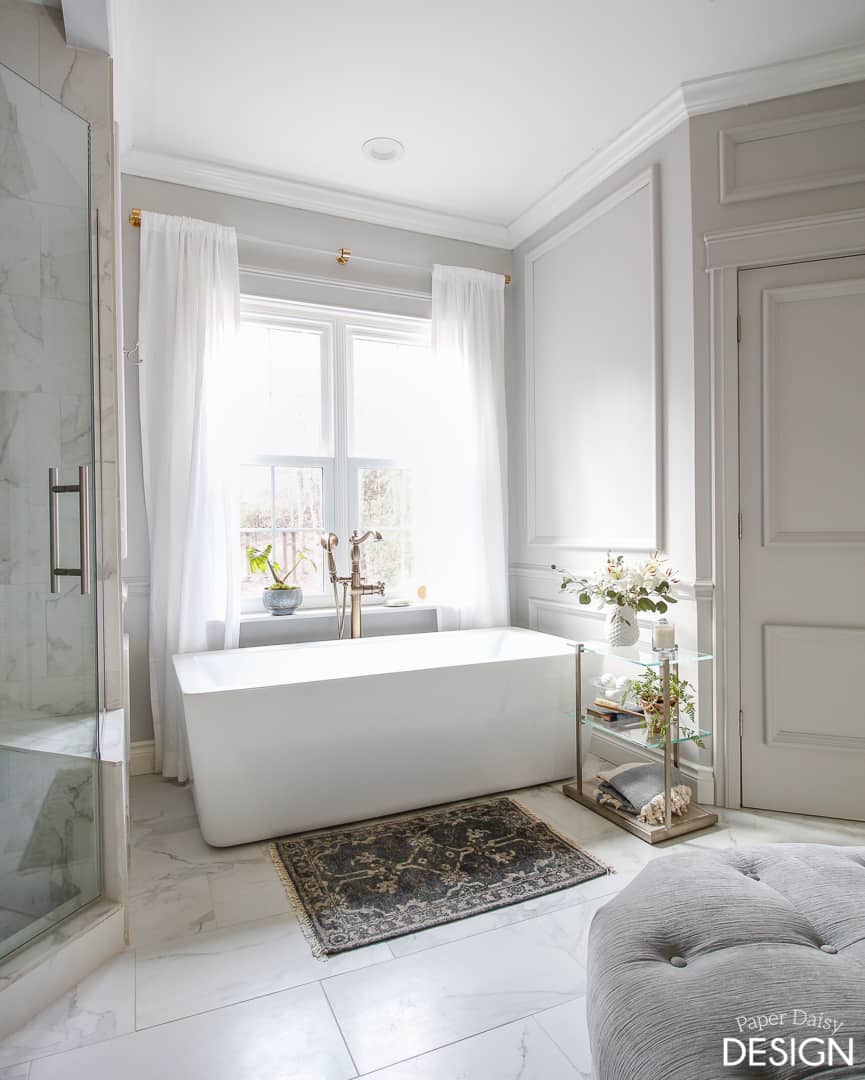
Now, I thought I would take you behind the scenes and show how I handled the inevitable curveballs of finishing a space like this.
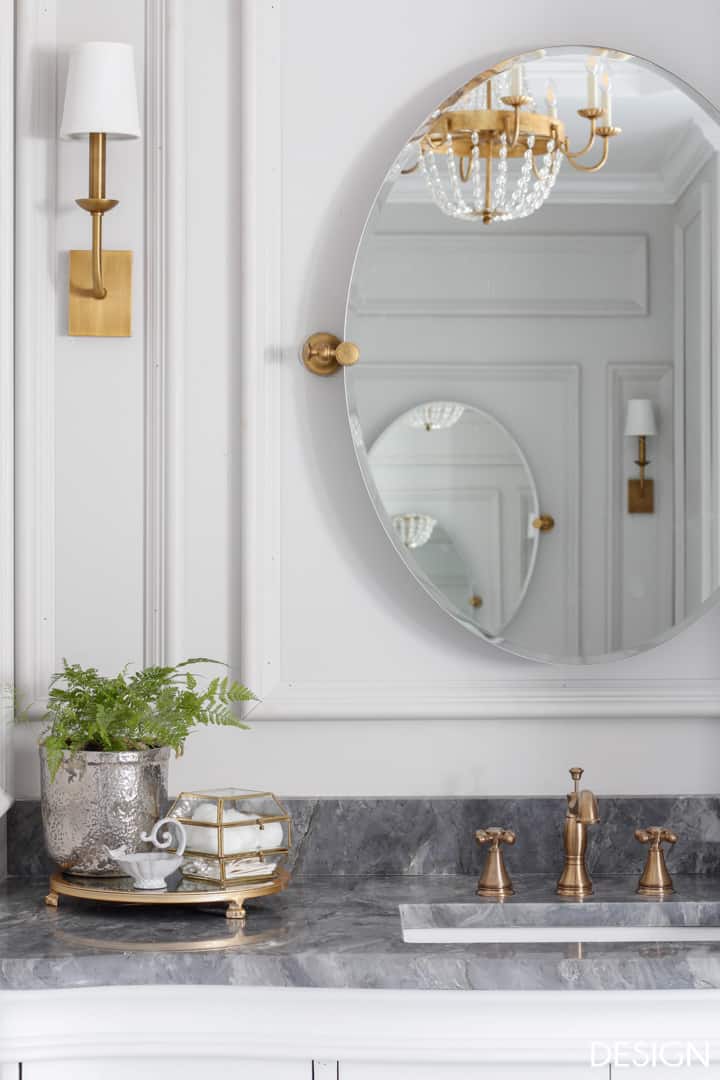
When I first began purchasing materials for the bathroom I had not fully committed to gold fixtures or Champagne Bronze as Delta calls it.
Shop the post
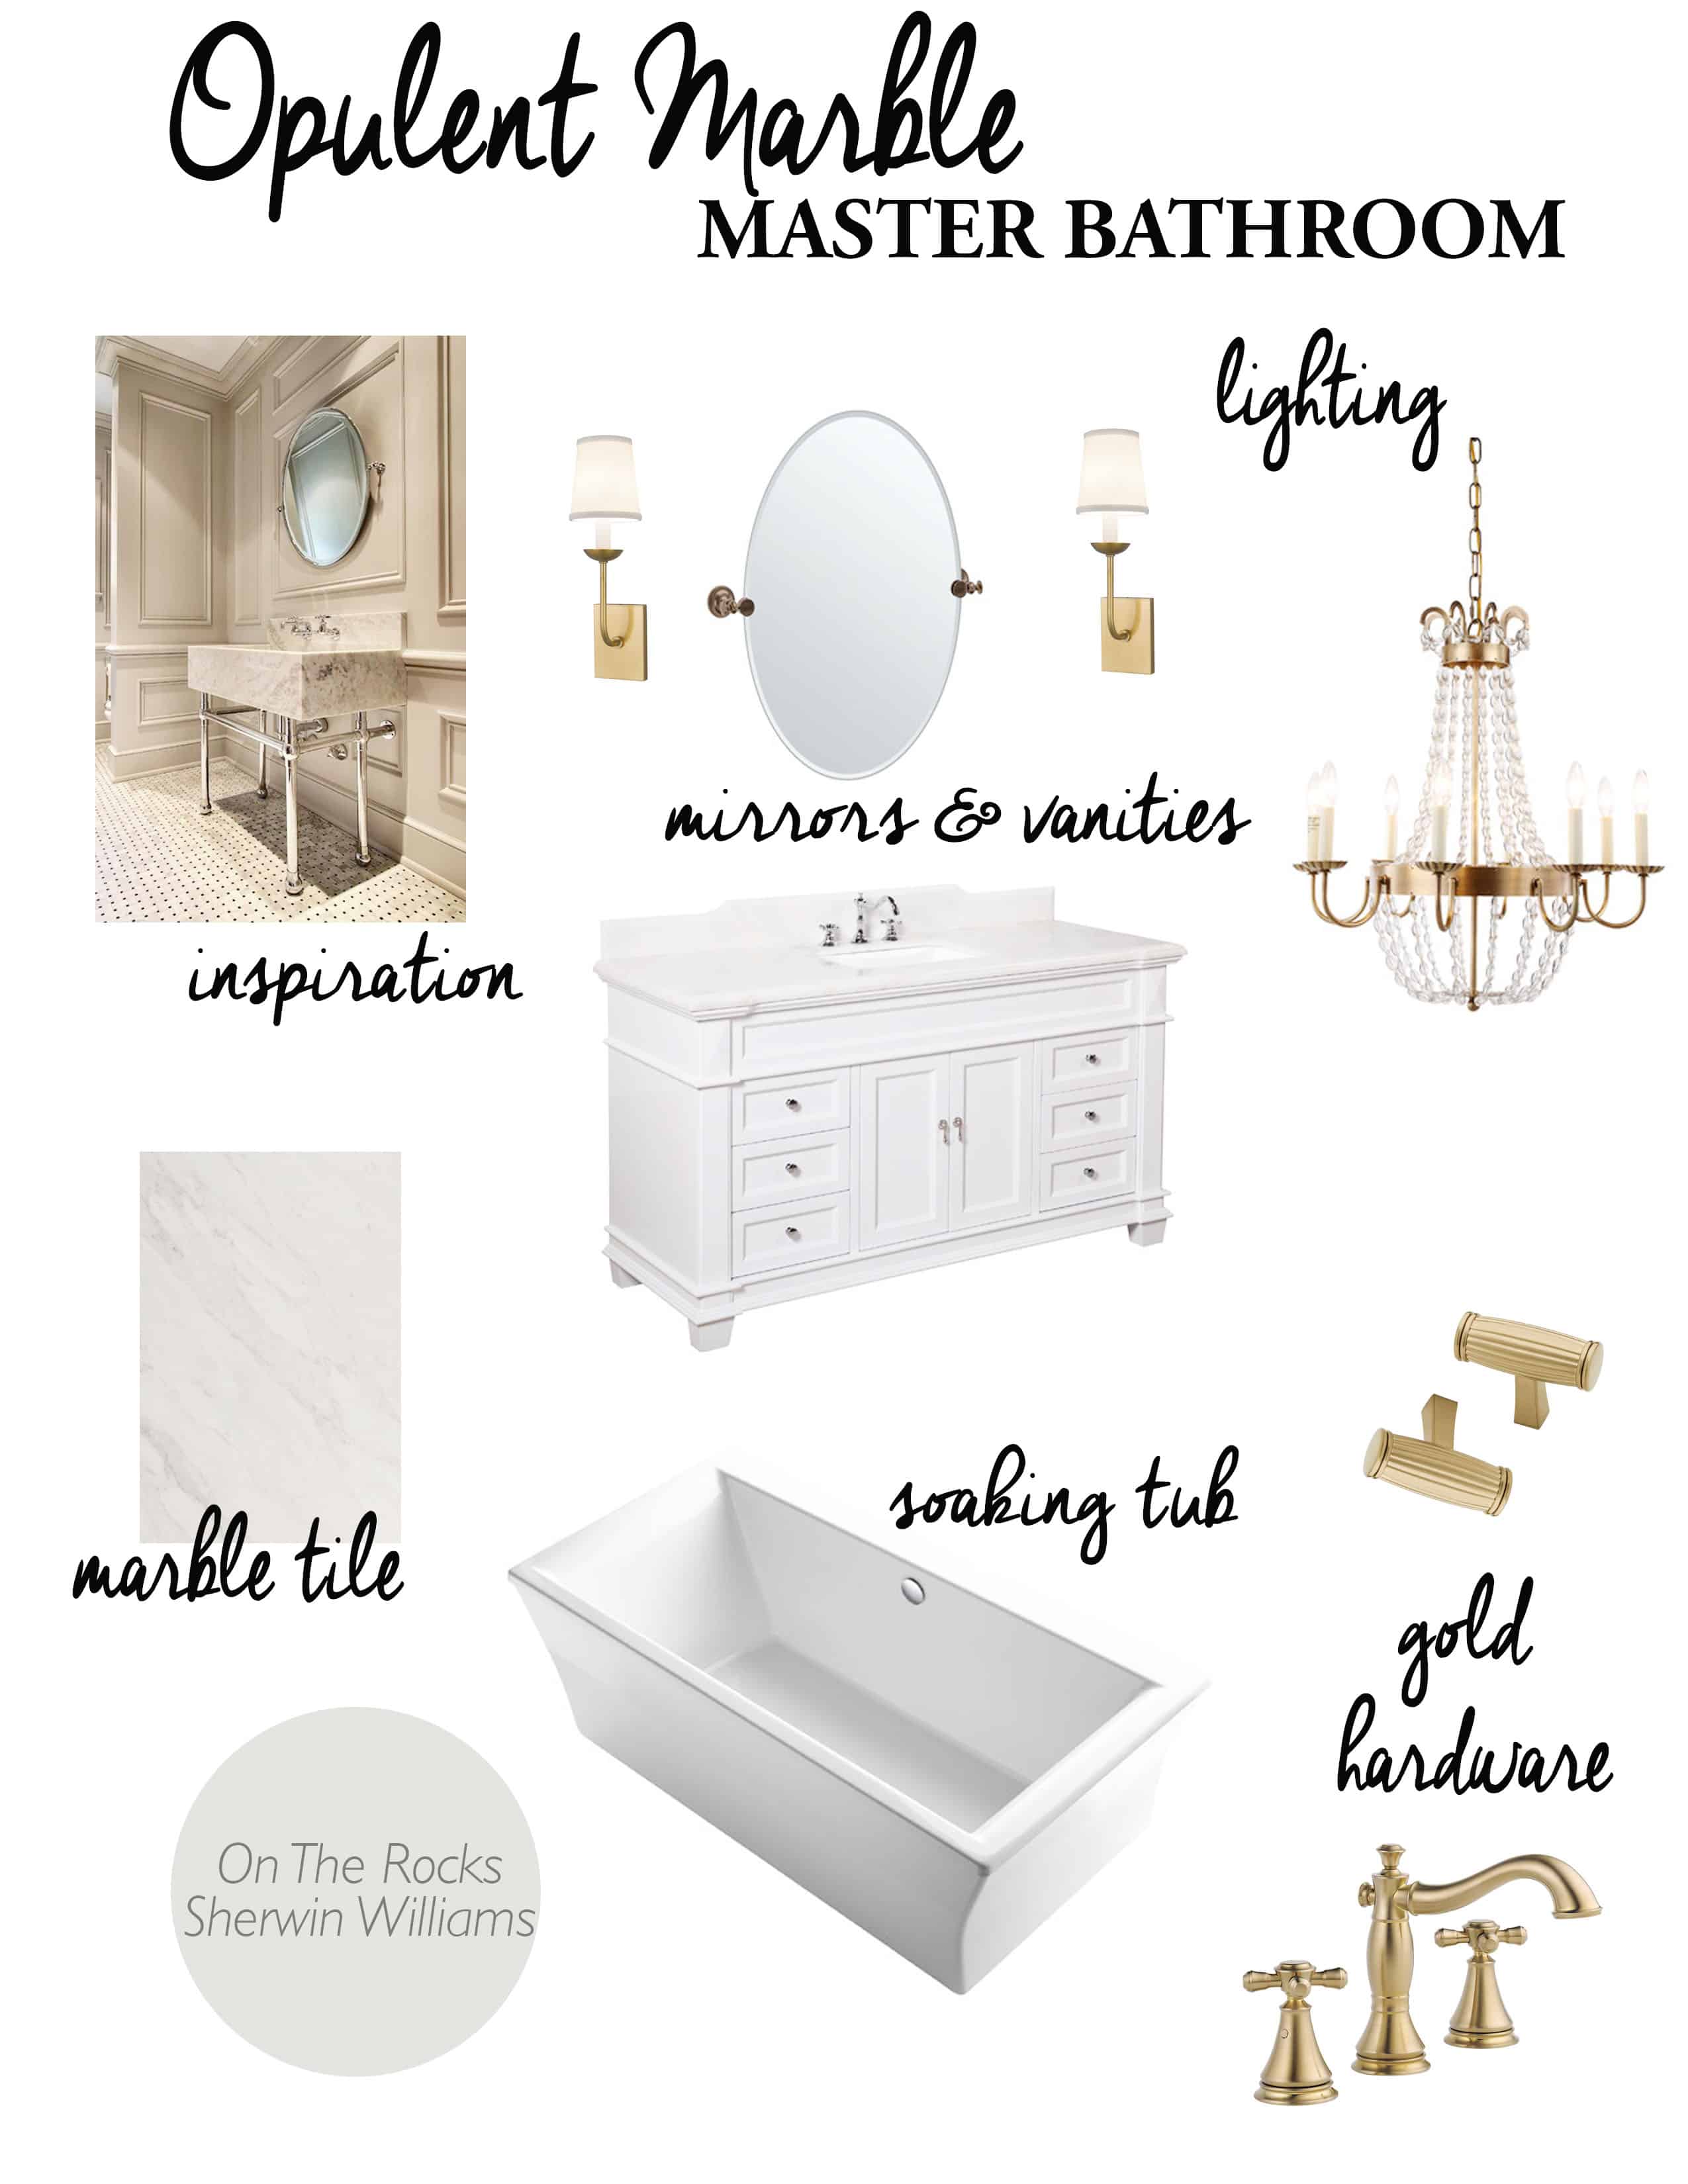
Shop the look
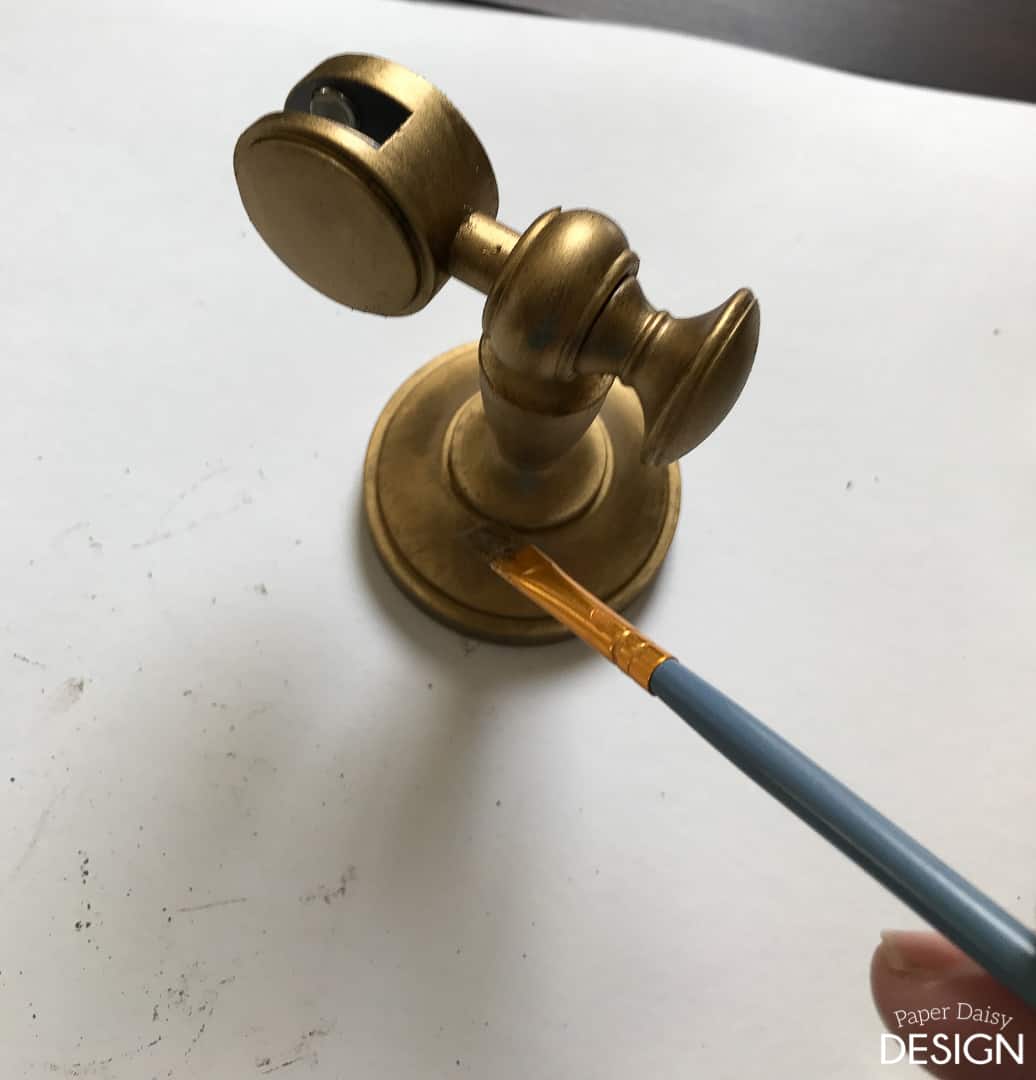
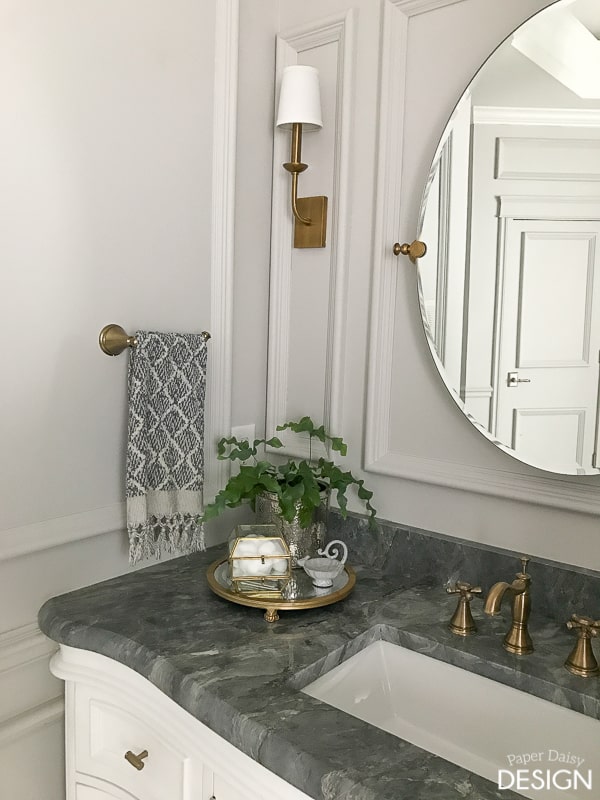
The tilting oval mirrors were ordered with an oil-rubbed bronze finish. Which initially I thought might look okay even after I had decided to use a gold finish.
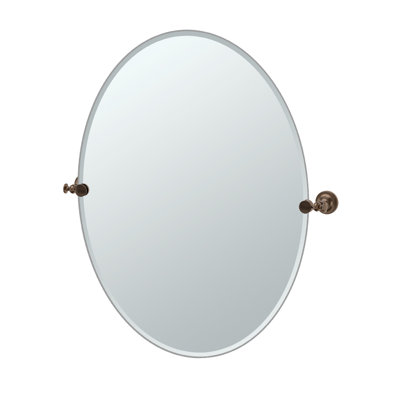
But once the vanities, faucets and moldings were in place and it was time to hang the mirrors, I knew the bronze was just not right. The contrast between the oil-rubbed bronze and the wall was too distracting.
So I did what any self-respecting DIYer would do in the circumstance.
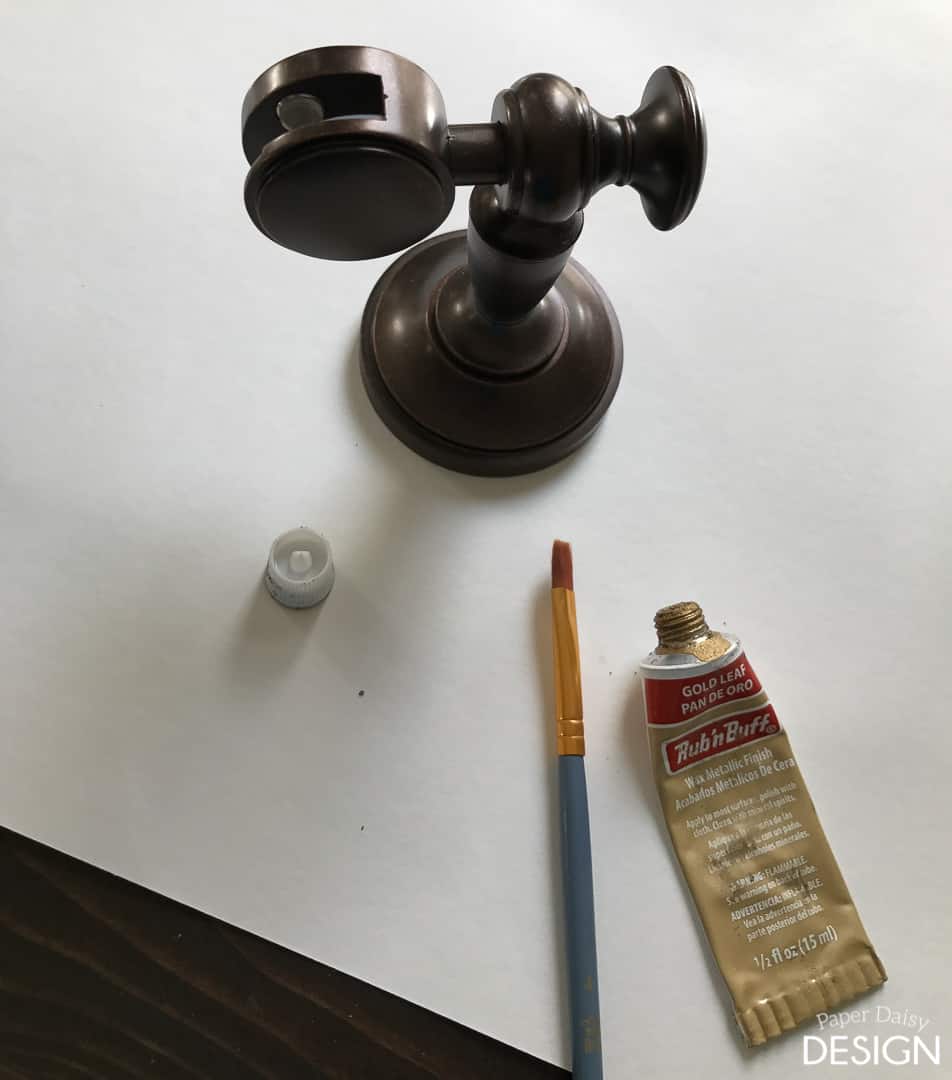
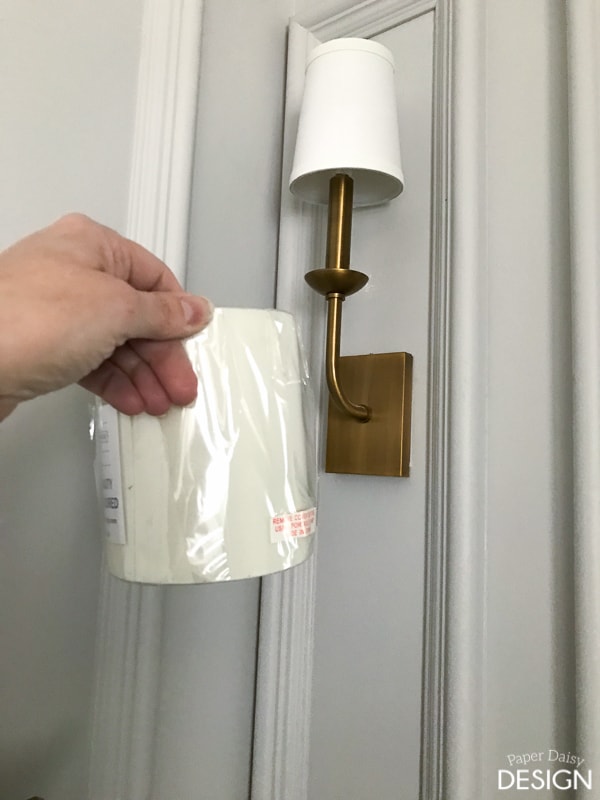
I gave them a makeover with Gold Leaf Rub’nBuff. Because the hardware was not something that would ever get touched that’s all I did, I didn’t add an extra topcoat or finish. Then there was the issue with the lampshades on the sconces. I had a feeling they would end up arriving a bit more yellow than I had hoped. But the inexpensive price was so appealing that I thought it was worth the chance. You can find them here. I had ordered them early enough in the process that I thought I could find replacements if necessary.
Except for the replacement, the shades I ordered were still too creamy and I misunderstood the way they mounted. (The photo above shows the “after” shade and me holding the replacement shade.)
Right at the end, I decided to just spray paint the shades with a very thin coat of primer! I was in the process of priming the pre-cut molding pieces at that time. (Actually, it was so down to the wire for the One Room Challenge Reveal day, that I had enlisted my friend Mary to help me spray paint the molding. She made me paint the shades because she was so afraid it wouldn’t work.) Of course, it worked out beautifully! You honestly can not even tell they were painted.
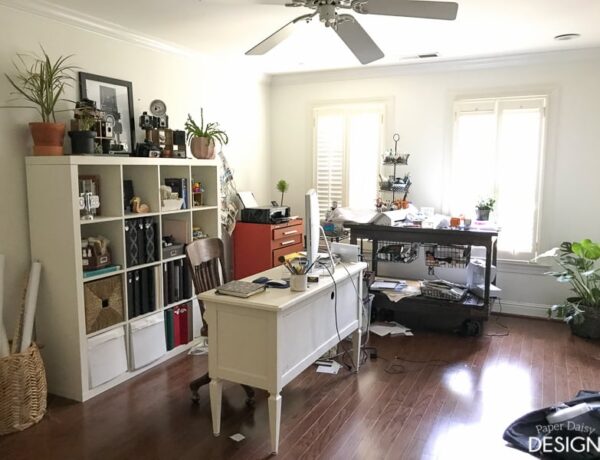
Of course, living through a renovation like this is no picnic. I’m not going to lie. We demolished the bathroom long before we actually moved into #theTrailHouseReno. Much of what belonged in the bedroom was stored in the bedroom, so for the six weeks of the actual renovation, our bedroom looked like this. Then the whole room quickly became overrun with supplies, tools and often camera equipment and even the bathroom vanities until the tile work was complete.
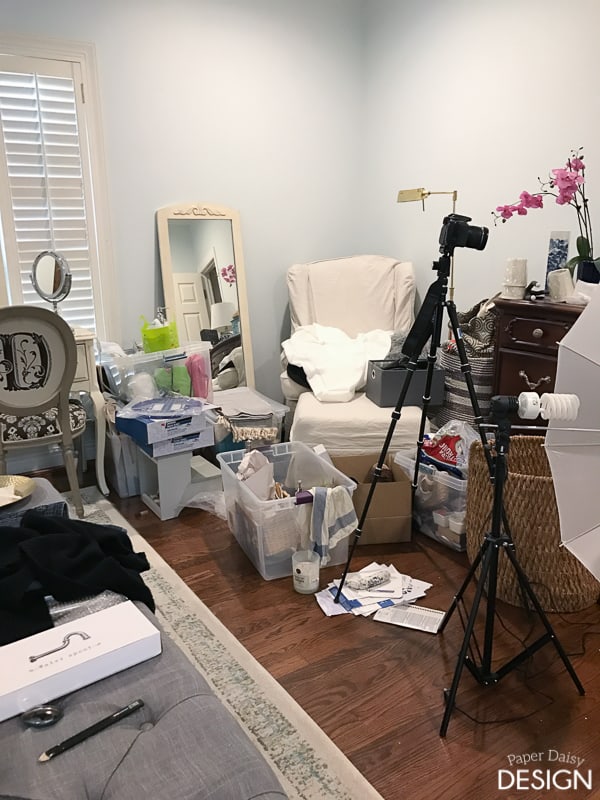
The area on either side of the entrance to the bathroom especially became the holding area (dumping ground). This photo was likely taken on a good day when some of the discarded tools and such had actually been picked up and you are only seeing one side of the door!
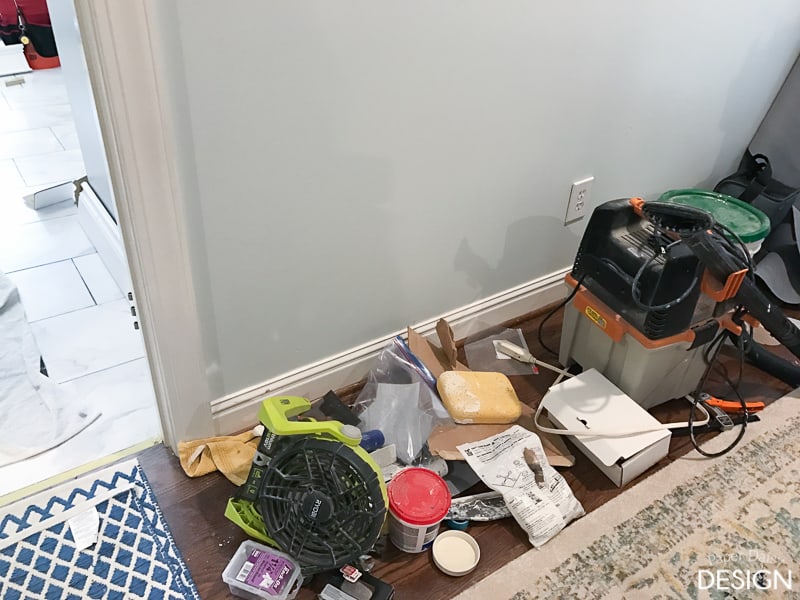
I would highly recommend covering the area outside of your renovation with a drop cloth or at least an old rug. It helps keep the debris contained and keeps it from spreading throughout your home.
But in the end, all of the hard work, mess and inconvenience are rewarded with a finished bathroom, a beautiful retreat to unwind in each evening or start fresh each morning.
I look forward to sharing more of my experiences with you. This is my third major bathroom renovation and I’ve learned so much valuable information, some by trial and error, some by seeking professional opinions, or just asking questions and some of what I learned came from a bit of tenacity. I always aim for perfection in any project I do. Because perfection is my goal but knowing realistically that no one is perfect, I feel like the end result, the finished product is pretty darn good, even with my human failings.
Just as I mentioned in the video, if you are about to embark on a bathroom renovation or want to actually learn how to DIY a luxurious bathroom like this, I invite you to return each week as I break it down into manageable steps.
Here is specifically what I will cover.
- How to Install Heated Sub Floors
- How to Properly Install Large Format tiles
- How to waterproof a shower with new, advanced products
- How to tile a shower
I want to give you the confidence to tackle a renovation like this. I promise you, if I can do this, you can too!
If you would like to read a more in-depth, week-by-week summary of the issues encountered, you can read through all of the One Room Challenge Posts. They are compiled here in reverse order. You can Click here. For more reveal photos, click here.





6 Comments
Julie
March 1, 2017 at 8:12 pmAbsolutely gorgeous! Caught my eye especially because the bathroom layout is similar to mine. Love it!!
Leslie
March 2, 2017 at 9:13 amJulie,
On first look at the house, I had hoped we could have changed the footprint and get rid of all the angles. With the octagon shaped vaulted ceiling there just wasn’t another way to do this. I will say that opening the shower just as we did made a huge difference. It really is a huge space and now it all feels cohesive instead of just a bunch of weird angles.
I hope this inspires you to see the potential in your space!
Jackie
April 15, 2018 at 8:09 amHi,
thank you so much for sharing this beyond amazing bathroom. I can honestly say it is perfection. It feels soothing in every aspect. I truly appreciate the inspiration. We are wanting to build soon and I can truly say this was so helpful.
Jackie
Wallpaper in the Water Closet - DeeplySouthernHome
June 25, 2018 at 11:37 am[…] See the rest of this amazing master bathroom renovation here. […]
Fall One Room Challenge Week 1: Shades of Grey · DeeplySouthernHome
October 4, 2018 at 11:41 am[…] If you would like to see a video recap of the ORC Master Bathroom click here. […]
design
February 27, 2020 at 3:27 amI do accept as true with all the ideas you have introduced in your
post. They are really convincing and can definitely work.
Still, the posts are very quick for starters. May just you please prolong them a bit from next time?
Thanks for the post.