It’s kind of a running joke at our house that if something sticks around long enough, it’s likely to get a makeover. Sometimes it’s a little bit of paint or maybe just a new finish other times it’s a dramatic transformation.
Well, this console table is getting its second take at a makeover. And I’d say it’s of a dramatic scale.
This post contains Affiliate links at no cost to you, I make a small commission on purchases made.
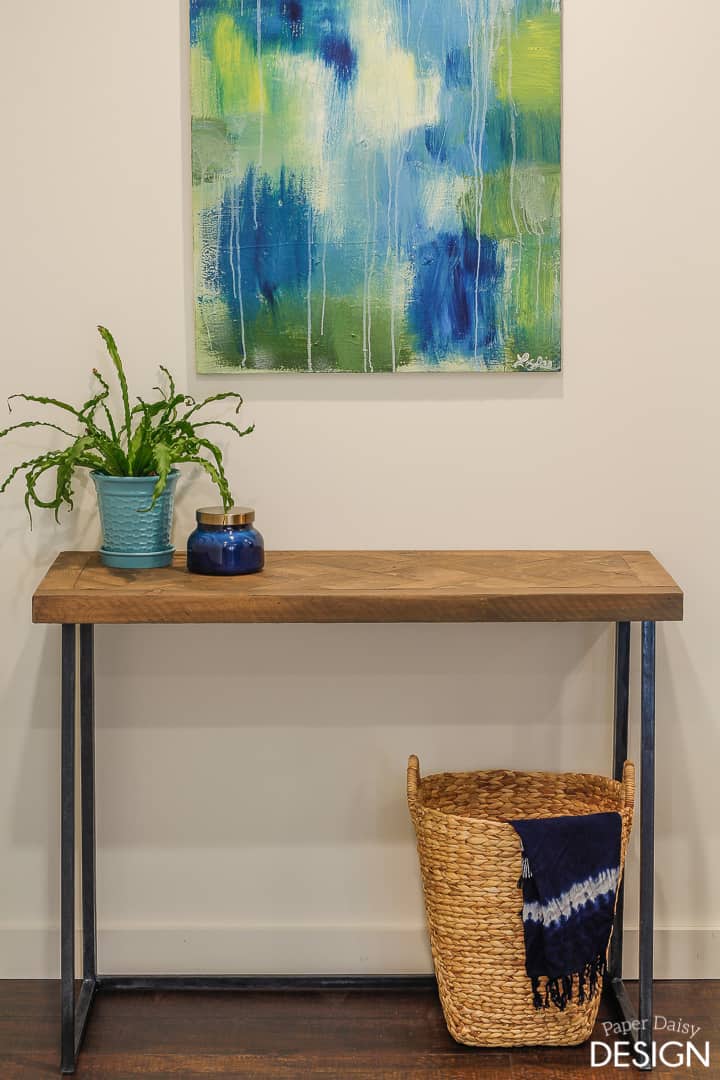
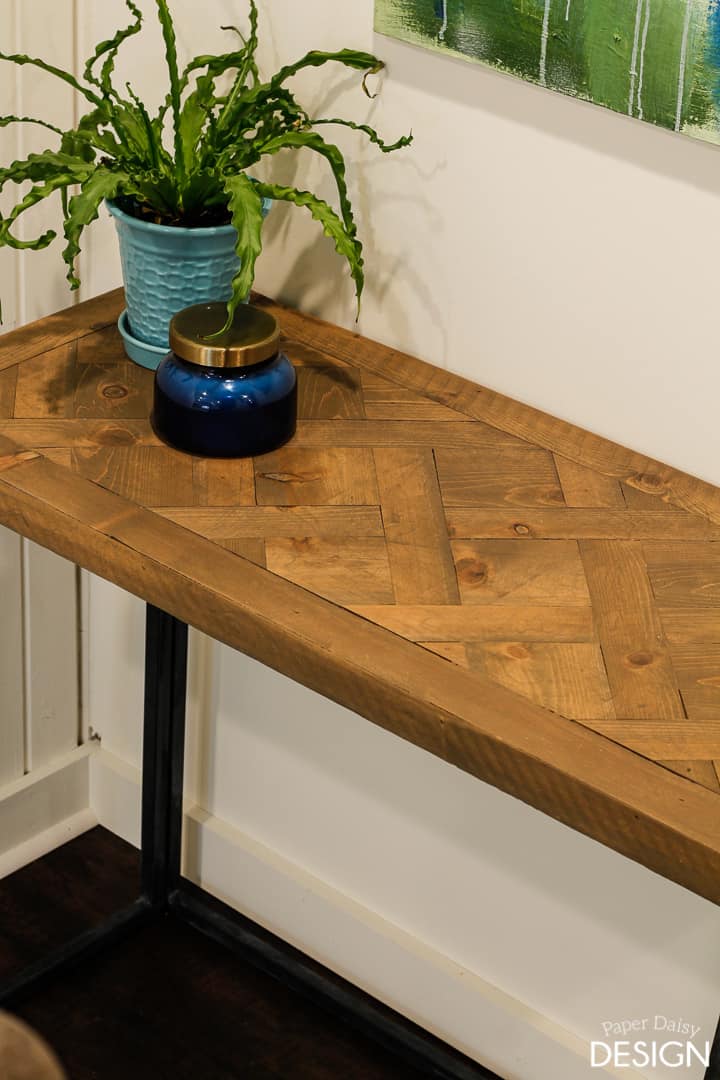
From this angle, it looks nice enough. Just a wooden topped console with a brushed metal base.
But come look a little closer.
Come on, don’t be shy come just a little closer.
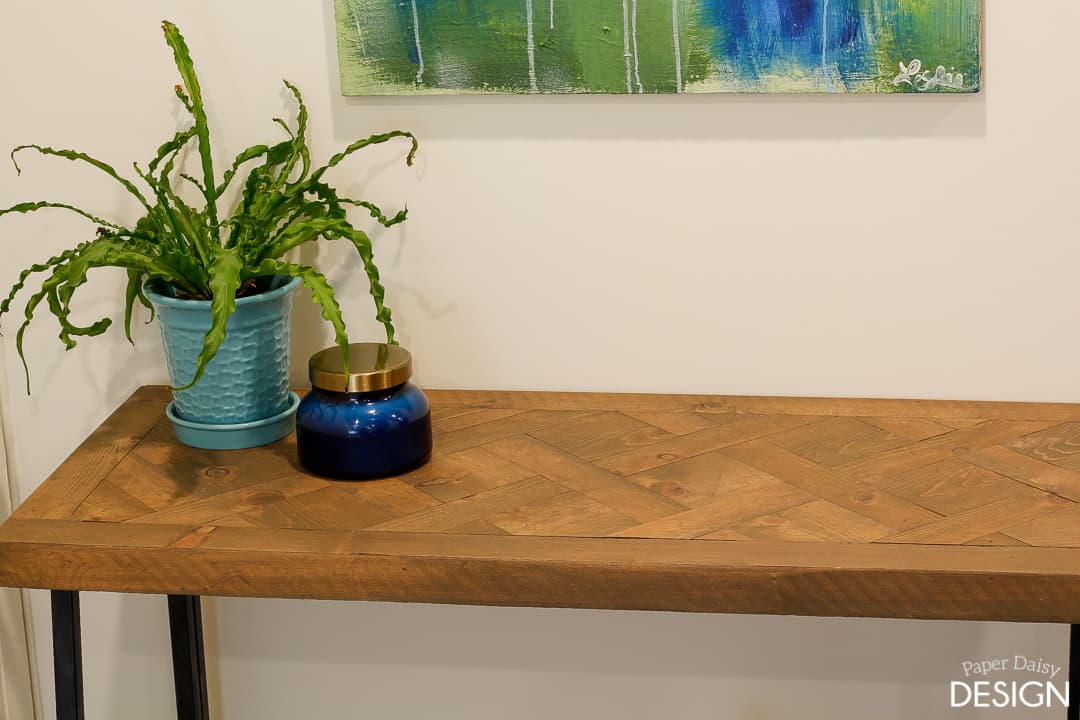
Ah, there you go. I wanted to give the top a wood finish in a unique pattern. Herringbone is cool, but I’ve been there done that. Check HERE if you are interested.
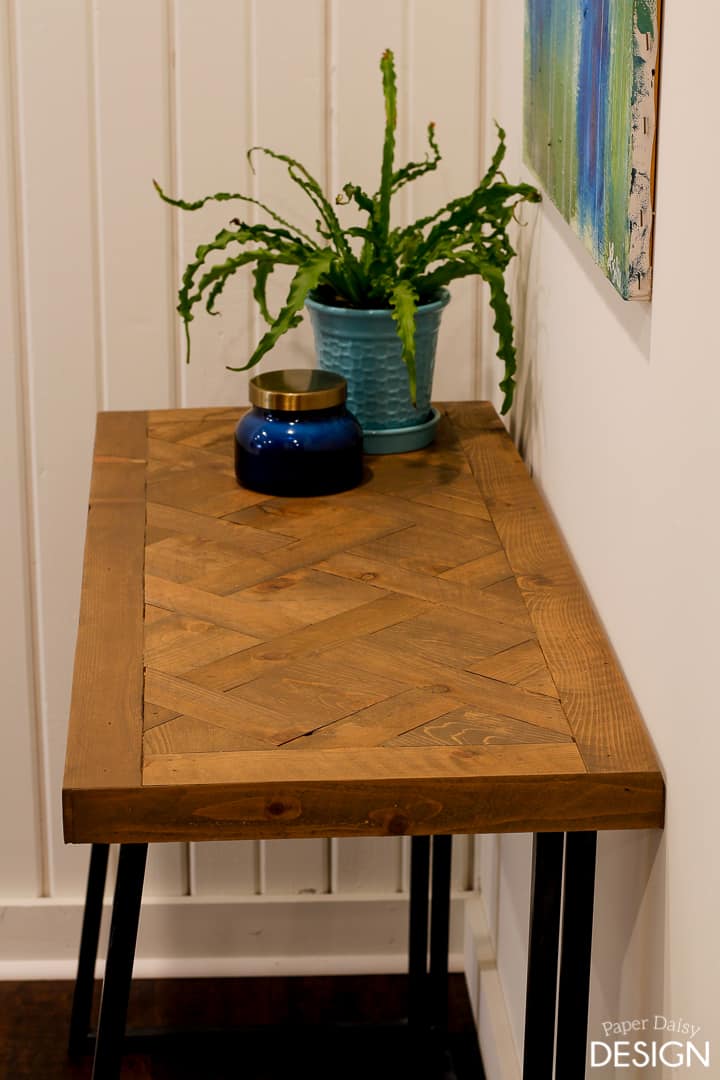
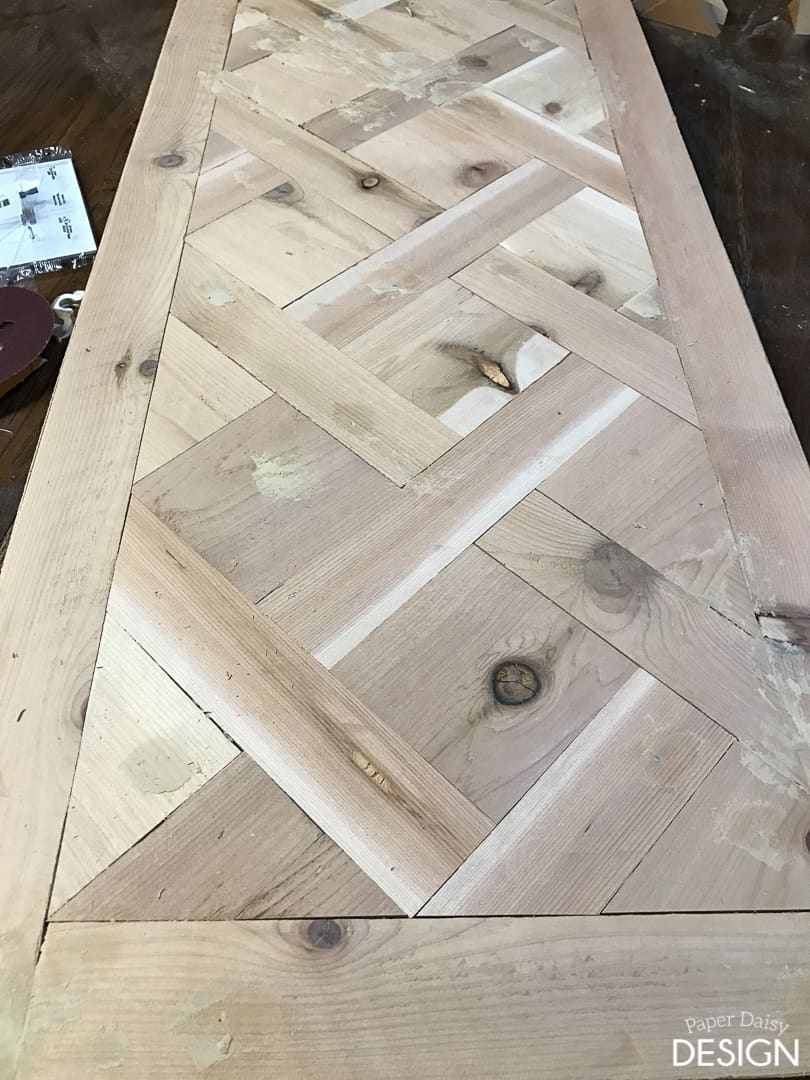
This pattern is a Versailles parquet floor pattern. (While I haven’t’ been able to confirm but I think it is actually the pattern in the Versailles. Although traditionally laid in squares, I filled the entire bordered top with the pattern.
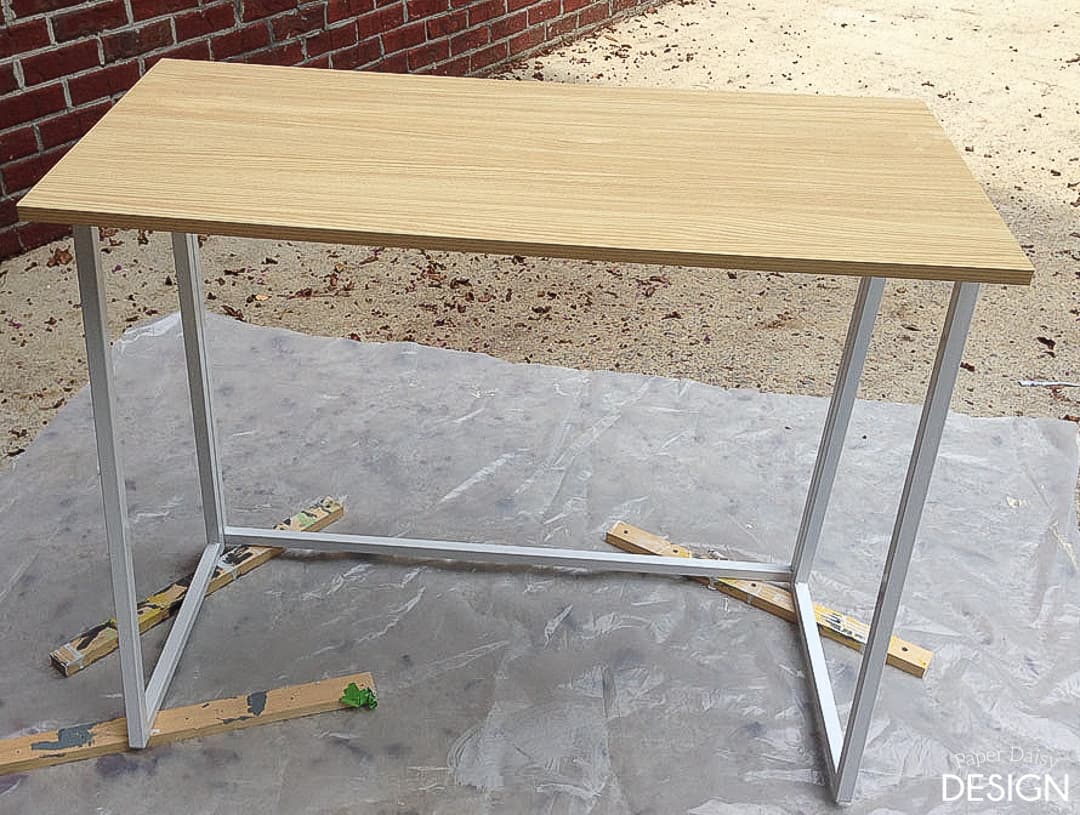
So what did this piece look like originally? I picked it up when it was on clearance at Target. Just your run of the mill student desk.
In its first reincarnation, I topped the desk with marble contact paper and painted the legs gold. Super fancy. And if you want the tutorial and sources, check out this post.
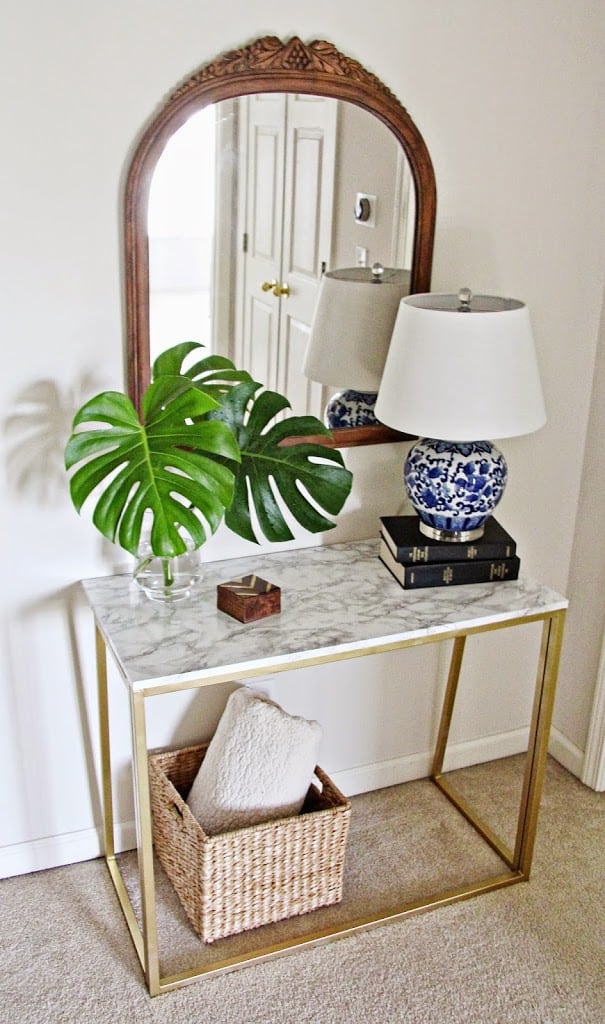
During our recent move, it was a bit manhandled. The contact paper snagged and the gold paint chipped.
But to be quite honest, I never could find the perfect place for it in the new house until now.
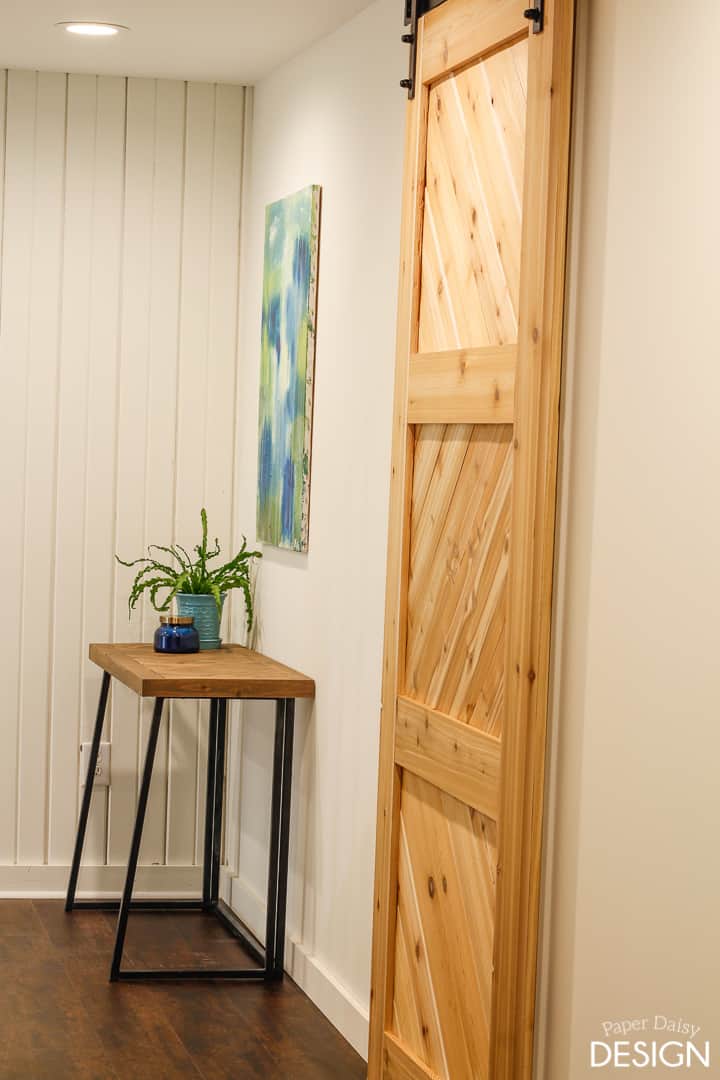
I recently realized it was nearly the perfect size to tuck into the hall leading to our recently refinished basement media room and bedroom.
Clearly, that glam-inspired makeover wasn’t quite right for the more rustic look of our basement.
Interested in creating this unique table for your small space? I’ve listed a new source for the exact desk I found at Target below in the supply list, for only $21. The whole project can be built for around $50
How to build a Versaille Patterned Table Top
Supplies
4-5 Cedar Fence boards
2’x4′ Sheet 1/2″ Plywood
1 3/4 screws (2-8)
Wood Glue
Sand paper: 40 grit, 80 grit, 120 grit
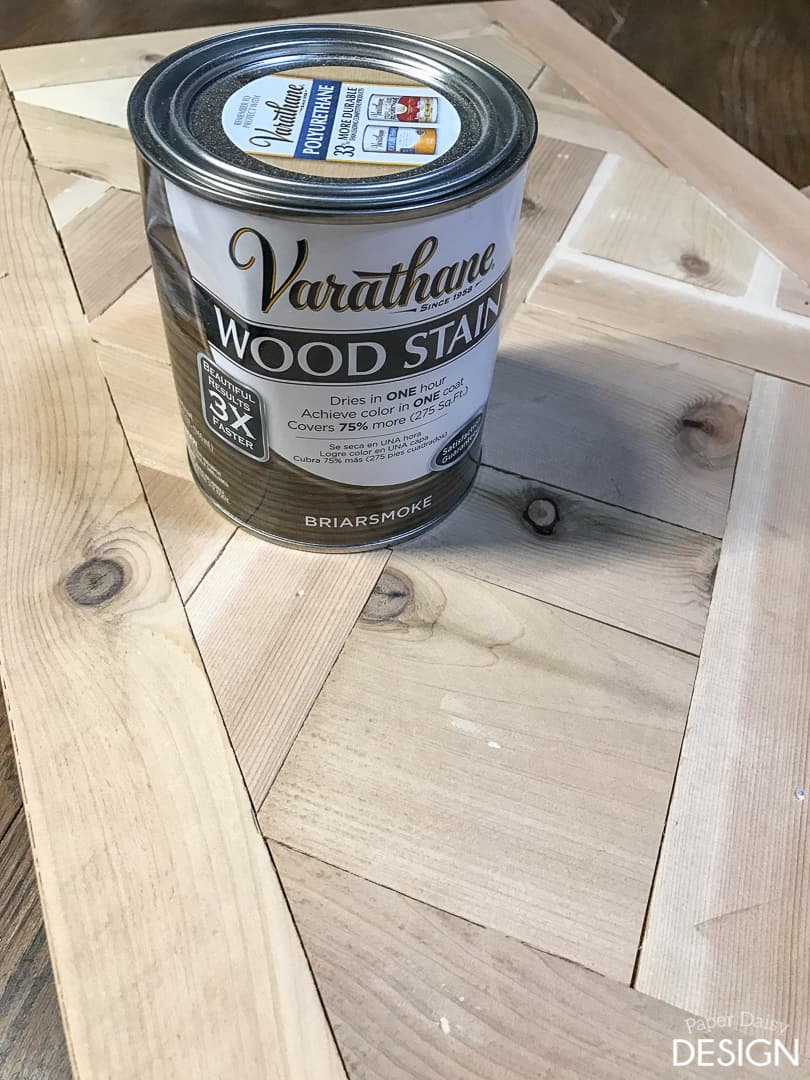
Rustoleum/Varathane Briarsmoke wood stain
Rustoleum/Varathane Matte Finish Bleached Blue wood stain
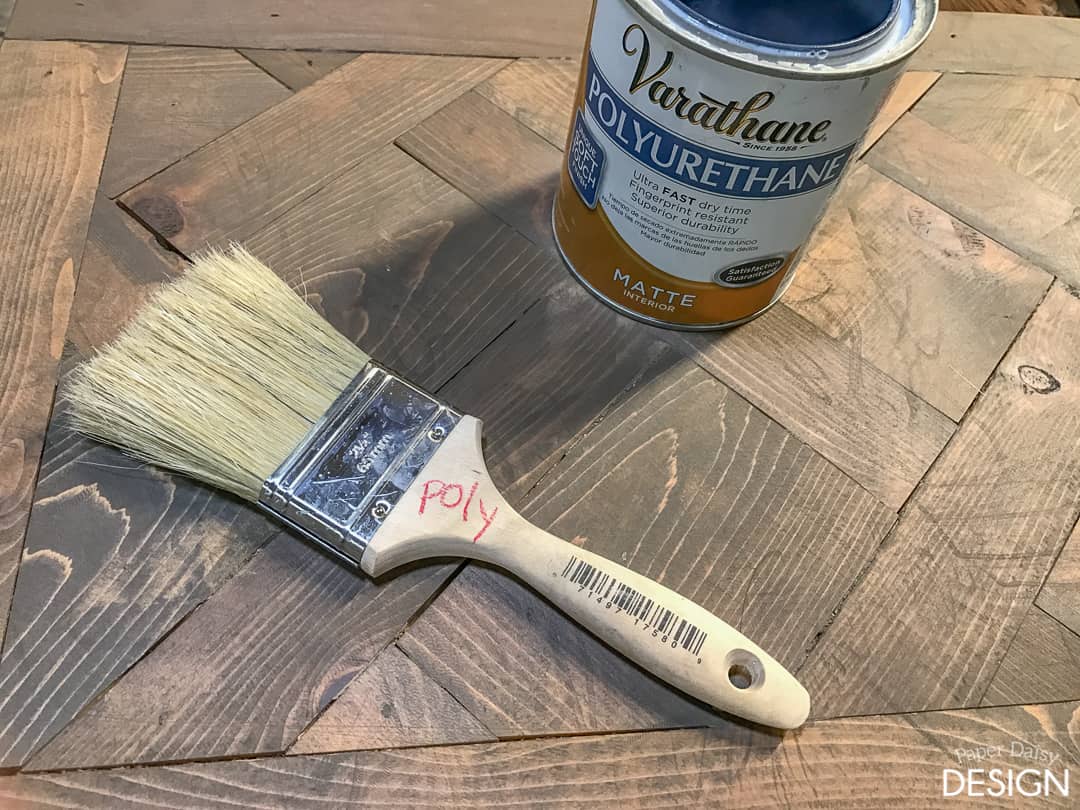
Rustoleum/Varathane Polyurethane Matte Finish
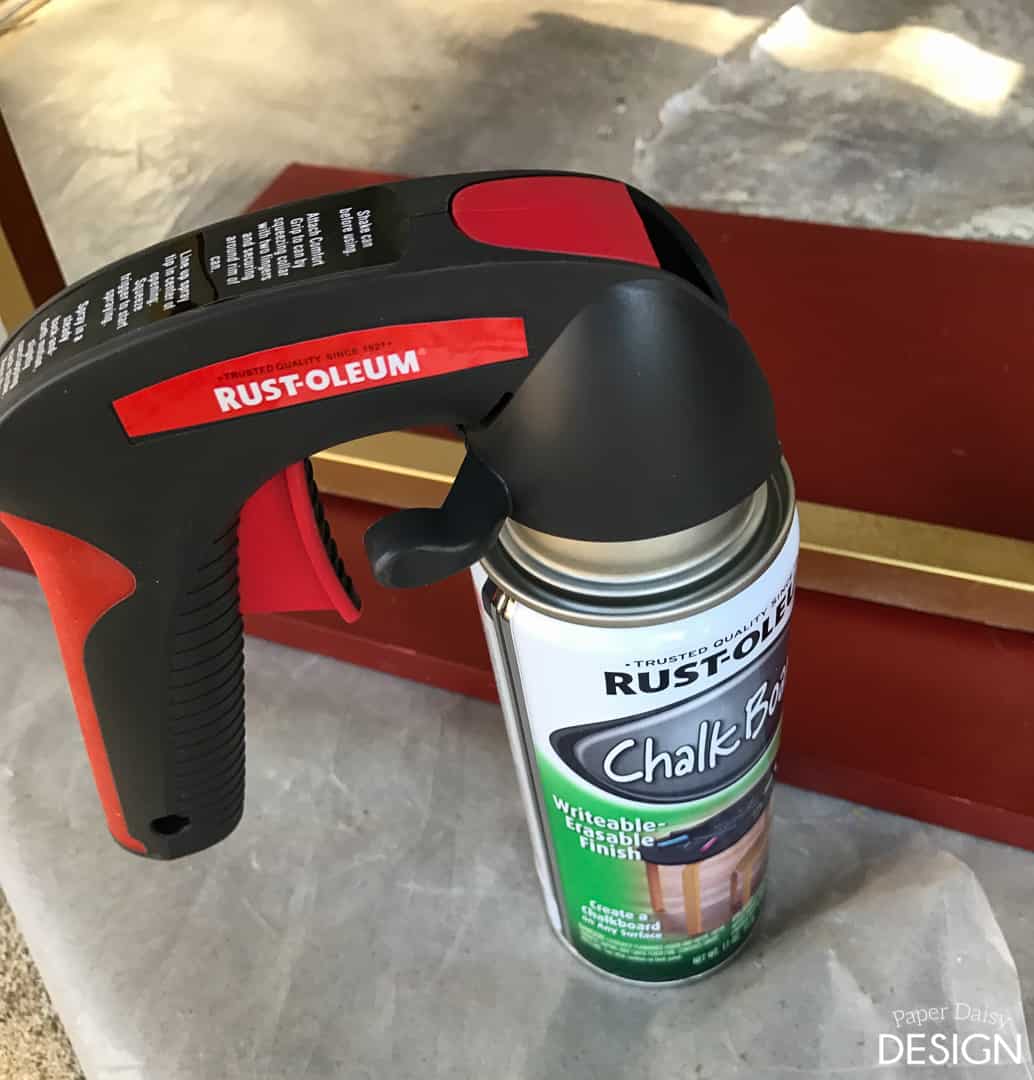
Rustoleum Black Chalkboard spray paint or flat black
Tools
Table Saw (or have The Home Depot cut the wood)
Powered Hand Planner (optional if you are careful to choose boards that are the same thickness)
Orbital Sander (optional)
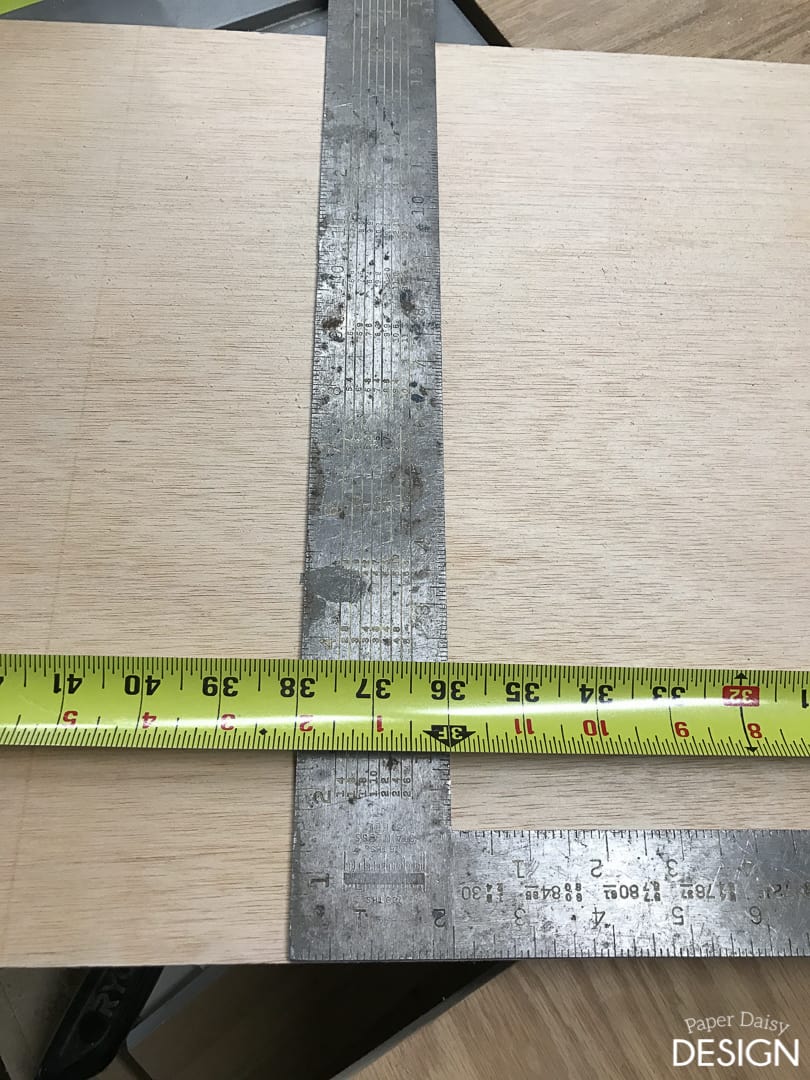
- Decide on the size of your table top. I wanted mine quite narrow to fit in a turn in the hallway. 17″ x 38″ just a bit more narrow than the original top.
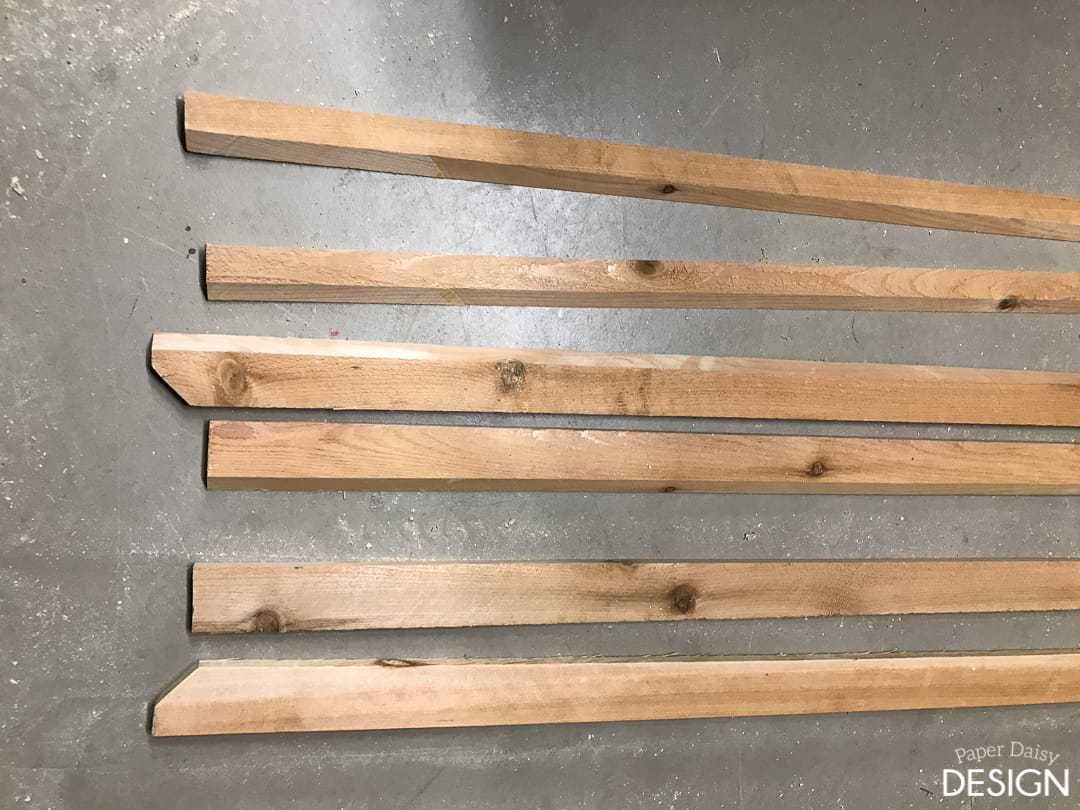
2. Create an edge band to go around the top. 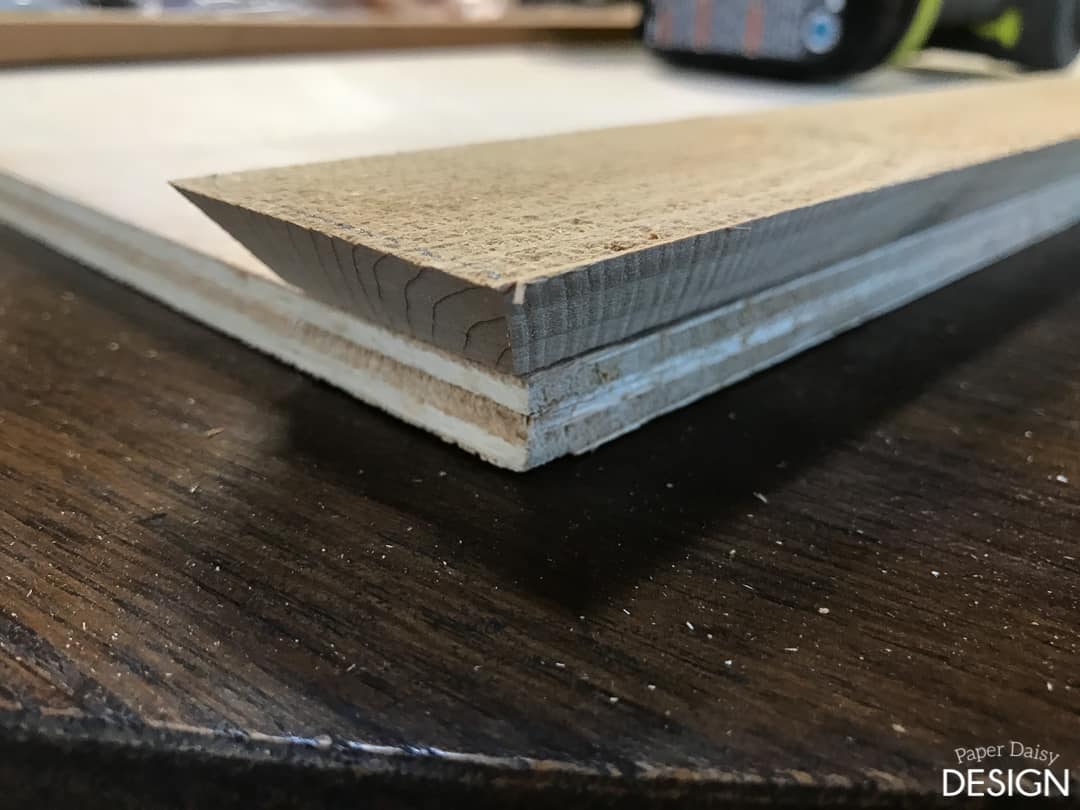
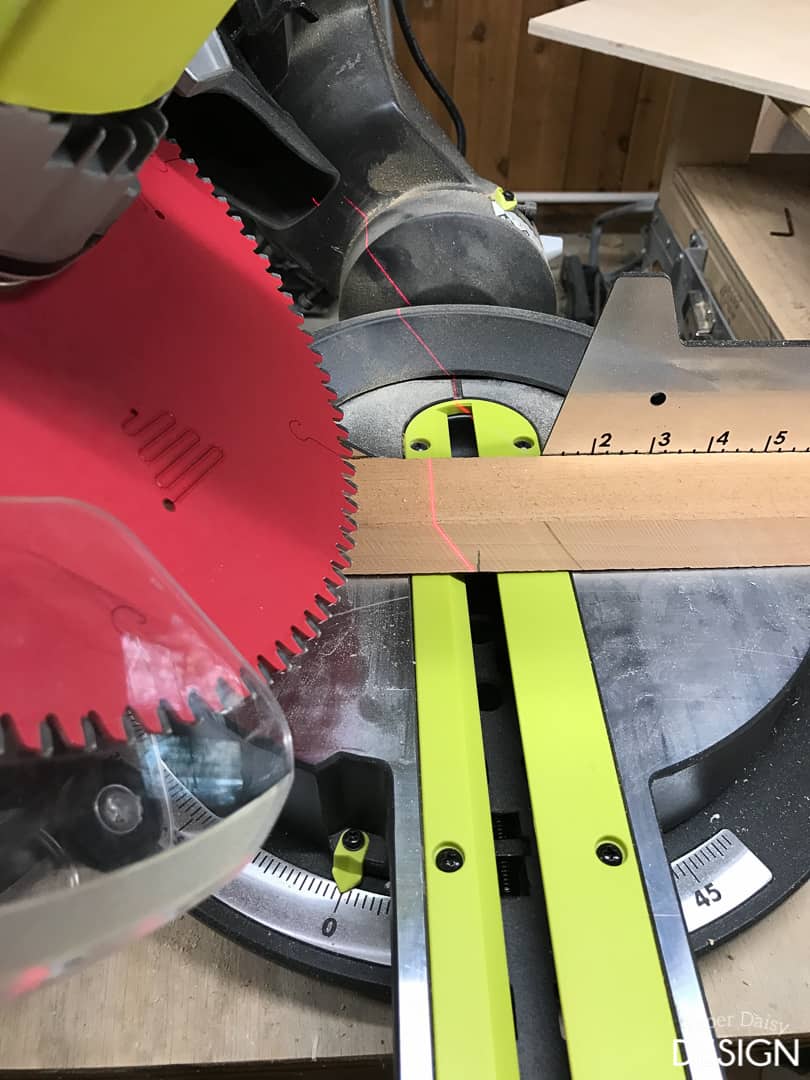
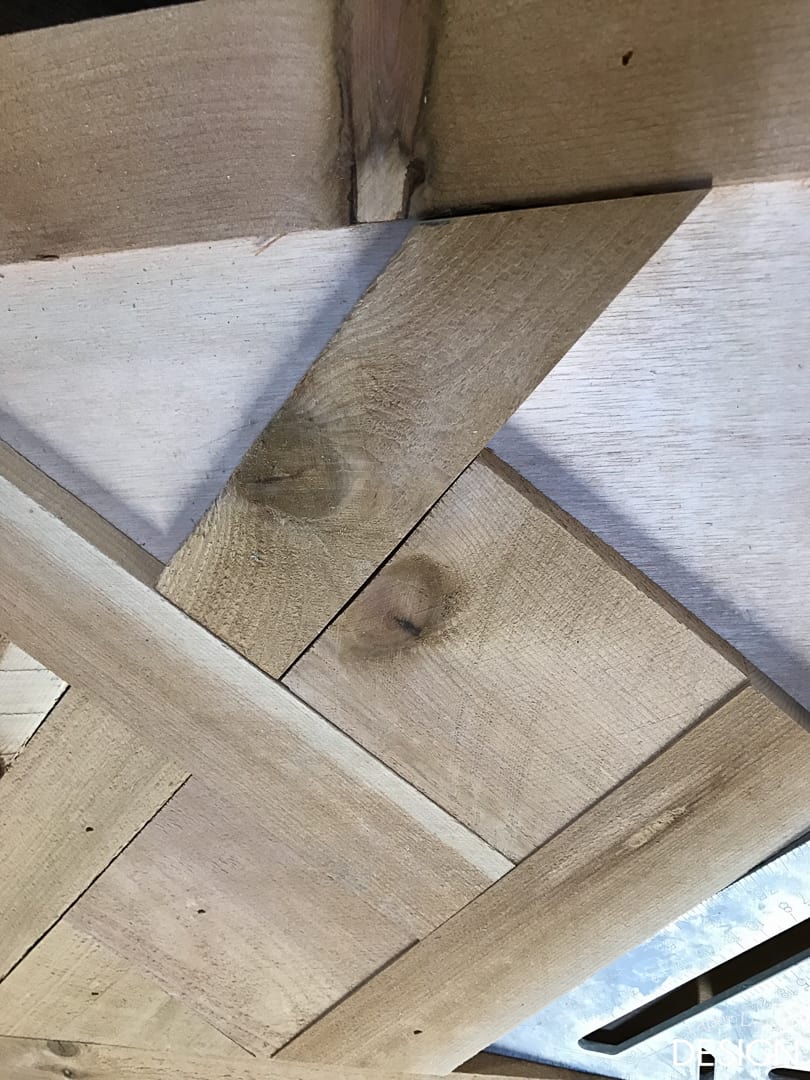
I will be quite honest and say this technique is a bit complicated. I ripped the fence boards on my table saw at a 45-degree angle. I would recommend double checking that your angle cut from your table saw is actually at 45-degrees. Because the dial is a little difficlut to see on mine the first set of boards were not quite 45, more like 43 or so and of course that didn’t work so well.
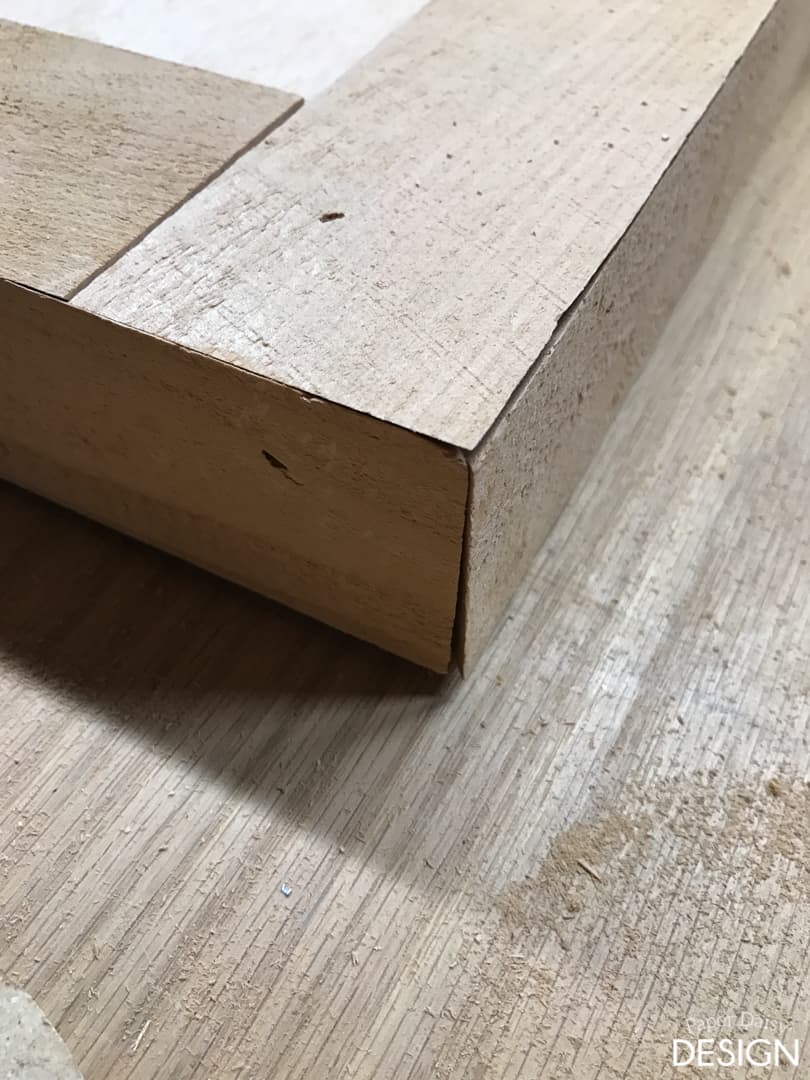
But usually that part is not too difficult, but then each corner edge piece needs to also be mitered to create a hidden edge.
Here’s what I mean. You certainly could simplify this build by creating butt joints. Wood filler made these angles look much better.
3. Rip a fence board into 4″ strips with a table saw or have the Home Depot cut them for you.
4. Then, rip another fence board into 2″ strips.
5. Cut the 4″ strip down to 4″ squares with a miter saw.
6. Cut several pieces off of the 2″ strip to 10″.
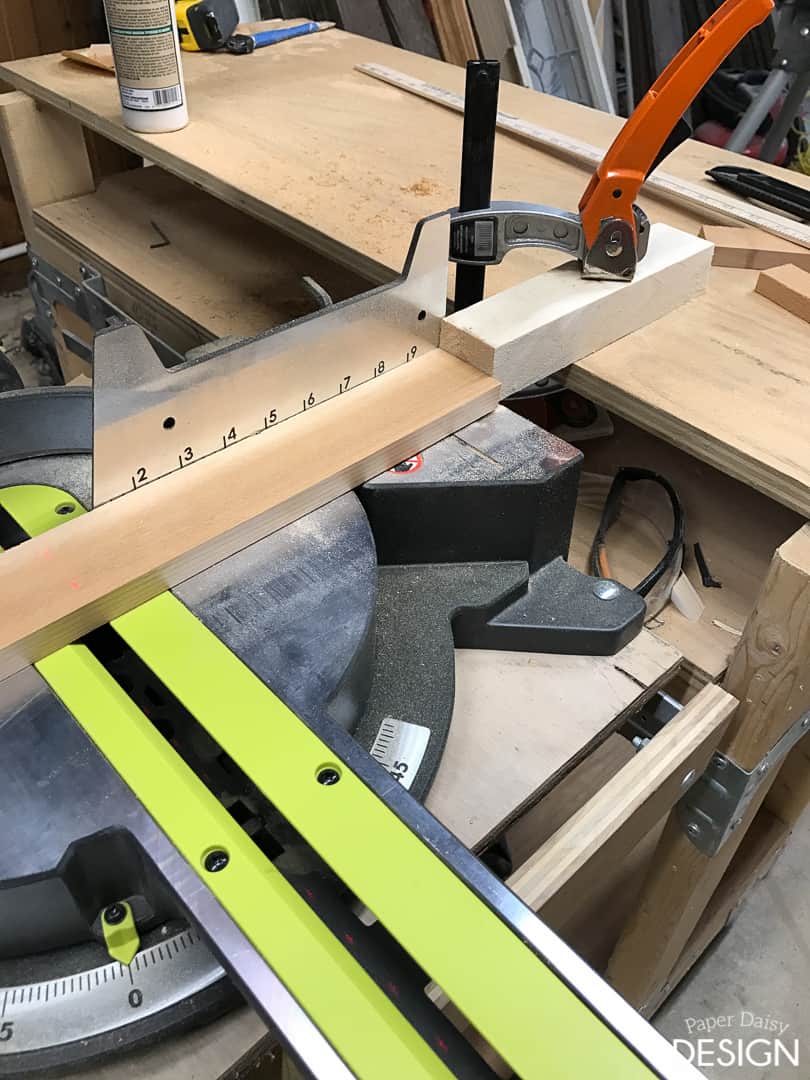
Anytime I need to cut several pieces exactly the same, I create a wood jig/stop. This ensures each piece is cut identically.
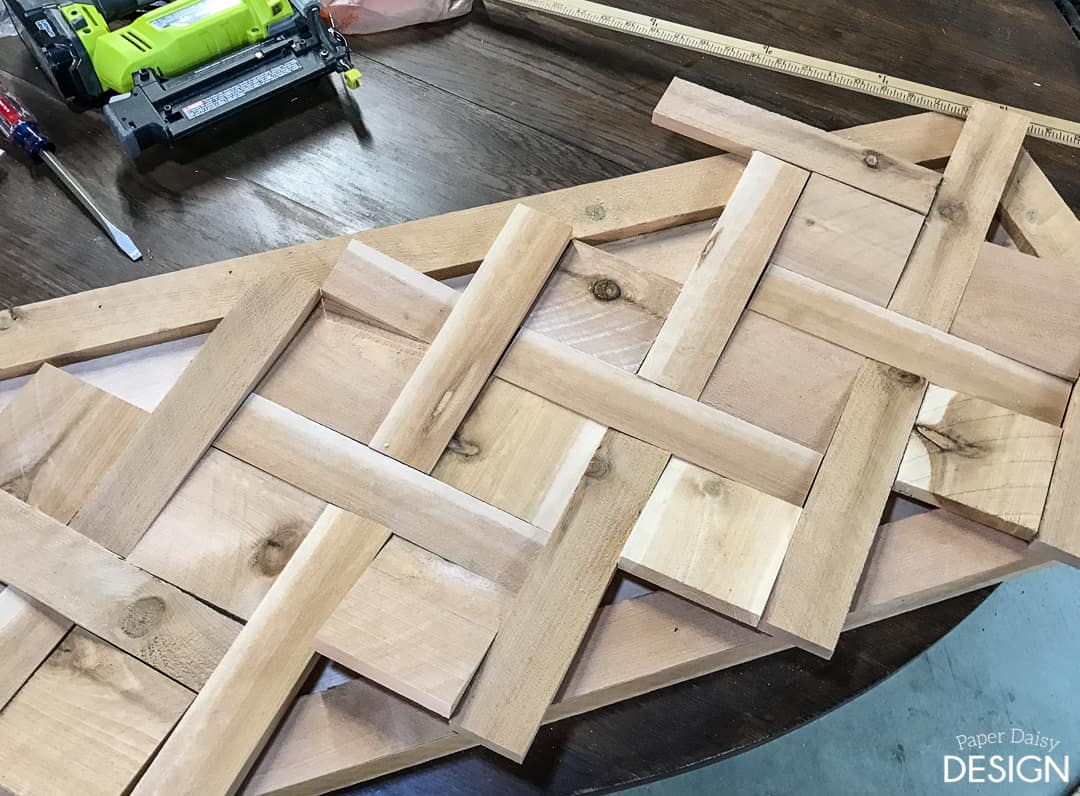
7. Begin assembling the pieces into the pattern inside the frame.
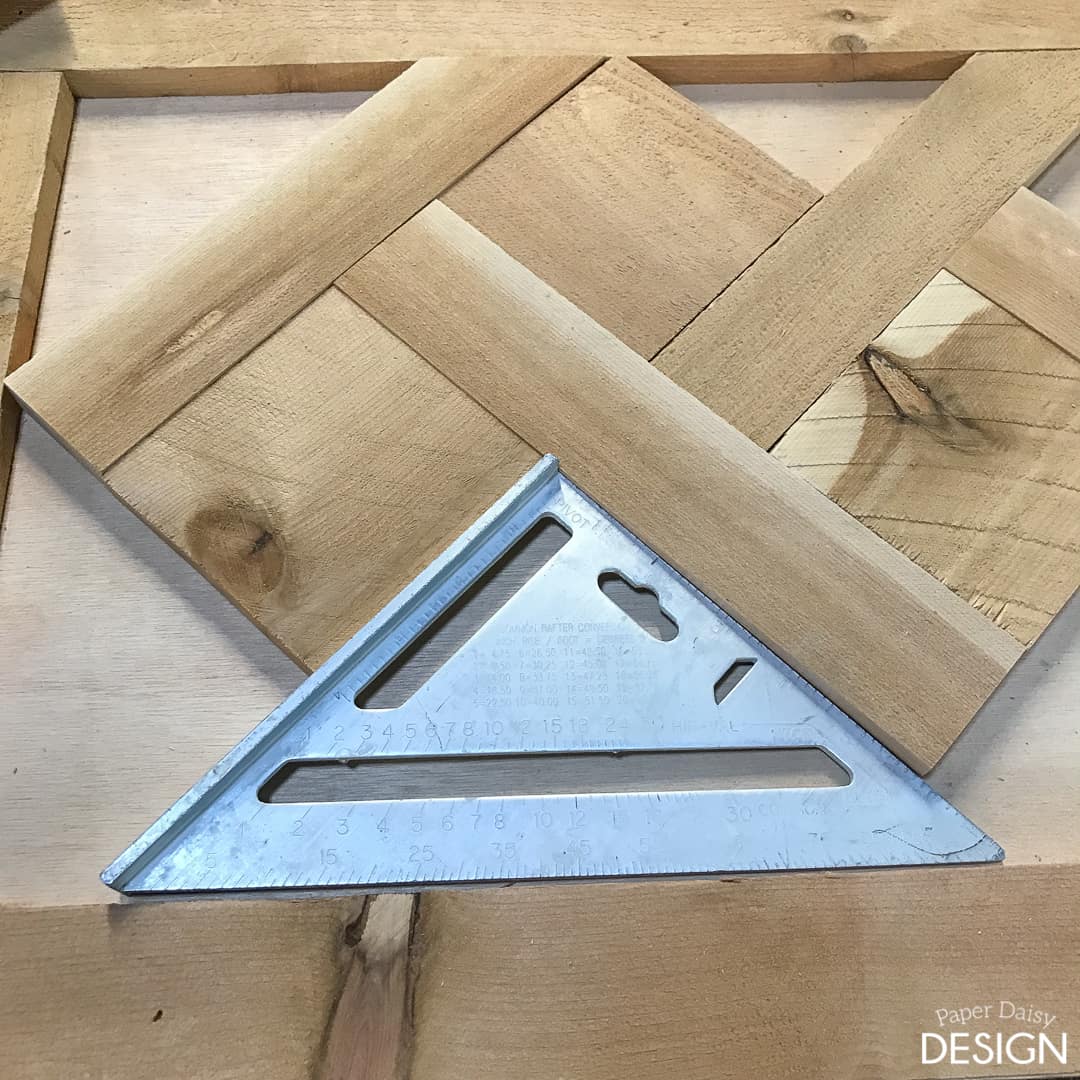
8. Begin cutting the pieces with the 45-degree angle so that they fit snuggly into the border. Use a square to ensure your pieces are straight on the diagonal.
Use extreme caution while handling smaller pieces of wood on the saw. I used a wood pusher tool from my Ryobi table saw and NOT MY FINGERS to hold these smaller pieces on the saw.
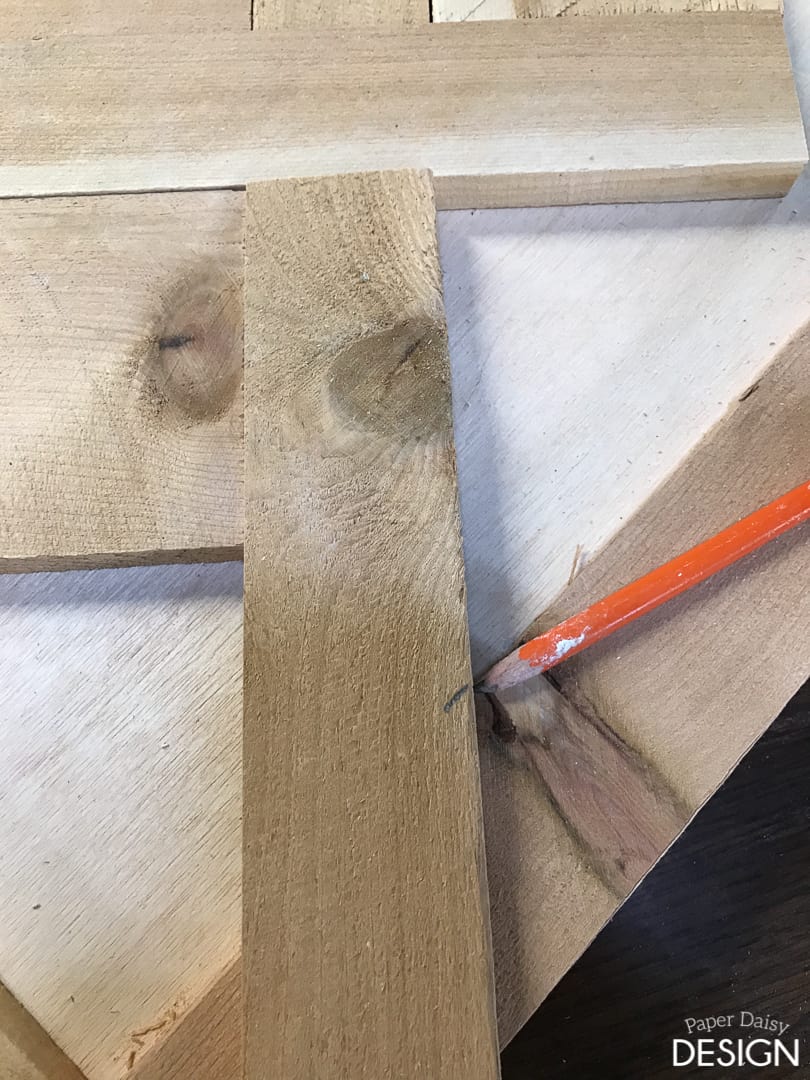
I just marked each piece as I went along and cut them to the proper length.
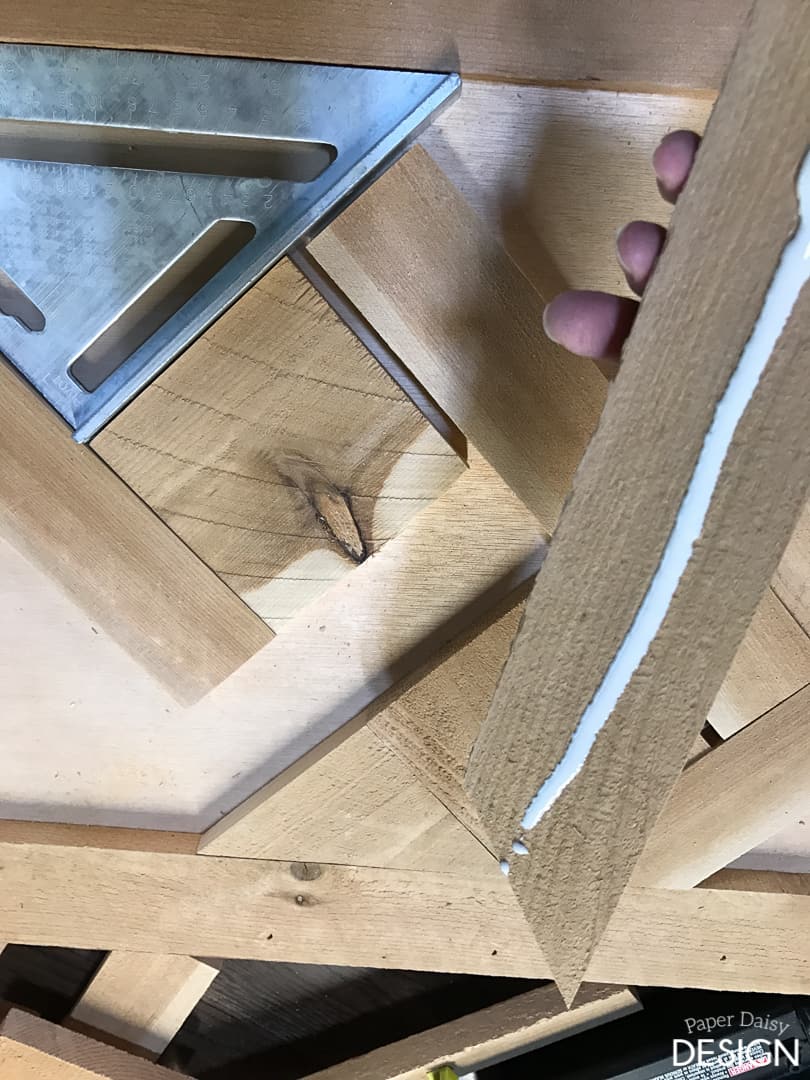
9. Wood glue and nail the pieces as you go.
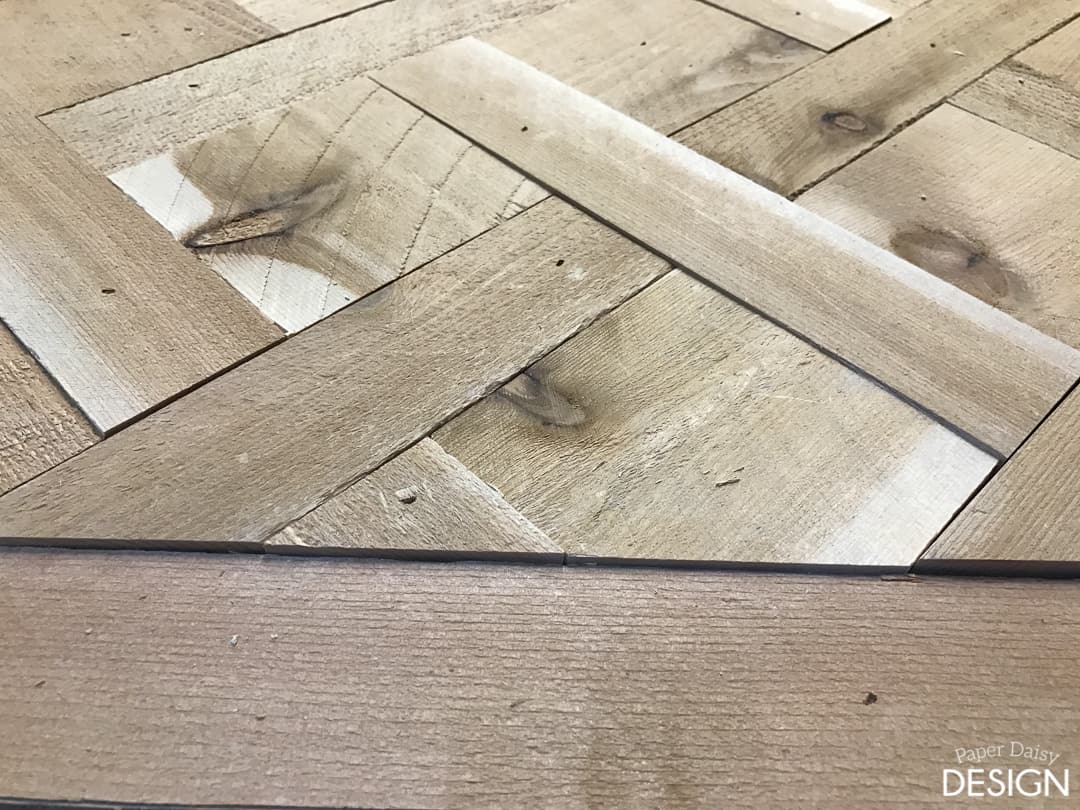
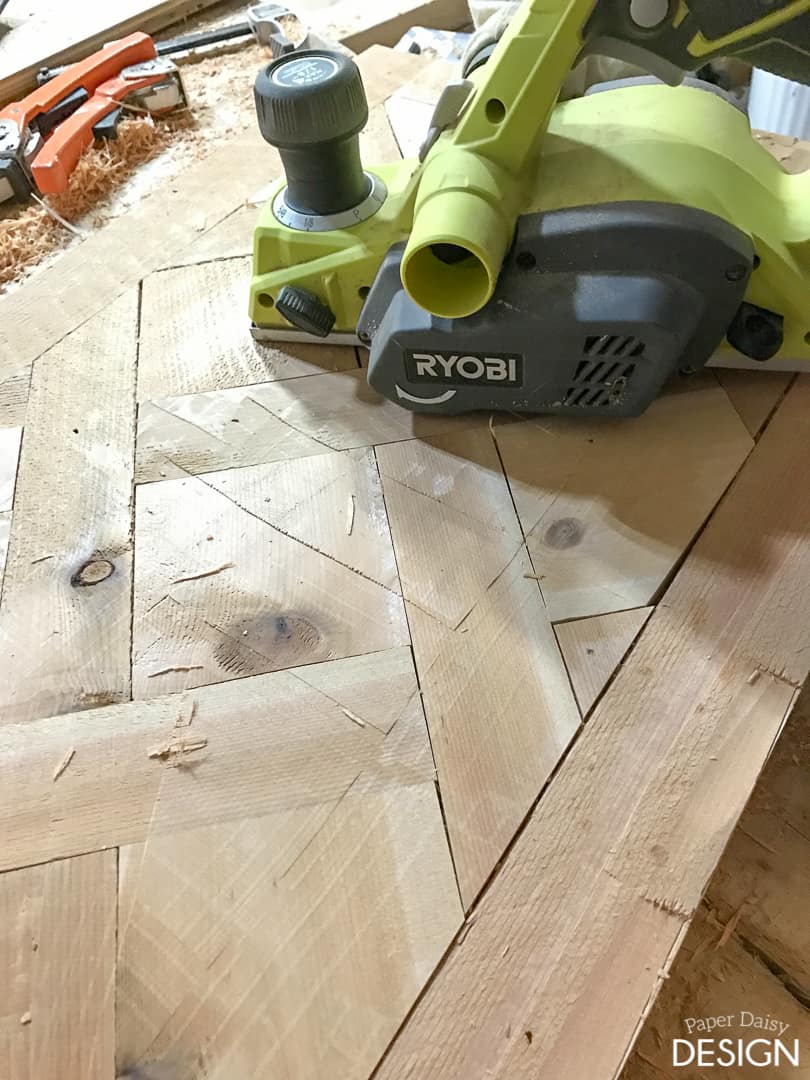
10. Because I didn’t pay close enough attention to the thickness of my boards when I selected them, I had a great deal of difference between the edge board and one side of the pattern.
11. I used a planner to remedy this situation, but if you don’t have one just pay closer attention to your thicknesses and you can easily skip this step.
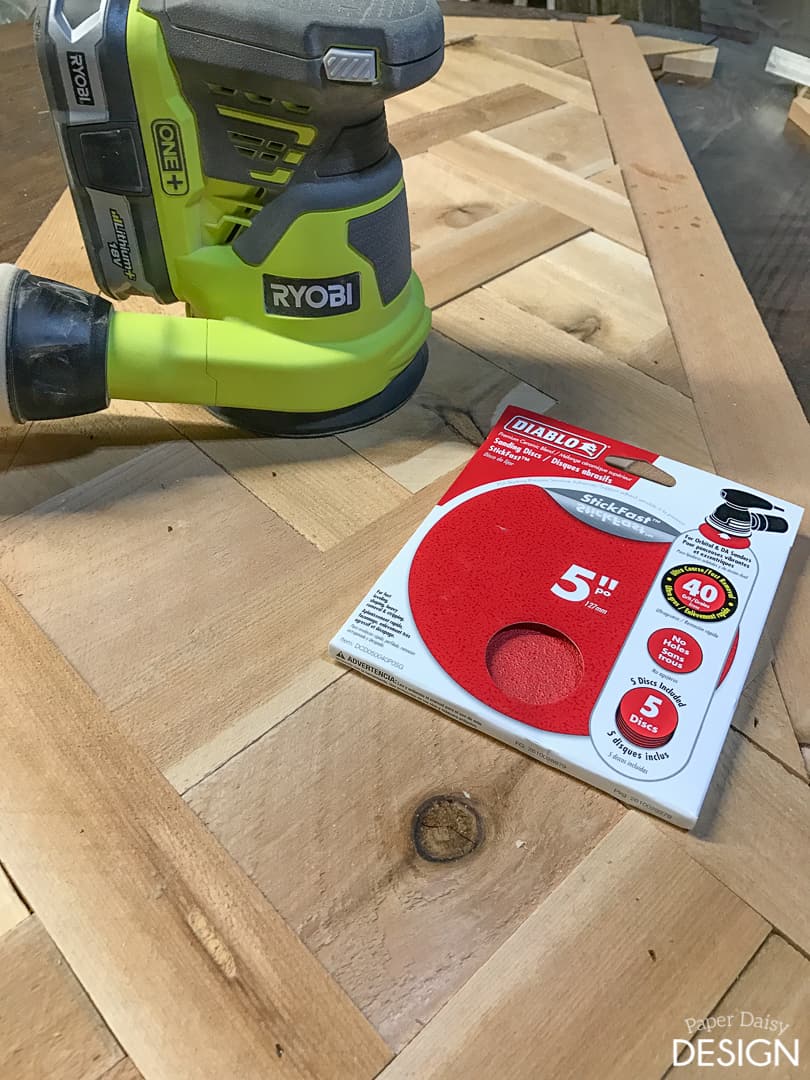
11. Because cedar is a fairly soft wood most imperfections can easily be smoothed out with a sander. 40 grit paper should be enough to level the top if you choose wisely.
12. With a smooth top, you are now ready to fill the nail holes and sand one more time. Sand with 120 grit and then 200 if desired.
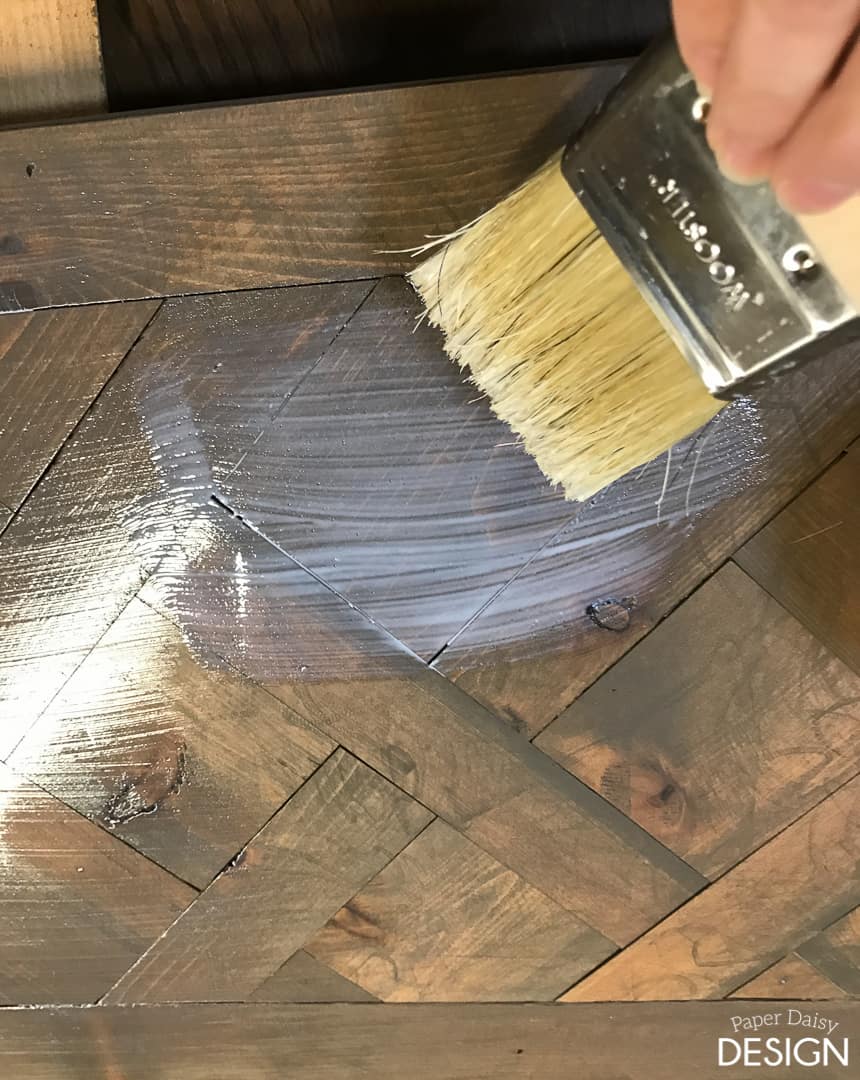
13. Now you are ready for a finish. It might also be a good idea to use a wood conditioner first to create an even finish.
I used this beautiful gray-brown color by Rustoleum called Briarsmoke.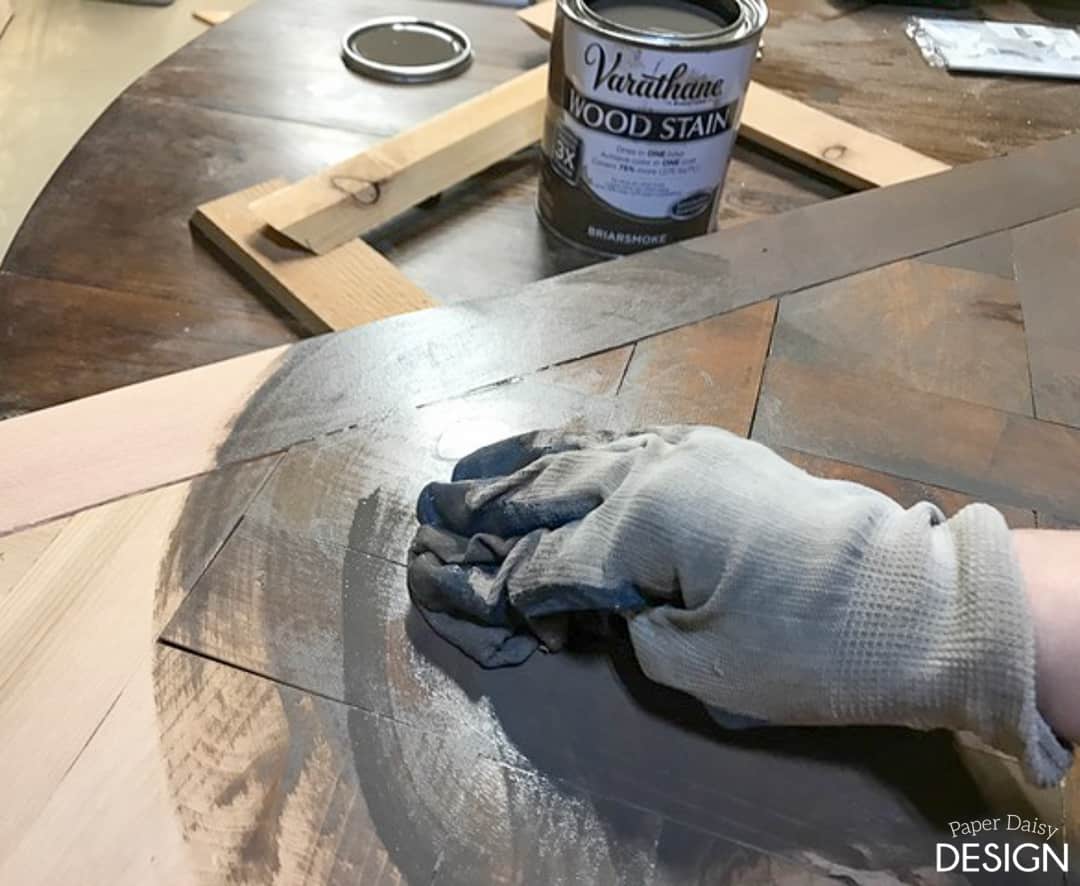
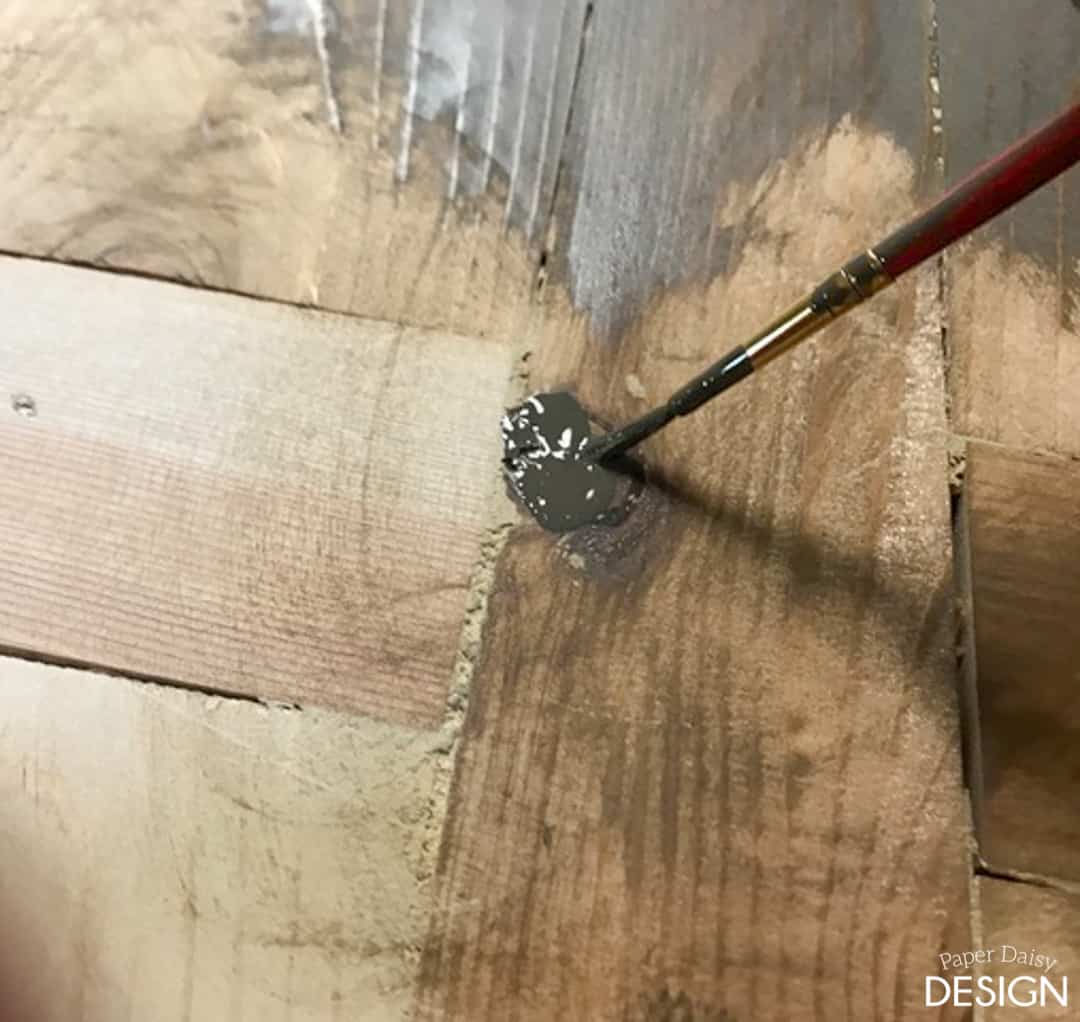
In an application like this where I don’t want the finish to puddle in the crevices, I use a cotton t-shirt.
In the hard to reach places, I followed up with a little paint brush.
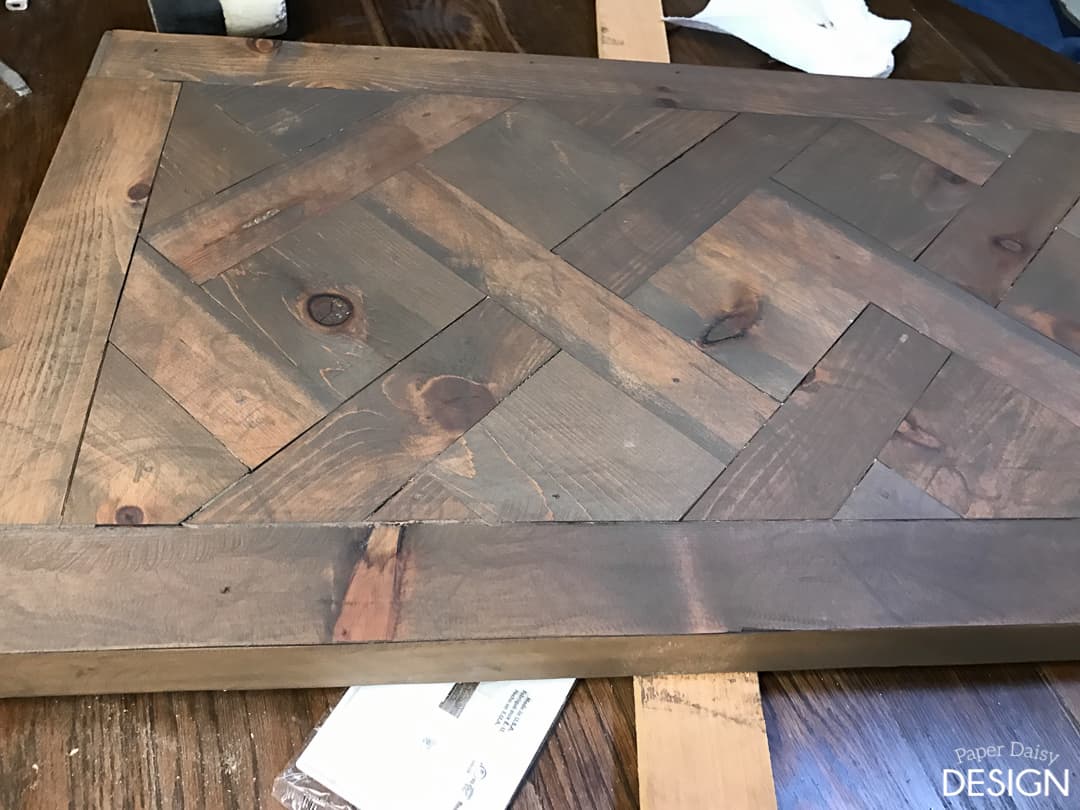
13. Top coat your piece with a finish of your choice. My favorite is this matte finish.
What I love most about it is how even the finish becomes once it dries all of the brush strokes completely disappear.
Once this is dry and you repeat the coats necessary for a protective finish, you are ready to add your new top to the table.
15. For my table, I had to spray paint the metal table base black.
16. There were only a few modifications I had to make to convert the folding desk into at console table.
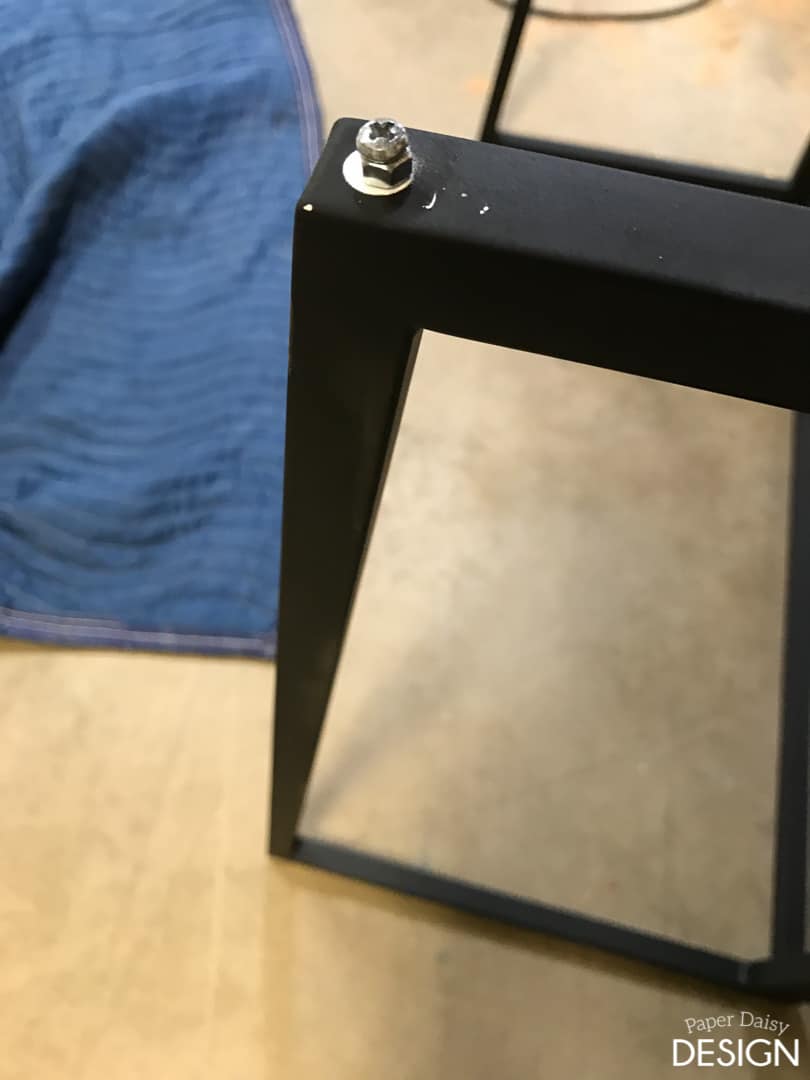
I removed the latch hardware and reused the screw with a nut underneath.
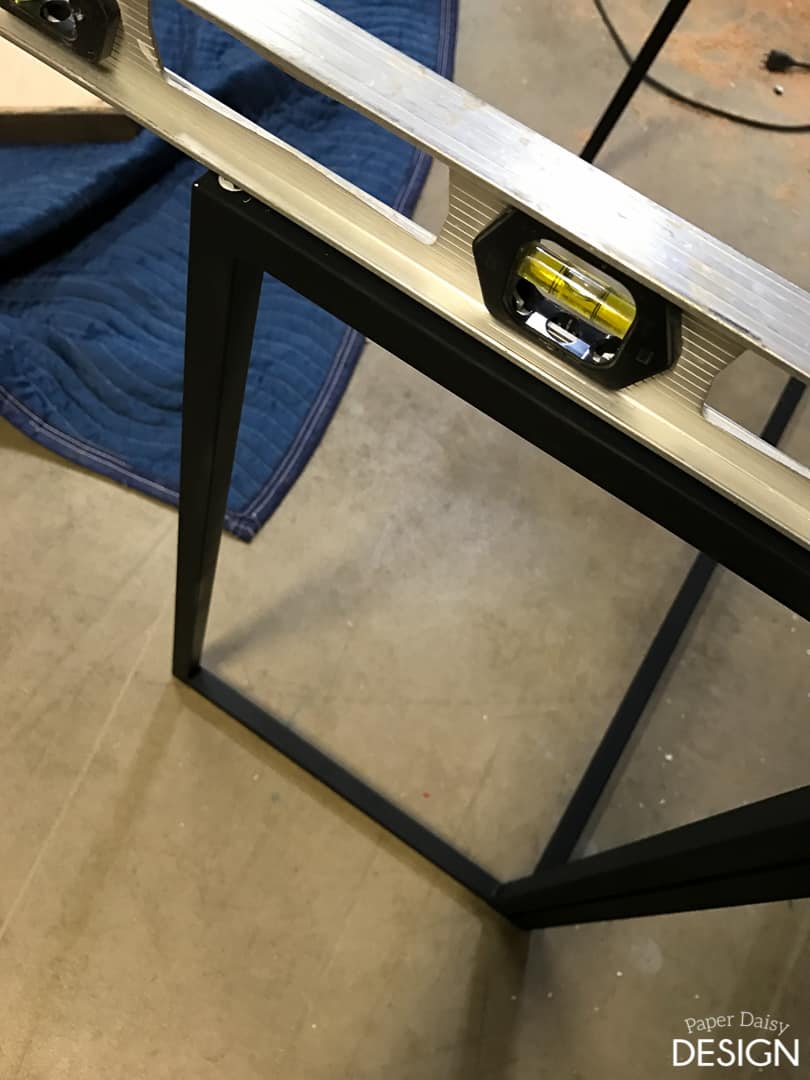
Otherwise, the affixed hardware on the opposite side would have created an unlevel surface.
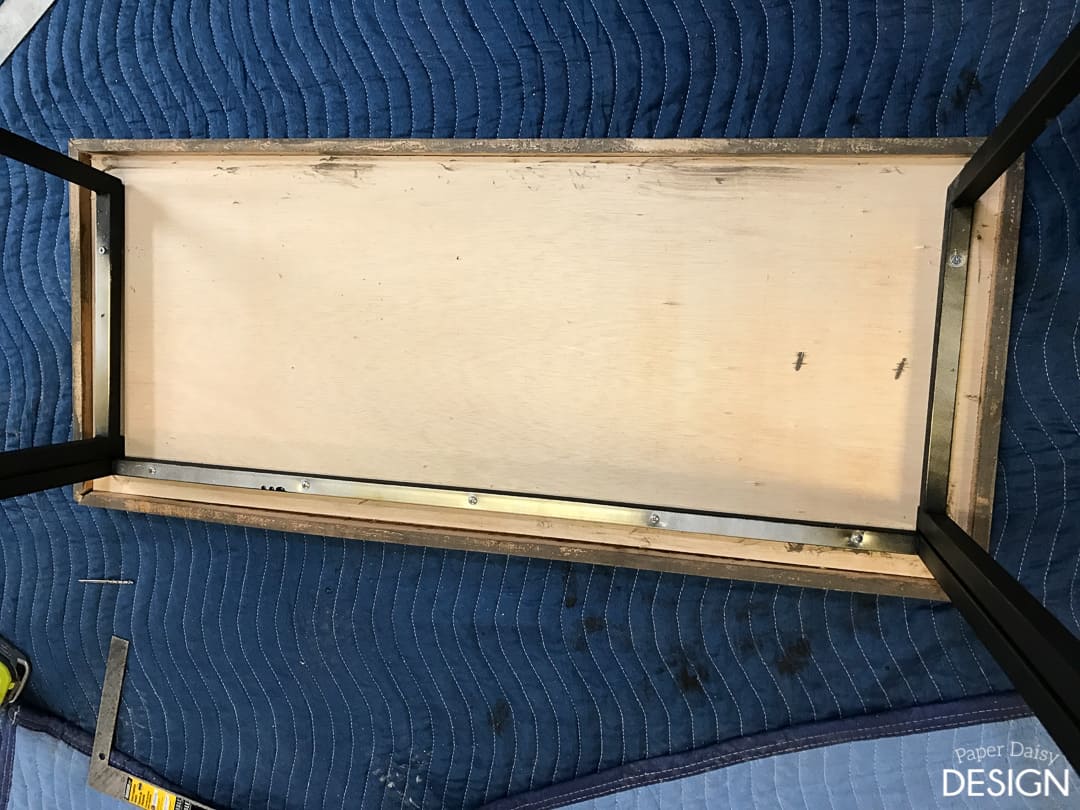
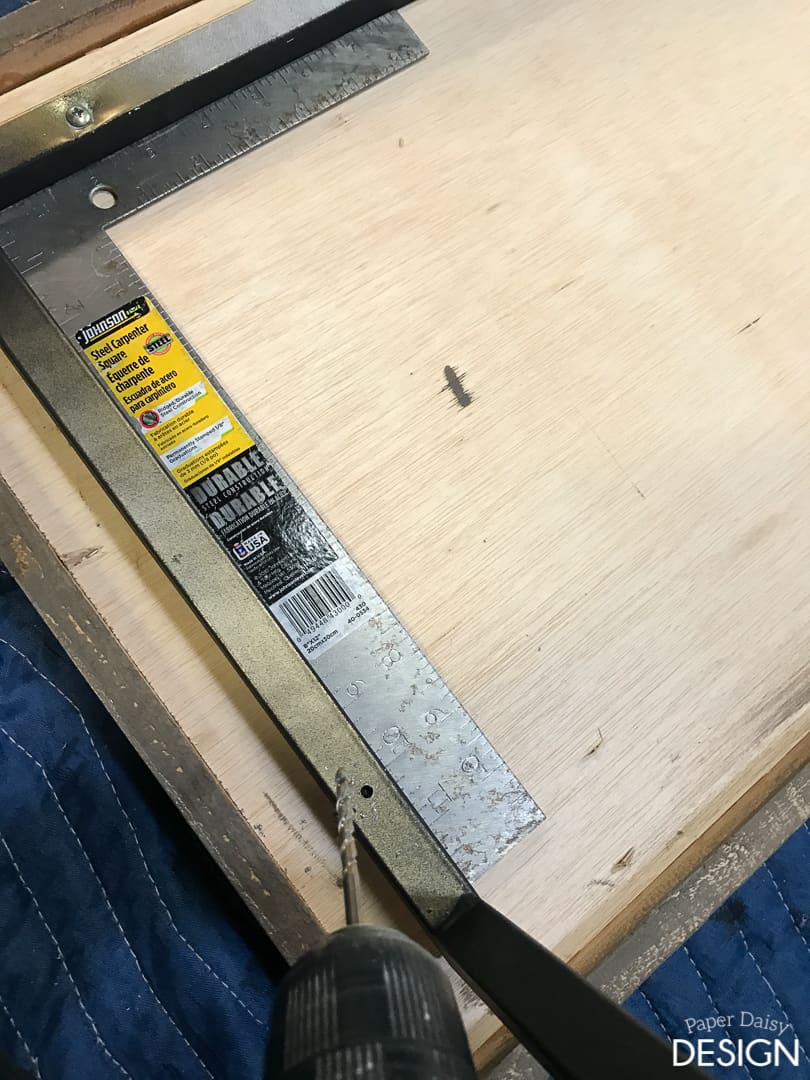
17. Then I placed my top on a soft surface and attached the legs with the original screws.
The only change I had to make here was to drill a hole on each side to add screws to stabilize the once folding legs.
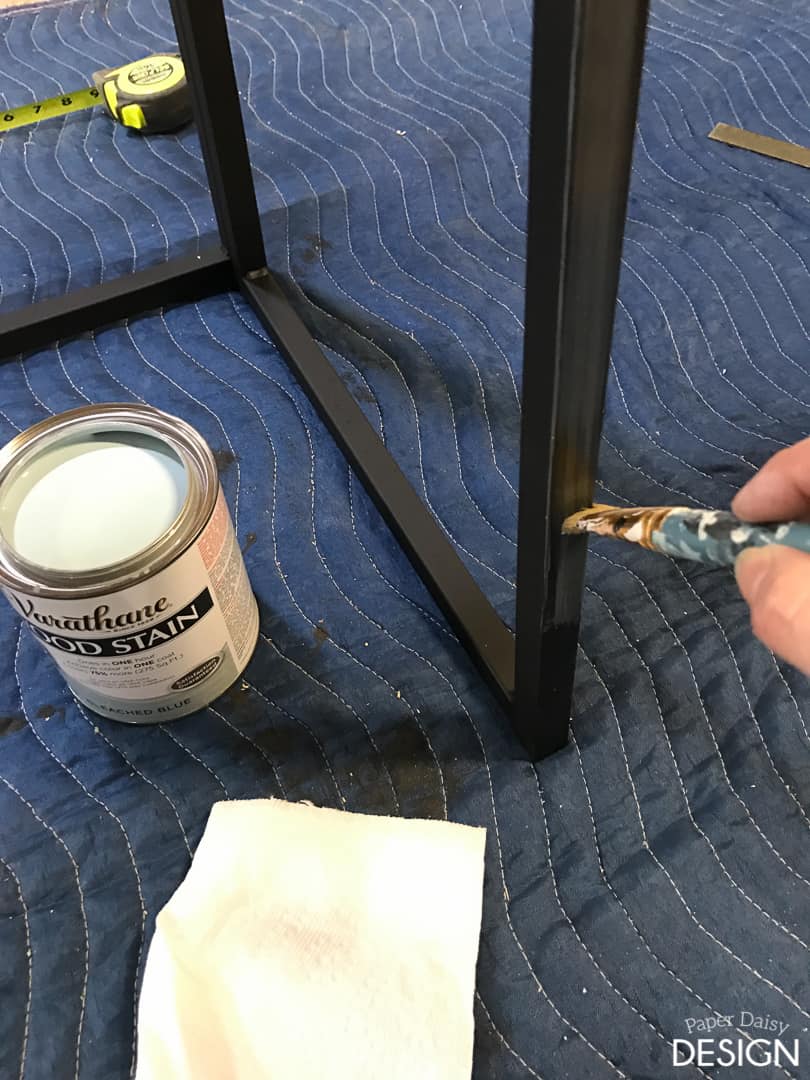
18. The last step was to soften the black paint a little make it look more like powder coated or create an almost zinc like finish.
Here is a sample piece of wood with the finish next to the black. It’s a subtle change obviously.
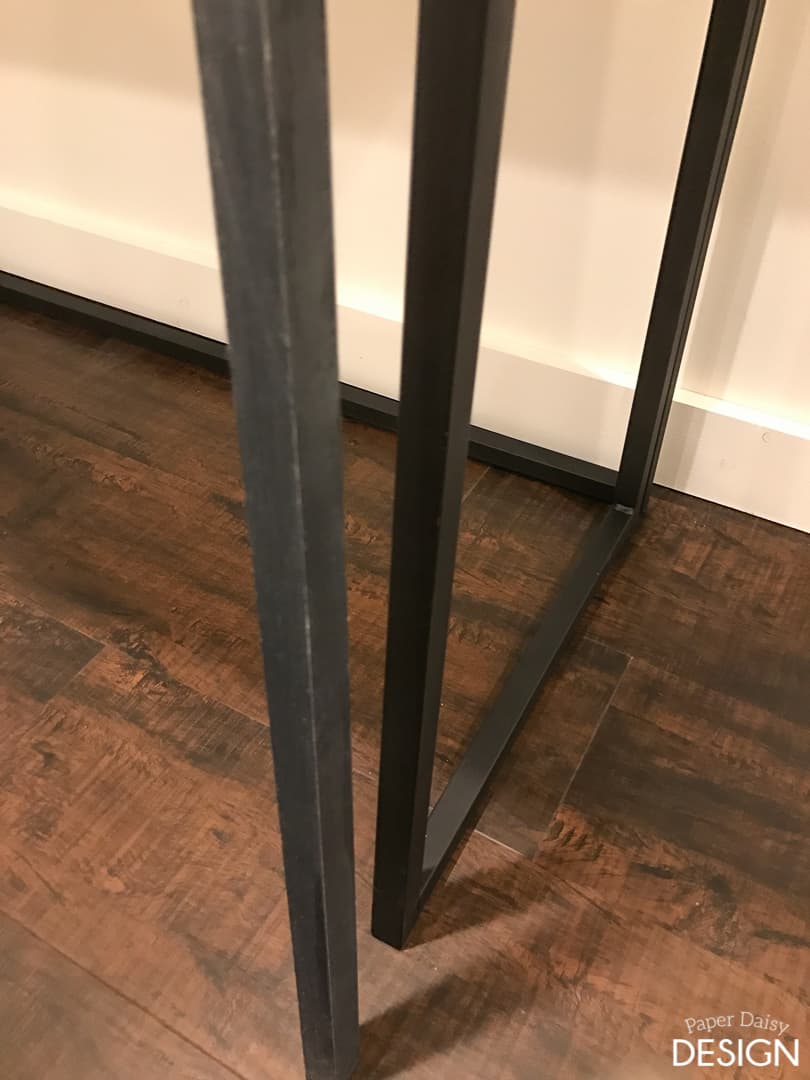
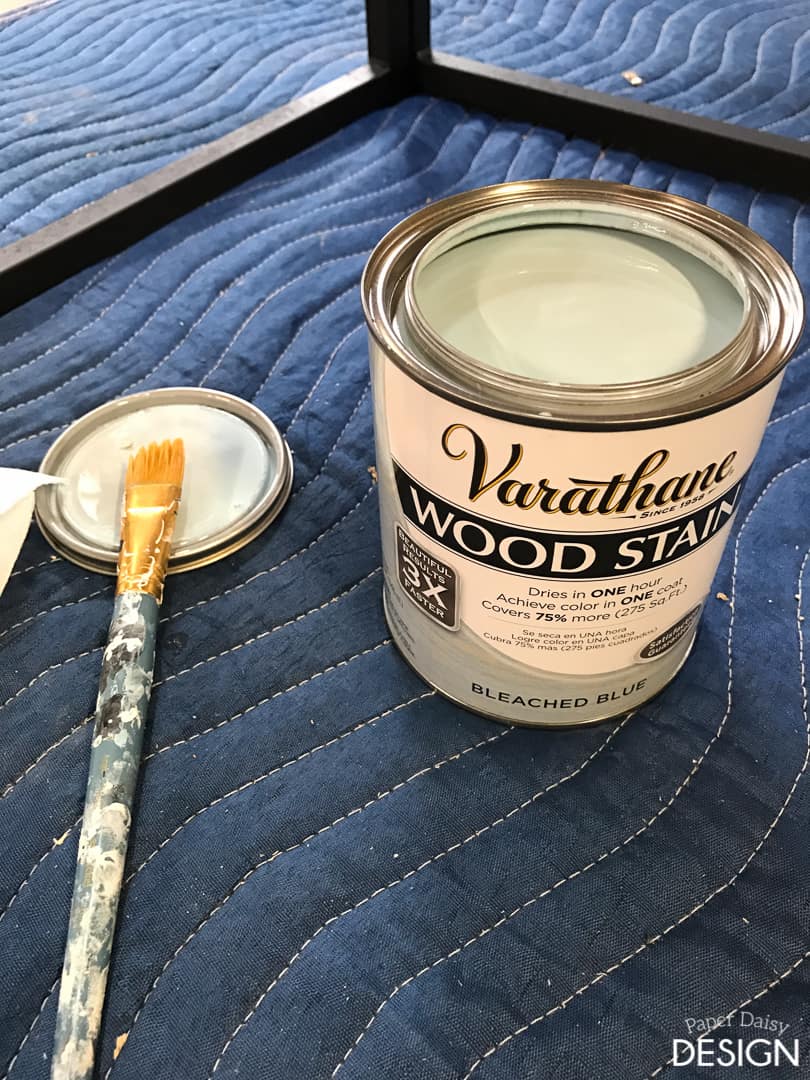
I used Varathane Wood stain lightly brushed and then wiped or blotted off with a paper towel. The stain color is Bleached Blue.
And after all that here’s my new and very much improved console table. I absolutely love it!!
I was inspired to create this furniture makeover for a blogger challenge hosted by Rustoleum. I would like to shamelessly ask you to go and vote for my entry. Of course, if you like the other entries better, please vote for those too!
You can vote by clicking HERE!
Each entry liking (clicking the heart icon) and commenting create an entry into a giveaway for a cool Rustoleum prize package!





1 Comment
Tracey
February 3, 2017 at 2:35 pmI love this; it’s such a huge change