From Chair to Table: A Transformation Tale
I wish I could tell you how I decided to make a chair into a table. All I can tell you is these things just come to me. 😉
I can tell you that I love to find ways to recycle, up cycle and re-imagine things I have or find at thrift stores. It really thrills me.

I do know I wanted a bright little side table for my “refreshed” patio space. That I hope to completely reveal soon. And I had a few extra chairs in the attic. But those particular chairs wouldn’t work.
So this one became the victim.
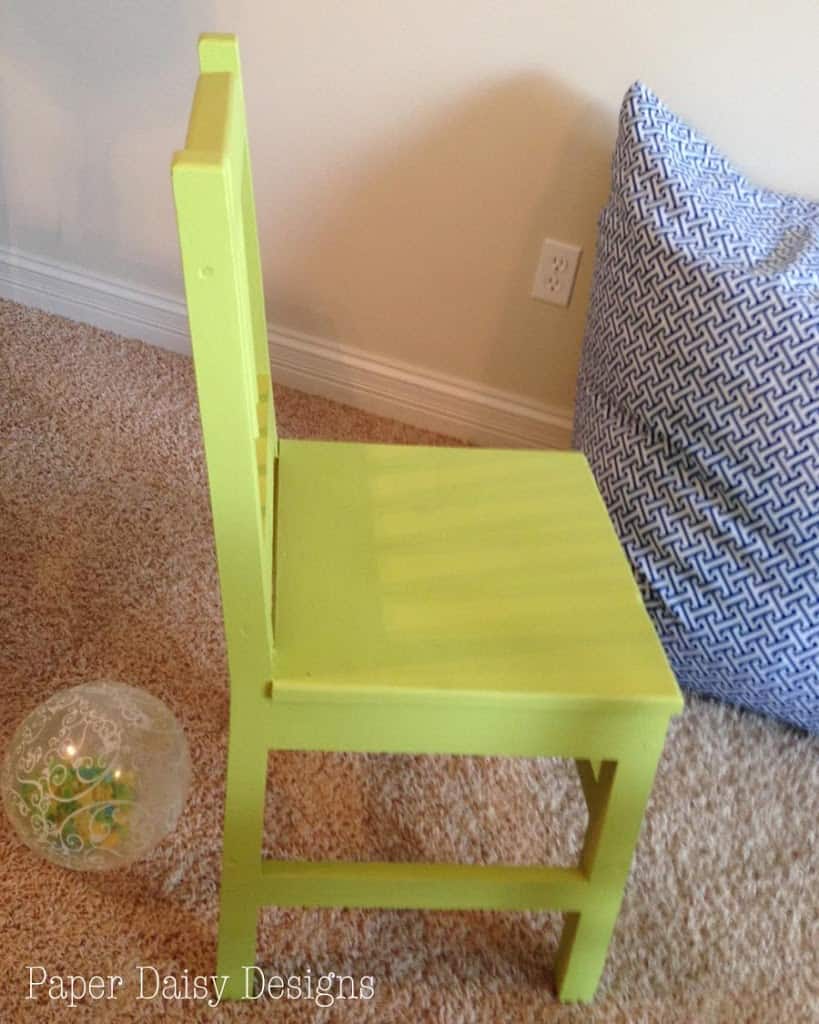
Does this not look like a table to you?
See the straight lines? And the perfectly straight place where the seat meets the back? That’s all I needed.
The chair was originally purchased at my favorite thrift store, Salvation Army, for the Media Room Map Game table.
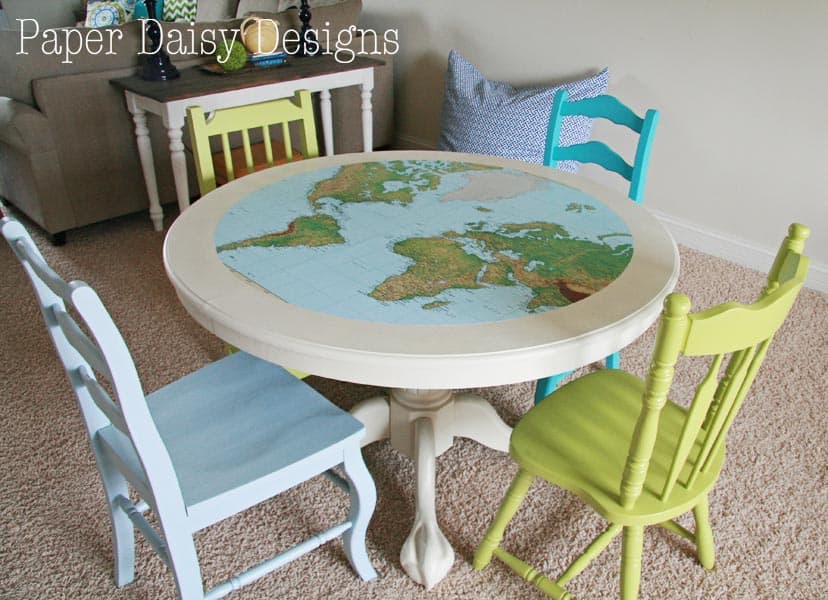
I’m pretty certain it cost a whopping $4. Not to worry I do have an extra chair to replace this one. It wasn’t the most comfortable chair anyway. 😉
To complete the transformation, I enlisted the help of my dear neighbor. He’s retired and has a fabulous workshop with every tool imagined by man. And lucky for me, he is more than happy to help me with my “projects”. Another blessing for sure.
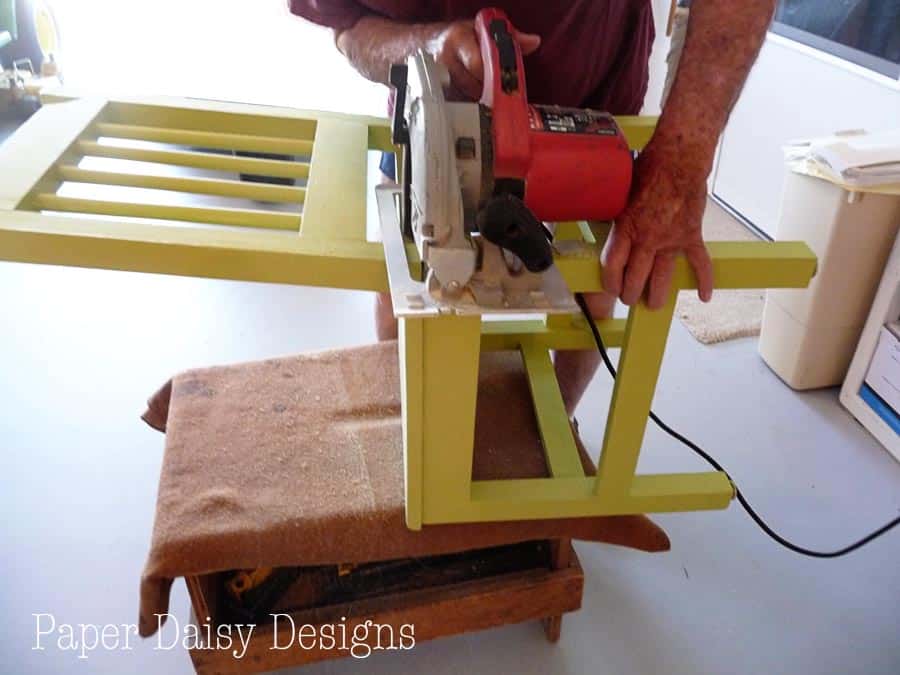
I thought we would use his table saw, but he thought the circular saw would work better. I let him go to town!
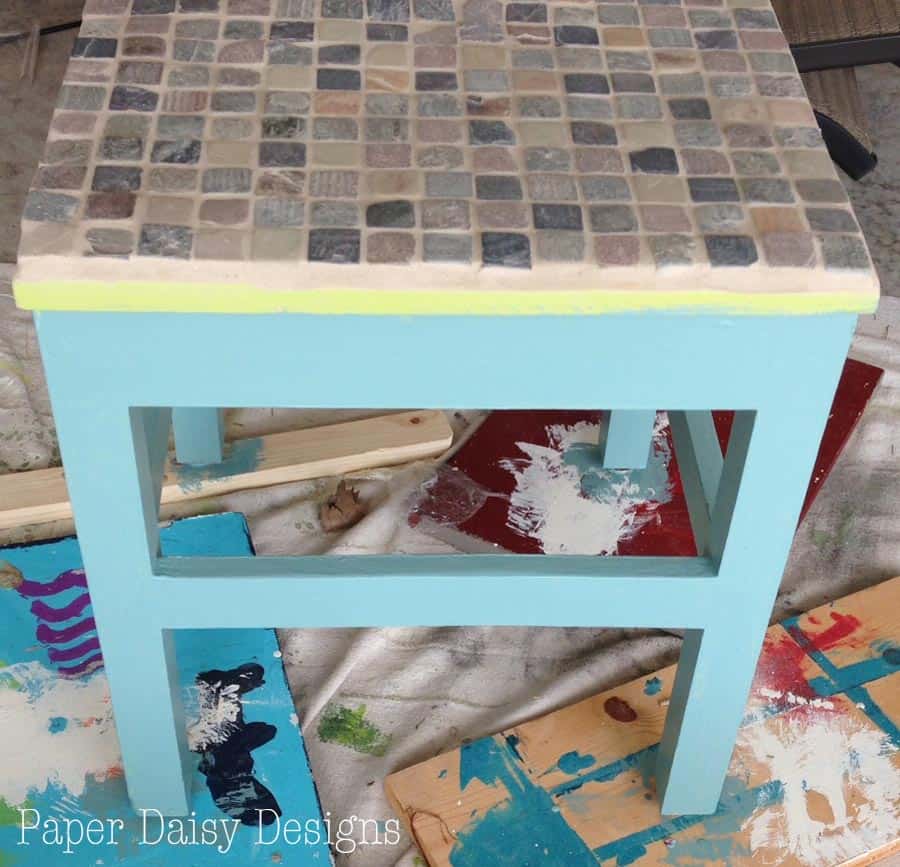
Then he did use his table saw to rip a scrap piece of wood to fill in the gap left by the chair back.
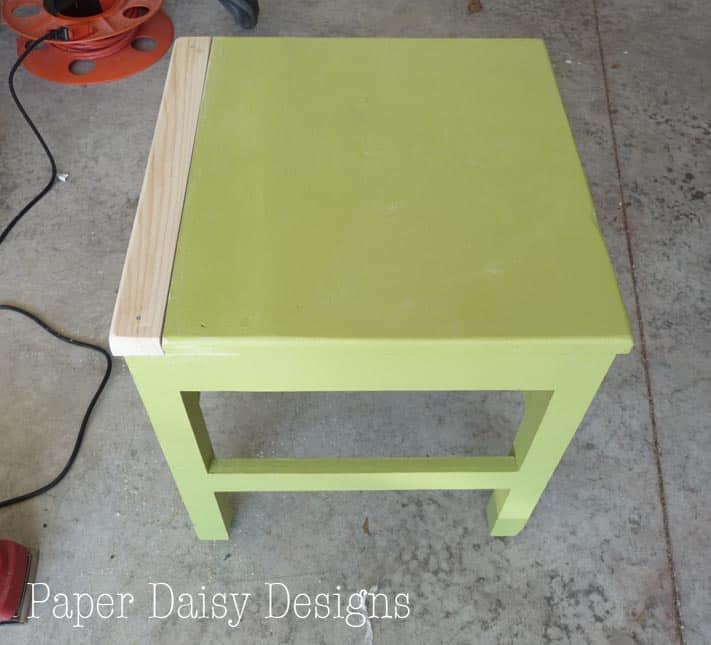
We nailed it in and then I got to work with the tiling. That was my plan to hide the patch and to make the table more durable, more impervious to rain for the patio. Our patio is only covered by a pergola so everything needs to hold up to the rain and sun.
I mixed up some grout to use as adhesive and spread it onto the table with a notched trowel. I figured it wasn’t going to get walked on, so mastic wouldn’t be necessary.
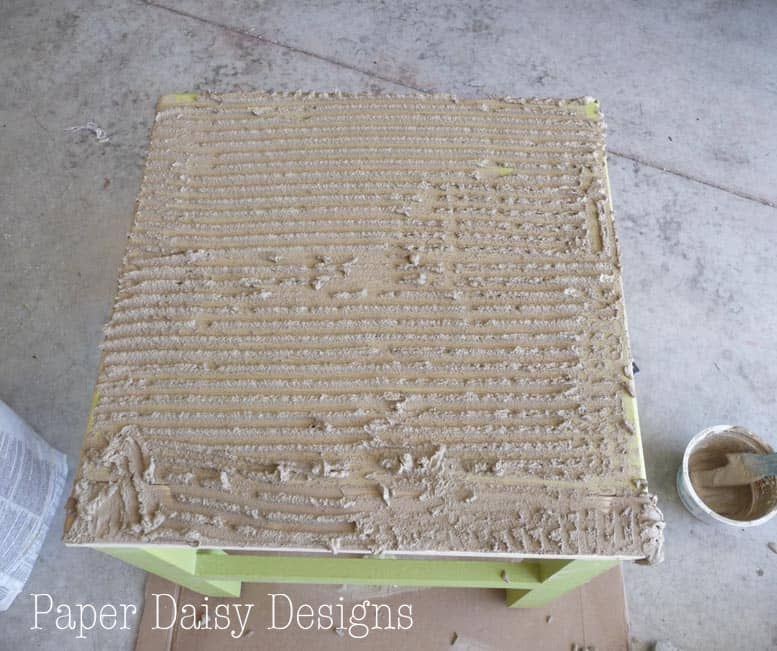
When you mix grout, you want it to be pretty thick, about the consistency of smooth peanut butter. Then you let it set up for about 10 minutes.
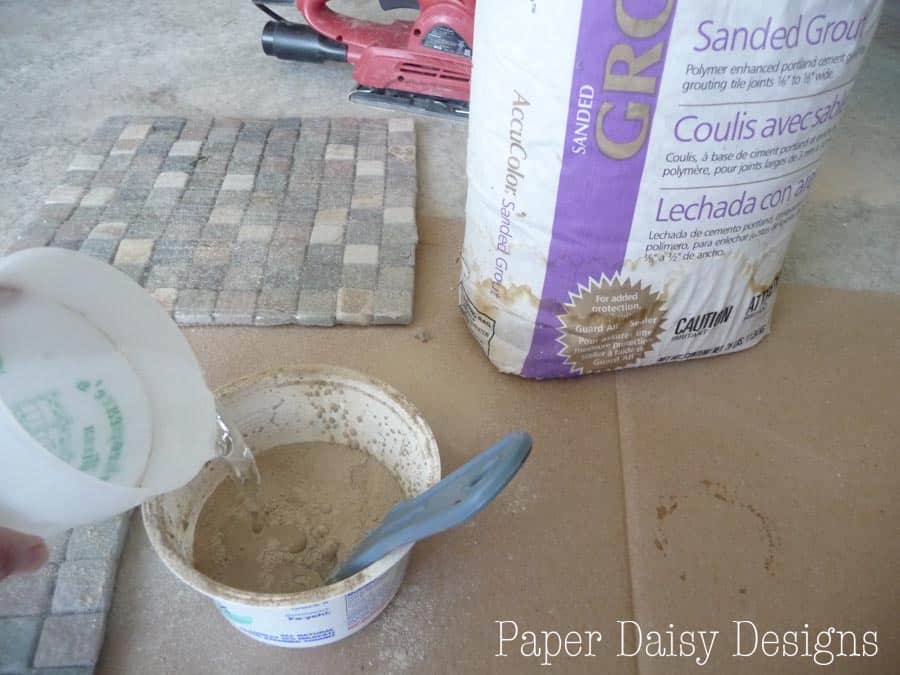
You don’t want to mix up too much grout at this point, just enough to do this step. You need to let the “adhesive” set up overnight and the grout mixture can’t be reused later.
Once I had the grout troweled on, I placed the mosaic tiles onto the chair. I actually had these 2 sheets of tile leftover from a pool remodel at our last house. Luckily, it was the perfect amount of tiles to cover the top.

You want to press the tiles down into the grout firmly, removing any air bubbles.
The next day, mix more grout as before and put a dollop of grout on top of the tile. Drag the rubber grout float on the tile at about a 45 degree angle.
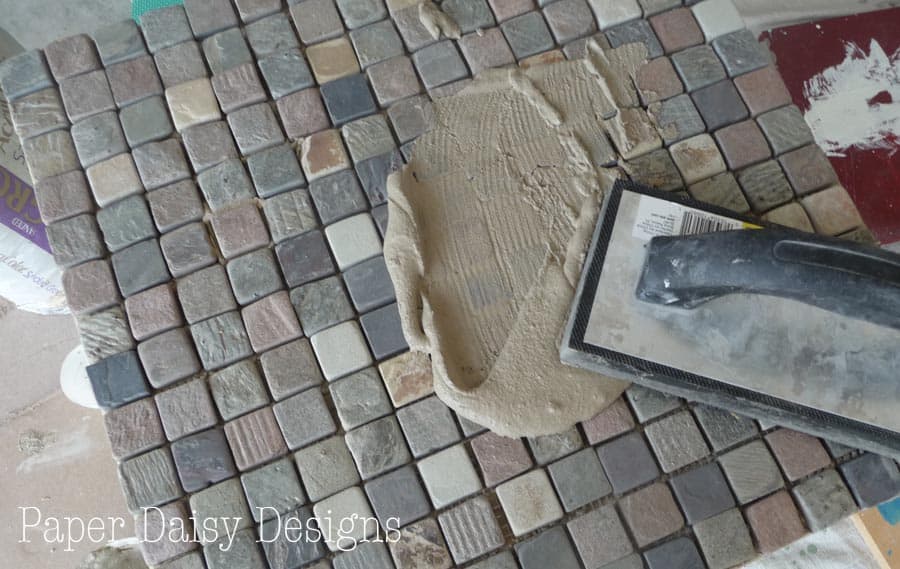
To finish the edges I could have added wood trim all along these sides, which would have been nice, but this table is completely exposed to the elements and I worried it would rot.
So I just filled in the edges with grout, using my fingers. Trying to get it nice and smooth.

Once grout covers the tiles well, use a big sponge to wipe off the excess. Ringing the grout out in a water filled bucket.
You will need to do this several times.
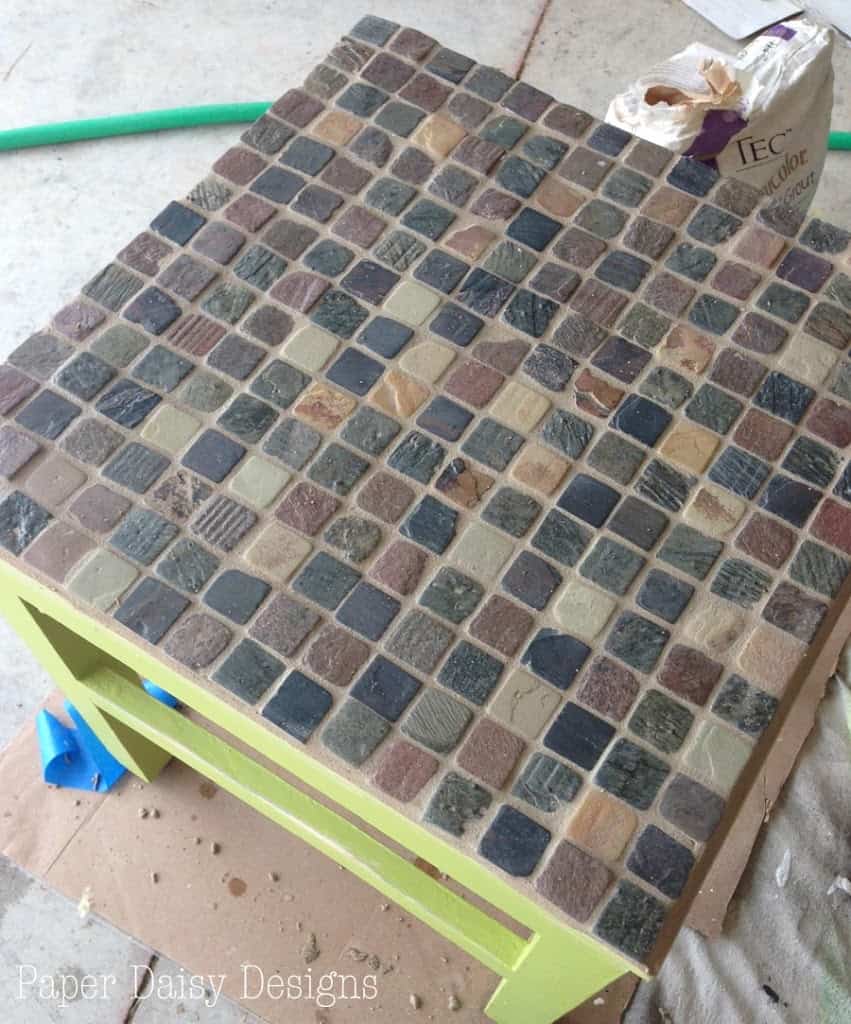
The next day, I taped along the grouted sides and finished up the painting.
To give an extra layer of protection I applied a coat of Polycrylic to the whole thing, even the mosaic tile top.
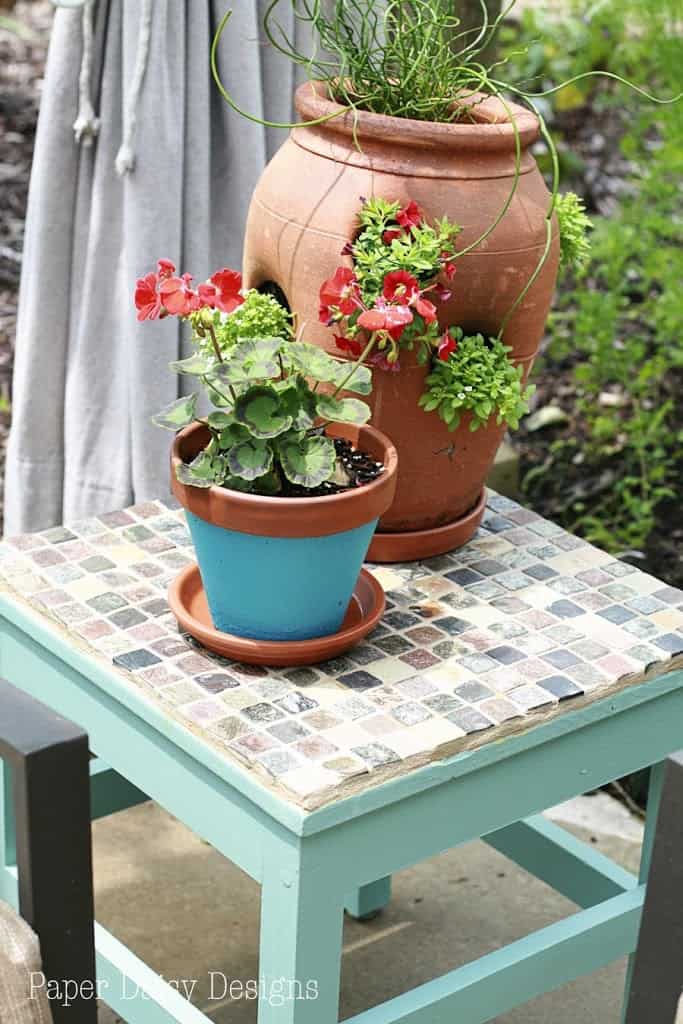
Here’s a sneak peak at our “refreshed” outdoor space.
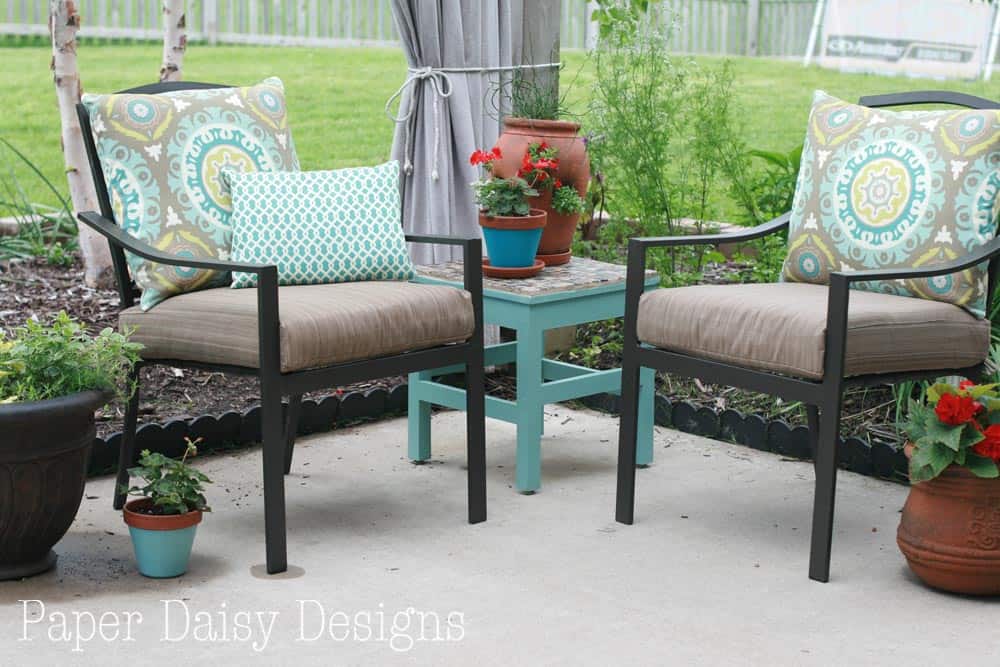
Looks pretty darn good for a chair doesn’t it? I’d love for you to follow along and check back and see the rest of this outdoor patio transformation. 🙂
Transformation Thursday @ Shabby Creek Cottage / Hooking up @House of Hepworths / Feathered Nest Friday @ French Country Cottage / Be Inspired Friday @ Common Ground / Friday Link-up @ Redoux / Furniture Feature Friday @ Miss Mustard Seed / Shabbilicious Friday @ Shabby Art Boutique / Frugal Friday @ The Shabby Nest / Pity Party @ Thirty Hnndmade Days / Party Junk @ Funky Junk Interiors / Mop it Up Monday‘s @ I should be mopping the Floor / Nifty Thrifty Sunday @ Nifty Thrifty Things / That DIY Party @ DIY Show Off / More the Merrier @ DIY Home Sweet Home / Nifty Thrifty Tuesday @ Coastal Charm / Martha Monday’s @ Watch Out Martha / Get your Craft On @ Today’s Creative Blog / Tutorials Tips Party @Homestories A to Z / Wow Us Wednesday @ Savvy Southern Style /Power of Paint @ Domestically Speaking / The Summer Bucket List@ the Foley Family / Show and Share @ Southern Lovely


Great idea! I love the tile on the top, too. I'm visiting today from Shabby Creek Cottage. I co-host a Linky Party Tuesday (open thru Sat) and I'd love for you to link up! I hope you get a chance to stop by, link up and leave a comment, too!<br />~ Megin of<a href="http://vmg206.com/" rel="nofollow"> VMG206</a><br />Join me each Tuesday for <a href="http://www.vmg206.com/2013/05/
Aren't you so clever?? This turned out fantastic!! I bought a table that came with four chairs just like this for my son, but we only use two of the chairs. This would be a great project for the others! You did a really great job!<br />XO,<br />Christy
Wow! That looks great Leslie! I don't think I would have EVER thought to turn a chair into a table, but it certainly did the trick, didn't it? Love the tile on top, and your tutorial is really detailed and easy to follow. I don't think yours would have needed to cure for 3 weeks like mine, because the type of grout I used is meant for underwater and wet conditions. That probably makes
Love that table!! What a clever idea…too bad I don't have any old chairs…garage sales here I come!!<br /><br />Thanks for sharing at our Summer Bucket List Link Party! Keep that inspiration coming, we'll be partying through June!xoxo<br />http://www.lifeafteremptynest.com/2013/06/summer-bucket-list-link-party.html
What cute project and how wonderful to have such a nice neighbor! Love the tile top!<br /><br />We'd love to have you link up this post to The Creative HomeAcre Blog Hop. We're live Sunday through Thursday!<br /><br />http://acultivatednest.com/2013/06/the-creative-homeacre-blog-hop-4/
Hi Leslie!! Just wanted to let you know we featured this project this week on our Summer Bucket List Inspiration Link Party! http://www.essentiallyeclectic.com/2013/06/summer-bucket-list-party-features-1.html <br />Thank you so much for linking up! This table is adorable!
What a great reuse of an old small chair. Love the color you picked! So fresh and inviting.
Pretty sure you should make ME one of these, lol. LOVE it!!! Stopping by from The Foley Fam Summer Bucket List 😉
Love how this turned out. Thank you for joining Home Sweet Home.<br />Sherry