My Wall of Love- Gallery Wall party
I knew it was time to tackle a gallery wall because I had frames scattered on just about every tabletop surface in the house. I knew I couldn’t part with those photos, but also had realized I needed to edit them to have room for other decor. I decided this short wall under the stairs in my living room was the perfect home for my treasured photos.
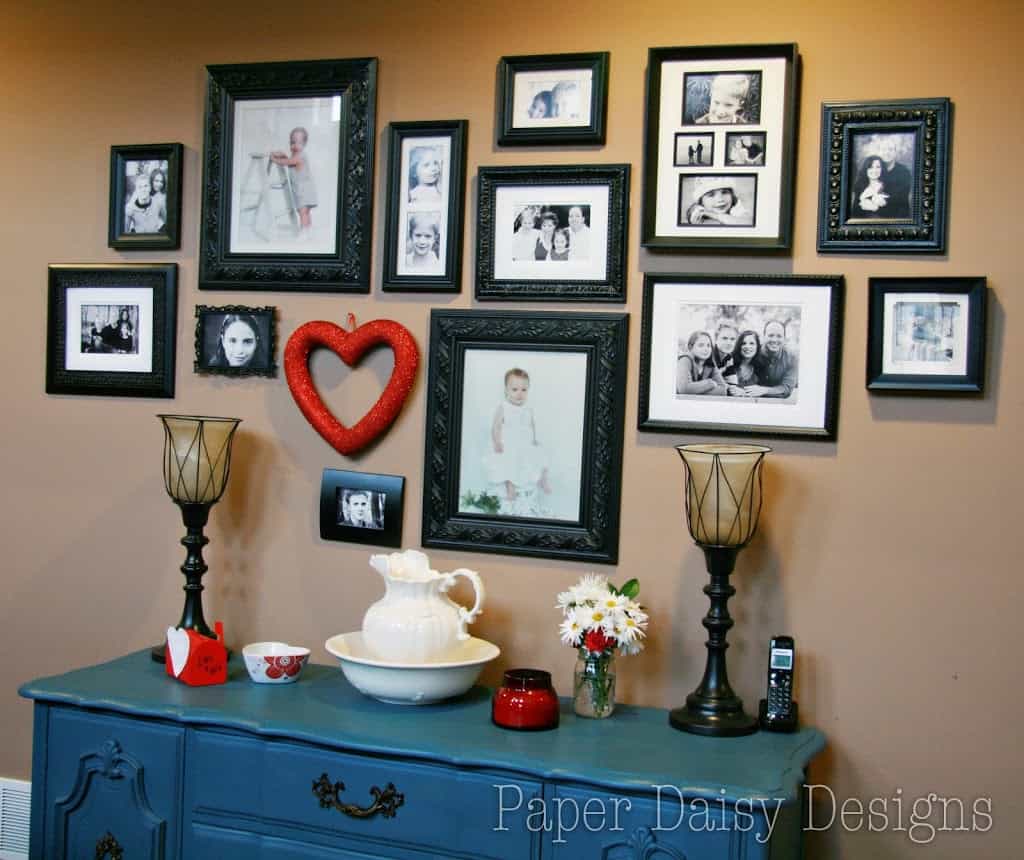
I started with frames I had, spray painted them satin black and printed a few of my favorite photos in black and white. I kept the one year old portraits of our children in color because it would be too difficult and costly to reproduce. I started with those large portraits hung on nails I had from the previous artwork and filled in around them. I did use the tip to trace the frames sizes to paper while working on the arrangement, but didn’t find that the holes created with those templates to be that accurate. (It might just be me, but thank goodness the extra holes are hidden.)
Here’s my first go at the wall.
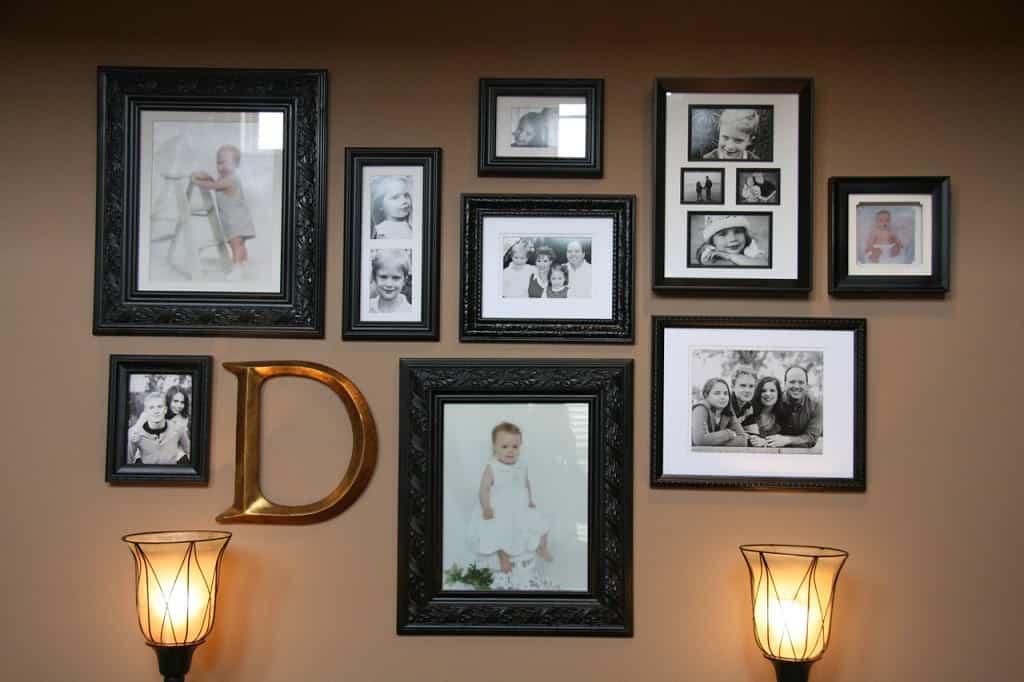
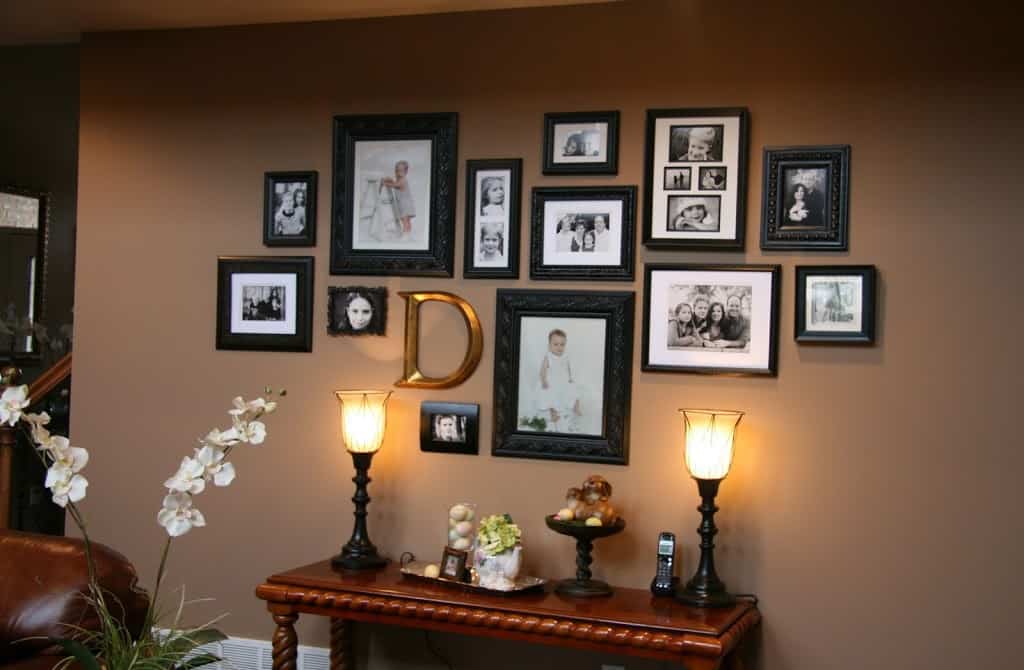
I love, love, loved it, but the more I looked at it I knew I had to keep going. I printed a few more photos, painted a few more frames and went bigger.
I hope this inspires you to create your own gallery wall. Now, Go and join the link party, but if your a first time visitor here, I do hope you have a look around as well. 🙂
Update: This post continues to get lots of traffic, so I thought I’d follow up with how the gallery wall looks now.
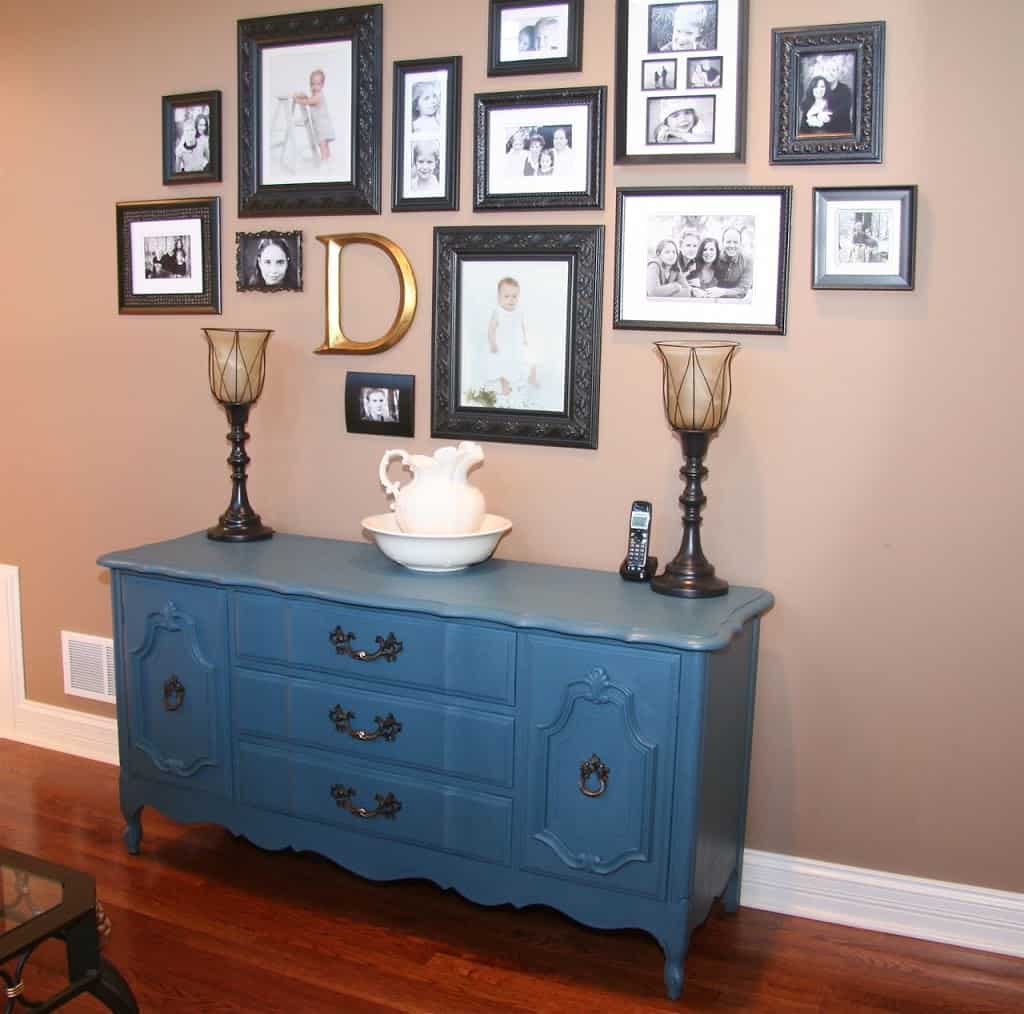
Here’s a link to the post on this buffet and it’s transformation. 🙂
I have also been having fun with replacing the “D” with seasonal pieces like this for Valentine’s Day.
Thanks for stopping by and be sure to come back!


your wall looks great…love your B&W photos! I haven't tried it, but you could try to get a quality b&w photo COPY of your baby's photos…..
I love this arrangement. I want mine to look more like this. Im saving your photo for inspiration. Mine is just to symetrical 😉 GREAT JOB!
Where did you get your D?
It's just from Hobby Lobby. Last time I was there they still have letters like these.
Love it Leslie!!<br />
Love it Leslie!!<br />
This looks awesome, I am just wondering how you keep moving them…do you make more holes in the walls or are you using 3M hooks??
For the most part, I've used just the velcro 3m pieces. You put them both on the back of the frame and then stick it to the wall. For the heavier frames, I've used Nooks type hooks. But really I didn't move them around much, I was just showing how the wall kept growing! Thanks!!
I love this!!! What are the sizes of the frames?