Working with GCD Studios
I’m so excited that today is my day to share a technique with all the Facebook Fans of GCD. I’m super thrilled to be a part of the team and I’ve been waiting very patiently to share this layout with you.
So, today for my technique I’d like to revisit distressing. If you’ve been around the scrapbooking block a while, you have done some distressing. I personally think it never goes out of style. Shabby Chic decorating and antiques are classics right?
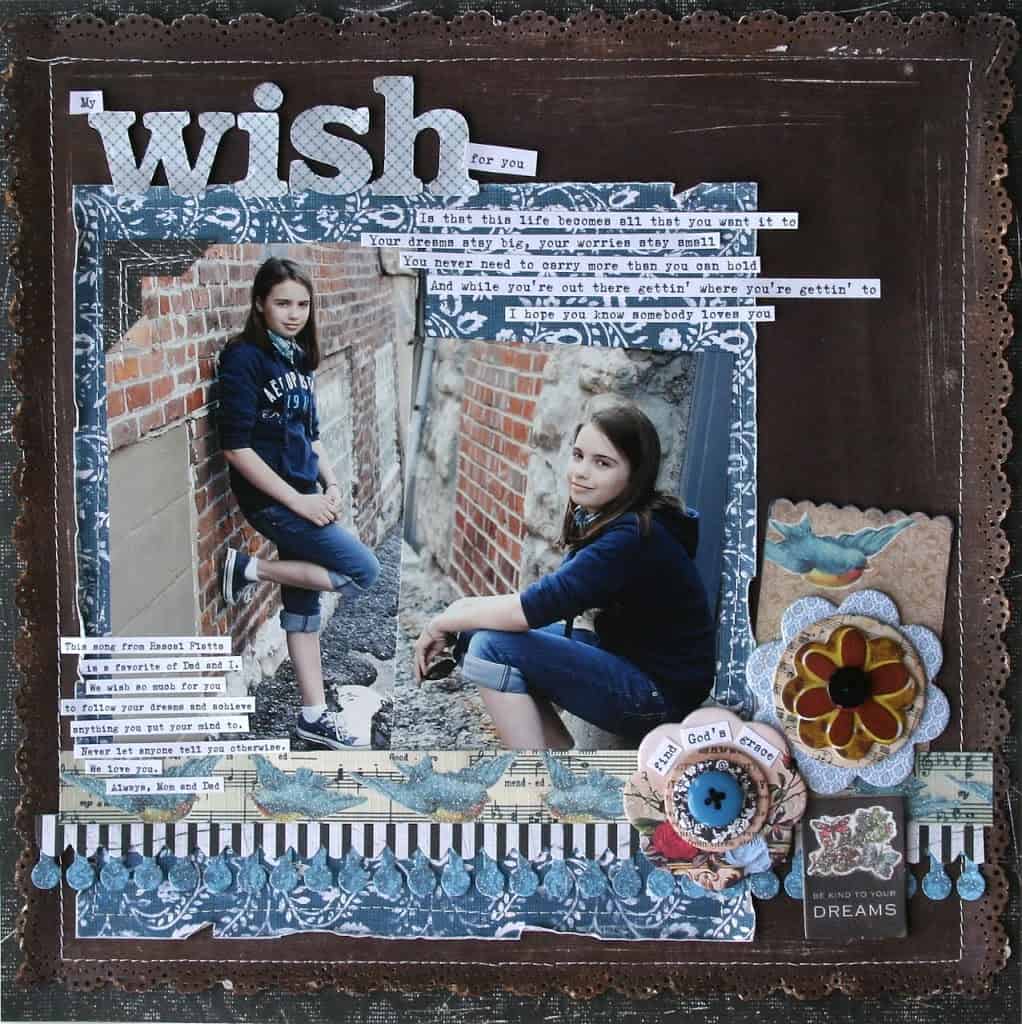
The black background paper, that is the base for my layout today, is from the Melody Ross Artsy Urban 12 x12 Collection Pack. It was perfectly distressed already. I also chose to use the “b” side to the Dress Shirt paper from the Lydia Collection. While this paper was a good compliment to my photos, it was just too perfect and I wanted to bring out the warm tones in the brick and the edgy feel in the photos.
To start off with, I sprayed it with Brown Maya Mist and then sanded it with the big, flat file from the Basic Grey Precision File set. I loved how spots of glue and gunk on my table created dots on the paper. (Don’t you just love a happy accident?)

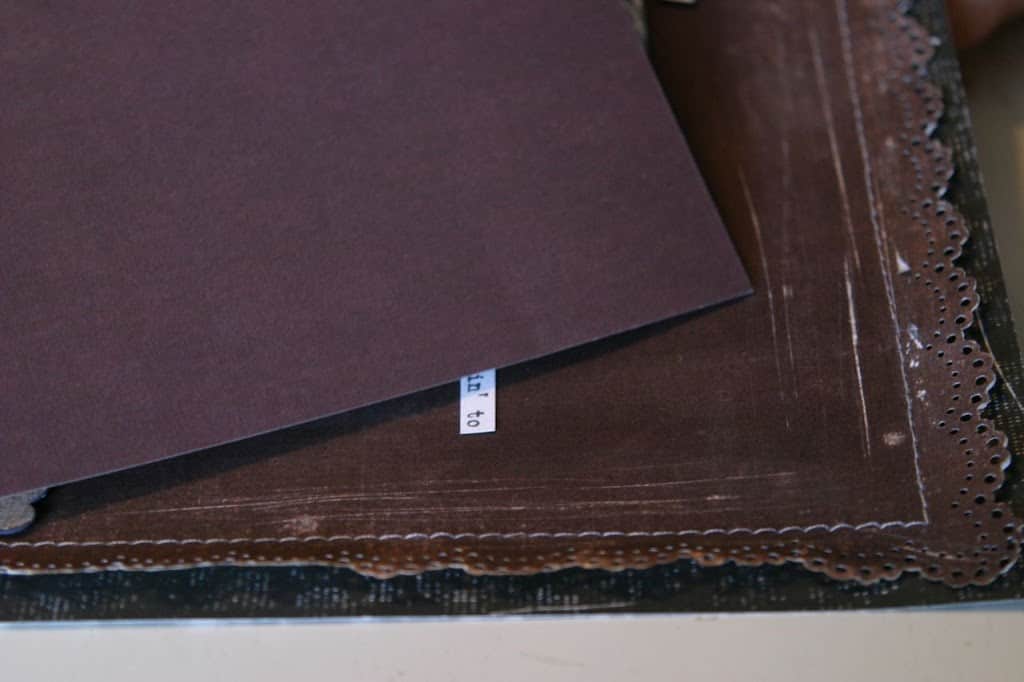
I also did a little scratching with one of the more pointy files and ran ink (Ranger’s Distress Ink-Vintage Photo) along the punched edges once I was done sanding. (The this edge punch is my new favorite Martha Stewart punch.)
Here are the papers before and after.
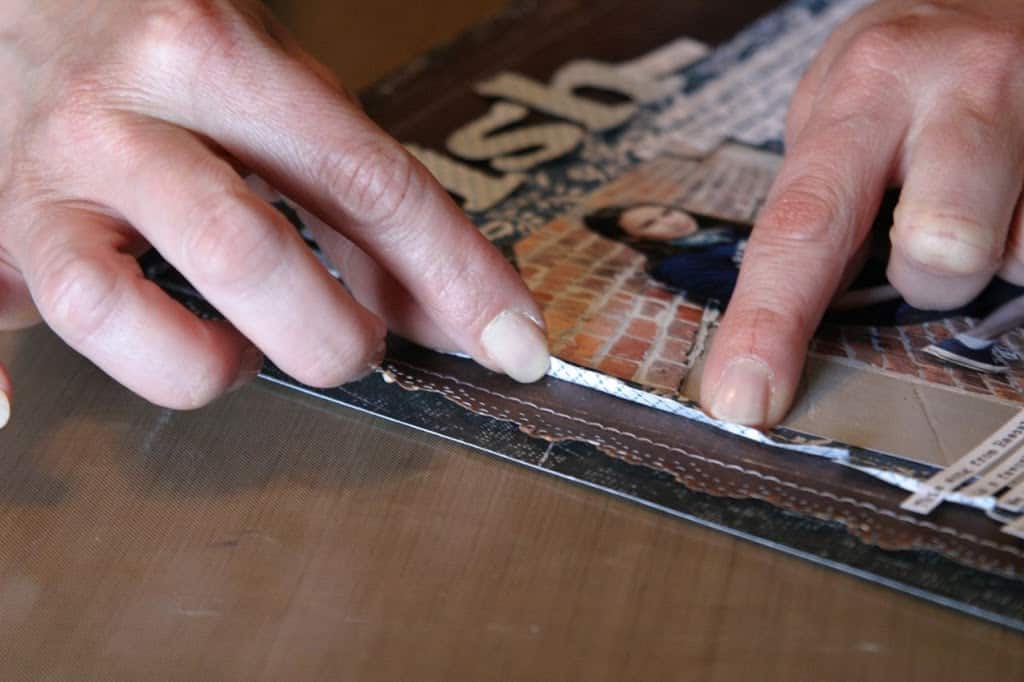
Another great way to add dimension and bring in the shabby chic element is to incorporate machine stitching. Right now, machine sewing it is my go to design element. Once a piece of paper is sewn down the edges can really take a beating. I sanded, ran my fingernail along the edges and made little rips until the blue patterned paper was perfectly tattered and totally shabby chic.
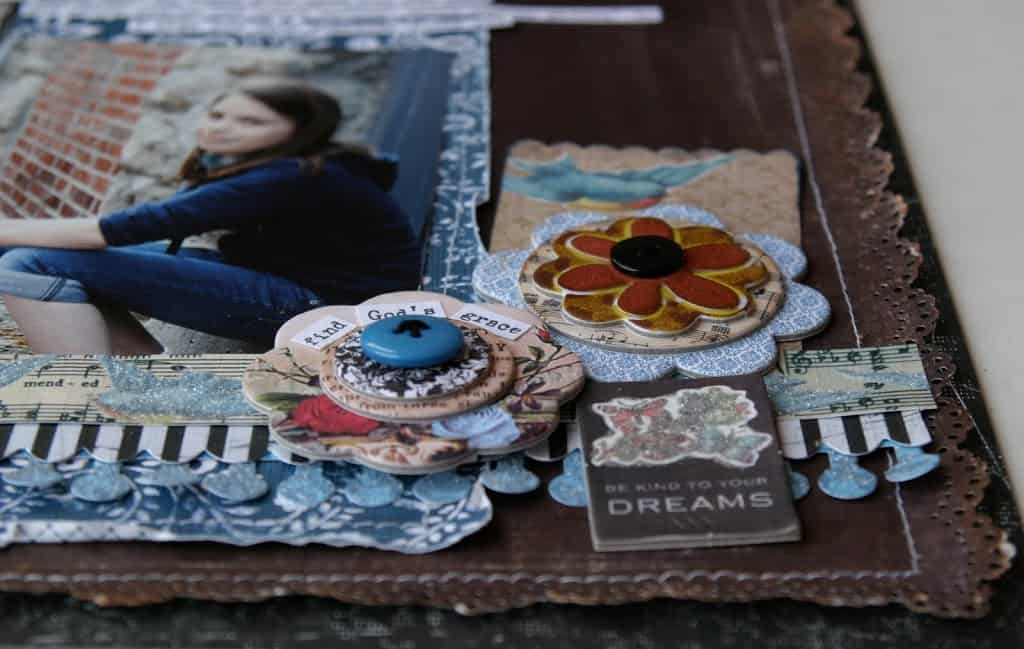
To finish of the layout I used the Melody Ross Artsy Urban Layered Flowers, a Chipboard Sticker and Die Cut borders. I hope this has inspired you to use distressing techniques to create your own shabby chic masterpiece.
The title was created with the Slice and given dimension with Close to my Heart’s Liquid Glass and adhered with pop-dots. The blue paper was from the 8 x 8 Melody Ross Artsy Urban pad. Font for the journaling is Underwood 1913.


Beautiful, beautiful layout. I really like the texture and dimension.
Wonderful LO. 🙂 I love the texture and the warm feel.
Gorgeous work!! LOVE the distressing!!
What an amazing layout!!!!!!
This is SUCH a beautiful page!
Beautiful work! Such a gorgeous girl!
gorgeous Leslie! Great way to use the embellies. cherry
oh man i loove all that distressing and the details are fab!
Adorable page, love your distressing technique!