GCD Studios Theme Project: Silk and Feathers
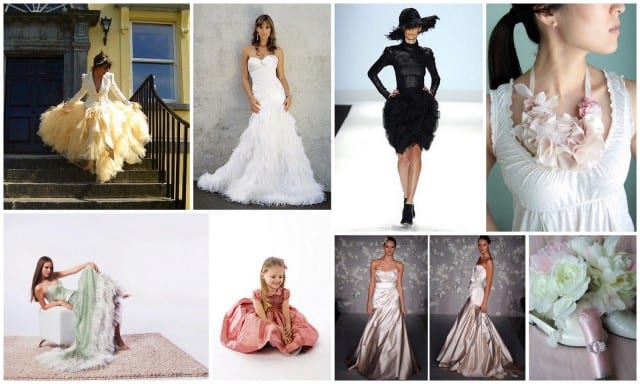
Each month Heidi Sonboul challenges the Facebook Gal designers with an inspiration piece. This month’s Theme was silk and/or feathers. Here’s a look at the image that got me super inspired. I just adored the flowery necklace on the right.
With that in mind, this is the layout I created.

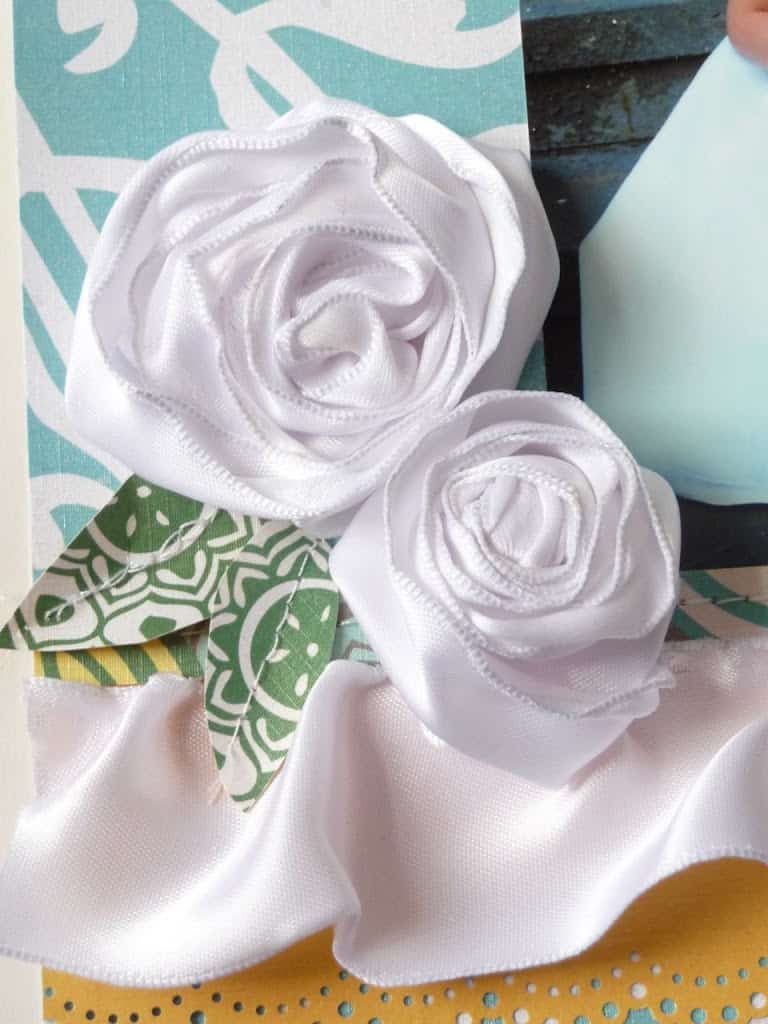
I knew instantly I wanted created a rose like flower out ribbon.
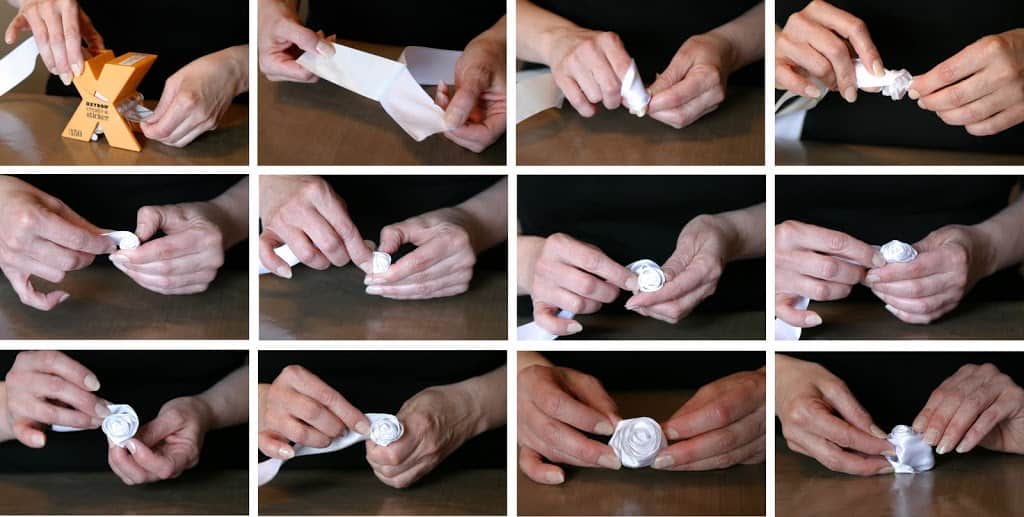
I started my project with a basic 2 inch wire edged satin ribbon from Michael’s and after fumblin around for a while, I searched online for roses made with ribbons. (What did we do before Google?)
The techniques for making a ribbon rose I found online involved a lot of hand stitching or intricate folding that I couldn’t seem to grasp, nor really wanted to do. I struggled to make what I had envisioned for quite a while and then stumbled upon an idea that worked for me. I knew it would be so much easier if the ribbon would just adhere to itself as I wrapped it around the knot I wanted to start with. So I ran the ribbon through my old trusty mini Xyron. Once I did that it really became an easy embellishment to make.
Here is a photo series of how I made the rose. These photos are of the small rose which was made out of 20 inches of ribbon. The large rose was made out of 27 inches of ribbon.
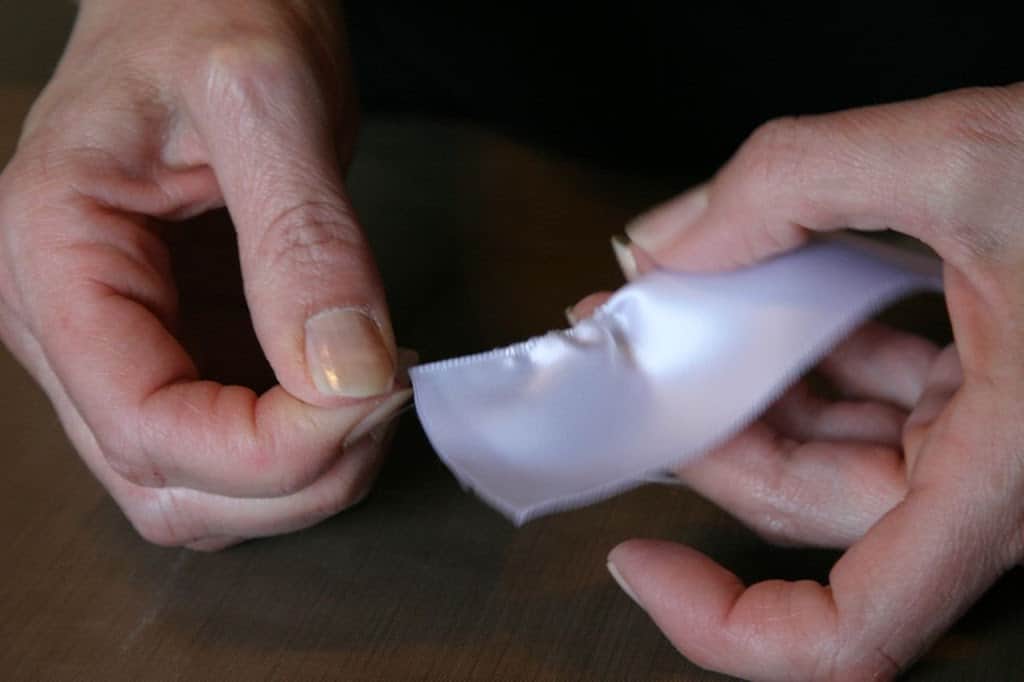
To make the gathered ribbon border, I simply pulled one end of the wire out of the ribbon edge. This creates a perfect no sew gather! I adhered it to my page along the top with Scrapbook Adhesives Craft and Photo tape. (A favorite strong adhesive of mine. I had wanted to sew it down, but my machine was having none of it!)
If you have never made a ribbon rose before, I hope this inspires you to do so. It really is very easy this way. Happy creating!!
Supplies:
GCD Studios, Ava Collection papers, Topaz and Mod (side a & b).
Embellishments: GCD Studios, Artsy Urban Melody Ross Collection; Clear Stickers (which I mounted on white cardstock and cut around), the Metal rimmed Glass Brads and the Vintage Brads.
Die Cut Machine: Making Memories Slice
Border Punch: Martha Stewart.


Truly LOVELY!!! I adore those ribbon roses and the ribbon ruffle! I love the trick about pulling out the wire end to make the ruffle. Just a FANTABULOUS lo in every way!
great idea. so pretty, might have to go get more ribbon.
Those roses are GORGEOUS!
Hi! It's Charmaine from Archiver's! Your blog is awesome! I noticed that you are a MO transplant from Louisiana… So am I! I'm from DesAllemands (St. Charles Parish). Where are you from?
BEAUTIFUL layout!!! Your flowers are gorgeous!!
Simply gorgeous! Love this lo!
Hi Leslie….simply gorgeous! So happy to be on the team with you! Cherry