The Tools for Reupholstery
This weekend was much more productive than last, thankfully. The tool I had mentioned last Monday arrived this week and I patiently waited until the weekend to get back to my ottoman reupholstery project.
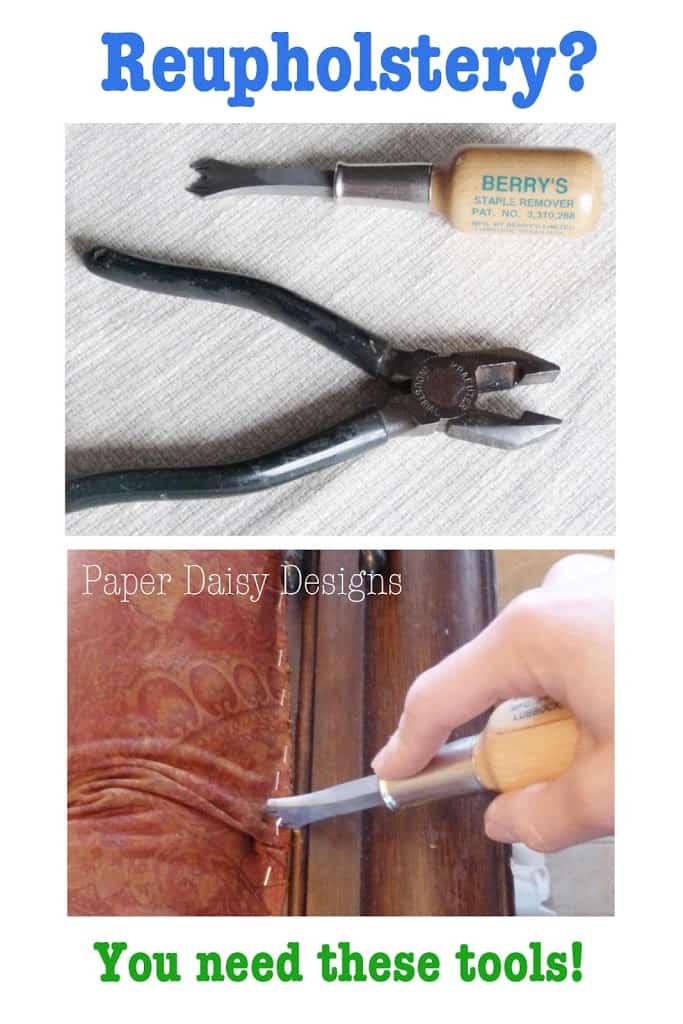
And the verdict is in…. the new Berry’s Staple Remover tool works like a charm! It is definitely the right tool for the job. With that being said, these two tools have become my dynamic duo.
Meet the heavy duty flat head pliers and the Berry’s Staple Remover.

I’ve always been a fan of these pliers and hunt them out before I start each reupholstery project. They are easy to grip and super tough. They make pulling out the tail ends of the staples a breeze, even the tiniest bits when a staple breaks in the wood.
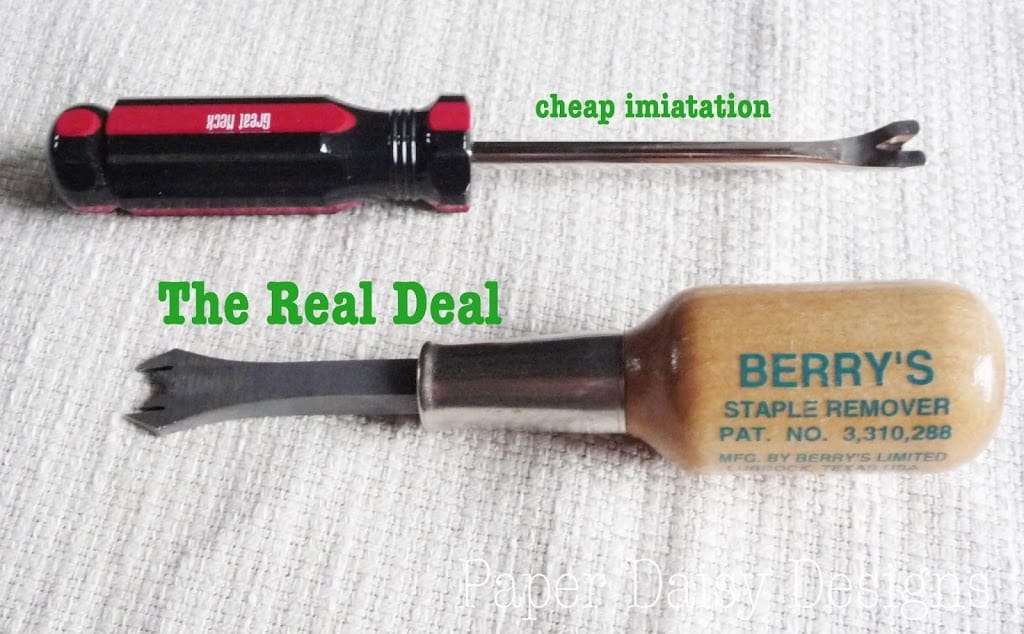
Previously, on my other projects I’ve been using this guy on the top to remove my staples. Works okay, maybe slightly better than a regular flat head screw driver, but the Berry’s is far superior, especially in hard wood like I’m working with on the ottoman. It is super sturdy, sharp and lifts those staples like nothing else I’ve tried. It’s so sharp when it arrived, the tip end was covered in wax to protect the mail carrier. 😉
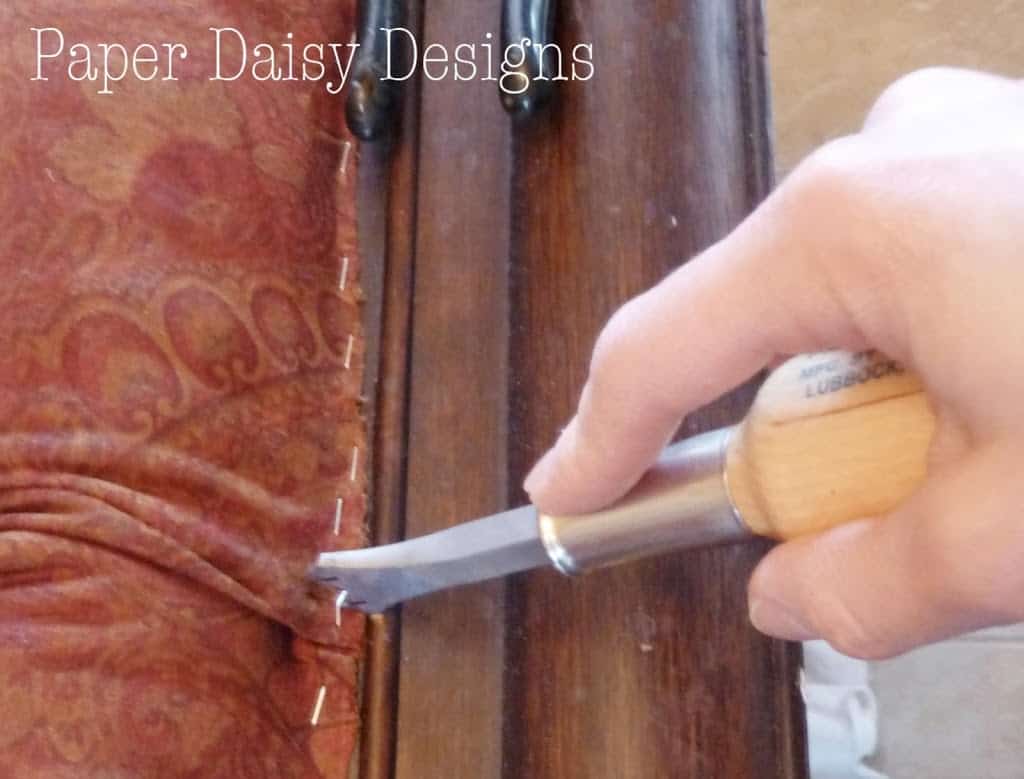
The tool didn’t come with any instructions. 😉 I guess they thought it was self explanatory. At first I was using the tool like this. It might have been that I was working around the ridge that I started like this.
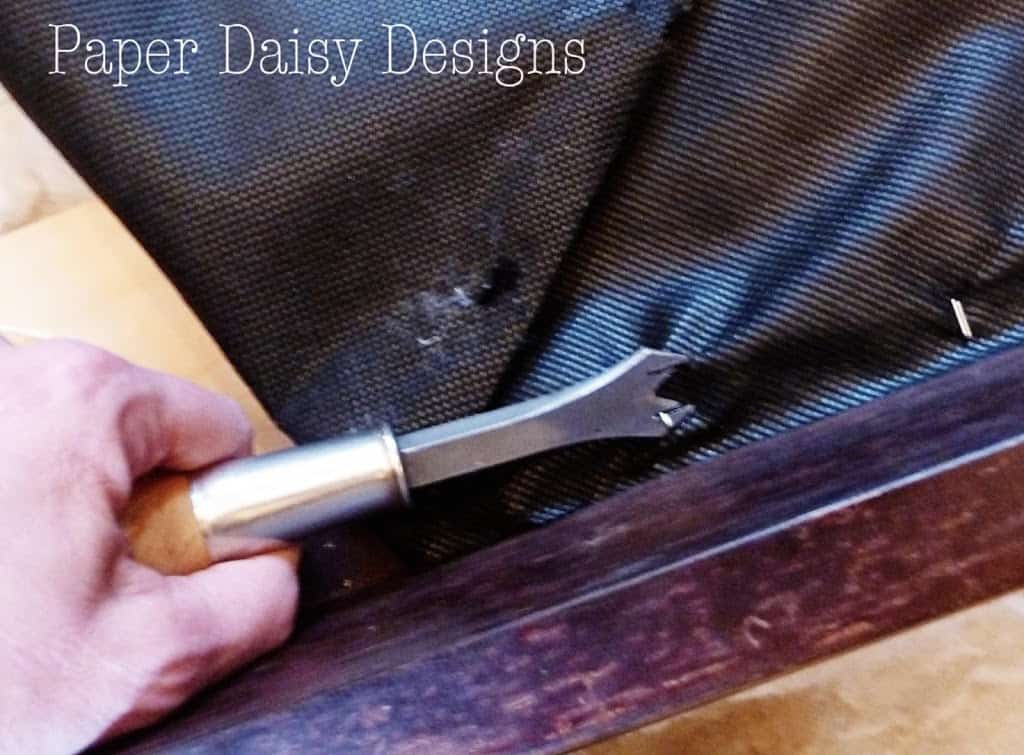
But I found later, that the tool really works better like this. You can really take advantage of the slits or teeth to grab and rotate the staple out.
I’ve reupholstered several pieces before this one and while that doesn’t make me an expert, I’ve been around the block more than a few times and I wish I would have had this expert tool for all those pieces.
I don’t have a finished project to show you yet. I did successfully get it all disassembled and have a game plan for how I’m going to tackle the unexpected construction I found.
I still need to sew two pieces of the new fabric together because the square ottoman is larger than the standard 54″ of the fabric. Check back later in the week and see my progress. 🙂
Tutorials and Tips @A to Z Homestories


I'm sure it's going to look amazing Leslie. Can't wait to see it! Oh, and can I borrow your tool sometime? ;)<br /><br />Debbie
Sure! It's so sturdy. I know it can be used a million times!
I am so interested to see how this turns out! You've inspired me–as usual!<br /><br />Carrie
awesome! It's true haven't seen you put much painting up here in a while, but really sweet!<br /><a href="http://paintersedmonton.net/" rel="nofollow">painters edmonton</a><br /><br /><a href="http://paintersedmonton.net/" rel="nofollow">painting contractor edmonton</a>