Custom Closet DIY: How to and Plans for dressing room closet
Last time, I shared a complete look into my new custom closet DIY. As I explained, it was the closet makeover that took on a life of it’s own, becoming the most glamorous little dressing room. You even got a look at my secret shelf. If you need a complete tour of the space and the hot mess my closet was before, please click here

Today, I’m sharing the head to toe tutorial for this very doable DIY project.
It is probably more of a weekend project, but I can’t give you an exact time frame. I never seem to work on only one project at a time! We also built and installed our modern sliding barn doors and spent nearly a week on the two projects together.

The barn doors were key to the transformation, giving me more usable space for the makeover. See how we built our barn doors here.
Once the in-swinging door problem was solved with the sliding door, I moved onto drawing up plans for optimizing the space I had. Here are my initial sketches.
Plan & sketch out closet

Here is a closer look at what we actually built.


 The changes happened pretty organically. What I had dreamed up wasn’t really my best solution. At some point early on construction day, Richard asked me one key question, “What are you going to put in these drawers you have on the plan?” When I couldn’t give him a concrete answer, we decided to scrap the drawers and go for bins to hold sandals and such, because that’s ultimately what I needed, not drawers for folded clothes. Once the drawers were nixed, we shifted a few things around and then the idea of really making it into a small dressing room became a reality.
The great thing about designing your own custom closet is creating a space that fits you. I’m pretty short, only 5’1 . So while adding two rows of hanging space was a priority, I also needed to easily reach the top hanging rail. We actually hung the top rail to 78″, measuring from the top of the rod.
Here’s a handy infographic on closets and height optimizations.

The biggest takeaway here is to spend time contemplating what storage you actually need.
Plan to use all three sides of your closet if space allows. My closet actually became just a little more than a step-in closet. Wrapping the shelves all the way around made the space feel slightly smaller, but what I gained in storage was completely worth it.
I’d say I made the most of every inch of this closet and made it beautiful too!
Supplies needed for this custom closet
We estimate we spent around $380 for building materials.
- (6) 1 x 12 x 6 boards
- (4) 1 x 12 x 8 boards
- (8) 1 x 2 x 8 boards
- (5)1 x 4 x 8 boards
- (3) Aluminum Rods and cups
- 2 ft level
- 12″ level
- Ryobi 10″ Sliding Miter Saw
- metal cutting blade
- Ryobi Nail Gun
How to build a custom closet
1. Access your storage needs and create a general plan. Like I said, my original plan got changed a bit. Not enough to effect the amount of supplies really, but just shifting things around to work for what I really needed. Look at your existing closet and see what’s lacking. I could easily see the items that kept the closet looking cluttered and I knew I needed additional hanging space, a full extra rack and shoe cubbies instead of an open shelf. Then taking the measurements of the space, I just began dividing it up in a neat and orderly fashion. I allowed for some long hanging as well, although I almost underestimated how many dresses I had. Thankfully, they all fit and I’ll try and purge as we go through the summer months.
2. Clear out your items in the space and demo existing shelving. I would suggest waiting to patch all the holes until your shelves are in. Some of them will be completely hidden. I say, why make more work than you have to.

We also pulled up the carpet. Eventually, we will flow new tile from the bathroom into this space. We finished Phase 1 of the bathroom remodel last year and are happy enough with the way it looks to hold off on the rest of the renovation for some time.
3. Remove baseboards and flooring. The construction of this style of custom closet involves installing support boards to the floor. If you have a desire to change your floors any time in the near future, I would recommend removing. The baseboards also need to be removed to allow the vertical supports to sit flush against the wall. Use care when you remove them so that you can reuse them once the shelving is built.

4. Mark and find your studs. Measure, cut and nail support cleats into the studs for all shelving outside of the vertical supports. Constantly check for level.


5. Toe-nail the side supports/center vertical boards into the horizontal cleats. The vertical supports may seem a little rickety at this point, but once the rest of the shelves go in, it will be quite solid.

6. Measure and cut your shelves to fit in between the vertical supports for small cubbies and shelves. Also cut your cleats to support these shelves. We used 1×2’s cut to 11 3/8 for our smaller shelf cleats.

7. Using a mini level and a clamp, nail the cleats for the small shelves inside the verticals. To give you a reference, this shelf is part of the shoe cubbies. I measured my highest heels to determine the space needed between shelves, which was about 7″. Do NOT nail the shelves in at this time.


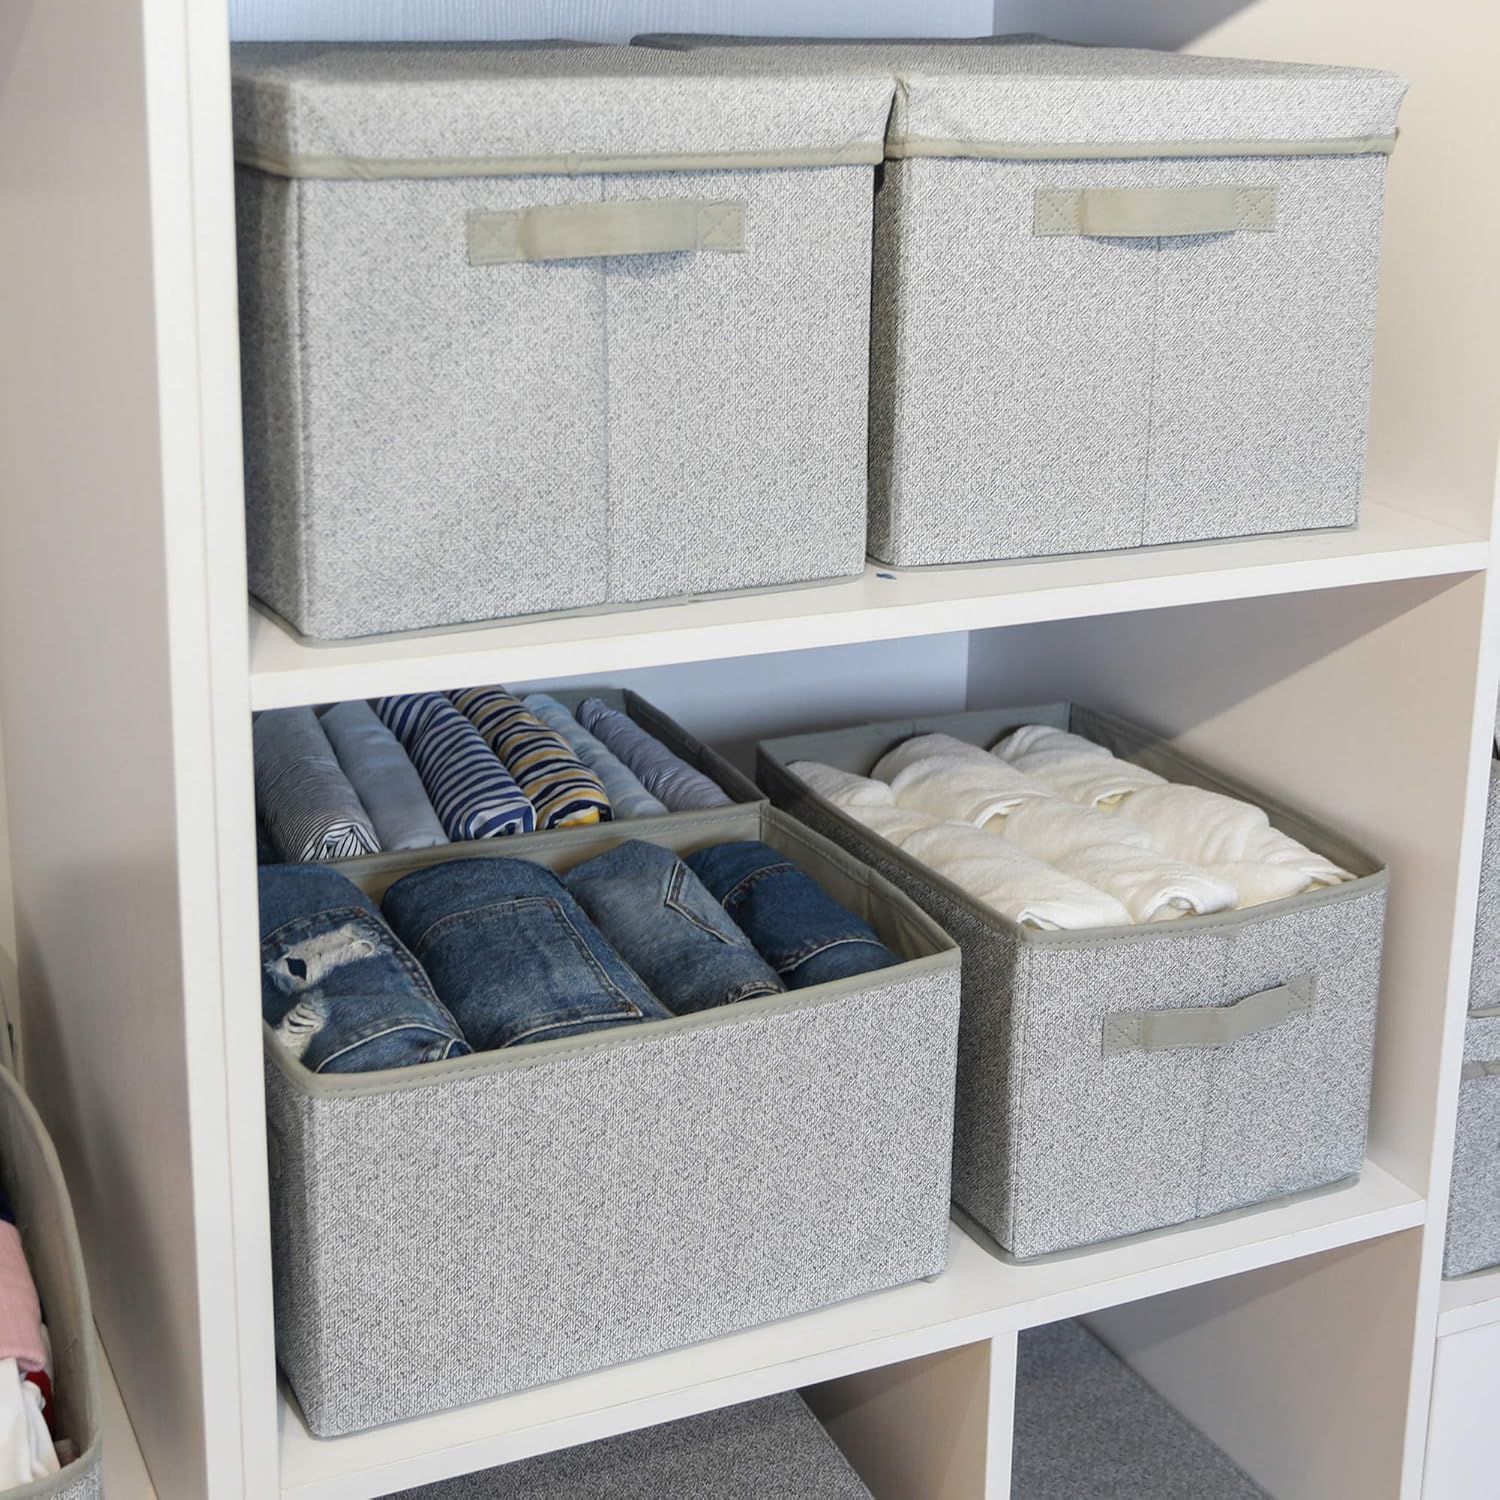
8. If you are using bins, it’s a good time to go shopping! You’ll want to build your shelves to fit your bins.

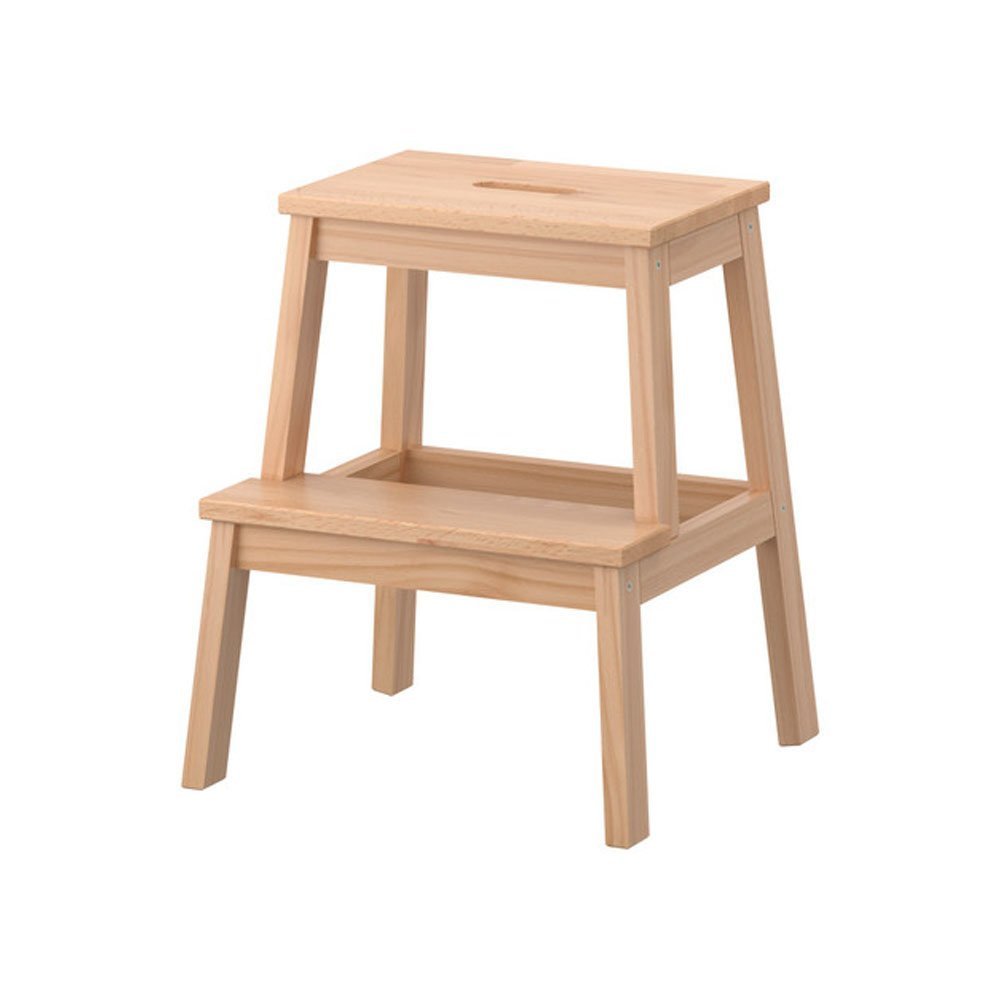
I also bought a step stool to reach the higher shelves. And look, it fits perfectly under the bins! Got to love making your own custom shelving!

You can kind of see how things are beginning to taking shape here. To the left of the photo, you also see the small shelves that hold my divided jewelry trays.
9. Now you are ready to cut your upper shelving. One of the things I love about the 10′ Ryobi Sliding Miter Saw is the laser cut line. Once we took the measurement we needed for each shelf, we saved time by just setting the board on the Miter Saw Stand with it’s extendable arms and running the tape measure across the board. Then we lined the laser up just to the left of the line at the measurement we needed. (You’ll likely have to check where this exact mark is on your saw. I’m sure it varies right or left depending on the settings.) This made for very precise cuts.

10. It’s time to spakle and start painting. I realize it seems like we aren’t quite finished, but to make my painting job easier I painted all the horizontal shelves with primer and then paint before we installed them. Using a roller, I could quickly paint the shelves laying flat on the garage floor instead of contorting myself to paint the underside if we had nailed them in place.

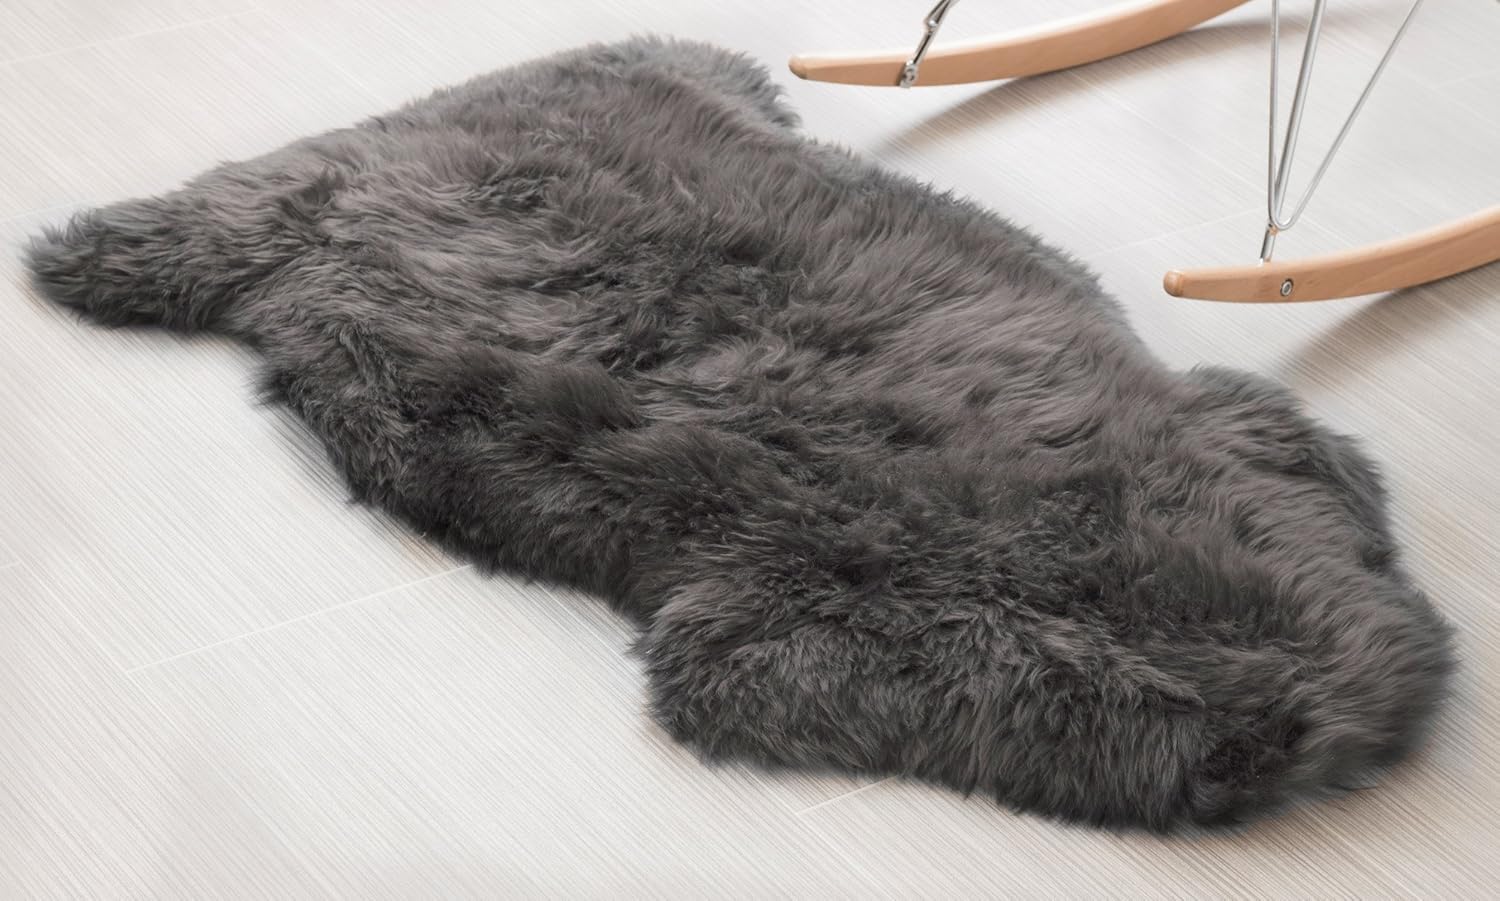
In addition to painting the walls, cleats and vertical supports. I also had to patch the sub-floor to get it ready for painting. I wasn’t counting on it being so unfinished when we ripped up the carpet, but then I had a great excuse to buy my sheepskin rug!

11. Nail all of the horizontal shelves in place.


12. For a more finished look, nail 1×2’s to cover the vertical & horizontal runs to cover the joints where the shelves are attached with cleats. You will have to spackle the nail holes and touch up paint those.

13. Cut and reattach baseboard. You can see mine laying on the bottom shelf of the above photo.
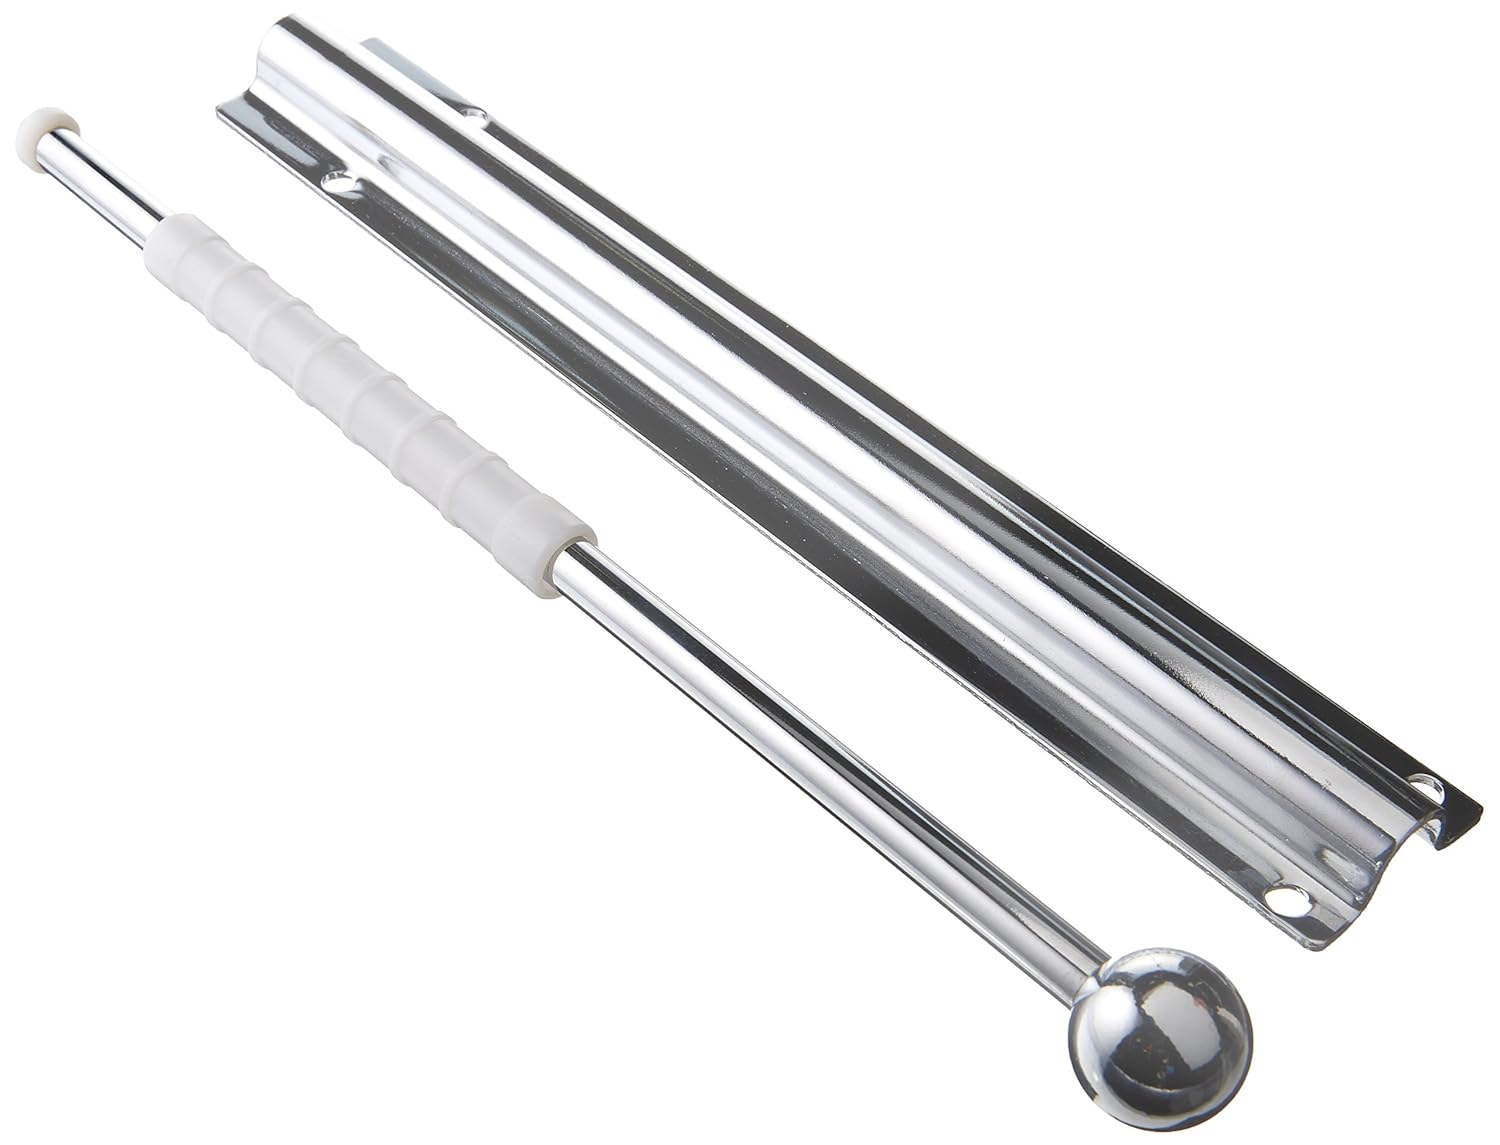
14. With all your shelves in place, now you are ready to hang your rods. I chose aluminum rods and cup holders.

They were pretty easy to cut with a metal blade attached to the miter saw. Lots of sparks flew, but no harm was done.

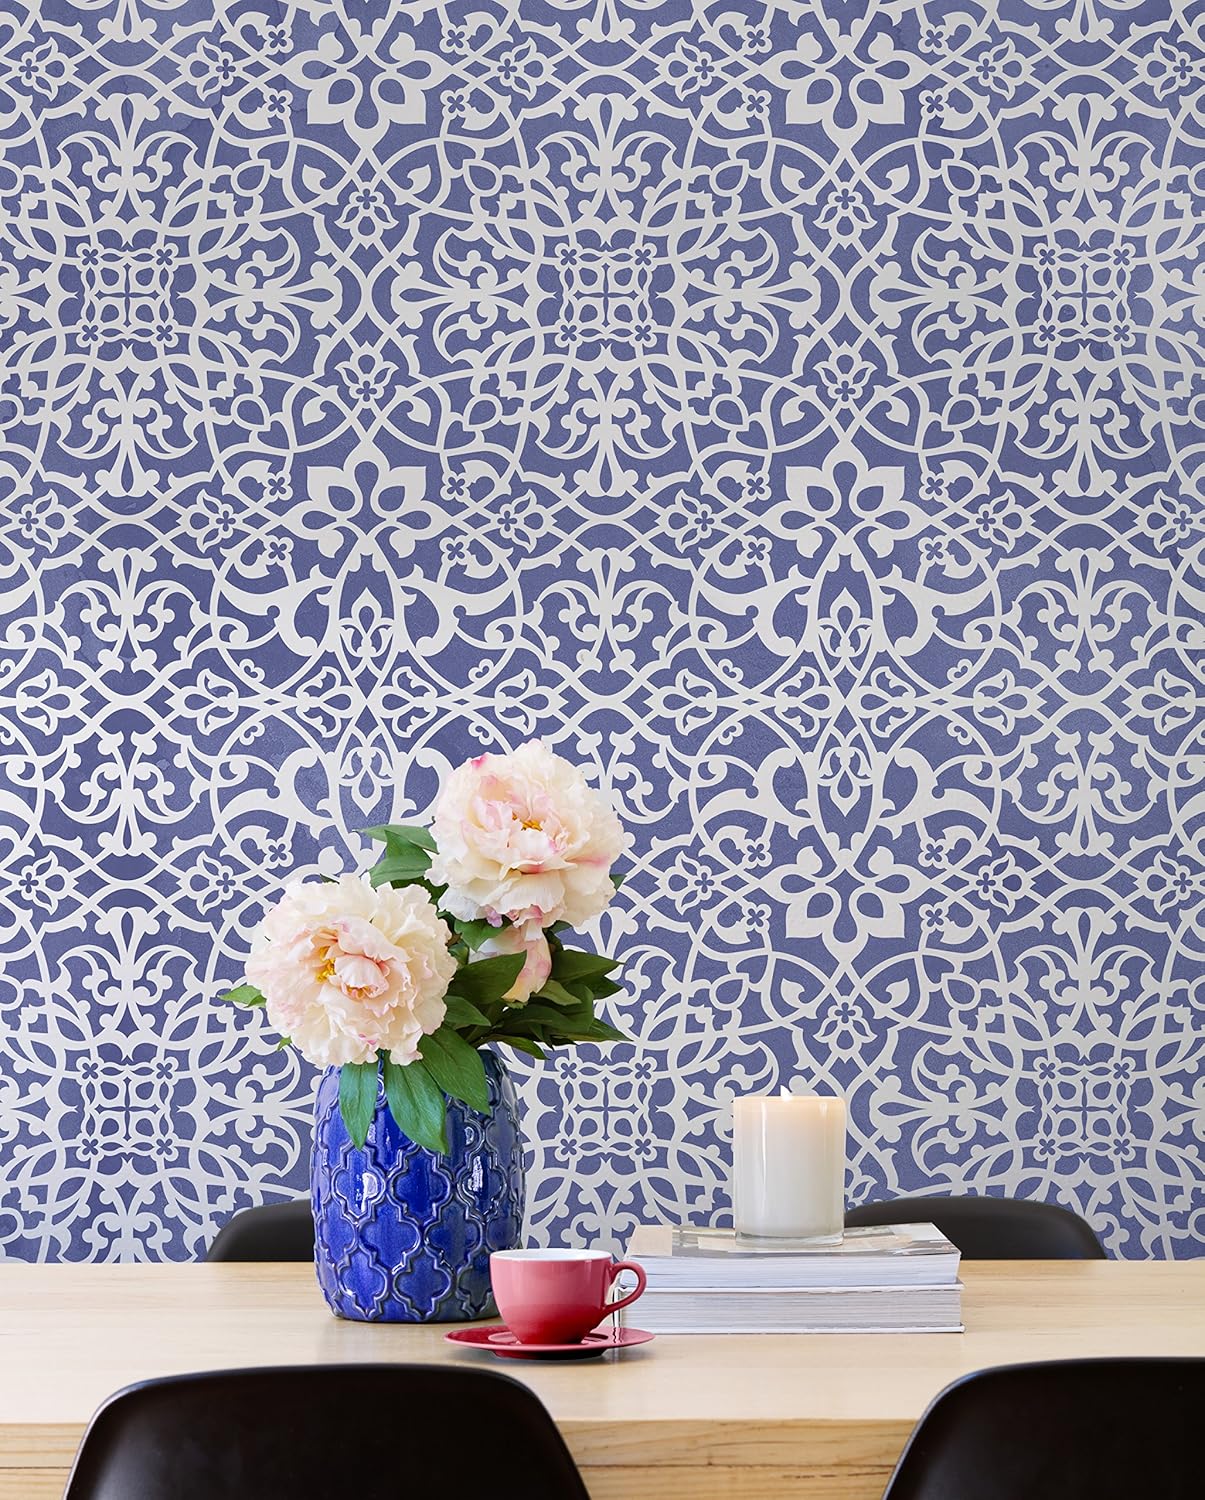
15. Finish up by touch up painting edges and such, maybe add a chandelier, embellished with a stencil. I did both. I stenciled the open area above my jewelry and sweater shelves.

16. Move in and enjoy the luxury of a custom closet! And if you’ve planned well, you can enjoy a mini dressing room too!

Shop this post
Valet RodSimilar Stencil
Similar Mirror
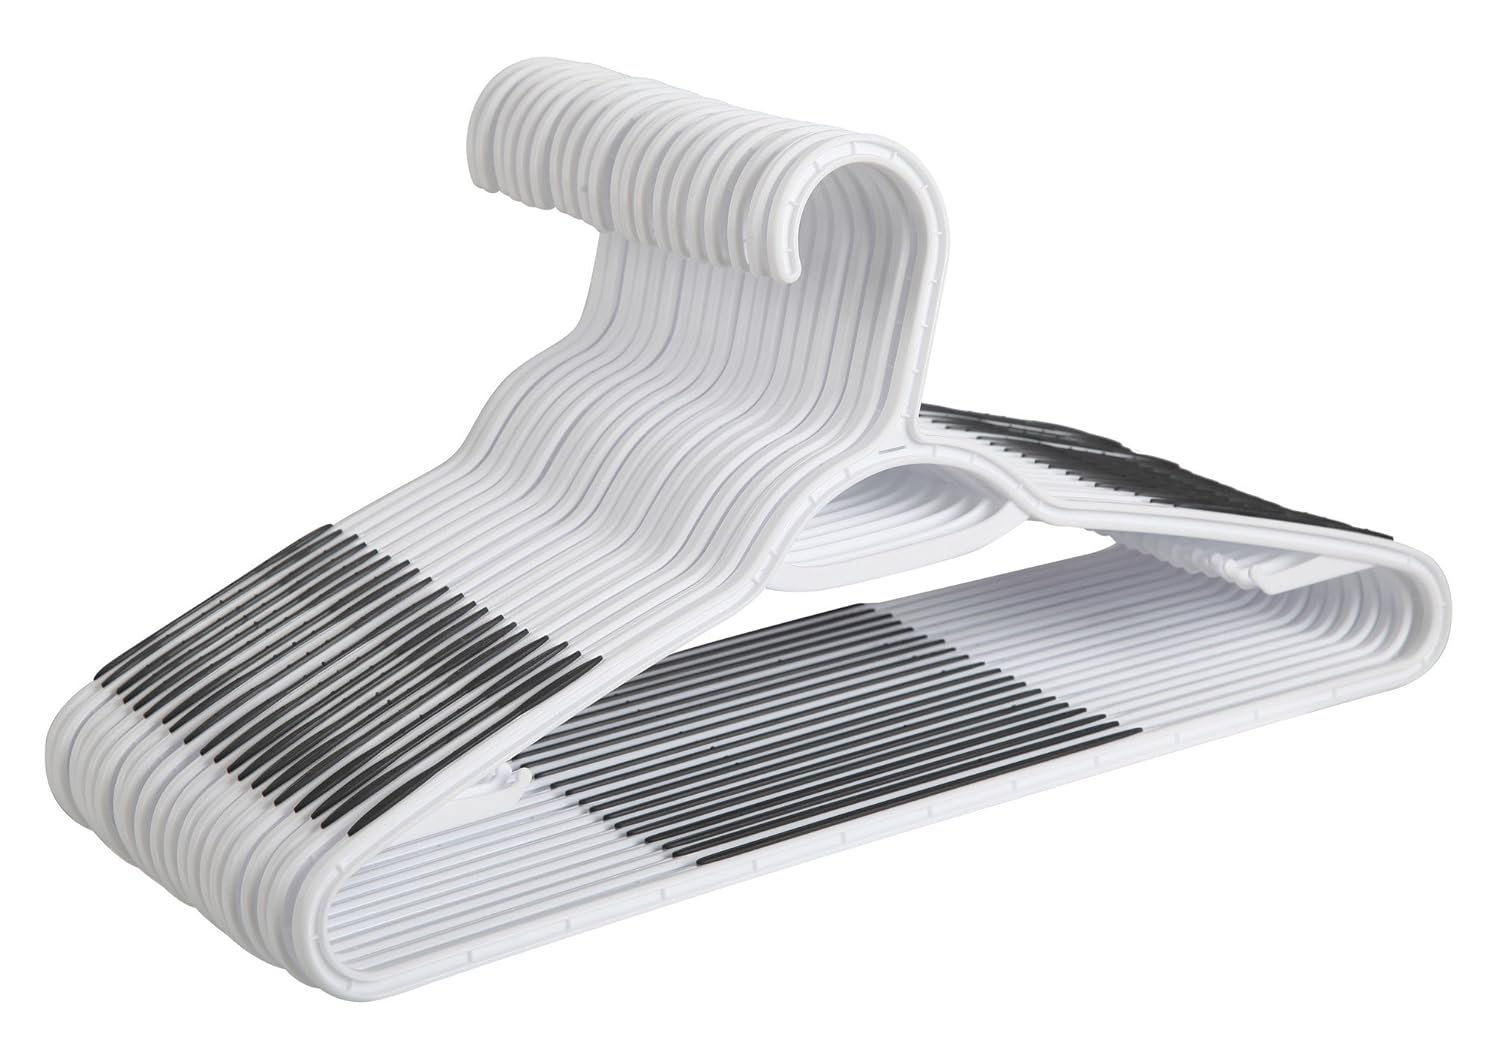
Plastic Hangers
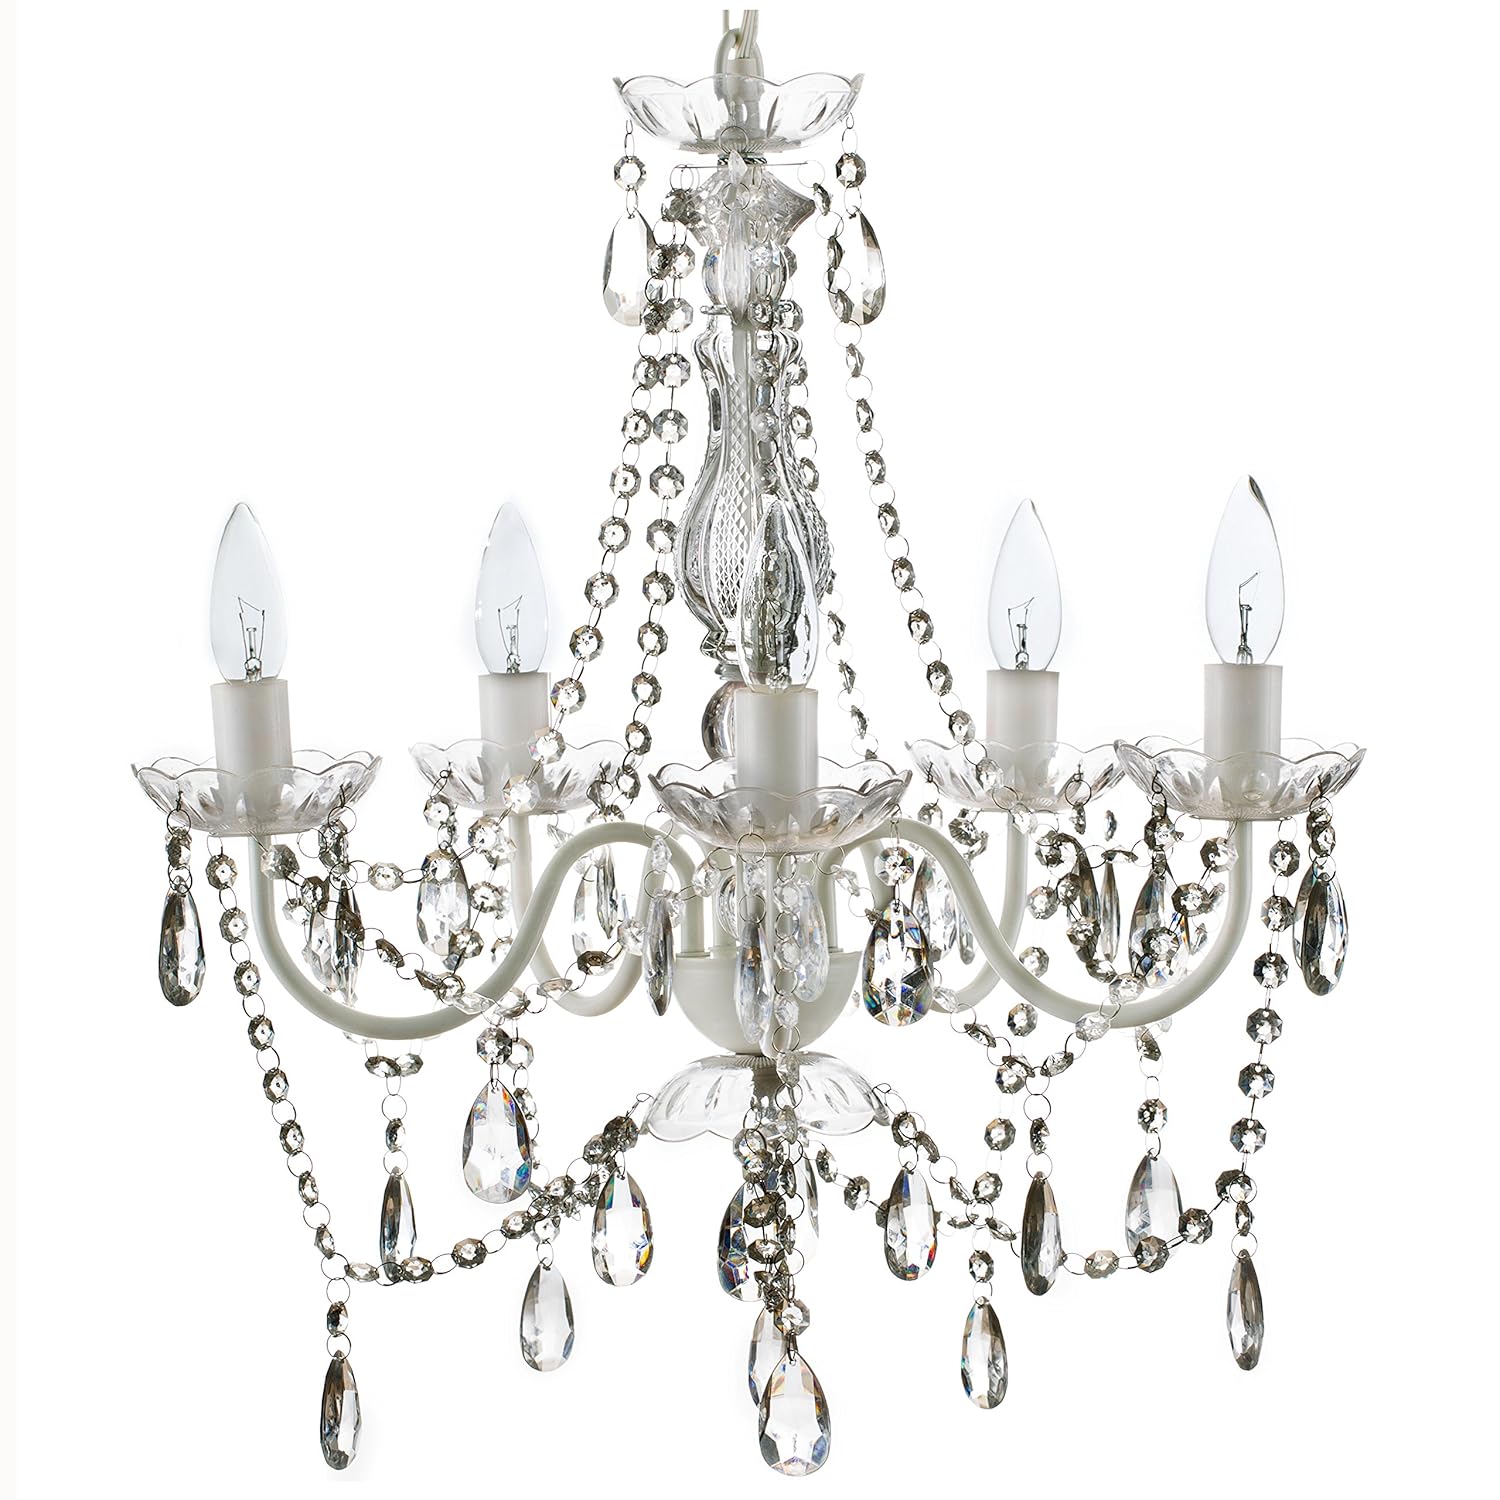
5 light chandelier
grey sheepskin rug
Spinning Necklace Rack
step stool
grey storage bins


I hope you have seen that this is an easy DIY project and much more affordable option than the ones “custom closet” companies offer. Just the other day, I noticed that one small shoe organizer for a closet in a mail order catalog costs as much as all the materials for this whole closet, around $380. With all that money I saved, I didn’t feel bad about spending another $170 for bins and and accessories.
For a more detailed tour and source list, visit the Dressing Room Closet Reveal post here.


Full Discloser: In exchange for this post, I was gifted the 10″ Sliding Miter Saw and Miter Saw Stand from Ryobi PowerTools. All designs and opinions are my own. I also used a gift card for the Mughal Trellis stencil from Royal Design Studios, I recieved for a past project.


this is so great! I would love to do something like this in my closet!
Wow, aside from being amazingly handy, you have the most gorgeous closet now! I love the pattern on the back wall. . . inspiration. I have always been scared to try stenciling but there are so many great examples out there. Thanks for sharing!
This closet is gorgeous. I can’t believe how awesome it is. I love the stencil and how you have your jewelry stored there. Pinning this for makeover inspiration!
OMG. It’s amazing!!! I love it so much.
http://www.nellecreations.com
This is a great post – thank you for making it so detailed and including lots of pictures of the work in progress. It’s great to see actually HOW a project like this is completed, rather than just a finished product. Keep up the good work!
Simone
http://www.adventuresofvintagebarbie.com
Simone, Thanks! I do try very hard to make sure I cover everything a person would need to know to complete a project!
I thought I commented already but I don’t see it. I love love love this closet and it is certainly inspiration for the closet I am having built. I thought my closet was too small looking at it bare but it is about the same size as yours and now I see it is plenty of room. I hope mine come out just as nice!!
Nice finish product. The stencil with the mirror makes it look so cute. I was wondering for a painted closet, using plywood would be much cheaper than solid wood boards right? By the way, how did you talk Ryobi in providing the free saw?
As an blogger, Ryobi sponsors my efforts and builds in exchange for exposure on my blog. It’s a pretty sweet deal for sure. You could use a good quality plywood.I always look for the PureBond brand. It would just create a longer building process of ripping the boards and such. Good Luck!!