 I am thrilled to share another fantastic DIY makeover from my best friend Dana’s house! If you remember last year, we completely transformed her guest bathroom. (You can see all of it in it’s blue and white glory here.)
This summer I loaded up the family and the dog and we spent a long weekend putting the finishing touches on her kitchen.
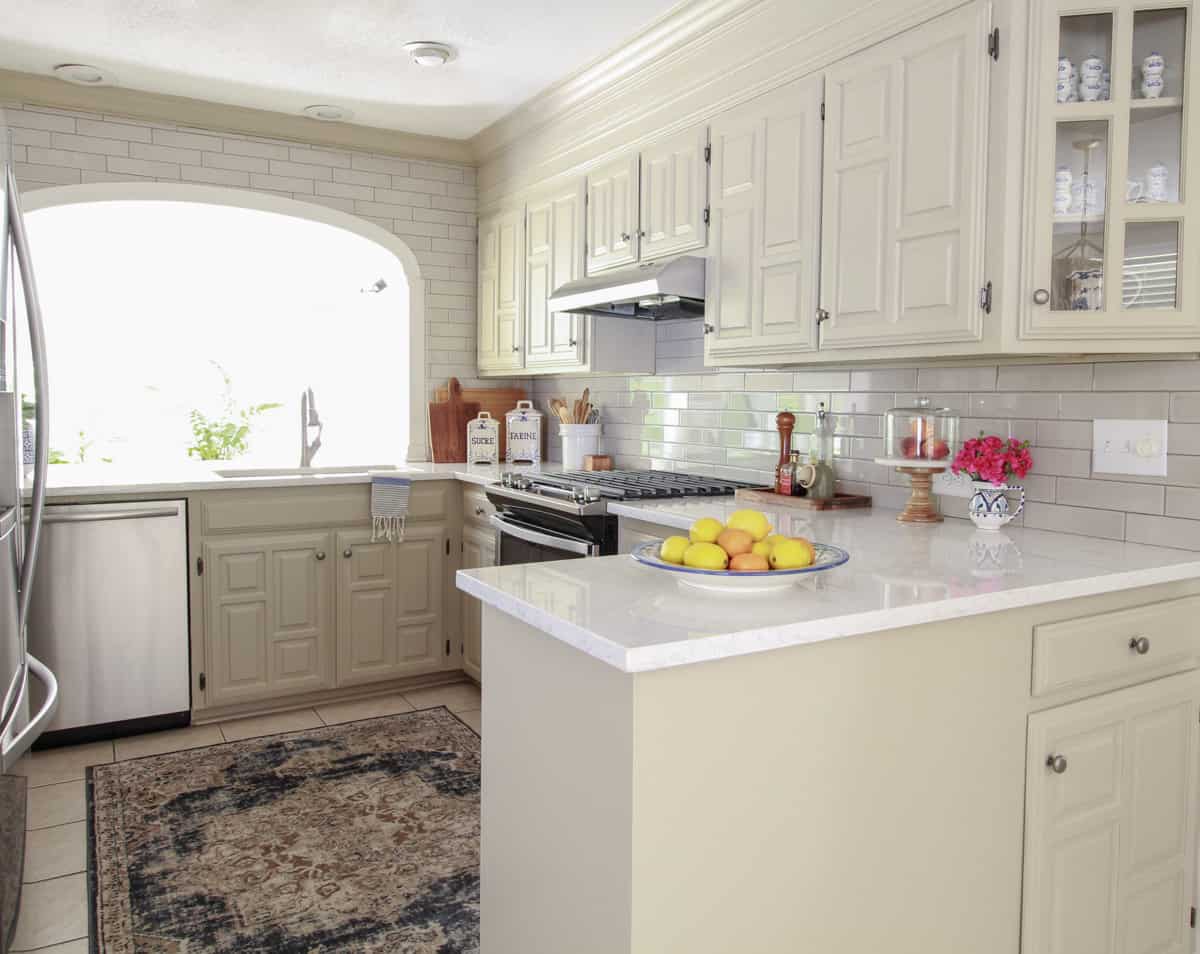
Dana had long dreamed of a greige kitchen. If you don’t spend hours combing through Pinterest, then you might be asking “What’s a greige kitchen?” Greige is term that refers to a color palette that floats around the colors of grey and beige. Often, specific wall colors are even described as greige.

from BHG
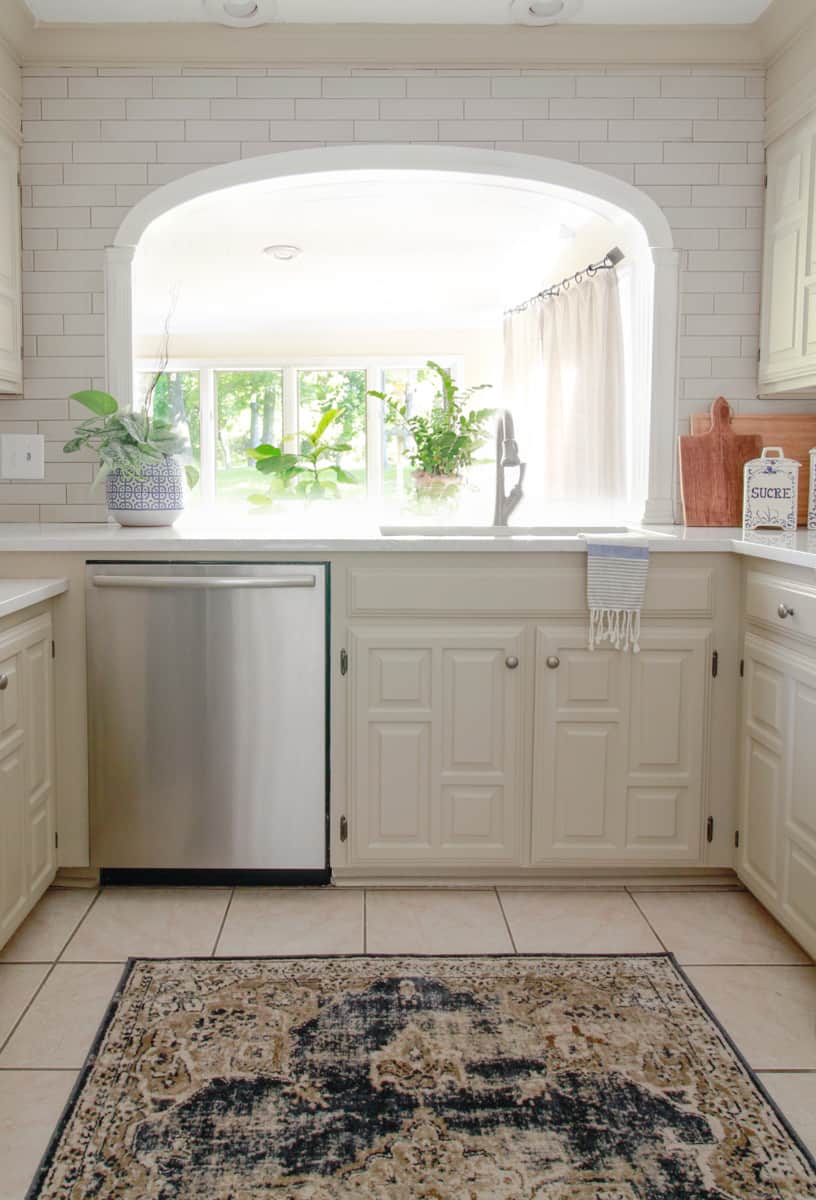
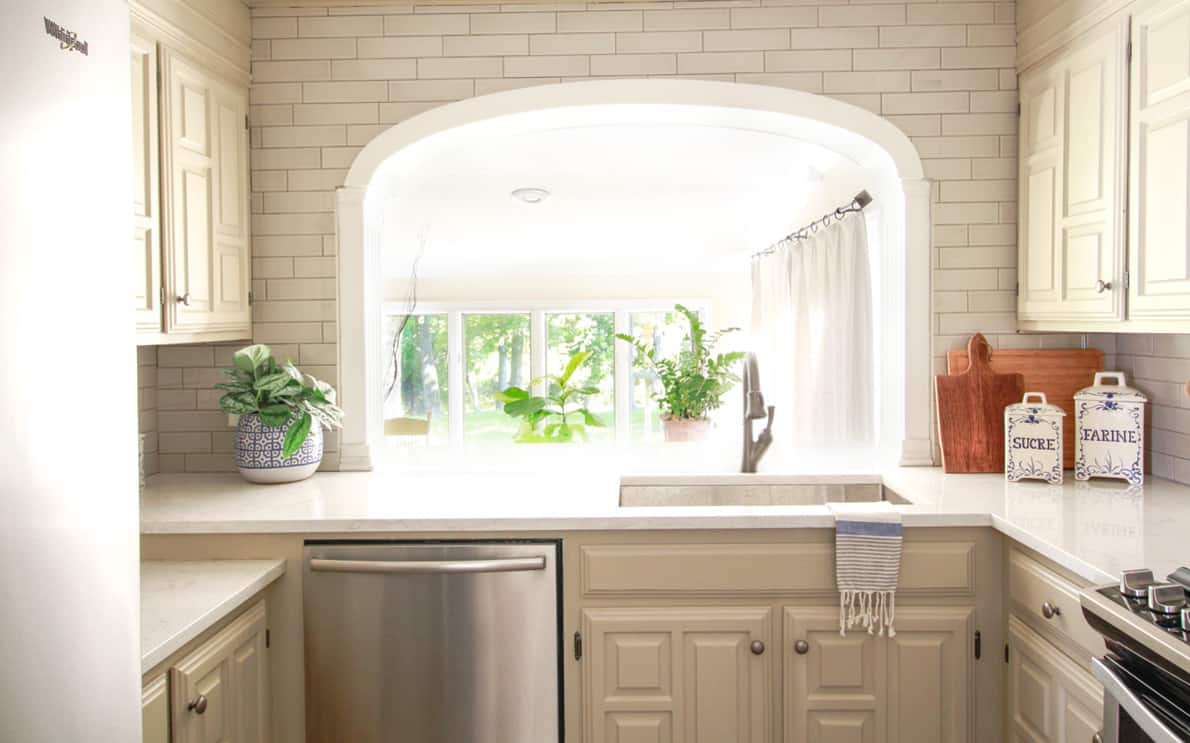
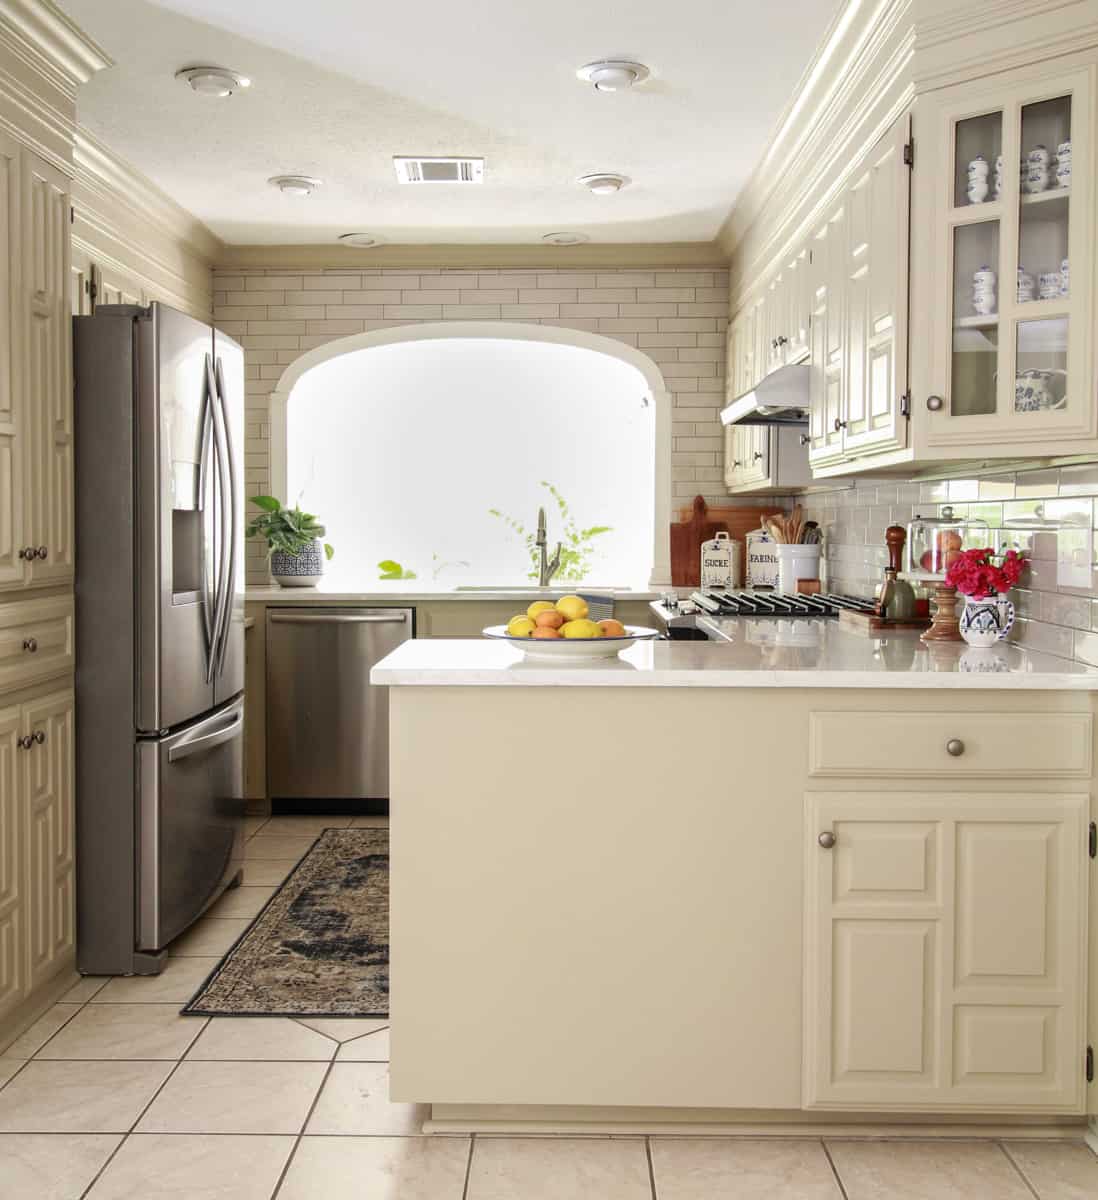
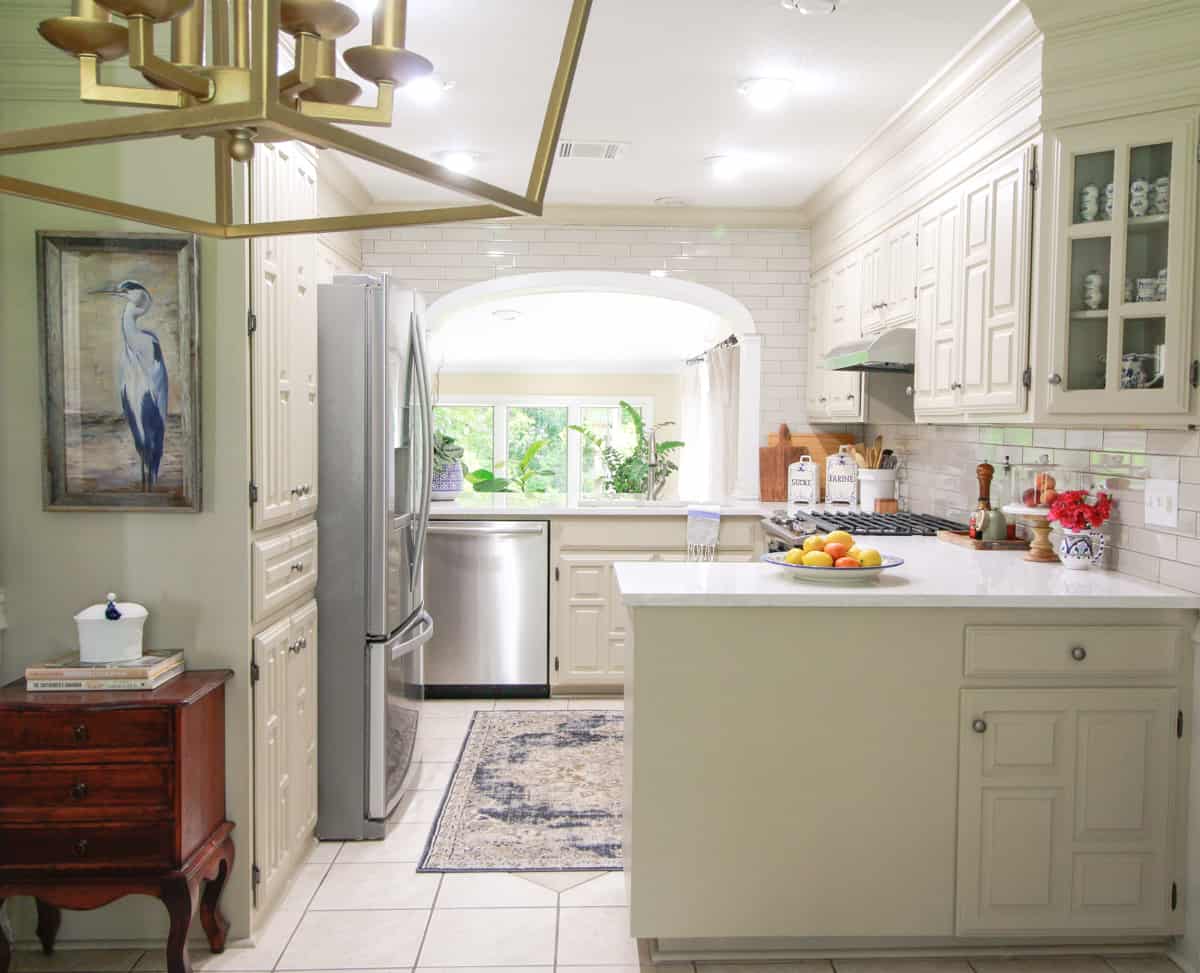
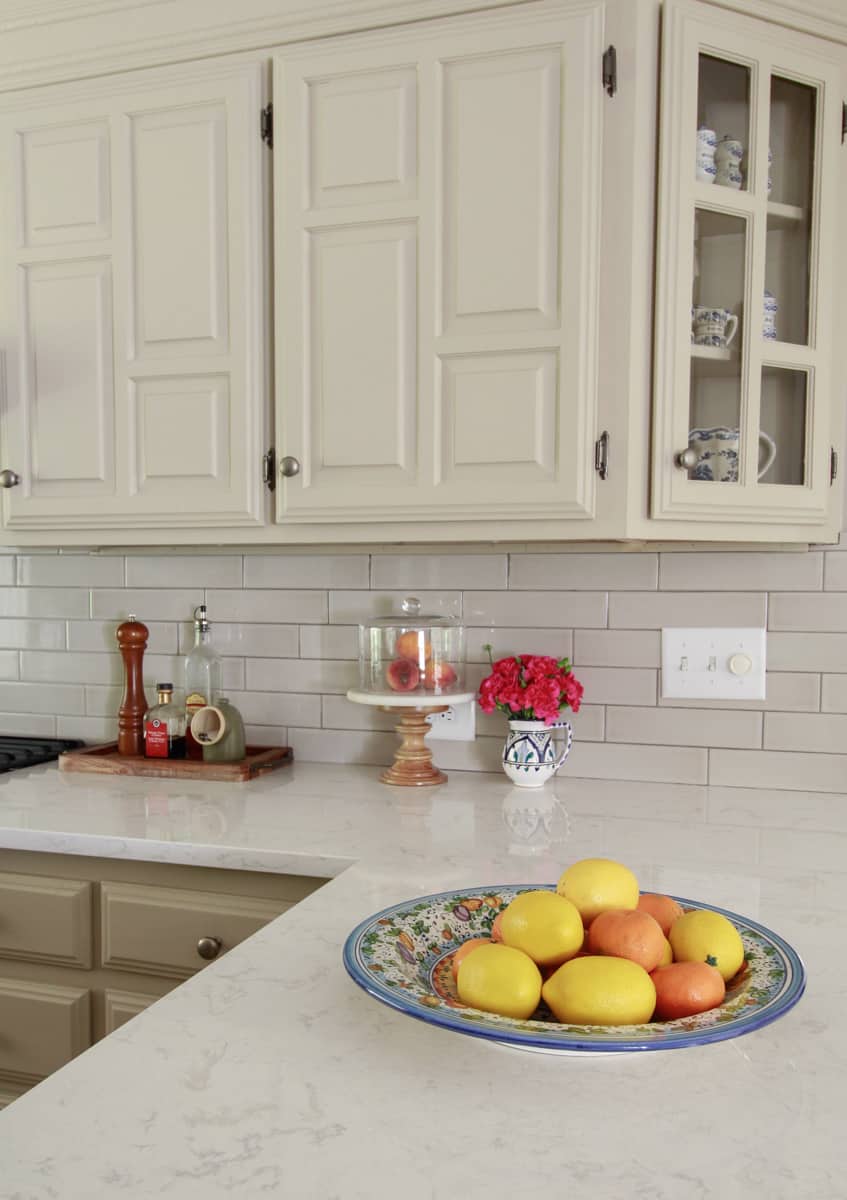
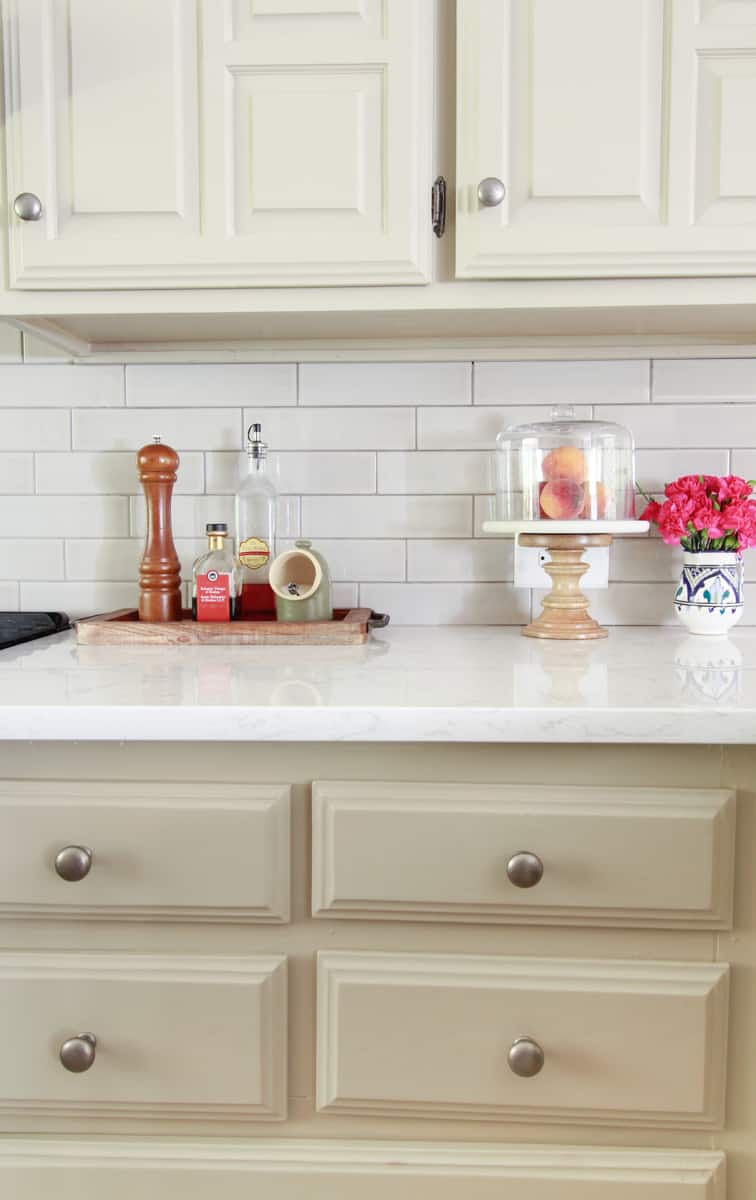
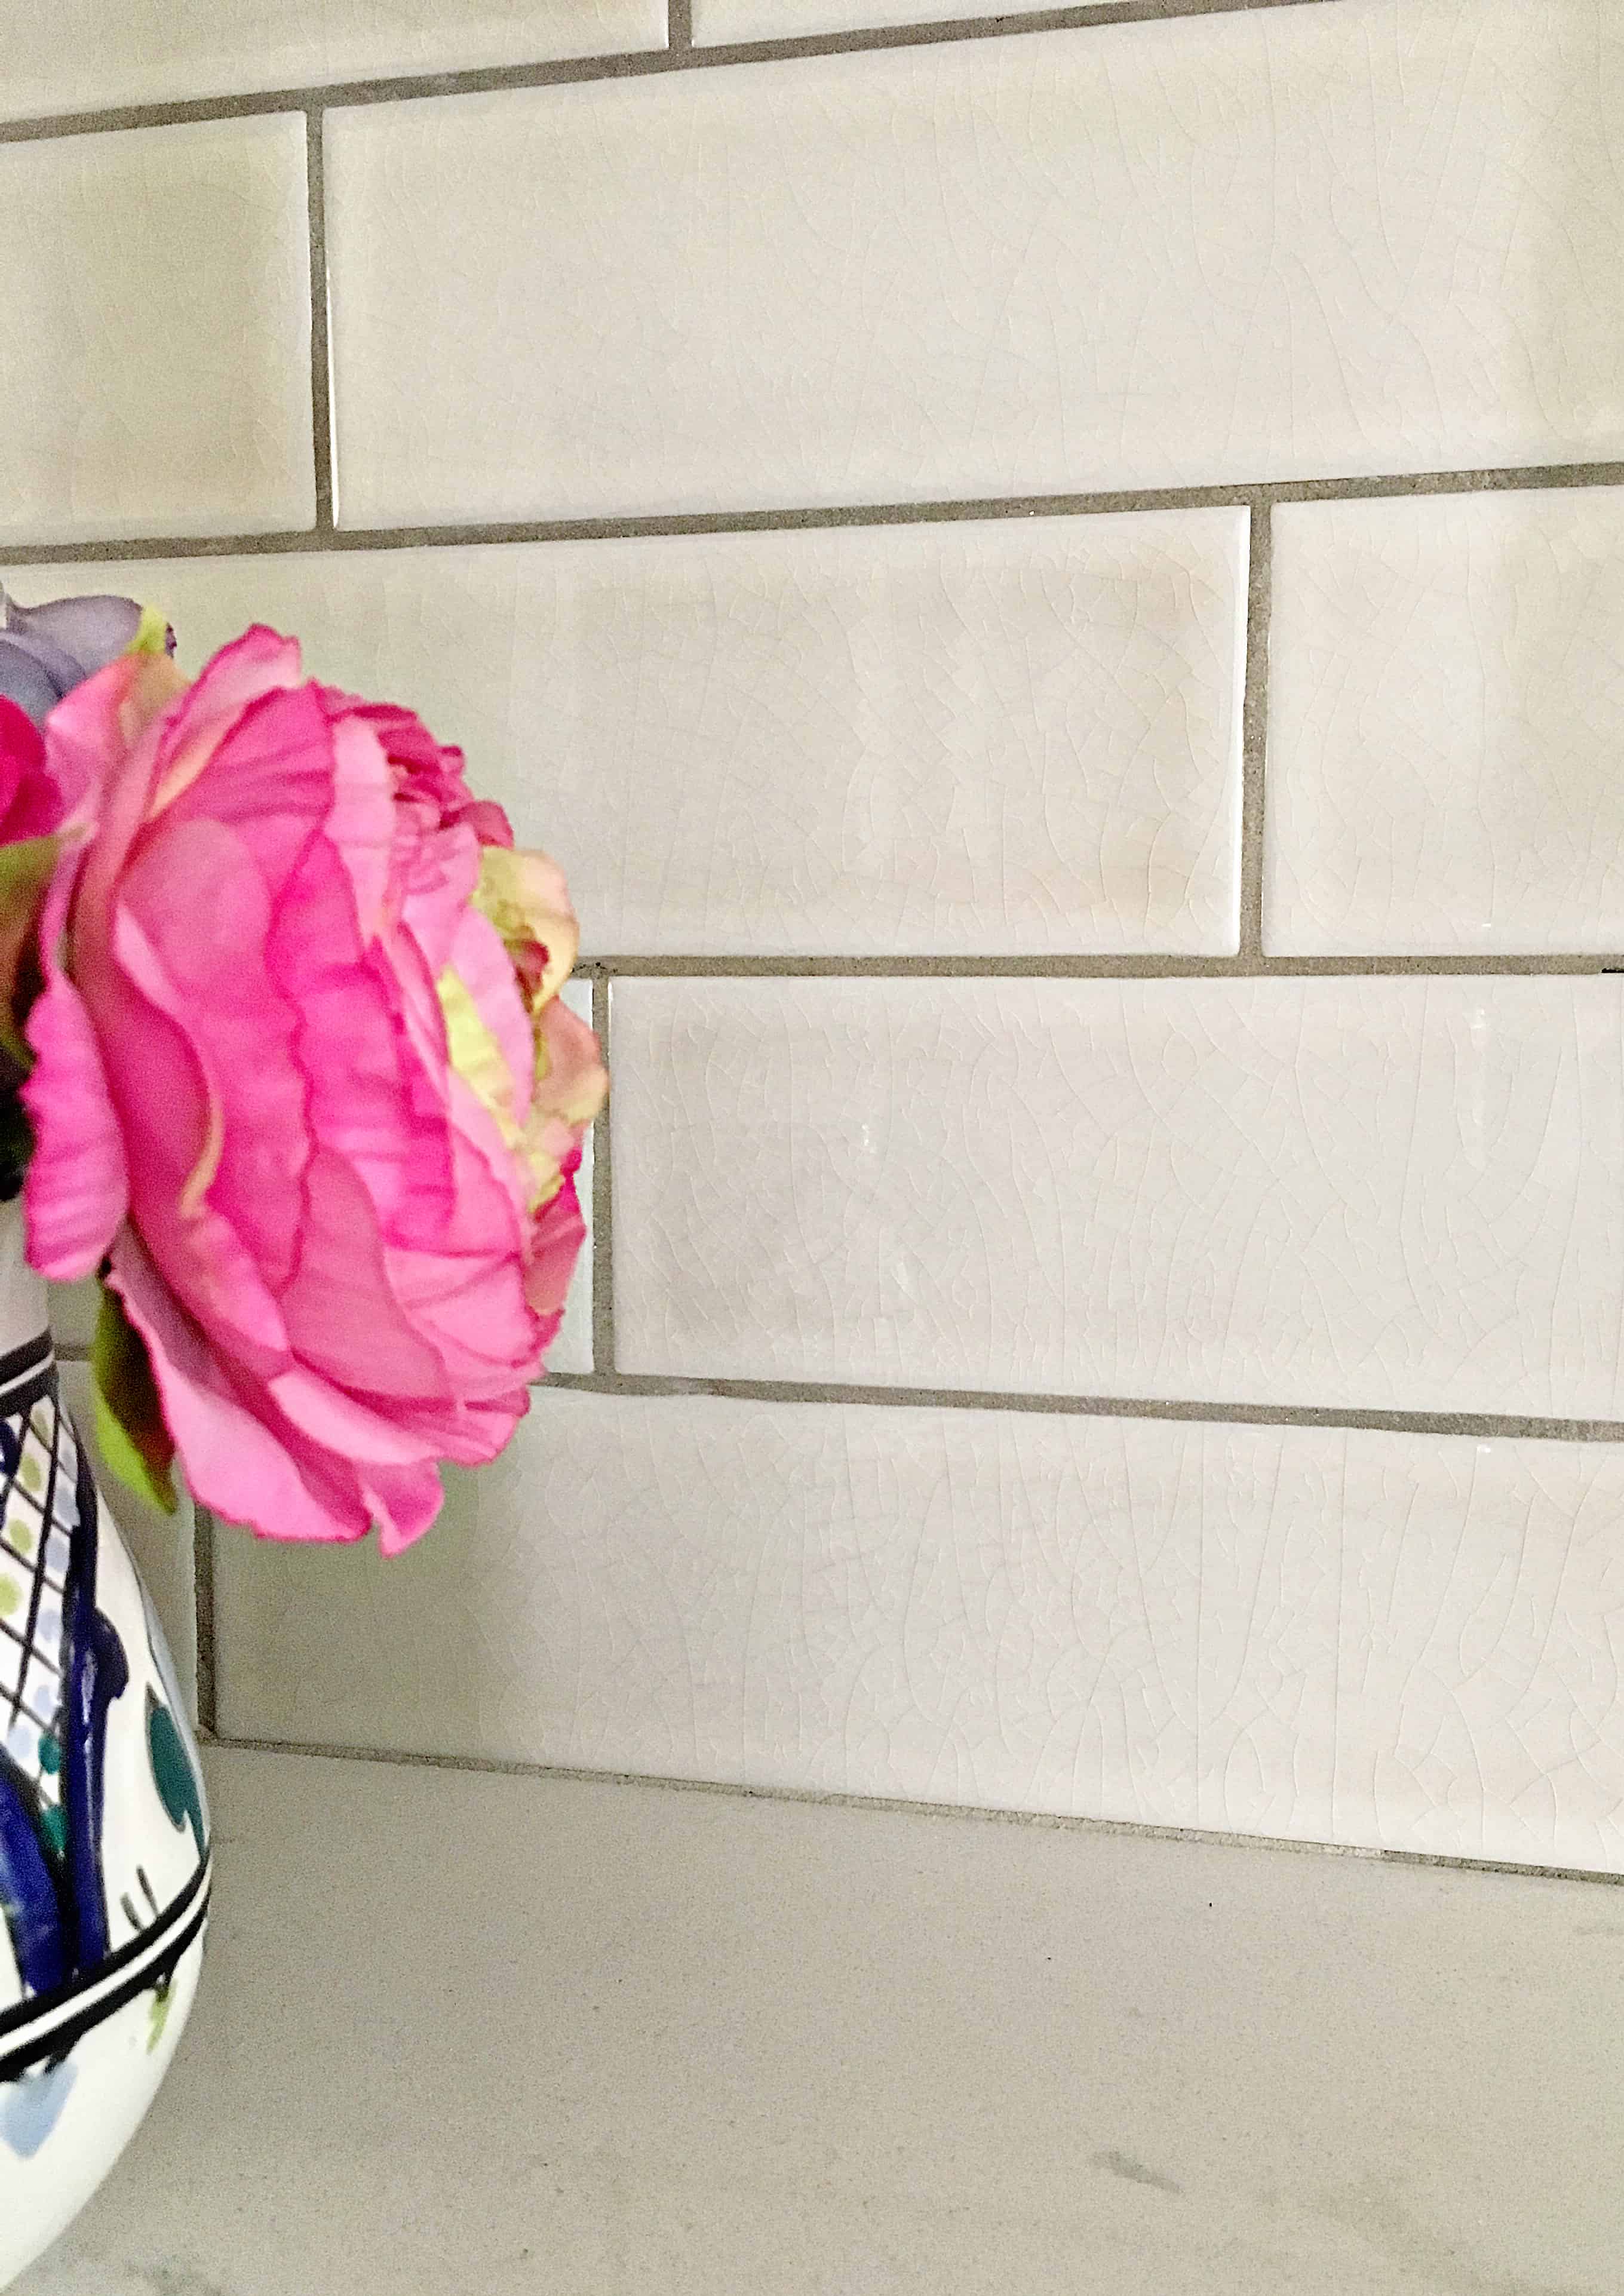
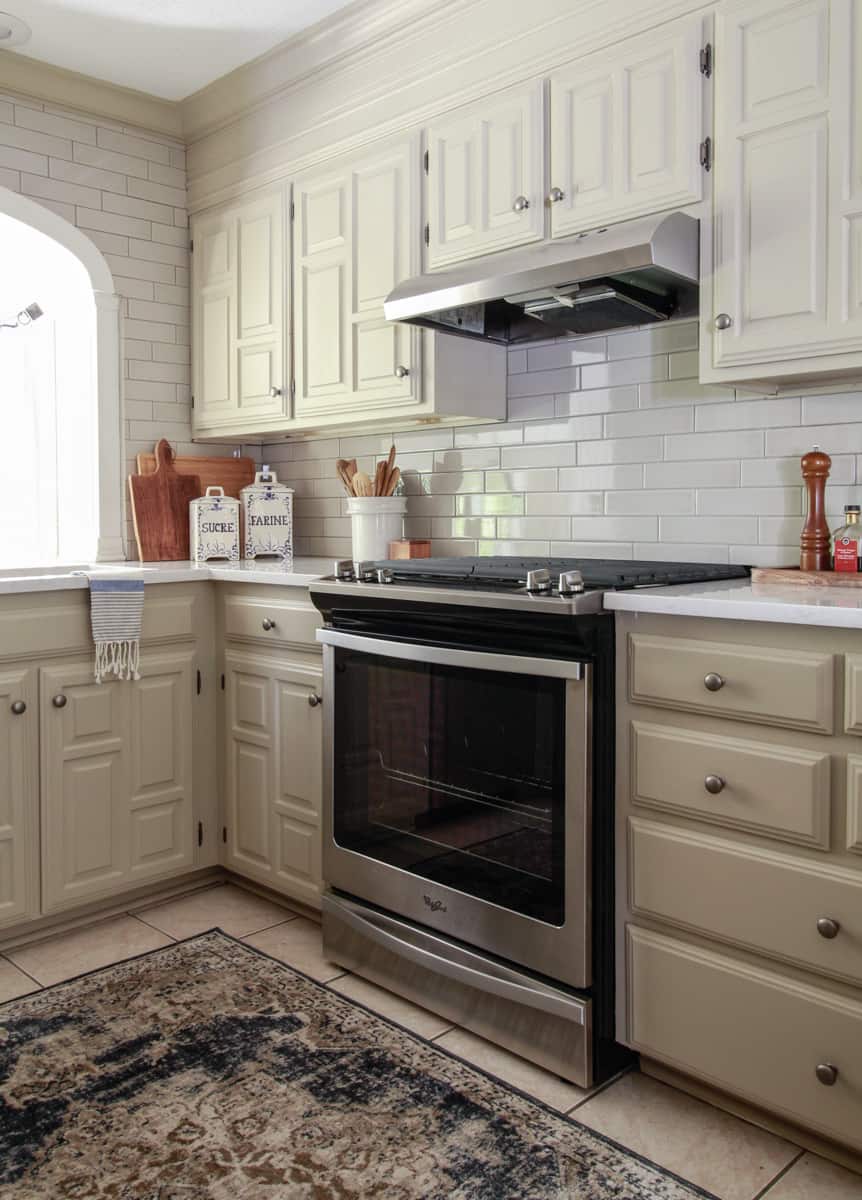
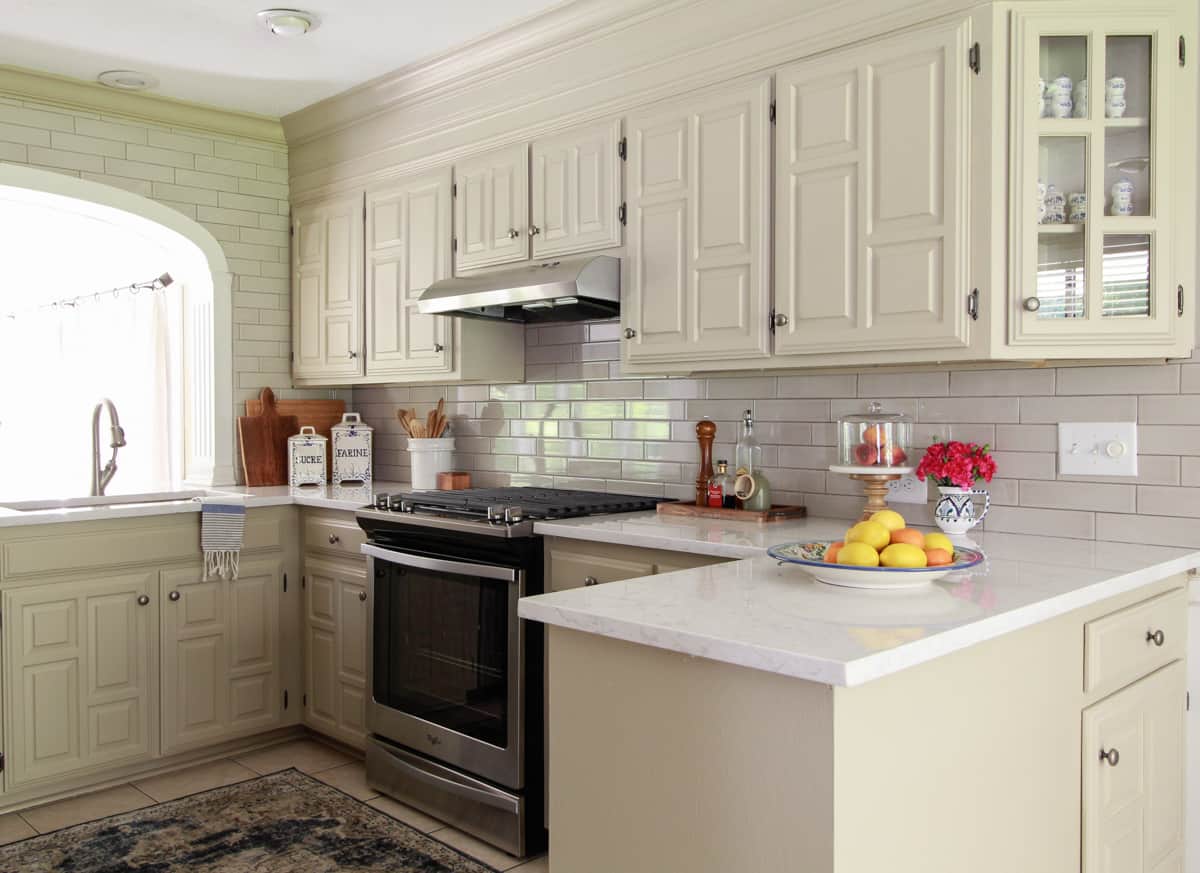
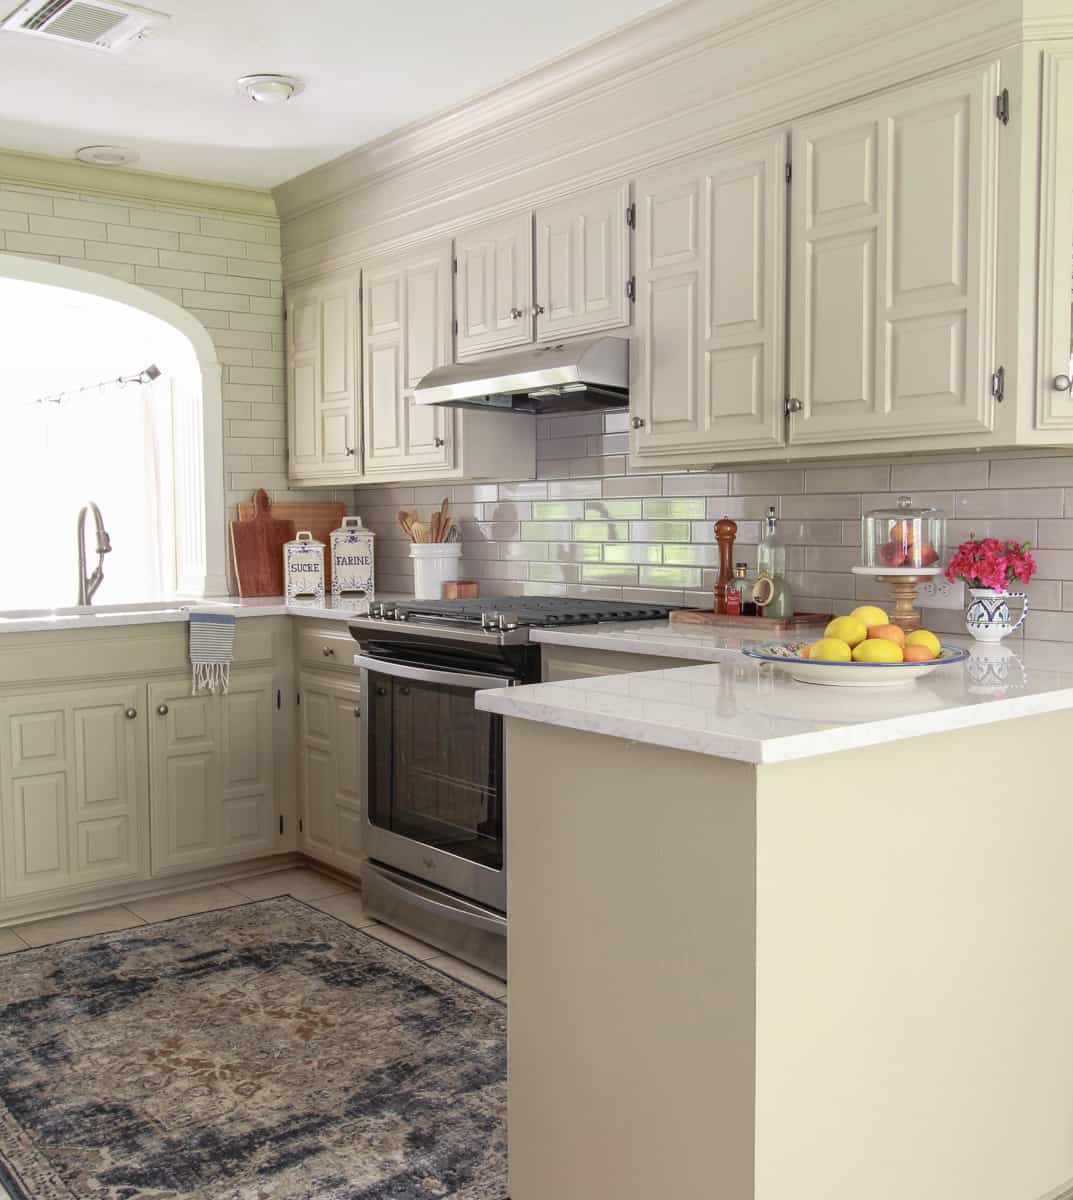
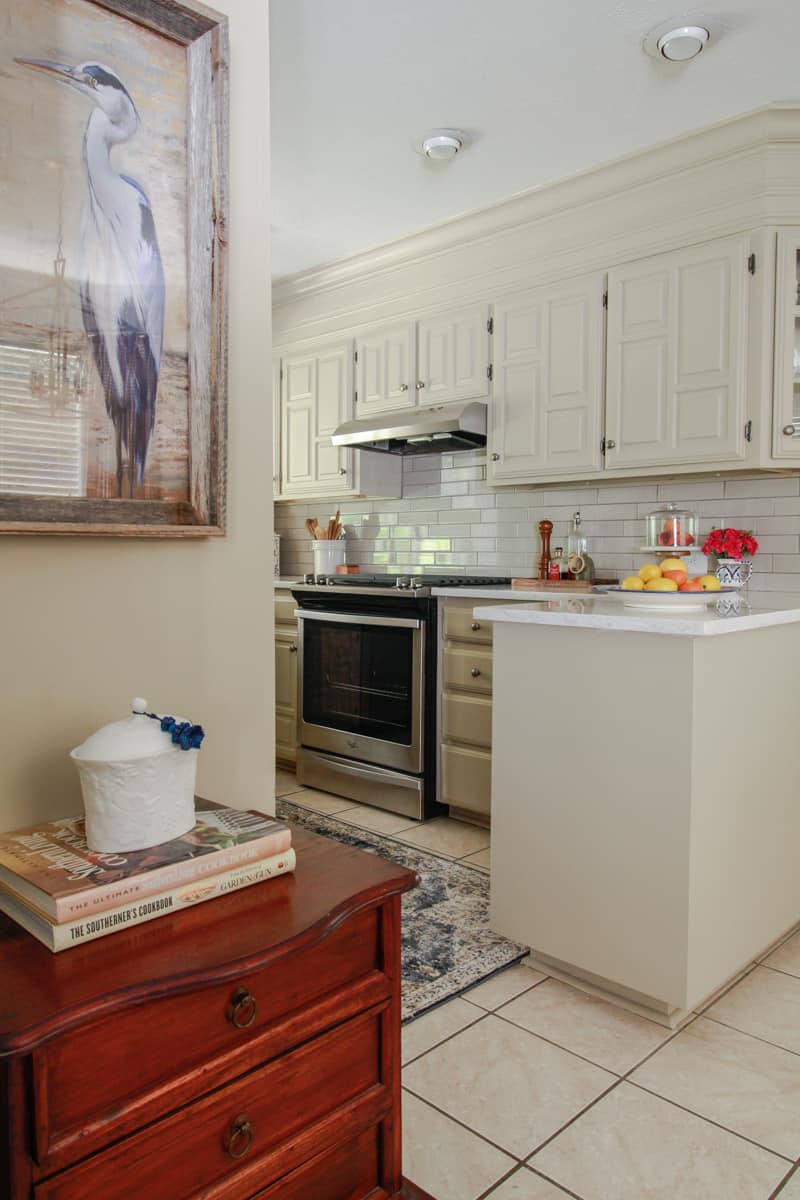
Where we landed within the greige color palette for the cabinets is a bit more on the neutral beige side with a gorgeous crackle tile accent wall and backsplash in a warm grey.
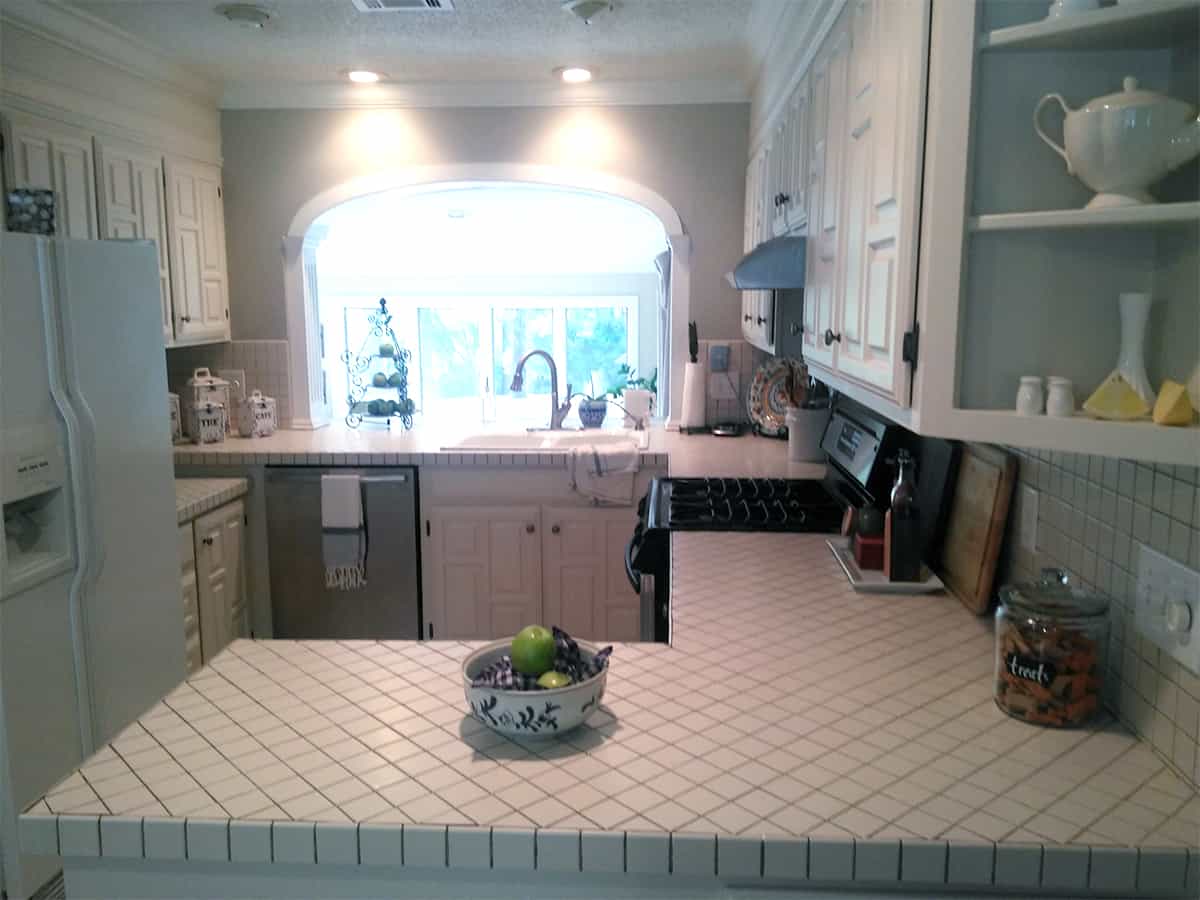
Before
You can see that in her first crack at improving the look of the kitchen was to paint the cabinets white and remove all evidence of the glazed cabinet work done by a previous homeowner. She also lightened the walls dramatically.
This was a vast improvement and she settled on those cosmetic enhancements for several years, saving money for what would be her biggest investment in the makeover, new quartz counters.
Shop the post
In hindsight, she is extremely thankful she didn’t rush into replacing the tile countertops a couple years ago as the availability of high quality, more attractive materials have drastically improved.
We chose Cambria Torquay for her countertops because of the warm grey veins that compliment the other stone and wood tones in her home.
While Torquay has a fair amount of movement it is a much more quiet quartz than some options.Once the countertop was selected, we found a tile with the perfect amount of depth and character without compromising a timeless, classic kitchen style.
The hardest part of the design process was selecting the perfect color to repaint the cabinets. After no less than 8 swatches we landed on the ideal color Loggia, by Sherwin Williams.
I always, always, swatch colors in client’s home because of the way light and the surrounding elements in a room effect how the color is ultimately read in a space. Working with the other greige tones and paint colors she already had added to the challenge.
In the end, the colors blend and work together seamlessly with the rest of her home.
The bulk of the work that went into this makeover happened long before we arrived though. It was no small feet to demolish and haul off all of that tile countertop and backsplash. A testament to Dana and her family’s commitment to DIY.
Once we arrived the main task at hand was to install the backsplash. I knew setting the tile perfectly around the arch was a challenge for even an experienced tile installer like myself. (I tell everyone the difference between an average tile job and a professional looking job is the level of perfectionism one holds themselves to. And whether that is good or bad, I am that perfectionist.)
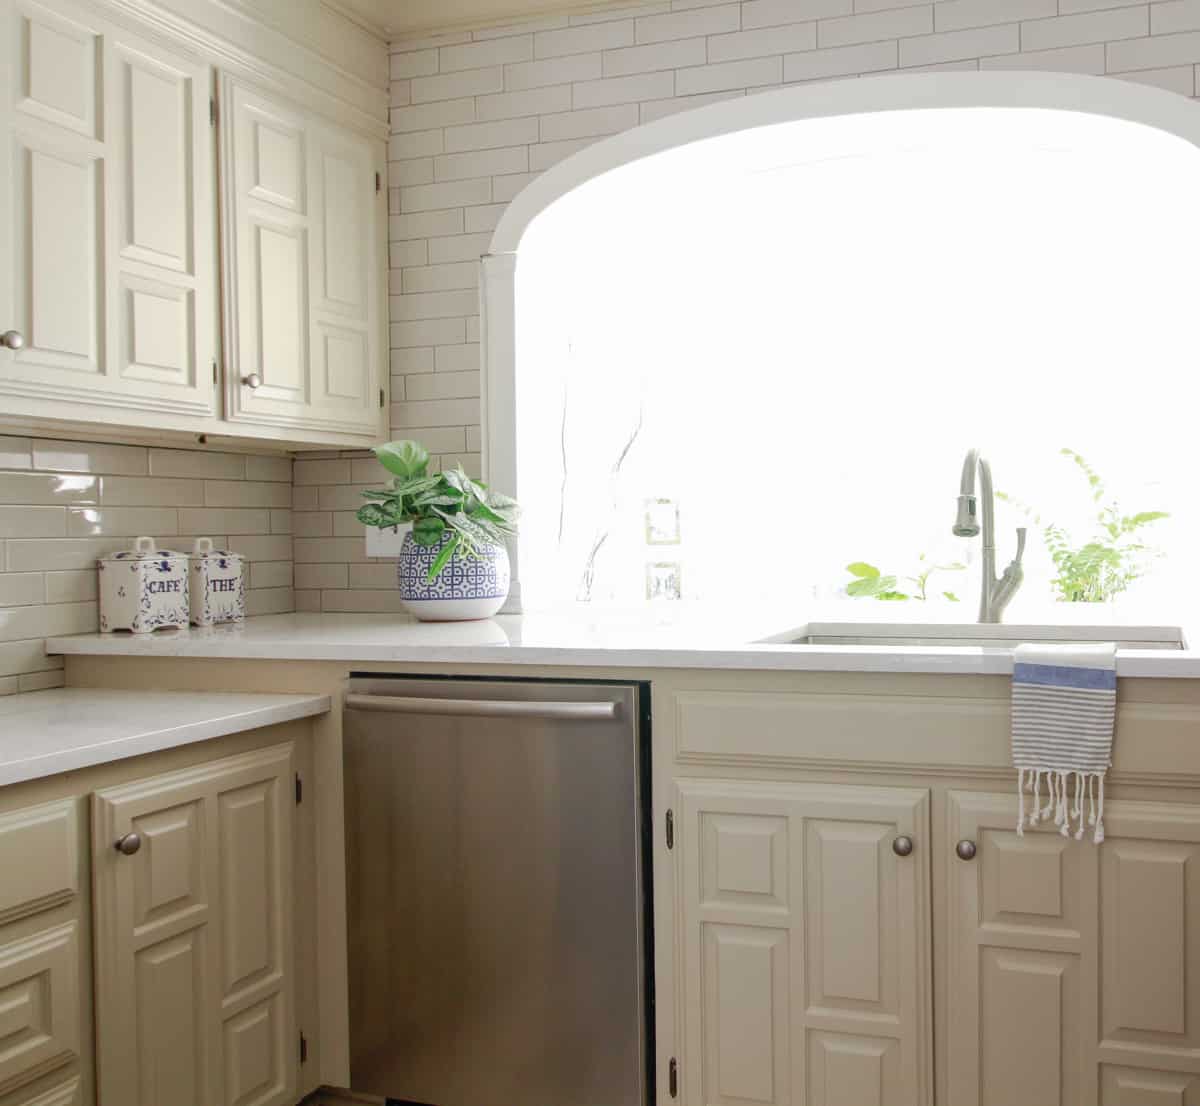
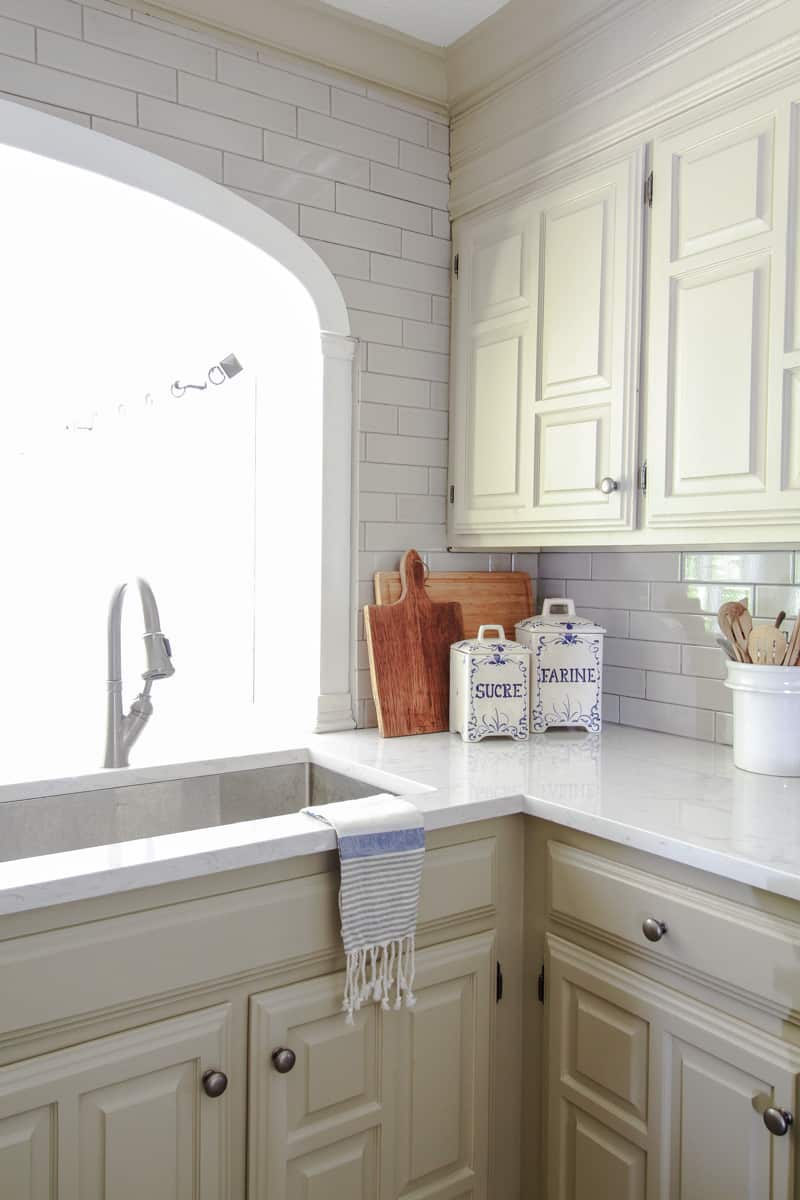
Setting the tile for the area around the arch alone, took at least one very full day. I would recommend if you have an obstical to go around like an arch, to find a way to add moulding or trim to hide the imperfections of your cuts. In this case, Dana had made an effort to secure flexible trim to add to the arch but those sources didn’t come through in time, so I needed to make the tiles around the arch follow the trim as closely as possible.
Here is the very abbreviated version of how it was done. I had my daughter create exact replicas of the tiles in paper and then I created a template for every tile along the curved edge. After some trial and error, like one whole side of the arch, I was able to cut the pieces exactly along the moulding edge with relative ease.
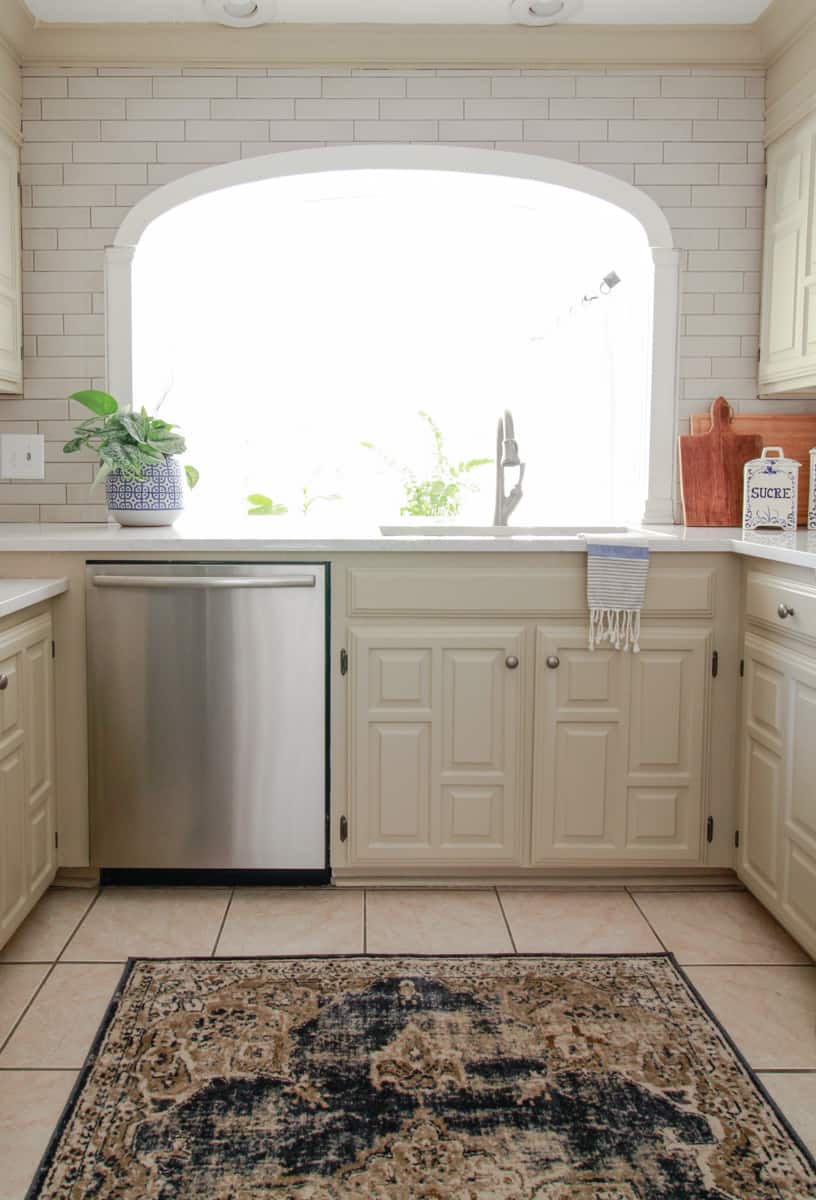
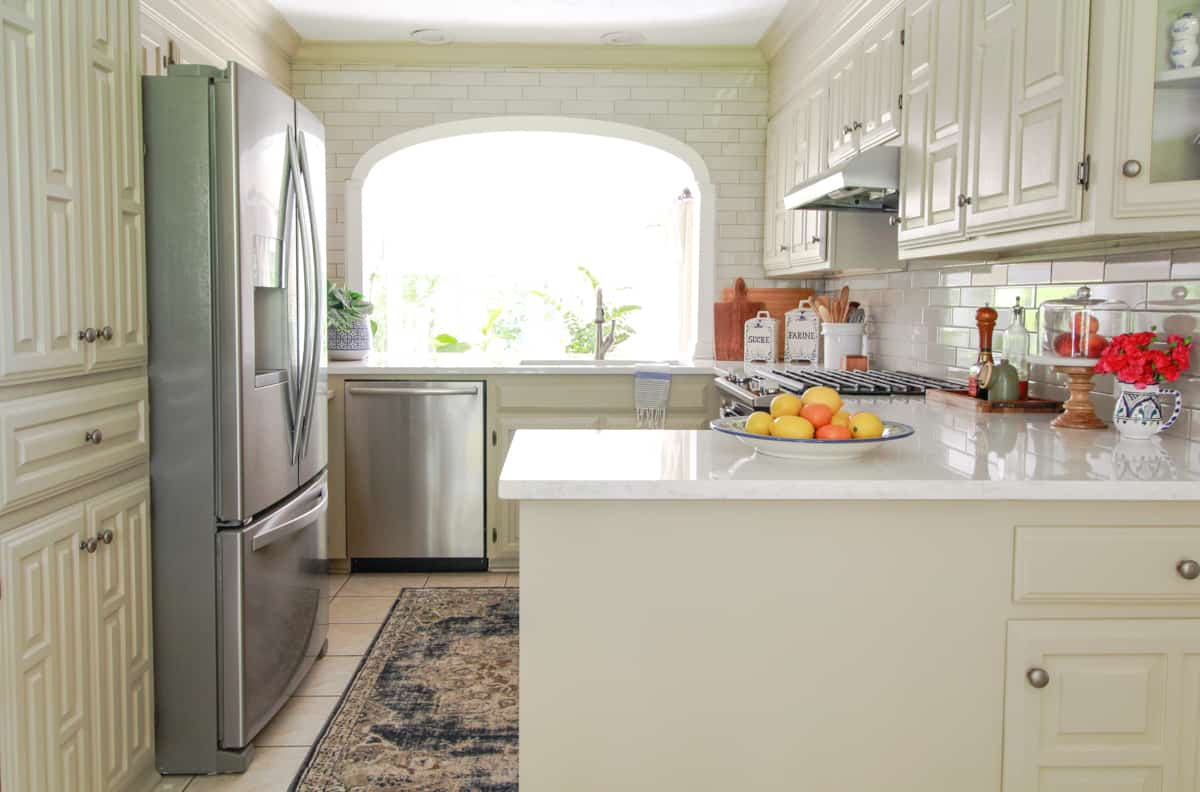
I would venture to say that detailed work paid off. A full wall of tile around the arch creates a stunning backdrop for the entire kitchen. The subtleness in the variation of color in the crackle tile was a challenge to capture in photographs. Trust me when I say it is absolutely beautiful in her kitchen.
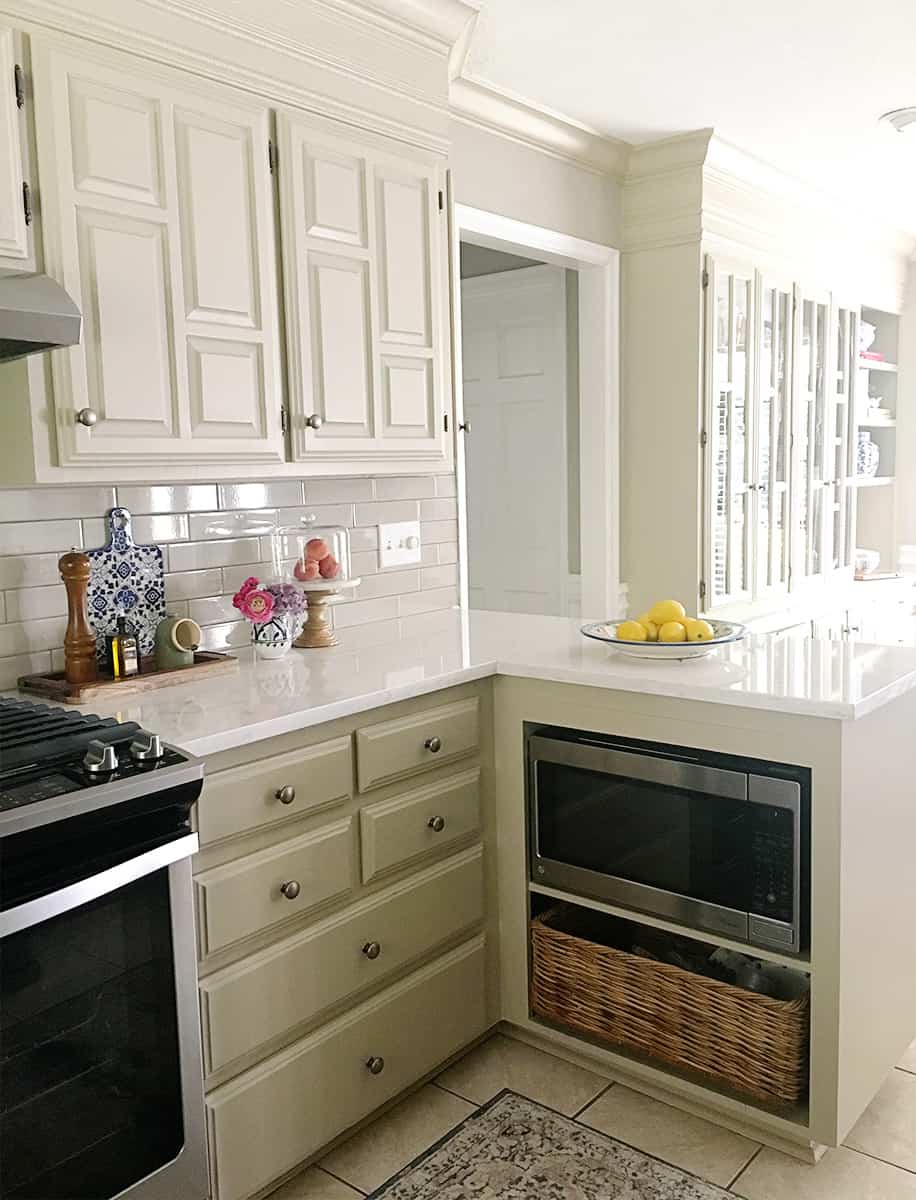
She updated her appliances recently and gained counter space by moving her microwave to the peninsula. She opted for an oversized one vessel sink over a farmhouse style front. We both felt like it would be a distraction from the star of the kitchen, the tiled archway.
Shop the post
Now her kitchen feels open and airy even though it resides in a defined space.
Bringing in an easy care rug quiets the pattern of the tile and brings a softness underfoot.
Her kitchen is a testament that not all kitchens have to be stripped down to the studs to be beautiful. Often, making the most of what you have, especially in a 40 year old home like Dana’s, creates a room that is not only homey and inviting but much more interesting than a generic, brand new kitchen.













3 Comments
Beverly Tellifero
July 2, 2018 at 7:23 pmBeautiful and and simply elegant!
Dana’s Greige Kitchen Update | UTAHGateway.com
July 2, 2018 at 7:55 pm[…] post Dana’s Greige Kitchen Update appeared first on […]
Cream Furniture
July 26, 2018 at 1:15 amI simply love these plans. These photos are wonderful and tasteful. Much obliged to you for sharing DIY and enlivening thoughts and motivation.