Let me just start off by saying, I love this project! And everyone seems to love a good Ikea hack.
And who doesn’t love extra kitchen storage and a place to neatly organize spices?
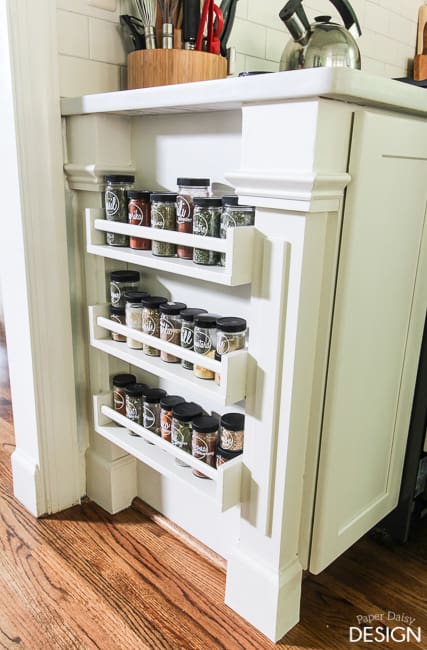
What’s great about this design is that it is a completely customizable project with super simple construction. The building blocks for this built-in are pre-made and inexpensive Bekvam Spice Racks from Ikea. Did you know that if you don’t live near an Ikea, you can order some of their items on Amazon. These spice racks are pretty inexpensive there too. Here’s a link. This affiliate link is here for you convenience.
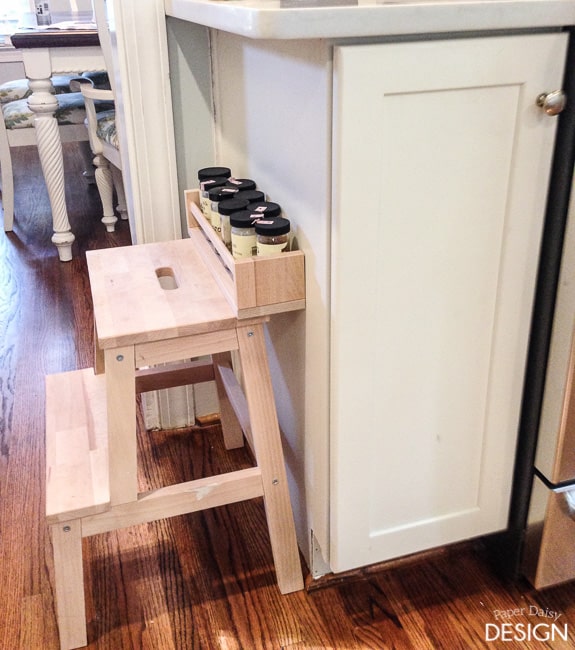
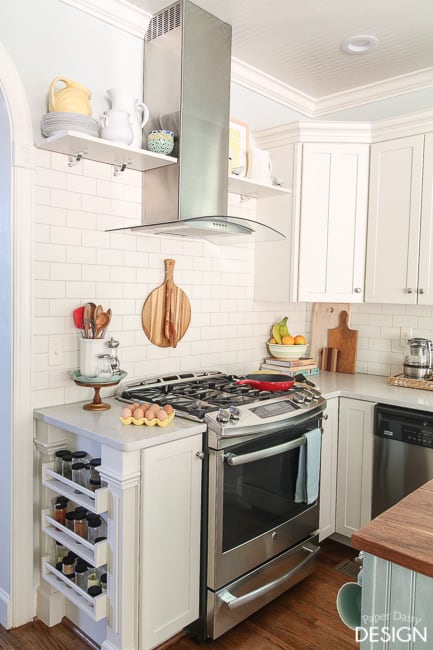
Here is a little of the back story. After the rest of the kitchen remodel was complete, I wanted to find a useful way to use the dead space at the end of the counter.
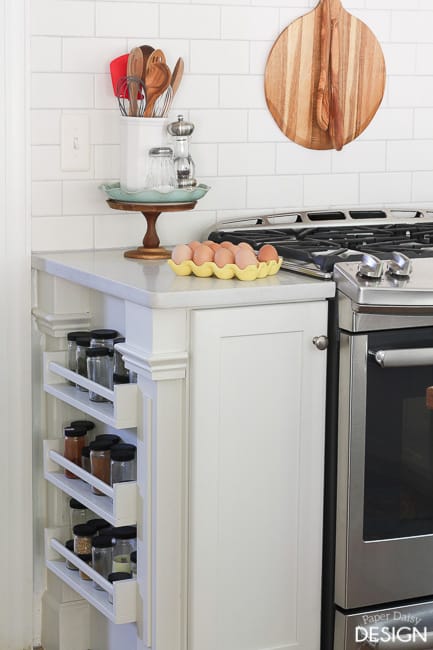
Can you see that? Right there at the end of the cabinet?
That my friends, looked like very valuable real estate in my pantry-less kitchen. Granted I have a cabinet pantry, but that is just not the same.
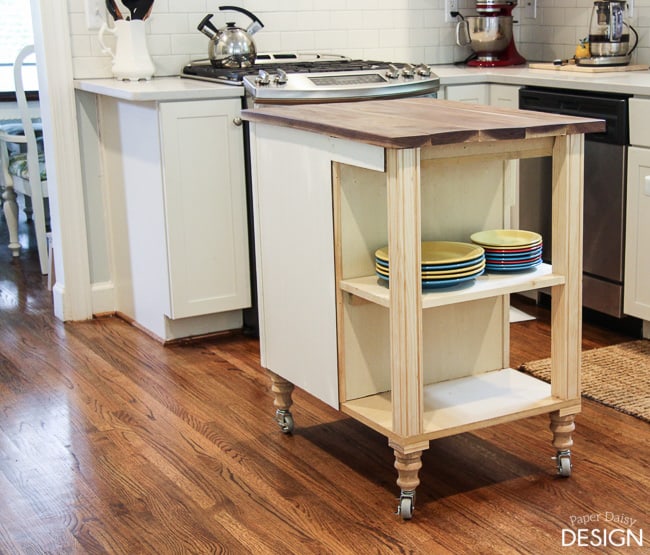
If you can’t get past your admiration for this island in it’s unfinished state. You can get the plans for this DIY Island Cart here.
So, after a long day-trip to Ikea, I happily spent my $12 on three Bekvam spice racks.
Obviously, I could have just hung the spice racks on the end of the counter and called it a day. But if you know me at all, you know that was NOT happening.
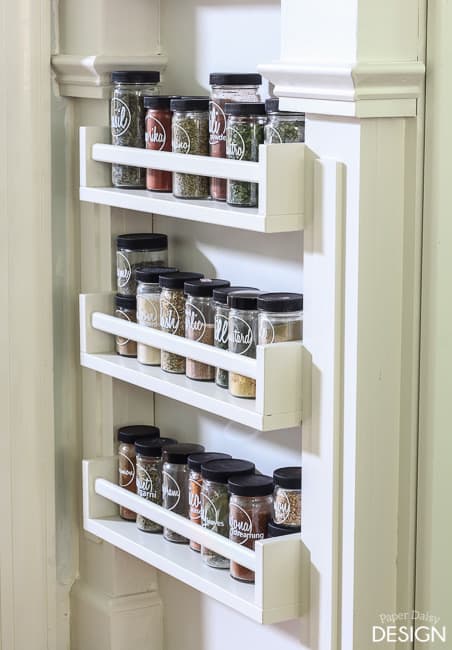
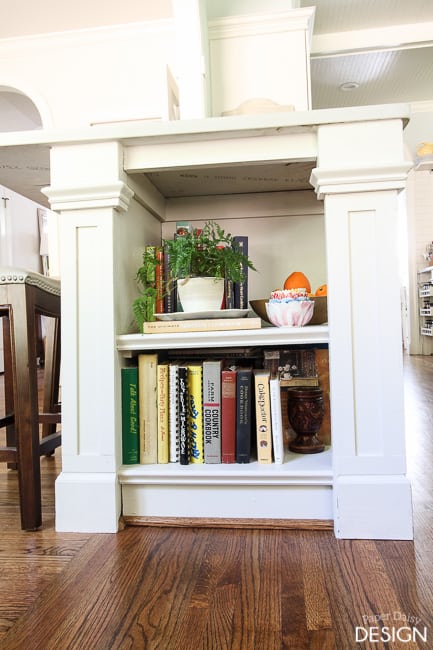
The design for this built-in spice rack was inspired by the custom bookcase I built for the end of our peninsula.
I only had to make one small modification. Can you tell what it is?
Now, let’s get to the tutorial.
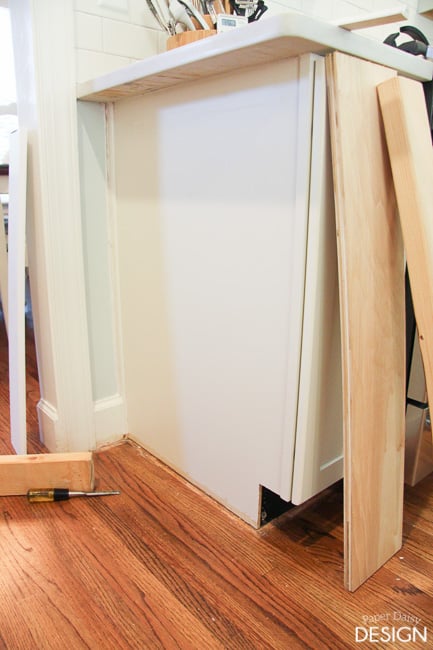
I started by removing the shoe molding from the base of the cabinet.
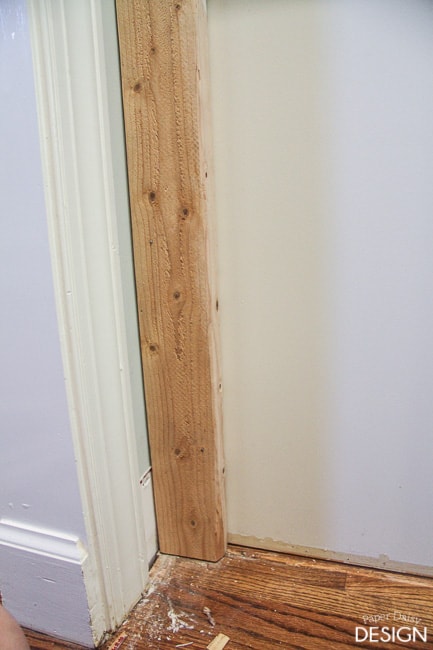
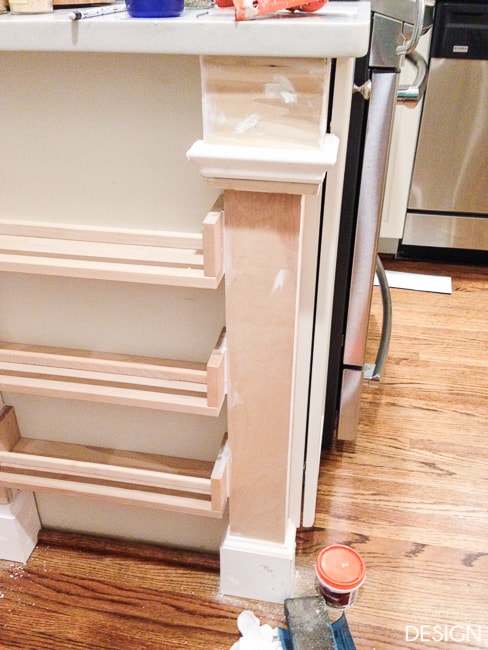
Then I started framing out the sides with 2×4’s.
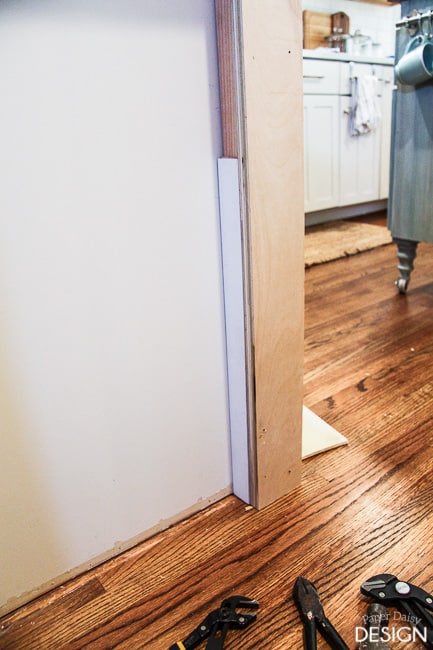
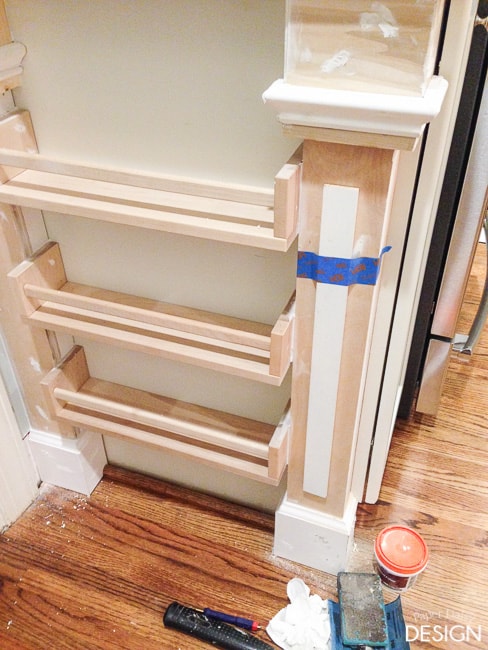
I layered scrap pieces of PureBond Plywood to the face of the 2×4 and framed in the sides with lattice strips.
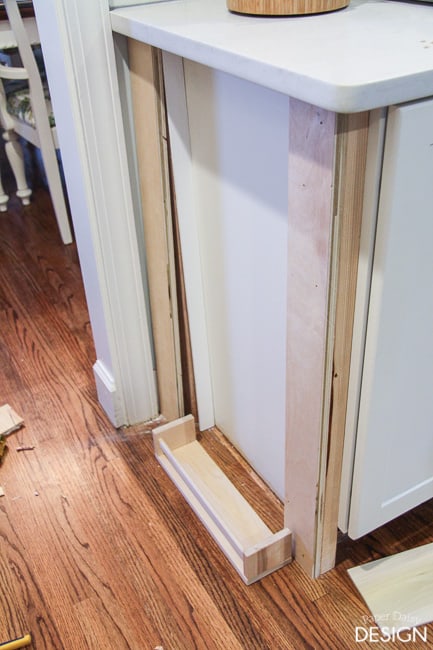
This was also done to widen the sides so that the Bekvam racks fit perfectly inside and to hide the rounded edges of the 2×4’s.
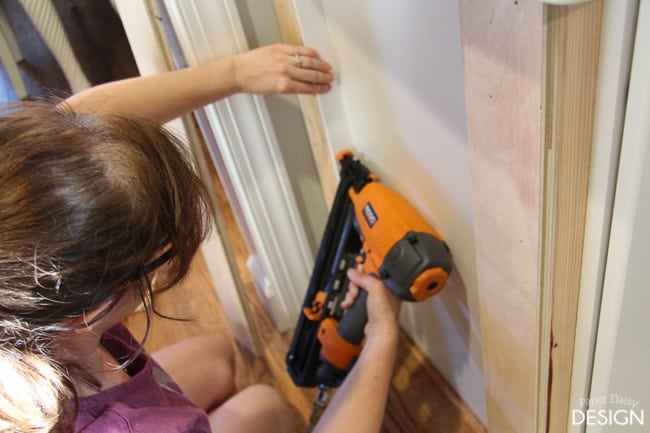
Because I knew I was going to be wrapping the top and bottom in trim to match the custom bookshelf, I did not make the depth of the sides the exact depth of the spice rack.
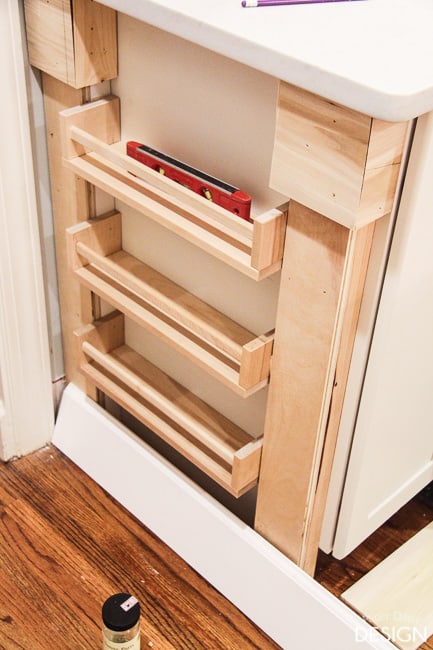
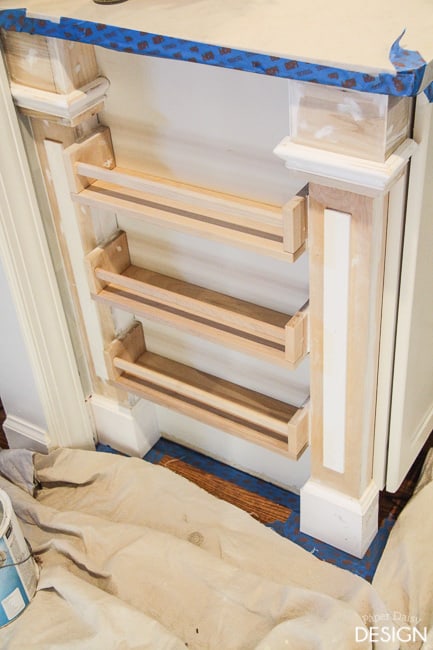
Once my sides were built, I installed the Bekvam shelves and wrapped the top of the “columns” with 1×4’s cut on a miter. And added base molding to the bottom.
I also added a small chair rail molding to the top.
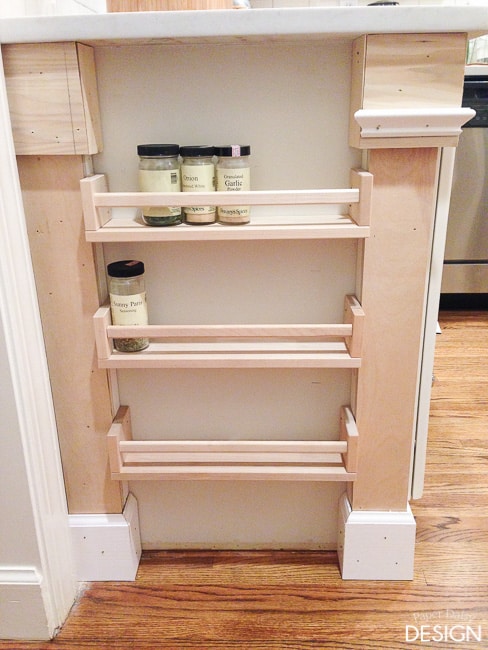
Remember, as with all woodworking projects, caulk, putty and paint are your friends.
Because my “columns” weren’t as wide as the previous version made for the bookcase, I used the lattice strips on the top of, instead of around, all four sides. Interestingly enough, because they are across the room from each other the casual observer never notices the difference. I think it’s a trick of the eye kind of thing.
Since I was working alone, I used tape to hold the lattice in place while I used a nail gun to attach it.
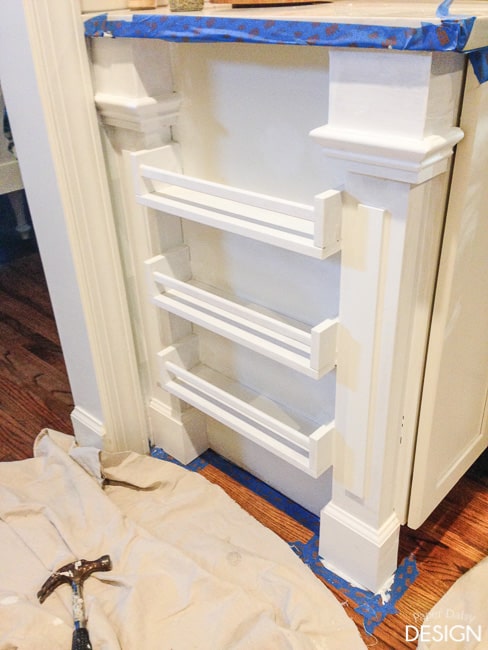
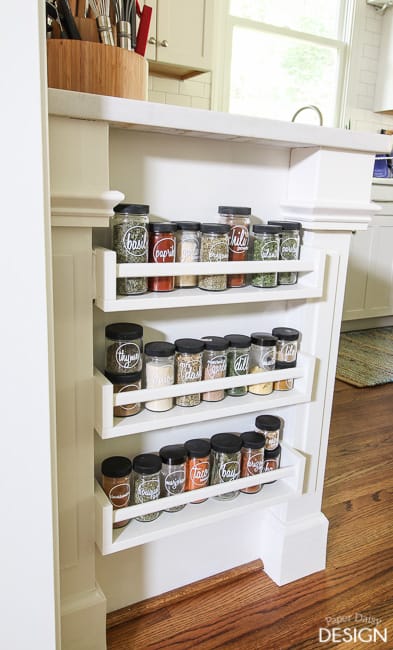
Here, you can see all the pieces that went together to create this “built-in”.
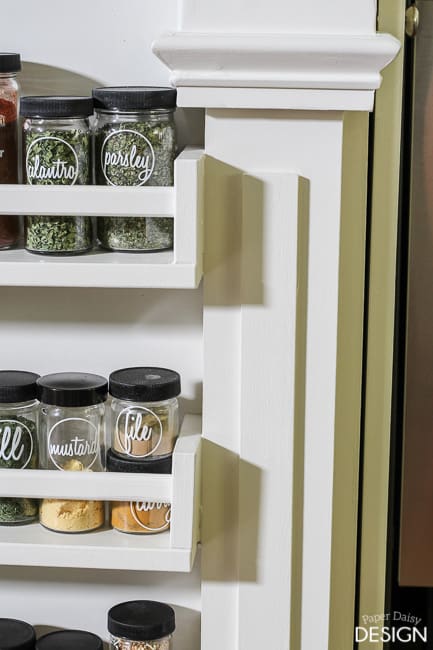
Once it is all painted, you can hardly tell they started out as individual Ikea spice racks.
And yes, of course, I could have just built the spice shelves, but why? The Ikea ones were solid wood, easy to put together and saved me a ton of time.
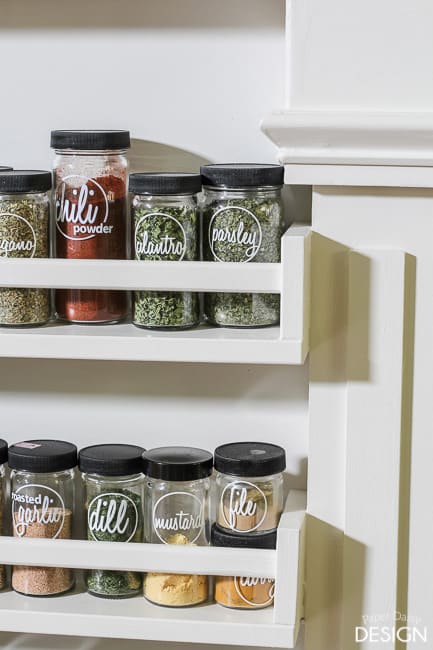
And let’s not forget that at Ikea, they were only $4 a piece! (I did have to drive to Atlanta, so there’s that expense too!)
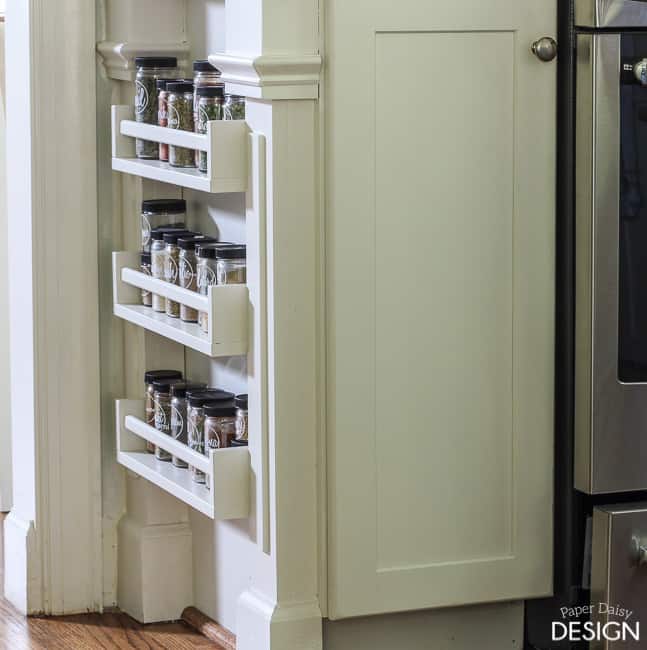
Admittedly, this is one of those tutorials from our kitchen remodel that has been waiting to be written for quite some time.
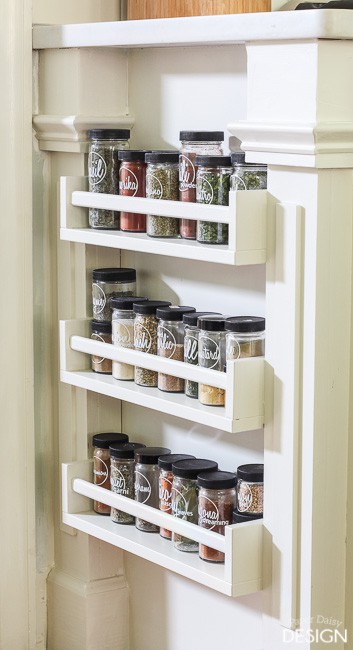 Want to know why it took me so long to share?
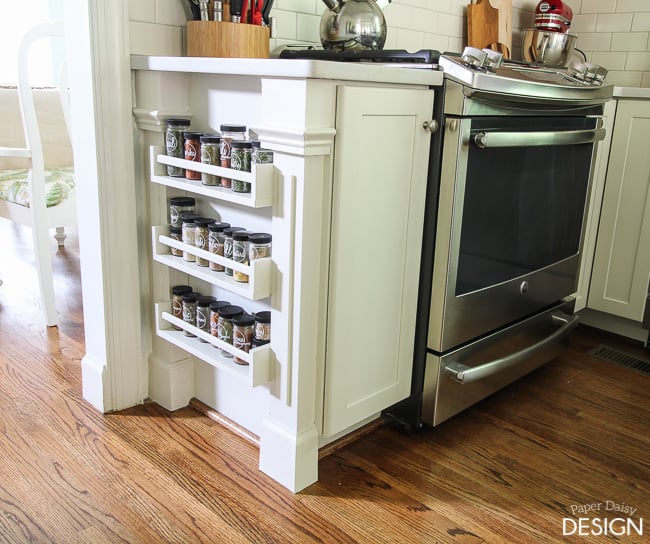
The spice rack has been finished for nearly a year and has proven to be incredibly convenient and an efficient use of space. I even shared photos of the spice rack in the 1 Kitchen Styled 3 Ways Posts.
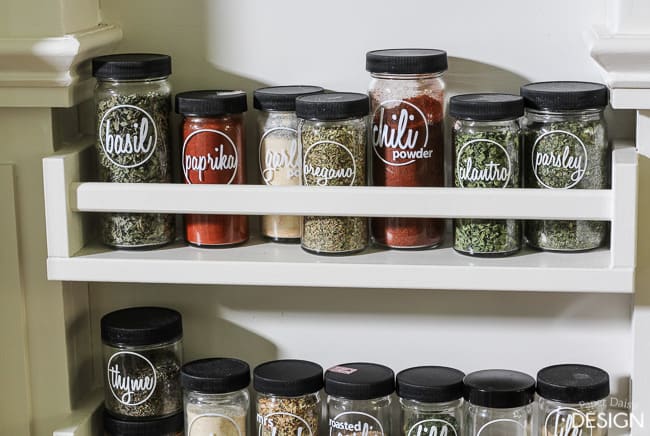
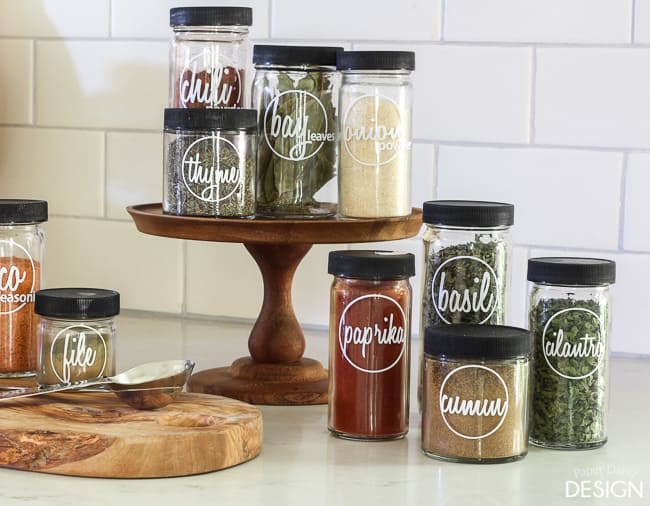
The reason I didn’t share until now is because, in my mind, I envisioned the jars with custom labels for a clean consistent look. And look, the jars are sporting their new look.
And guess what? If you have a Silhouette Cameo, you can download my FREE cut files and make your own. Click here.
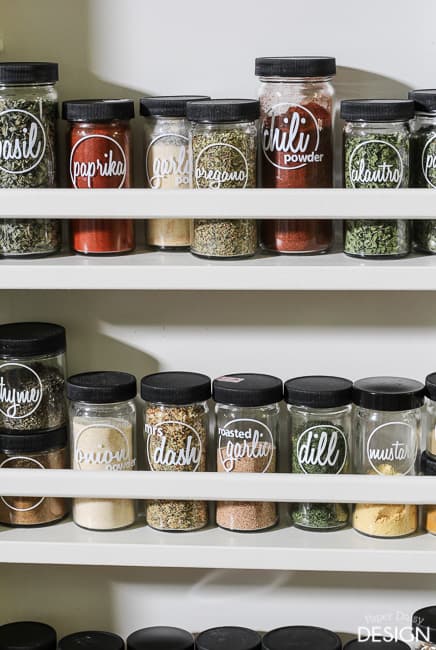
It’s all in the details my friend. The details make me happy.
Do you have an unused space in your kitchen that you are dying to make more functional? Let me hear from you. 🙂
Sign up here to never miss a DIY or decor project.
Sharing Here: Before and After || Your Turn to Shine || Remodelaholic Link Party || Inspiration Monday




20 Comments
Shelby Simone
September 11, 2015 at 1:28 pmI am dying over those labels! I can’t wait for you to share those!
Leslie
September 11, 2015 at 2:03 pmThanks Shelby! Hope to get those files checked out and posted soon. BUT the weather is supposed to be perfect this weekend and we hope to finish up a BIG outdoor project that has been looming for a while.
Rebou Chage
September 21, 2015 at 2:21 amThese spice jar shelves look fabulous. IKEA is great for items which are easily altered to a better version of the same or something entirely different. You’re a really clver lady. Have a great week.
Leslie
September 21, 2015 at 9:58 amThanks, this is so true. I could have built the shelves, but why? Ikea does it well and inexpensively.
Linda Cooper
September 22, 2015 at 6:44 amI am so envious. You are one talented lady! It’s beautiful. Wish I had a woodworker in my family. Since I am disabled, I can only marvel.
Sary
September 22, 2015 at 9:39 pmMe encantó, lo encontré genial. lo voy aa hacer, para mi escritorio de trabajo para guardar allí los crayones de tintes especiales. gracias por tan genial idea. saludos desde Chile.
Larry Chura
September 24, 2015 at 2:01 amNice attention to detail. A clean and good looking project!
heather
January 26, 2016 at 2:23 amLove it! so appreciate your label share!!!
Open Script Spice Labels {FREE Silhouette Files} -
April 8, 2016 at 9:17 pm[…] mentioned in my tutorial post for the Easy Built-in Spice Rack Ikea Hack, the reason I waited so long to share the details in a formal post was because I wanted to create […]
Cheryl Baumann
July 22, 2016 at 8:26 pmI am waiting after 29 years of marriage, and 6 homes (a new one after each child!), our last home has been ours for 13 years. I am ALWAYS reminded that the kitchen is the heart of the home…. Not good since I’ve been living in a home that needs a complete remodel! Your work is exquisite, and I am DROOLING looking at what you can do! I promise I shall use your ideas to make the kitchen of my dreams!
Leslie
July 23, 2016 at 8:40 pmCheryl,
I am so flattered that you are inspired by my work and I do hope you work toward the kitchen of your dreams! It may seem frivolous but living in a space that brings joy to you and your family is completely worth the effort. Best of luck to you and I’d love to see what you create!!
Ikea Hack Built-in Spice Rack | DIY projects for everyone!
September 14, 2016 at 5:59 pm[…] Thanks to Paper Daisy Design for this great project. You can get step-by-step instructions here… […]
How to make a built-in spice rack – Your Projects@OBN
March 16, 2017 at 8:53 pm[…] You can get step-by-step instructions from Paper Daisy Design over here… […]
Vas
September 13, 2017 at 12:29 amVery inspiring! The lattice strip variation (compared to bookcase) you did is brilliant! They make a good contrastive pair.
I’m curious to know what tools you used, especially for cutting the plywood strips and the corners for the molding/base boards. I know the tools contractors use, but I think they are a bit too expensive for the DIY projects.
Leslie
September 16, 2017 at 8:28 amThank you! I used Ryobi power tools. They are very affordable for the average homeowner. We have just acquired them slowly to build a nice workshop actually.
Cool and Rustic Wood Projects for Your Kitchen – Proud Home Decor
March 23, 2018 at 3:10 am[…] saltbushavenue.com & deeplysouthernhome.com […]
20 Clever DIY Spice Storage Ideas - Everyday Shortcuts
April 19, 2018 at 12:37 pm[…] Easy Built-In Spice Rack from deeplysouthernhome.com […]
20 Space Saving Built-In Furniture Ideas - ConservaMom
May 29, 2018 at 2:10 pm[…] Easy Built-In Spice Rack from deeplysouthernhome.com […]
Top 26 Awesome Ideas to Use Narrow or Dead Space in Kitchen – Proud Home Decor
July 10, 2018 at 6:55 am[…] How to build it: deeplysouthernhome.com […]
Creative to Use Narrow or Dead Space in Kitchen
December 14, 2018 at 1:18 am[…] Image Source […]