Now that we’ve gone through the ultra fun exercise of styling a White Kitchen 3 Ways, let’s dive into some of my DIY kitchen projects.
Today, it’s how to add a custom bookcase to the end of stock cabinets.
This post includes a how-to and basic step-by-step tutorial. But my goal is to demonstrate that a custom bookcase, like this one, is a simple project that does not require a carpenter or forking over a ton of money on a stock piece of cabinetry you don’t love.
Building plans are not needed, this is just one way to achieve the desired results. Have a general idea of how you want the final product to look, build a solid foundation and then dress the structure with molding that is fitting with your home.
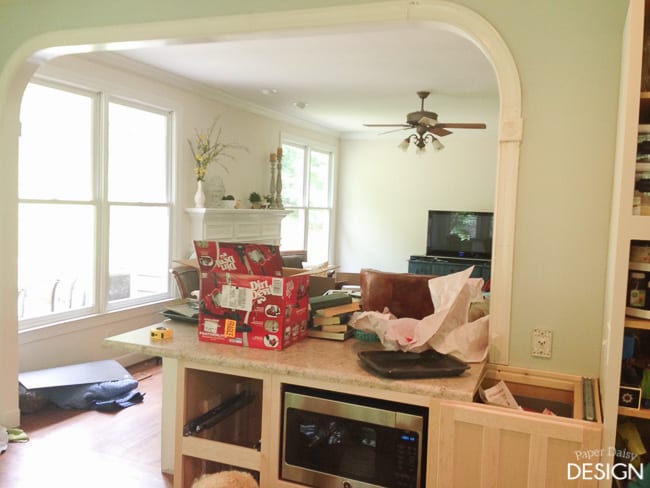
Here’s a little background on this area of the kitchen renovation and before photos.
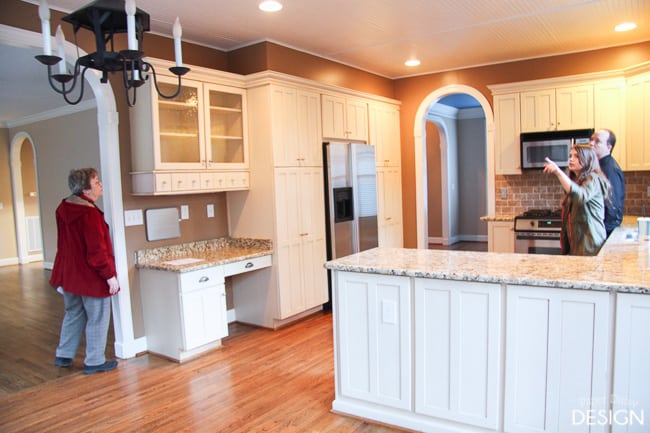
During our house hunting there were many features of this house that captured my heart, so despite the fact the kitchen wasn’t as open to the living room as I would have liked, it was the best house for us to make a home.
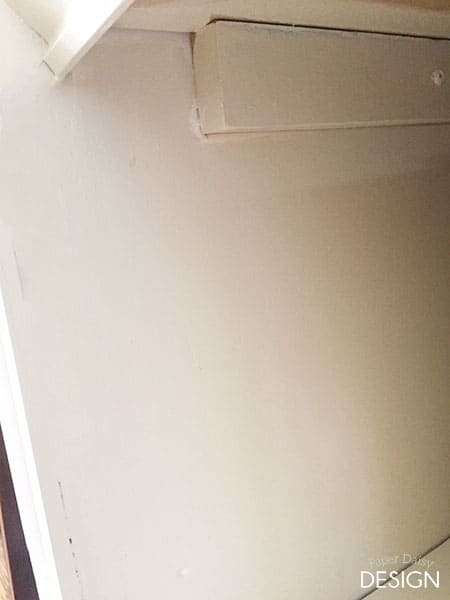
The desk area, above, was destined to become catch all for junk and was in the way of the desired more open floor plan. So, it seemed logical to nix those cabinets and open the wall up several more feet.
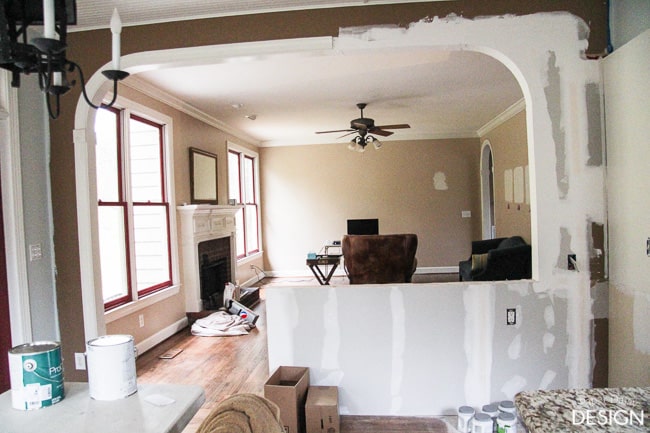
My ideal kitchen design also includes an area with barstools where people can gather and essentially be part of the activity in both the living room and the kitchen.
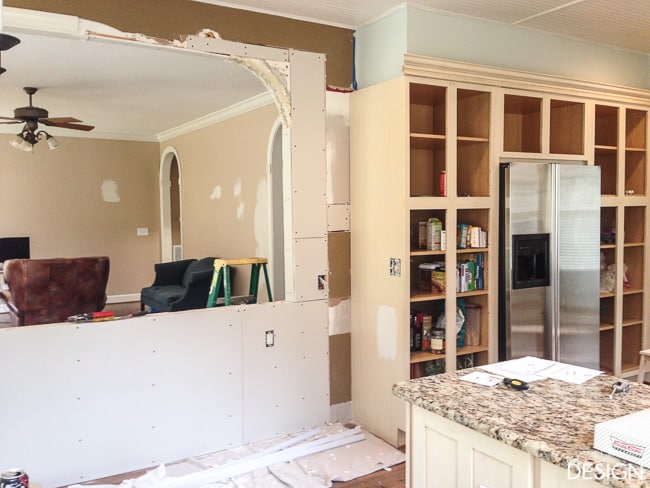
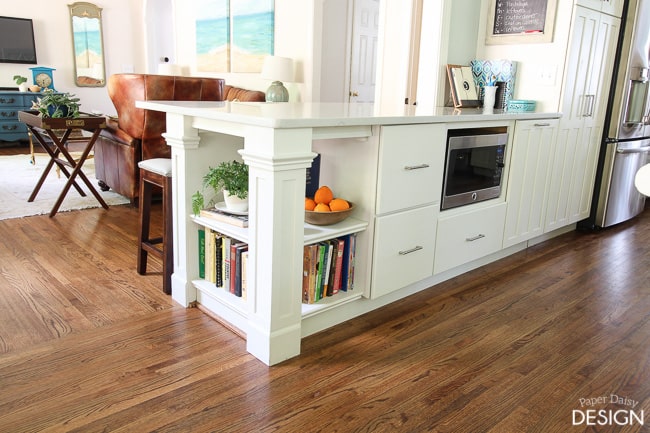
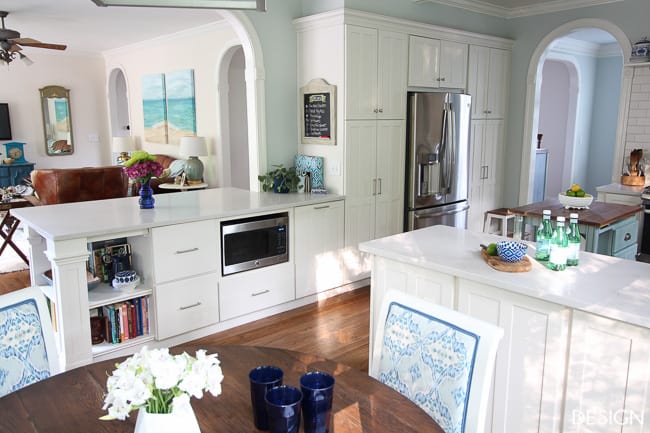
So, after widening the opening as far as possible, we added back a peninsula with a bar top that also provided much needed storage. Thankfully, we were able to order cabinets that matched the existing ones perfectly. As you go left to right the cabinets include a double trash can pull-out, a slot for the microwave and then deep drawer set.
Because I’ve included bookcases in other kitchen remodels, I was pretty adamant that the end of the new peninsula have a bookcase. The options available from the stock cabinetry were unappealing and expensive. I knew I could build what I wanted cheaper and with more attractive finishes.
After the half wall was built and the new cabinet pieces arrived, I started building.
How to build an end cap bookcase.
- Build a rectangular base for your bookcase that matches the depth of your base cabinets and is your desired width. Using pocket hole joinery, like a Kreg Jig, attach the pieces to each other and then screw the rectangle into the wall and neighboring cabinet. (We ordered a toe kick from the cabinet company to cover the complete run of cabinets, including this bookcase.)
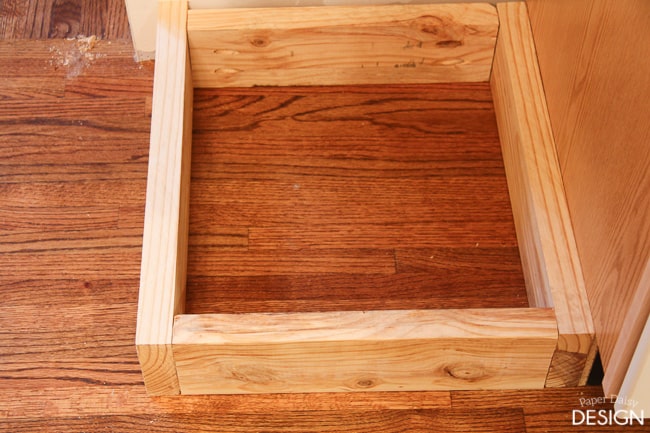
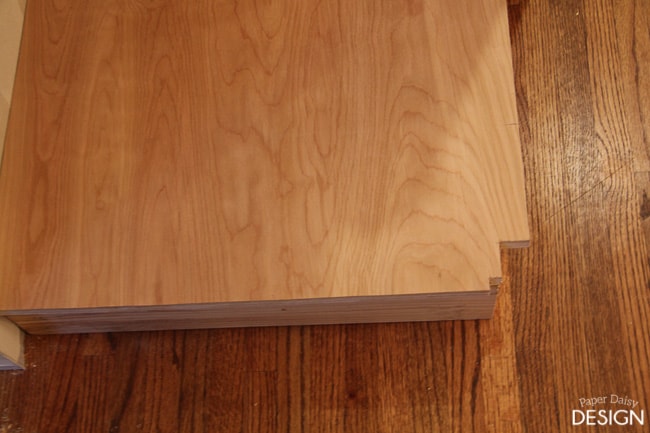
2. Using cabinet grade plywood like PureBond Plywood, cut a top for the base, which will also become your bottom shelf. Notice the notch created in the corner for the standing 2×4’s to fit into.
3. Because this cabinet bookshelf has an opened corner, it requires a double thickness of 2×4’s to properly support the counter. Using wood screws, securely attach one to another. Using nails, attach the 2×4’s to the base of the cabinet.
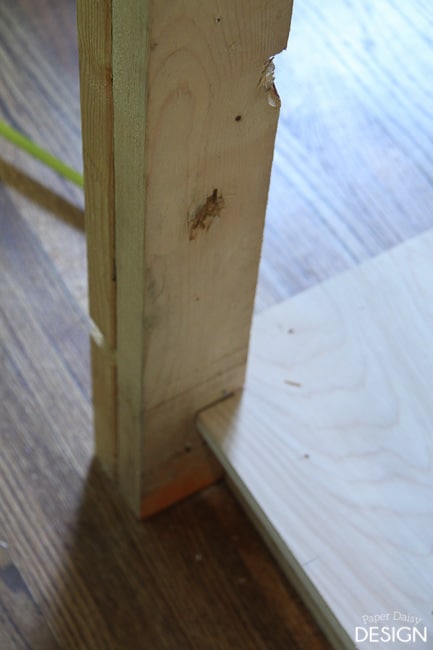
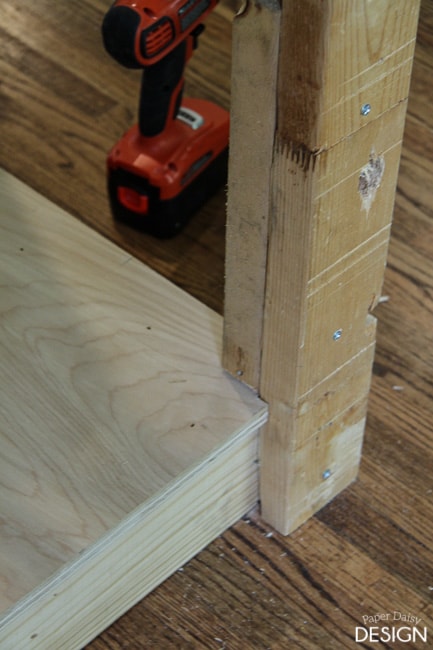
4. Now add in top supports around all four sides, starting in the back.
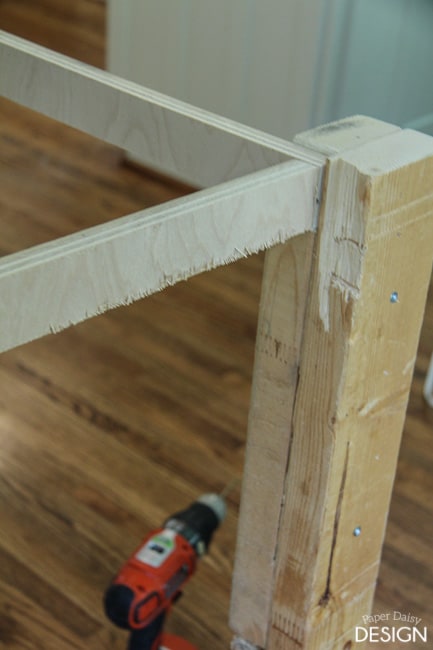
5. Create a notch for the side support to rest in the 2×4’s for solid construction. Toe nail rails into place.
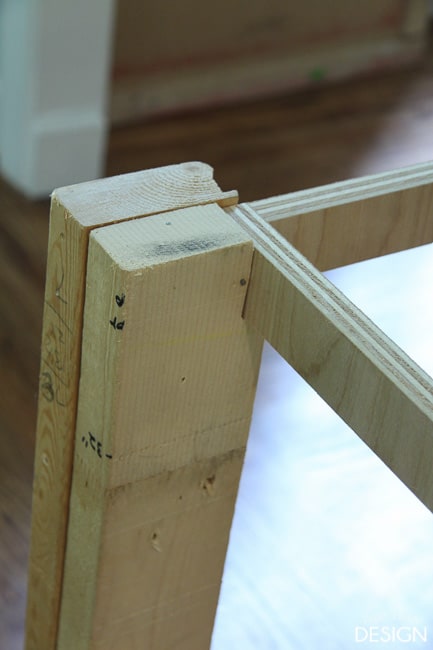
When all of the support rails are in place it should look like this.
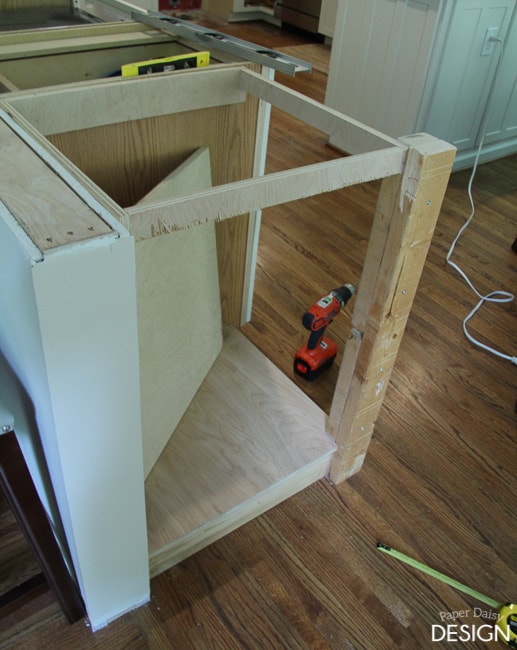
6. Add shelf supports for the second shelf by adding a cleat to the back and closed side of the wall and cabinet.
For the front support add 2×2’s cut to the desired height of the shelf to the 2×4’s. Here you can see I must have been tired, or frustrated, or both and miscalculated the height I needed. I simply improvised by adding an extra piece of wood as a support. This is a perfect example of how even small mistakes are not worth fretting over. If it can be easily fixed without the casual observer noticing all is good. In this case, you never would have known unless I showed you this photo.
To mimic this support and provide just a bit more structure, I repeated the 2×2’s at the top as well.
7. To create the substantial look I desired, I added 1×2’s to the sides of the support column.
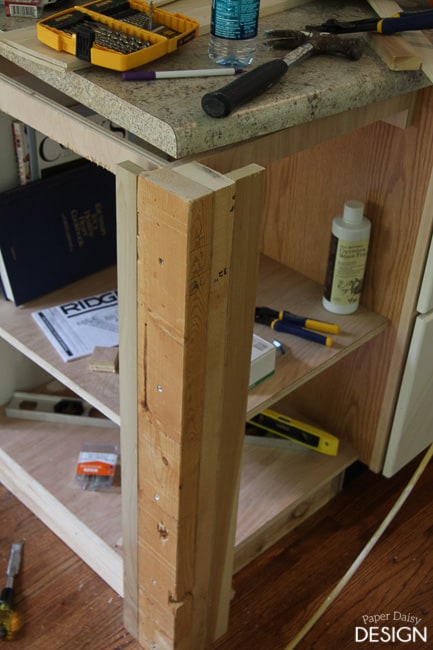
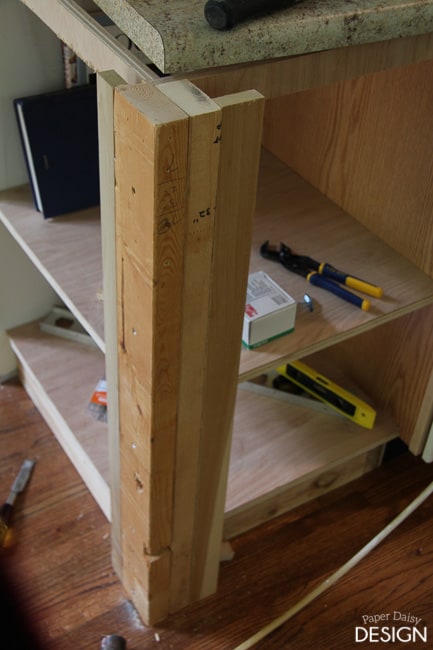
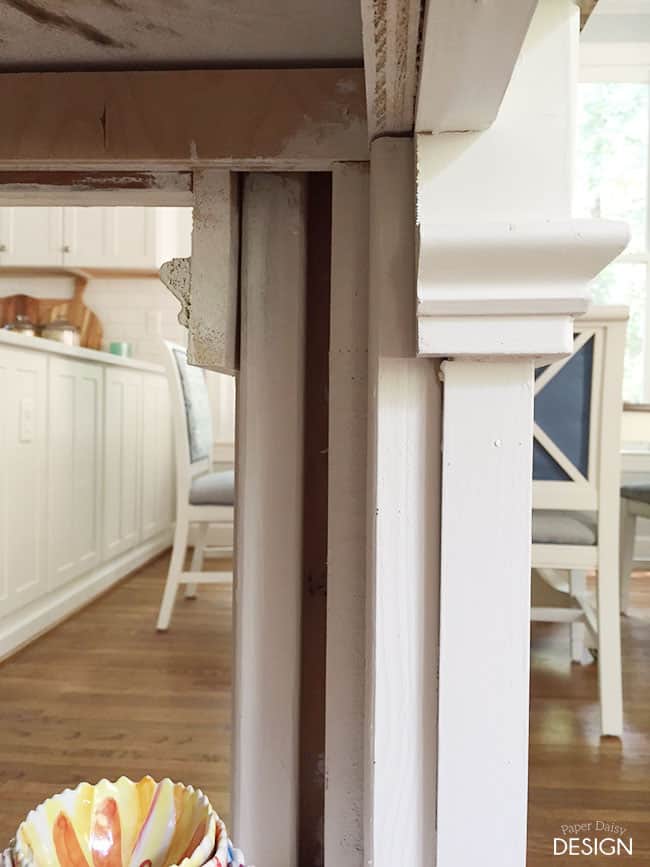
8. Now that the basic structure is complete, it is time to embellish. To cover the seams created by the various pieces of wood used to build the column on the right, I started with some maple 1/4 x 6 inch boards. You will note that the left side is really just the end of the wall embellished to look like the column on the right.
Then I wrapped the top with 1×6 pieces mitered around the column and added a small chair rail molding on top of that. See the cut pieces assembled resting on the top of the column. To keep a consistent flow from the wall adjacent to the bookcase, I added base molding to the bottom of the columns.
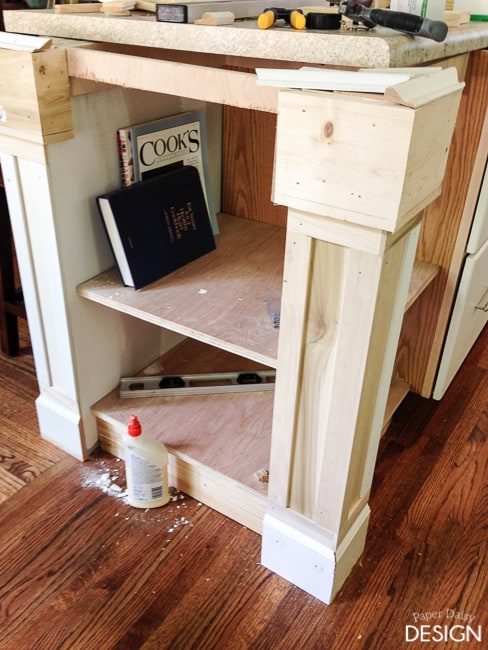
To mimic the shaker style of our cabinets, the space in between the top trim and base molding was trimmed out in lattice, or 1/4 x 2 pieces of wood.
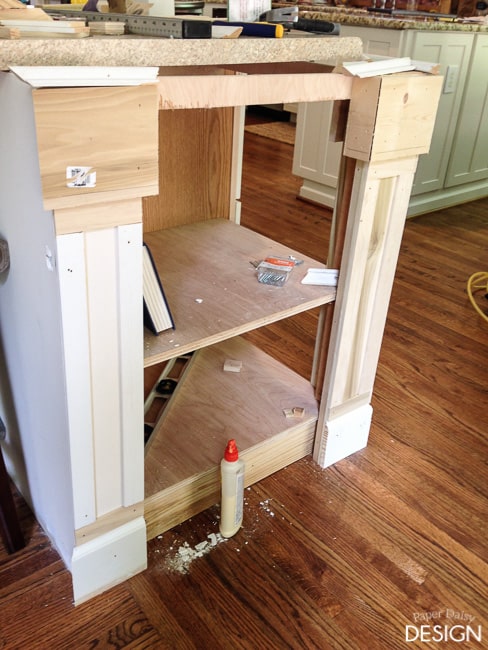
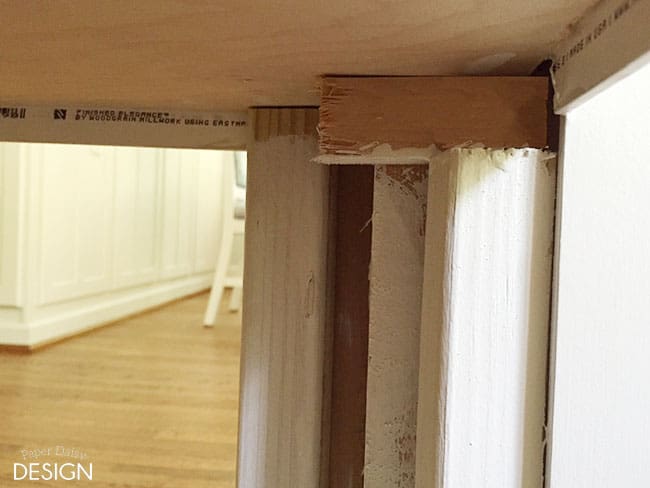
9. The last bit of finishing details included adding more small chair rail trim to cover the unfinished ends of the shelves and a scrap piece of door casing on top of the flat support runner under the counter.
10. Fill all holes and gaps with wood filler, sand and paint.
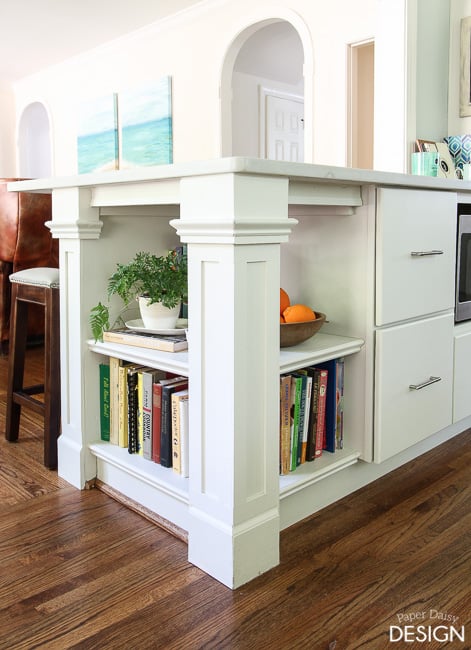
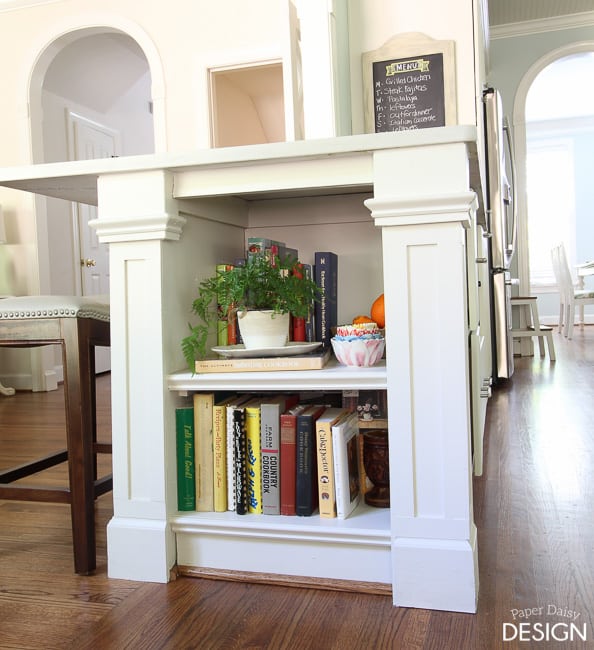
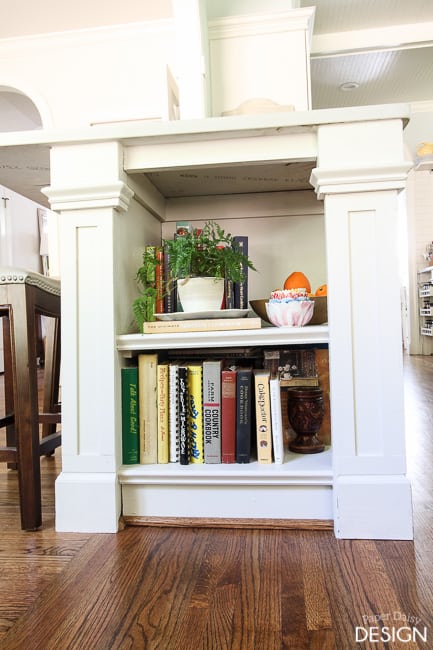
And look, you’ve built a beautiful bookcase for the end of your island or peninsula.
I built this bookcase over a year ago and have a few more woodworking skills under my belt now. But I still felt like this was a worthy tutorial to share because while I might approach the job a little differently today, the basic construction is sound. Obviously, it functions as it should and still looks beautiful.
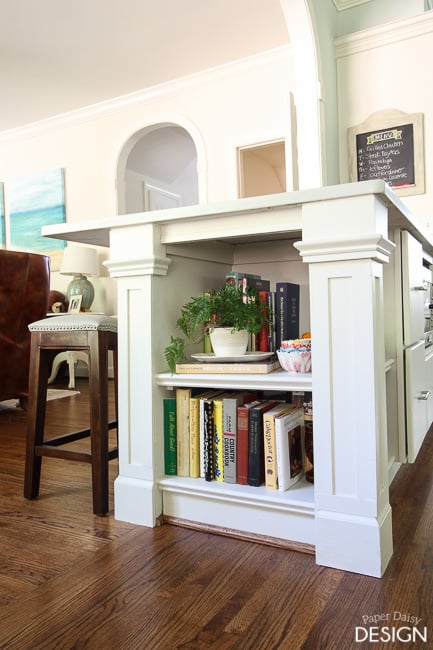
I definitely think a build like this is a great entry point into DIY projects. The most important requirement of this structure is that it support the counter properly which is very easy to achieve with the basic steps described here.
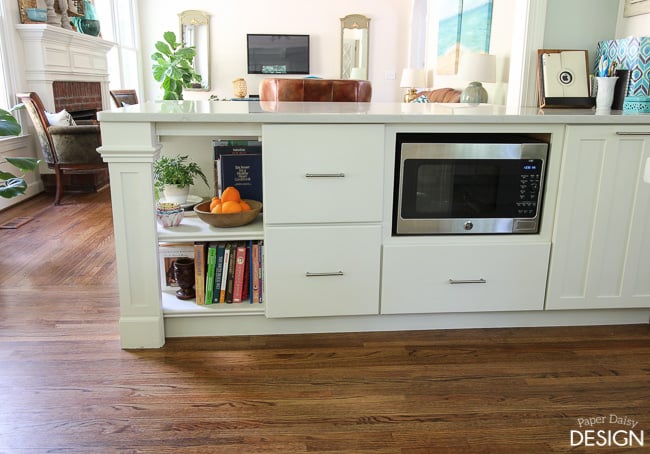
I enjoy the open shelves for storing my many cookbooks and displaying my favorite kitchen accessories or plants. And honestly, those favorite things change fairly often.
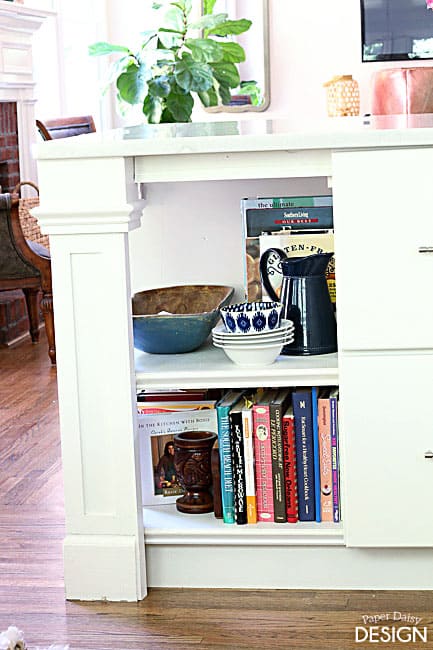
So what do you say, are you ready to save $100’s of dollars and build your own custom cabinet bookcase?
Sharing Here: Making Broken Beautiful ||
If you love this project, please Pin It and share it!





5 Comments
Terry
September 9, 2015 at 10:55 amOh my goodness!!! This transformation is amazing! You MUST share it! You do beautiful work! Please come and share! I would love it if you would join in on my Making Broken Beautiful party! It starts 6:00pm (MST) this Thursday September 10 and I would love to have you join up each week!
Smiles for a great week!
Terry
(http://thecuratorscollection.wordpress.com)
Leslie
September 10, 2015 at 9:04 pmThanks! I’ll be sure to drop by.
Mary Vitullo
September 11, 2015 at 8:15 amSo beautifully executed! Great project.
AMAZING BUILT-IN SHELVES - PLACE OF MY TASTE
July 29, 2016 at 6:04 am[…] (via) […]
51 DIY Bookshelf Plans & Ideas to Organize Your Precious Books
December 19, 2016 at 6:05 pm[…] Build this bookshelf › […]