This spring, I was honored to be a Featured Designer for the One Room Challenge. I realized tonight that I miss counted! For the last three weeks I have said that it was my 9th Season of the ORC. Last season was my 9th and I forgot to add in the Spring, which of course makes this my 10th Season! Wow! Ten rooms have been completely transformed into space we love and enjoy, thanks to this bi-annual event!

Now that we’ve got that cleared up, if you are new to Deeply Southern Home, welcome! I am Leslie, a self-professed creative junkie turned home decor and DIY blogger. After working as a graphic designer for several years I took a very, very early retirement to raise our children. Along the way, I found myself as a creative blogger. My goal, whether in my home or my clients, is to create rooms with a relaxed southern style. Although my designs are traditional, I love to experiment with color and a fresh interpretation of classic interiors. We recently downsized to a new-construction home and I can’t wait to inject old-world charm and character through my DIY projects and timeless finishes.
Be sure to follow me on Instagram @deeplysouthernhome and my Facebook page Deeply Southern Home for behind the scenes on Stories, and sign up to receive my blog posts straight to your email inbox by clicking here.
This season I am so thankful to have Build.com as a major sponsor for this makeover. Paint sponsor is Sherwin Williams, featuring their new Emerald Designer Color Collection. Brackets by Osborne Wood Products, Fabric by Calico Fabrics and moulding from Novo Building Products.
Small Changes in the Design Plan
Last week I shared my design plan for the Laundry Room area. (Since the mudroom is mostly hard surfaces that coordinate with the Laundry Room I didn’t assemble a full design plan.)
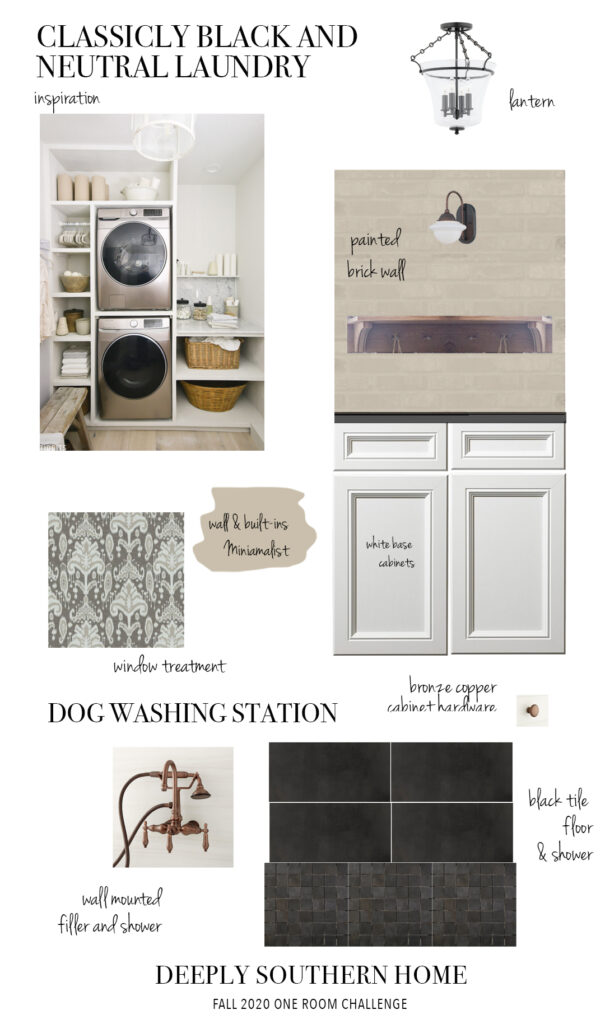
The change I decided to make was to the sconces I selected for the brick wall. The ones I had initially picked worked best with a different faucet I considered that was more modern. With the beautiful faucet that came in this week from Build.com and Signature Hardware, I knew I needed a sconce that was a little more shapely and soft.
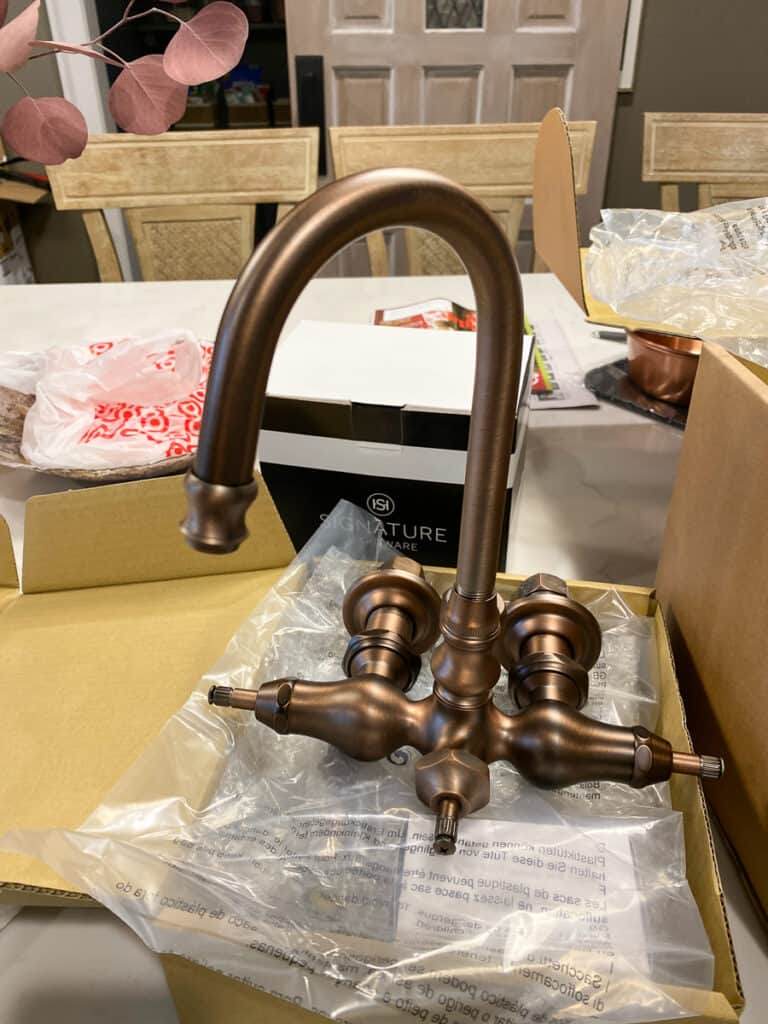
That small change may seem slightly insignificant. I chose a perfectly fine fixture previously, but the best designs come from the closest attention to every detail.
The details are not the details. They make the design.
Charles Eames
Every last detail, down to this extremely attractive drain, also from Signature Hardware, has been considered to create a lovely, timeless laundry room packed with charm and function!
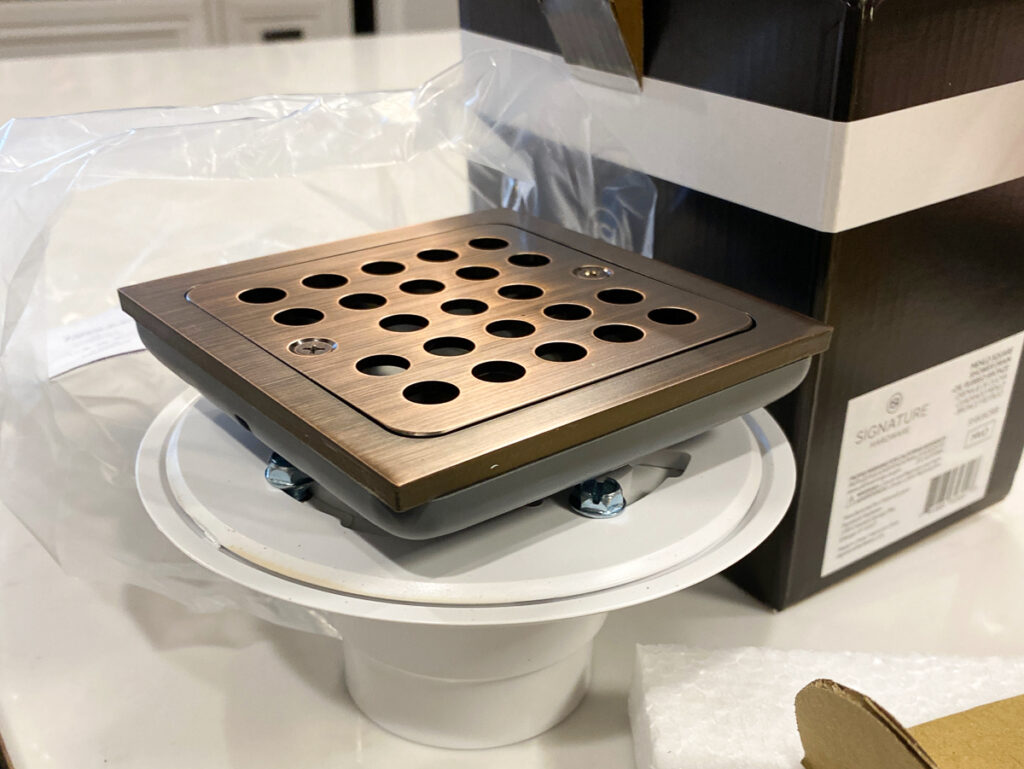
I can’t wait to see these bronze fixtures against that black tile!
Speaking of changes
I am also thinking about darkening this grout with a grout colorant and using a matching dark grout in the dog washing station.
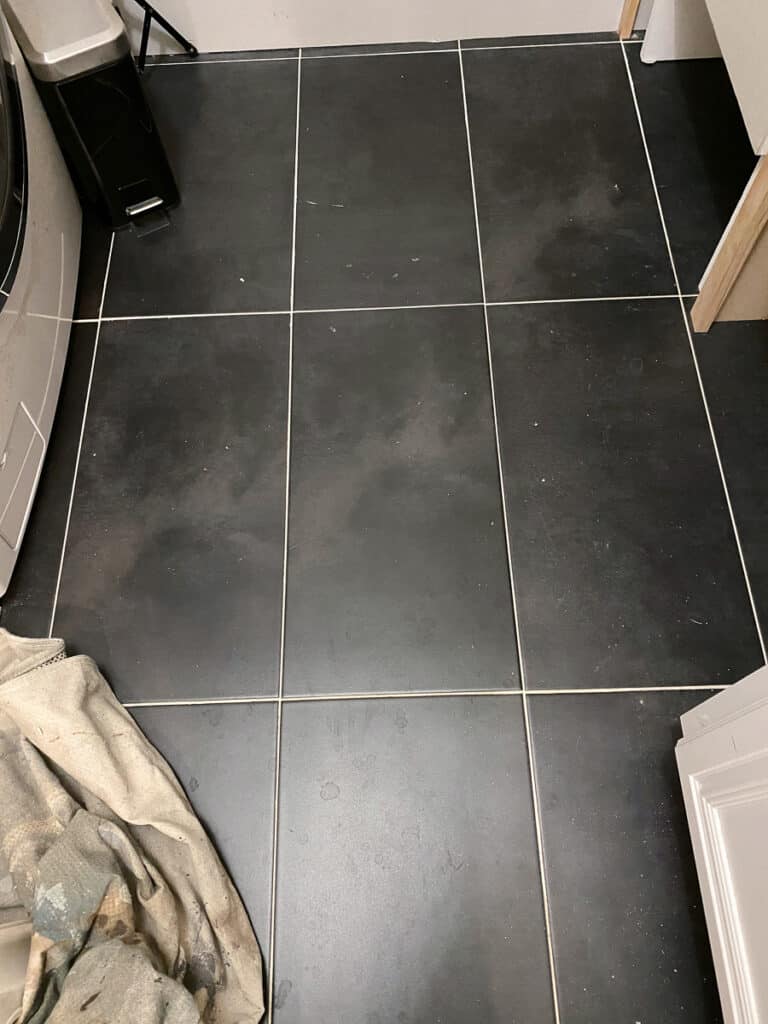
I love this modern stacked pattern and the high contrast of the white and almost black tile I had installed when the house was built last year, but I wonder if it would look more like stone if the grout was darkened.
Here is an example of the same tile with a darker grout.

Given the softness and traditional nature of the rest of the room, transitioning to a darker grout might be a good move. It also might be easier to keep looking clean with the muddy paws that will be washed in the shower.
What do you think? Leave me a comment and share your thoughts.
Brick installed
Early last week I began installing the brick wall behind the dog shower. It is the same brick I installed in the kitchen for One Room Challenge last fall.
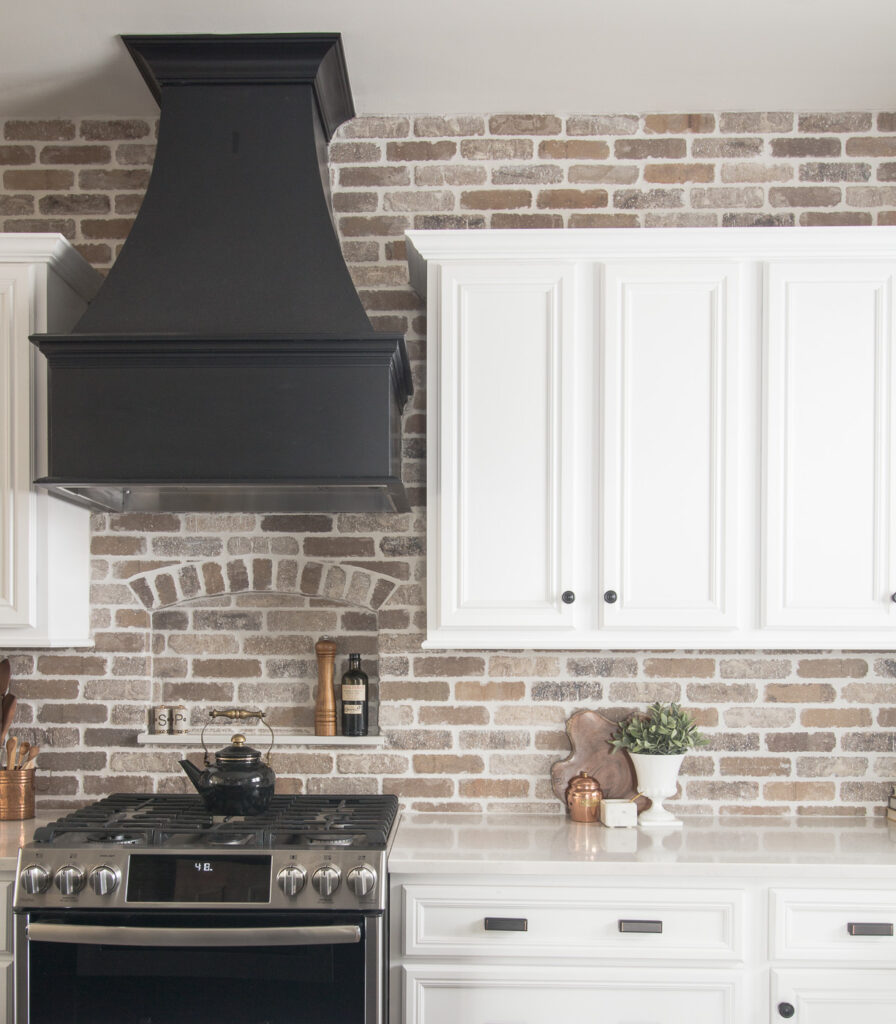
I had more than enough boxes of brick left over to add to a wall of brick to the laundry room. I am very fond of how it gives the whole wall a little more protection from the potential overspray of the shower.
To install the brick, I started with a cleat up to about where I thought the black tile of the shower would stop. I detailed the installation on Instagram Stories, be sure to follow me there so you don’t miss all the tips I share for the DIY projects I tackle.
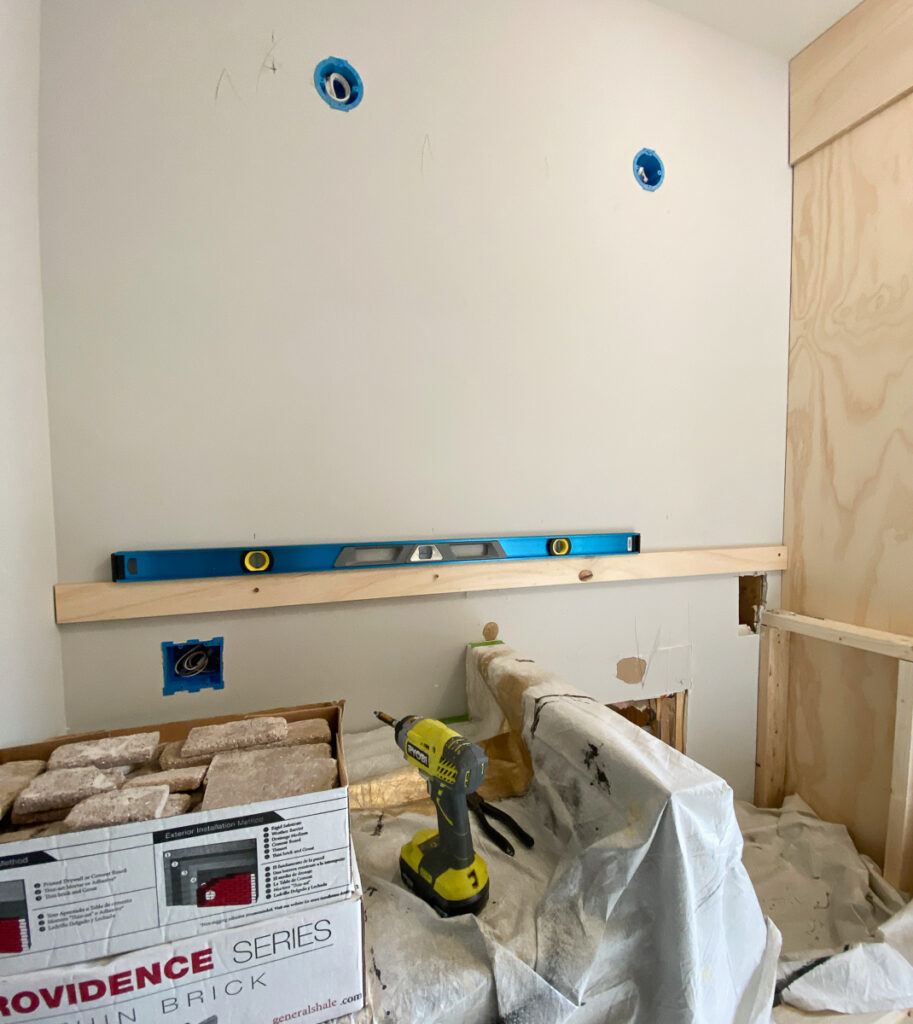
The cleat gave me a level surface to build upon. The first afternoon I set the bricks about halfway up the wall.
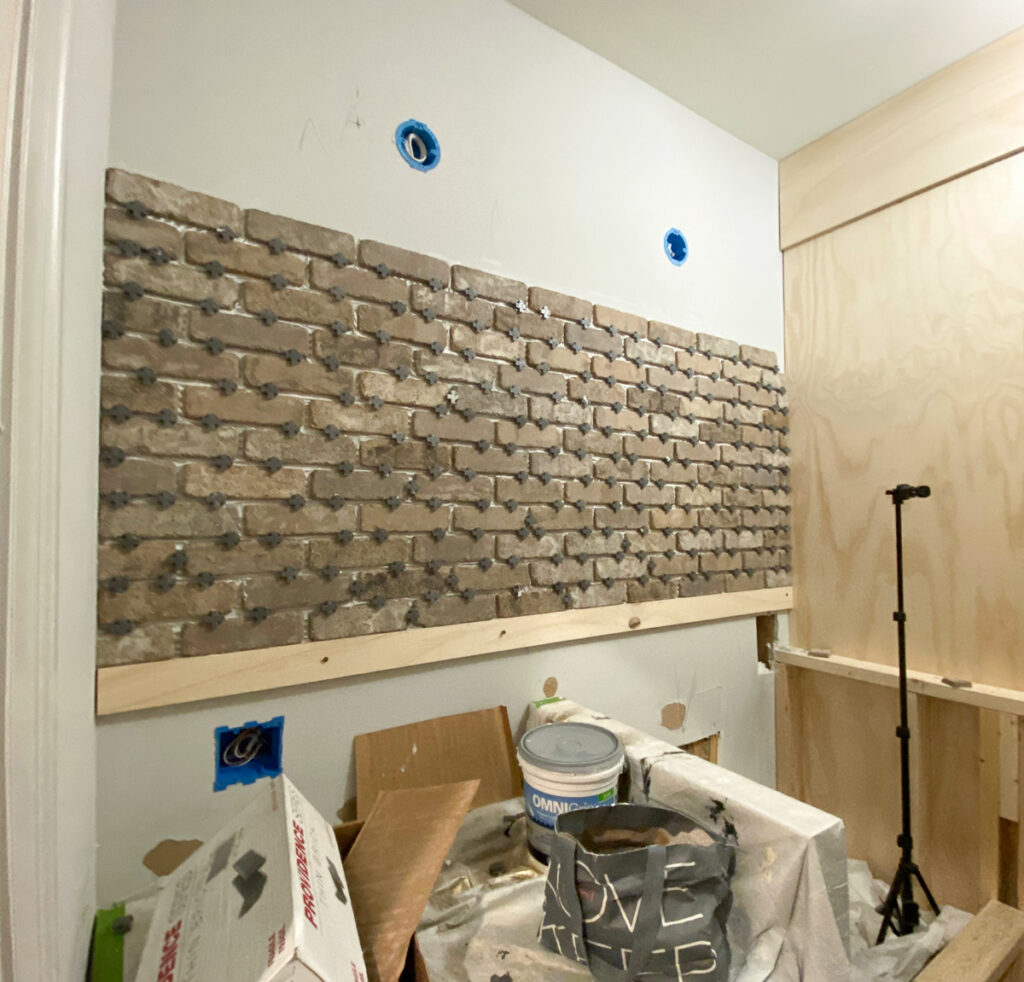
The next day the bricks were installed all the way to the ceiling.
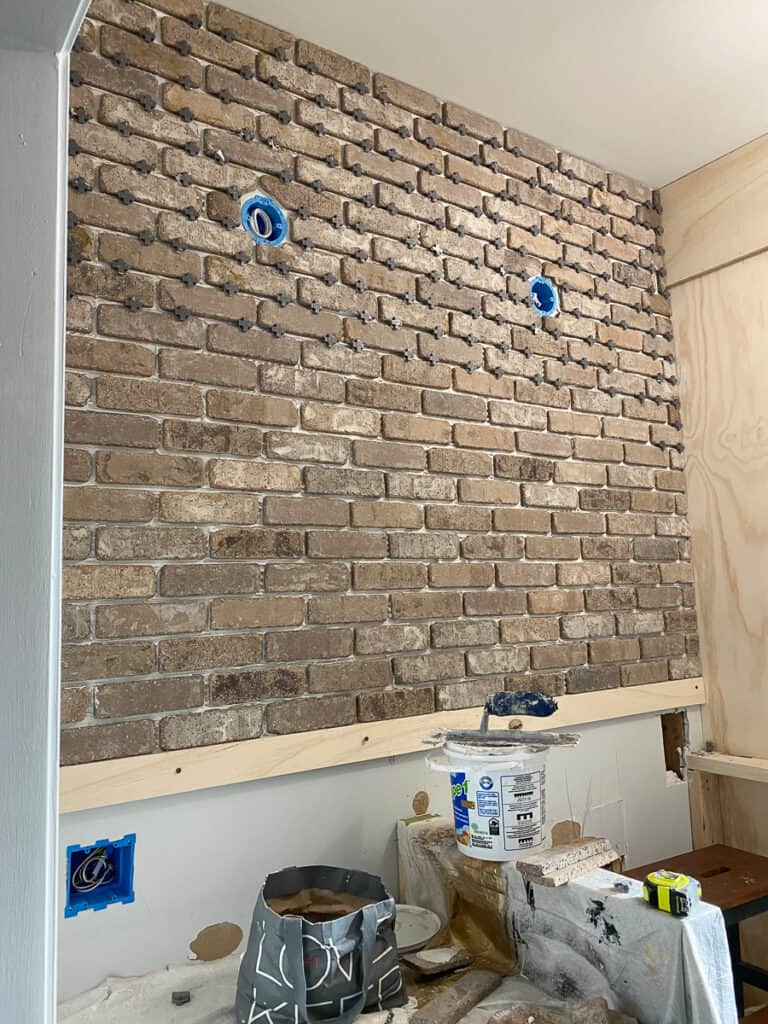
Then I decided to go ahead and brick the lower section that I knew would be over the counter.
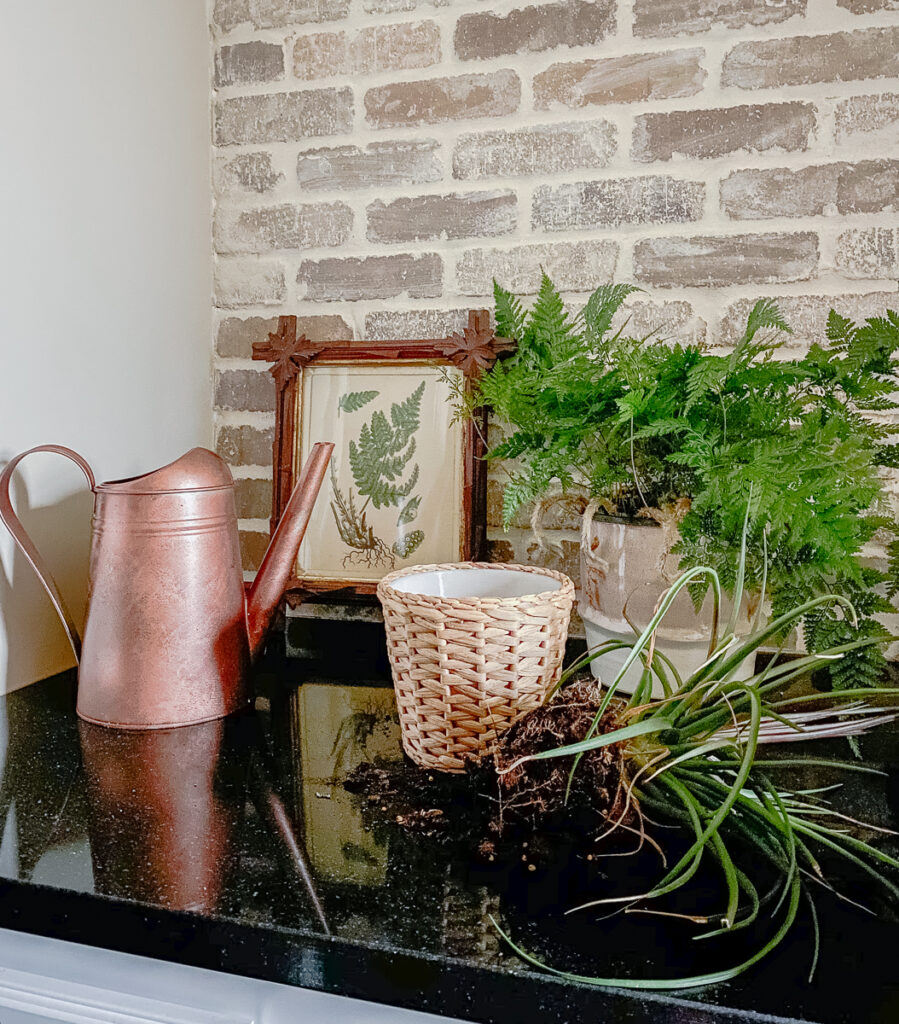
For the last couple of days I have been waiting for the grout to cure before I prime and paint the brick.
I had planned to paint or at least add a wash to the brick when I originally added it in the kitche last fall. I loved the look of the original brick so much I decided to just enjoy the beauty of it in it’s natural state for a while. Maybe forever, who knows?
But here in the Laundry Room I am very committed to painting it, even if it looks amazing just like this.
My ultimate goal for adding the brick, beyond the water protection is to add texture and a subtle pattern to the room without competing with the many other elements.
The Sliding door between the Mudroom and the Laundry Room
After the brick was installed, I turned my attention to the restoration of the sliding door that will be installed between the two rooms.
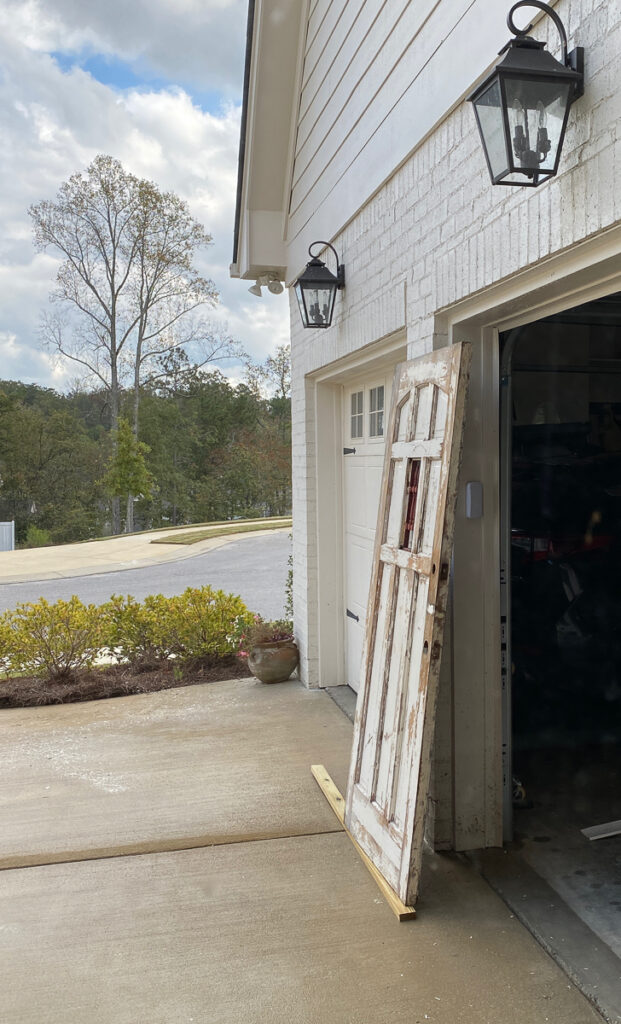
I had hoped that the chippy white paint on the inside of the door would come off easily with a pressure washer. Of course, I wasn’t that lucky.
After three coats of Citrus Strip and a follow up cleaning with an After Wash, I hosed the residue off and propped the door back up to dry. This took only one day a couple of hours each time.
By Wednesday, morning I was ready to sand the door to bare wood in preparation for a finish.
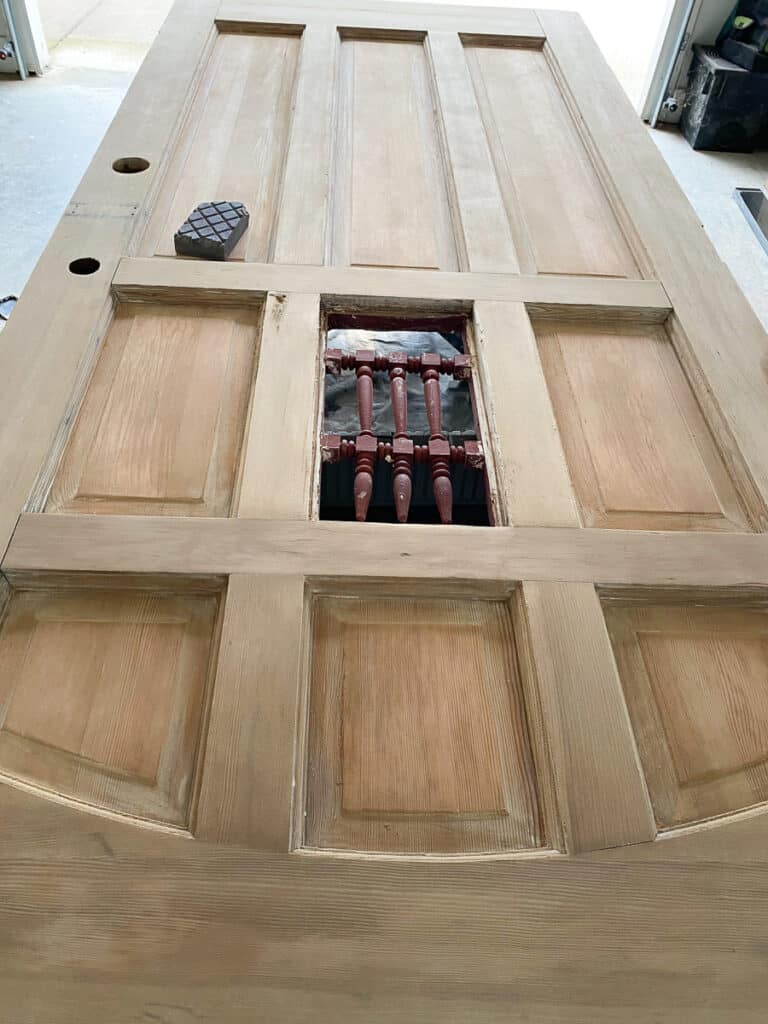
But before I apply a finish I have to trim the sides and add an extra board to the bottom to give the door enough height to cover the door from the sliding door hardware.
If you remember, this vintage door is what I’m calling a “sister” to the door I added to our pantry last fall. You can see the process of that makeover here.
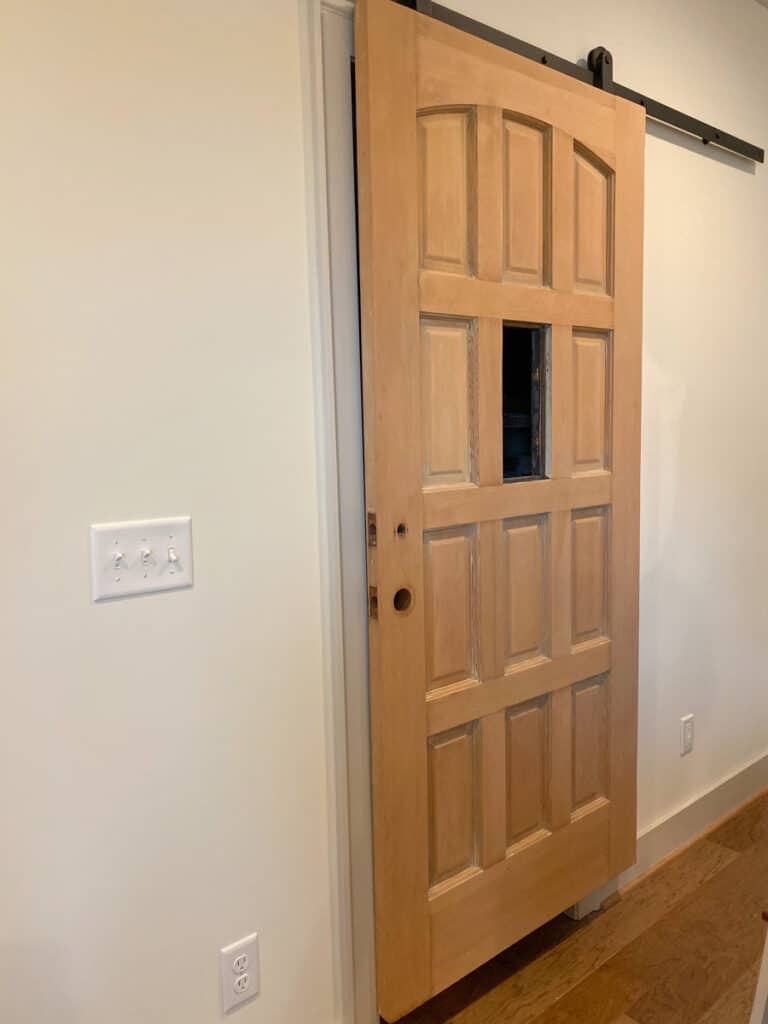
It ended up looking so lovely, but not without a lot of fretting over the pinky orange tones.
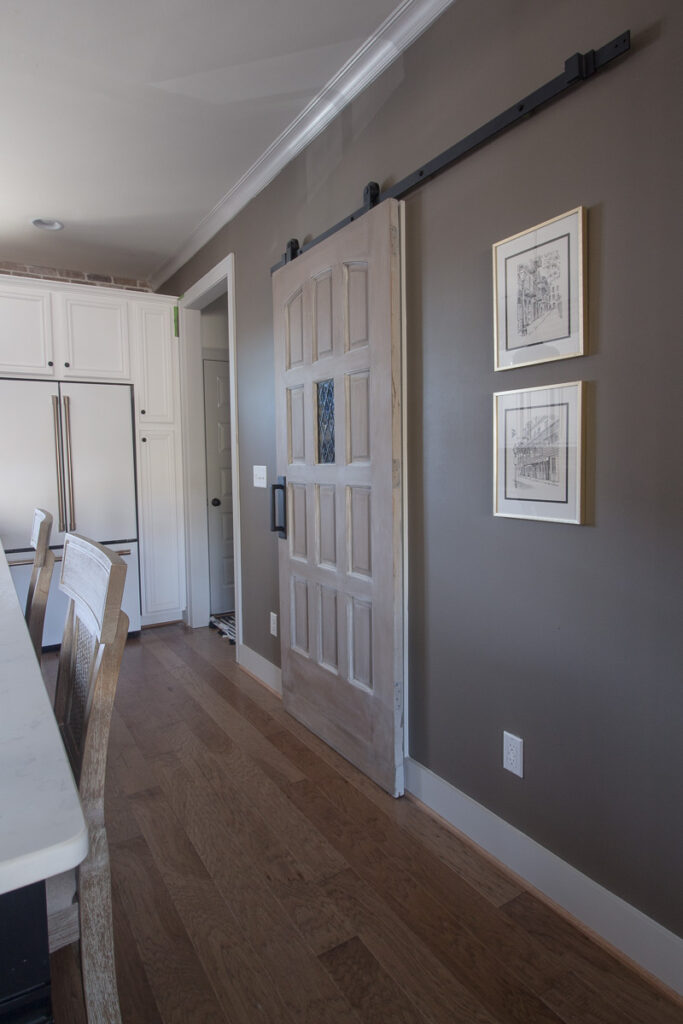
While I wish I had checked off more projects this week, I did put in a full day of work every day to get the brick and the door prepared.
Full Project Check List
Laundry Room
Build built-in storageBuild a dog wash base- Add moulding and finishing details
- Prime and paint built-ins
- Build drying rack
- Build dog feeder
- Install ironing board
- Install dog food bin
- Install plumbing in the dog wash
- Tile dog wash
- Grout dog wash
Install brick wall on washing sideGrout brick wall- Prime and paint brick wall
- Change the hardware on cabinets
Mudroom
Finish moulding on benchPaint benchBuild bench topStain and finish bench topRe-paint tall cabinet- Add trim to tall cabinet, still need panels
Install board and battenInstall shelf and peg hooks- Paint walls
Find sliding doorStrip vintage sliding door- Trim and extend door
- Paint or finish sliding door
Hang sliding door/sliding door hardware- Hang sliding door
Be sure not to miss the Featured Designers and their virtual projects with High Point Market. Also, visit the hundreds of other Guest Participants linking up their projects each week!!


This season I am so thankful to have Build.com as a major sponsor for this makeover. Paint sponsor is Sherwin Williams, featuring their new Emerald Designer Color Collection. Brackets by Osborne Wood Products, Fabric by Calico Fabrics and moulding from Novo Building Products.




1 Comment
Giselle
October 29, 2020 at 2:25 pmI think a darker grout would be the way to go. I have white grout in my tiles (the house is about 30 years old) and none of it looks good! None of it looks white anymore! I think the darker grout gives it a more luxurious look if it is possible or grout to do that! Anyway, I love everything you have done so far and I can’t wait for the reveal!