It’s week 5 of the One Room Challenge and if I expressed anxiety about finishing in the prescribed 6 weeks, last week, this week I would say that those feelings were only a mild nervousness. With one week left, the lack of momentum toward the finish line is downright troublesome.
Somehow I seem to pull off what seems impossible, season after season. Let’s hope this season is no different.

If you are new to Deeply Southern Home, welcome! I am Leslie, a self-professed creative junkie turned home decor and DIY blogger. After working as a graphic designer for several years I took a very, very early retirement to raise our children. Along the way, I found myself as a creative blogger. My goal, whether in my home or my clients, is to create rooms with a relaxed southern style. Although my designs are traditional, I love to experiment with color and a fresh interpretation of classic interiors. We recently downsized to a new-construction home and I can’t wait to inject old-world charm and character through my DIY projects and timeless finishes.
Be sure to follow me on Instagram @deeplysouthernhome and my Facebook page Deeply Southern Home for behind the scenes on Stories, and sign up to receive my blog posts straight to your email inbox by clicking here.
Special thanks to Linda of the One Room Challenge for organizing this event biannually and the Media Sponsor Better Homes and Gardens. Be sure to visit the 20 Featured Designers here and check out what they have been planning for their virtual rooms. The Guest Designers (like me, this season) would love for you to visit their blogs and see their progress!
This season I am so thankful to have Build.com as a major sponsor for this makeover. Paint sponsor is Sherwin Williams, featuring their new Emerald Designer Color Collection. Brackets by Osborne Wood Products, Fabric by Calico Fabrics and moulding from Novo Building Products.
This post contains affiliate links for your convenience.
Adding Functionality to the Laundry Room
I have proclaimed nearly every week that this laundry room would be highly functioning. Nearly every nook and cranny will be filled with working parts that make the chore of doing laundry and caring for our dog, easier. These Rev-a-Shelf additions were gifted from Build.com
Dog Food Storage
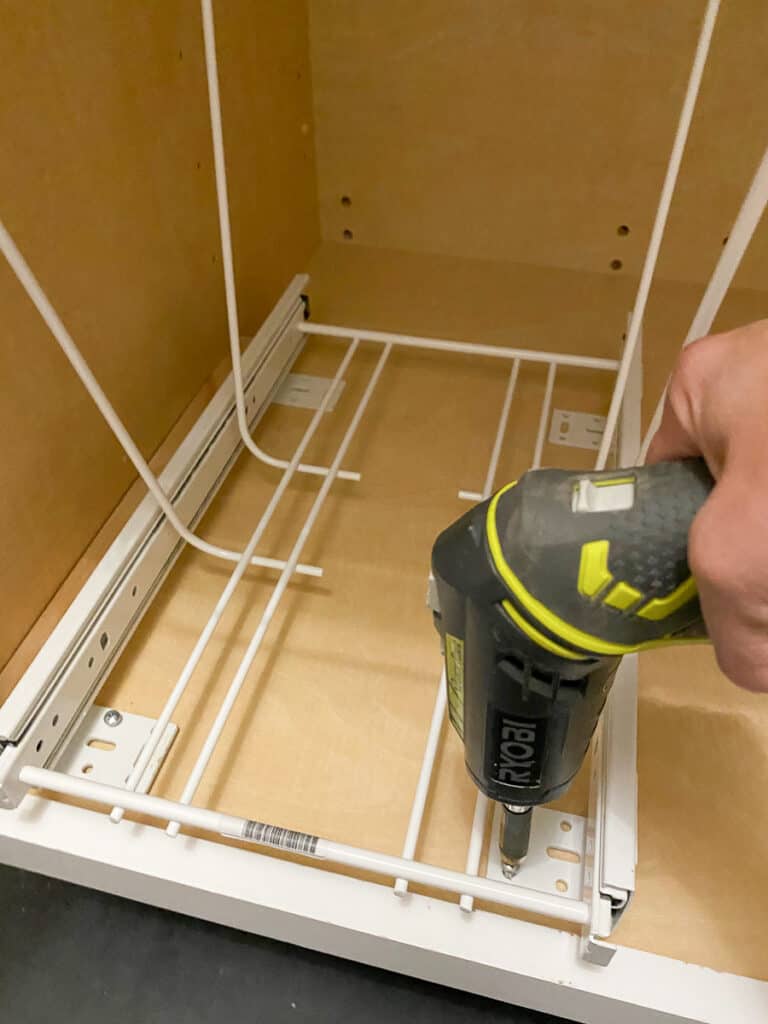
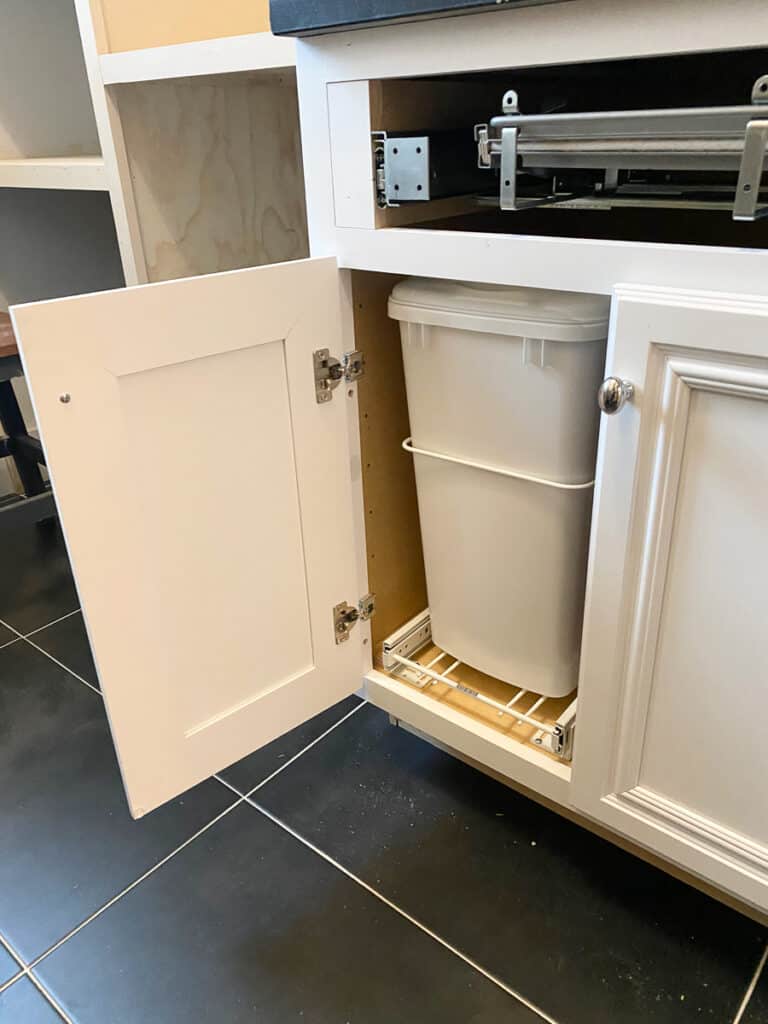
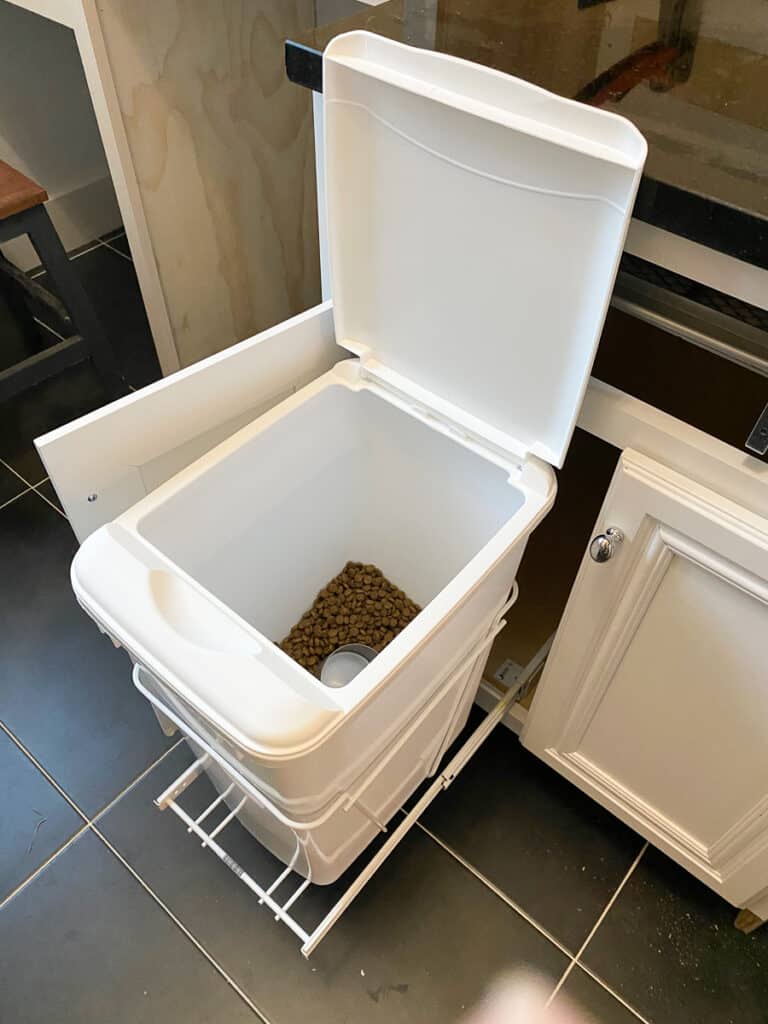
The first addition was a pull out bin for dog food in the right side cabinet. If you have a dog, then you know what a challenge it can be to store their food in a discreet and convenient way.
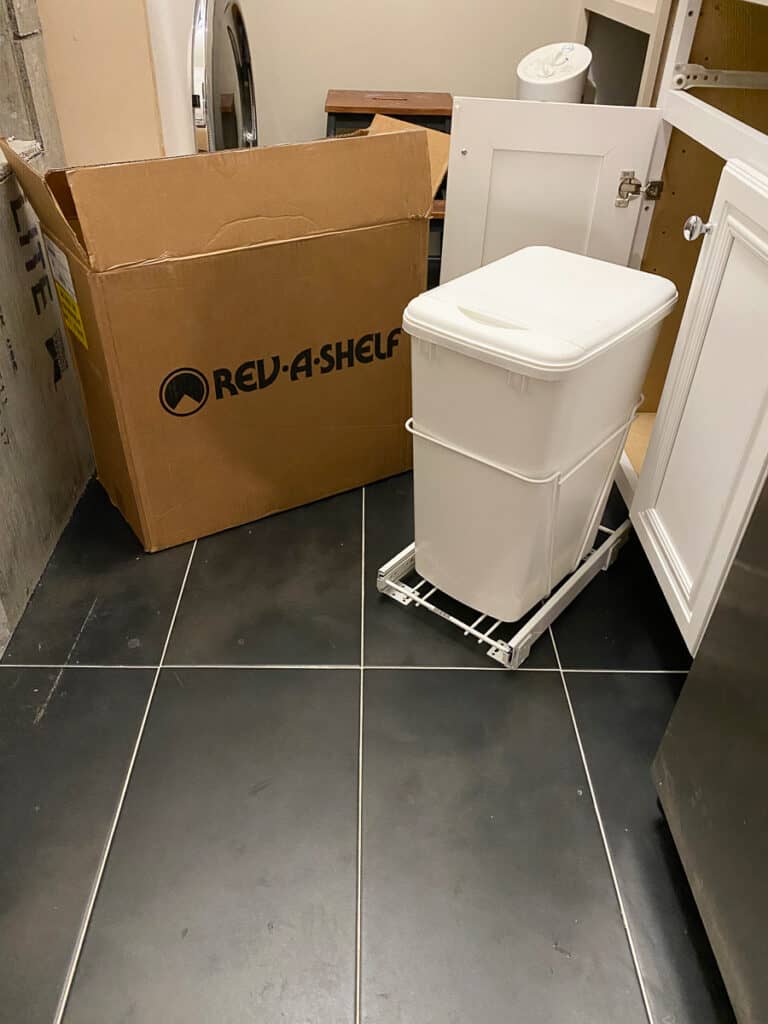
This bin was extremely easy to install! I am fairly certain it holds an entire bag of dog food.
The installation was definitely quicker than the process of finding the right pull out for this cabinet size and style.
Because the door is only 11″ wide and the opening is only 17″ tall, I got creative with my search and found a bottom mount pull out bin that was designed for smaller spaces, specifically from their RV Series line.
Here’s a link to the exact bin in case you have a small cabinet to add storage for dog food or something else, like recycling.
Small Space Ironing Board
Since we moved here a little over a year ago, I have been without an ironing board. (I mostly own fairly wrinkle-free clothing or use a steamer) I love that this ironing board tucks away, completely hassle-free.
I think it’s going to be perfect for those wrinkled items where a steamer just doesn’t cut it.
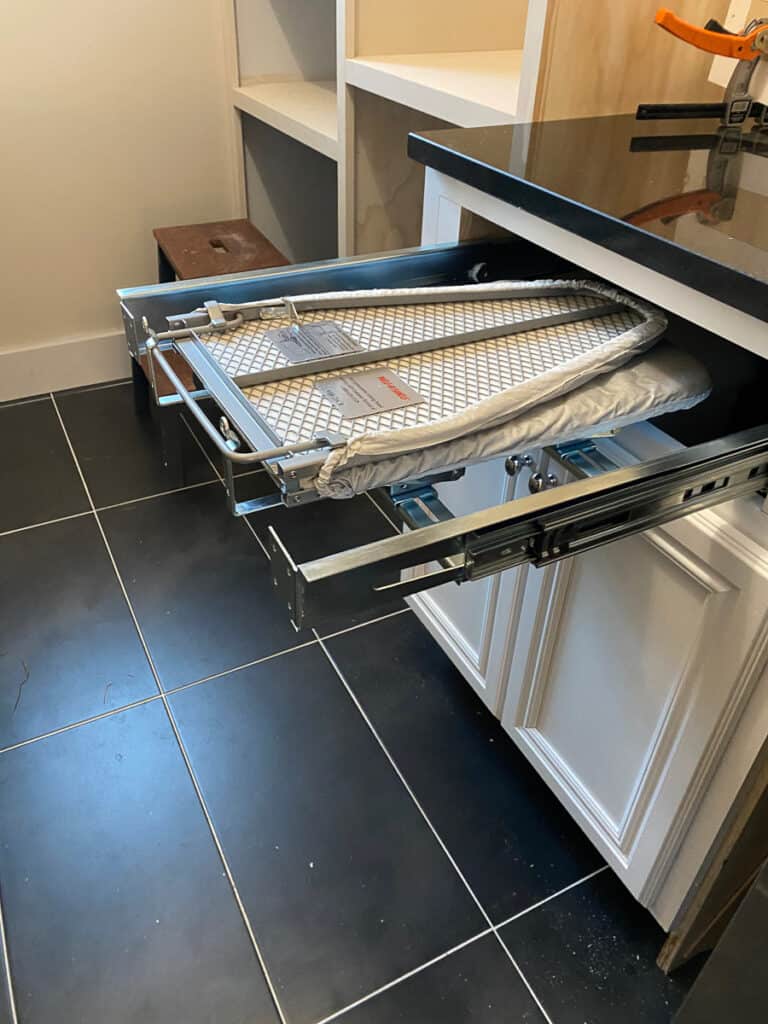
The installation for this Rev-a-Shelf Pull Out Ironing board was a little more complicated than the pull out bin. But, only because the size of my drawer was a little larger than the mechanism called for.
We began by removing the original drawer hardware.
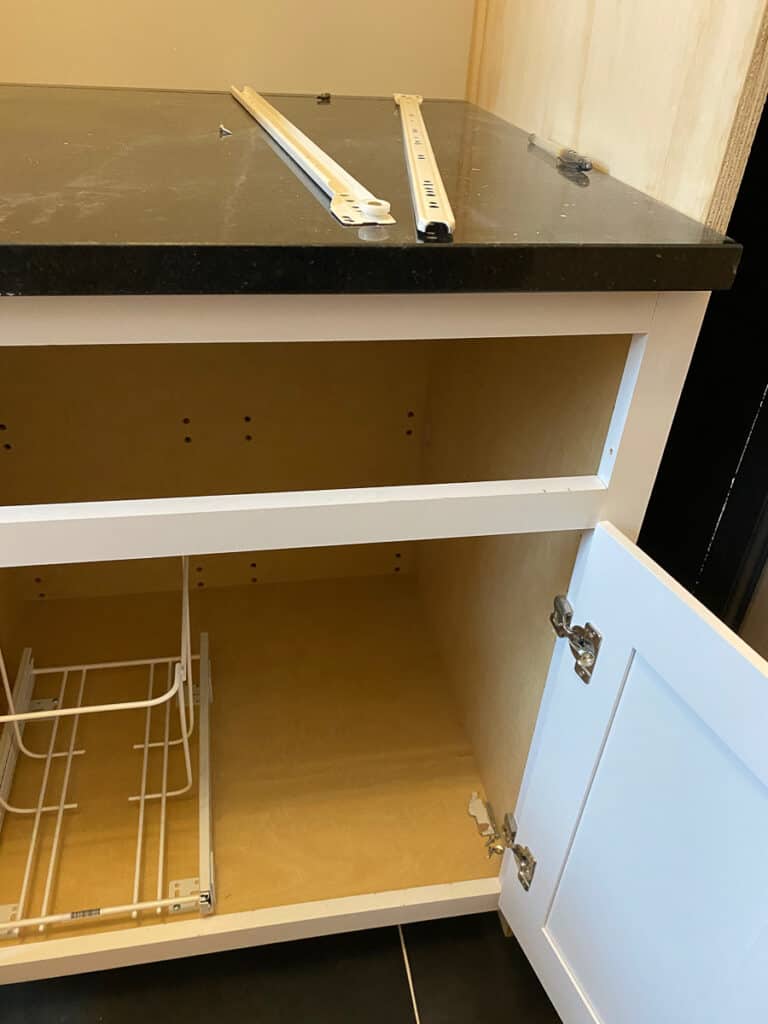
Then my contractor, who just happened to be available to lend a hand on this project, installed a front cleat.
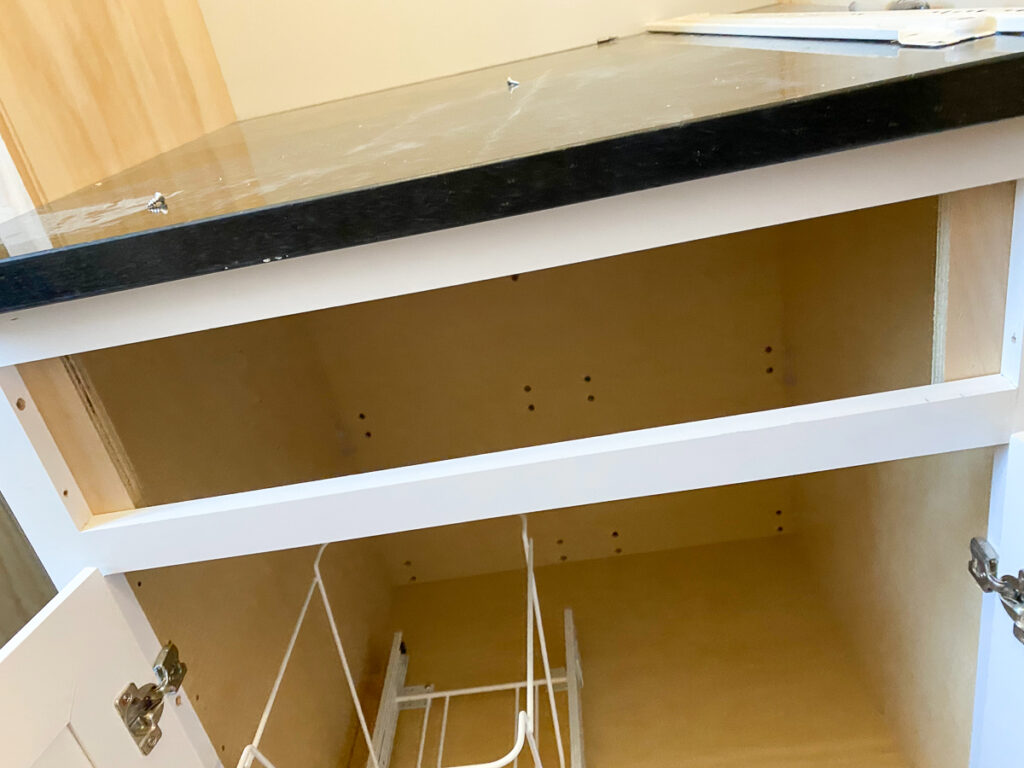
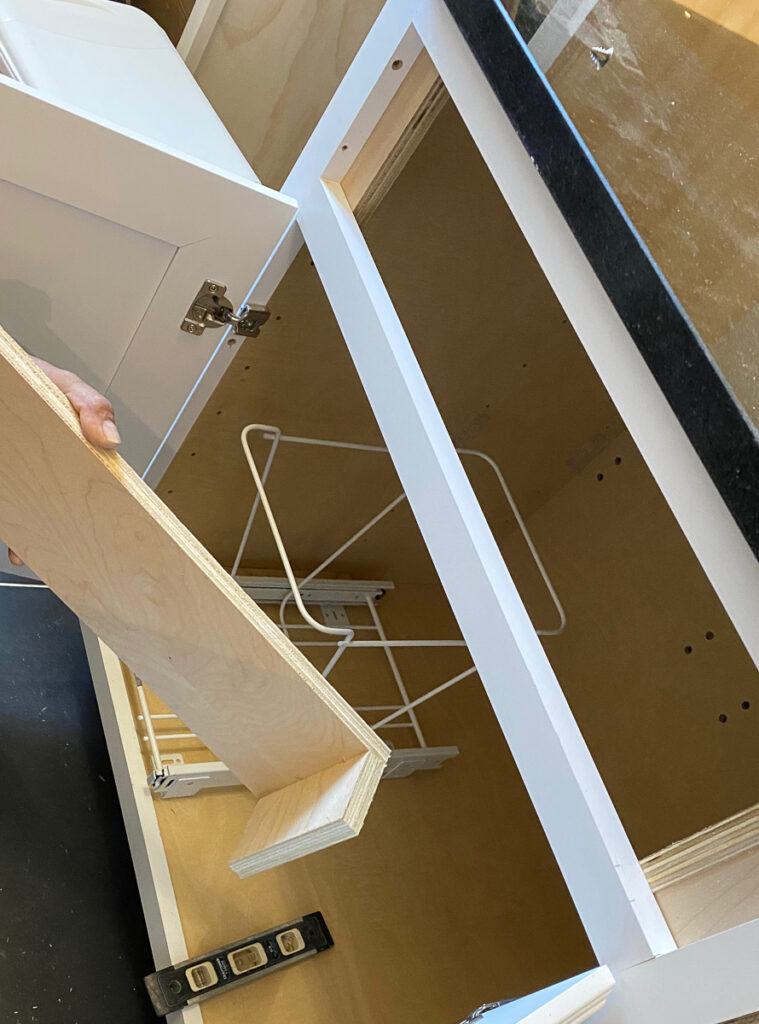
Then he built a small “L” support for each side that would attach to the backside of the cabinet.
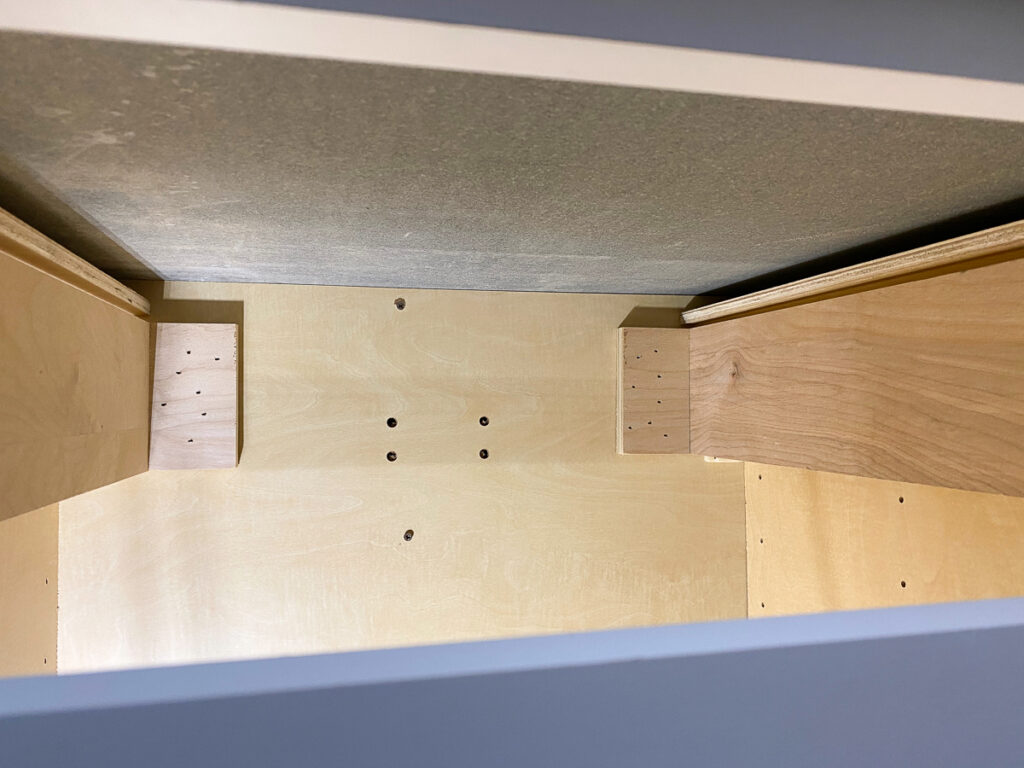
Here’s what that looked like on the inside.
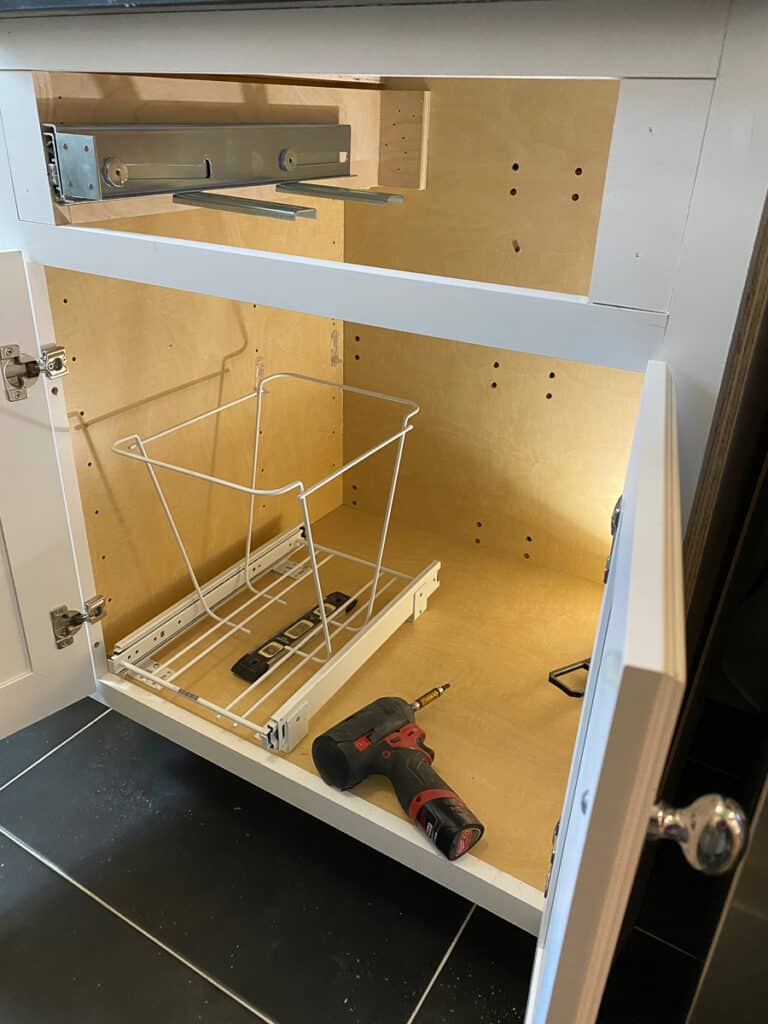
Then picking up where the directions start, he added the slides to the built out cabinet.
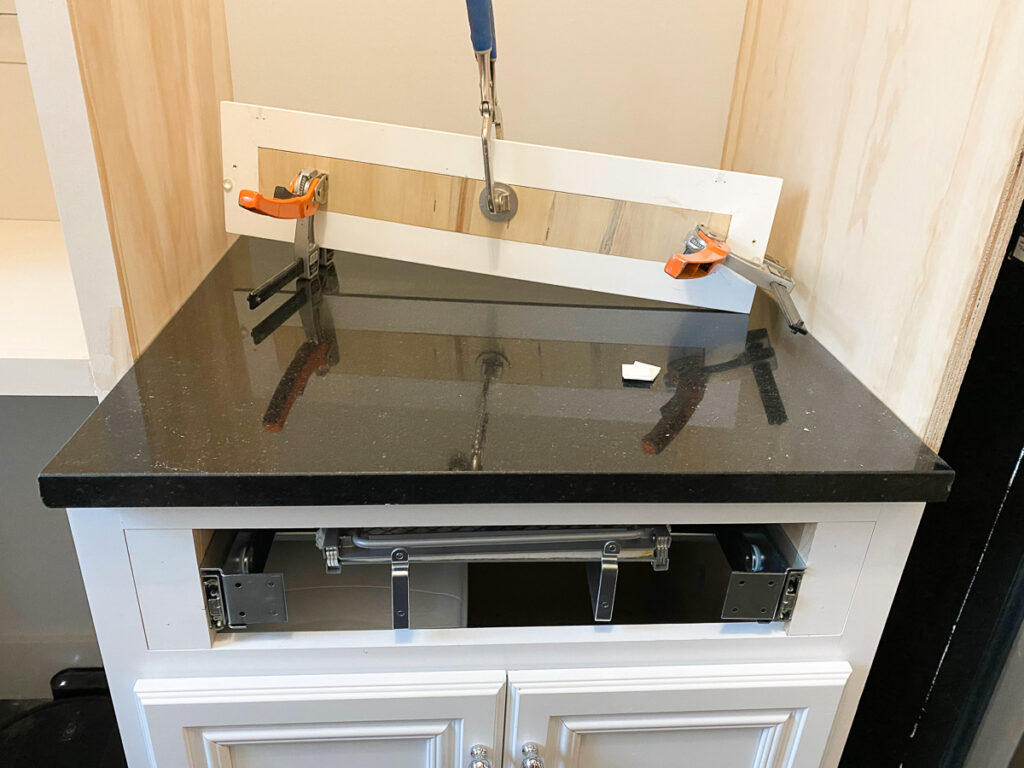
The installation is complete except for adding the face of the drawer to the front. My drawer front was too thin for screws provided so we added a piece of luan to the middle of the inset area to have more wood to screw into and without going through the front.
Easy, Wrinkle-Free Laundry
For a quick, temporary place to hang clothes straight out of the dryer I installed this closet valet rod. I love that it slides in and out from inside the cabinet whenever it is needed.
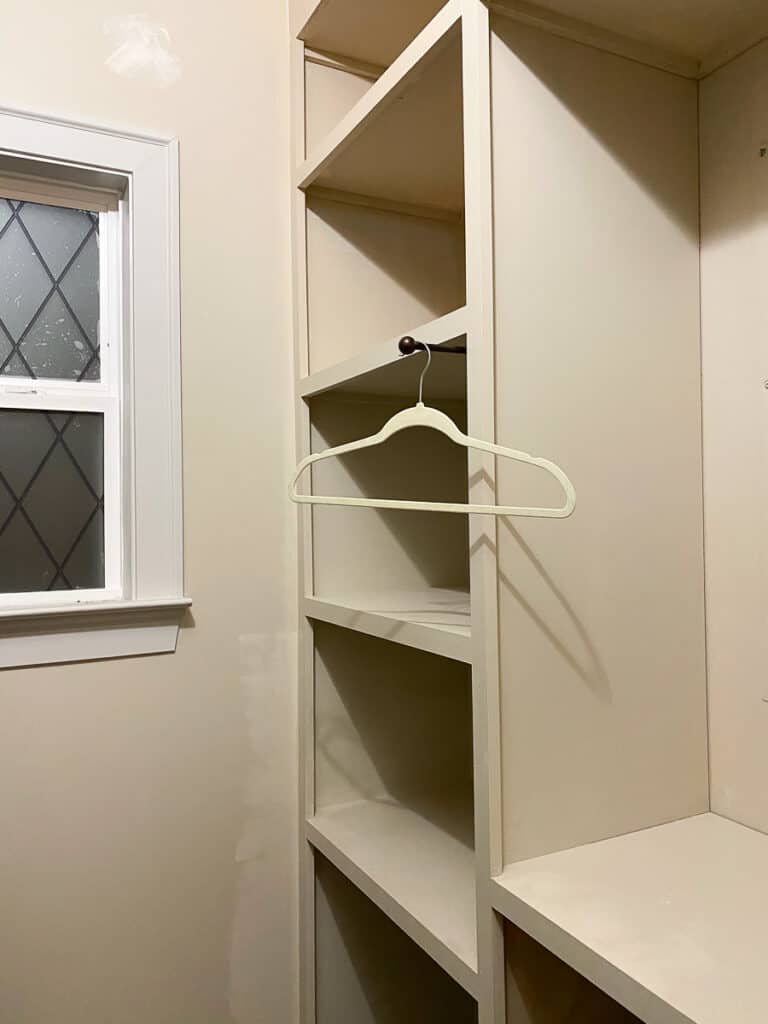
Thinking into the future and knowing what I’ve done in the past, I am glad this is meant to be a temporary holding place. In previous laundry rooms, if there was a pole to hang clothes, they often ended up staying in that spot much longer than they should have.
In the large opening next to the valet rod, I am building a custom fold-out drying rack. I now have all the parts and lumber to complete this project, but most importantly, I think I have a solid plan too.
Other Progress
The brick was primed and painted.
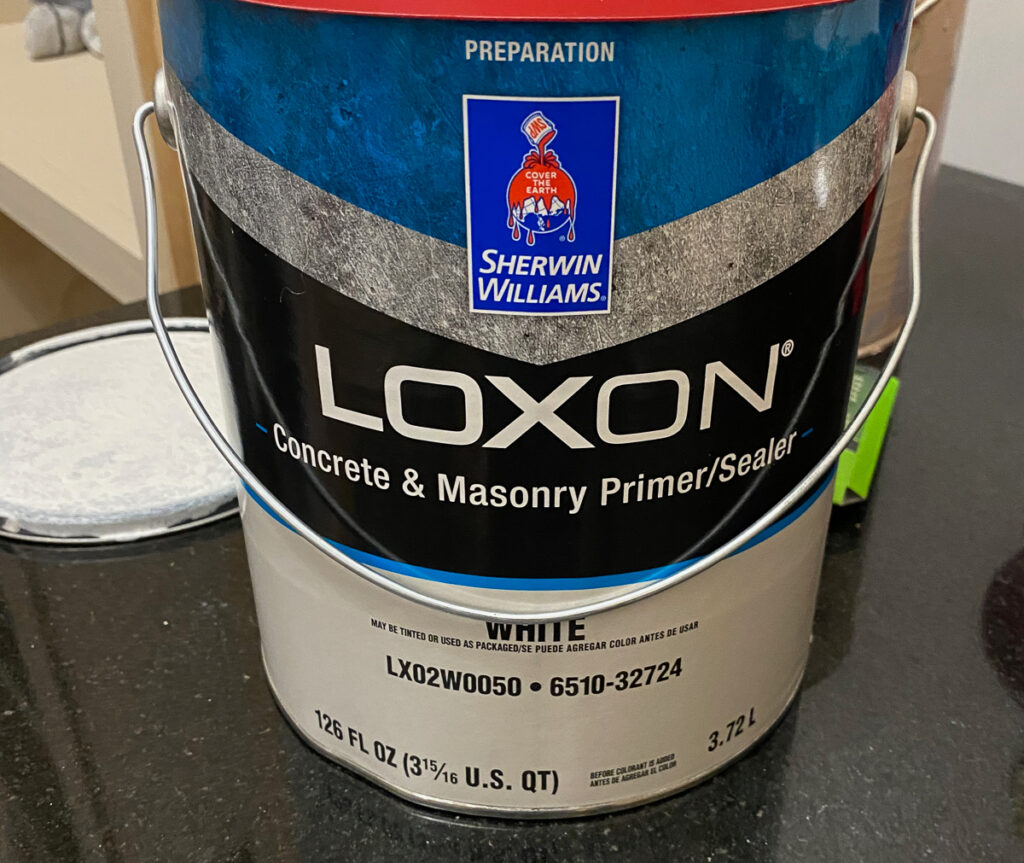
When I considered painting this brick, I reached out to my local Sherwin Williams store and asked for their advice. They recommended the Loxon Concrete and Masonry Primer.
The primer is water based and covered extremely well with just one coat.
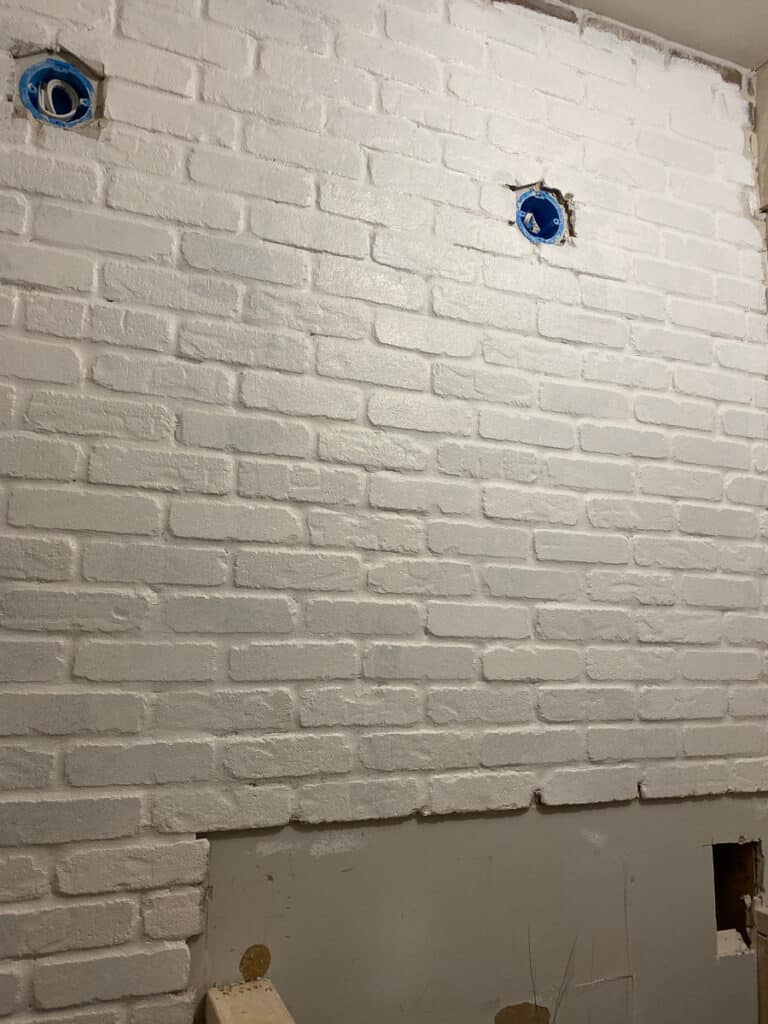
I followed this with a coat of Emerald Designer Edition from Sherwin Willams in Minimalist. I have been extremely happy with the coverage and ease of use of this paint line.
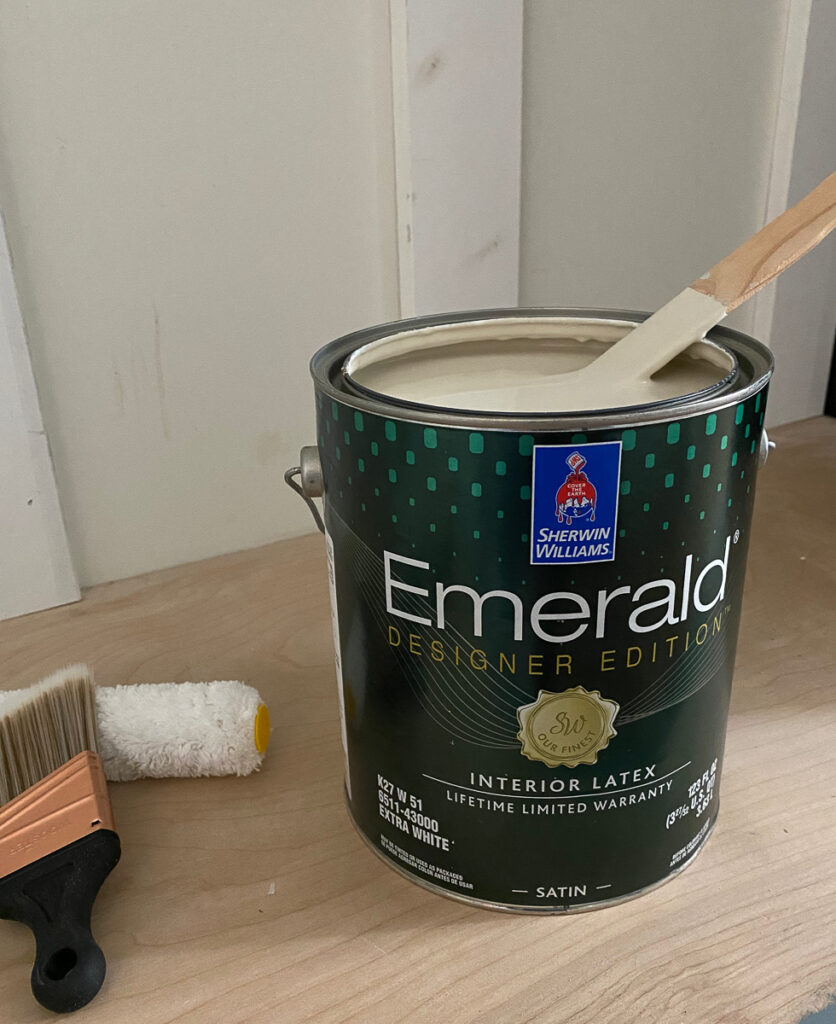
I’ll post a photo of the completed wall tomorrow. I forgot to take one this week.
The Old Door
This project is one of the main causes for my delay. While it was fairly easy to add extra wood to the bottom (I used this exact same technique on the pantry door) filling the holes for the new hardware is proving to be a time-consuming challenge.
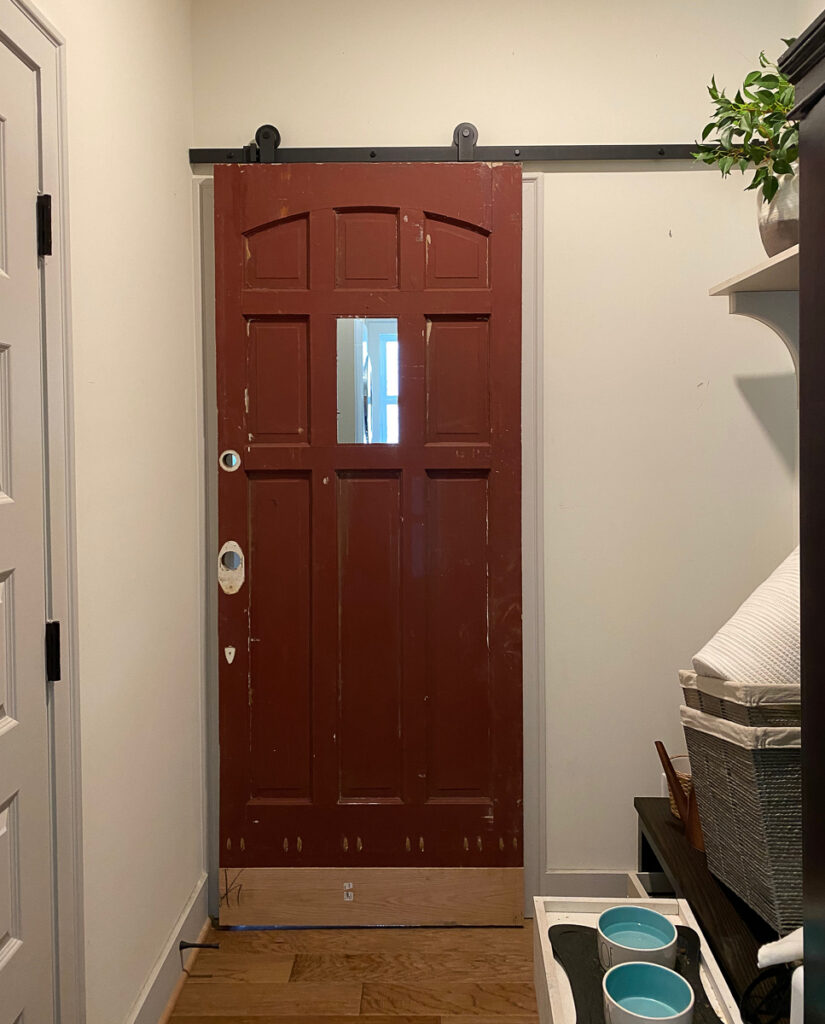
Naively, I assumed that a hole saw that matched the opening would give you the perfect sized plug for that hole. I thought I would just glue up scrap pieces of the door that were cut off of the sides to fit the space, cut a hole and glue it in.
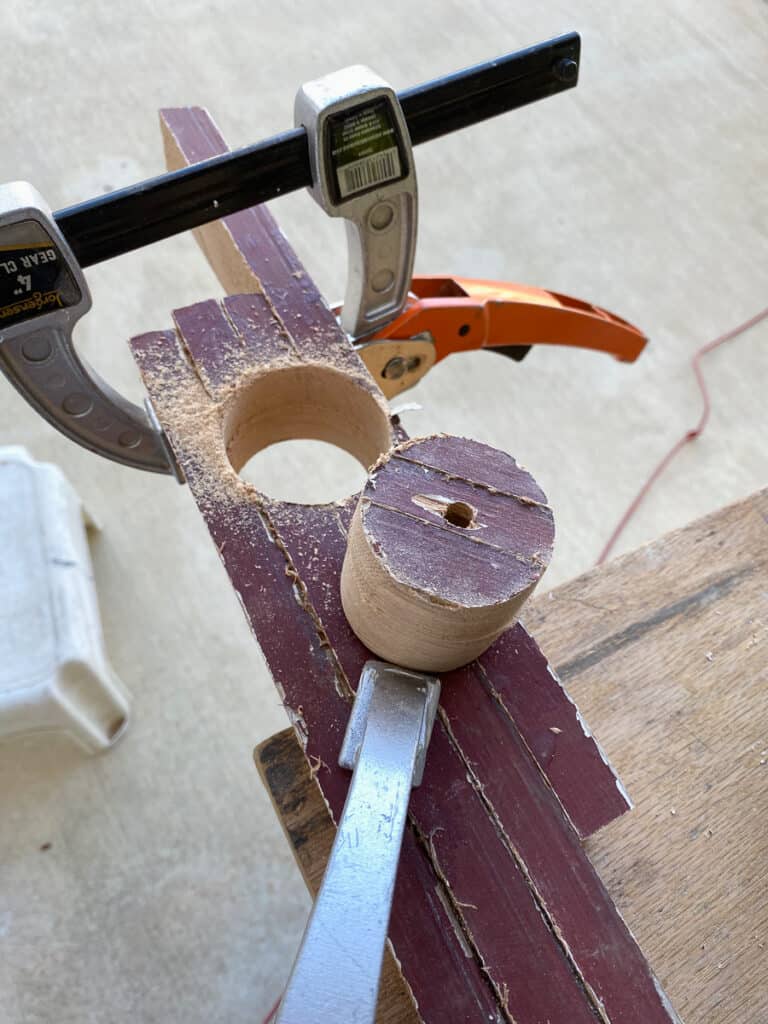
Nope! I forgot to take into account that the blade of the hole saw subtracts at least an 1/8 of an inch. This made the plug a loose fit instead of a snug fit like I had planed.
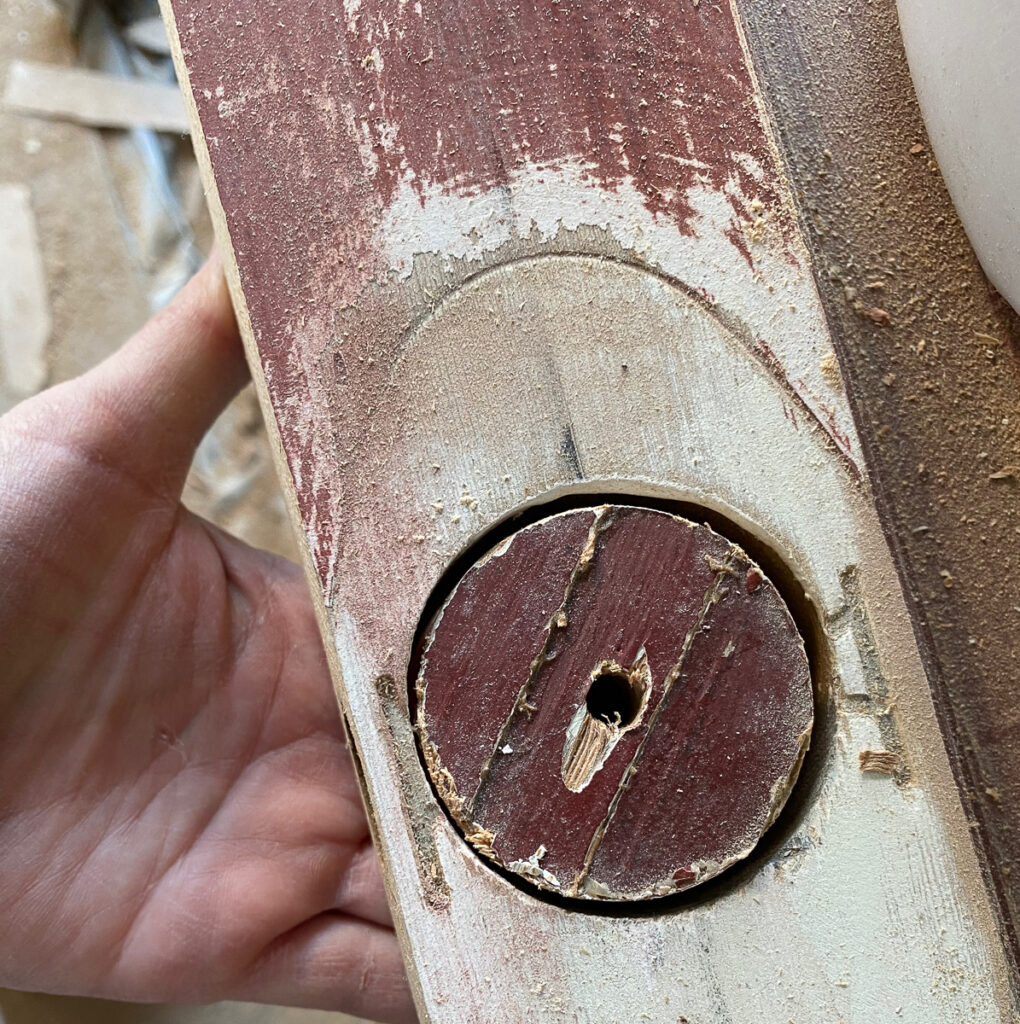
Like most DIY projects, this required yet another trip to the hardware store and repeat gluing and cutting to make this work. The good news is I have one new plug cut and the correct hole saw in my “workshop” now and can move forward with this tomorrow.
The Dog Washing Station
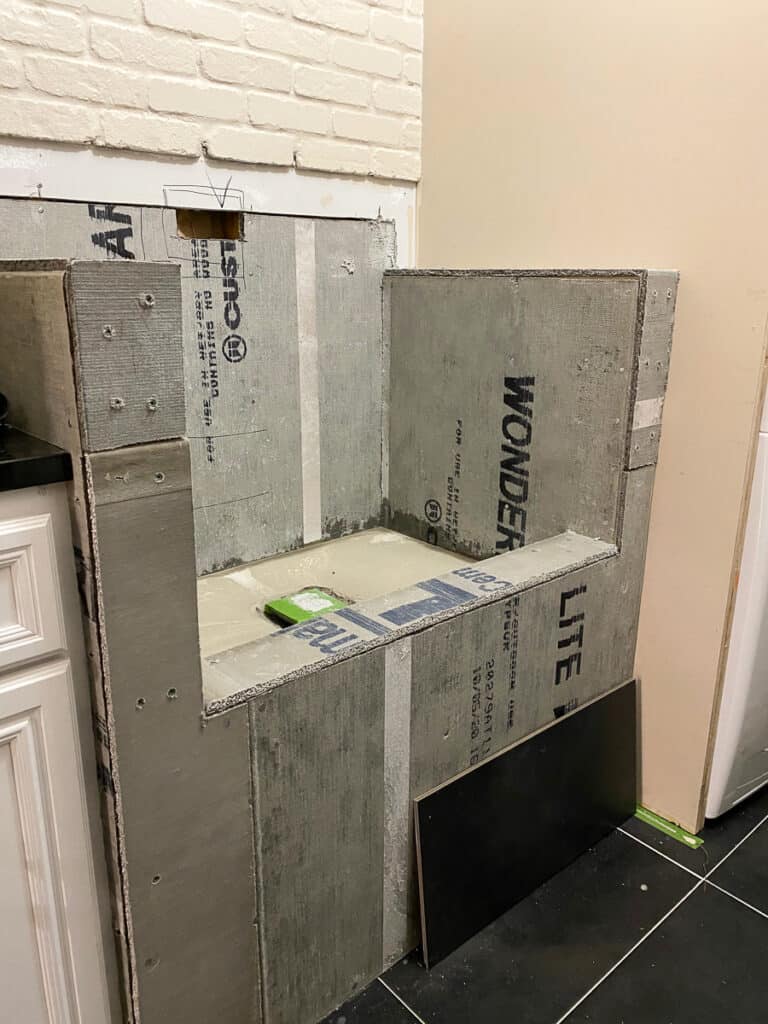
I had my contractor install the drain and the cement board to the dog shower on Sunday. He wasn’t able to come back and check the slope until Wednesday morning. But realistically, with the acquiring of materials and voting on Tuesday, I would not have had time to start tiling anyway.
I have decided to add waterproofing to the cement board in addition to what he prepped in the shower pan. In the other shower installs in our previous two houses I used a membrane like Schluter or USG. This time, with less at stake, I am going to try RedGuard.
Adding this waterproofing will likely tack on another day to this process but I believe in doing projects right the first time.
Here’s a list of what still needs to be completed. Note, there’s still quite a bit to be crossed off.
Full Project Check List
Laundry Room
Build built-in storageBuild a dog wash base- Add moulding and finishing details
- Prime and paint built-ins, partial
- Build drying rack
- Build dog feeder
Install ironing boardInstall dog food binInstall plumbing in the dog wash- Tile dog wash
- Grout dog wash
Install brick wall on washing sideGrout brick wallPrime and paint brick wall- Change the hardware on cabinets
Mudroom
Finish moulding on benchPaint benchBuild bench topStain and finish bench topRe-paint tall cabinet- Add trim to tall cabinet, still need panels
Install board and battenInstall shelf and peg hooks- Paint walls
Find sliding doorStrip vintage sliding doorTrim and extend door- Paint or finish sliding door
Hang sliding door/sliding door hardware- Hang sliding door
Be sure not to miss the Featured Designers and their virtual projects with High Point Market. Also, visit the hundreds of other Guest Participants linking up their projects each week!!


This season I am so thankful to have Build.com as a major sponsor for this makeover. Paint sponsor is Sherwin Williams, featuring their new Emerald Designer Color Collection. Brackets by Osborne Wood Products, Fabric by Calico Fabrics and moulding from Novo Building Products.





5 Comments
Giselle
November 5, 2020 at 5:10 pmI am so jealous of your fold-away ironing board! When I redo my laundry room it is number one on my list!
Jessica
November 6, 2020 at 7:42 pmSo good! Happy Week Five!
Emily Smith
November 24, 2020 at 3:47 amThank you for this Leslie! Always look forward to your posts!
Stay well!
Lisa
January 2, 2021 at 11:52 pmOccupying every tiny space keeps the house organized! Loved your ideas and innovations – especially, the foldable things!
izle
January 16, 2021 at 5:51 pmI have recently started a blog, the info you offer on this web site has helped me tremendously. Thanks for all of your time & work. Kass Agustin Fan