The One Room Challenge is well underway and I definitely feel like I’ve fallen behind already. While I knew joining the challenge this season would be extremely stressful given our recent move, (we have been here at the #lakeridgehouse less than 2 weeks) but I had been working under the impression the actual move would go smoothly and all would fall into place.

Plans versus reality proved that this move was the messiest, most stressful move ever. I will spare you the horrors, but it will go down in our family history as the absolute worst. There are more boxes around the house than I would normally have at this stage. Heck, my office/studio space still looks like a box bomb went off.
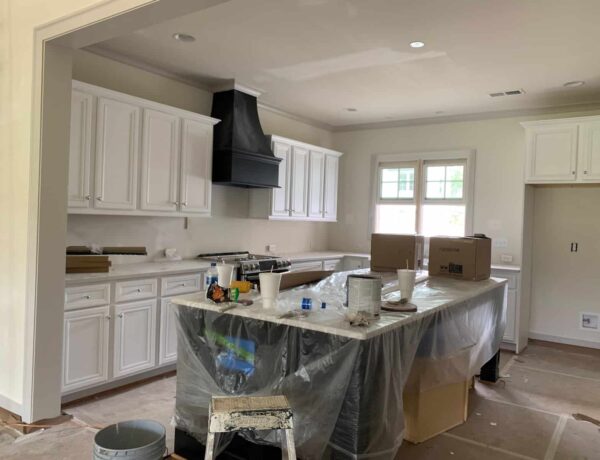
But before I go into what went wrong this week, I thought I’d share here the video before tour of the kitchen posted recently to Instagram Stories.
Introductory Kitchen Tour
I share all of the above to offer what I hope is a very valid excuse for why I have very little to show you this week. As I planned and outlined the weekly goals for this 5 weeks challenge, I intended to have the pantry door finished and hung in the kitchen by the time I wrote this post.
If you want to see the full mood board and details of how I plan to “finish” the kitchen visit the Week 1 Blog post.
While I did make great strides with the door, it is not finished. It still needs to be cleaned again, sanded lightly and potentially stained. As I explained in the video, the door will be used as a sliding pantry door with barn door hardware. Because of the unknown nature of the overall look of the brick, I decided to wait and make a final decision on the color of the stain after the brick is installed.
Now, I’ll explain why my entry is entitled “what not to do.” Based upon these, and other experiences, I offer a tutorial on the proper way to strip a door.
How to Strip a Door
The most important step in stripping a door is picking the right stripping agent. In my haste to get started on this project, I made a very bad decision. Instead of ordering the product I know and trust, I decided to purchase a different product made by the same company. Making the very wrong assumption that if it was made by the same company it would yield similar results.
Here is the product I have used with great success.
1| Most manufacturers recommend testing an area first to see how the stripping agent reacts to your paint and project. I often skip this step.

2| Following the instructions, apply a coat of the stripper with a chip brush or stiff bristled brush. Instead of a chip brush, I looked for a wide brush with stiff bristles. Investing a little more in a brush for better application was a smart move.
The product I used, and do not recommend, was Pro Strip by Dummond. It is very thick and they suggested applying a heavy coat.

Because it is a professional grade product, they also recommended applying the stripper with a sprayer. I think that would be helpful for stripping a very large surface, not a small project like a door.
3| Wait and let it do the work. Each manufacturer recommends a specific curing or waiting period to let the product react with the paint.
However, in most cases I have found that working with the removal product on the short side of the recommended curing time is best. Specifically, before it has time to dry fully on the wood. I have found that the wetter the remover the better the results and the easier it is to remove.
Both the Pro Strip and the Peel Away product I prefer, suggest covering the applied stripper with some type of plastic. They sell a rather pricey material but I have used Tyvek (what contractors use to wrap a house and seal it from moisture) with great success. Others have recommended a giant roll of plastic wrap from Costco.
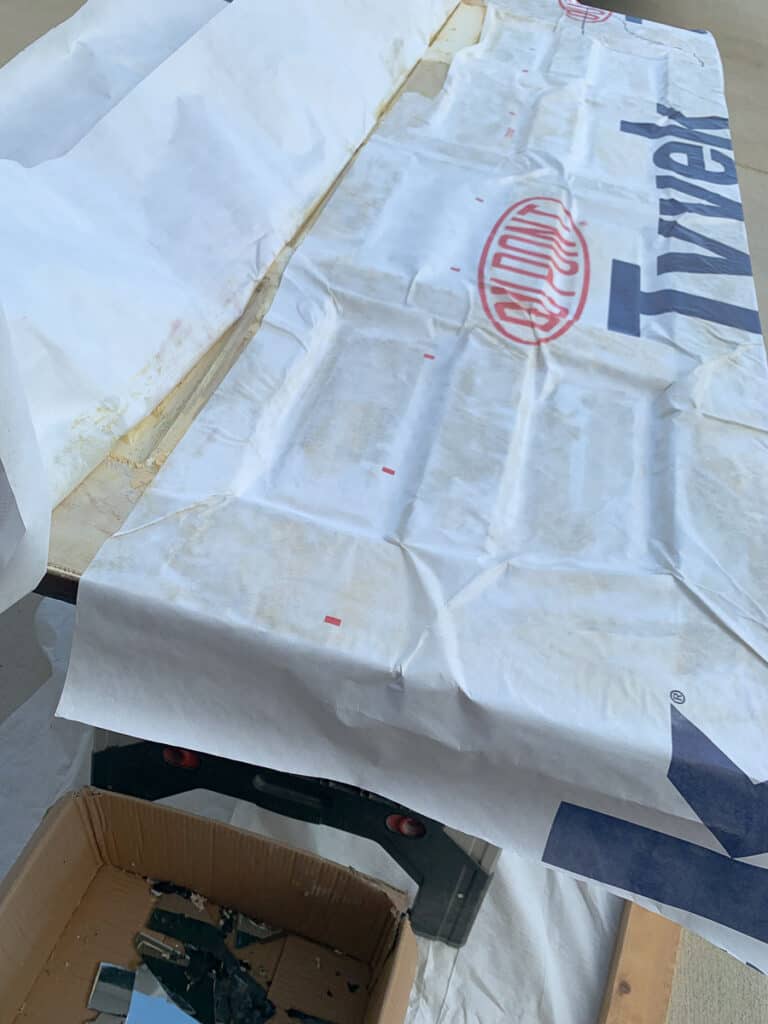
This step speaks to my “working with a wet product”. Sealing the surface of the door or whatever you are stripping, allows the chemicals to react and not dry out.
4| As time passes, check to see how well the paint comes off. This is how I discovered that it was best to let the product work for the lower end of the suggested time period.
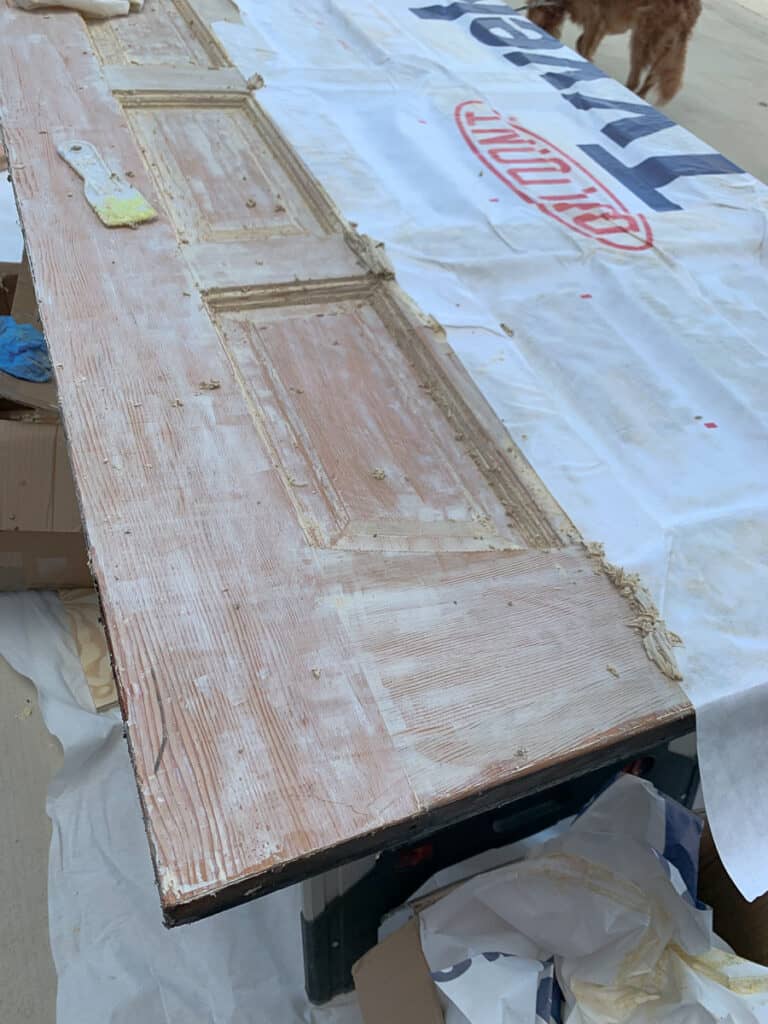
5| Using a scrapper, remove paint. I have several tools that seem to work well. This general purpose tool is very handy because of the dual sides you can use for scrapping. The pointy end is great for getting into cracks the blunt end is suited for flat edge cracks. Click on image for affiliate link.
I also picked up a chisel edged scrapper and was happy to have that tool to work with on the flat edges. See below
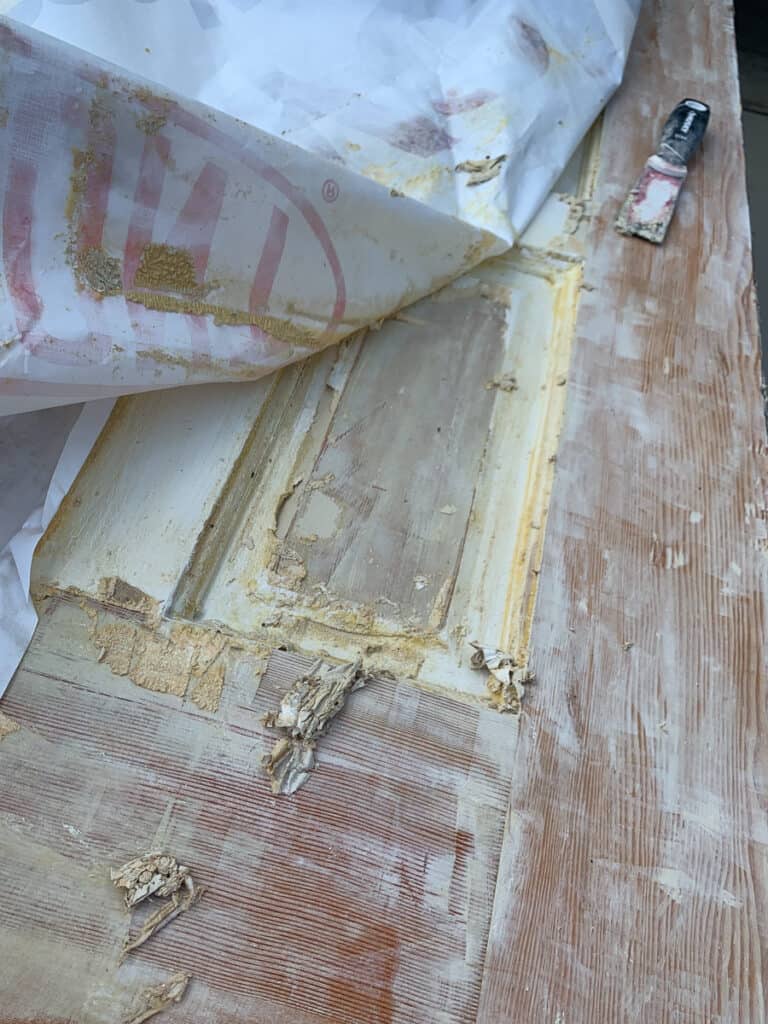
6| Remove residue as you go. I like to keep an empty cardboard box to shove the paint into. I also keep an old towel or large rag handy to wipe off my tools.
This is where things went wrong with the Pro Strip. On the flat parts of the door it worked fine. I scrapped off the paint residue with very little issue. The first coat did not have full coverage everywhere so I decided to add a second coat and follow my prescribed directions of covering the door with wrap.
Once I began to work on the center panels with all the curved, slanted and detailed edges, the stickiness of the product became an absolute nightmare. It was like removing a layer of gum off of a door.
My saving grace was this product. I have learned it is a must have for an effective cleanup of any stripping project.
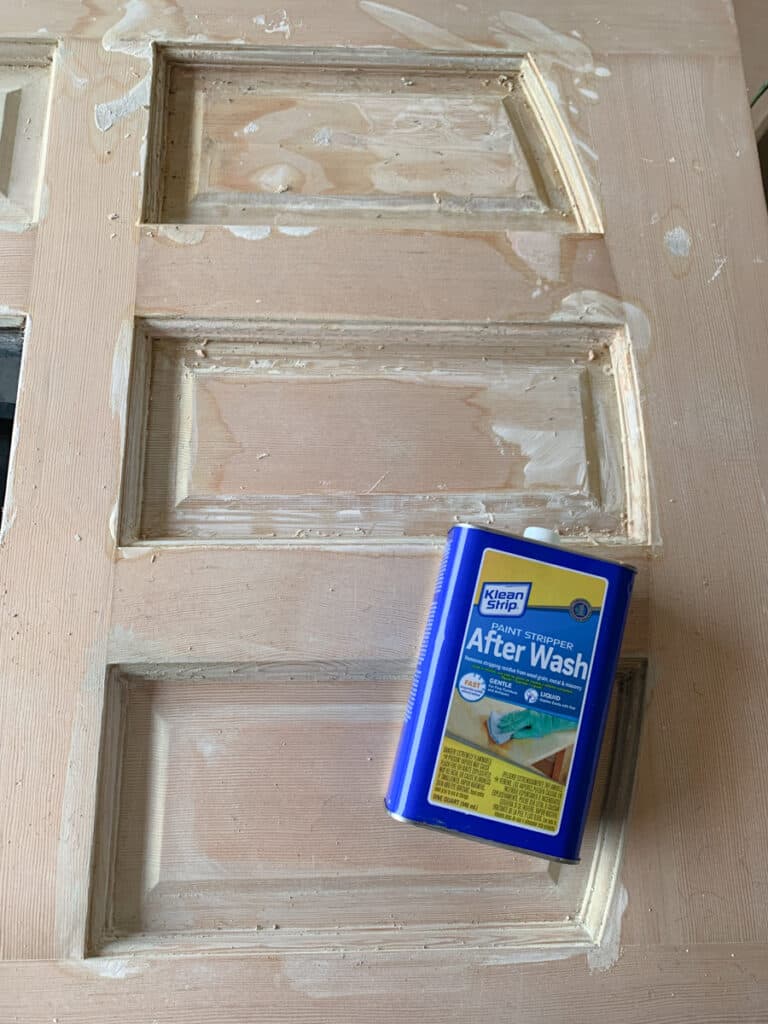
And in this case, the Paint Stripper After Wash saved the day. After I removed ( hand picked) as much of the sticky paint residue, I poured small amounts of the stripping cleaner to the recessed panels. With a piece of steel wool I scrubbed the stipper and remaining paint away. You can find Paint Stripper After Wash at the Home Depot.
Once I removed all residue from the Pro Strip, I still had more paint in the recessed panels than I would have liked. If it were flat, I likely could have just sanded the rest off but I didn’t want to take my power sander to those details and ruin the beauty of them by softening the edges.

I decided to use Citrus Strip Paint and Varnish Gel because I had a new bottle on hand. While it is a widely used product, it is not at all my favorite. It dries much to quickly in my opinion. But I applied it and then scrapped off the bits of leftover paint. I cleaned up as much of the stripper and the paint as I could, then poured the Stripping Cleaner.
Again, the Stripping Cleaner and steel wool saved the day! So, in my opinion the most important step of this tutorial is the one below.
7| Apply Stripping cleaner to remove the stripper completely from the door. Use steel wool and gloved hands to remove any leftover bits of paint from cracks and crevices the stripper did not remove.

8| Sand door to further remove paint and achieve a clean finish. Depending on the agent you use, you may need to neutralize the stripper before you stain or paint. The stripper cleaner does this as well.
9| If you are going to stain, it is important to test an area first to insure that the wood accepts the stain evenly.
I realize this sounds like a ton of tedious work, but I assure you if you start with the right product first you will be very satisfied with the results!
Hopefully, I will be back next week to report on the progress of the brick installation!!
Be sure to visit each of the guest participants and featured designers! There are so many wonderful rooms being created this year!!
Sponsors
With all of the inherent expenses related to a moving into and setting up a new home, this transformation could not be possible without the generous help of the sponsors listed below. I will be sharing more about each of them as we move through the upcoming weeks.

Pfister: Faucet || Delaney: Barn Door Hardware || Wovenly: Rug
D. Lawless Hardware: Knobs & Pulls
And again, special thanks to Linda at Calling It Home and the Media Sponsor Better Homes and Garden!!
I’d love it if you left a Comment and let me know what you are most looking forward to during this ORC!!





5 Comments
Linda
October 11, 2019 at 6:49 amI have a very messy old old door at our kitchen entrance. I bought products but not the cleaner last summer. And I just keep eyeing it. So that’s for the tutorial and not downing playing how it really is, not just a snap to do. My husbands in surgery now so I’ll be at home for a few weeks having cut back so I can be there. So I’ll have time to tackle this. Thanks for the info and the indirect encouragement to get going!
Susan C Davis
October 12, 2019 at 8:31 amHi Leslie, Great and helpful info–thanks! Looking forward to this kitchen project as I too live in a (relatively) new build. I LOVE your work and am such a fan of your creativity & style.
btw, I think this is a source for the above image: https://www.houzz.com/photos/lifestyle-2020-by-green-couch-interior-design-traditional-kitchen-san-francisco-phvw-vp~854182
Susan
October 13, 2019 at 11:31 amoops! Commented on wrong post re: source!
Angela Todd
October 16, 2019 at 7:37 pmThe brick is going to look great in your kitchen! It is a lovely kitchen! Full of light and the black and white is stunning. I am not a fan of barn doors for the most part, but I do see your vision based on the clearance in front of the door. I am excited to check back. I am in Portland, Oregon doing the #OneRoomChallenge as well. Stop by my blog too. Here is this weeks post: https://www.angelatoddstudios.com/2019/10/one-room-challenge-week-3/
Leslie
October 18, 2019 at 7:28 amThank you, Angela. I’m hopeful the brick won’t darken the room room much. I’m not a fan of sliding doors that look like barn doors if your style isn’t very rustic or you live on an actual farm. But, I think using a more refined looking, old door is the perfect solution to our problem of clearance and flow.