After a decidedly slow start here at our new house, I feel like just today we made some great progress. Welcome back to week three of the One Room Challenge. If you would like to catch up on all the nitty gritty details please check out the Week Two and the Week One posts!

This post contains affiliate links for your shopping convenience.
As I talked about last week, the vintage door has been stripped, cleaned and is ready for a finish. (I wrote a very detailed tutorial on how to strip a door if that might be helpful to you. ) I have not applied a finish to it yet because I wanted to dry fit it in place with the sliding hardware. The top mounted sliding “barn door” hardware from Delaney arrived on Tuesday evening and my dear husband got the door hung on Wednesday.
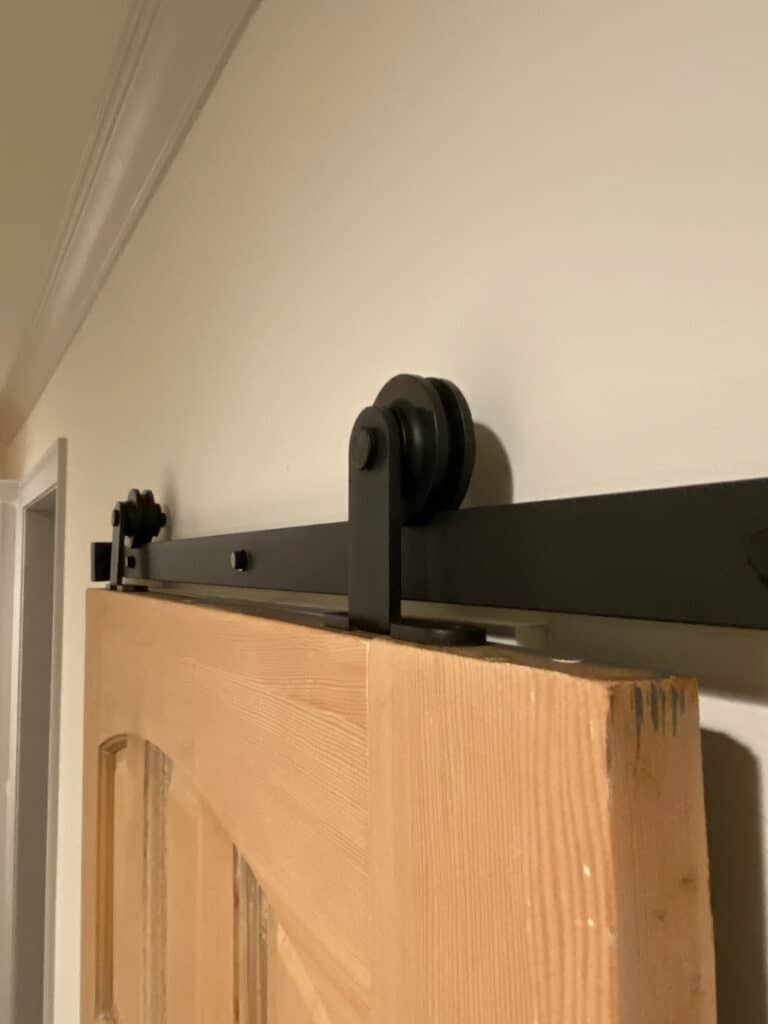
Now that it is in place I can get an exact measurement on how much wood I need to add to the bottom of the door. Right now the door looks like it wears “high waters”. Funny right?
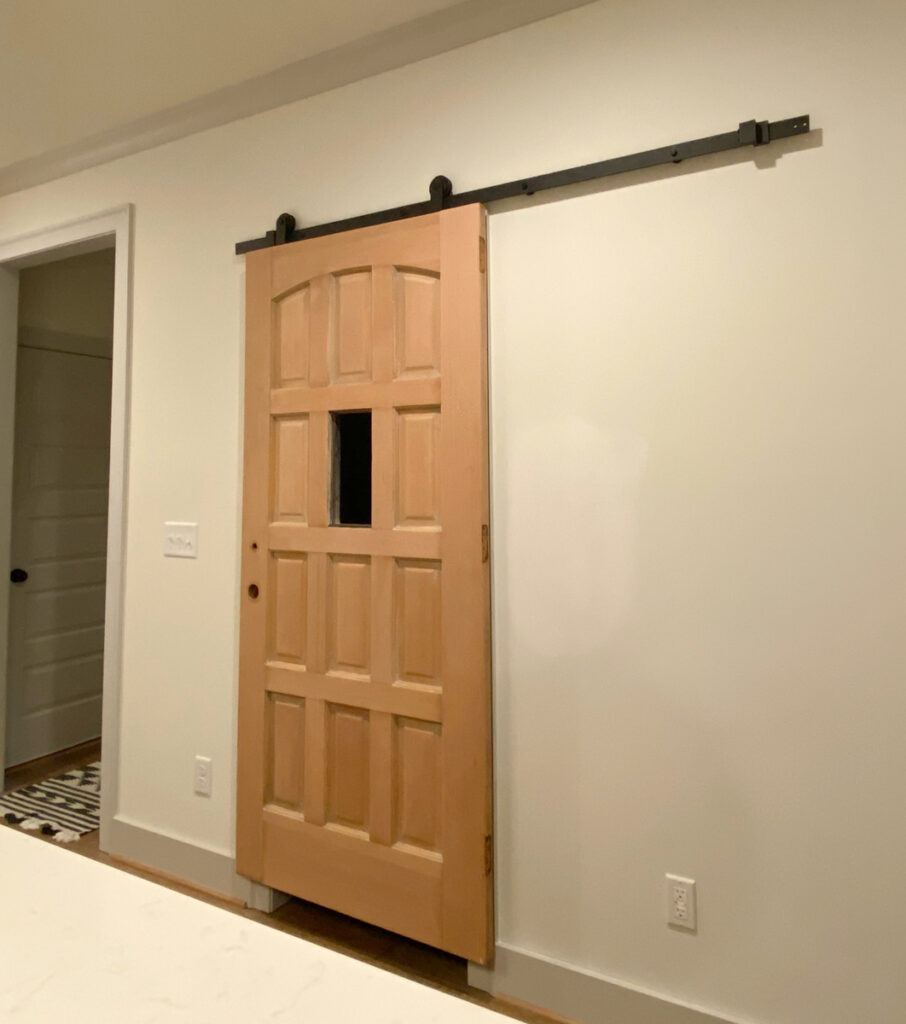
This very well-made door hardware is incredibly easy to install with clear and efficient directions. You can purchase it here. It does help that by now we have installed 4 separate sliding door or ladder hardware.
Years ago, before barn doors were as incredibly popular as they are now, we created an in-depth sliding door installation tutorial that has helped thousand’s of people install their hardware. I hope it continues to be helpful to others in the coming years.

I don’t have any qualms with you being able to see a transition from the old door to the new added in piece. Old things aren’t perfect and neither is this door. But, the arch and the panel details really spoke to me and provided a subtle nod to the Tudor influence I want to add to our house.
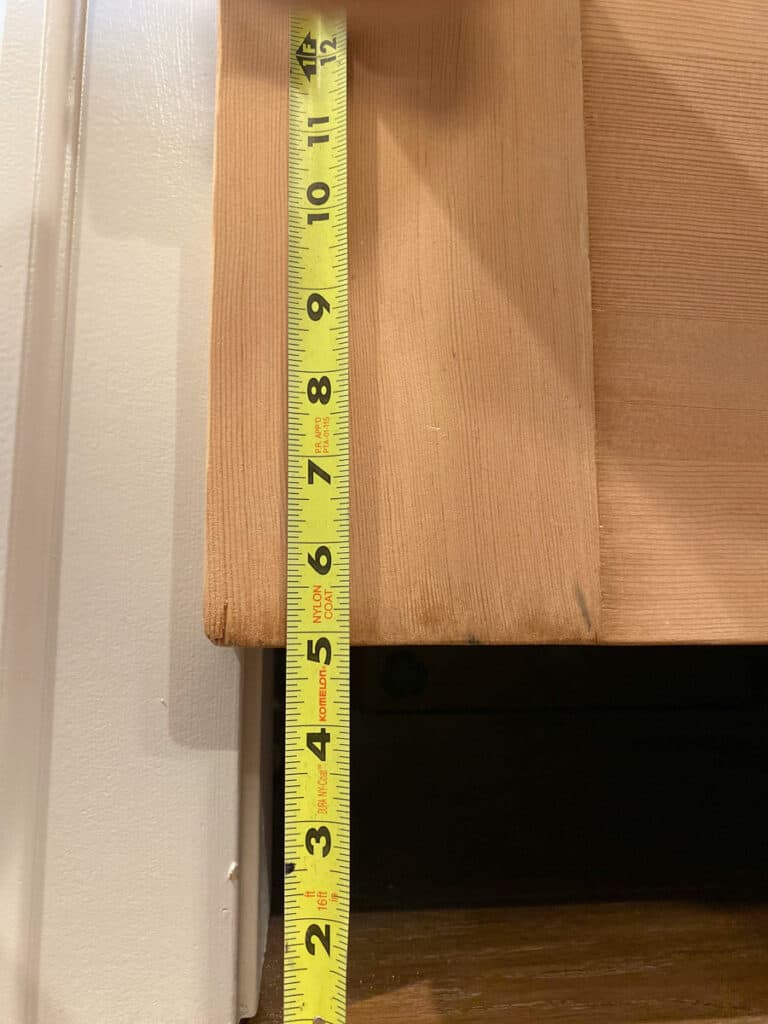
The only detail in the extension I am concerned with is matching the wood type. Right now, I still can’t decide what kind of wood the door is made out of. Got any guesses? Most people I polled on Instagram thought it was cherry. I feel like if I could at least have the two pieces in the same species, I could make them match fairly well.
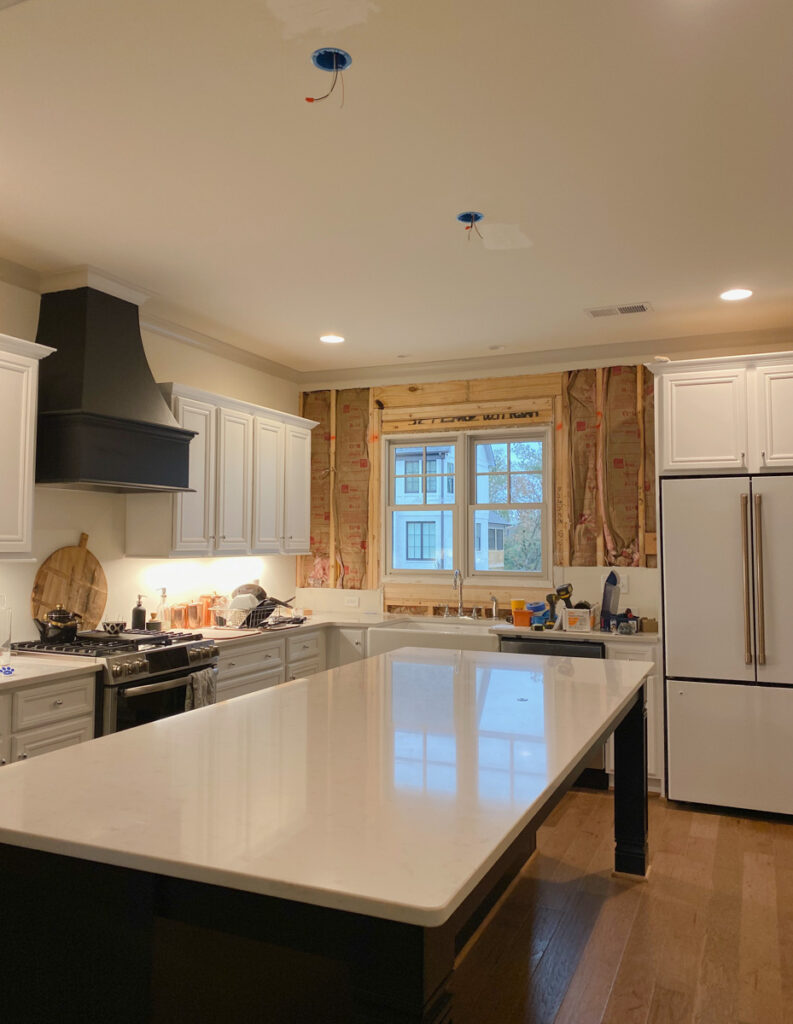
What I hoped I could show you this week was a wall of brick! The goal was to start installing the brick on Tuesday so I could have a good portion completed to share for today’s update post. But we delayed our contractor from starting on the kitchen prep once we discovered some very serious and dangerous electrical problems the builder left behind the drywall around that window. So very thankful we decided to replace that drywall!! We waited for them to come and remedy the situations before allowing our contractor to even touch that wall.
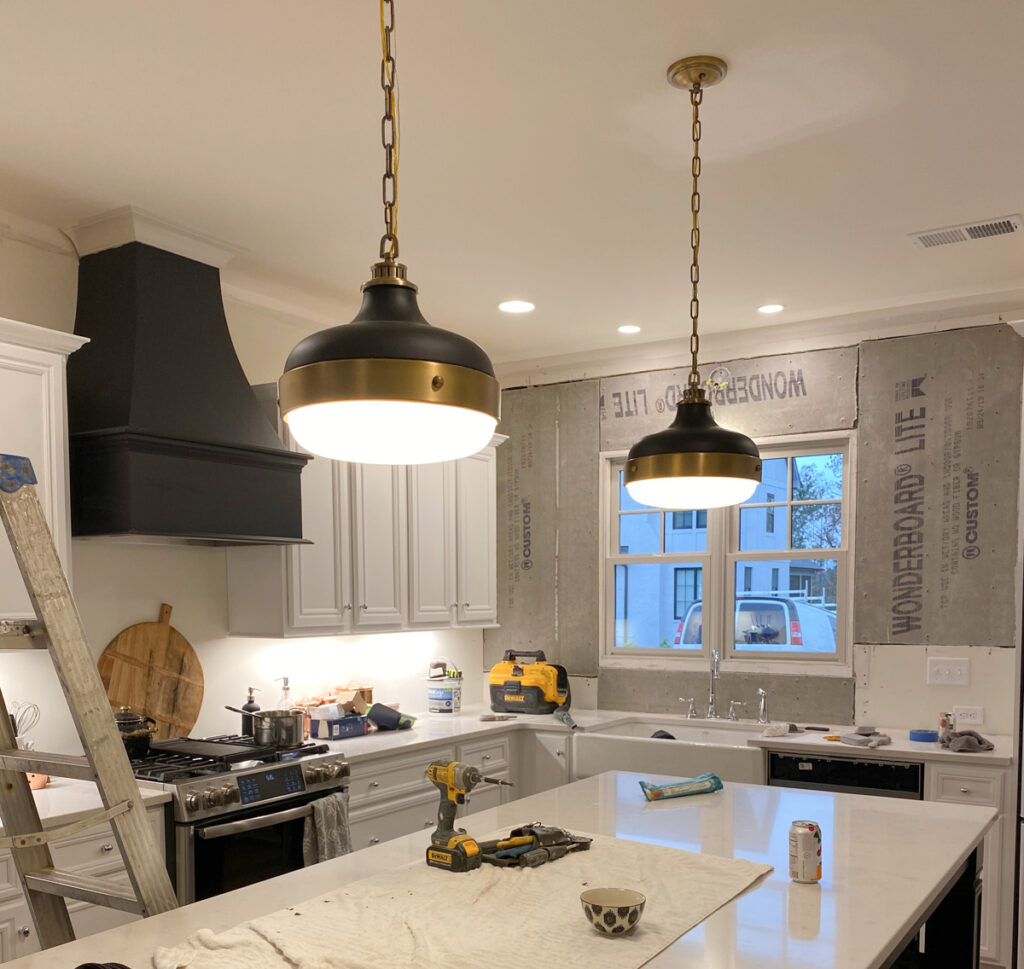
We also had our contractor remove the crown moulding on the sides of the kitchen that will have the brick. He carefully cut the moulding so that I could slide the brick in. He also installed the cement board for us. Having done that kind of job several times, we appreciated getting to skip that messy, cumbersome step ourselves.
He also moved the pendant lights to their proper place, centered on the island and with a more comfortable distance from each other.
Here is what I can show you today!
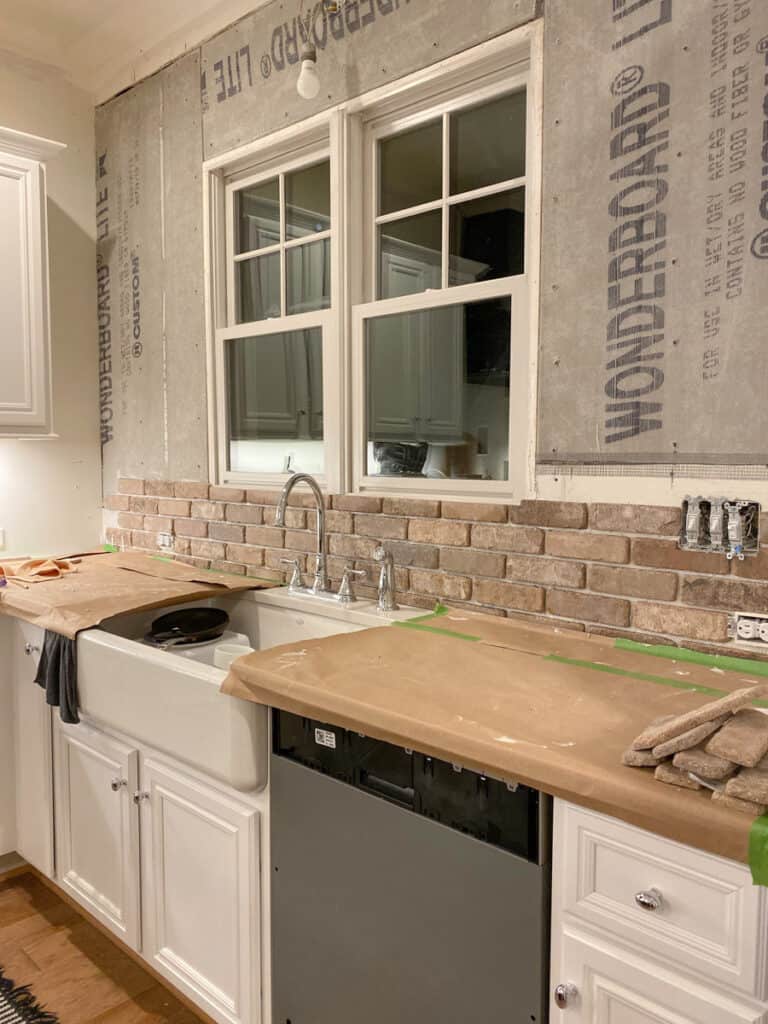
I think I love it!, even in the dark!
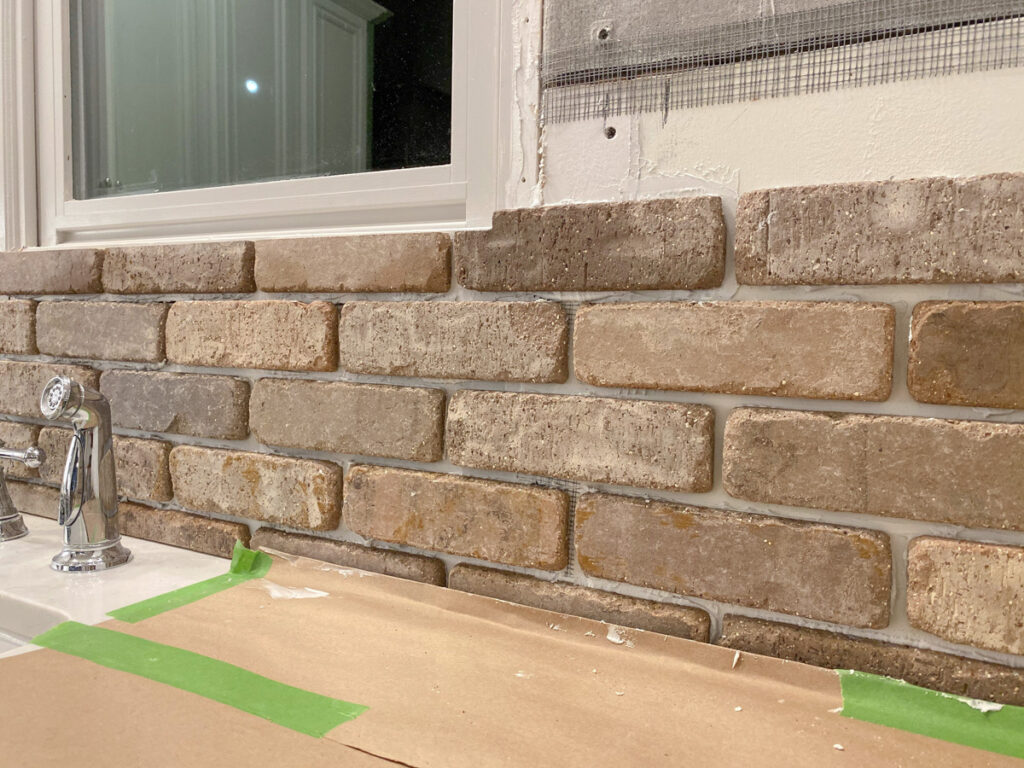
I plan to use grout instead of mortar and I also plan to spread the grout just as you would for a tile installation. I say that with just a bit of trepidation because I know the brick is porous and will likely soak up the grout. I have every intention of mitigating that problem through careful testing on practice boards once I have enough scrap tile.
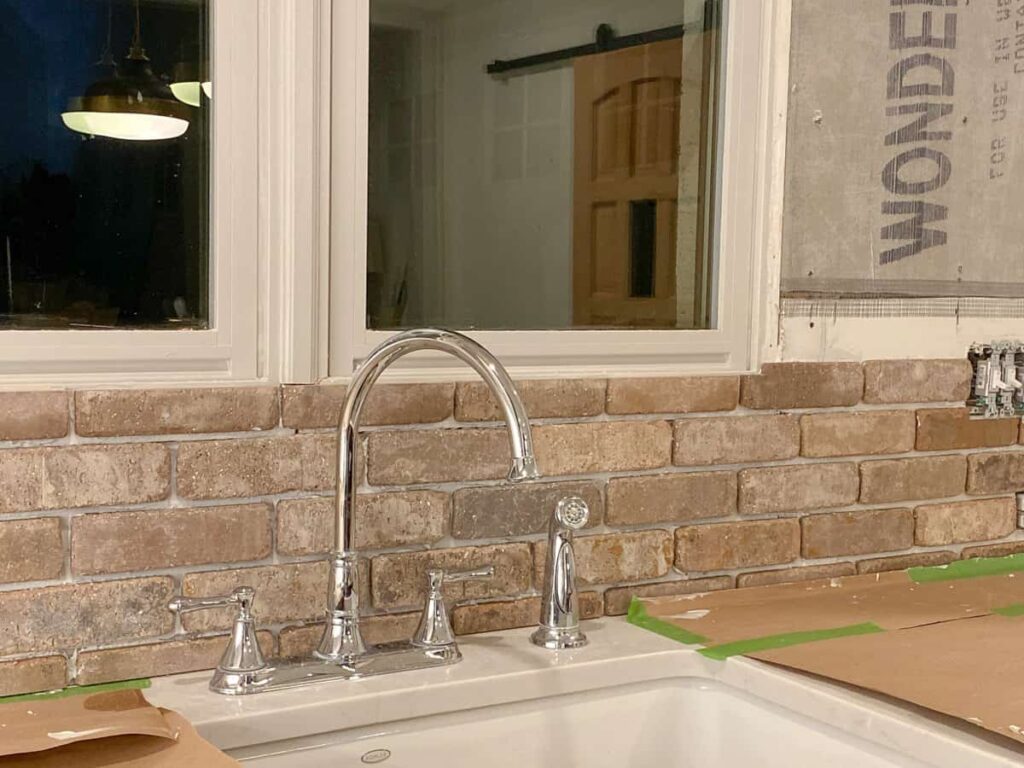
So what is still ahead? While this list doesn’t look too long, each one of these items are pretty good little projects.
Projects to complete
- Finish installing brick walls and backsplash.
- Add wood to the bottom of the vintage door and apply a finish.
- Add custom finishes; new faucet and cabinet hardware.
- Build and add open shelves.
- Build out pantry.
- Find the perfect runner.
- Touch up paint the ceiling.
- Paint the walls and maybe the trim that do not have brick.
SPONSORS
With all of the inherent expenses related to a moving into and setting up a new home, this transformation could not be possible without the generous help of the sponsors listed below. I will be sharing more about each of them as we move through the upcoming weeks.

Pfister: Faucet || Delaney: Barn Door Hardware || Wovenly: Rug
D. Lawless Hardware: Knobs & Pulls , Emtek: Door Plates, Pull
Be sure to check out the other guest participants and follow along each week! Click here for the link up list of all the participants!
Also be sure not to miss the featured designers. It’s not surprising that their rooms are shaping up beautifully!
And again, special thanks to Linda and the Media Sponsor Better Homes and Garden!!
I’d love if you left a Comment and let me know what you think about the projects so far!




6 Comments
Julie F
October 17, 2019 at 4:03 pmYou may want to seal the brick before you grout. I used TileLab’s matte sealer to seal our tumbled travertine before my husband grouted. It looks great and make clean up easy!
Leslie
October 18, 2019 at 7:25 amYes!! I picked up some sealer today! Boy the good stuff is expensive, but if it gets the job done right then it’s worth it.
Sue
October 18, 2019 at 6:00 amCould you please tell me the source of those beautiful bricks?
Thanks
Leslie
October 18, 2019 at 7:31 amThe brick is made by General Shale, however, I think it is a style they are discontinuing. I got it at Lowes on clearance. It is from their Providence Series and the color is Carbon. Here is a link, but from what I can tell there is only limited stock. https://www.lowes.com/pd/General-Shale-Providence-Series-50-Pack-Carbon-1-2-in-x-8-in-Ceramic-Floor-and-Wall-Tile-Common-1-2-in-x-8-in-Actual-0-5-in-x-7-5-in/1000773826
sweetfe
October 18, 2019 at 3:56 pmI have an idea about your door extension…. you could attach a brass kick plate…https://www.houseofantiquehardware.com/brass-kick-plate-antique-finish?utm_source=froog&utm_medium=cse&utm_campaign=gdf&partner=froog&CAWELAID=120035490000007904&gclid=CjwKCAjwxaXtBRBbEiwAPqPxcJJi8fpnOQA5ZCjY8XbgFmguCHPwczD1xC06-5nNKIlTYSsU_GYrwxoC_7cQAvD_BwE
or make a faux brass kick plate to reduce the visibility of the difference in wood for the extension… I think you can find a less expensive version on line… I can not wait to see the finished door!
Steven @Healthyarea
October 25, 2019 at 1:07 amIt is an exciting journey to see you made it step by step. It is interesting and inspiring. We also like to install a sliding door for my son’s small sleeping room. Cause it will take less space when the door is open, which will not result in my room smaller. Come to the electrical problems, I believe it is never enough to pay more attention to it, avoiding big loss in the future.