Welcome back to week four of the One Room Challenge. If you would like to catch up on all the nitty gritty details please check out the Week Three, Week Two and the Week One posts!

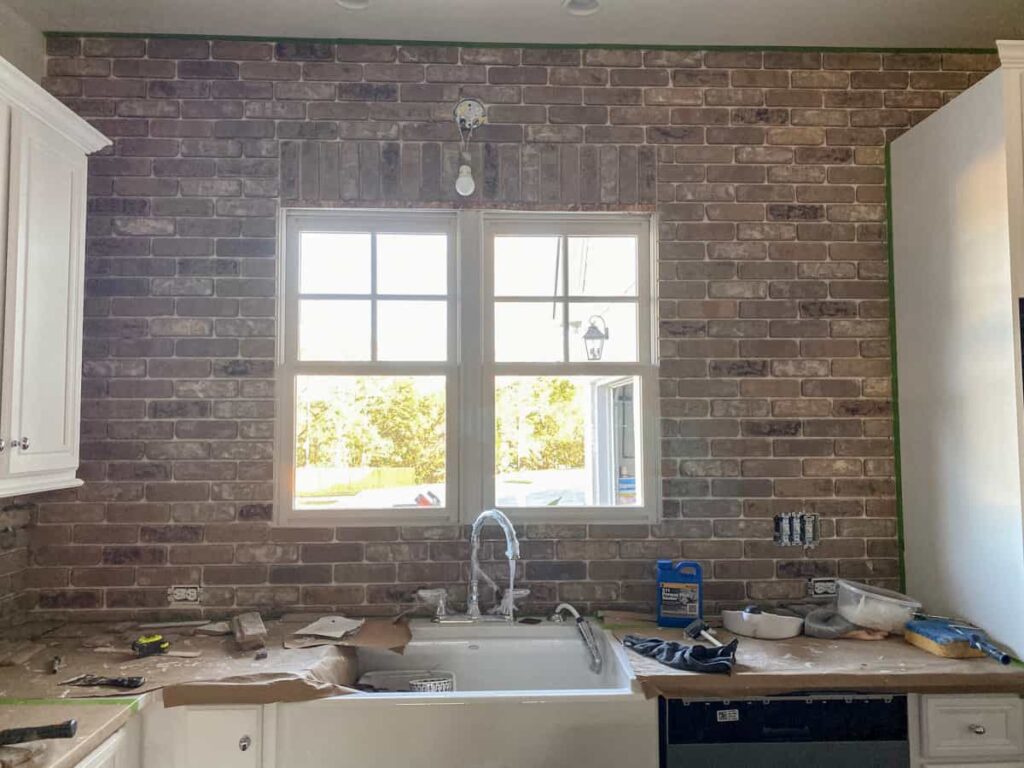
Yes, my friends we have an entire brick wall here at the #LakeRidgehouse! I love everything about it and as long as grouting doesn’t foul up the finish, I have no plans to paint it. I don’t even think I want a light wash of white. I love the range of warm grey and browns. It perfectly softens the bright white cabinets and the black of the island and hood.
So, what about that curveball?
This weekend I decided to add a niche to the area above the range. It seemed like a simple detail to add. Nothing too fancy, no contrasting pattern, just a functional indentation to hold a few little spice jars or art.
But of course, I had to complicate the matter just a little. I have finally realized the extra special little details are my thing, my specialty if you will. I decided to create the niche with an arch that mimicked the arch in the vintage door on the opposite wall.
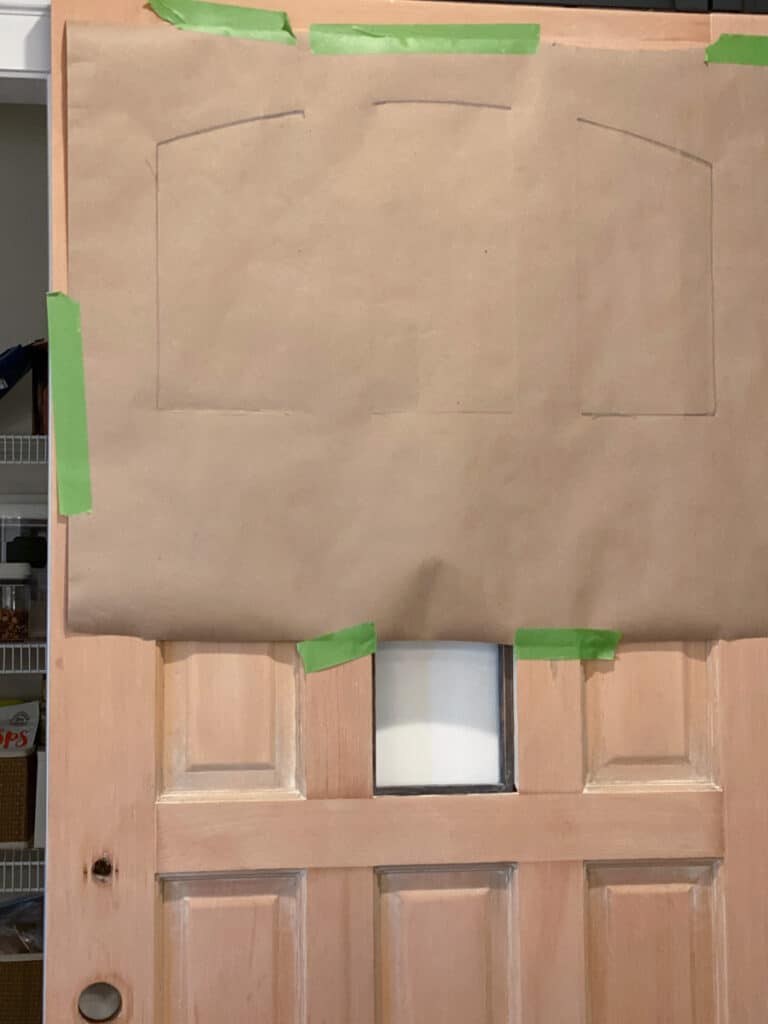
I’ll give a quick rundown of the process and save a full tutorial for another time.
I started by tracing the arch onto paper, cut it out and then transferred it to the area above the range.
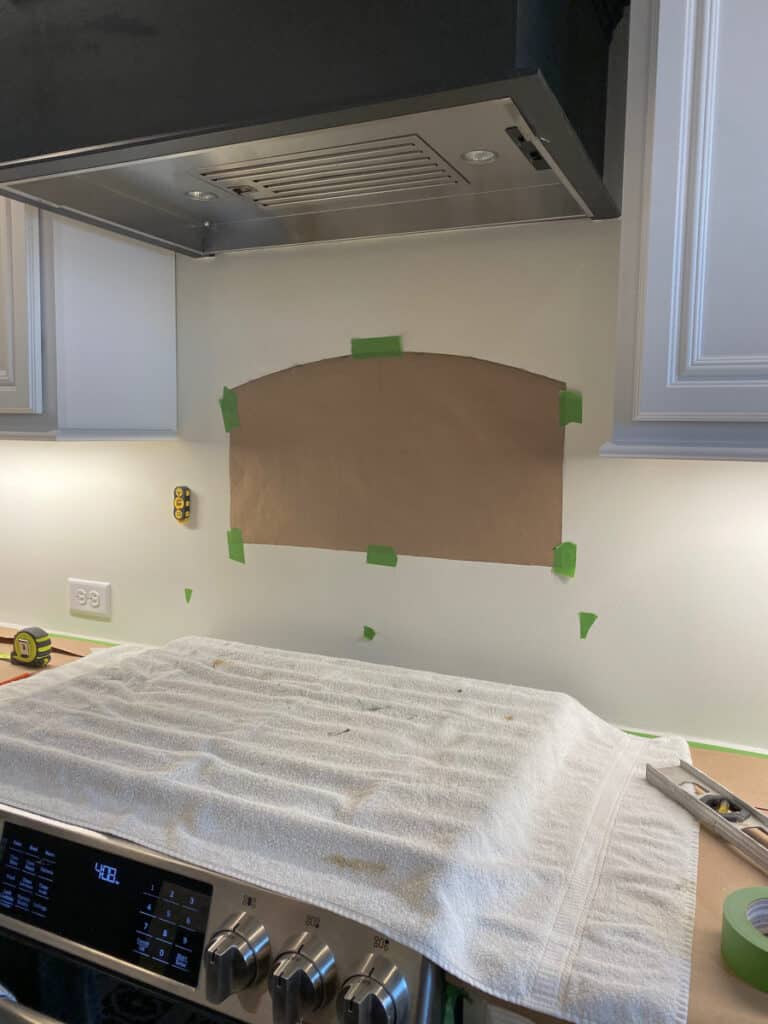
The proportions were nearly perfect. We just extended the length a couple of inches.
Thankfully, we photographed the major electrical and plumbing around the house during framing in case we ever needed it. (Turns out we did!) Referring back to those photos, we could easily see the electrical behind the range before we even made a cut into the drywall. It was extremely helpful and allowed us to feel confident and safe during the process of cutting the wall open.
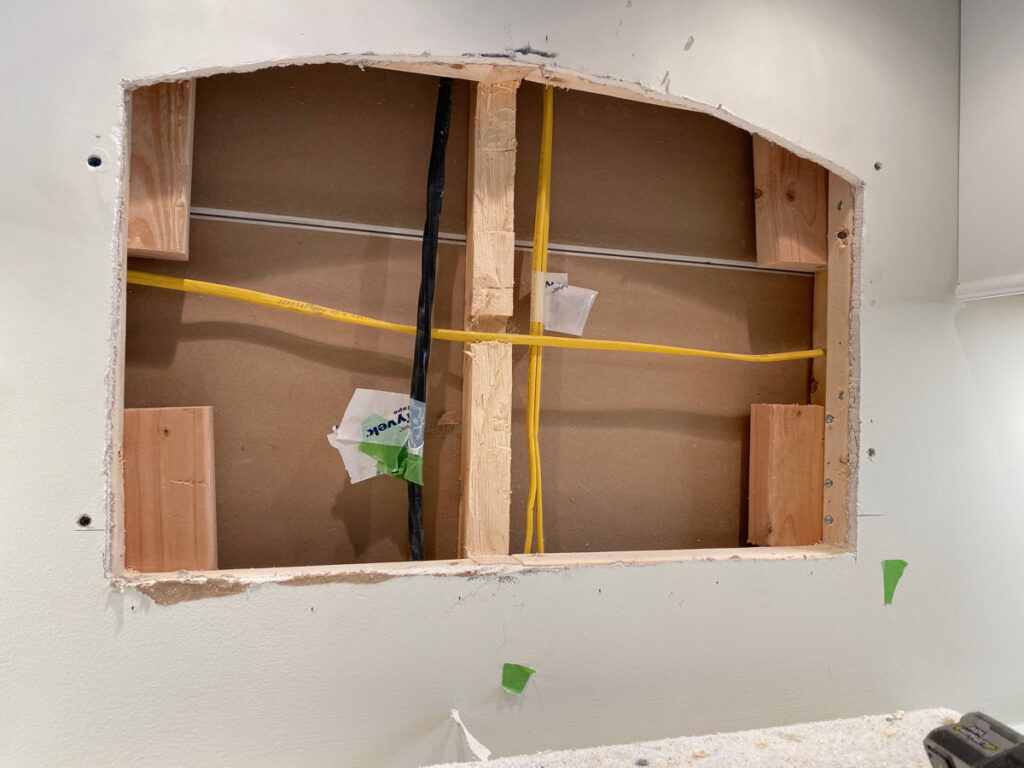
The actual framing and finishing of the niche took much of an entire day to complete. And in a challenge where every minute counts, I began to question if this was such a good idea.
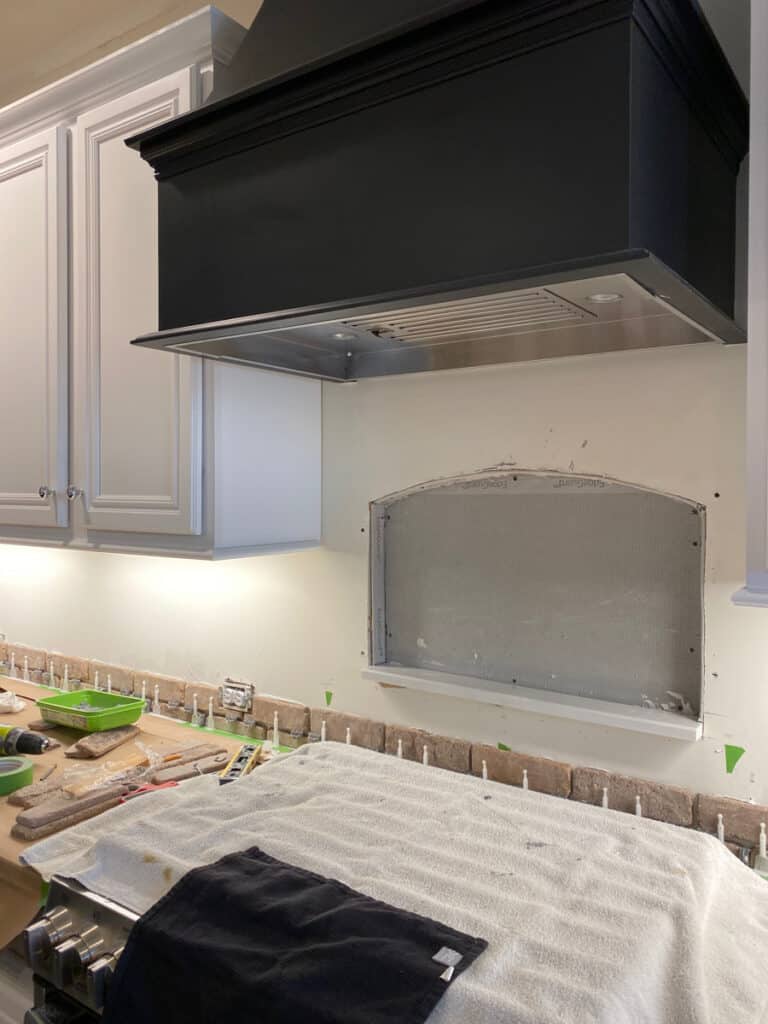
It has also taken a considerable amount of time to tile the niche.
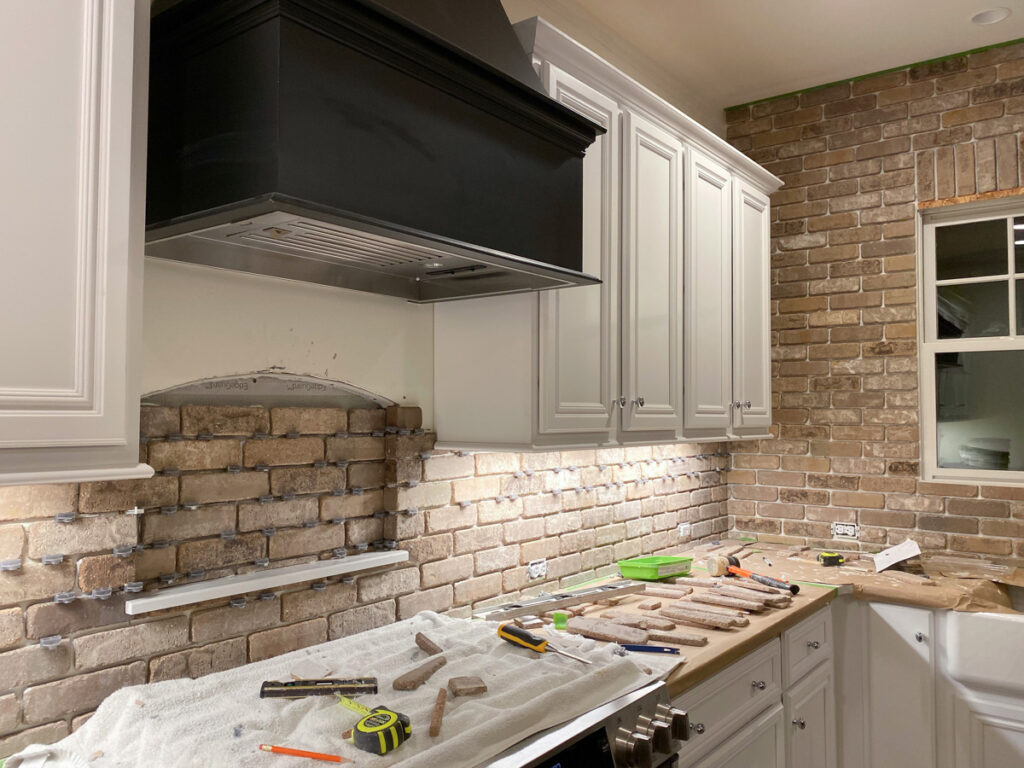
At this point, it probably comes as no surprise that during projects like these I obsess over creating the best possible outcome.
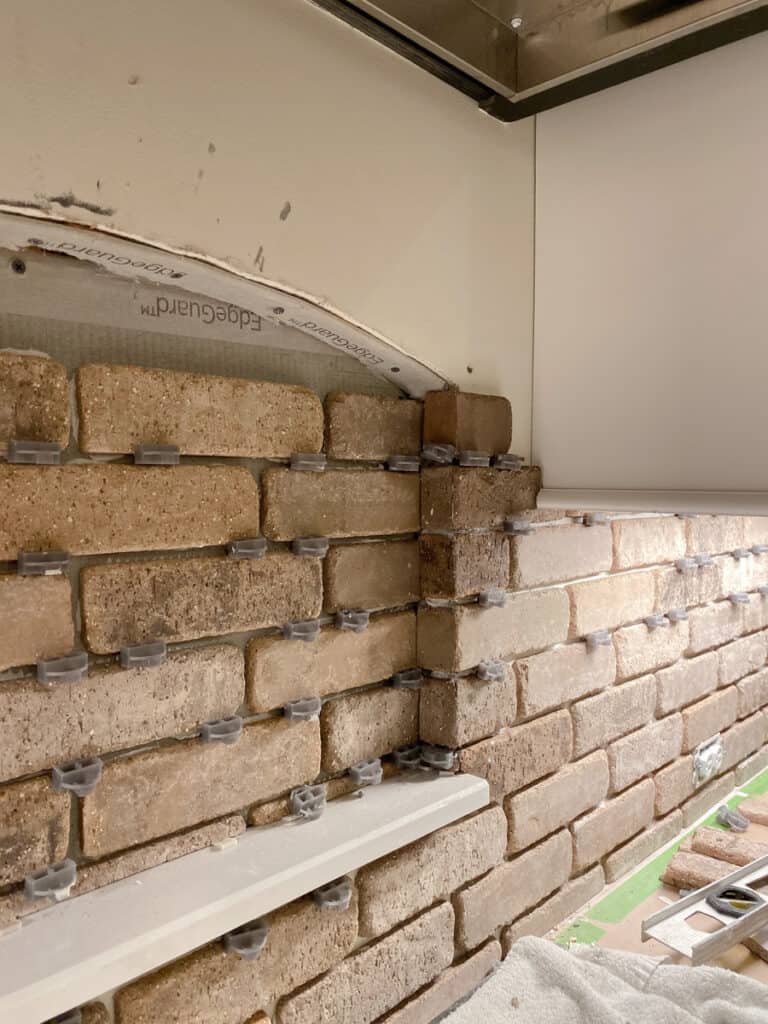
Instead of using butt joints, I decided to miter the corners of the niche for a more polished look. This would have been a great place to take advantage of pre-made corner pieces of thin brick. Because I purchased this brick on clearance, there were no matching corner pieces available anywhere.
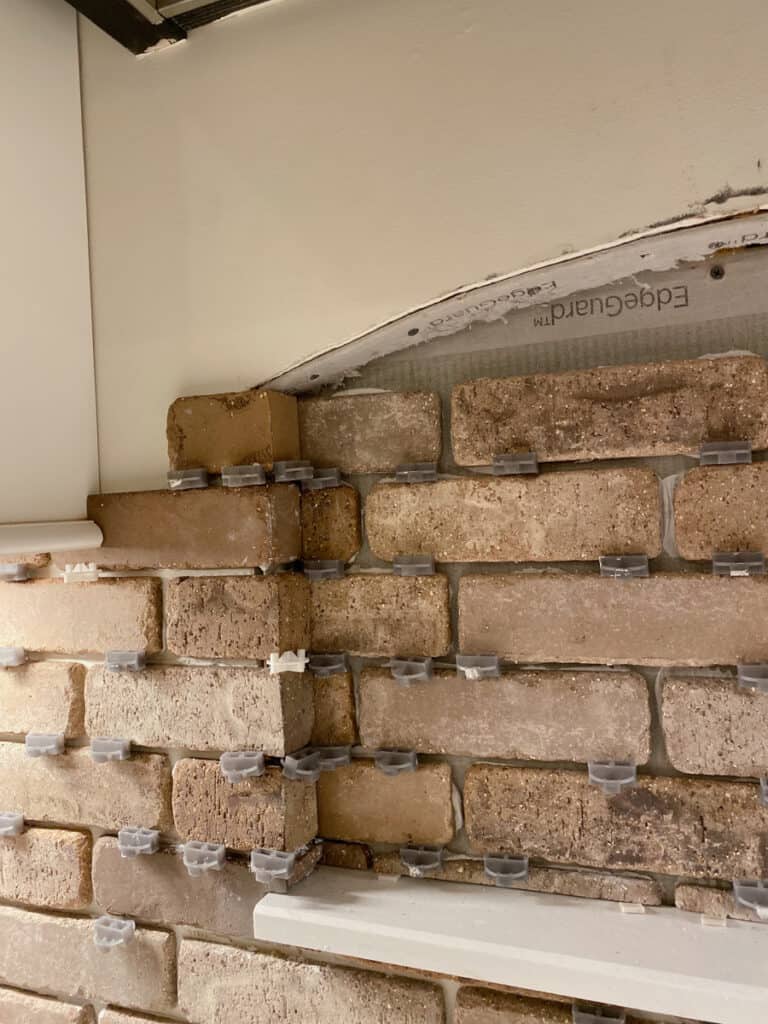
By the end of daylight hours on Wednesday, this is where I stopped.
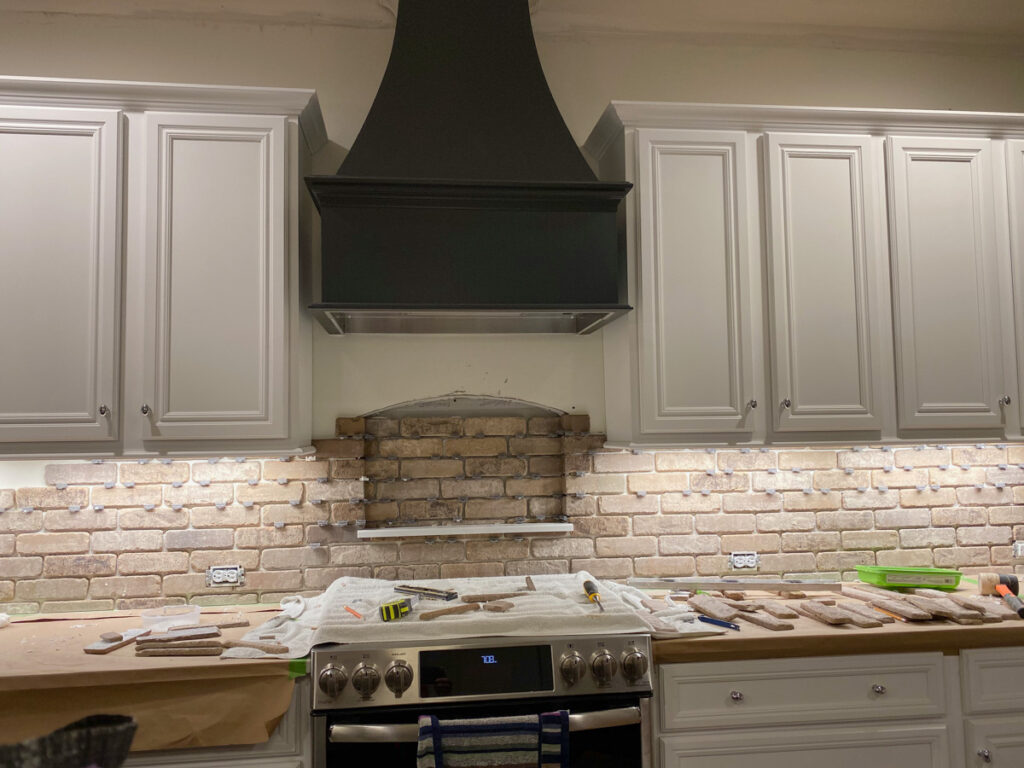
Sadly, there is still a little more challenging work ahead to finish the top detail. I keep telling myself, “It will be worth it!”
This niche has thrown a huge curve ball into my ever ticking timeline, but I don’t regret it for one minute. I know I would have re-hashed this missed opportunity over and over in my head if I hadn’t acted.
Pantry Demo
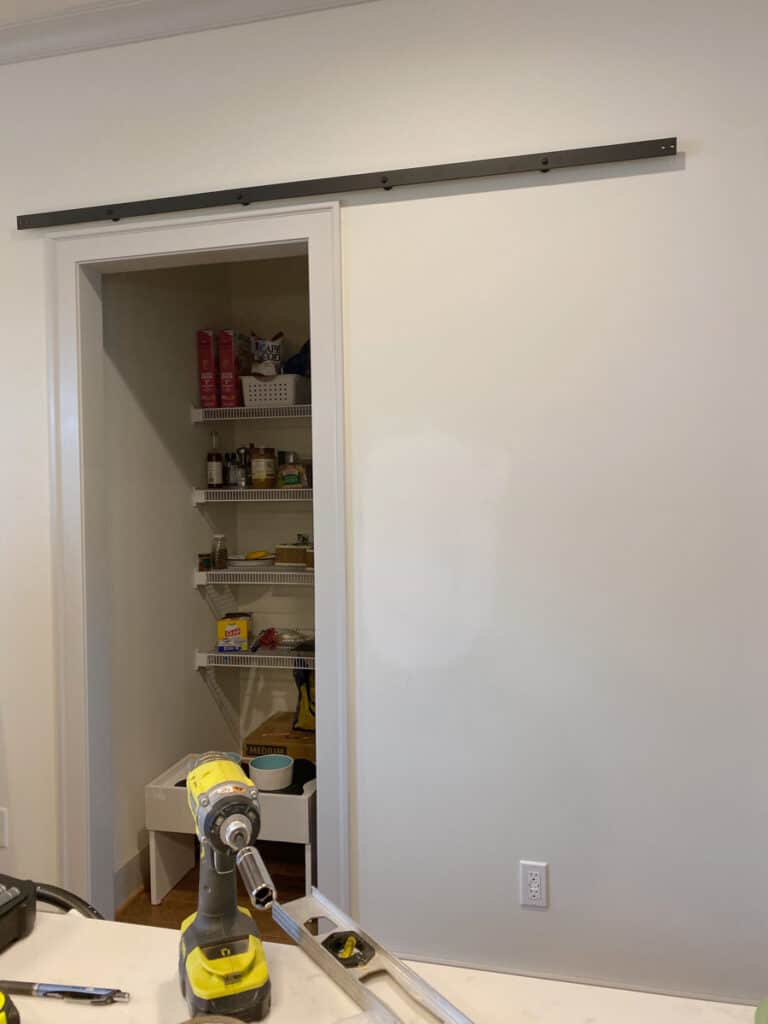
While I missed a day and half of tile work due to prior commitment to a yearly fundraiser for a woman’s education group I belong to, my husband made some progress on the pantry. He removed all of the shelves and cleared out the contents.
Now, in addition to the brick mess on the countertops we have the island and the laundry room covered in the contents of the pantry.
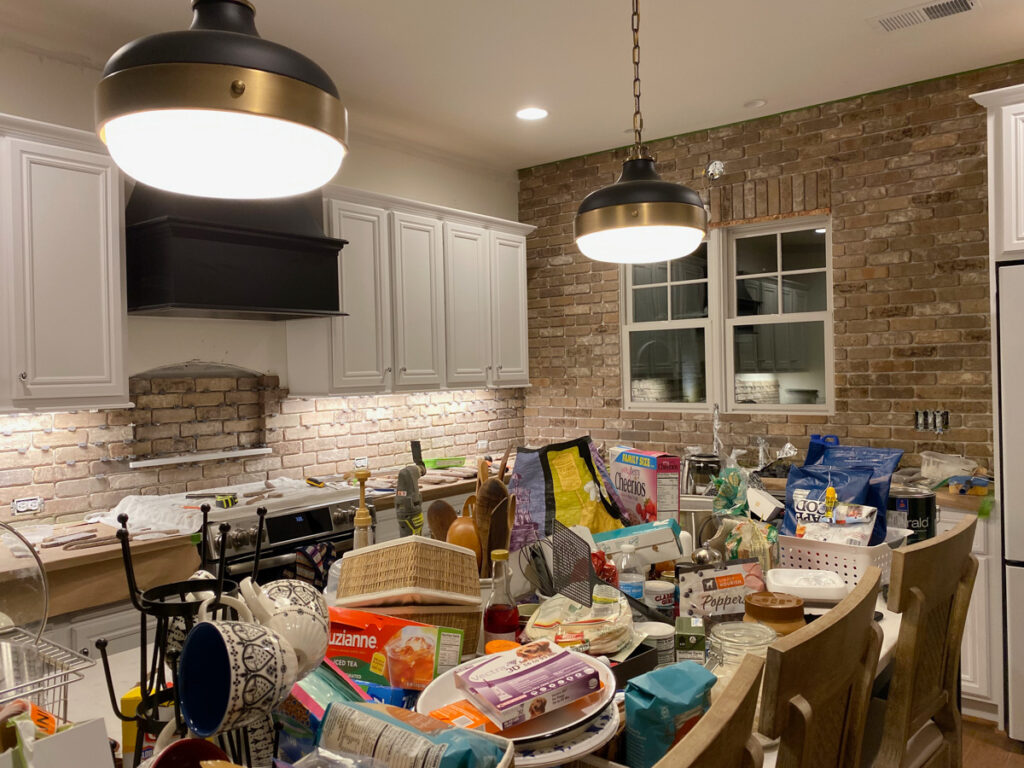
And you probably thought this would be an easy, no stress ORC didn’t you? Honestly, I hoped it would be, but I knew better.
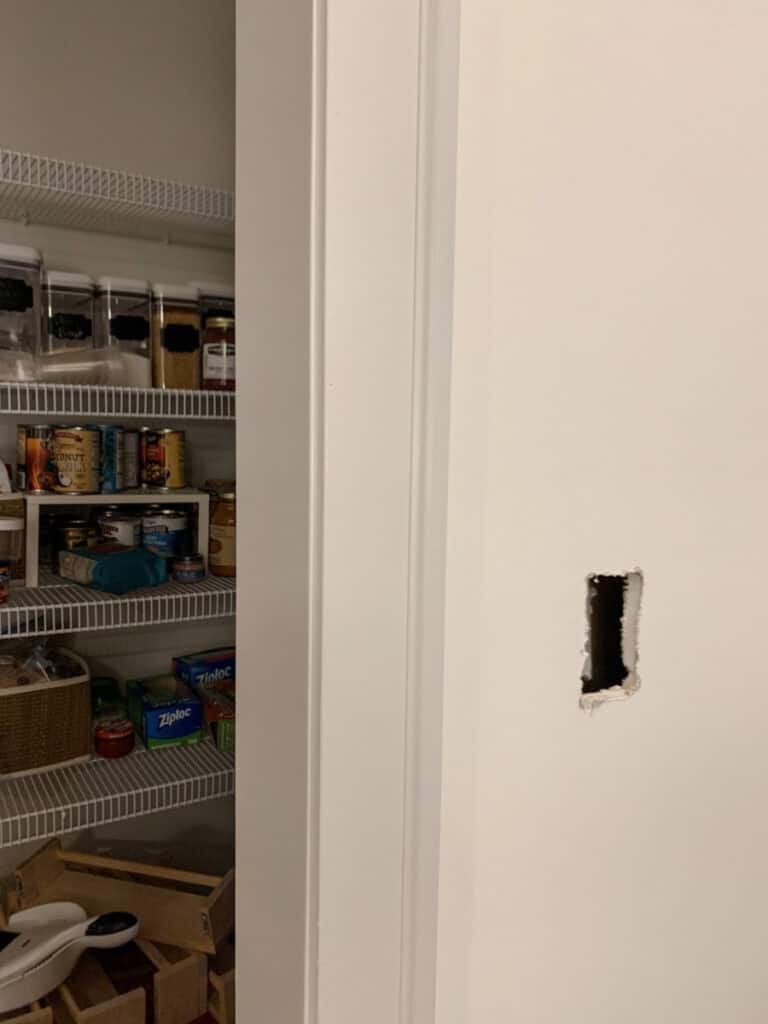
As a little teaser on Instagram, I showed the wooden brackets I received from Osborne Wood Products. Having installed custom closets and pantries in our other houses, I can’t imagine living with the wire shelves, especially in a pantry. Everything seems just a little precarious and I miss the solid surface wooden shelves provide. Look for the complete plans and a sketch of the design of the pantry next week.
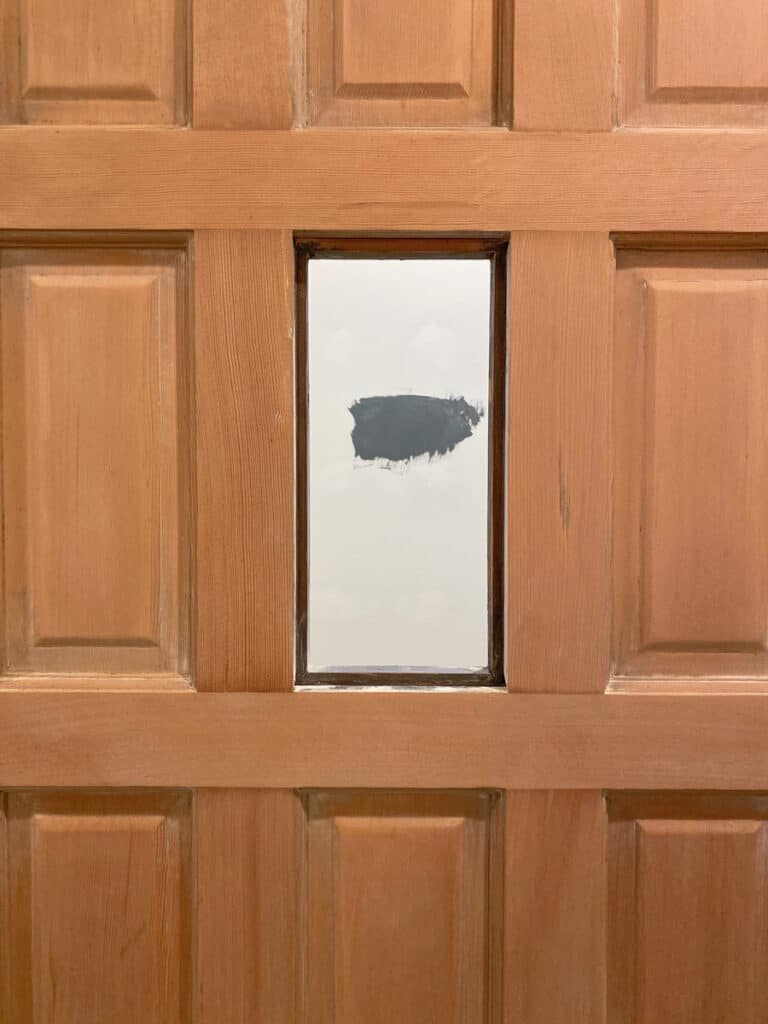
I will share this little detail about the pantry. I plan to paint it dark. Even with the little window in the vintage door to the pantry, I didn’t want to see the contents of the pantry. A dark color will help camouflage everything.
Projects to complete
- Finish installing brick walls and backsplash, seal and grout.
- Add wood to the bottom of the vintage door and apply a finish.
- Add custom finishes; new faucet and cabinet hardware.
- Build and add open shelves.
- Build out pantry.
- Find the perfect runner.
- Touch up paint the ceiling.
- Paint the walls and maybe the trim that doesn’t have brick.
SPONSORS
With all of the inherent expenses related to a moving into and setting up a new home, this transformation could not be possible without the generous help of the sponsors listed below. I will be sharing more about each of them as we move through the upcoming weeks.

Pfister: Faucet || Delaney: Barn Door Hardware || Wovenly: Rug
D. Lawless Hardware: Knobs & Pulls , Emtek: Door Plates, Pull , Osborne Wood Products
Be sure to check out the other guest participants and follow along each week! Click here for the link up list of all the participants!
Also be sure not to miss the featured designers. It’s not surprising that their rooms are shaping up beautifully!
And again, special thanks to Linda and the Media Sponsor Better Homes and Garden!!
I’d love if you left a Comment and let me know what you think about the projects so far!






2 Comments
Dena
October 24, 2019 at 8:57 amOkay, now I totally agree with your decision to remove the crown and the vertical application of the brick above your window is just perfection. I didn’t understand your choice of no window sill until I saw it and now it all just looks so right! Your brick wall certainly has the appearance of being there for ages. I am looking forward to seeing the completed project because I know it is going to be fantastic.
Millie
October 24, 2019 at 9:37 amLeslie,
It looks amazing! So smart of you to have taken pictures of the insides of the walls so you knew about the electrical being behind the niche. Love that you have decided to leave the brick its natural color. So rich!
Enjoying watching your ORC come together. Thanks for taking us along!