We have made it to the halfway point of the 6 week One Room Challenge and there is still so much to do! I’m realizing now how crazy that is and how I haven’t panicked about that thought until just now!
If you need to get caught up on the inspiration and the background of where these rooms started, I invite you to go back to Week 1.
If you are new to Deeply Southern Home, welcome! I am Leslie, a self-professed creative junkie turned home decor and DIY blogger. After working as a graphic designer for several years I took a very, very early retirement to raise our children. Along the way, I found myself as a creative blogger. My goal, whether in my home or my clients, is to create rooms with a relaxed southern style. Although my designs are traditional, I love to experiment with color and a fresh interpretation of classic interiors. We recently downsized to a new-construction home and I can’t wait to inject old-world charm and character through my DIY projects and timeless finishes.
This spring, I was honored to be a Featured Designer and this season marks my 10th One Room Challenge! That’s a lot of amazing rooms that have been transformed thanks to this bi-annual event!
Be sure to follow me on Instagram @deeplysouthernhome and my Facebook page Deeply Southern Home for behind the scenes on Stories, and sign up to receive my blog posts straight to your email inbox by clicking here.
Choosing a Fabric for the window
If you’ve followed along on my Instagram Stories, then you know the main topics I shared about this week were fabrics and the vintage sliding door.
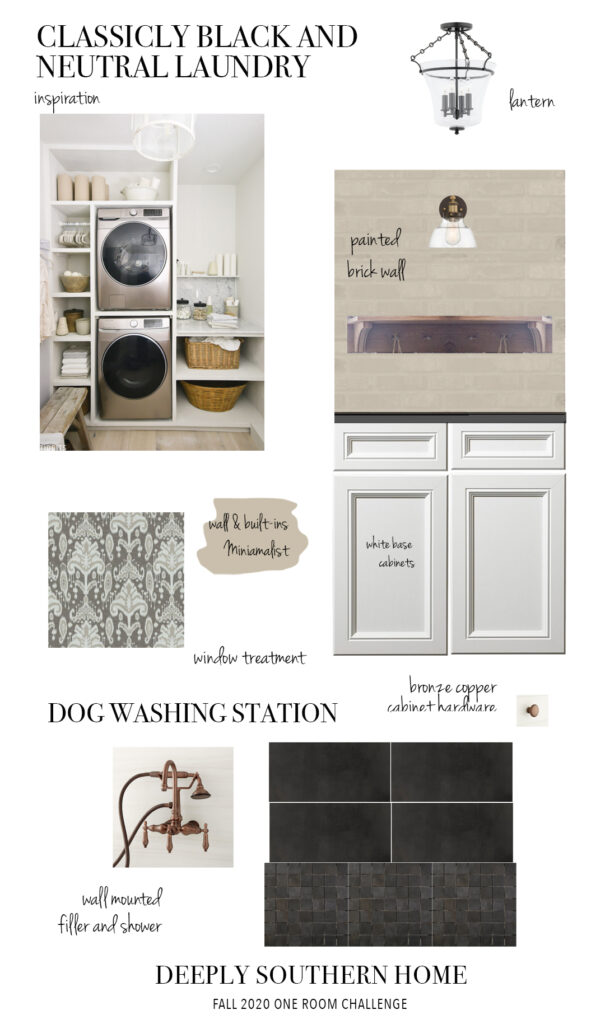
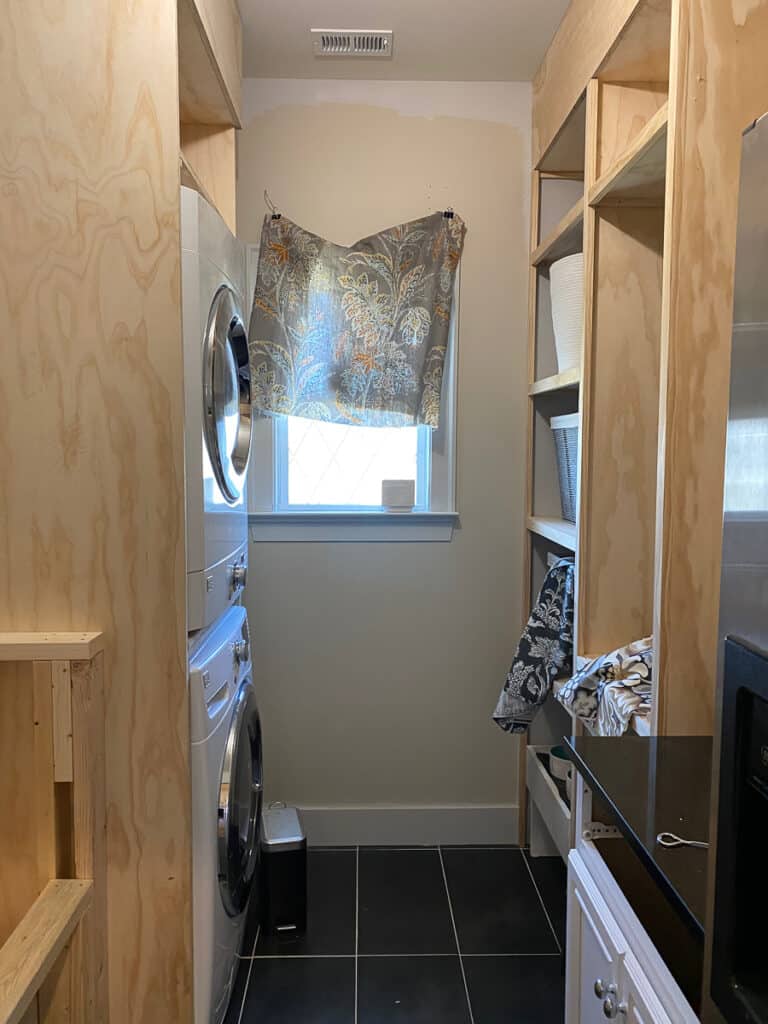
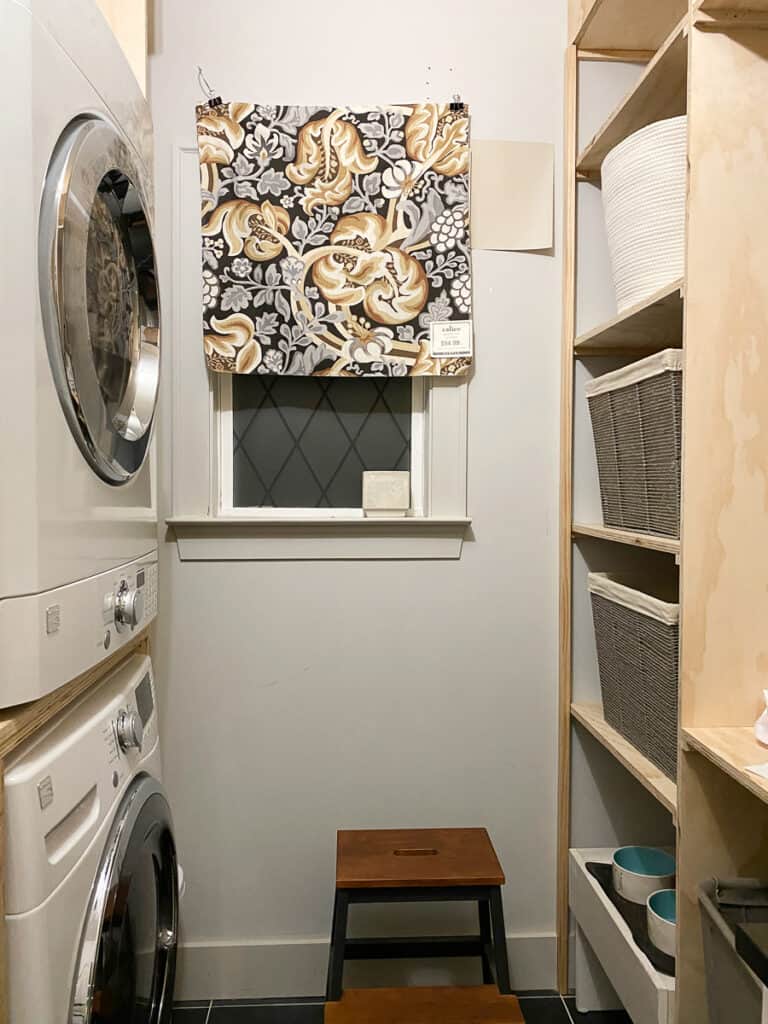
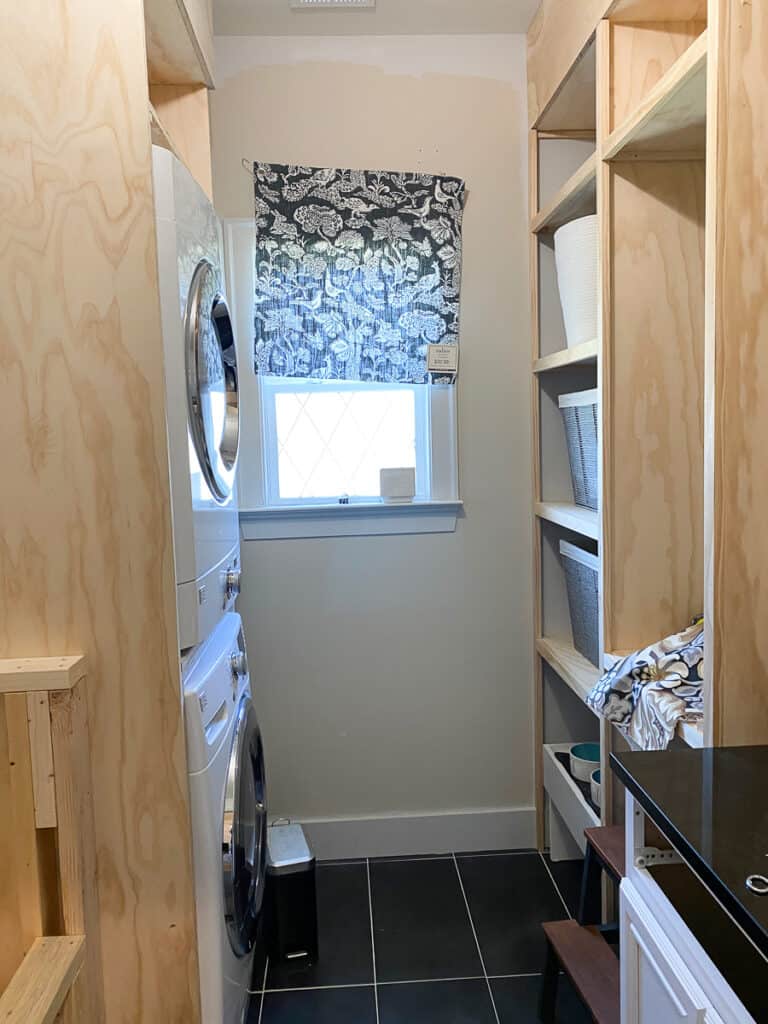
The laundry room needed a little softness amongst all of these hard edges. Adding a roman shade to the small window also gives me the opportunity to bring in a pattern in a room full of solid surfaces.
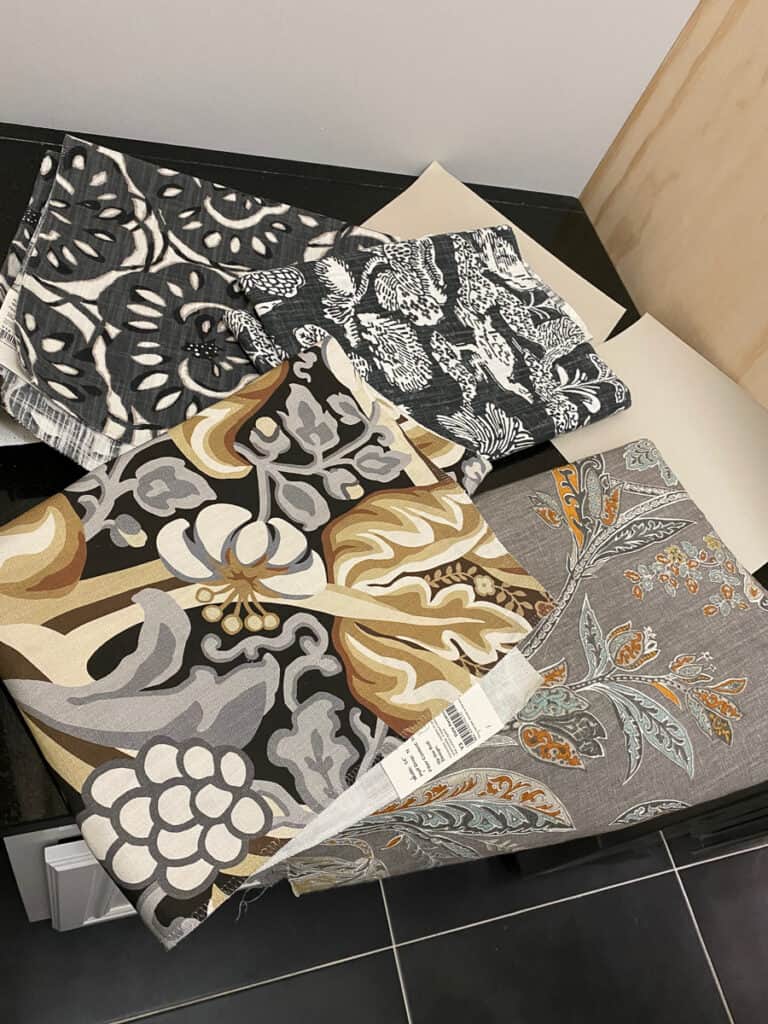
Here are a few photos of the fabrics I’ve considered from one of my sponsors, Calico fabrics.
I am very thankful to have a store fairly close by and can easily pick up samples to check out and bring home. The staff is always so helpful and knows how important it is to find just the right fabric.
As you can see from this design plan I am finally sharing below, I have made a selection and it’s not one I shared on Stories!
Design Plan
Mudroom peg shelf and bench
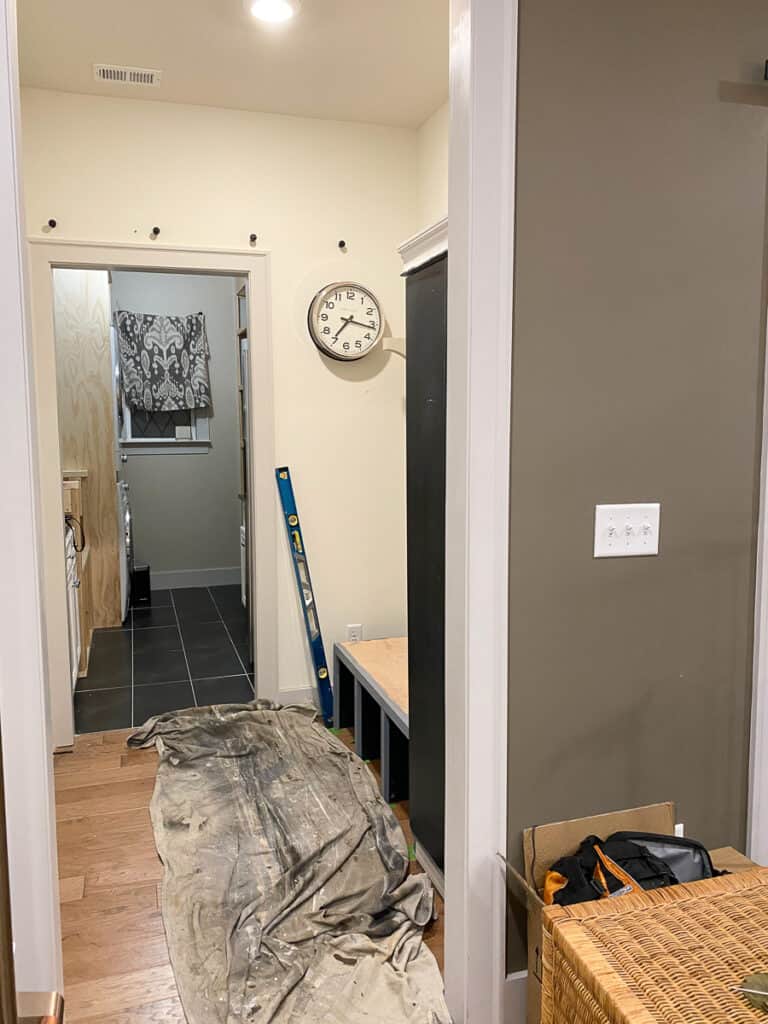
Since last week, my main goal has been finishing the mudroom peg shelf and bench. With this area of the house turned upside down, I wanted to at least add functionality back to our every day lives by finalizing this area.
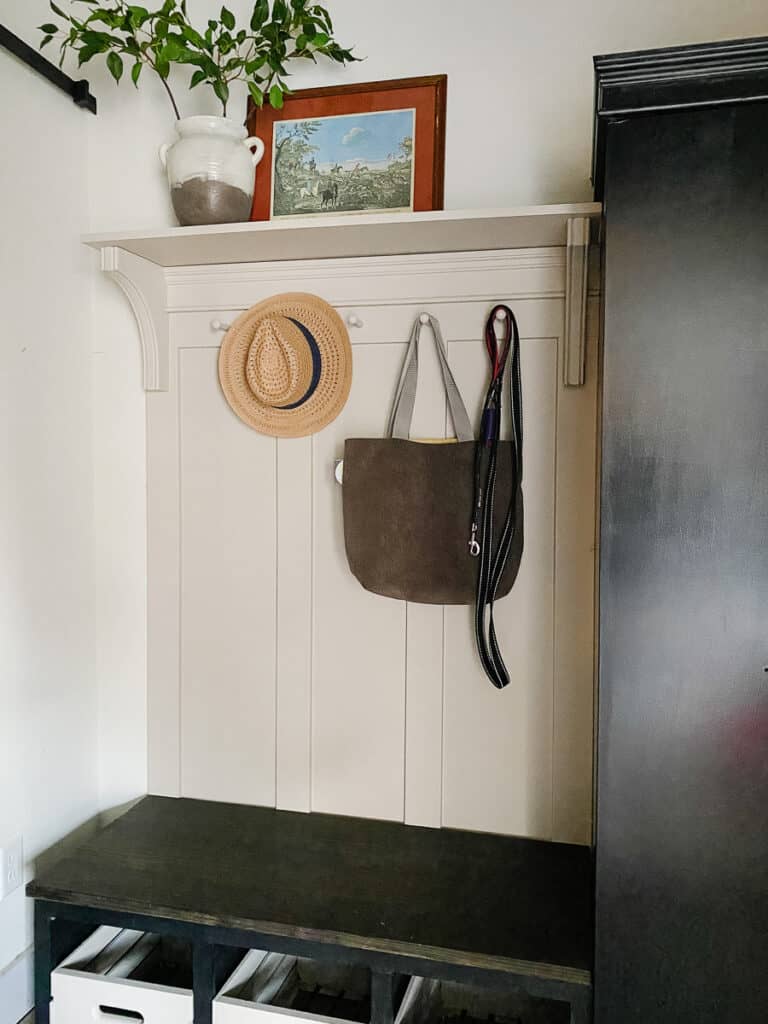
I added board and baten and a peg shelf out of materials I had left over from our living room and dining room Tudor paneling project from last season’s One Room Challenge.
The beautiful shelf brackets are also leftover from our built-in Pantry project from last fall’s ORC. You can see that transformation here.
These sturdy brackets are easy to install and come in a variety of wood finishes from Osborne Wood Products. As you might have seen from the Design Plan I will be adding another peg shelf on the brick wall of the Laundry Room. I will use smaller versions of these brackets in oak.
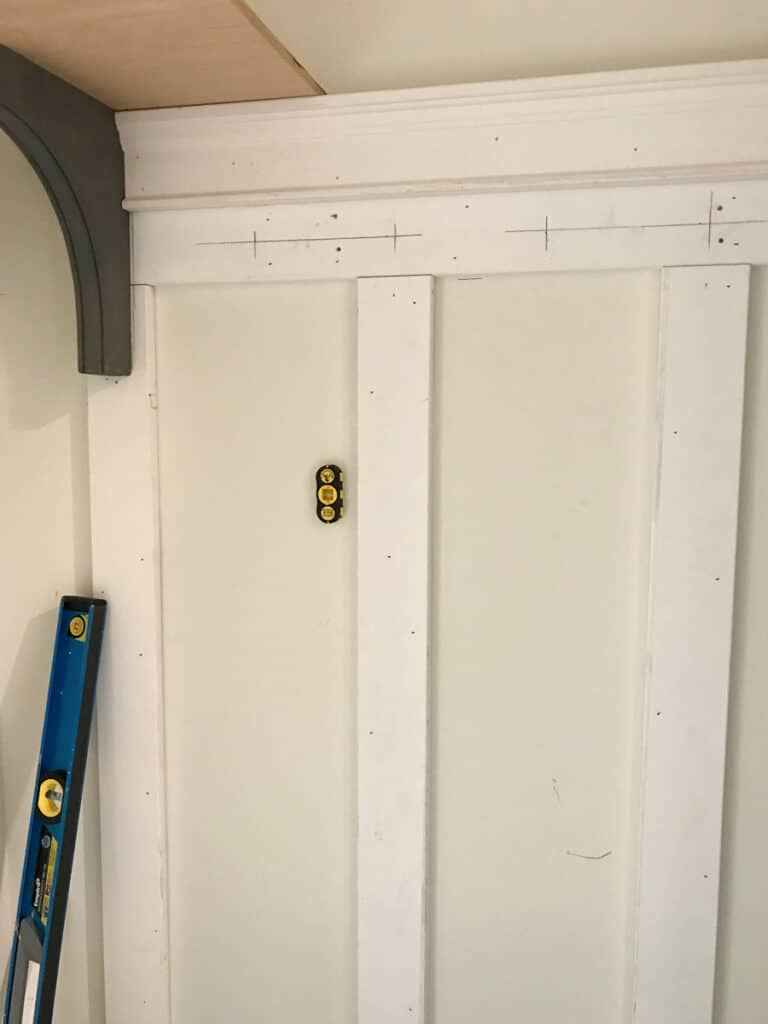
I was just a little short on materials to fully finish the mudroom the way I wanted so Novo Building products agreed to help out by sending more materials to help make this vision complete.
The wooden bins under the bench provide storage for daily items like boots, backpacks, long leads and harnesses for hiking with Freddie our IrishDoodle.
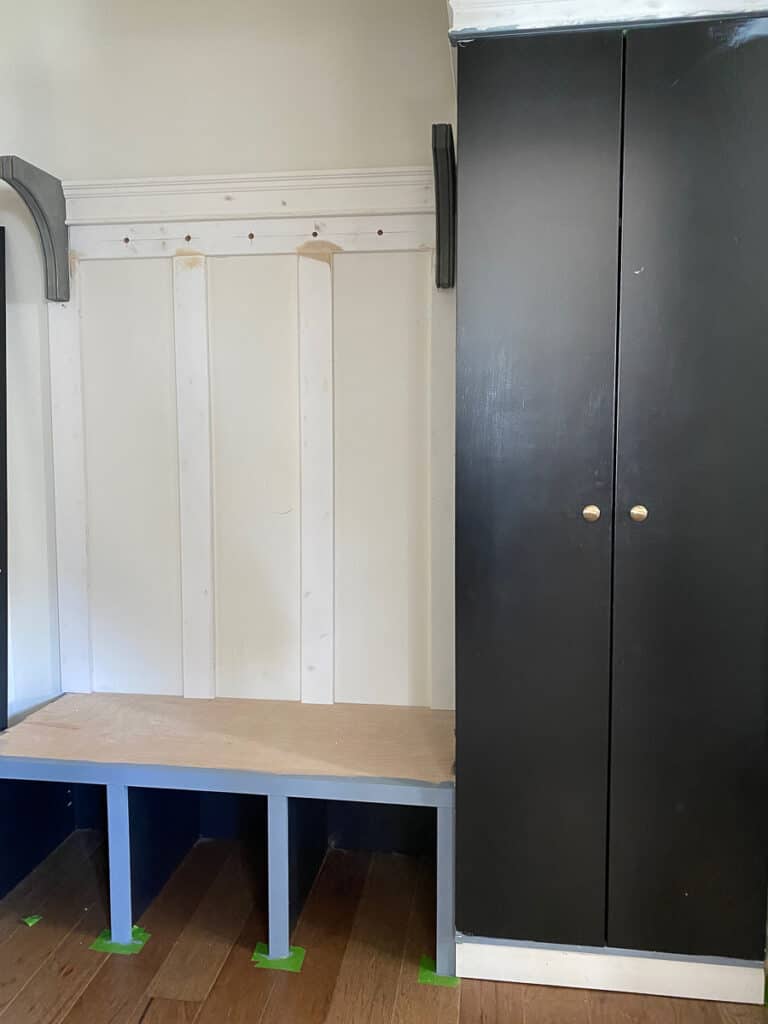
Having all of our frequently used items easily accessible and stored neatly is a welcome sight.
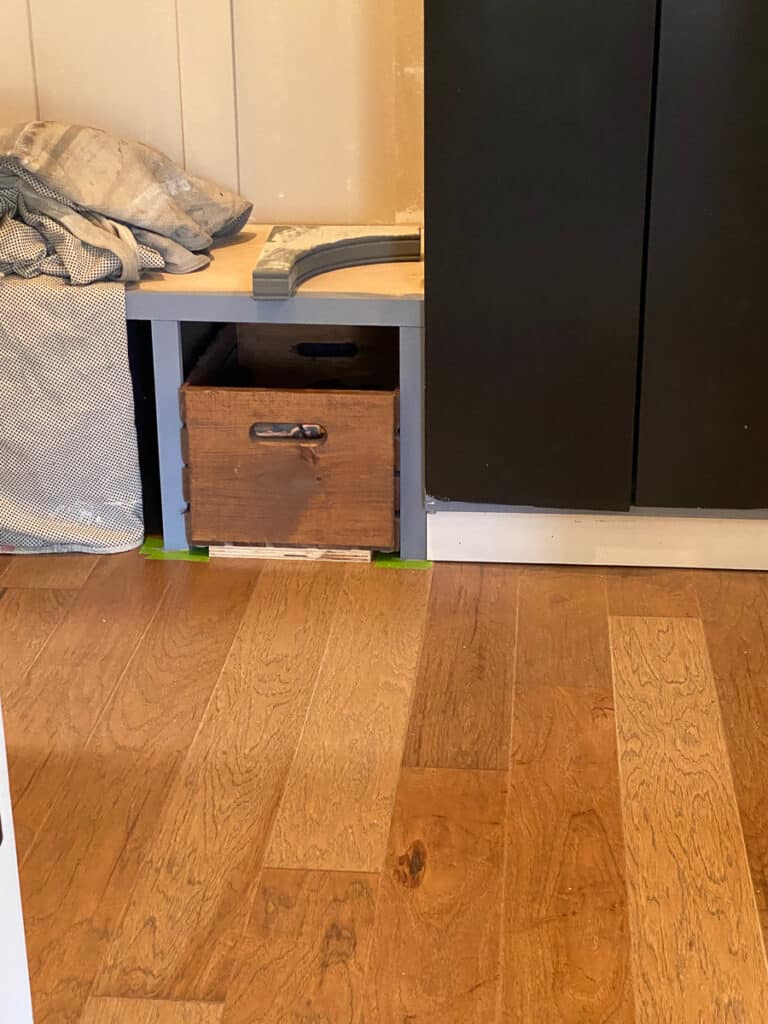
I built the bench to accommodate these specific bins which slide nicely on heavy duty felt pads. I went looking for small wheels to add to the bottoms. This will insure the floor is never scratched and raise the bin a little to fit closer to the top of the bench.
Time to Paint!
Once the building was complete, it was time to paint the bench area. I have partnered with Sherwin Williams for this season and chose the color Minimalist from their new Designer Edition Color Collection.
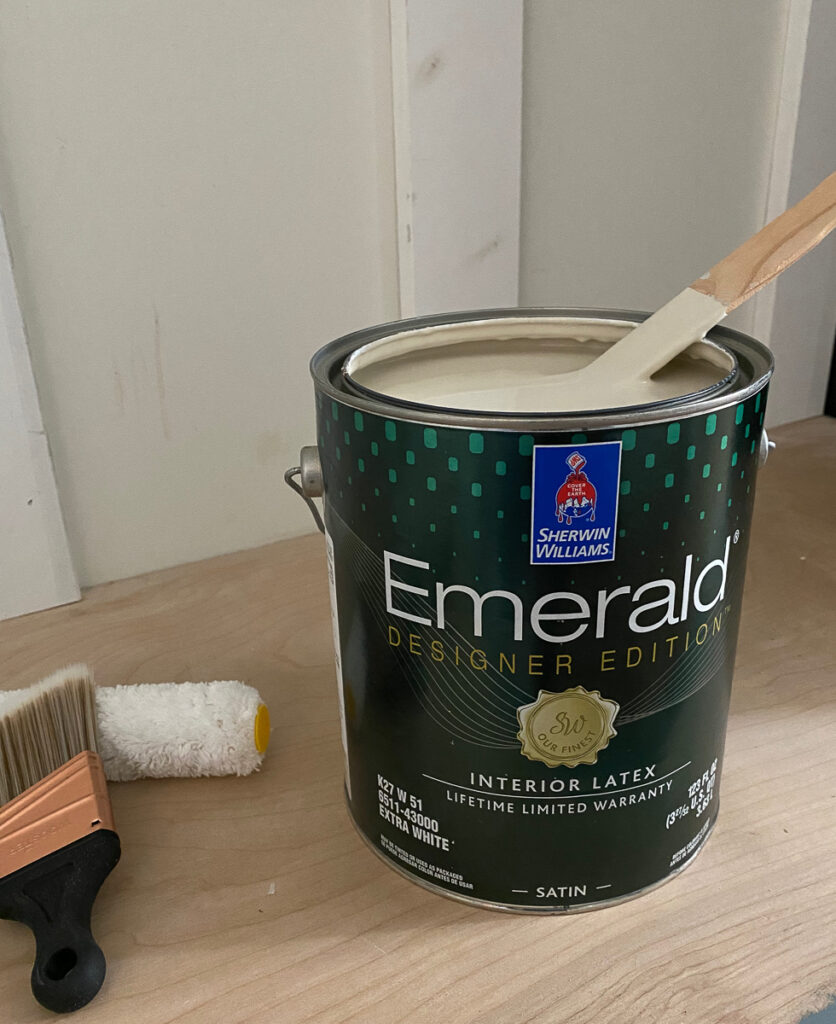
The lower portion of the walls are painted Minimalist as well as the bins for continuity.
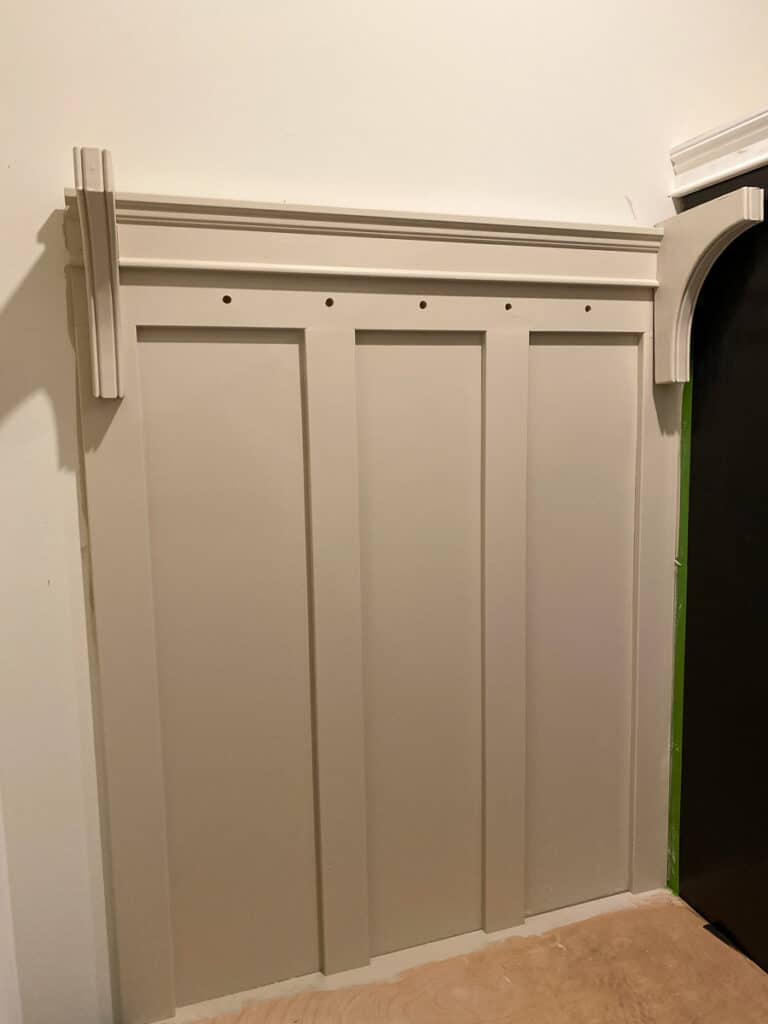
I still need to trim out the main tall cabinet in a panel-style that will add some character to this basic Ikea cabinet. I also added trim to the top and a baseboard to add to the finished look.
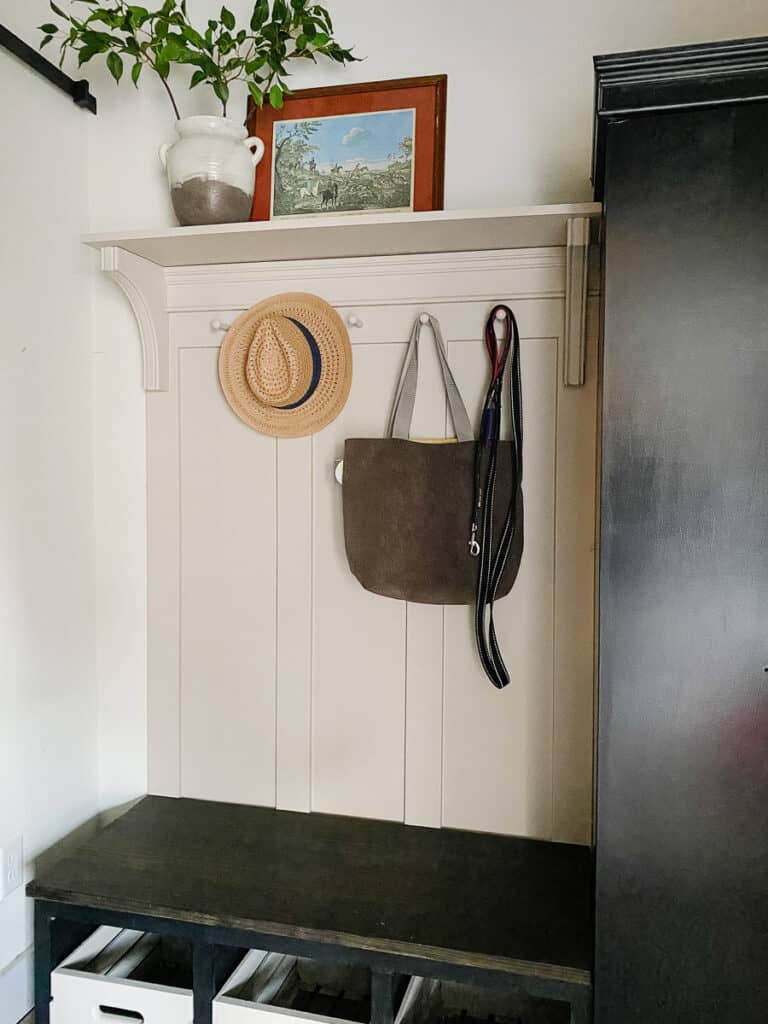
In this image you can see a little sneak peek of the sliding door hardware by Miseno from Build.com. It got installed this week too! I was extremely happy with the quality and the ease of installation.
Laundry Room Built-Ins
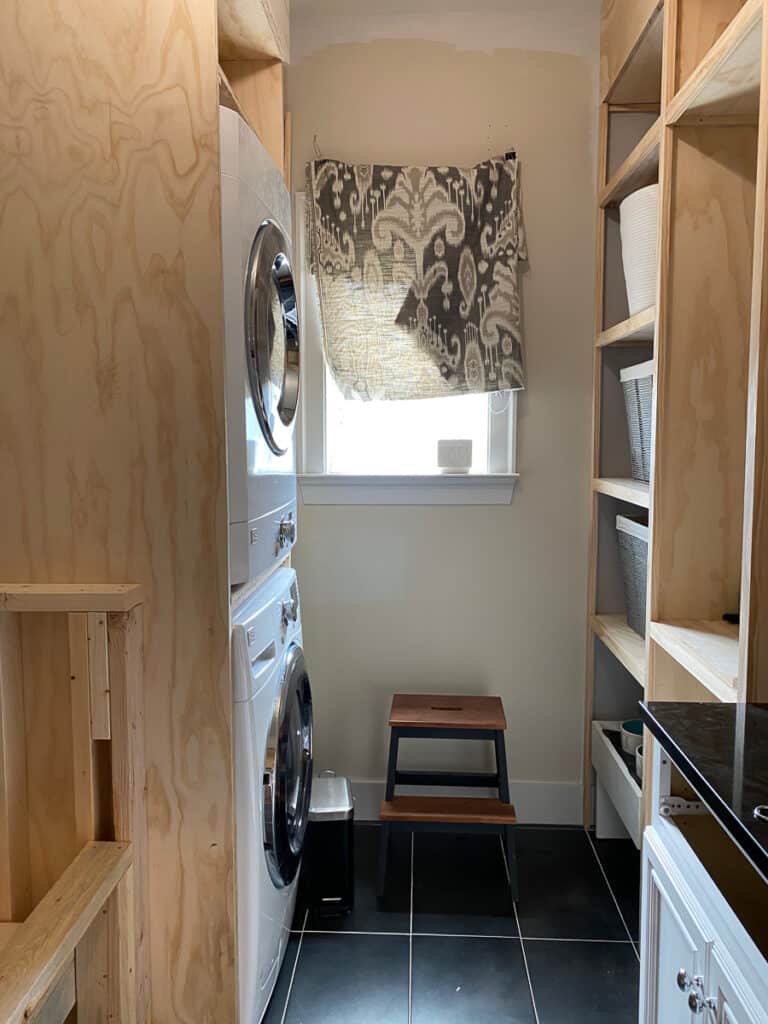
If you look closely at this photo, I did some finishing work on the built-ins. Adding trim to the rough edge of the plywood is the finishing touch before priming and painting.
The Week Ahead
Beginning on Thursday, my focus will be installing the brick wall in the laundry room, above the dog washing station and the cabinet.
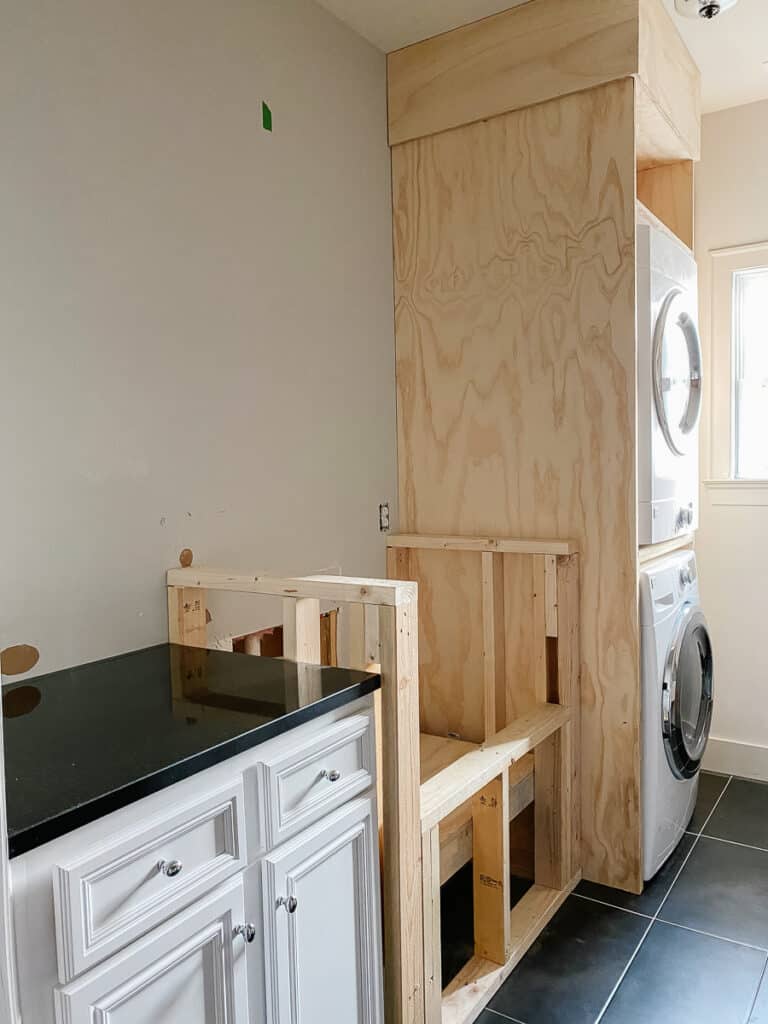
The electrical prep work was finished over the weekend. Be sure to follow along on Instagram or Facebook Stories for tips on installing the brick wall.
Full Project Check List
Laundry Room
Build built-in storageBuild a dog wash base- Add moulding and finishing details
- Prime and paint built-ins
- Build drying rack
- Build dog feeder
- Install ironing board
- Install dog food bin
- Install plumbing in the dog wash
- Tile dog wash
- Grout dog wash
- Install brick wall on washing side
- Grout brick wall
- Prime and paint brick wall
- Change the hardware on cabinets
Mudroom
Finish moulding on benchPaint benchBuild bench topStain and finish bench topRe-paint tall cabinet- Add trim to tall cabinet, still need panels
Install board and battenInstall shelf and peg hooks- Paint walls
Find sliding door- Paint or finish sliding door
Hang sliding door/sliding door hardware- Hang sliding door
Be sure not to miss the Featured Designers and their virtual projects with High Point Market. Also, visit the hundreds of other Guest Participants linking up their projects each week!!


This season I am so thankful to have Build.com as a major sponsor for this makeover. Paint sponsor is Sherwin Williams, featuring their new Emerald Designer Color Collection. Brackets by Osborne Wood Products, Fabric by Calico Fabrics and moulding from Novo Building Products.





2 Comments
MichelleVug
October 26, 2020 at 11:11 pmTry it
https://hideuri.com/VRyJvw
Laura Fields
March 31, 2021 at 3:15 amFantastic work.
I admire your talent. I have a desire to make small repairs in the nursery, as for me it is a great opportunity to follow your recommendations.