Designing a Listening Room Media Wall, Optimizing Component Storage with Ventilation
We are well into Week 3 of the Fall 2022 One Room Challenge! I am pleased with the great progress our contractor made over the last week. All of the construction and mess of drywall is behind us. Aside from the finishing details of paint, wallpaper and lighting all of the major lifting is complete and it is just week 3!

What is the One Room Challenge?
It is a biannual event where designers and design enthusiasts worldwide are challenged to complete a room makeover in 6-8 weeks! It’s incredible to see this community come together each season and cheer each other on! Many thanks to Linda for having the vision to create such a transformative and communal event that is so exciting to watch and participate in.
The best part of the challenge is that participants share the process with design enthusiasts like you. It’s super exciting the in the 10th year of the Challenge, the media sponsor is Apartment Therapy.
In case this is your first time here, a little about me. I am Leslie and am an interior designer and renovation consultant at Deeply Southern Home. I started blogging about home interiors and DIY in 2011. I have participated in and completed 12 One Room Challenges and transformed more than 16 rooms in our homes as part of the challenge. (If that math seems a little off to you I often makeover more than one room. In my 8th season, I was honored to be a Featured Designer and I tackled our living room, dining room and foyer.)
In case you missed the first two posts, feel free to navigate to them from the links below.
Week 1- What is a Listening Room? || Week 2- The Design Plan
Designing a Listening Room Media Wall
Over the last two weeks, I have shared this image of the design of the built-in wall in conjunction with the design plan. I have also shared a few highlights about the design of the structure.

In this post, I am going to go into greater detail and the specifics on how good design and practical necessities of audio equipment can coexist.
Let’s look a labeled version of this drawing in generalized terms. Note that I am not the Audiophile behind this room. A detailed explanation of the actual audio design and technology behind the way the sound will be set up in the room to my client will be left to the expert, my client, in a later post. (When that post is up I will link it here.)

As this image shows there were the defining components and necessities to the design of the built-in wall. Many of the components had obvious requirements.
The turntable needed head room above for functioning. The tower speakers needed room to let the sound “breathe” and reverberate. Storage of the vast number of CD’s, albums and other memorabilia was also important.
My goal was to make these required elements integrated into of the design of the cabinetry and ultimately features of the design. It is a listening room after all.
By adding a very dark wallpaper to the back of the built-ins, the black components like the tower speakers, center speaker and the television will become less prominent. The black will actually compliment the wallpaper instead of compete for attention in the room.
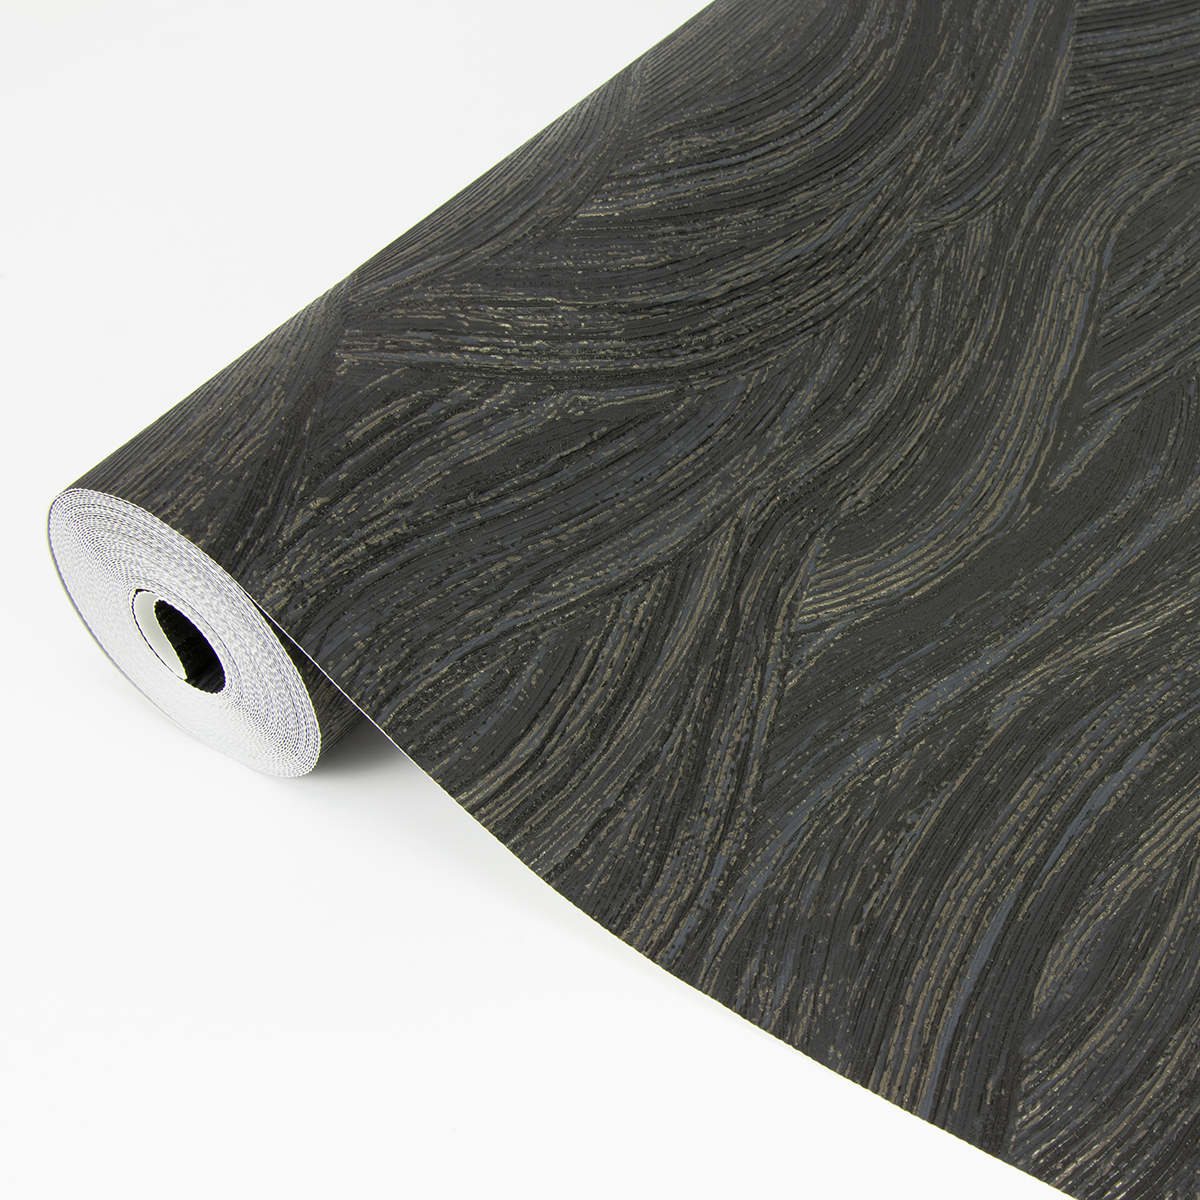
The textural wallpaper with just the right dose of gold glimmer arrived this week! We are all absolutely in love this selection from one of our sponsors, A Street Prints. We will be saving the wallpaper until near the end of the challenge. The new paint should cure as long as possible before the wallpaper is installed.
Providing Ventilation
The less obvious requirement, to the average person like me, was the amount of ventilation needed for the amplifiers. The amplifiers that will reside in these two outside cabinets generate a great deal of heat. So I designed several ways to provide proper ventilation. Those cabinets under the tv will feature metal ventilated panels, an open back and the sides of the wood cabinet will be drilled for holes.
Ventilated door fronts
Steel sheets in this round staggered center pattern provide a 58% open area.


Open back
Our contractor also left the back of this section of cabinetry completely open along the sides. I thought that was another brilliant solution that will be barely noticeable after the dark paint and wallpaper goes on.
Ventilation holes
And lastly, ventilation holes will be drilled into the wood along the sides of these units in this mid century modern inspired pattern.

Construction of Built-ins
Here is a progression of how the built in wall was constructed. A new wall was built in front of an existing wall with added Rockwool Safe and Sound insulation to help provide the very best sound damping possible. This wall of the room is shared with a two story living room below so reducing the sound transfer to that room was vital.

A two by four base was built to support the boxes and elevate them above the carpet.

Boxes were built with birch plywood and trimmed out with 1×2 finishing pine.


Shaker style cabinet doors were built and installed. Finally, crown was added along the top as a finishing touch.

By the end of this week, the built-in wall was primed and ready for a gorgeous moody paint color. Are you as ready as I am to see this color go on?
Don’t forget to take a look at the progress of the hundreds of room makeovers happening at the One Room Challenge. And special thanks to Apartment Therapy as the media sponsor for the 10th year of the challenge!
Sponsors
I can’t wait to continue to share more about my generous sponsors. Come back next week for more!

Blueprint Lighting NYC || Loloi Rugs || Wovenbyrd || A Street Prints


Oh wow, this is going to be amazing!
Excited to see the outcome! Will be following this!