Combining one of my favorite decor objects, the cloche, with dried florals that fit into my fall color scheme. Obviously, dried florals don’t have to be relegated to fall, but they seem like a perfect match for the end of summer.
So, happy September 1st, my friends! It still doesn’t feel like fall here in Alabama but, as I explained to my family when I started gathering “all the fall things”, decorating early is my way of willing fall to fruition. Of course, we all know it will indeed come, so I’m not wrong.
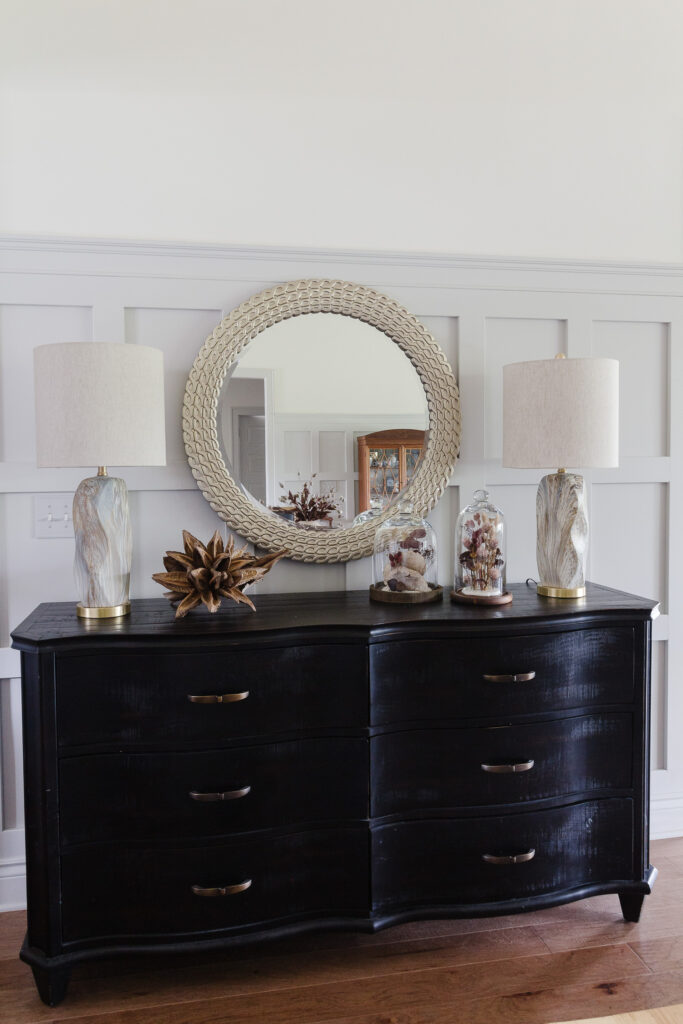
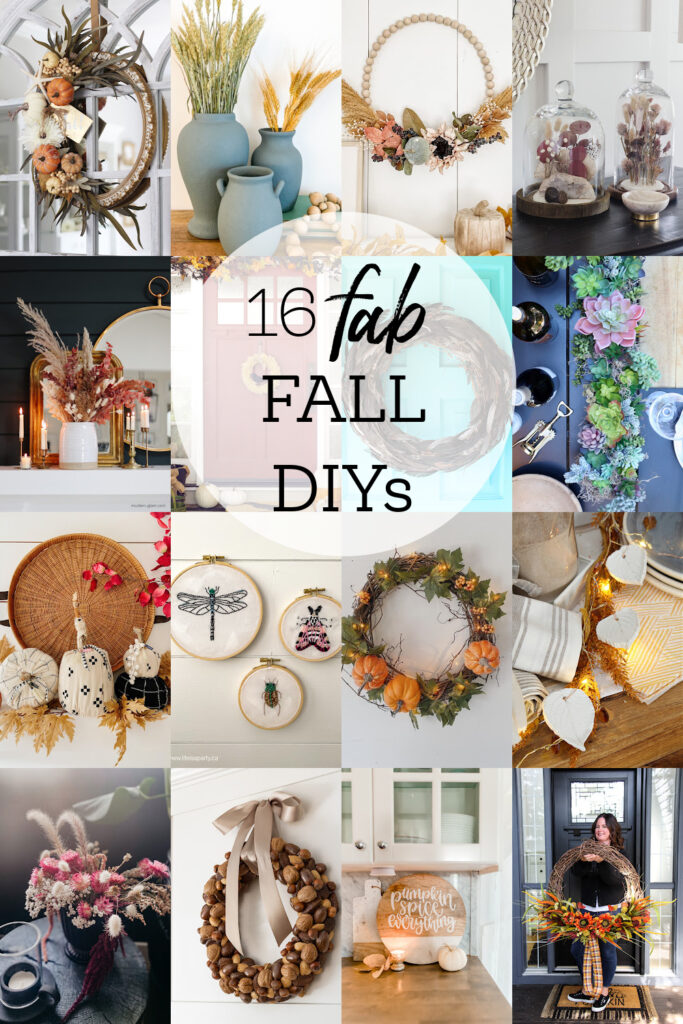
I’ve teamed up with my friends from the Seasonal Simplicity Series to share a Fall craft. Be sure to check out the links below. There’s something for every style and home, just like yours!
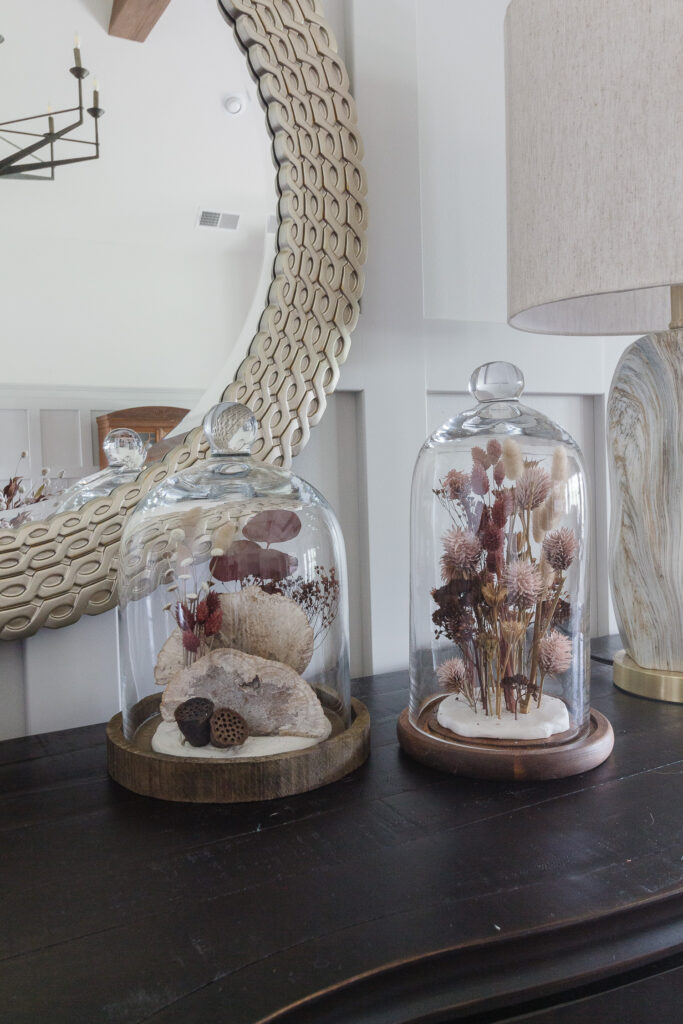
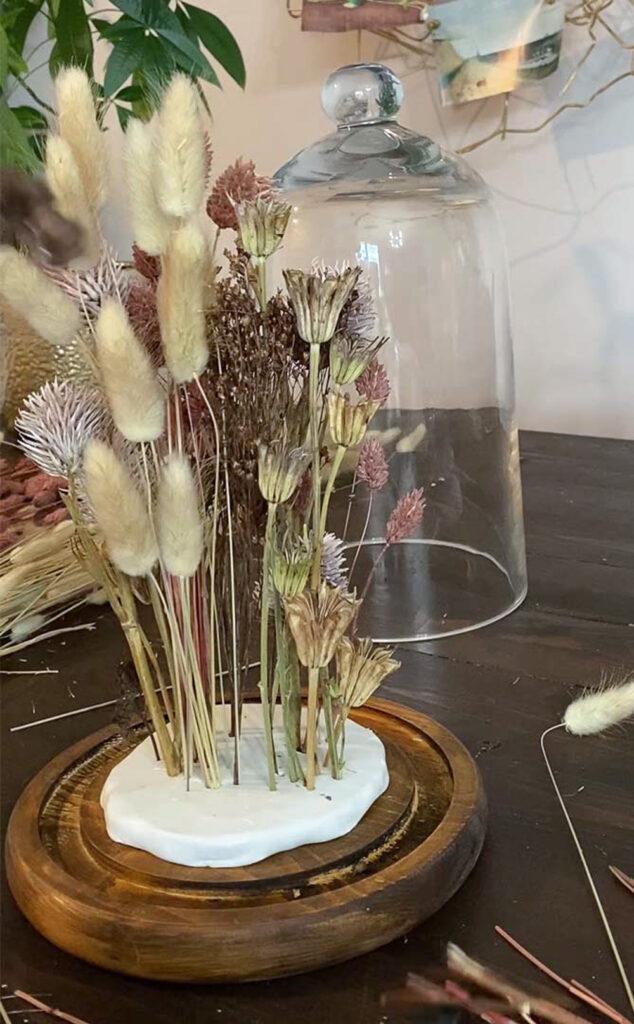
This craft doesn’t require you to be an expert flower arranger. You could easily make this much more simplistic, with just a handful of stems and call it done. In all honesty, that was sort of my plan, but you can see the maximalist in me won over those simplistic ideals.
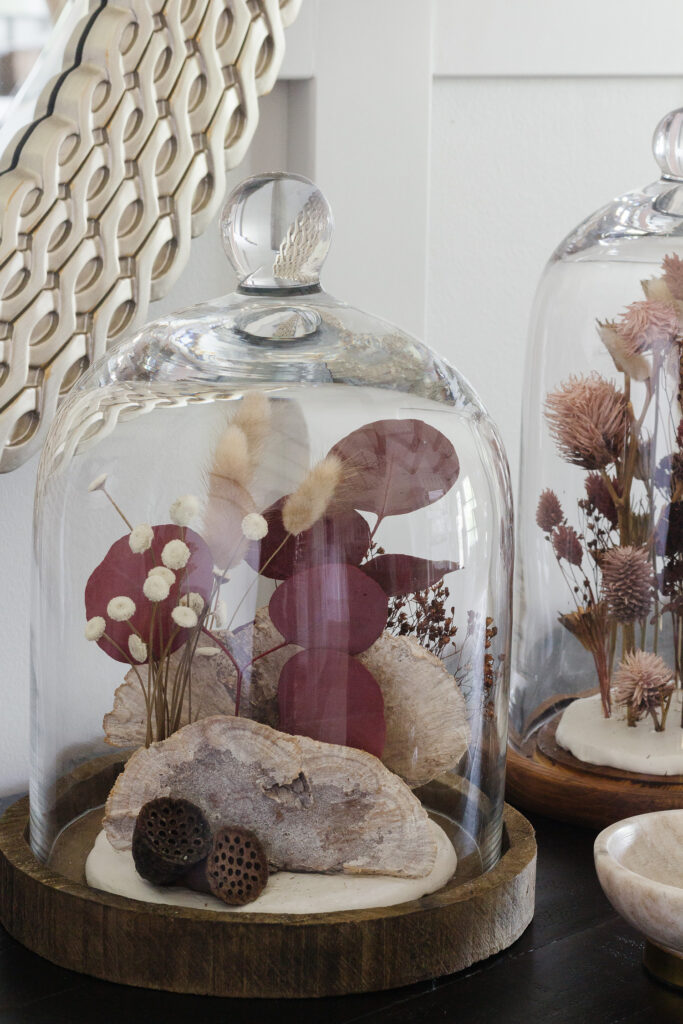
If you look closely at the wider cloche in the previous images you can see I made a subtle change after looking at it for the next day or so. There are no right or wrong ways to do this, and I have proven if you don’t like it, you can likely make a few changes over the time it takes for the clay base to dry.
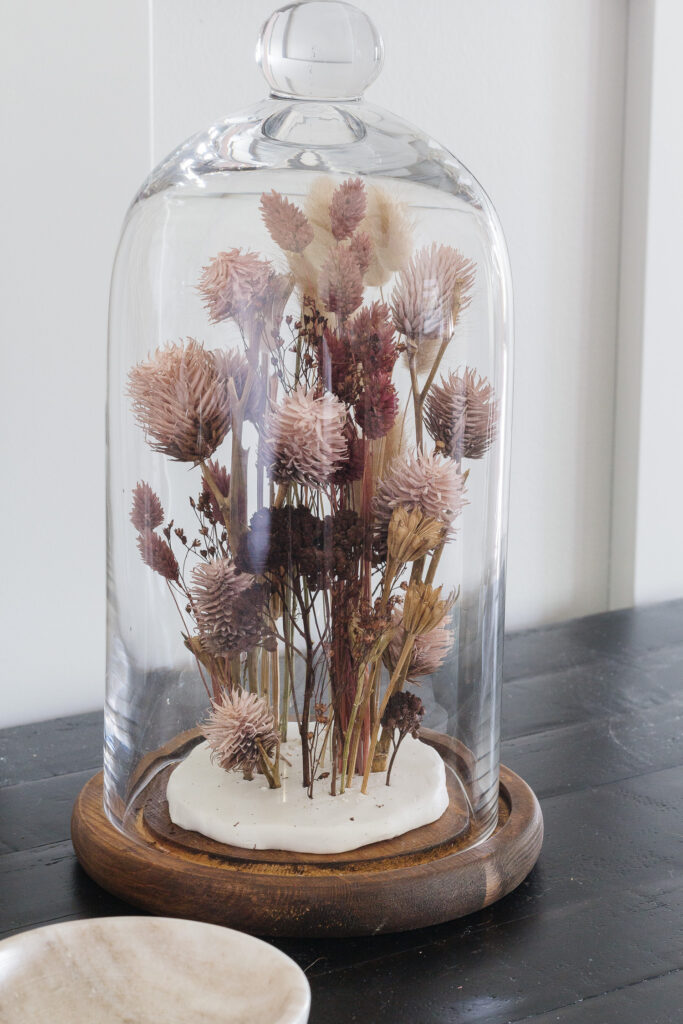
Materials:
Glass Cloche (Thifted or new)
Sculpy Air Dry Clay
An Assortment of Dried Florals
I’ll share some links to dried florals, but some of these were found at my local Hobby Lobby in the dried floral department.
Tools:
Scissors
Small flat dish or rolling pin
Before I get into the how-to, let me encourage you to stick with Sculpy brand clay. I tried a different brand on the wider cloche and it wasn’t firm enough at the start to hold the stems. I ended up adding Sculpy balls to the other clay to make the florals stand up.
Step 1: Create a clay base.
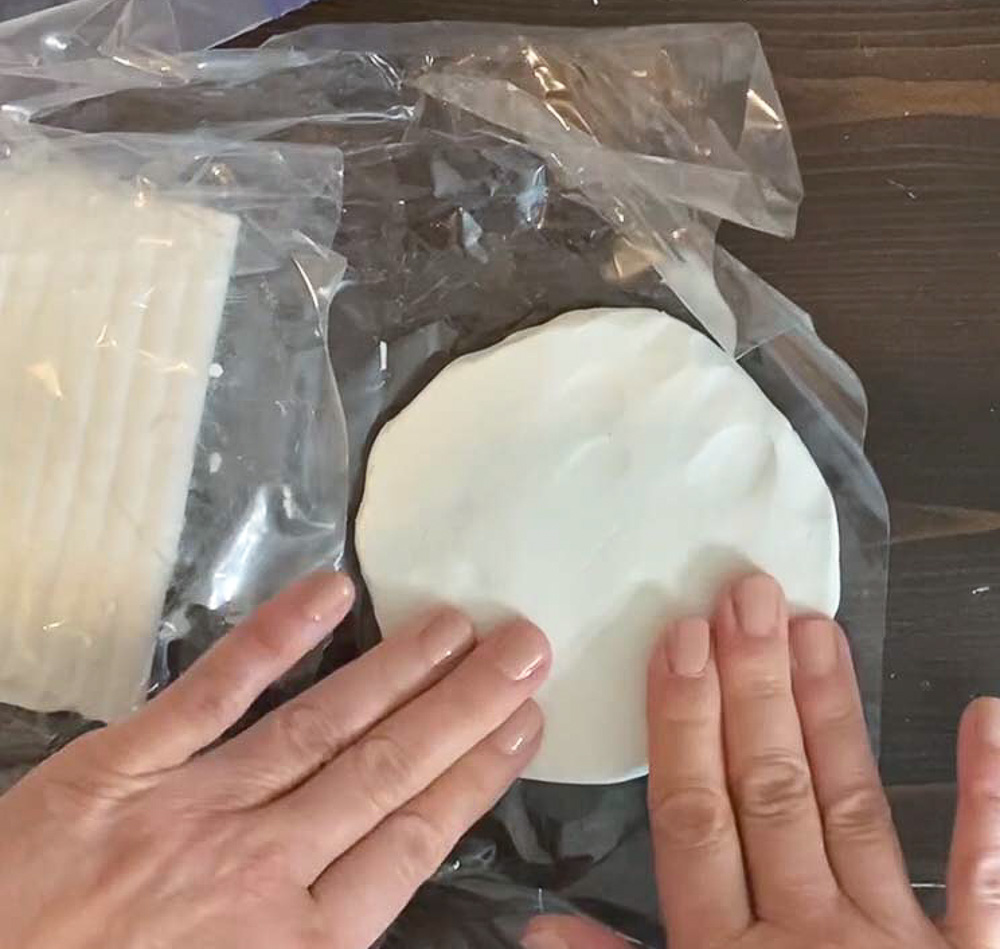
Tear a ball of clay from the package and shape it into a small disk. Make sure it covers most of the base of your cloche but is small enough to fit inside the glass.
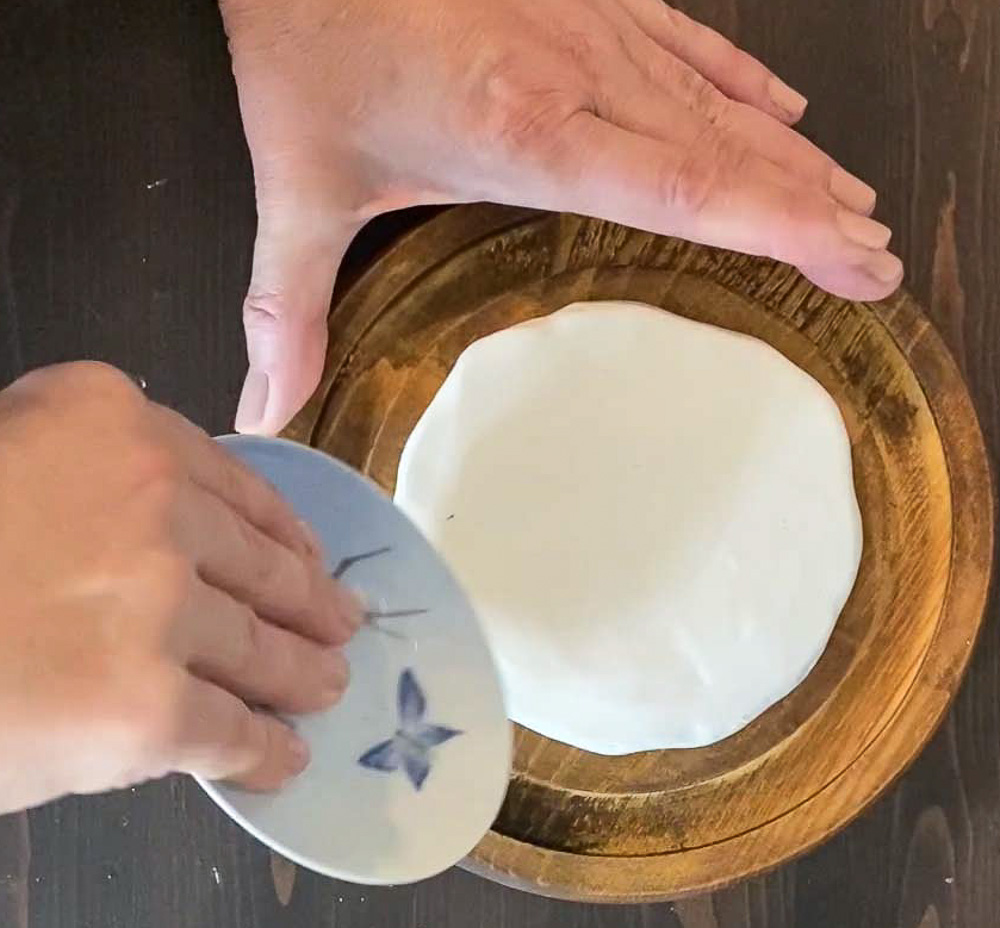
Use a rolling pin or a small flat dish to smooth out the fingerprints and impressions.
Keep your clay at least 1/4 inch to almost 1/2 inch thick to support the stems.
Step 2: Secure clay base to the bottom of the cloche.
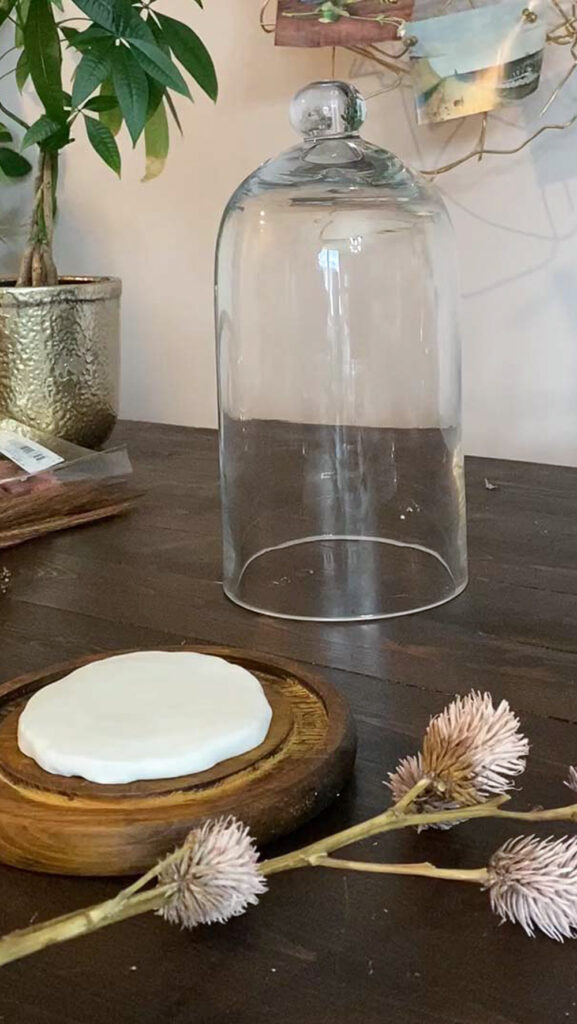
My clay stuck nicely after being pressed into the wood. If you have a metal base, try a little hot glue.
Step 3: Add flowers to the clay.
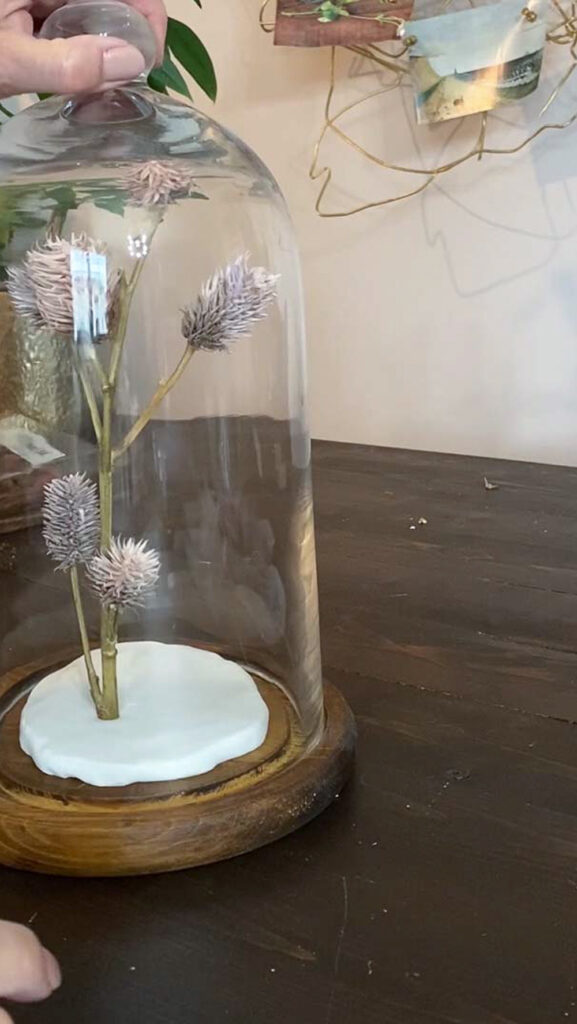
As you push the stems into the clay, check that the stems are short enough to fit comfortably under the glass.
Step 4: Top it off the the glass and enjoy!
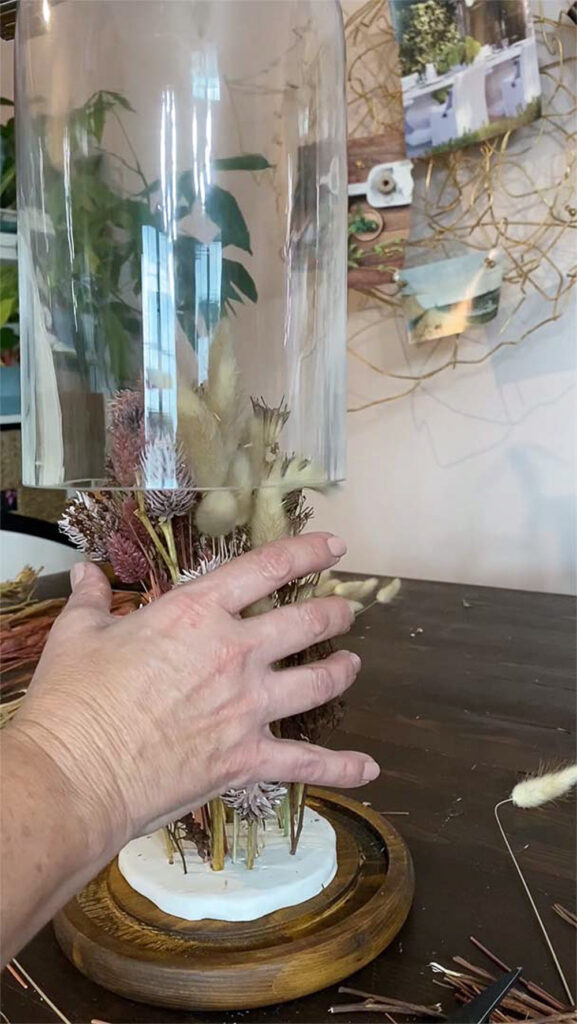
If necessary, use your hand to gently squeeze the flowers under the cloche lid.
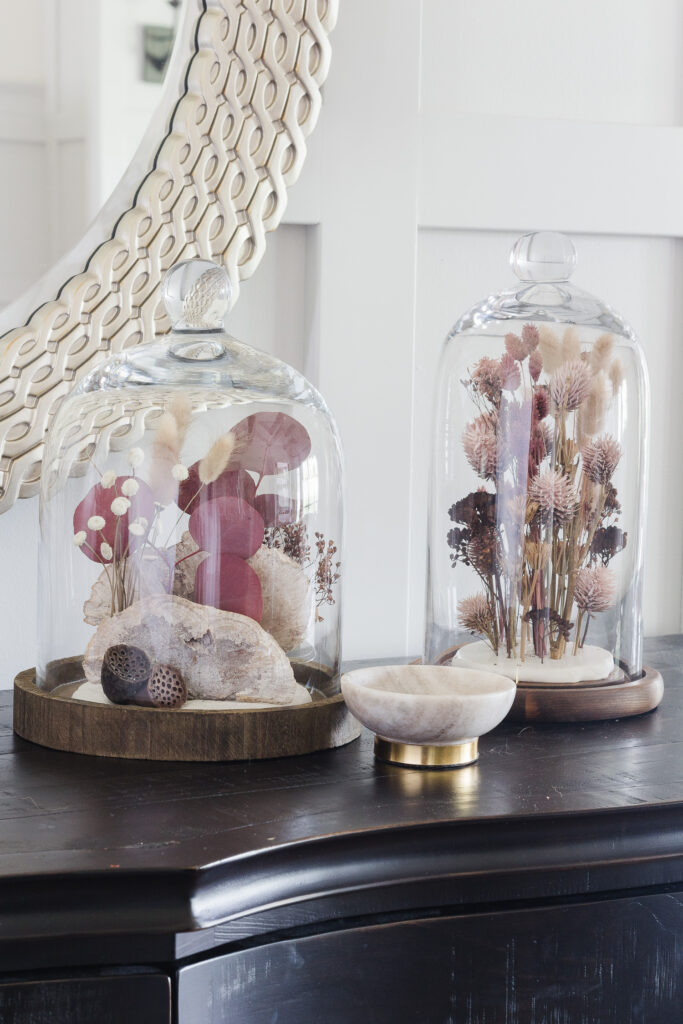
I truly love having these little moments of curiosity in the dining room. They beckon you to come closer and see all the little details.

Shop the Look-Dried Florals

DIY Textured Vase at The Happy Housie
DIY Fall Frame Wreath at Confessions of a Serial DIYer
Dried Floral Cloche at Deeply Southern Home
Fall Wreath How-to at Hallstrom Home

Fall Dried Flower Arrangement at Modern Glam
Elevated Toilet Paper Pumpkins Free Craft at Tatertots and Jello
DIY Inexpensive Fall Wreath at The Happy Happy Nester
How to Make a Fall Wreath at A Pretty Life

Air Dry Clay Leaf Twinkle Lights at Clean & Scentsible
Embroidery Insects at Life is a Party
Dried Florals for Fall at Lemon Thistle
DIY Feather Wreath at Dans le Lakehouse

DIY Fall Wreath Tutorial at She Gave it a Go
How to Make a Succulent Table Runner at My Sweet Savannah
DIY Fall Harvest Nut Wreath at Sincerely, Marie Designs
DIY Fall Cutting Board with a Cricut at The DIY Mommy
Don’t forget to Pin it!!








6 Comments
Jo-Anna
September 1, 2021 at 9:23 amThese are so lovely Leslie! Great idea using a clay base to hold the stems up…these look great!
Rhonda Hallstrom
September 1, 2021 at 12:50 pmSo beautiful! Great craft
Jenn
September 1, 2021 at 6:56 pmVery pretty! Love the colors!
Christy James
September 2, 2021 at 3:09 pmThe way you styled the florals in these cloches is just perfect! Smart idea to use clay too! XOXO
Sarah @ The DIY Mommy
September 10, 2021 at 2:10 pmUsing the clay to stand your florals in the cloches is so clever. Thank you for sharing.
Colleen Pastoor
September 13, 2021 at 10:40 amVery beautiful Leslie. I love your fall colours.