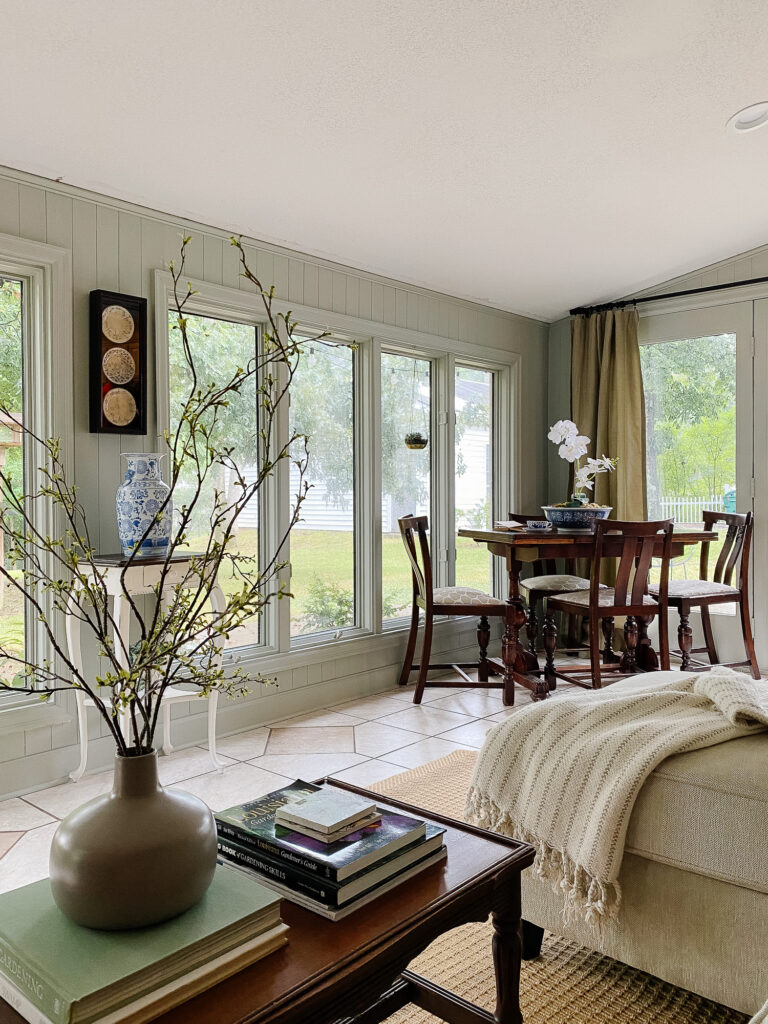
No matter what decor camp you fall in, traditional, cottage or farmhouse, tongue and groove paneling is having a “new” moment. The wonderful thing about trends like these is they are so firmly rooted in the traditional construction of homes. I don’t think they ever really go out of style.
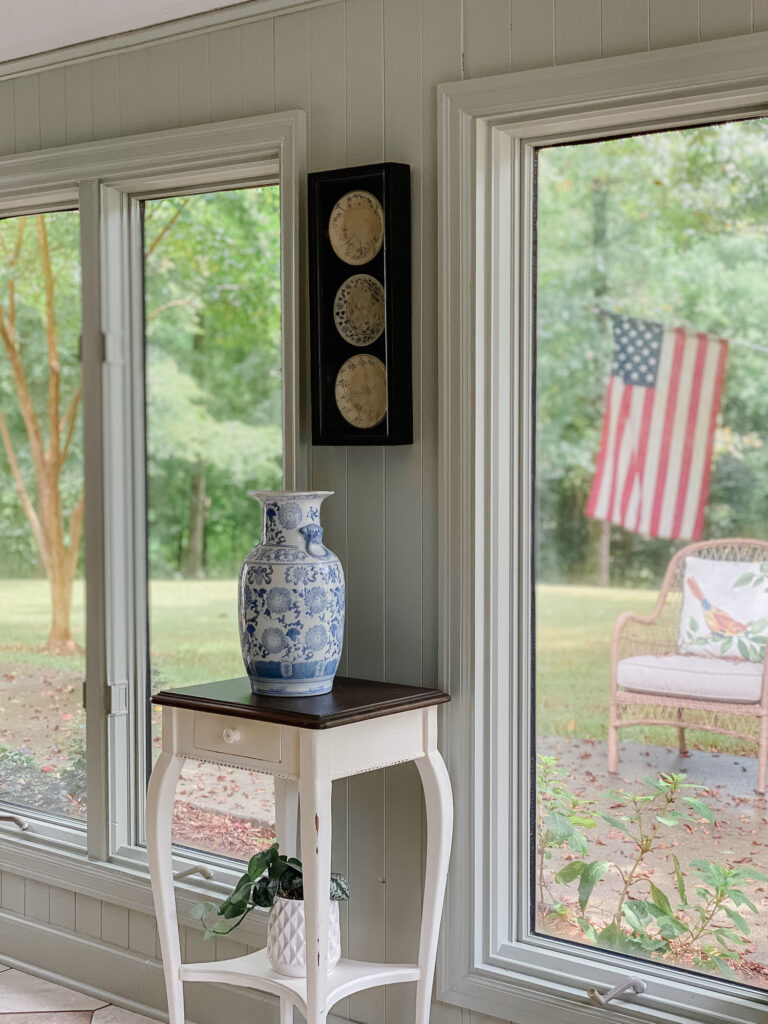
So no matter what you call it, upscale paneling, V-planking, textured joinery or vertical shiplap it appears the look has made a resurgence and I am here for it.
In this blog post, I share a recent tongue and groove project and some helpful installation tips for and how to.
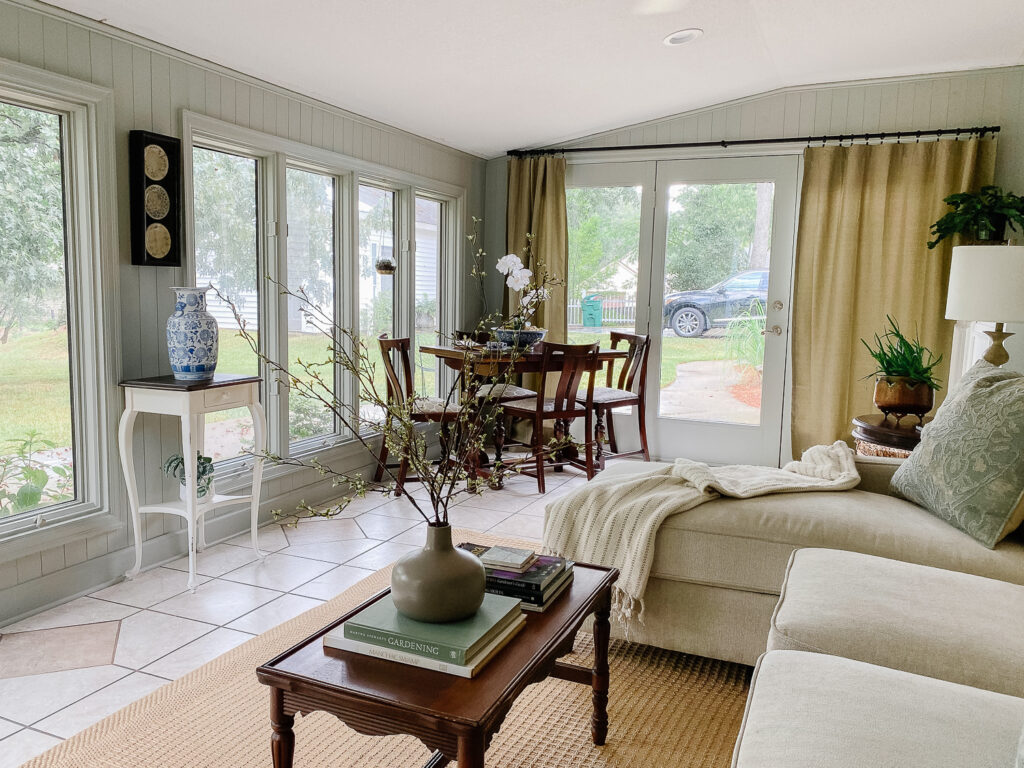
An Inexpensive Alternative
The best news? The product you see here, what we installed in my best friend’s sunroom, is the most cost-effective and eco-friendly way to get the look. I think it looks like the more expensive counter parts and is much better looking than the “fake” versions. I’ve seen people achieve a paneling look in many different ways, from cutting plywood, to using various sized stock wood. This thinner product is far more economical than the thicker alternatives and looks just as good. I don’t see why you would use anything else.
Here’s a close-up of the tongue and groove panels. They are only 5/16’s thick, but more substantial than the thin luan that was used previously in my friend’s sunroom addition.
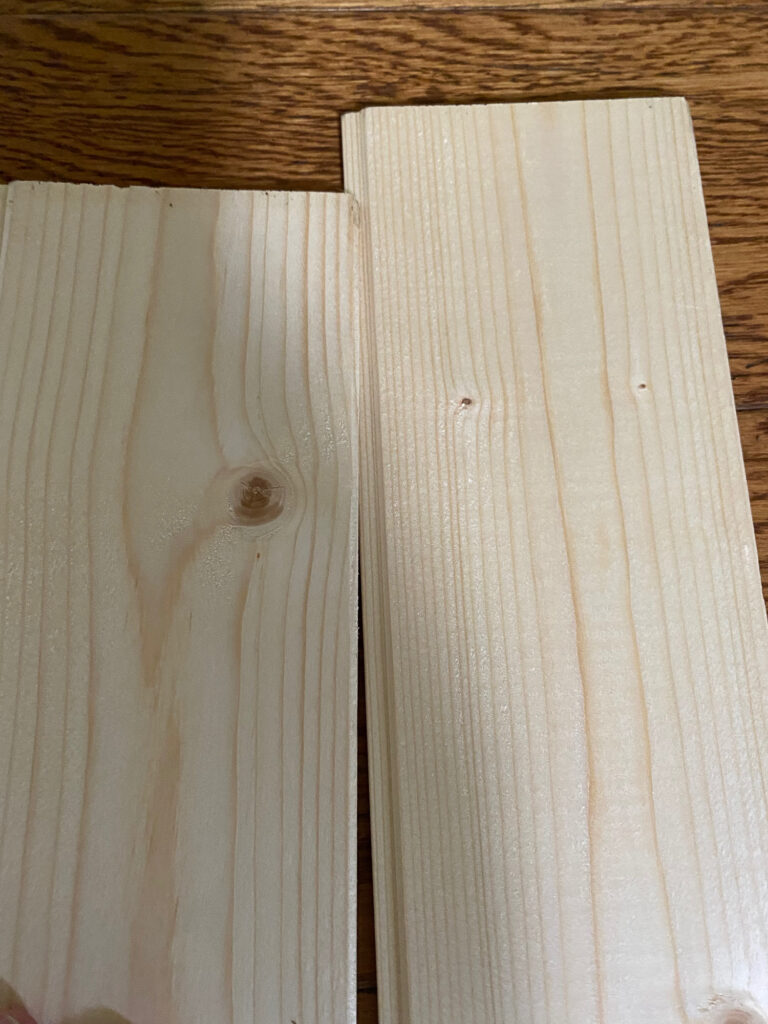
We were able to pick up these boards at her local Home Depot. Here’s the original link. But once I returned home to Birmingham, I realized this is only available in stores around Louisiana.
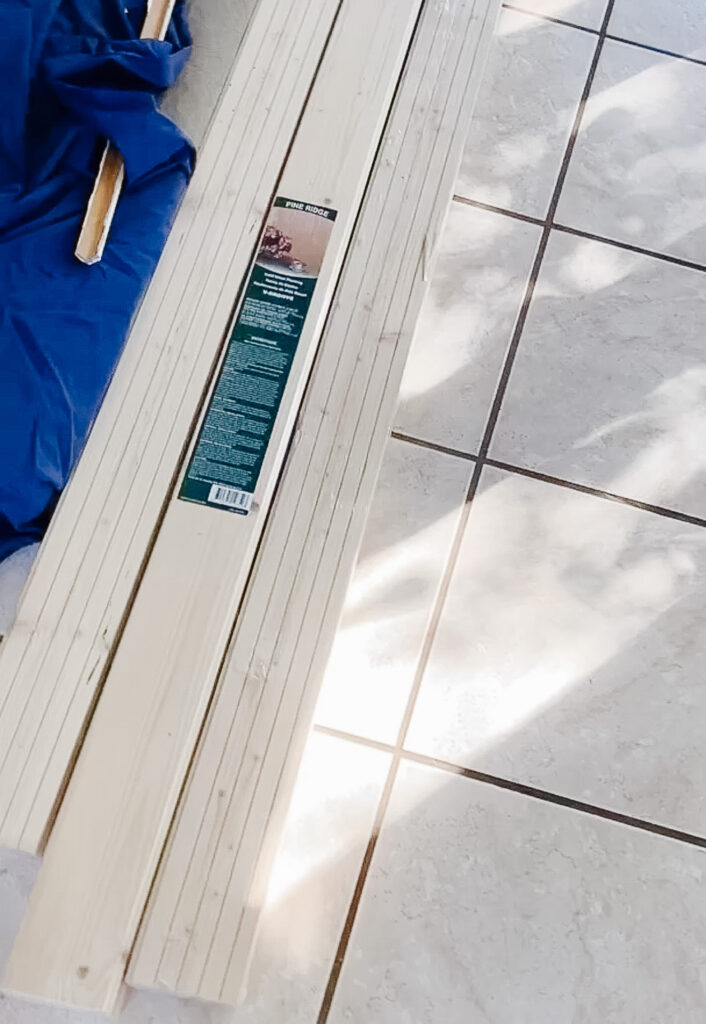
We did some research and I found these Pine V-Plank boards listed in boxes instead of packages and available for shipping and home delivery. They are nearly identical to what we used.
The Before

All these years I have been in this room, I had no idea the previous homeowners had used thin luan type wood to clad the walls in this sunroom addition.
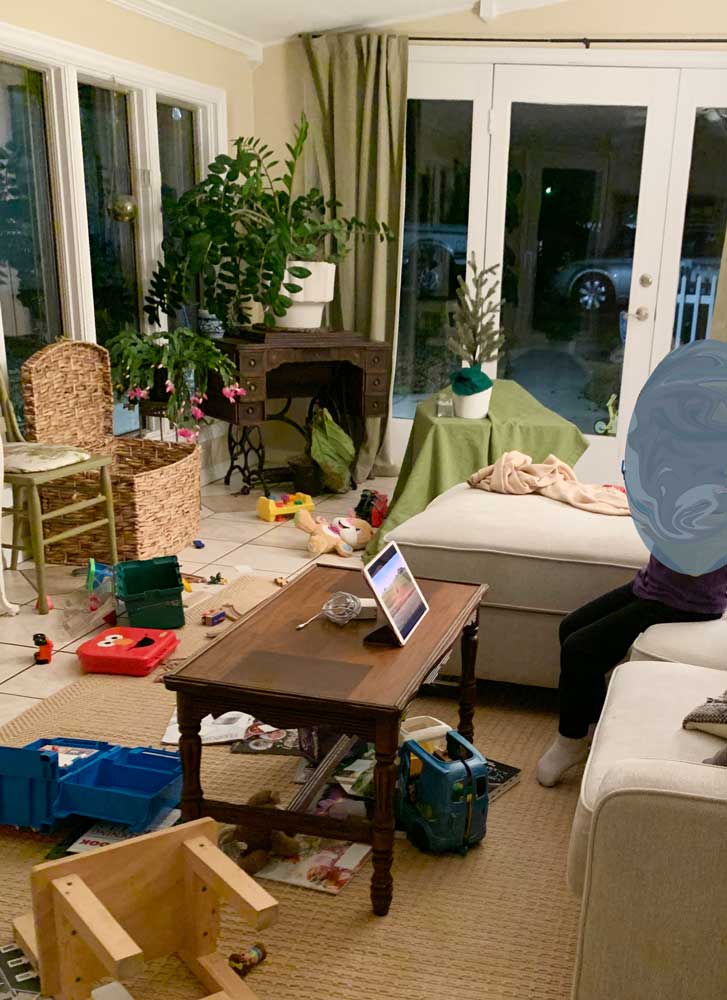
Recently, my friend wanted to repair a spot that had long ago had water damage. The luan had bubbled and as she started to pull away the wood, she discovered there was rot on the structural 2×4’s under the window. Of course, that opened a big can of worms. Should she try to patch in the hole with a similar material or go in a different direction?
We did some price checking and calculations and realized she could replace all of the wood sheets with this V-Planked tongue and groove for about $250. I’ll share all of the other costs at the end.
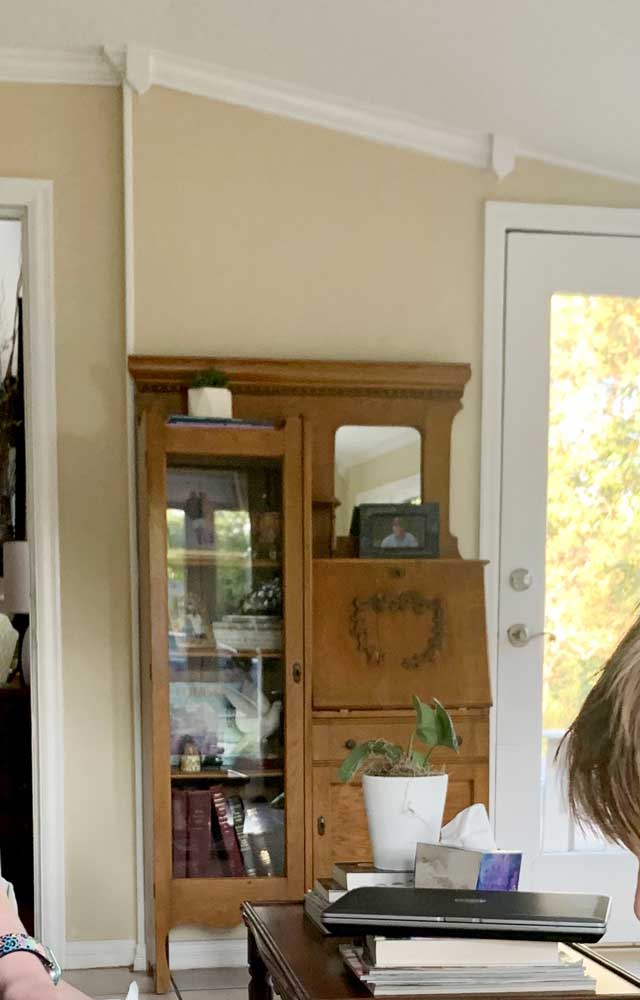
The one thing I couldn’t wait to fix was the goofy way the previous owner handled the crown moulding.
Prep & Installation
By the end of the first day got all of the trim and old wood off.
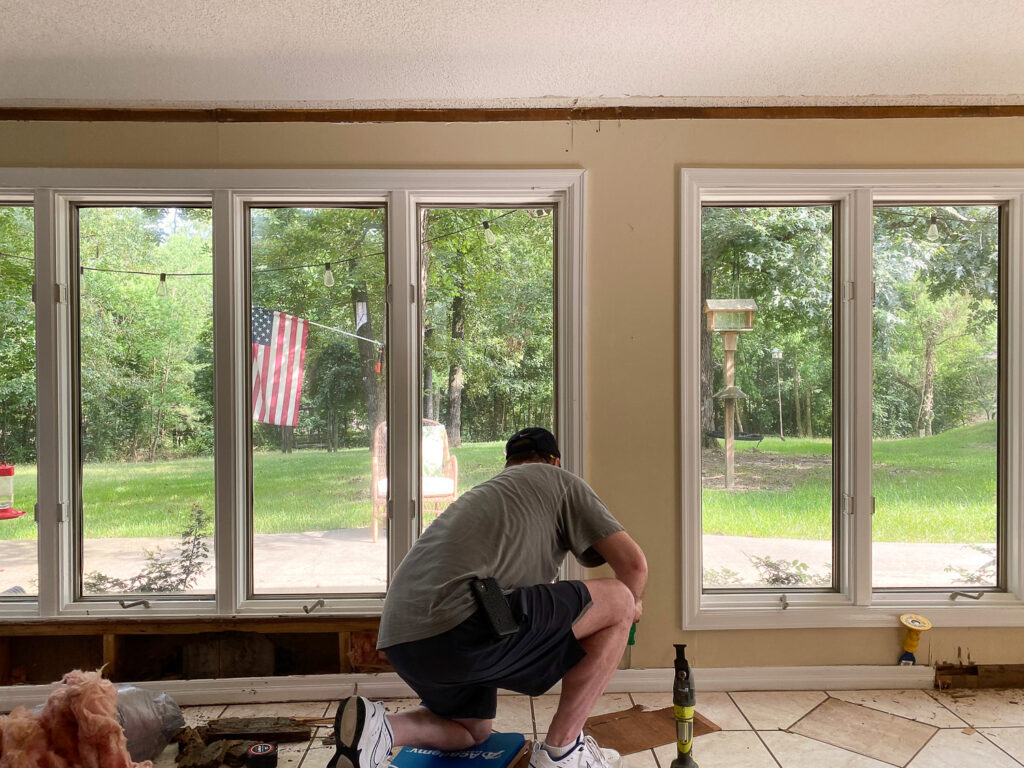
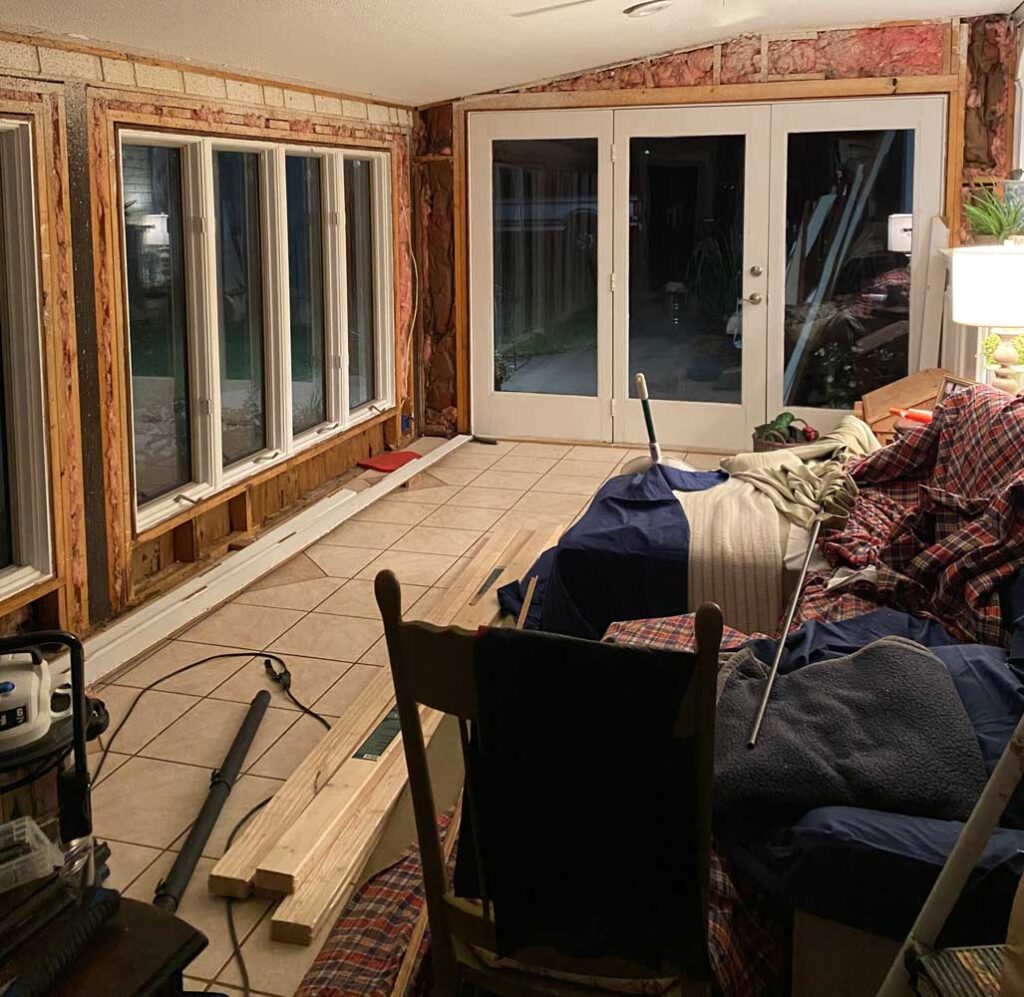
We planned to re-use the window and door casing but replace the baseboards and crown with more appropriately sized trim.
Before we could install the paneling, we realized we needed to add blocking to the middle of the structural walls. The areas where there was a full expanse of wall, (not around windows and doors) needed center supports.
If you were applying this type of paneling on top of drywall, there would be no need to add additional support. Just nail into the drywall in an “x” pattern so that the nails don’t pull away.
Be sure to let the wood acclimate to the room it is going to be installed.
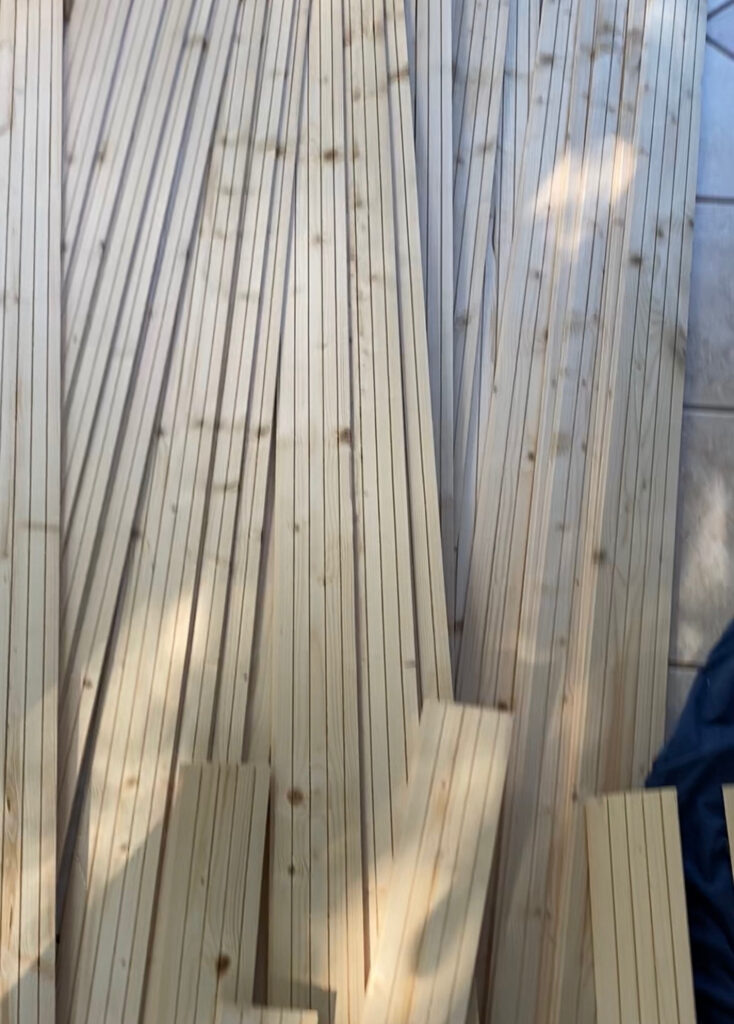
We also knew that she wanted to add a small Frame Tv to the space, so we added a 2×6 to support the brackets for the TV.

The panels slide together fairly easily because of the tongue and groove. If you were able to have a hand to hold the bottom in place while you slid in the top it would allow you to go faster, but it’s not necessary.
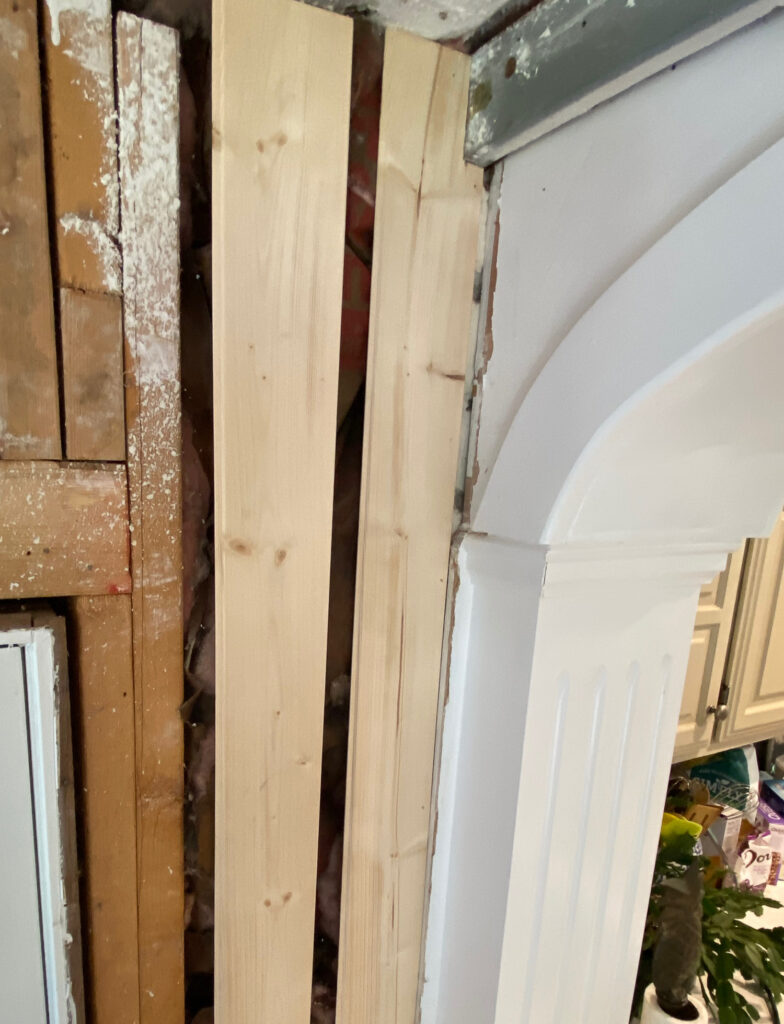
Once the tongue and groove were in place on each board, I nailed them in with my Ryobi AirStrike.
Just be careful not to nail too close to the tongue so that you can still slide in the next board.
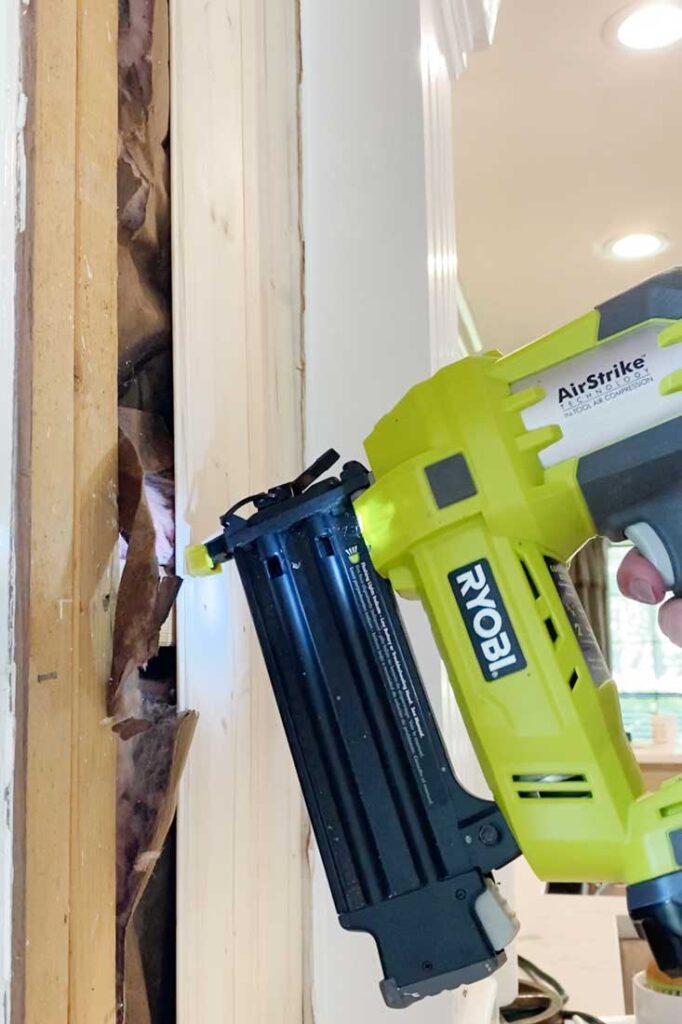
If I were going to add this to drywall I would simply use a pin nailer like this. The boards are not that heavy and the pin nails would give you virtually no holes to fill.
Pay close attention to the nail at the top and the bottom so that the trim covers a majority of your holes. The only holes we had to fill were the ones that were in the middle of the long boards.
To fill in the nail holes, we used my favorite filler, Crawford’s Painters Putty. It’s so easy to use. You take a small ball of filler in your hand and rub it over the holes. Keep passing your finger over the hole until it’s flush. No sanding or anything! It’s amazing stuff!
The angles from the Slope
On either side of the room, the top of each panel needed to be cut to follow the slope of the ceiling.
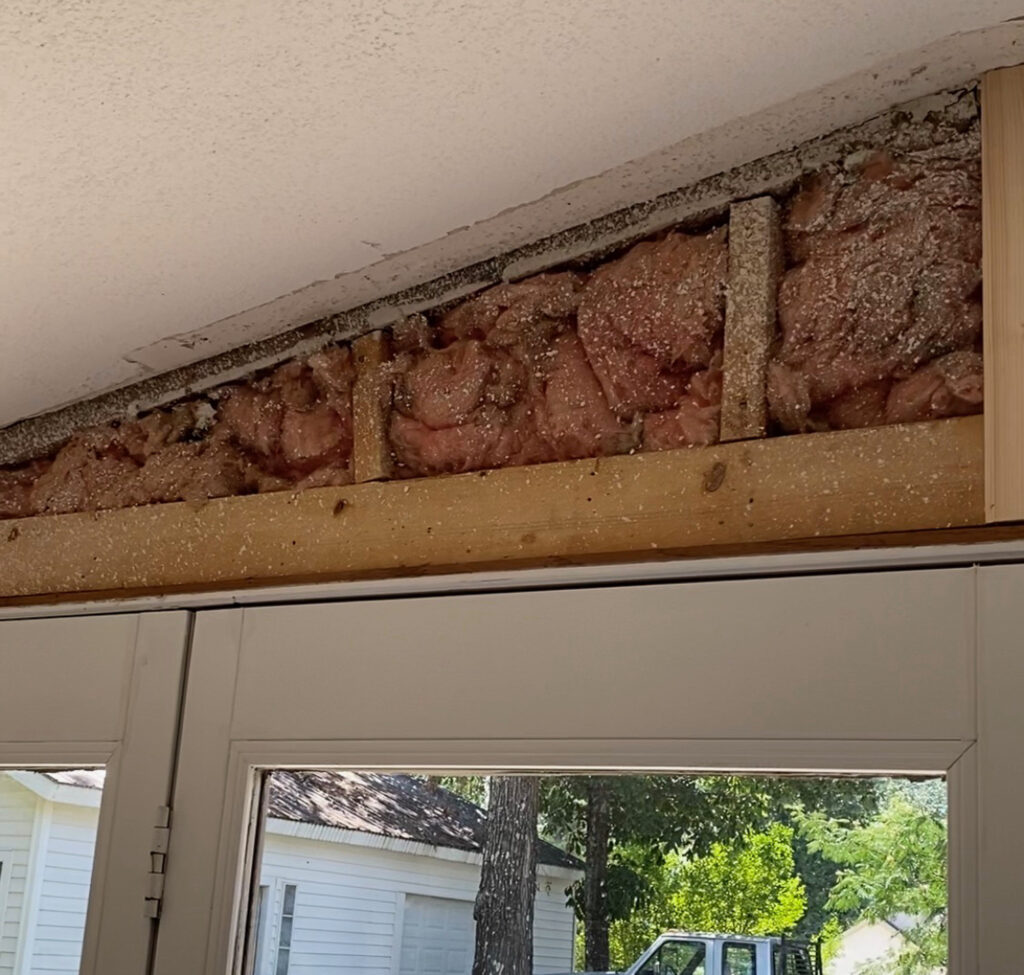
To help us set a guide across the wall, we measured the highest point to the lowest point and then used one of the long panels to draw a line. This told us the exact angle, which ended up being 10 degrees on the miter saw. We were able to quickly cut and install all of these pieces.

On the opposite wall, we took the approach of just measuring every couple of boards and using the 10-degree cut.
Trimming it out
Once we put the door casings and the window casings back on we moved to the trim at the top.
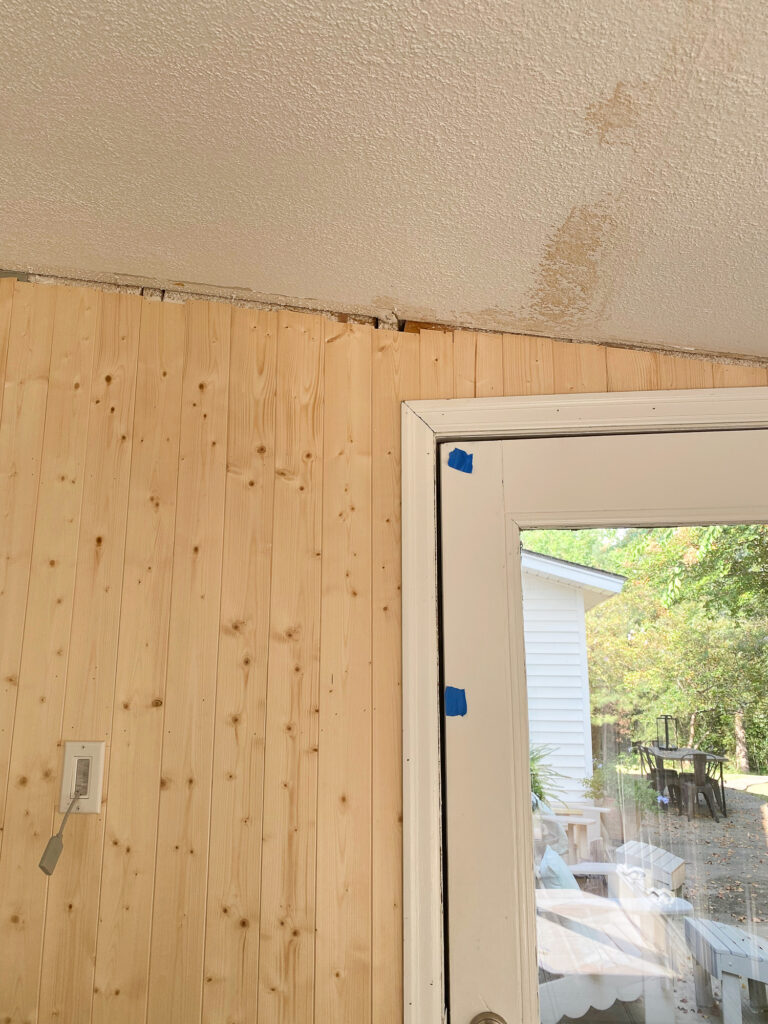
While crown moulding is a suitable option for paneling, in this room it felt out of proportion. With the sloped, low slung ceiling and all of the angles we felt like it was better to go with something smaller.
We opted for something a little unconventional but I think it totally works in here. We used a base cap moulding.

Then we installed a thicker baseboard and shoe moulding to hide the edge of the floor tile.
If you had a thicker style baseboard and casing and were applying it on top of drywall, this type of paneling could easily be added without having to remove them.
Prime and Paint
During the entire process, my friend and I debated on paint colors. While white would have been nice and bright, a softer color worked better for her home’s color palette.
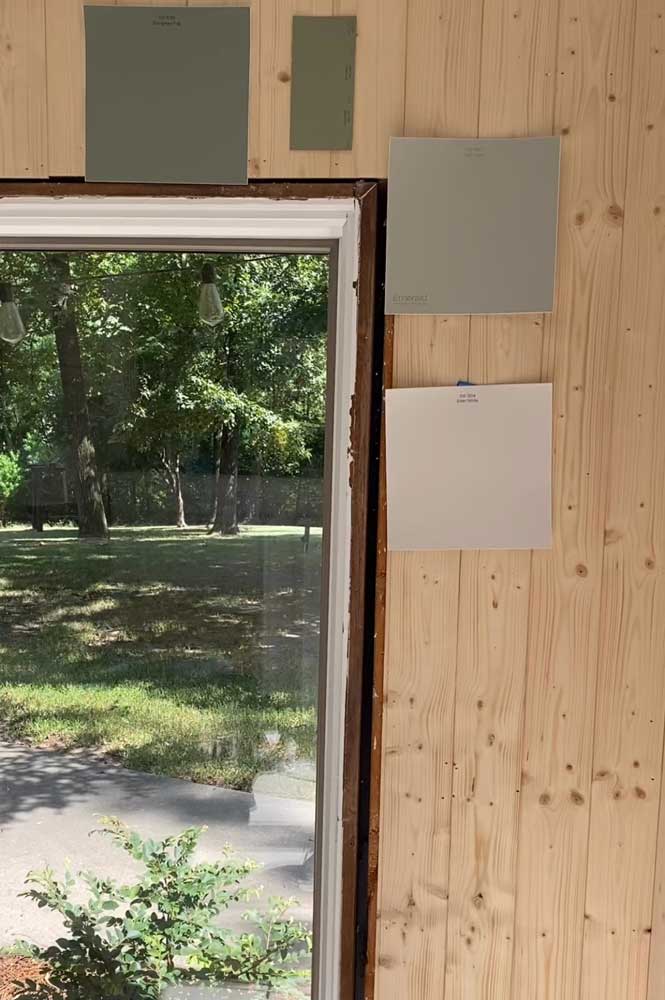
Ultimately we settled upon Soft Sage from Sherwin Williams Emerald Designer Collection, SW 9647.
Because the panels are raw wood, we primed first and then brushed the seams and rolled on the paint. with a 6″ microfiber roller.
THE FINISHED ROOM
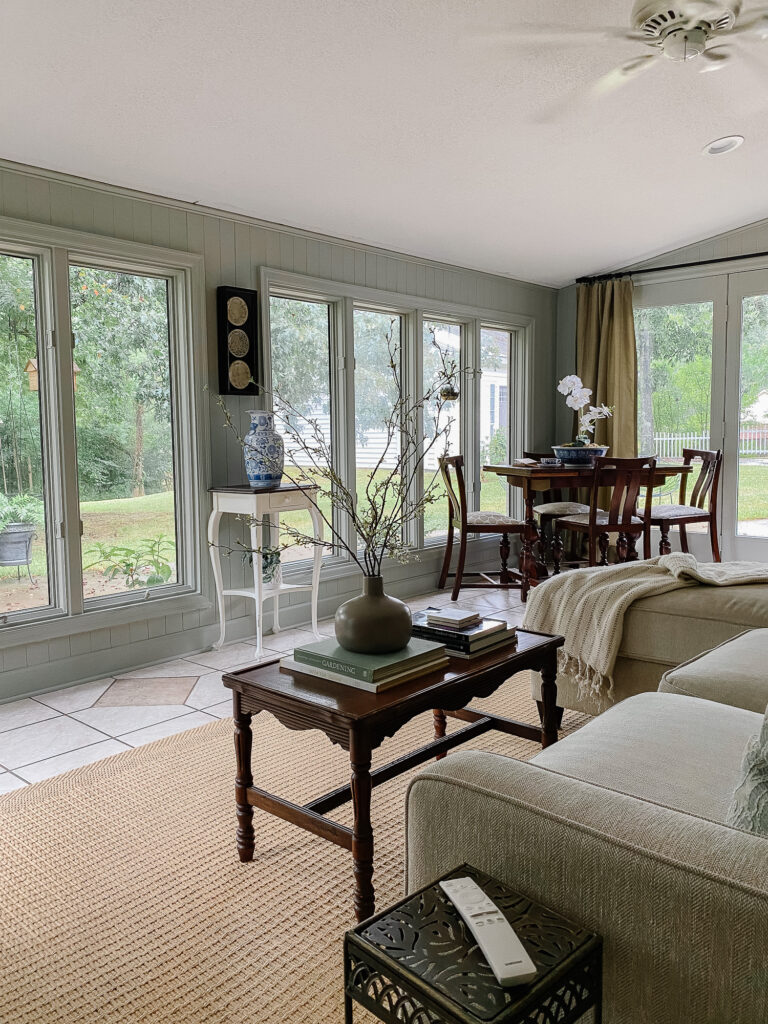
In case you didn’t notice at first glance we painted everything. The trim, the windows, the baseboards the doors, everything except the ceiling the same color.
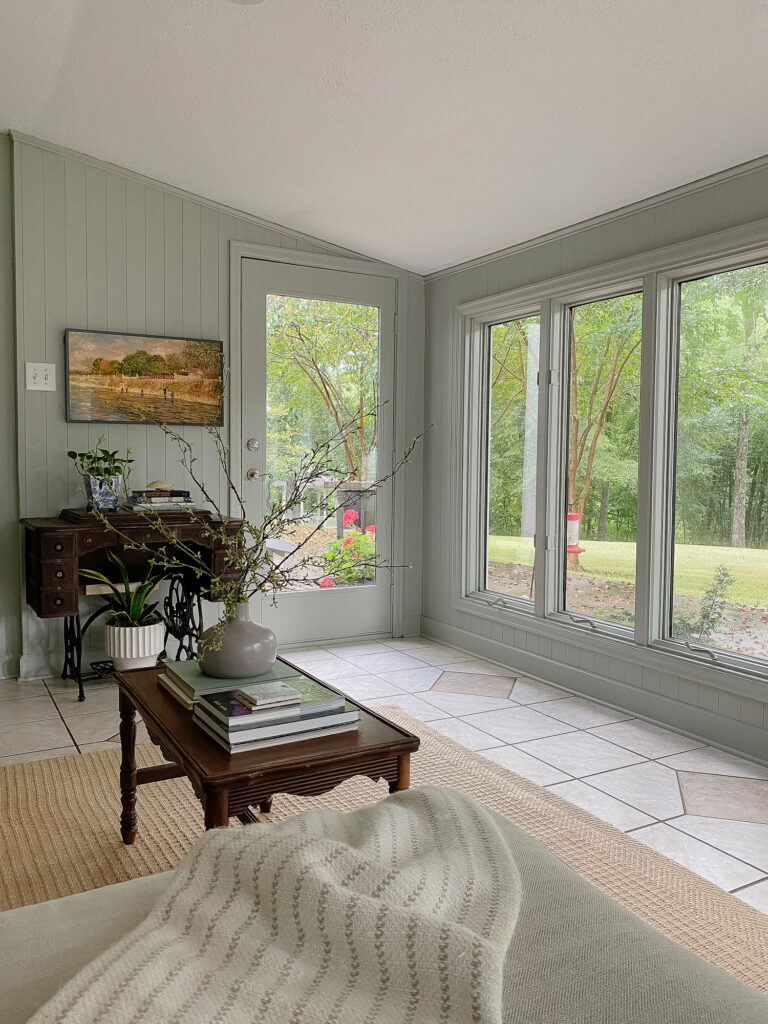
In a room with so little wall space and the view of the backyard as the focal point, I didn’t want anything to detract from that.
It’s just enough color to feel cozy and yet not too bold to take away from the view.

The addition of the small Samsung FrameTv is perfect in here. My friend can relax and watch tv while her husband watches basketball. The best thing about a FrameTV is when you aren’t using the tv it is a lovely piece of art! (I’ve long been a FrameTV fan and I’m happy to finally convert my best friend to them. )
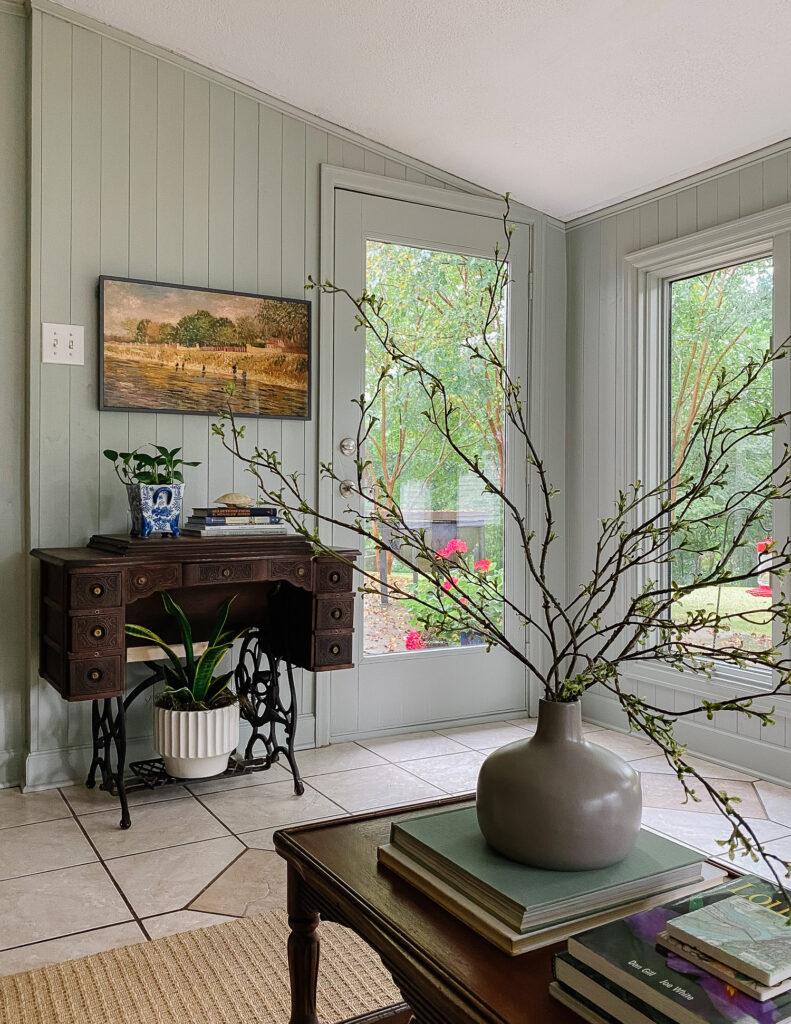

The day we left, I kept getting messages from my friend saying how much she loved it and hadn’t left her “new” room!
That made it all worth it!!

I didn’t mention it before but we also painted the brick wall in Soft Sage. It’s such a great livable color. We loved how the color seemed to flow with the rest of her house. Different and yet not jarring in combination with her tones of greige and beige.
I hope y0u enjoyed this project. I have big ideas on where to use this paneling next! Please let me know what you think and if you have any questions!
I promised a cost breakdown of the project.
Thin Tongue and Groove $250
Base cap moulding for the top $100
New baseboards $72
Shoe moulding $25
Paint $100
Total $547
I’d say that’s pretty good for a new room!




3 Comments
Cathy
August 25, 2021 at 5:45 amWhat a fabulous makeover. If you were not before, I’m sure you are now and forever more her best friend.
Paula R
August 25, 2021 at 7:22 amAwesome choice of material to use on walls. Looks amazing! Fresh, updated, and blends in seamlessly with backyard view. Great eye for design, Miss Leslie!!
Karol
August 25, 2021 at 9:56 amThat room looks wonderful.