Today, I am excited to bring you a spring DIY idea to help you jump start your growing season!
I’m always antsy to get my hands dirty and get into the garden at the first sign of green leaves. I also know spring has officially arrived when the vegetables and herbs hit my local Home Depot.
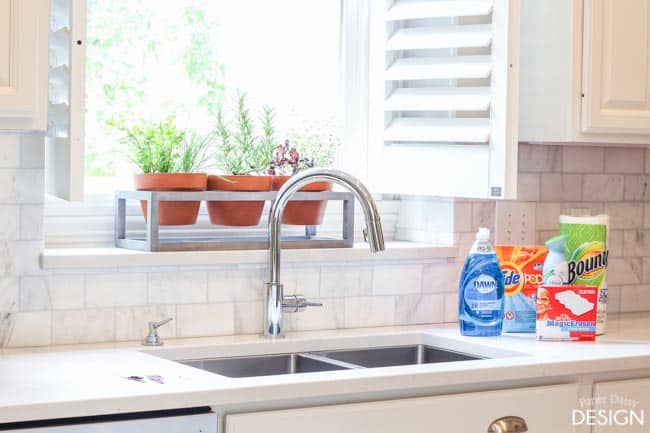
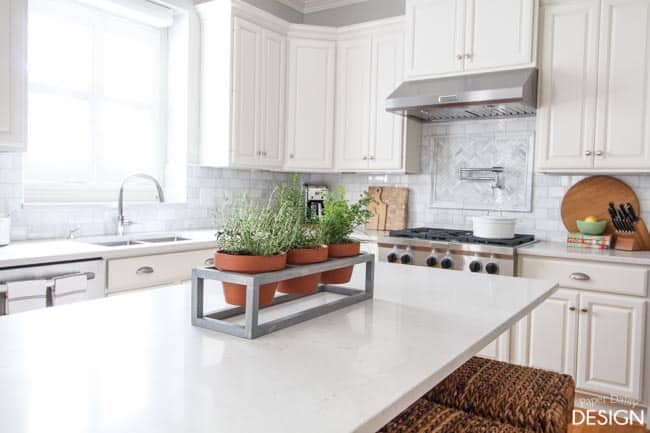
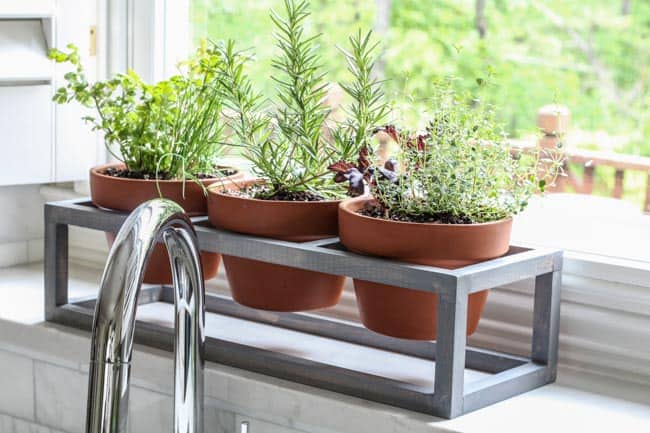
I was visiting my friend who recently completed her kitchen remodel. I am so proud of her! She mentioned she was looking for a planter box for her windowsill. I thoughtI would build her one because it would be the perfect spring project to share with you all!
She has the perfect windowsill in her remodeled kitchen!
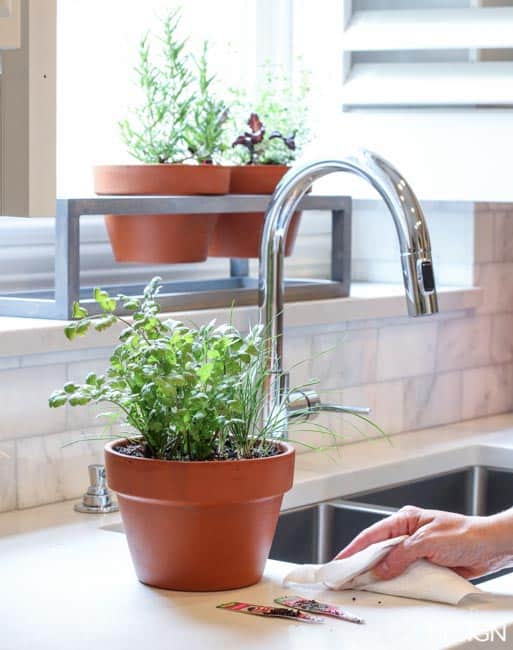
Once we got the planter and pots in place and cleaned up a little, we enjoyed a wonderful soup she prepared. Want to see more of this kitchen? Check out the post here.)
The actual building time is very short on this project, but let’s just say you’ll have plenty of time to work on your spring cleaning after the assembly and during wood glue drying times.
How to Build a Windowsill Planter Stand
Materials Needed
4-5 3/4 square dowels
Wood Glue
Small Brad Nails 1 1/4″, a Brad Nailer is recommended
2-4 Right Angle Clamps
Saw or Miter Saw
Wood Filler
3 Terra Cotta Pots, 6″
Stain or paint of choice
Steps:
1. Gather your materials and cut square dowels to the dimensions below.
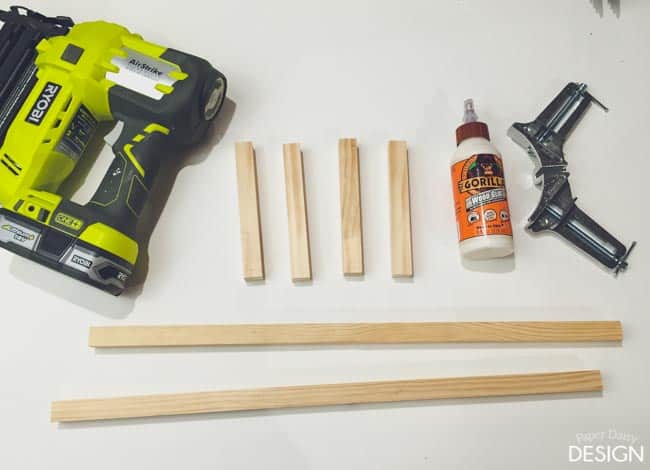
2 Top Horizontal: 21.5″
2 Bottom Horizontal: 20″
6 Vertical Rungs: 6.25″
4 Support Legs: 4.5″
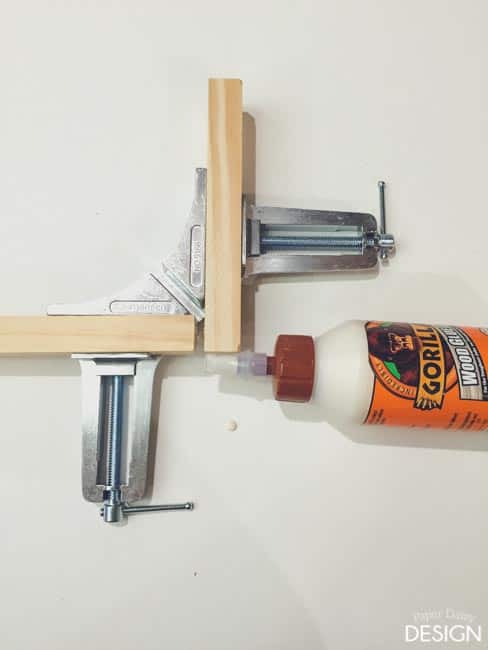
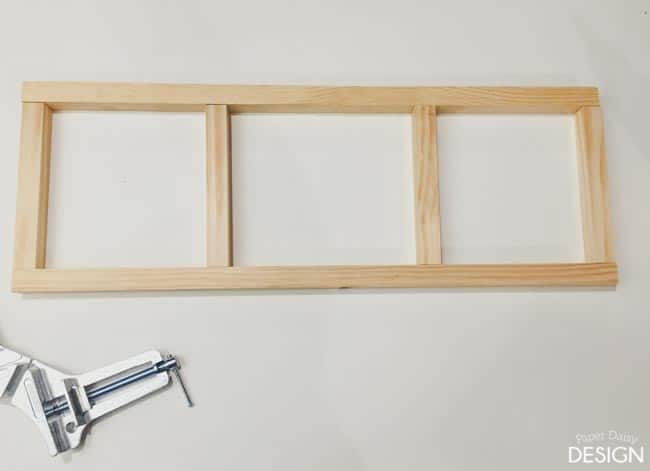
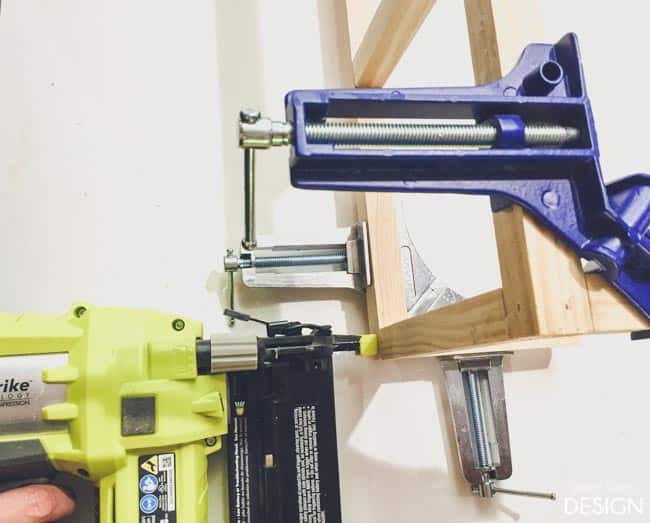
2. Using the 90 degree clamp, align the xx side to the long xxx side. Be sure to add wood glue before you clamp.
3. Using a brad nailer, nail the two pieces of wood together. Be sure that the bottom of the clamp is flush with the edge of the wood and the two pieces align perfectly.
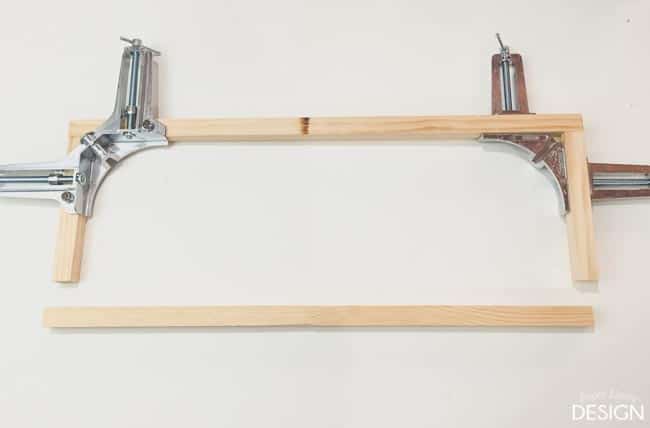
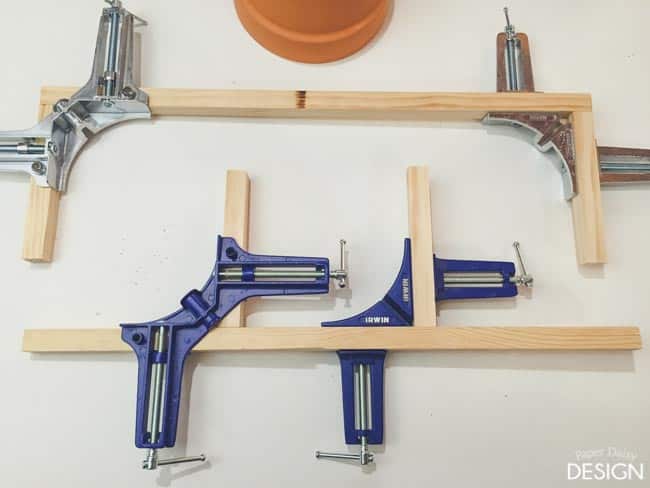
4. The frame is too small for both corners to be clamped at the same time. Space the rungs evenly at 6.25 inches apart to support the lips of the pots.
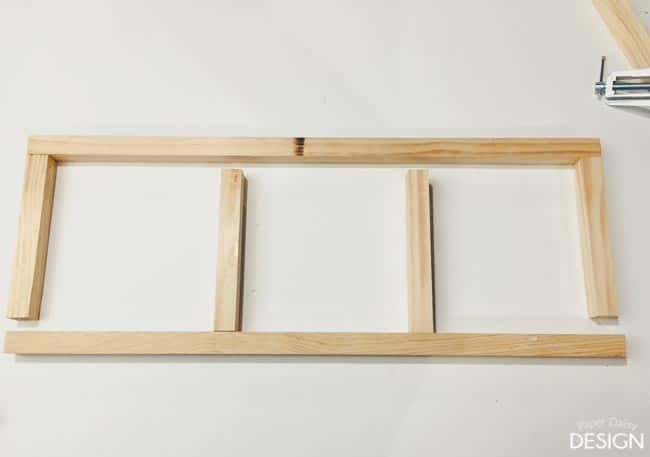
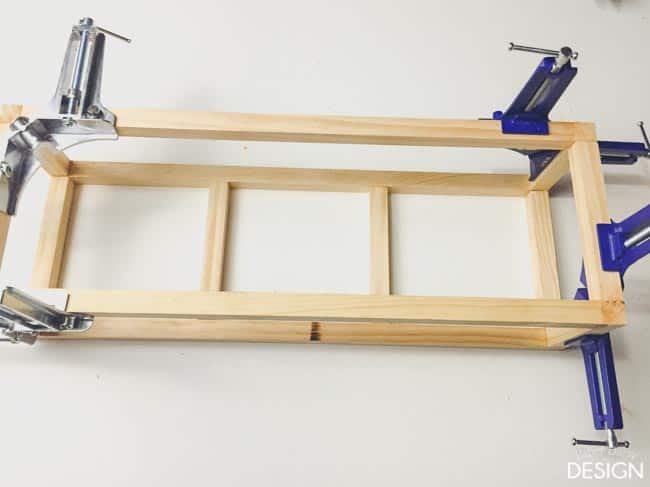
To save drying time, use the second set of clamps attach the rungs to the second long side piece as shown below, using wood glue and a nail in each rung.
5. Once those are dry, attach and clamp the other set of corners. When they are glued and nailed it will look like this.
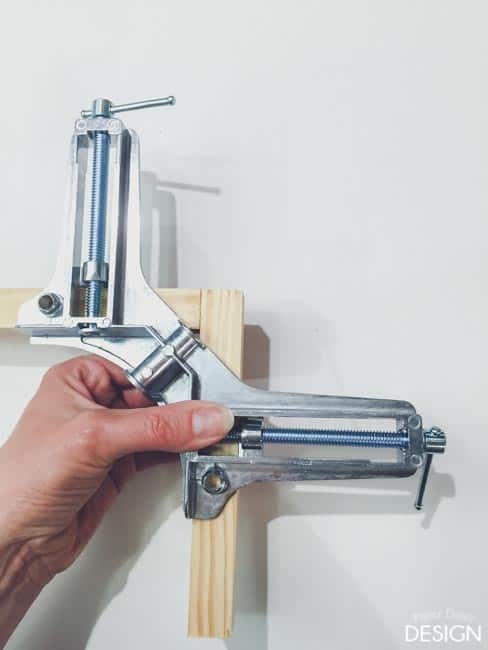
6. To add the legs, rotate the clamps so that the leg and the long rungs are in the clamps.
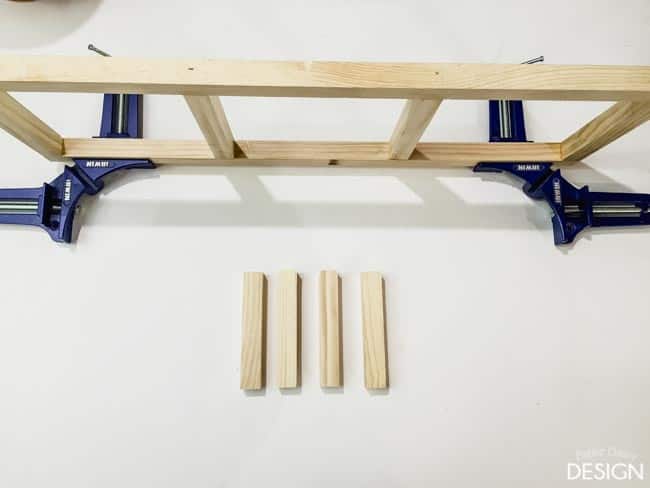
Glue and nail each piece and be sure to keep all pieces flush and tight.
It should look like this.
It’s a good idea, in order to keep everything square, to add the bottom rungs in-between the legs. They are not glued at this point, just being used as place holders.
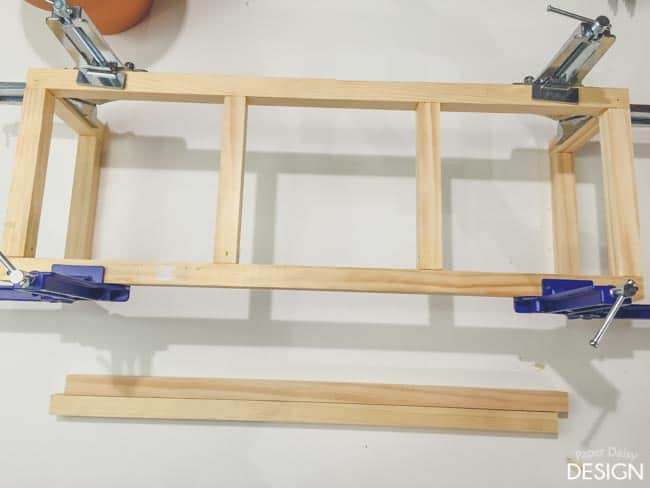
7. Once those are dry, attach the long sided bottom runners to the legs.
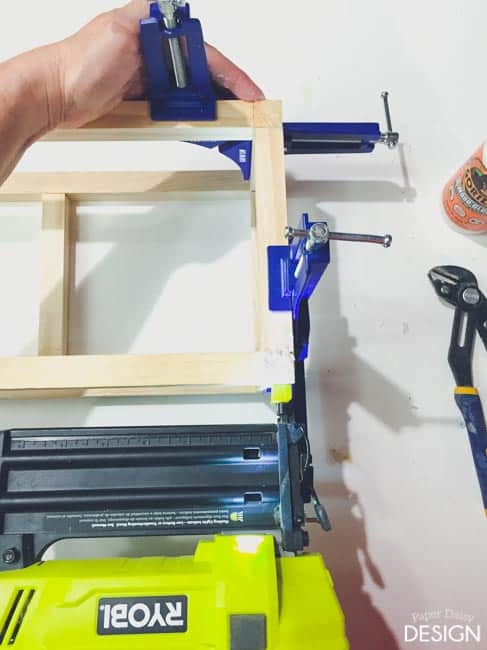
Again, wait for this to dry completely.
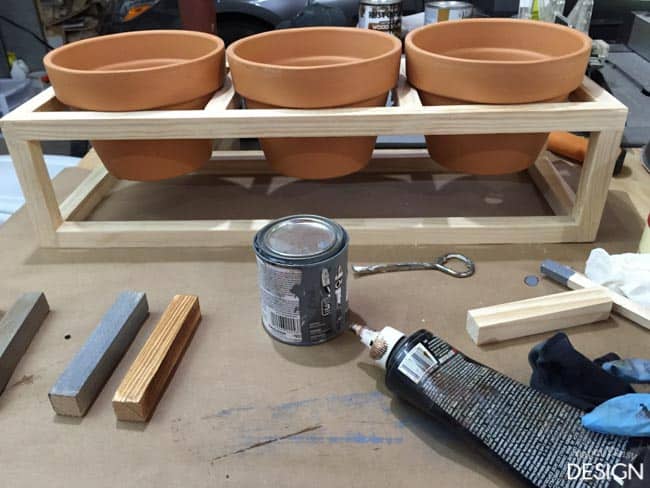
8. Now you are ready to prepare the finish. Take a moment to test your planter. Pat yourself on the back for a job well done!
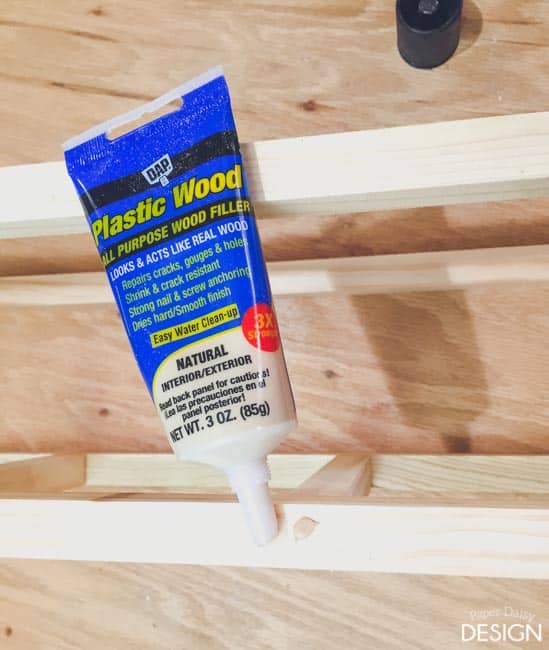
9. Fill holes and seams with wood filler.
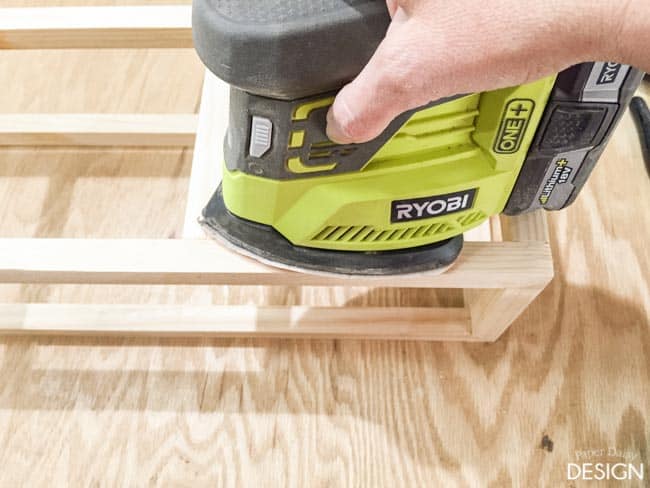
10. Sand all seams, nail holes and glue off of the planter.
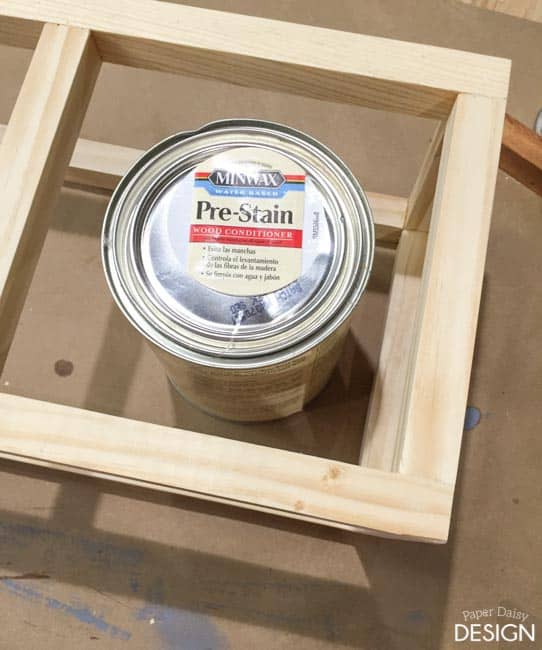
11. If you plan to stain the planter, I would recommend applying Minwax Pre-Stain Wood Conditioner before the stain.
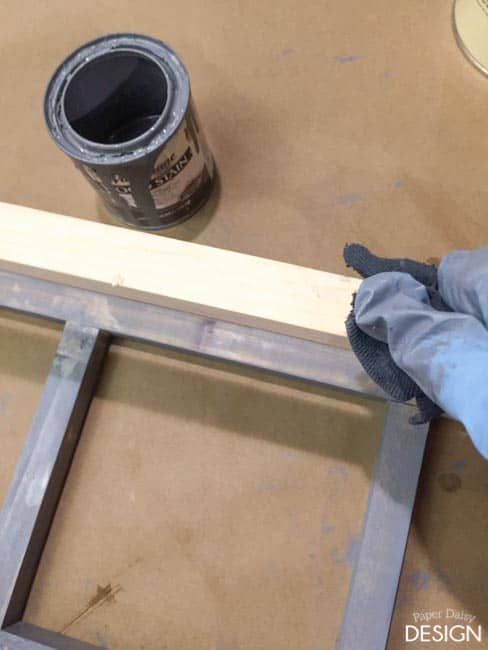
12. After the wood conditioner has set up about 15 minutes, apply the stain. I used Varathane, Weathered Grey.
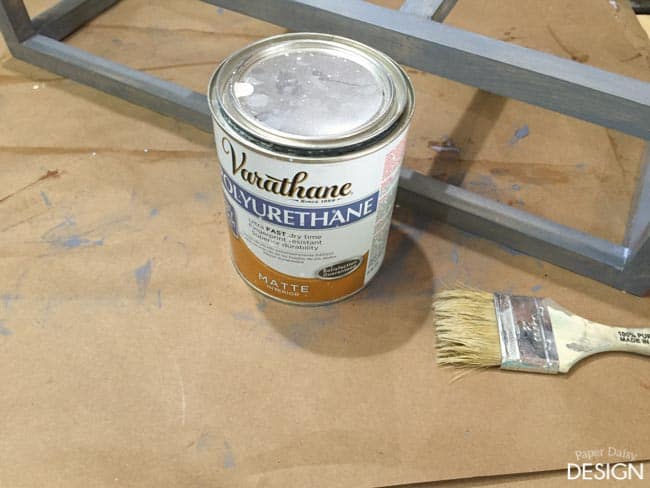
13. Apply a top coat of your choice to protect and seal the wood. I used Varathane Polyurethane in Matte finish. It is one of my favorites because of the flat finish.
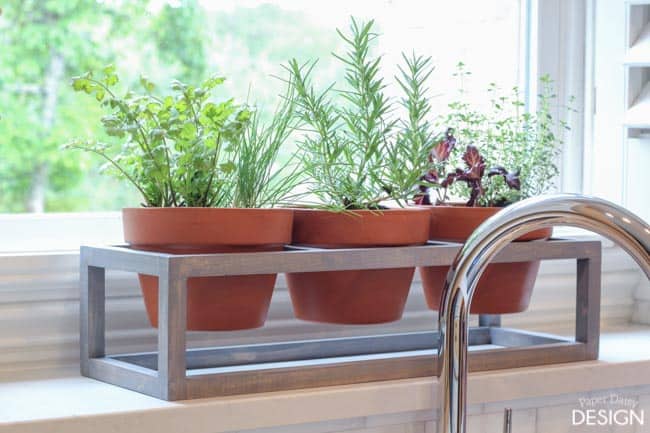
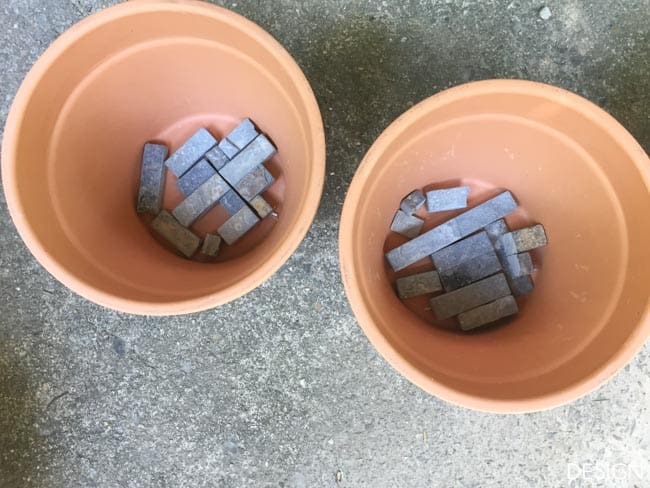
Now you are ready to pot up your plants. Don’t forget to cover the holes with rocks or the like. I used scraps of tile.
My friend wanted to grow herbs to spice up her cooking in the new kitchen!
They should do very well in her sunny window.
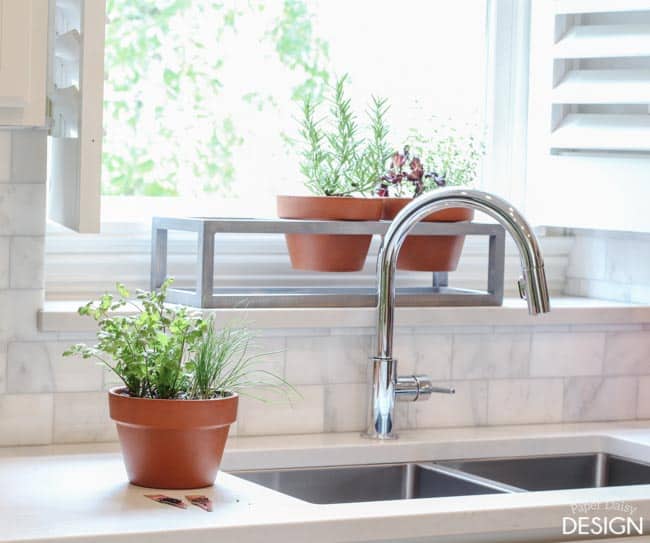
When it is time to water her plants she can set the stand over the sink to allow the water to drain, or just set the saucers underneath the pots.
Happy Spring and happy planting! Want to see more of Mary’s beautiful kitchen? Click here.

