This post has been sponsored KILZ®. All thoughts and opinions are my own.
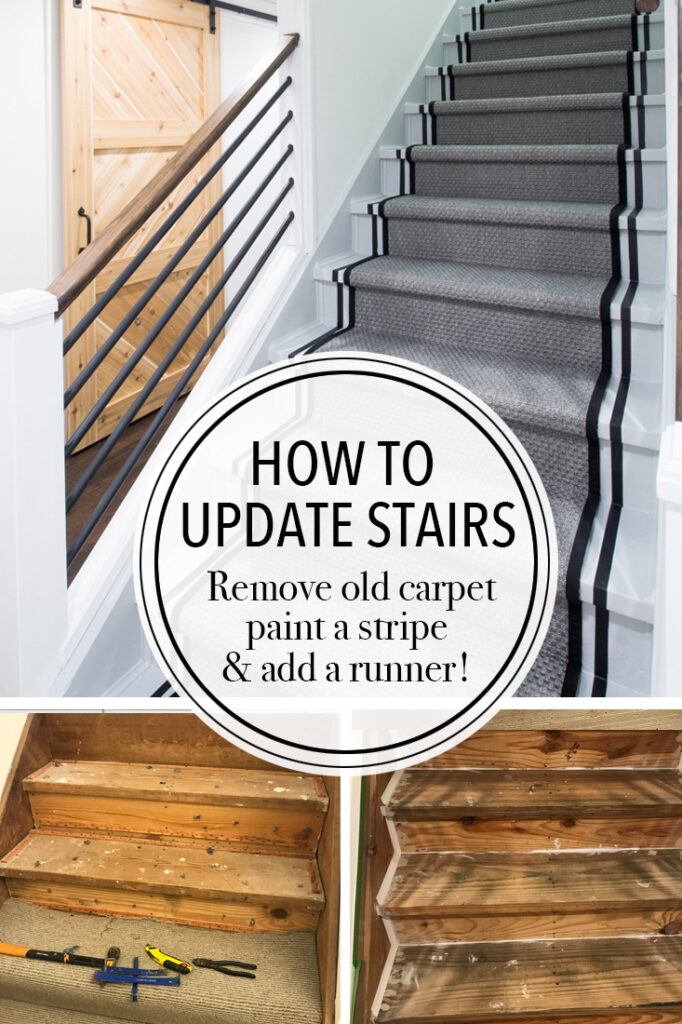
Our stairwell leading to the basement has been in need of a makeover since we moved into #theTrailHouseReno two years ago. So when I was asked what project I’d like to tackle with KILZ® Brand Paints, I immediately knew painting the stairs was not only the perfect project, it was a part of the house that I was finally ready to complete. This blog post walks you through how to paint stairs and add a stripe.
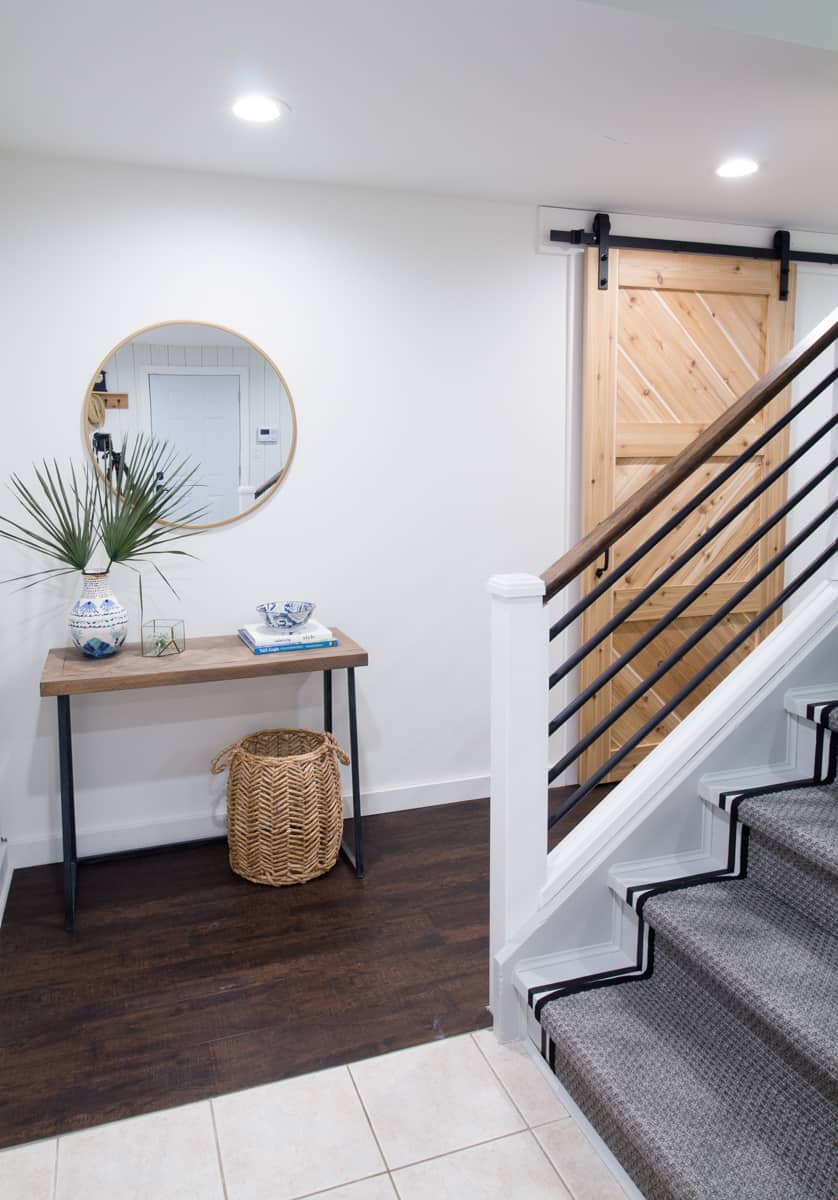
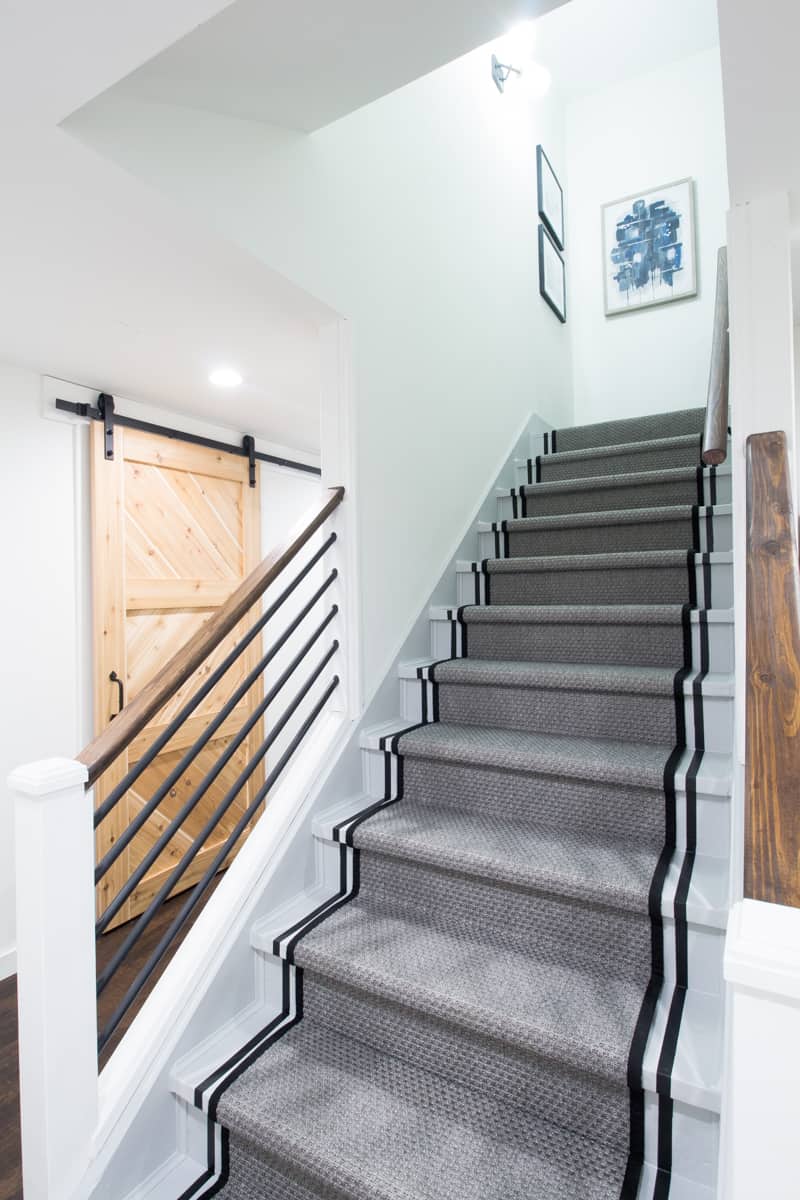
We knew that KILZ® COMPLETE COAT@ PAINT & PRIMER IN ONE would offer a durable, scrubbable finish which is vital for a high traffic area like stairs. Then I added a stripe for a dynamic addition to the new runner. I also loved that this paint comes in a full spectrum of finishes from flat, eggshell, satin, semi-gloss and high-gloss (I chose a satin finish.)
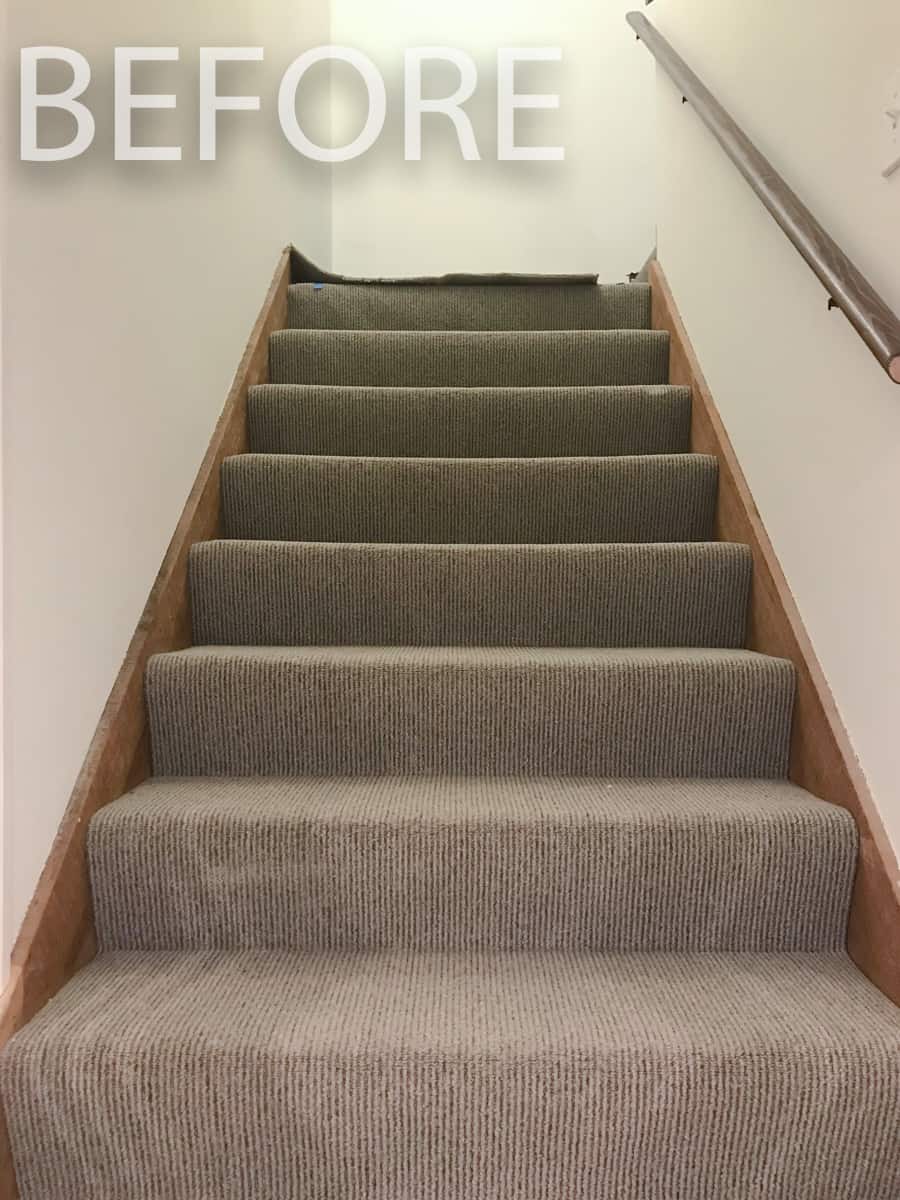
With all of the renovation projects that had been going on upstairs, it made sense to leave the basement stairs in their uninspired, dare I say, dirty state, until we were further along in the renovations.
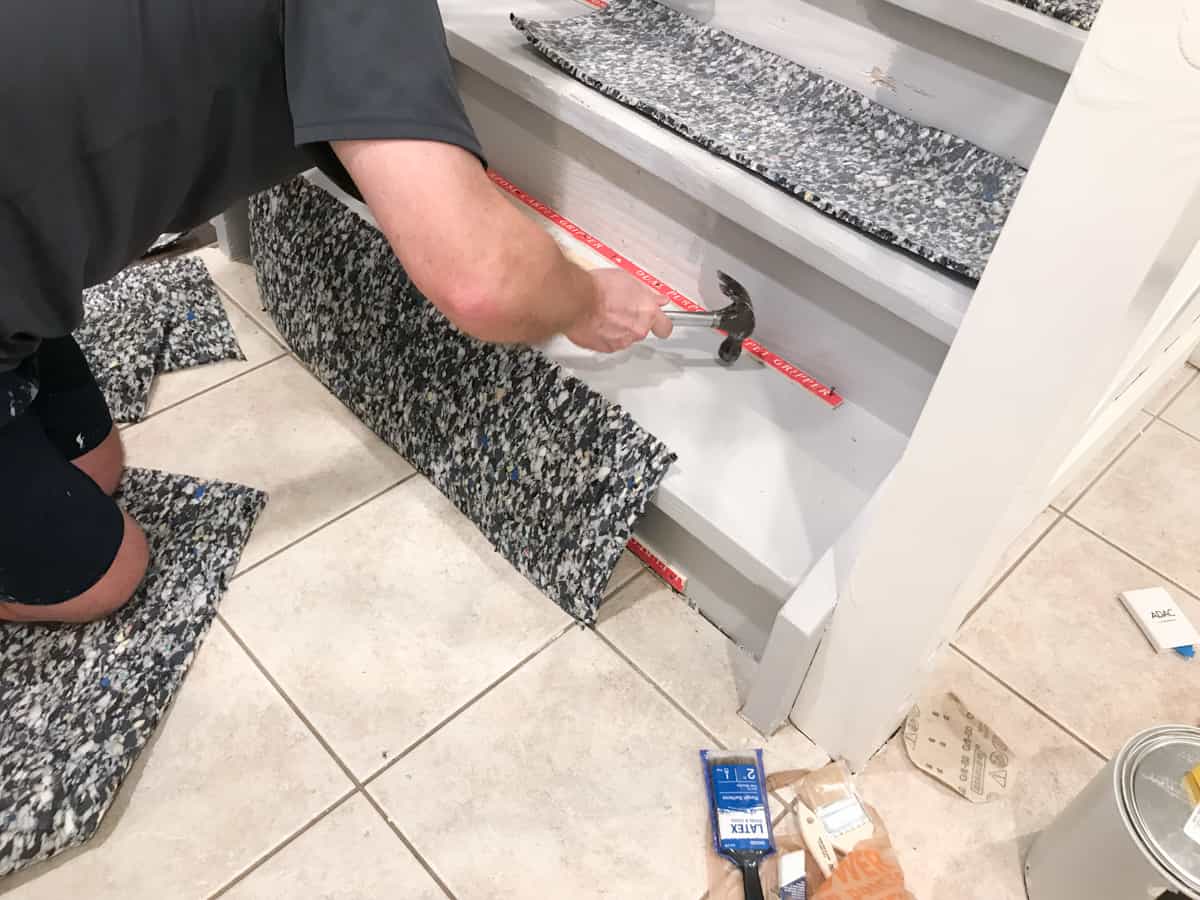
Once the carpet was removed, we could see it was going to take a good deal of work to get the stairs suitable for paint. While it was time consuming, it was definitely worth the effort. (A long handled floor scrapper was the best tool for removing the bulk of nails and staples.)
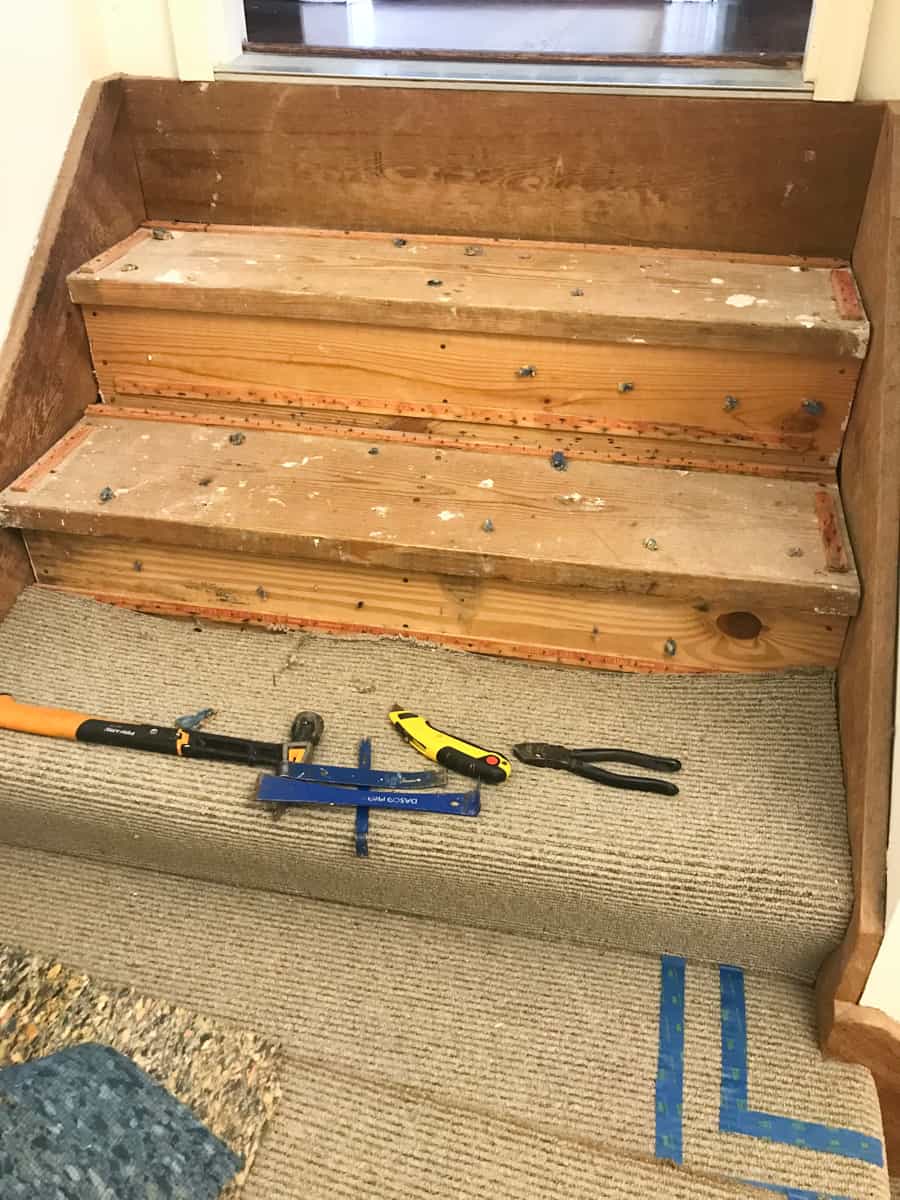
The multitude of nail holes from the tack strips needed to be filled, but there were also gaps along the edges that were too large to be effectively filled by wood filler or caulk.
How to paint stairs.
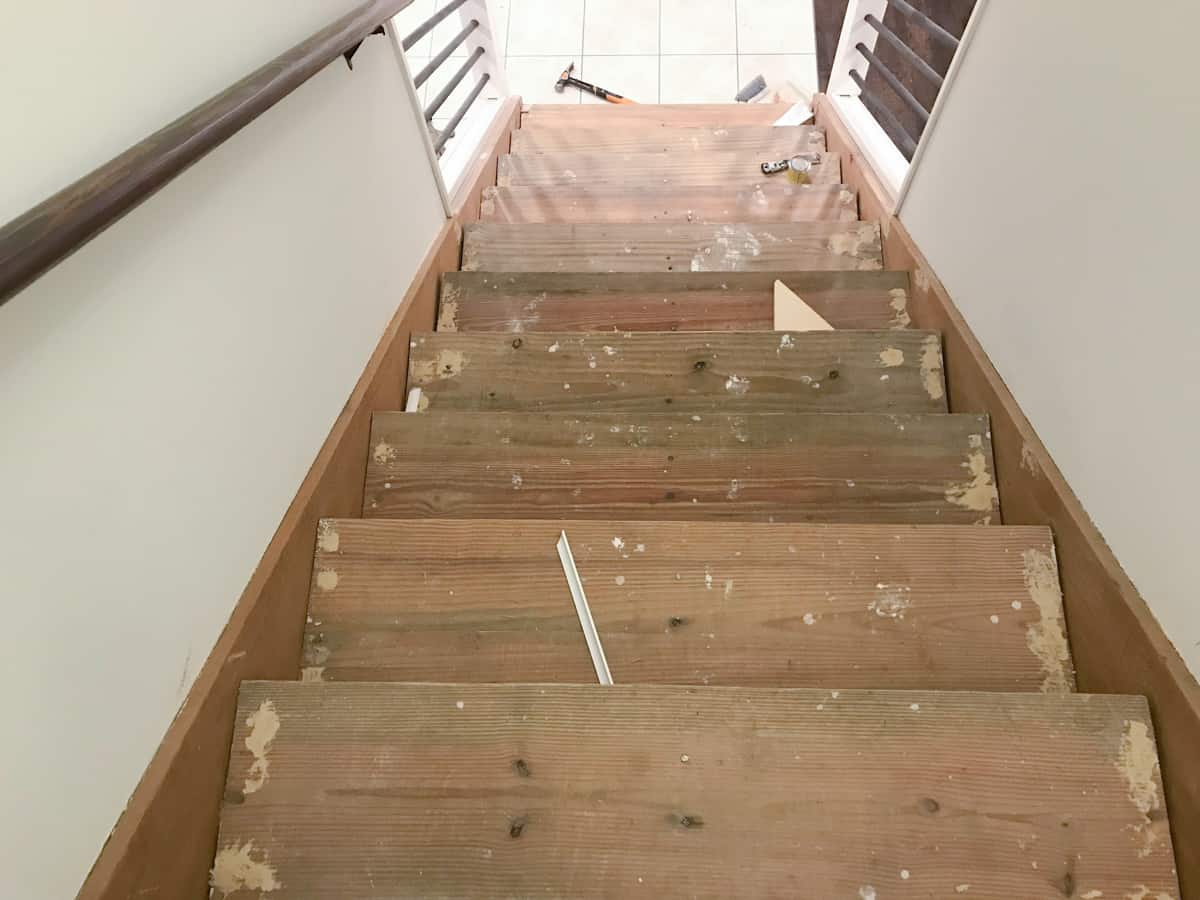
I can assure you that builders never intended for carpeted stairwells to be anything other than fully carpeted stairs.
I decided to remedy the whole situation by adding cove molding along the sides as a transition. To the steps that were the worst offenders, I also added shims between the step and the side runner board.
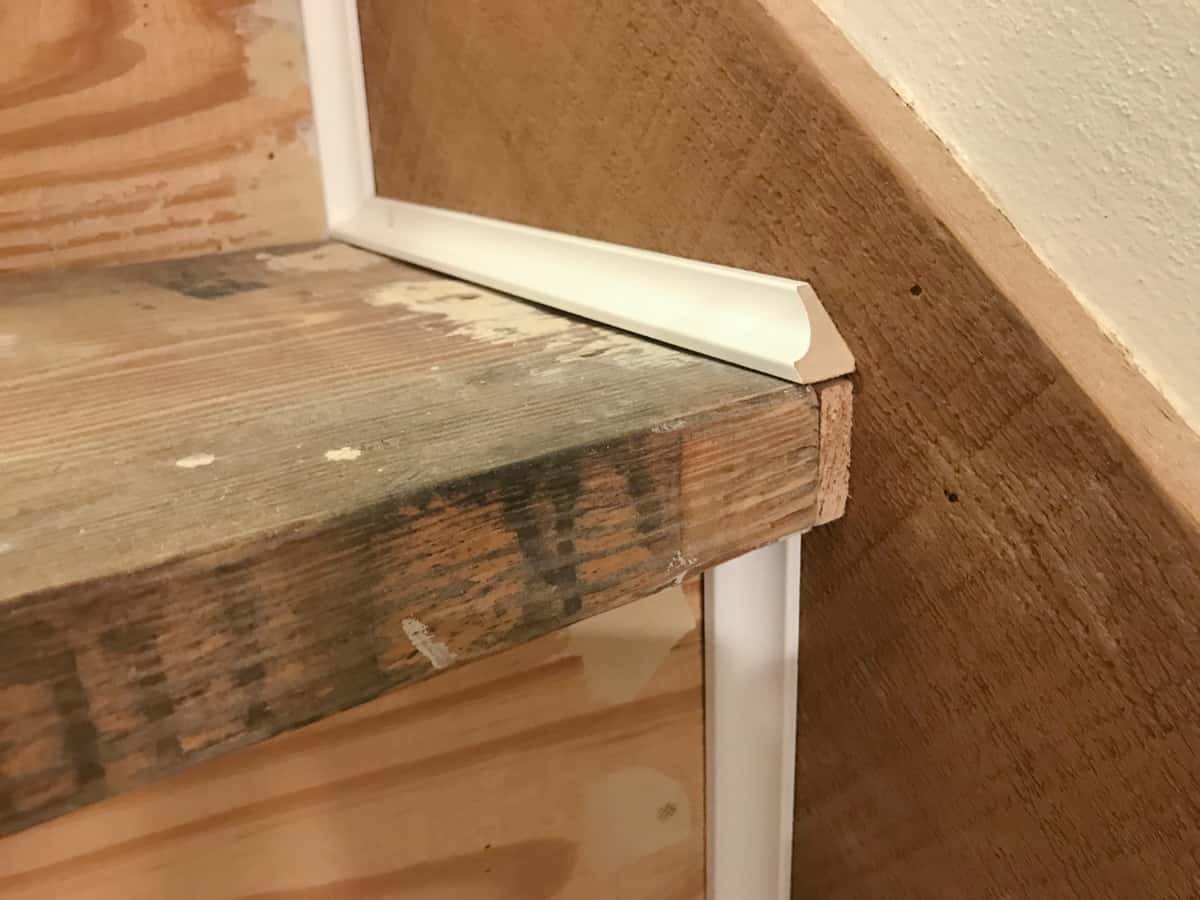
Once the holes were filled, everything was caulked and molding applied everything was looking much better. To block tannin stains from bleeding to the top coat, we decided to add a coat of KILZ 2® Latex Primer.
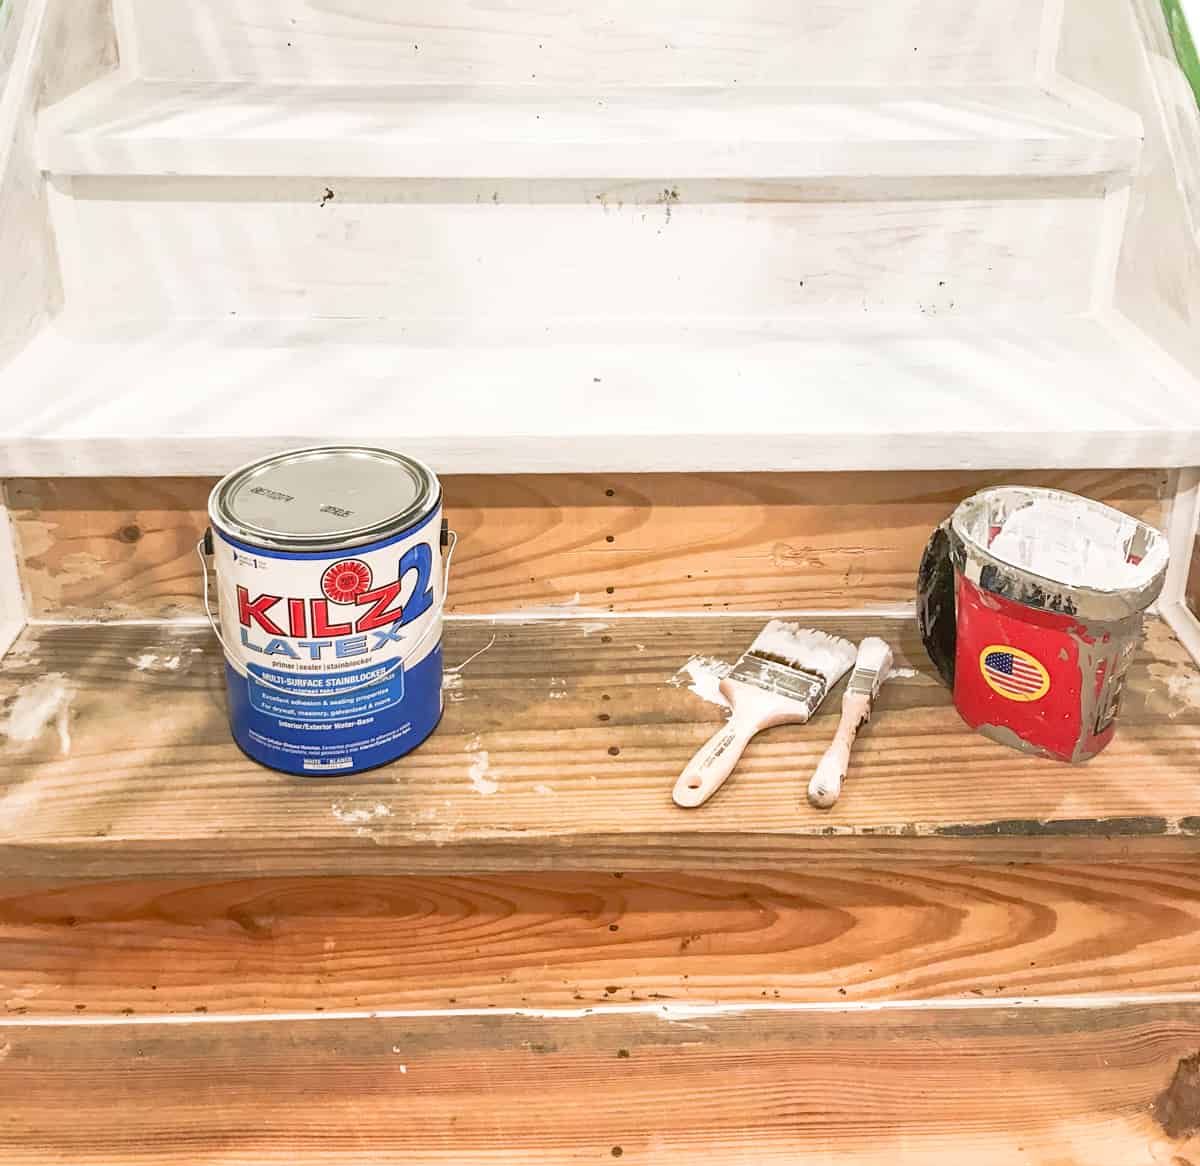
KILZ 2® is my go-to primer because it is a water-based, fast-drying primer with low odor and terrific stain blocking power. As dirty as these stairs were under the carpet, primer was an absolute necessity.
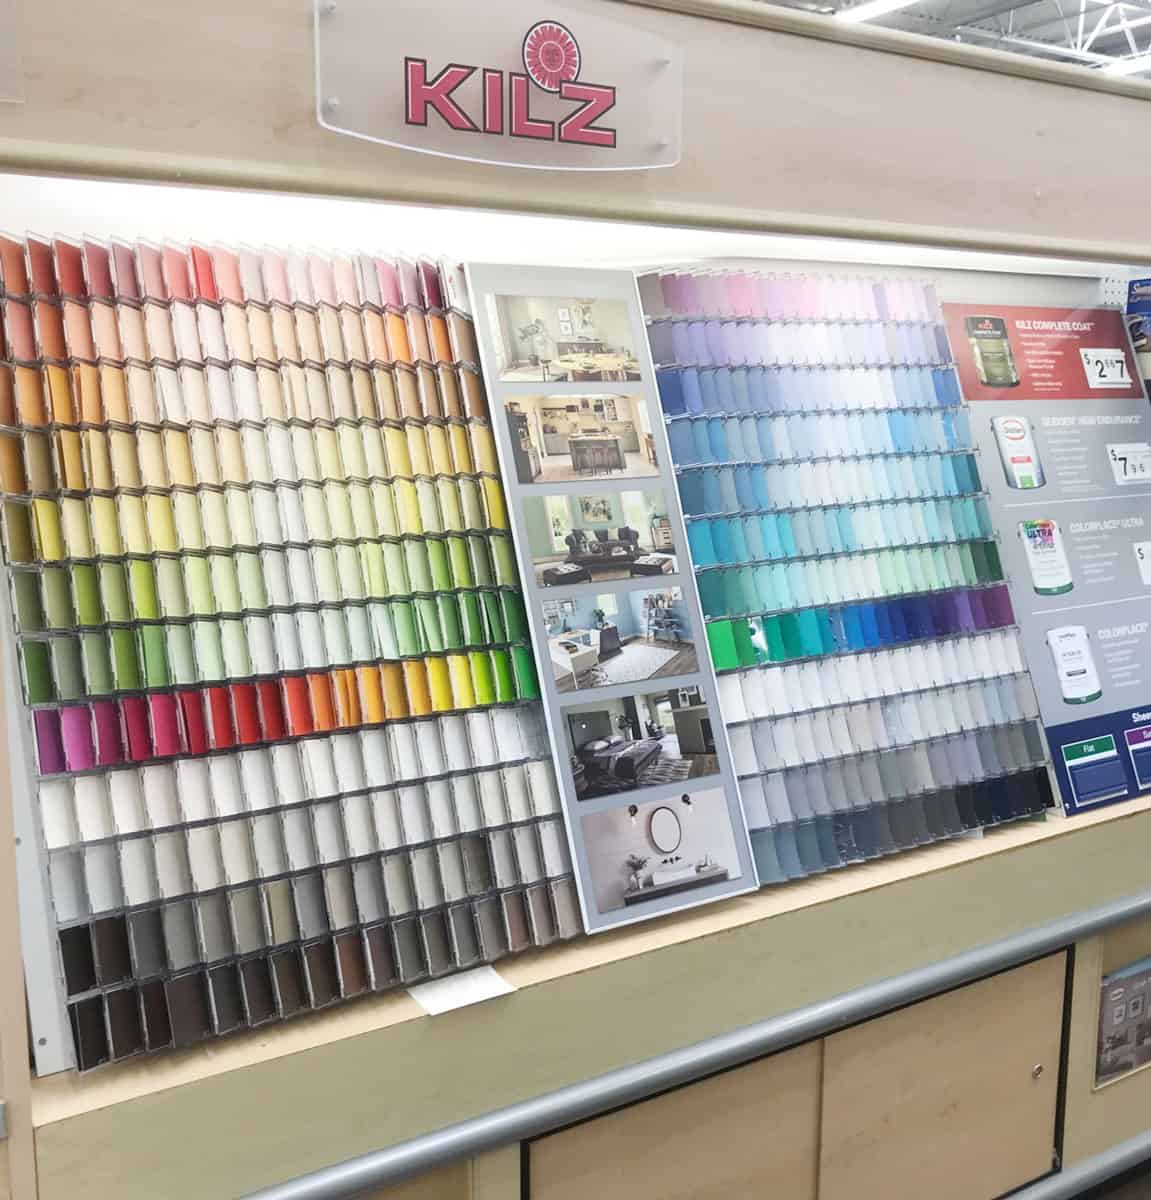
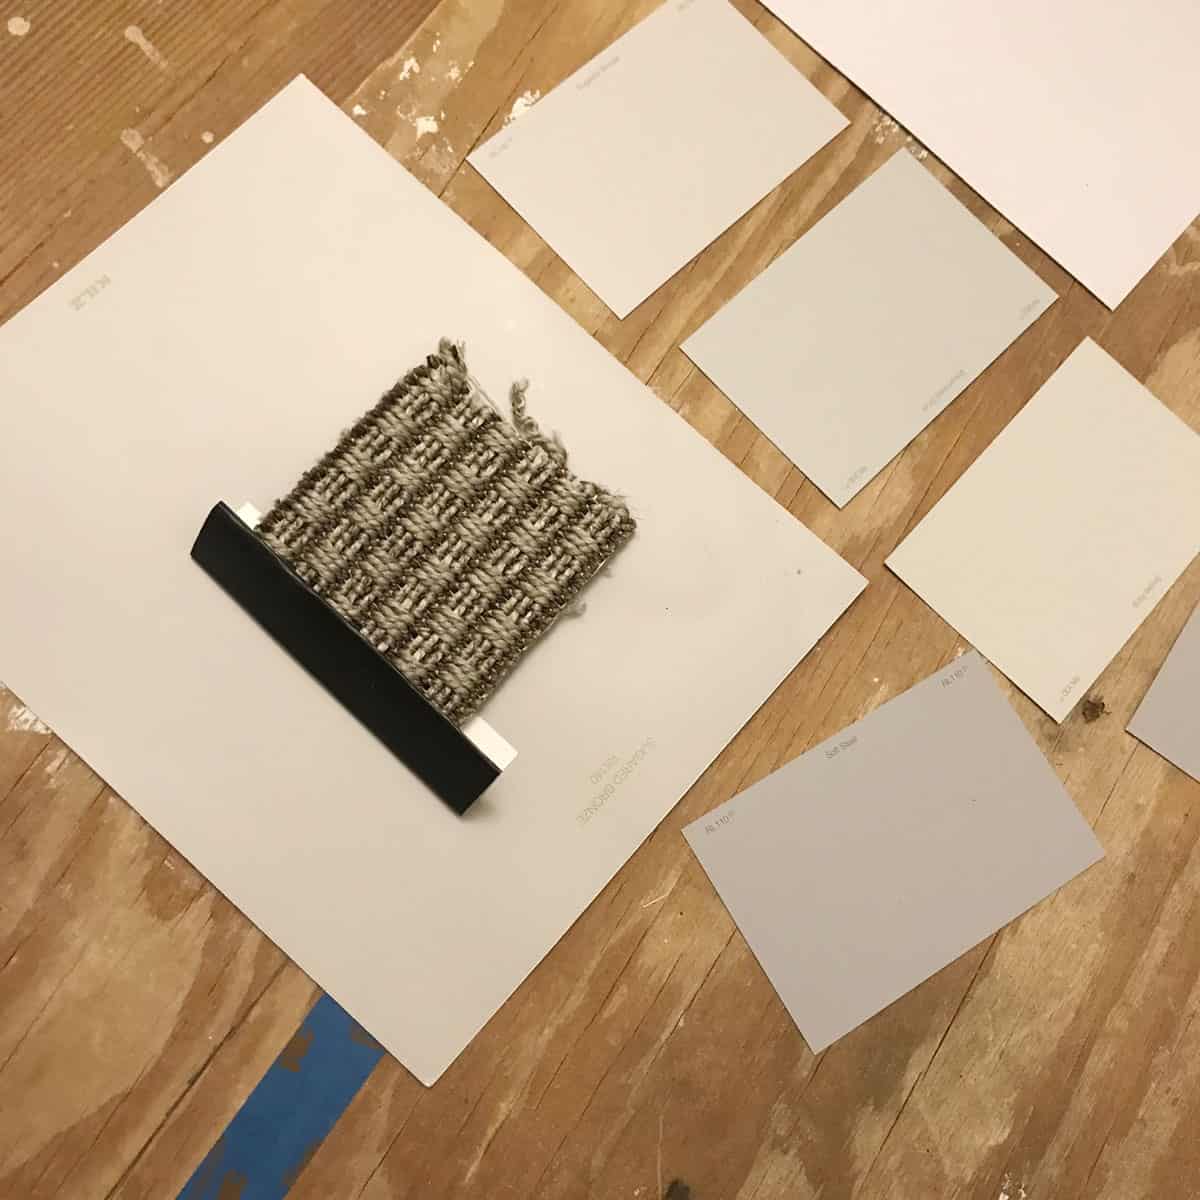
Armed with sample paint swatches I picked up at my local Walmart and then comparing and contrasting them with carpet runner sample I chose a light grey with a soft warm undertones, Sugared Bronze RK140. You can find KILZ® COMPLETE COAT paints at these Walmart locations and as an added bonus, the paint can be used on both interior and exterior projects.
If you follow me on Instagram Stories, then you saw that the paint was delivered in boxes designed for transporting paint, complete with secure indentations for the cans to sit in. The cans themselves were clipped shut and wrapped in plastic, perfect for online orders!
The coverage of the KILZ® COMPLETE COAT PAINT was remarkable. I only added a second coat for a bit of additional insurance because they were stairs. If I had been painting walls, I certainly would have called it one-and-done!
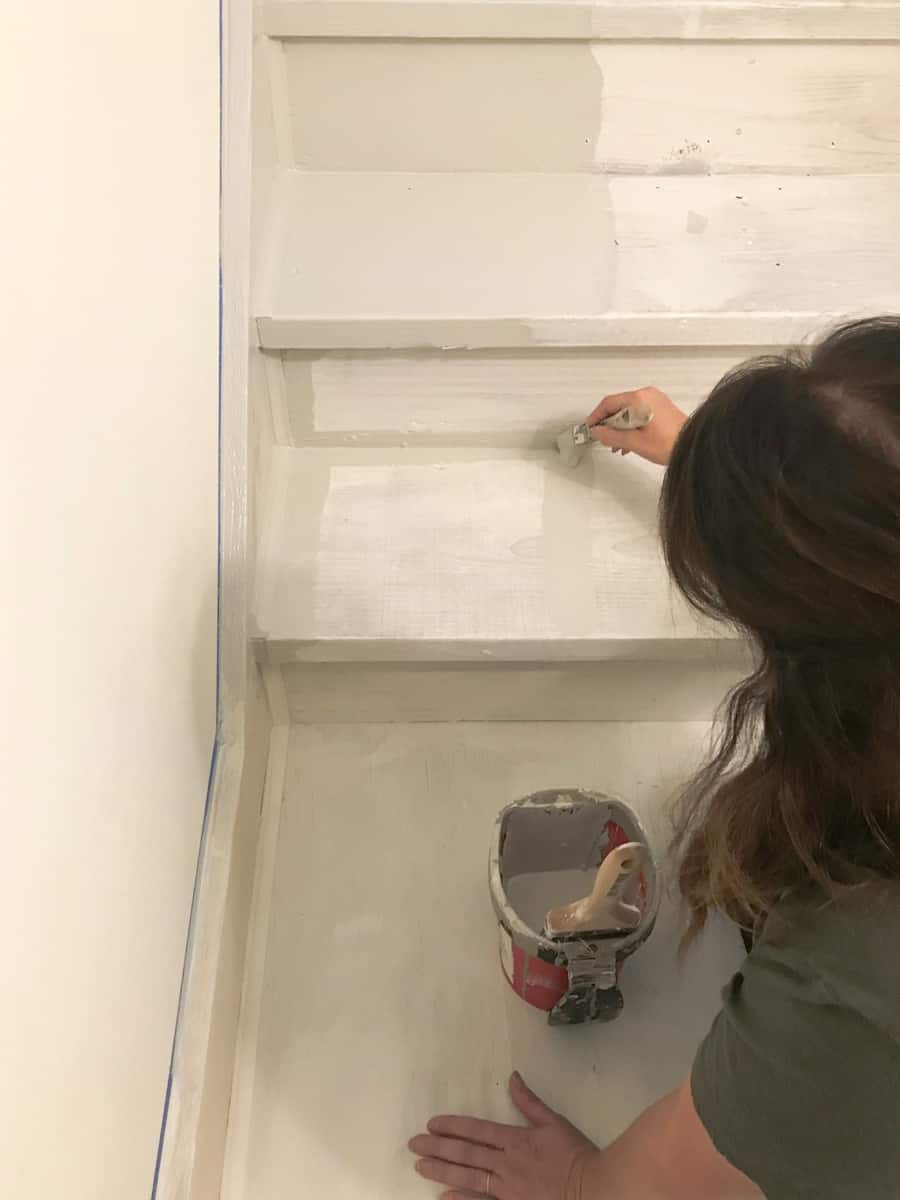
I used a small brush for cutting in around the edges, the trim and under the stairs. Followed by a large brush for a quicker, smooth finish.
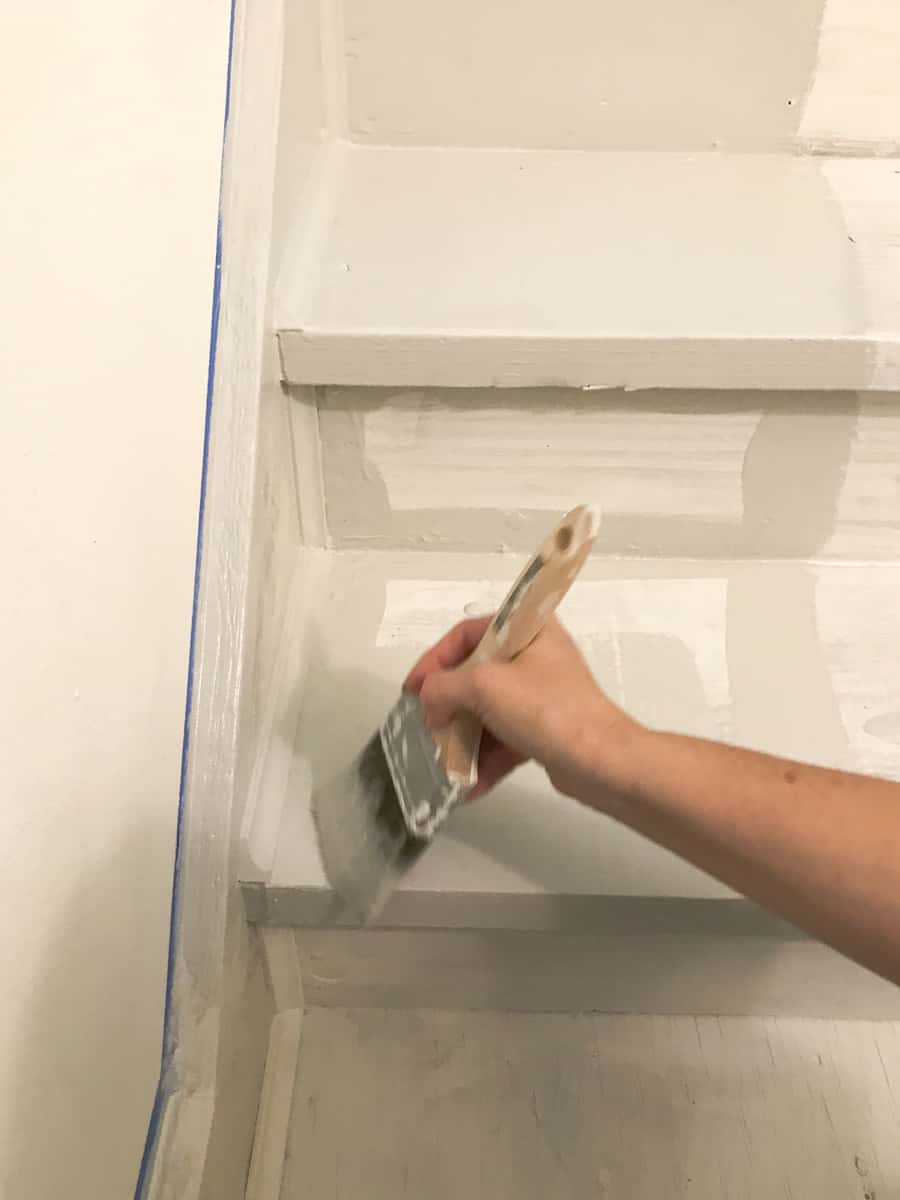
I left a small area unpainted to allow traffic up and down the stairs as they were drying. Then we were ready for the runner installation.
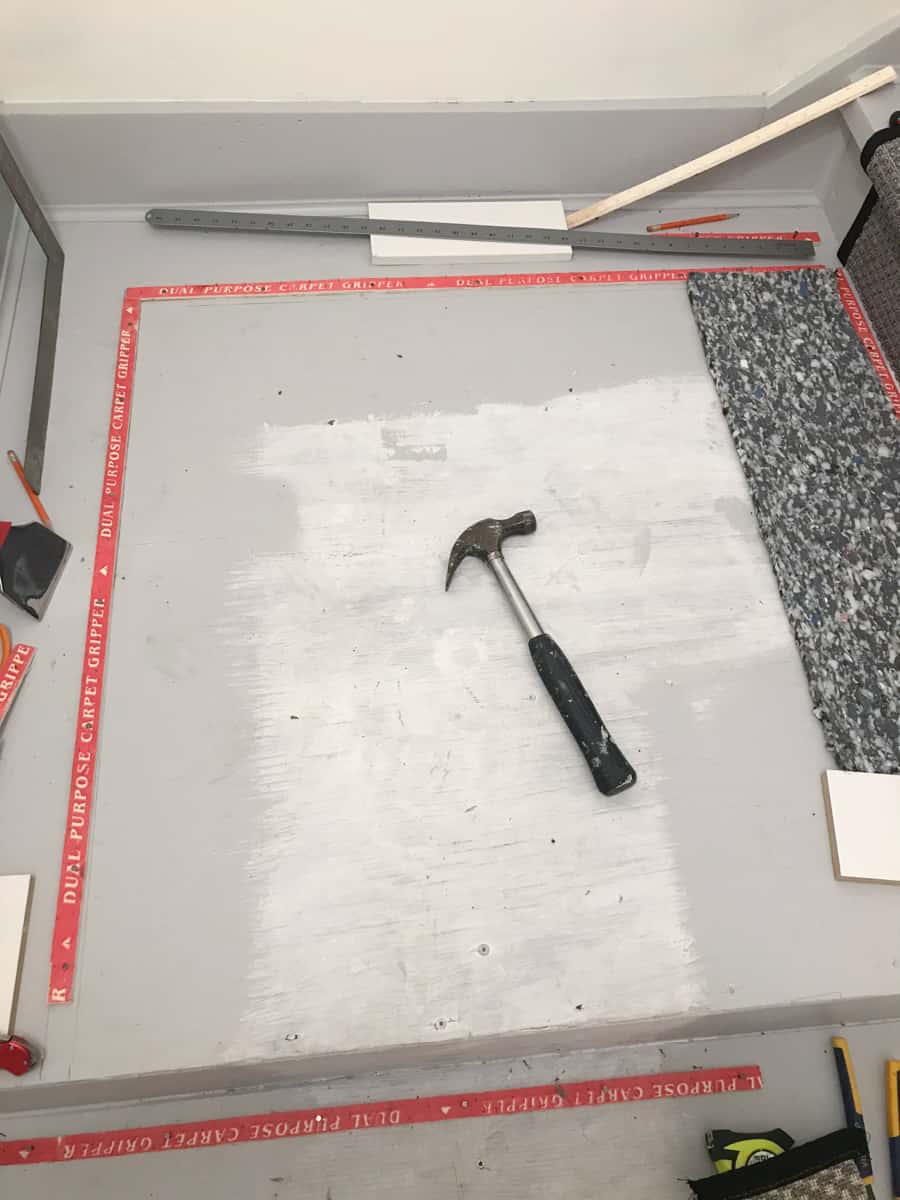
I’ll get into the full details on how to install a runner in another tutorial, but the remarkable aspect of this installation was how well the paint held up. Even with all of this nailing, moving around of a stiff rug and all the supplies moving here and there, not a scratch or scuff could be found.
How to paint stripes on stairs.
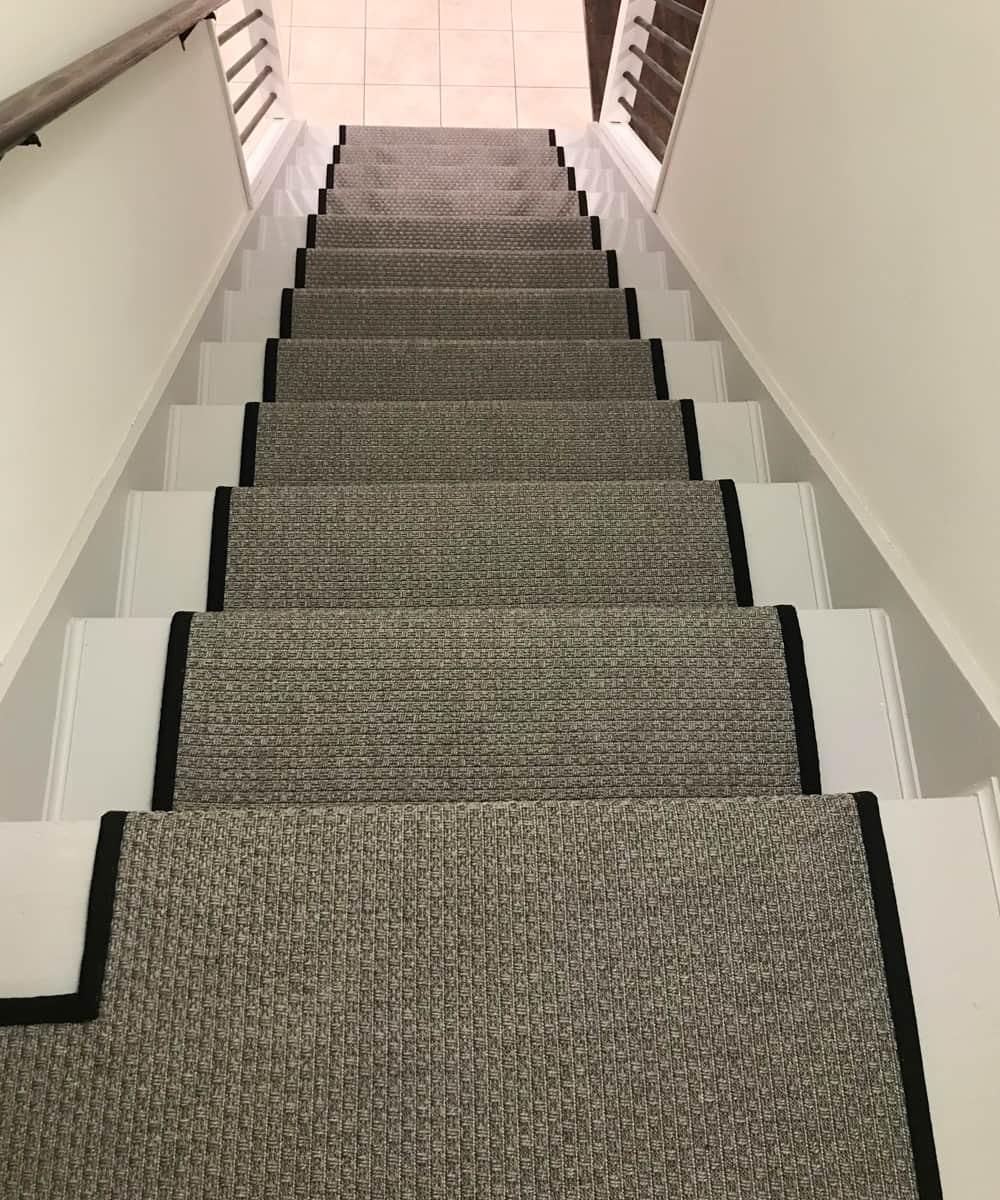
Now it was time for a little drama! The stripe was added after the runner because I knew there would be some variance in the width of each side of the stairs. (Remember, the builders never intended for you to look closely at these stairs, so there was not much square about them.)
Knowing this, I purposefully painted the stair tread runner board the same color as the stairs, to trick your eyes into seeing everything as straight. (I’m a little sneaky like that.)
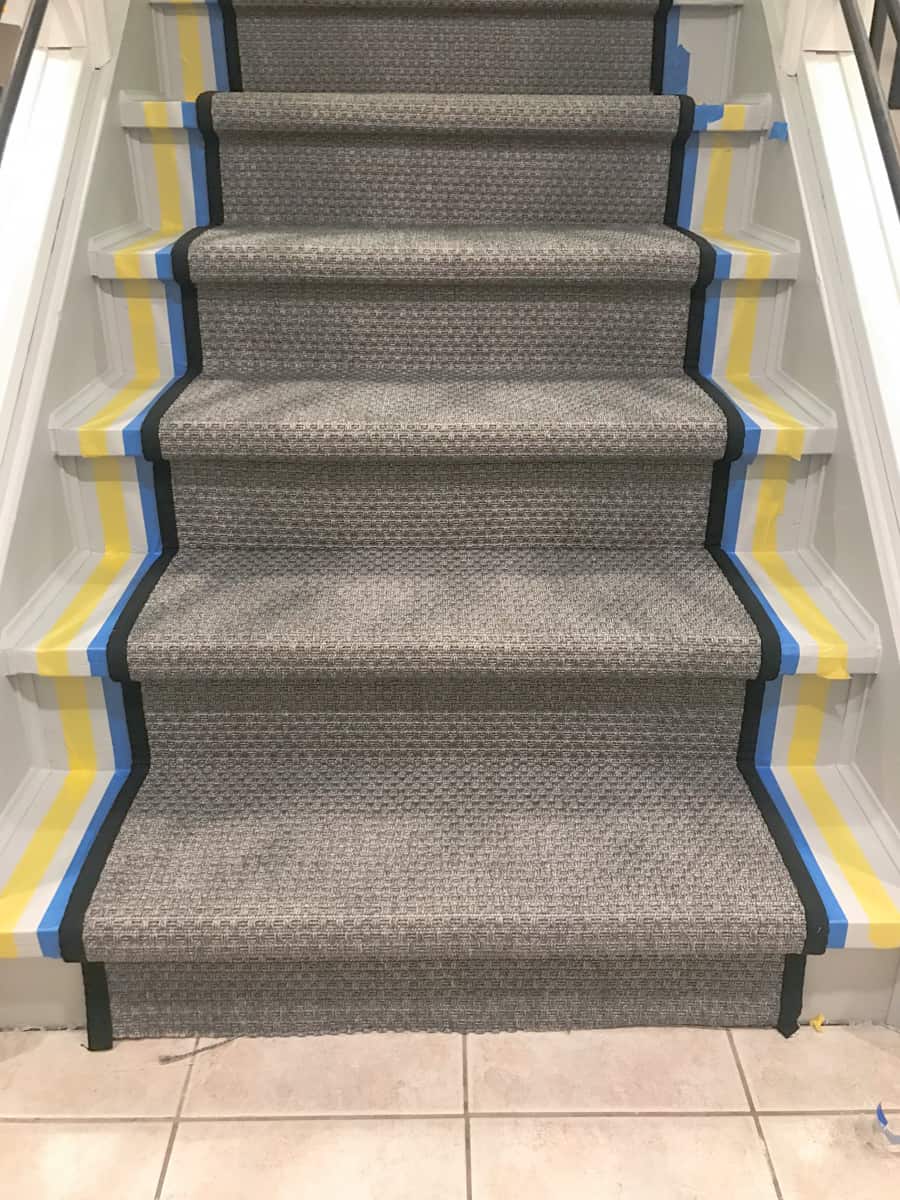
For ease in spacing the stripe, I first placed a 1″ strip of delicate surface painters tape, then I added another 1″ strip of tape along that edge. To conserve tape I reused these pieces several times. This second tape was used just for spacing.
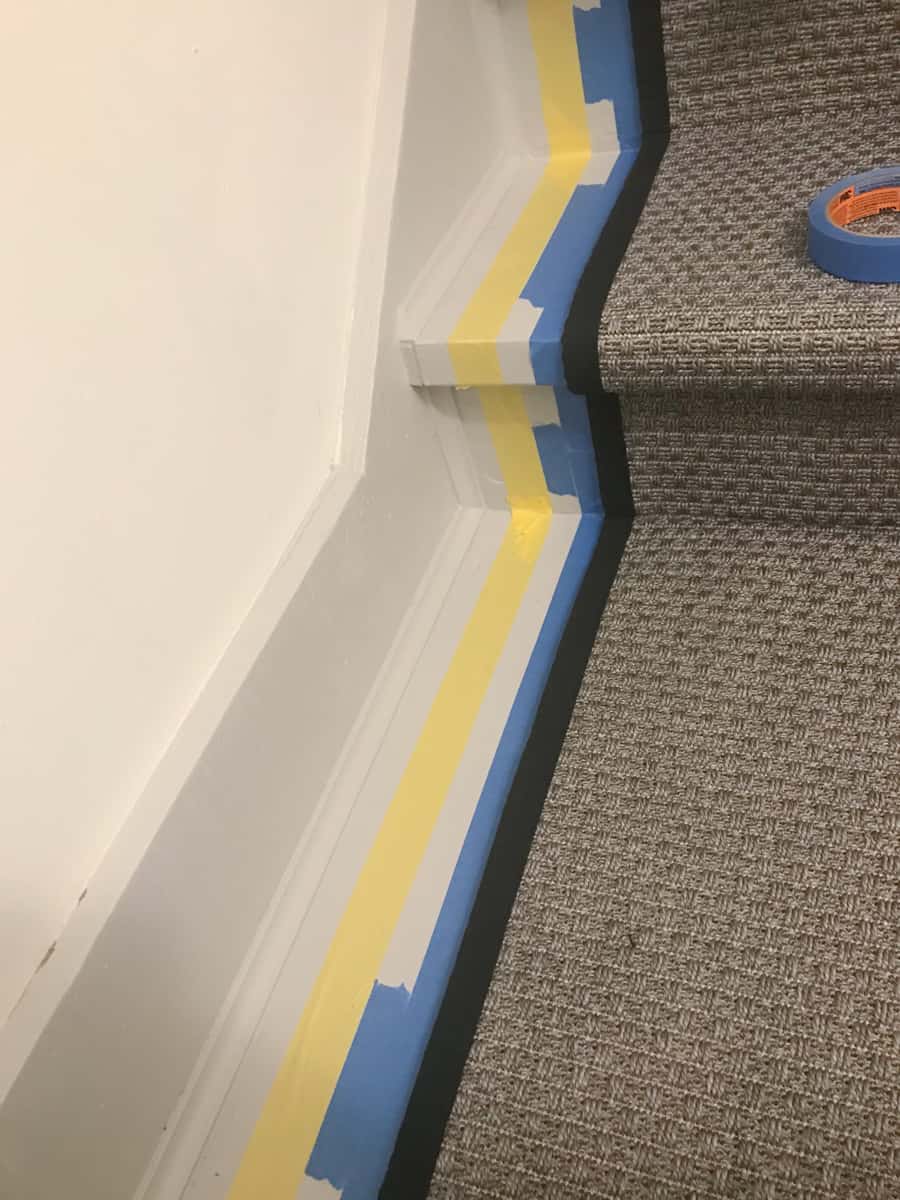
Then, I added a third strip of tape on the outside. This created a 1″ stripe in the middle for the paint.
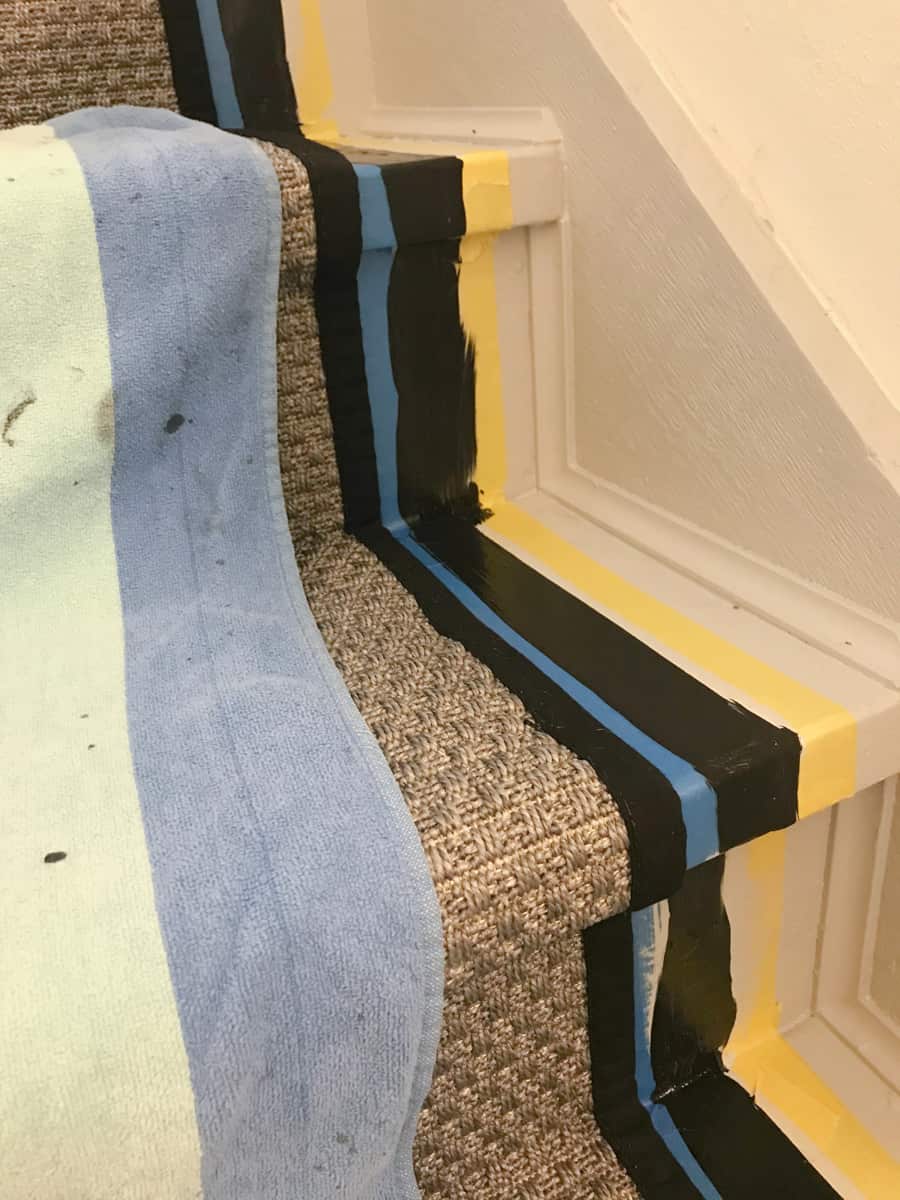
I can promise you the easiest, fastest and most satisfying part of this project was the actual painting!! The stripe was painted a deep gray with blackened undertone, called Rebel RM260 in KILZ Complete Coat.
The last step was to rip up the tape, march up the stairs and admire our new stairwell!
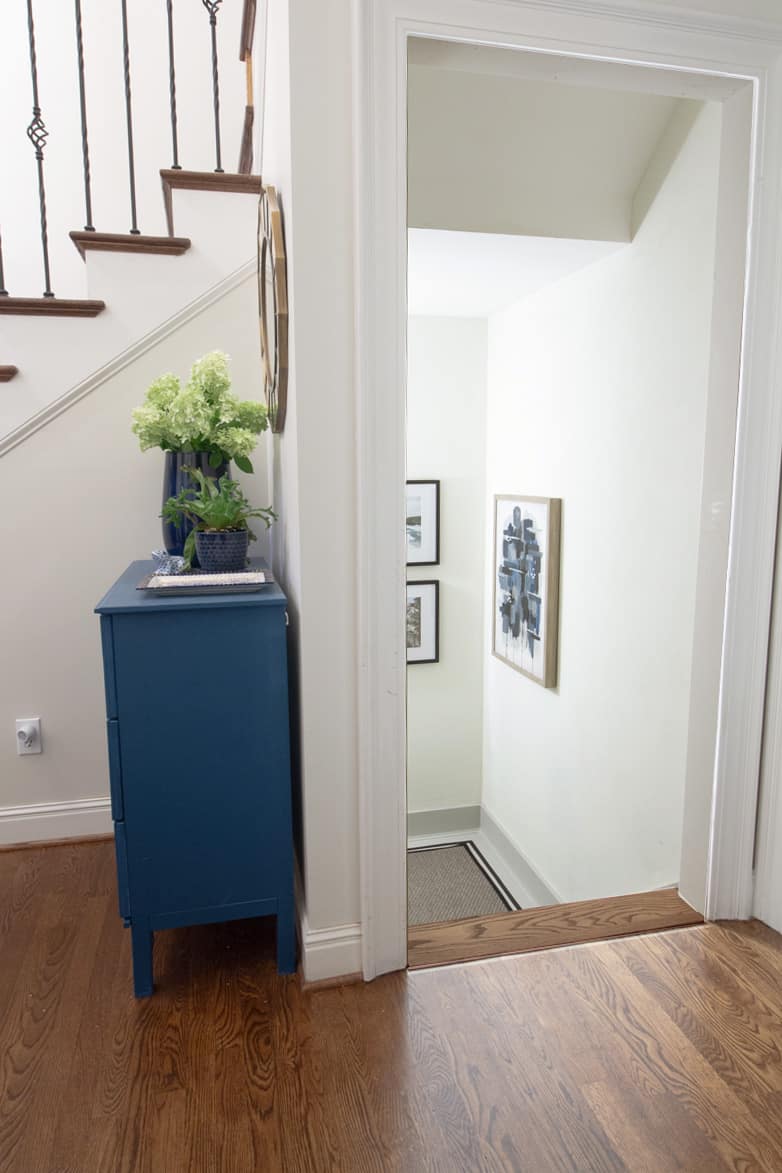
Adding a little art and vacation photographs further elevated the look.
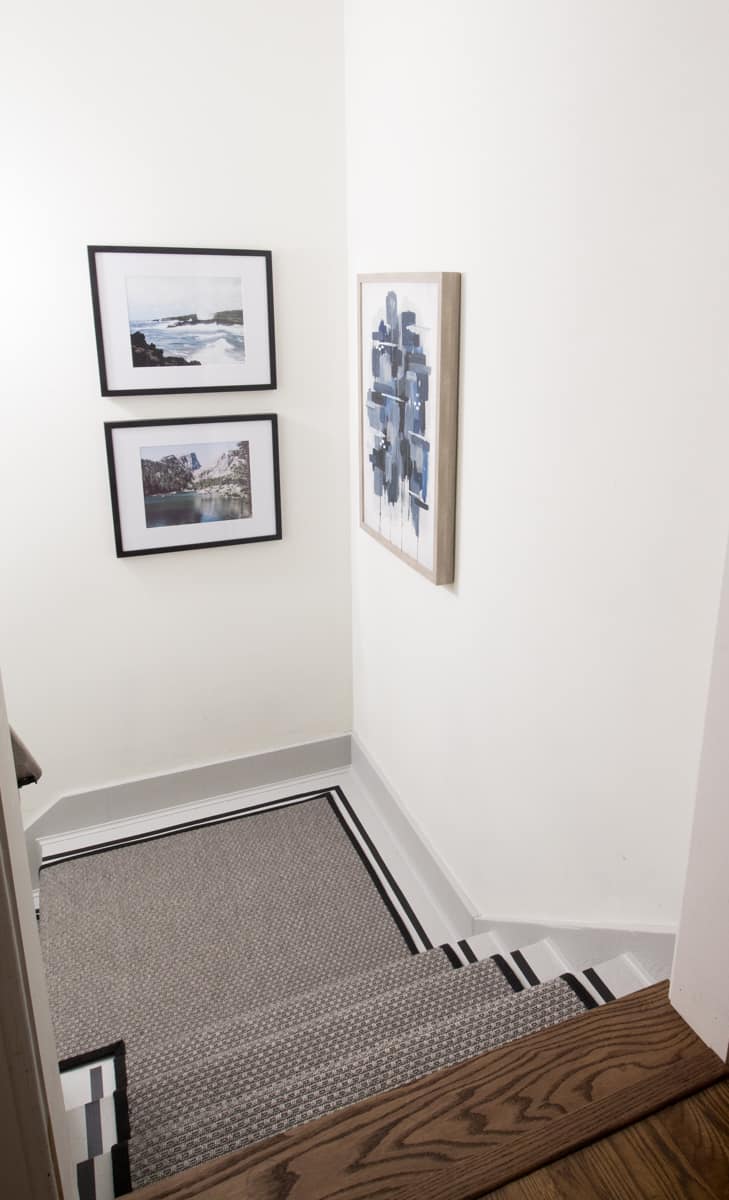
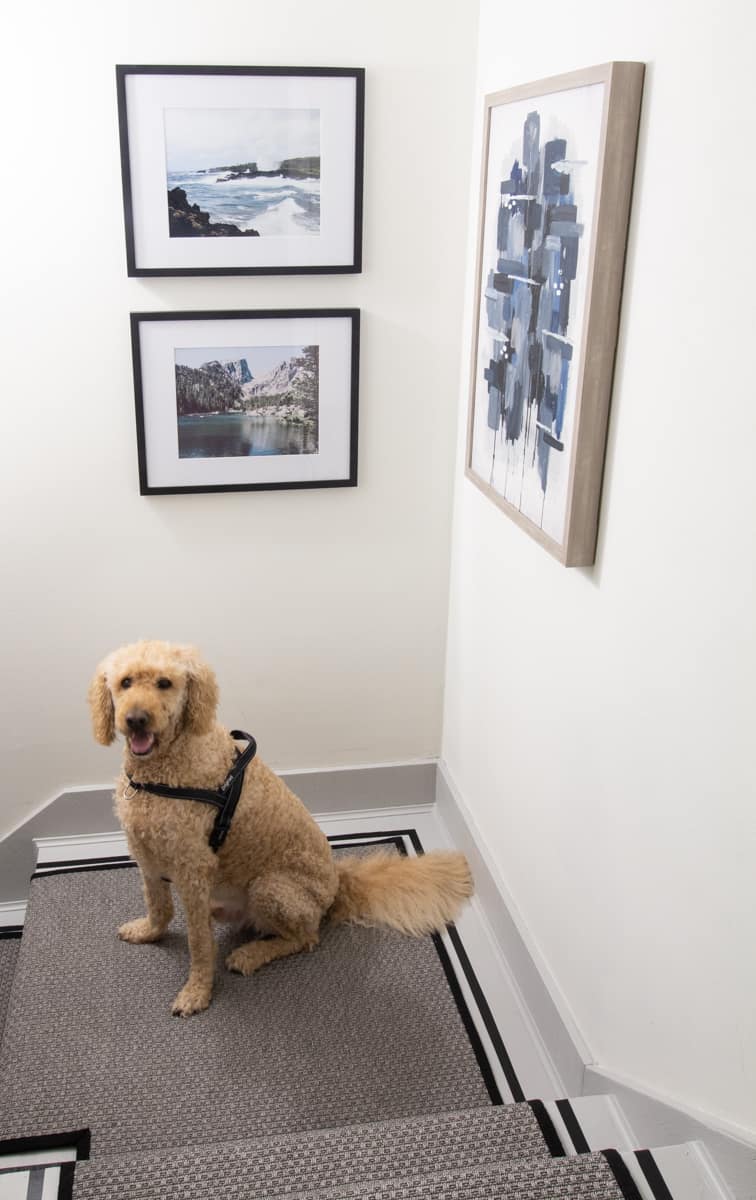
Our old man Tucker may not look it here, but he was ecstatic this project was finished! He was absolutely terrified of the naked stairs.
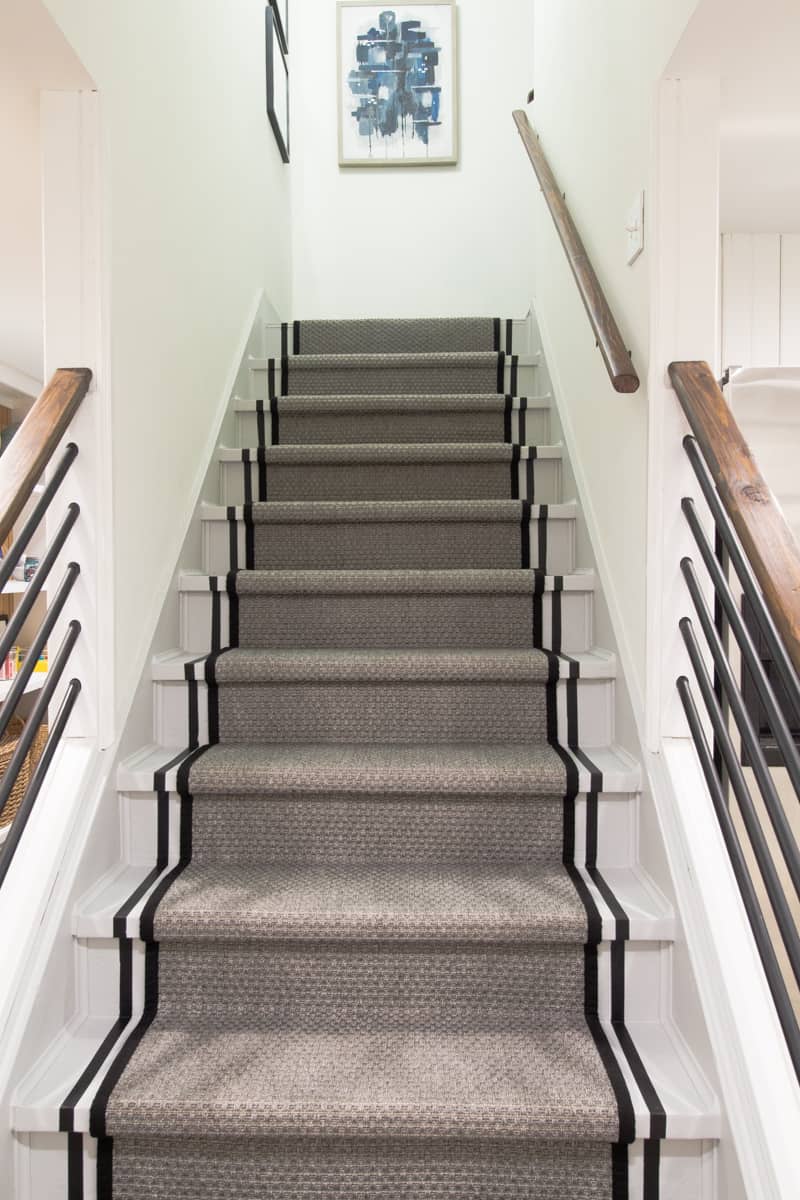
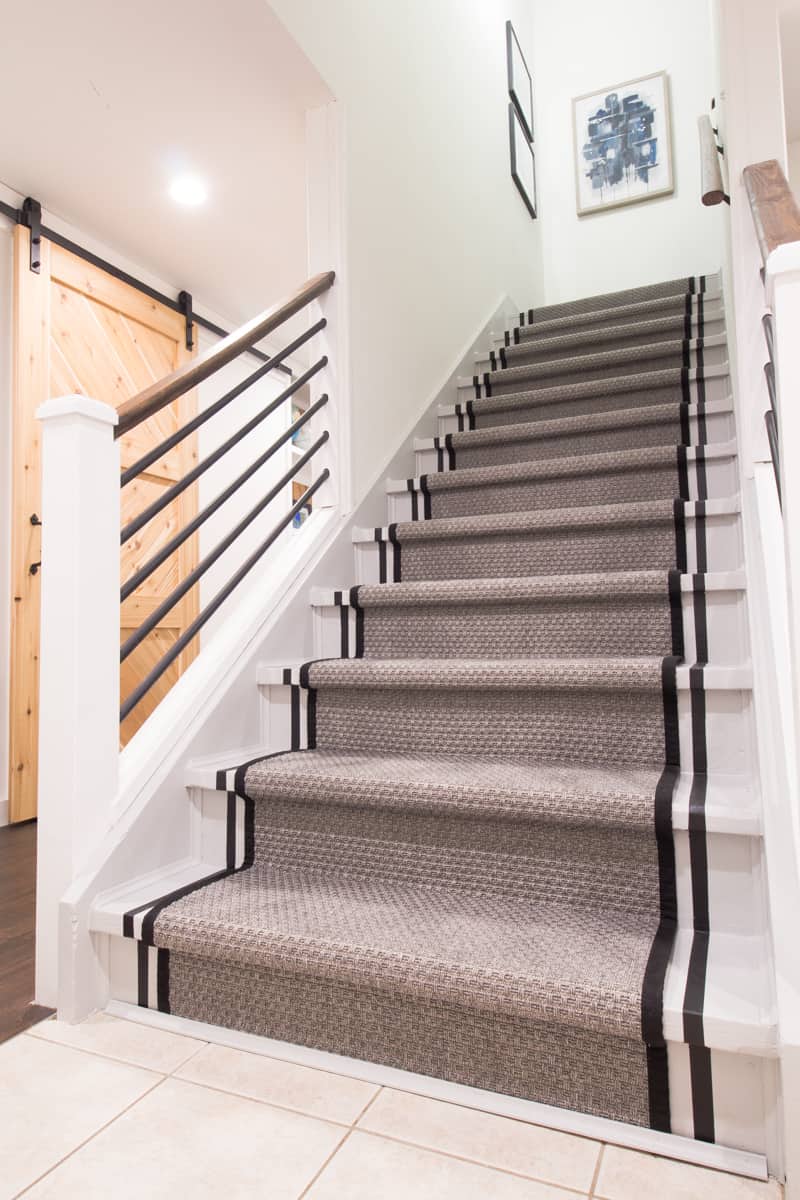
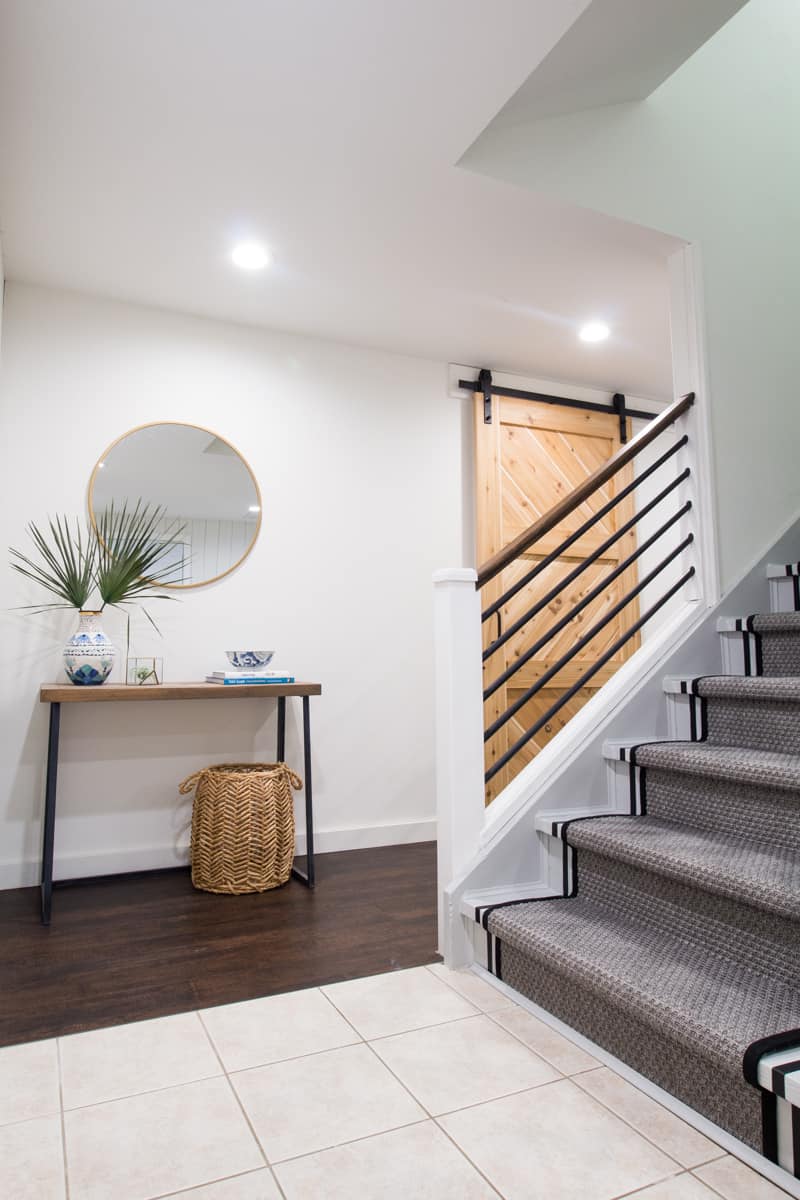
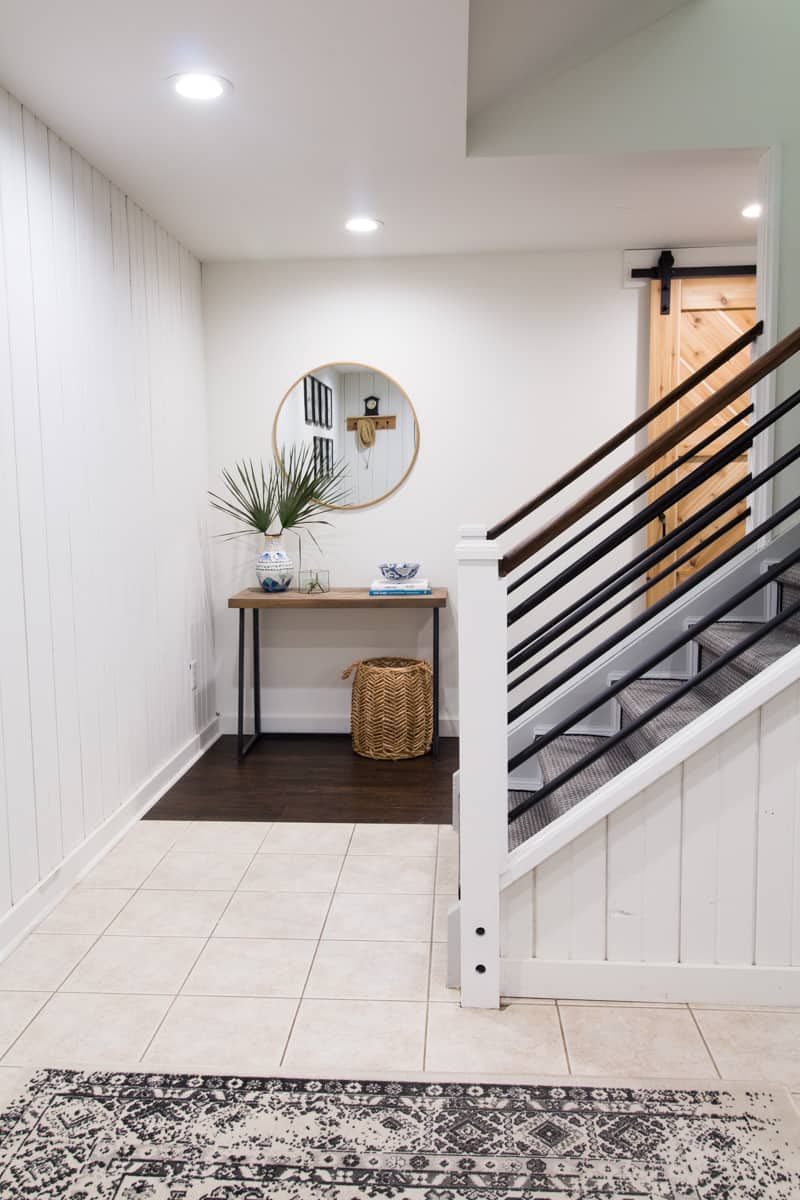
Coming up and down the stairs is now such an absolute pleasure. Before the makeover it was the dark and dingy, yet, necessary space in between areas of our home that had already been improved.
It’s reassuring to know that with the quality foundation of the KILZ brand line of paints that our stairs will look just as beautiful in years to come as they do now!






14 Comments
Marty Oravetz
August 22, 2018 at 8:21 amThey look absolutely amazing.
Leslie
August 31, 2018 at 7:39 amThank you, Marty! It was a long but fun process, well at least the painting part!
Londa
August 23, 2018 at 5:41 amLooks fabulous!!
Leslie
August 31, 2018 at 7:39 amThank you!!
MJ
June 5, 2019 at 4:27 pmThank you!! Trim!!!! I wasn’t sure what I was going to do about the cracks. I saw (and quickly scrolled past) where someone used foam filler. I have used it in the past, and although hilarious to everyone else who witnessed the blob, and my foam covered hands…it is not something I would try again! ?
Cate
August 23, 2018 at 6:18 amIt looks incredible! The black stripe is genius!!! ?
Leslie
August 31, 2018 at 7:38 amThank you, Cate! I hoped it was as cool as I thought it would be in my head!
Brandy K Thomas
August 30, 2018 at 5:44 pmHi, what color and brand did you use for the stairs themselves, not the stripes?
Leslie
August 31, 2018 at 7:31 amThe color is linked in the post, but it’s Kilz brand Sugared Bronze.
Brandy
August 30, 2018 at 5:45 pmHi, what color and brand did you use for the stairs themselves, not the stripes?
Leslie
August 31, 2018 at 7:31 amThe color is linked in the post, but it’s Kilz brand Sugared Bronze. It’s a nice neutral grey, not too cool.
BEST WHITE PAINT FOR INTERIOR WALLS | LIFE ON SUMMERHILL
February 16, 2019 at 4:03 am[…] post talks about how to paint stripes on your stairs, but the Alabaster wall color is trying to steal the show. […]
The goof proof way to paint a room, fast! | DeeplySouthernHome
July 10, 2019 at 10:27 am[…] How to Paint Stairs and the Striped Staircase Makeover […]
Marysa
January 15, 2021 at 12:57 pmI love that you added cove molding along the sides to cover up the seams in the stairs. We are working on this project now, and I enjoyed reading about your staircase makeover.