I am thrilled to share the details about how we motorized our curtains with smart powered solutions for our upstairs bonus room. Curtains that open and close automatically or by the touch of a button is a wonderful thing, but having them operate on a schedule without any consideration is the absolute best!
This post contains affiliate links for your convenience. At no cost to you I make a small commission on products purchased.
BUT my favorite part of this tutorial is how I found a way to make them blend seamlessly into my overall design by hiding the unsightly track system.
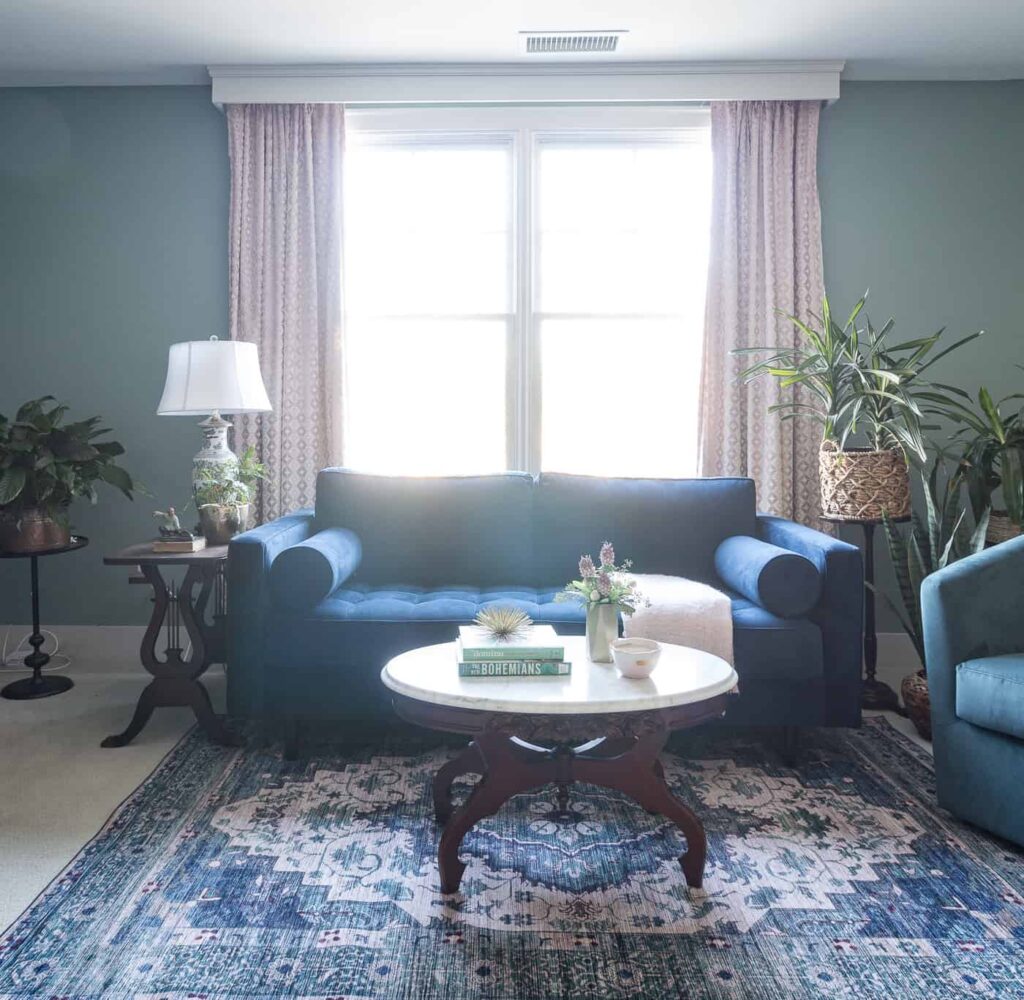
Why remote controlled curtains?
Having shopped around for a window covering that offered the most possible daylight during the day AND complete privacy at night, I decided that curtains were the best solution.
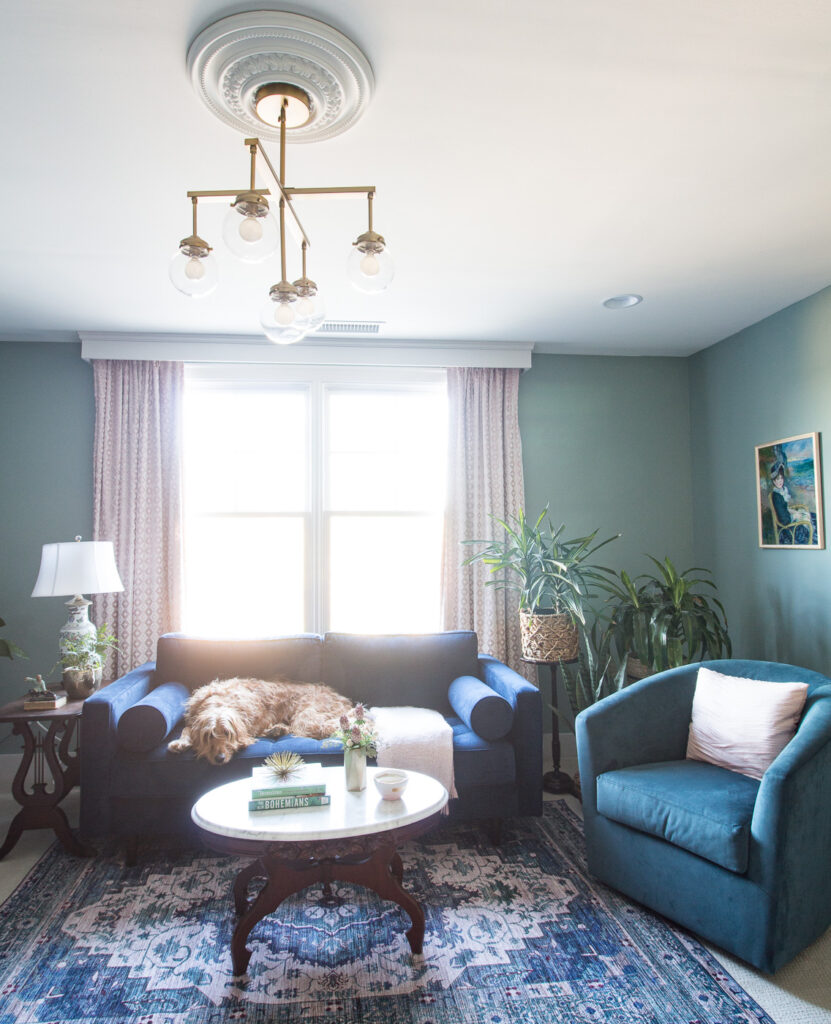
This window faces the front of our house and street. While you can’t see much looking into the room during the day, at night everything is in full view from the street. For optimal safety and privacy, we wanted a solution that was completely automated.
Automation was key to making the curtain solution work. I didn’t need to remember to close the curtains at night or deal with the hassle of opening them every morning.
My husband did the research for a remote-controlled automated smart solution for curtains that was cost-effective and had a high customer satisfaction rate. We landed on the Zemismart Wifi Drapery System.
Why not remote controlled shades or blinds?
I have had remote controlled shades in previous homes. While automated shades are wonderful, they are a fairly custom product and therefore very expensive. Here is a link to where we used a powered shade in our previous home.
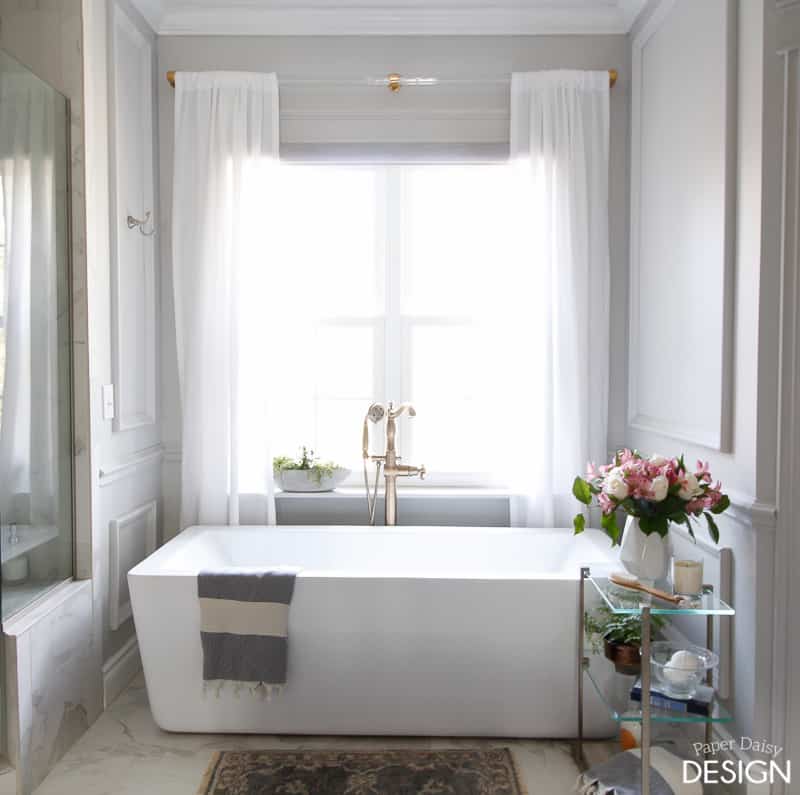
Even if I used a powered shade, I still would have wanted to add drapery panels to the window for a decorative touch. The other disadvantage of a powered shade is the big header at the top of the window that houses the shade. While the header is not unsightly, it is definitely visible.
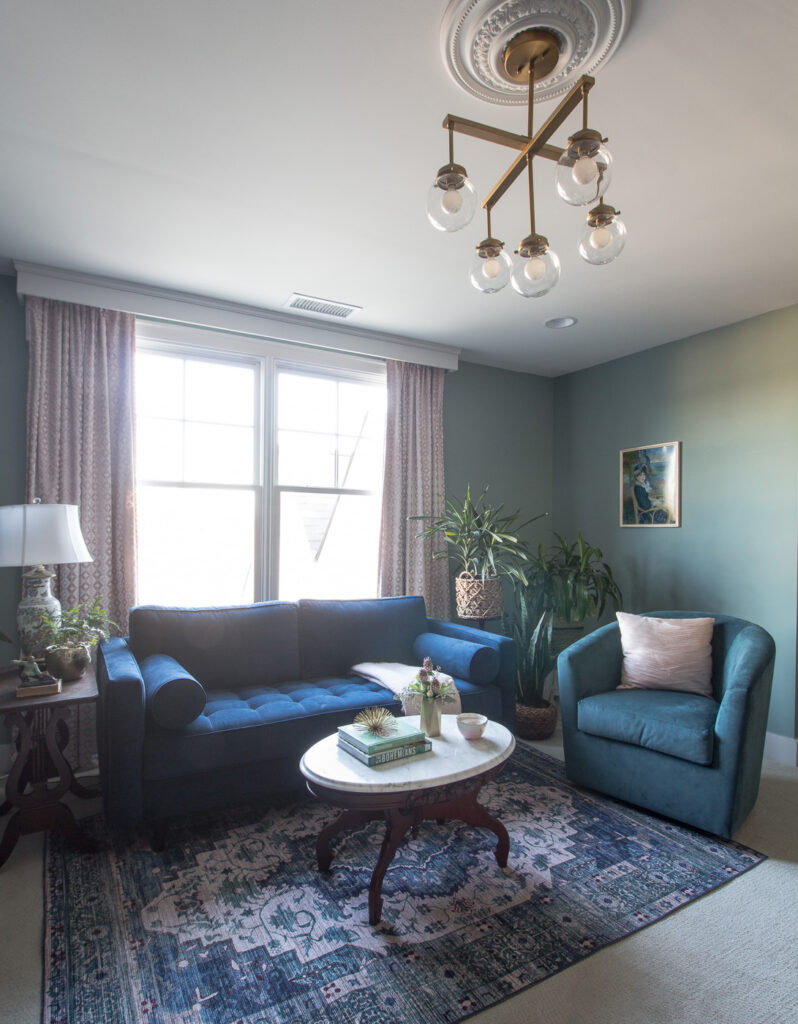
Video Tutorial
I created this video tutorial so that you could see the curtain in action and be a guide to the installations. The video and the full “how to’s” is divided into three parts.
- Track installation and set up.
- Customizing a ready-made curtain to use on the track.
- Hiding the track with a simple cornice.
Track Installation
The Zemismart track uses your home’s WiFi, comes with a handheld remote control and/or can be controlled by Alexa or Google Home via an app called Tuya. This track works on a window from 85″ to 118″. It has the option to open from the middle or to open from one side or the other, like for a sliding glass door.
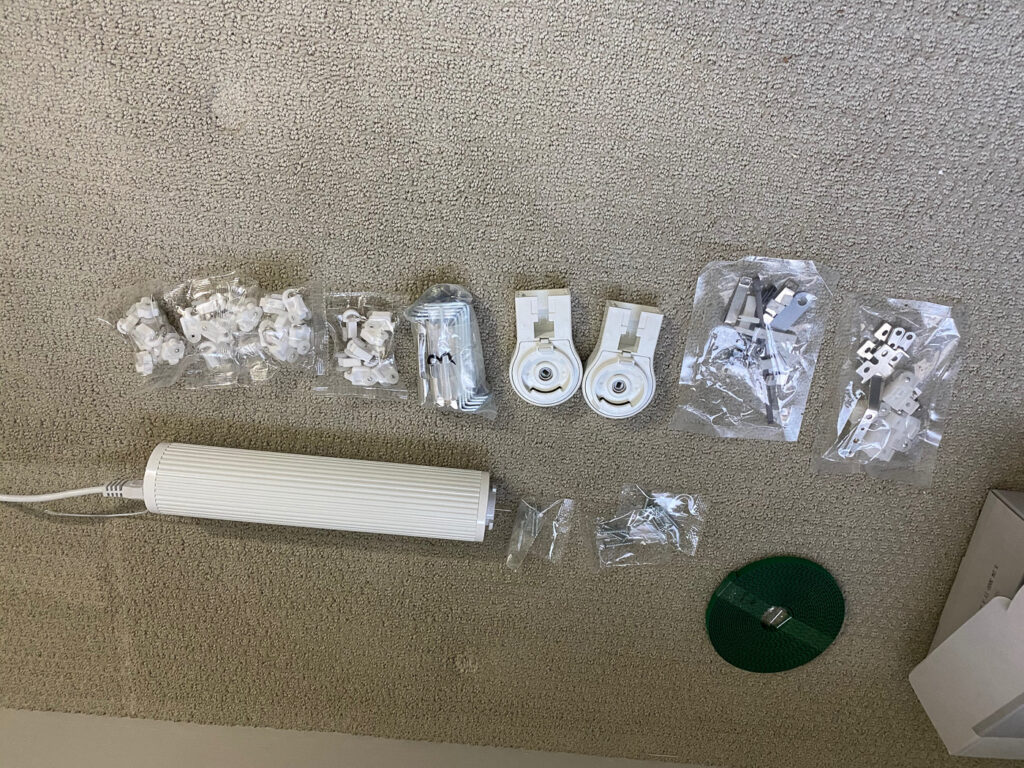
Our window is actually 80″ wide but we extended the track out several inches on either side of the window casing. (You have to find a balance between extending your curtain past the window for the most daylight and having the curtains close completely at night. That means you need to have a curtain that is wider than your actual window.)
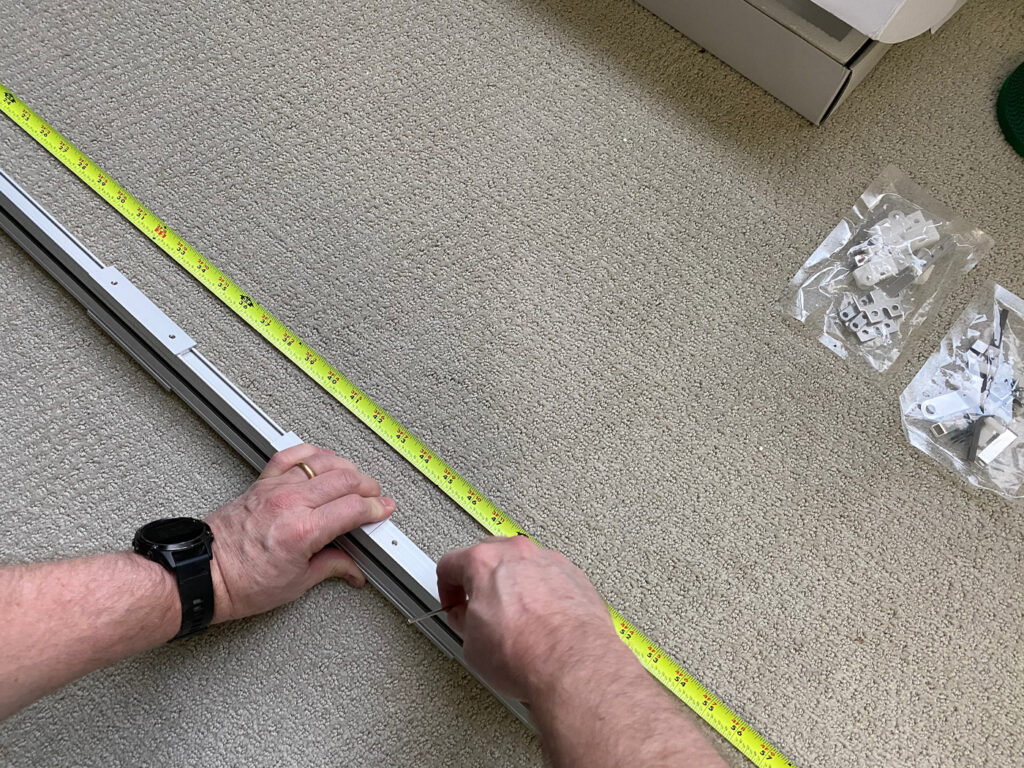
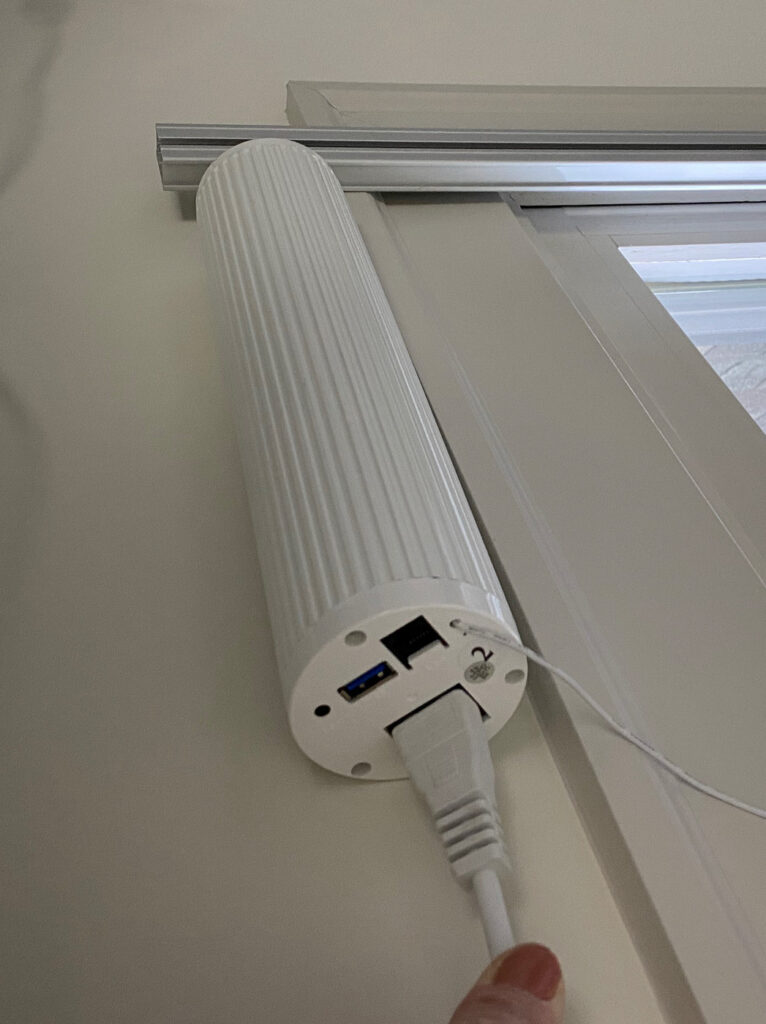
The track has pieces that can be added or removed based upon the length you need. You will also want to account for the motor that hangs on one side of the curtain outside of the window casing. It is fairly easy to hide the motor behind your drapes.
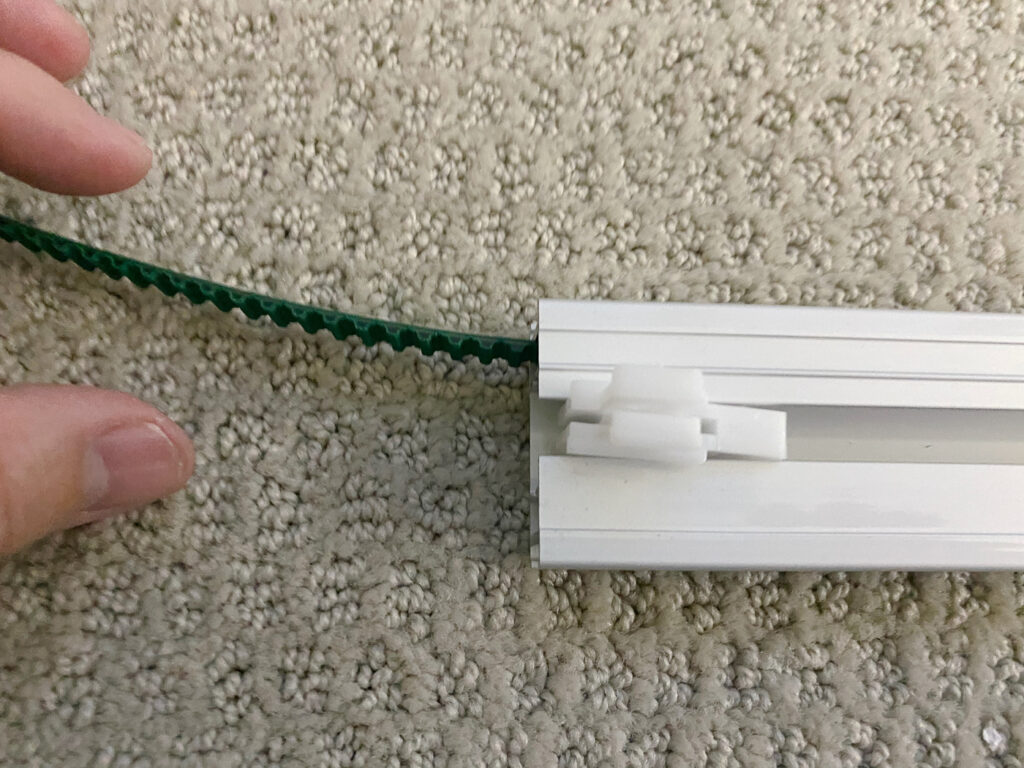
The system comes with an instruction booklet but we pretty much followed this YouTube video. (I plan to make our own with more concise directions at the bottom but this one worked perfectly fine for us. Unfortunately, we had to stop the video many times to understand fully what was happening because there was no narration. )
Hiding the Rail System
After the decision was made to use this track system to open and close the curtains, it was up to me to design a solution making it beautiful. While the system is rather discreet, I still didn’t want to see it. I didn’t want it to feel like I was installing a cheap hotel curtain track.
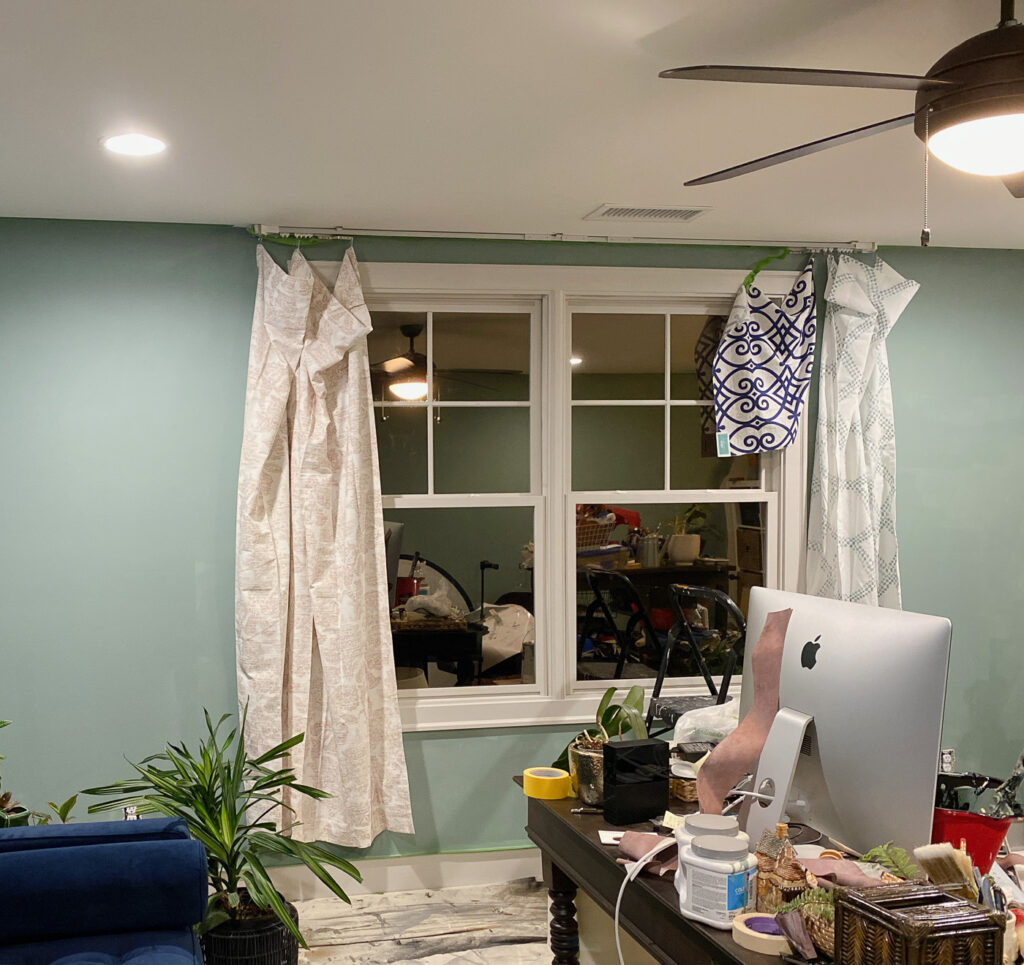
I had tossed around several ideas but once we began installing the system I realized my initial idea was not going to work. The directions say that the rod can be installed on the wall, as well as, the ceiling. While that is true, the rail system still can be seen in the same manner as if it was installed on the ceiling.
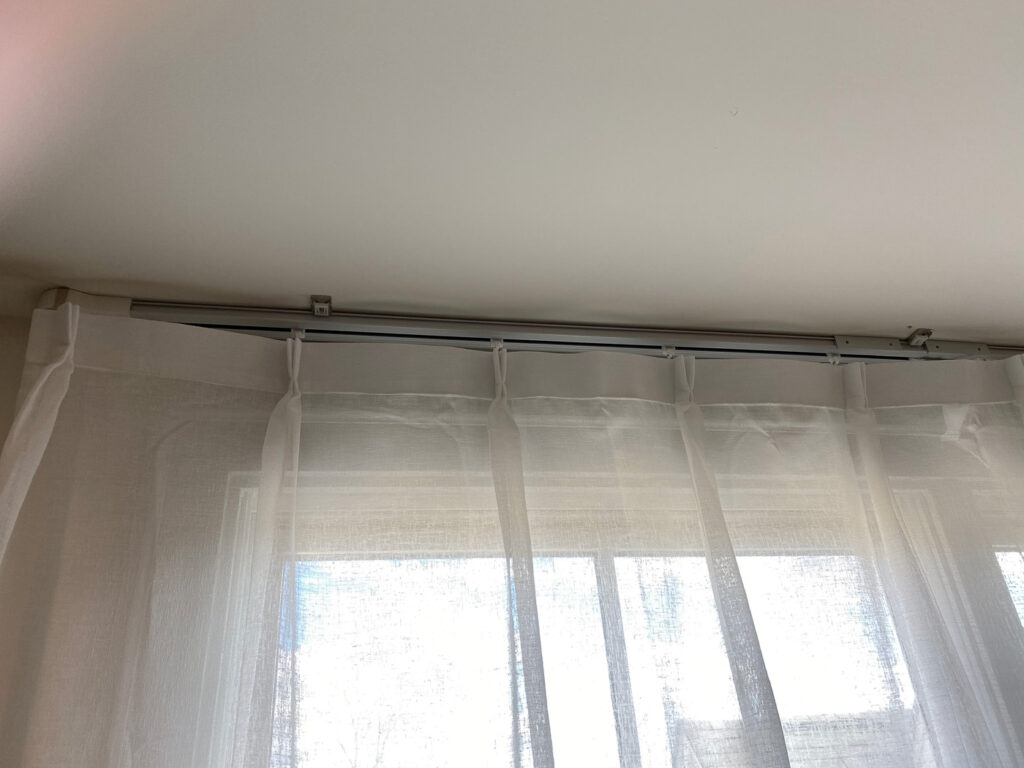
I had hoped with drapery pins installed low enough on the header of these ready-made pleated curtains that the top of the track system would be hidden when it was closed.
That was not the case. Also, the fabric was a little thinner than I had expected and lacked the needed privacy.
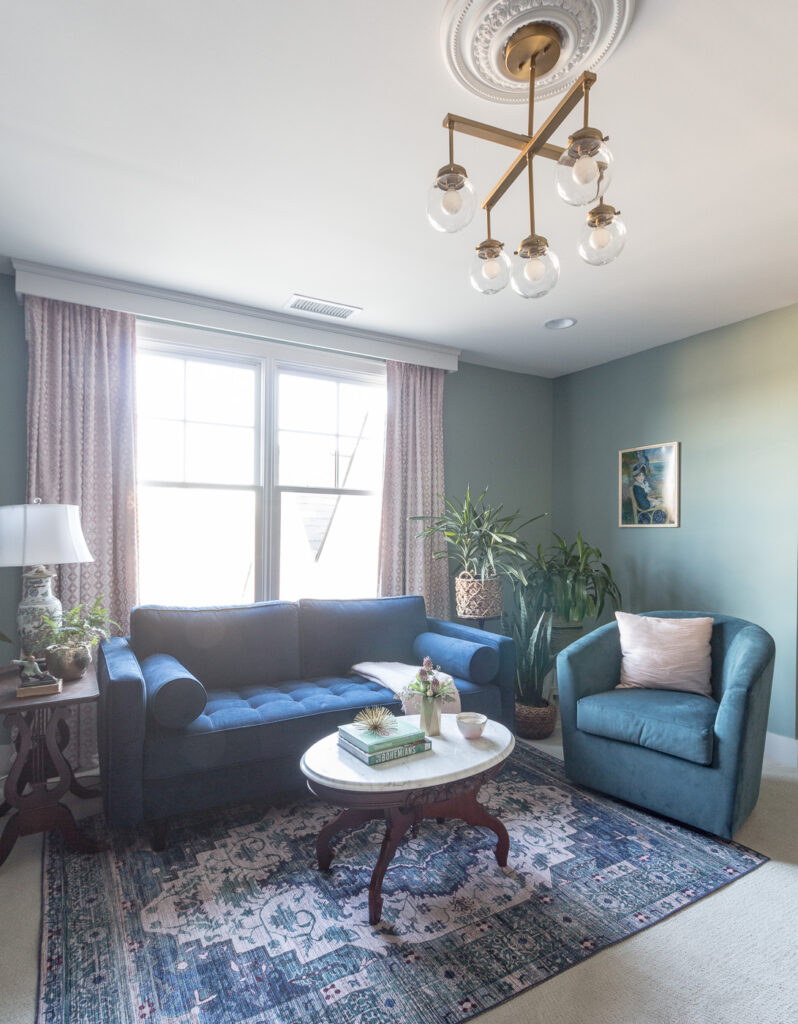
In the end, I felt like a small profile cornice was the best way to disguise the mechanism. I also realized that it was best to move to a fully lined drapery panel to offer the most privacy at night.

Any ready-made curtains with a lining, like these can be used for this type of installation. I have the curtains I’ve linked on several other windows in our house. You can see them here in our master bedroom.
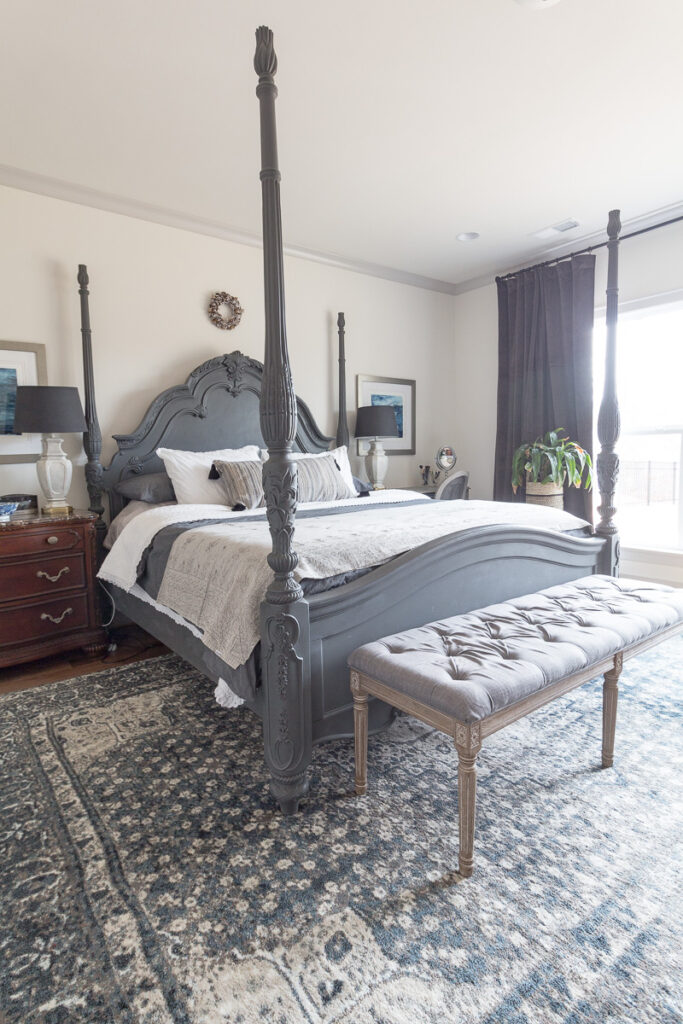
There is a header for back tabs on these curtains that you could easily support pins to hang on the track. Or you can retrofit curtains to support the pins as I did for my pink curtains.
I’ll cover how to install a pleat header after the cornice portion of this tutorial.

How to build & install a simple cornice to hide the powered track.

The first thing you should know is this is a SUPER simple build anyone can do this! To make this look beautiful and still be very easy for a beginnner, I used a piece of chair rail for the pretty detail instead of crown. Cutting crown moulding is a bit more tricky and requires a powered miter saw. But if you have crown already, I would recommend following that crown around the cornice instead of stepping down to the chair rail.
- With your track and curtain installed measure out how far out your cornice will need to be hung. You will want to make sure there is plenty of room for the curtain to gather at the ends.
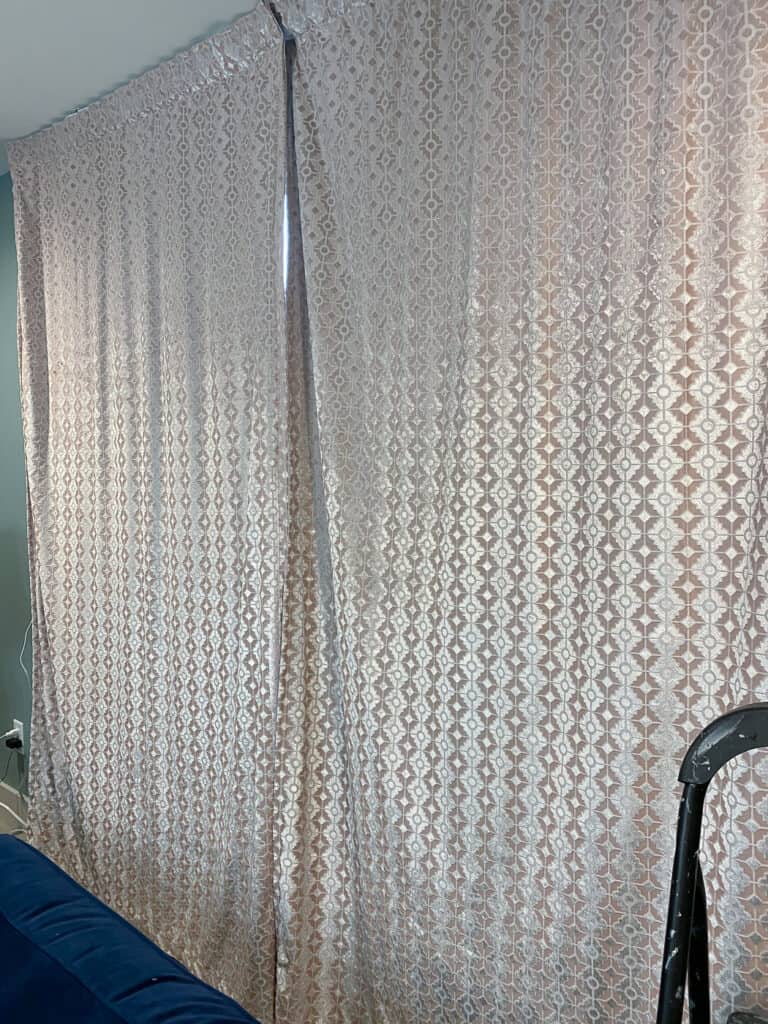
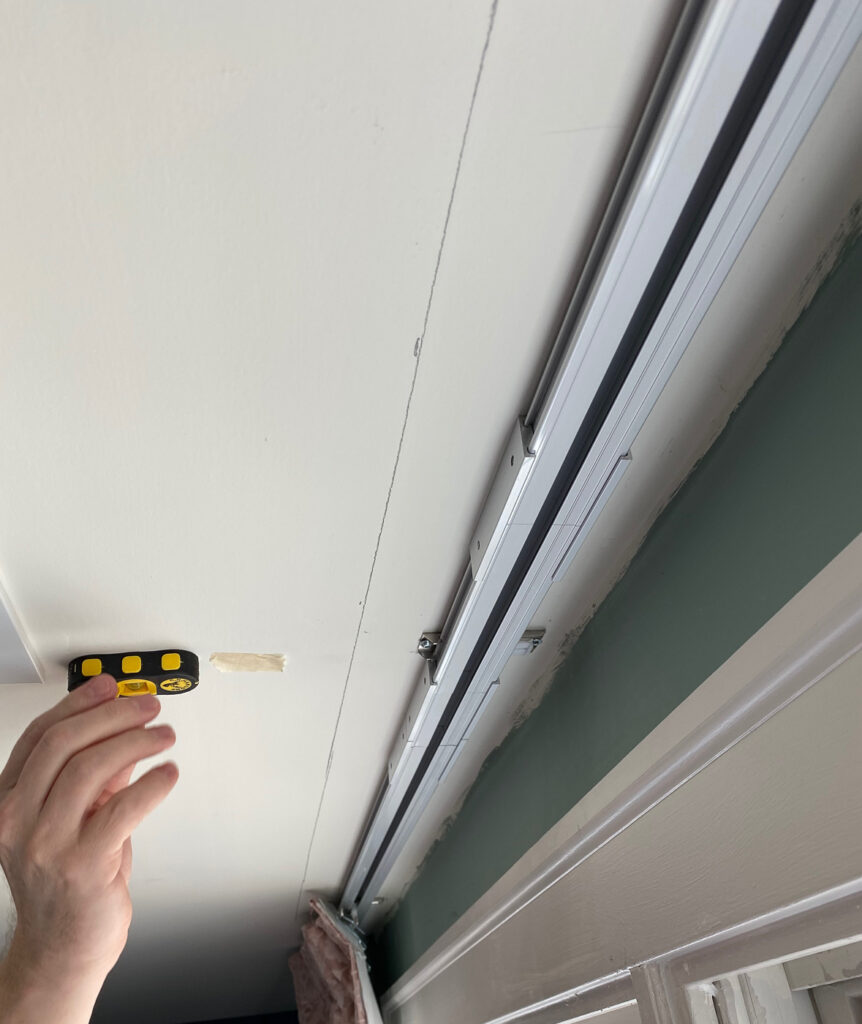
2. Mark the joists further out during the installation of the curtain rail. We forgot to do this step initially, but we also wanted to screw into the joists a few more times than the curtain track did. We marked those joists with tape.
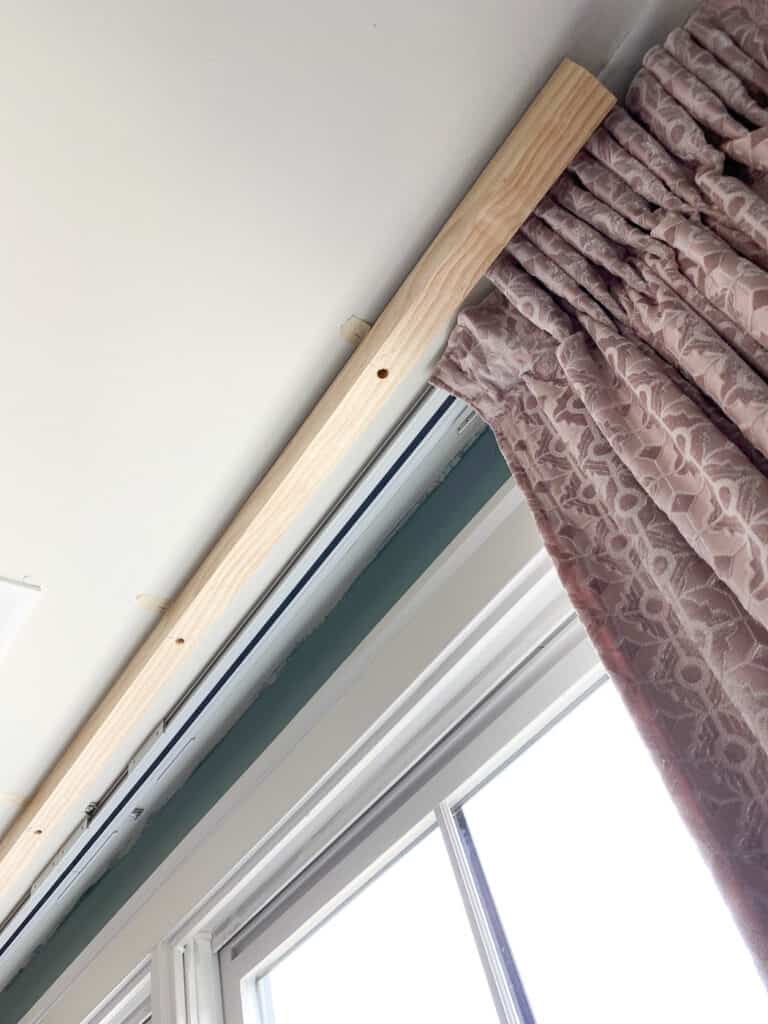
3. Using a drill, screw a 2″x2″ cleat into the joists. Your cleat does not need to be the full length of the window covering. We drilled pilot holes and also countersunk the screws because the screws we had on hand were not long enough.
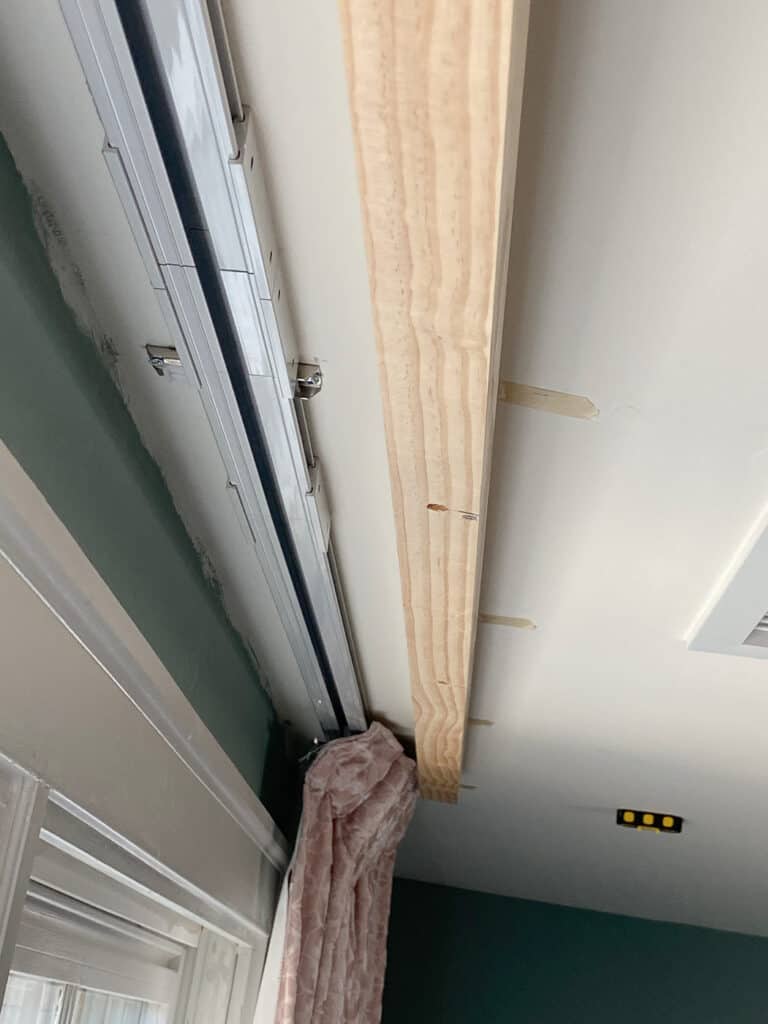
4. Build a simple 3-sided box from 1 x 6 boards to hide the top of the rail. To determine the size of your cornice, measure out from your cleat for the sides and entire width of the curtain allowing for the return of the sides pieces.
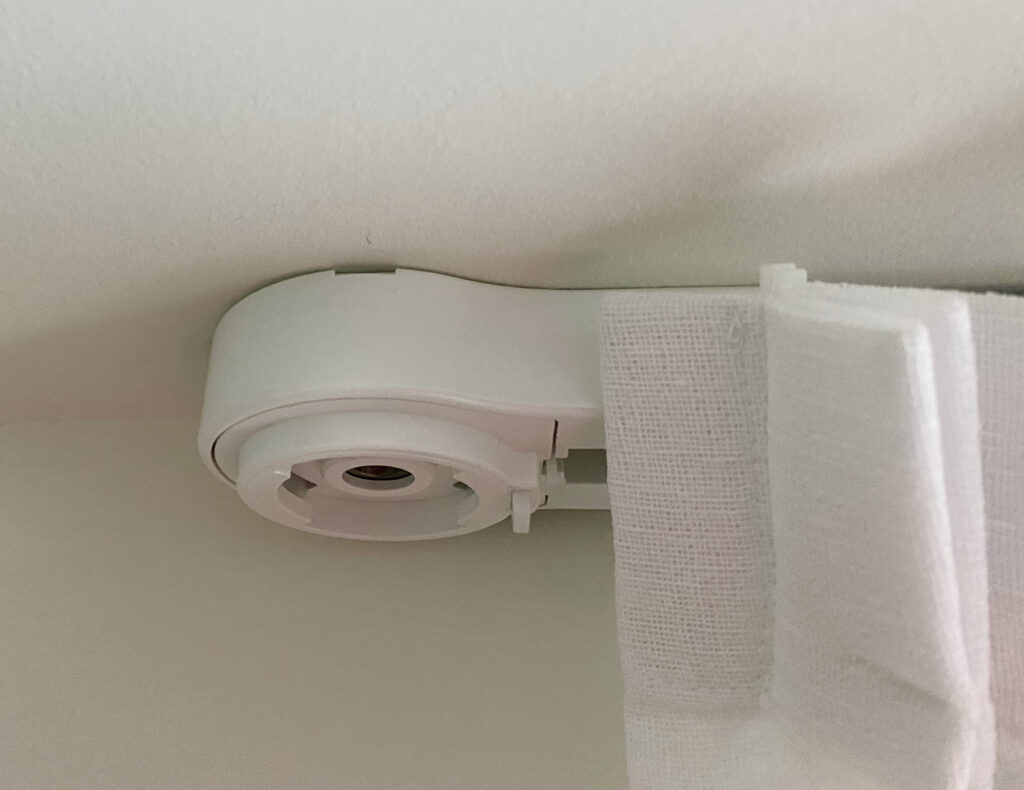
We mitered the corners of the cornice, but you can definitely use a basic butt joint.
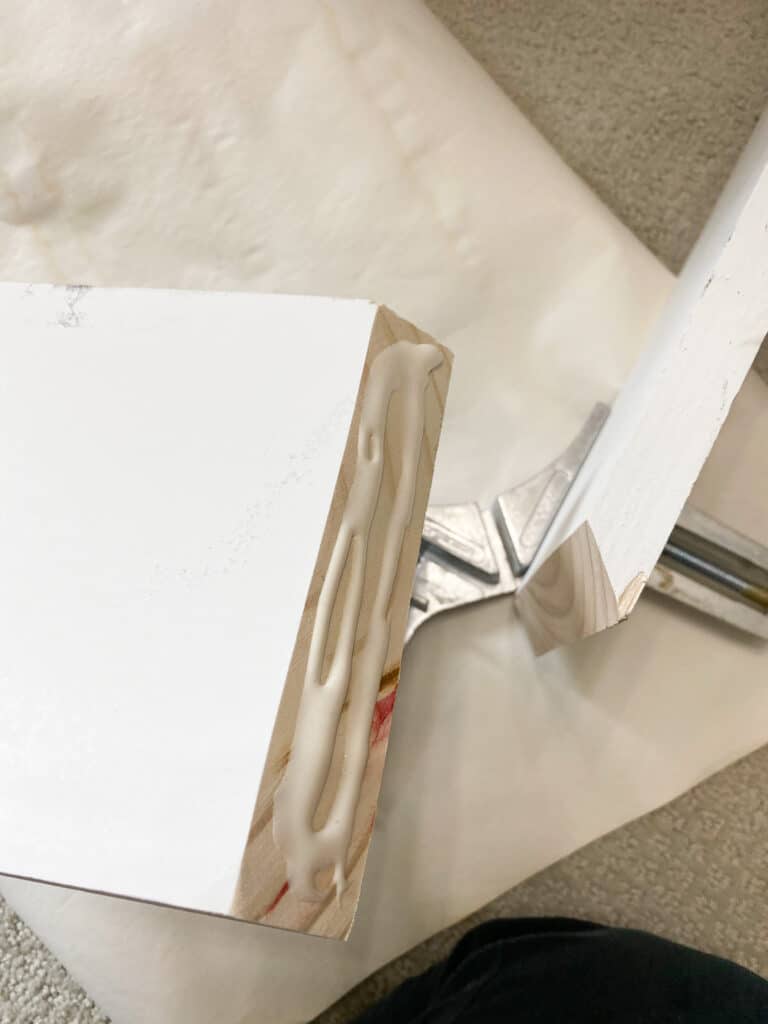
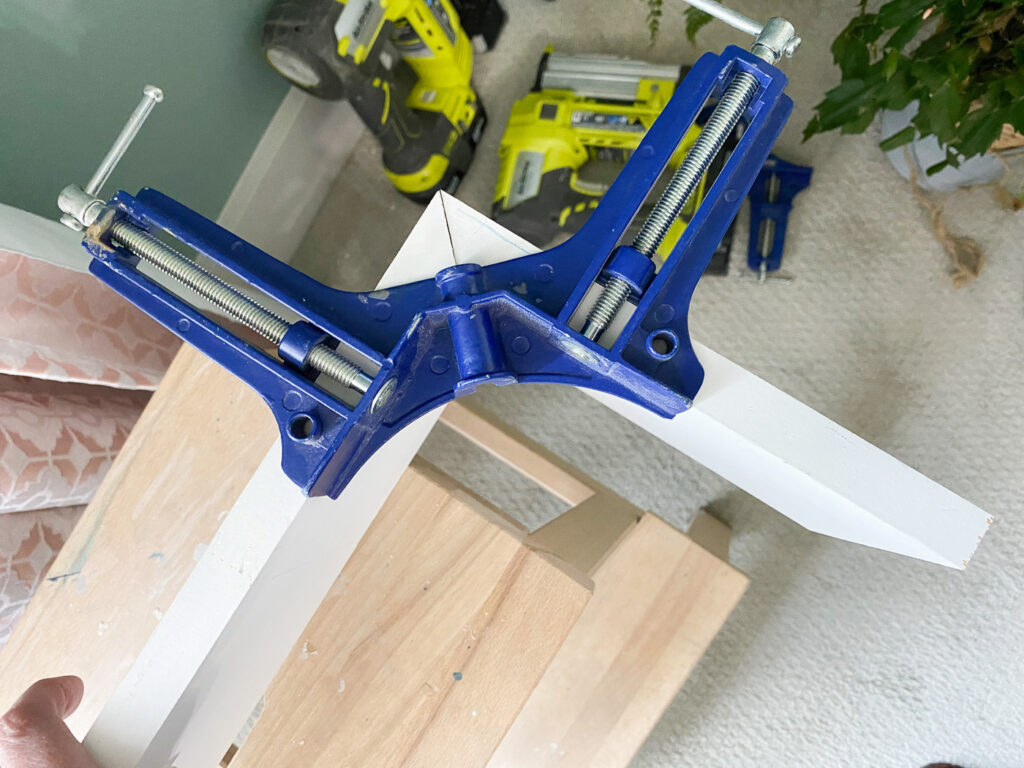
5. Apply wood glue to the joints and then tighten the camps. We highly recommend something like these right angle clamps to join the pieces together whether you use a butt joint or a 45 degree cut. Nail and allow to dry for several hours, or follow the wood glue manufacturers directions.
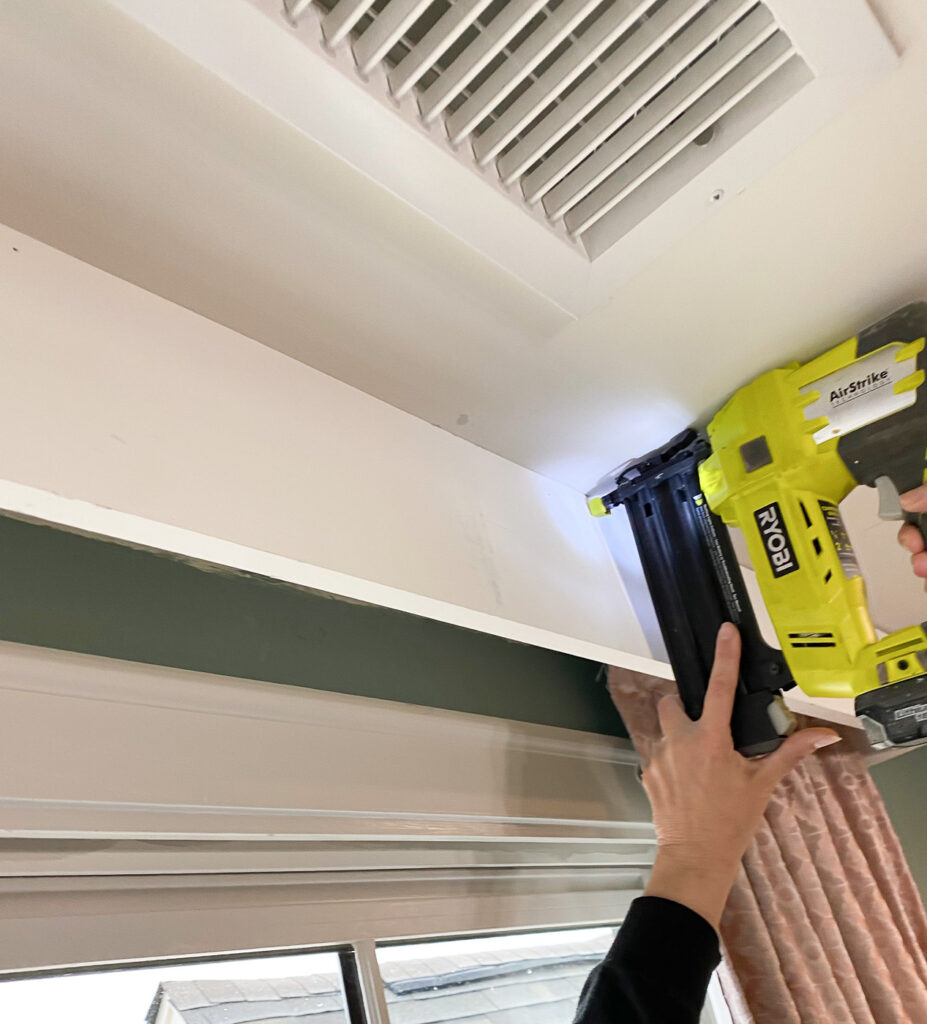
6. Install cornice box by nailing into the cleat. We used a 18 gauge nail gun. If you add your nail close enough to the top there will be no need for filling these holes.
7. Add trim to dress up the simple box and hide the nails. Using chair rail instead of crown, like we did, you can definitely make these cuts with a simple miter box and 45 degree angles.

Adding Pleats and Hanging the Curtains on the Smart Track
Unfortunately, I had a great deal of difficulty finding just the right shade of pink curtains for this room.
Remember when I said I had an alternative plan initially? That plan involved purchasing ready made curtains with pins included. I was trying to find an off the shelf solution that anyone could do.

These curtains ended up being too flimsy and the included pins were plastic. I definitely worried about their long-term durability. If you weren’t too picky and wanted a light filtering option instead of complete privacy, I think these could work with a bigger cornice.
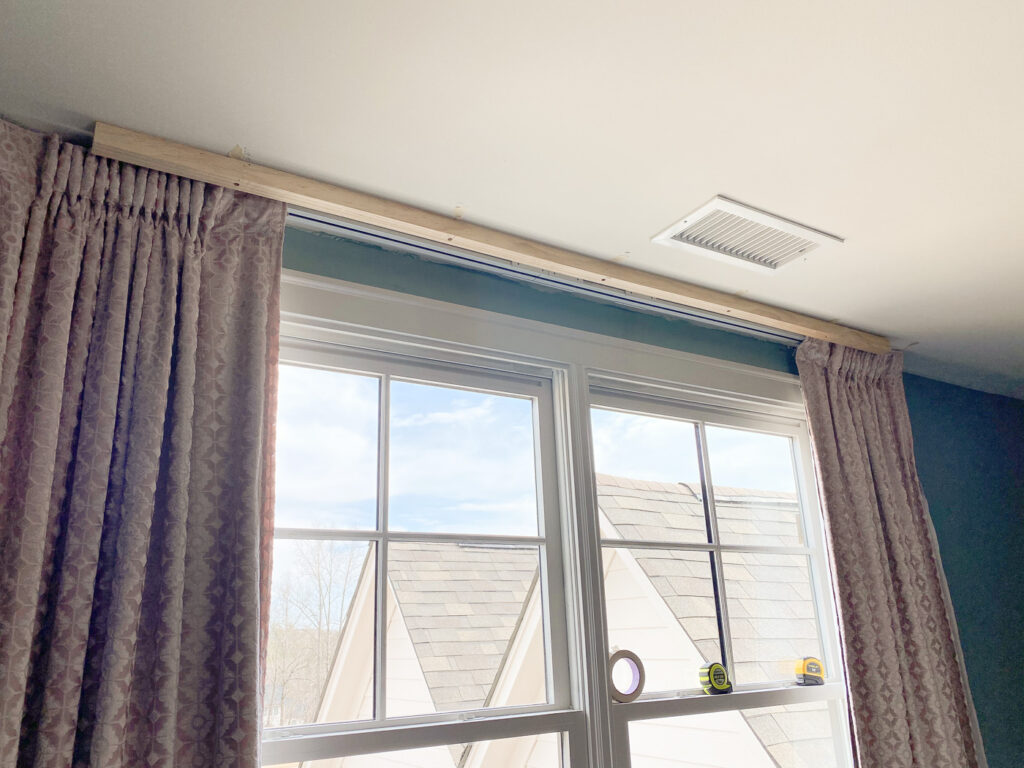
I ended up purchasing these and then lining them with drapery liner as well as adding pleat tape.
Alternatively, like I mentioned before you could purchase these curtains which I have used in our master and the guest bedroom. They come with enough of a header for the pins and I think they would work fine.
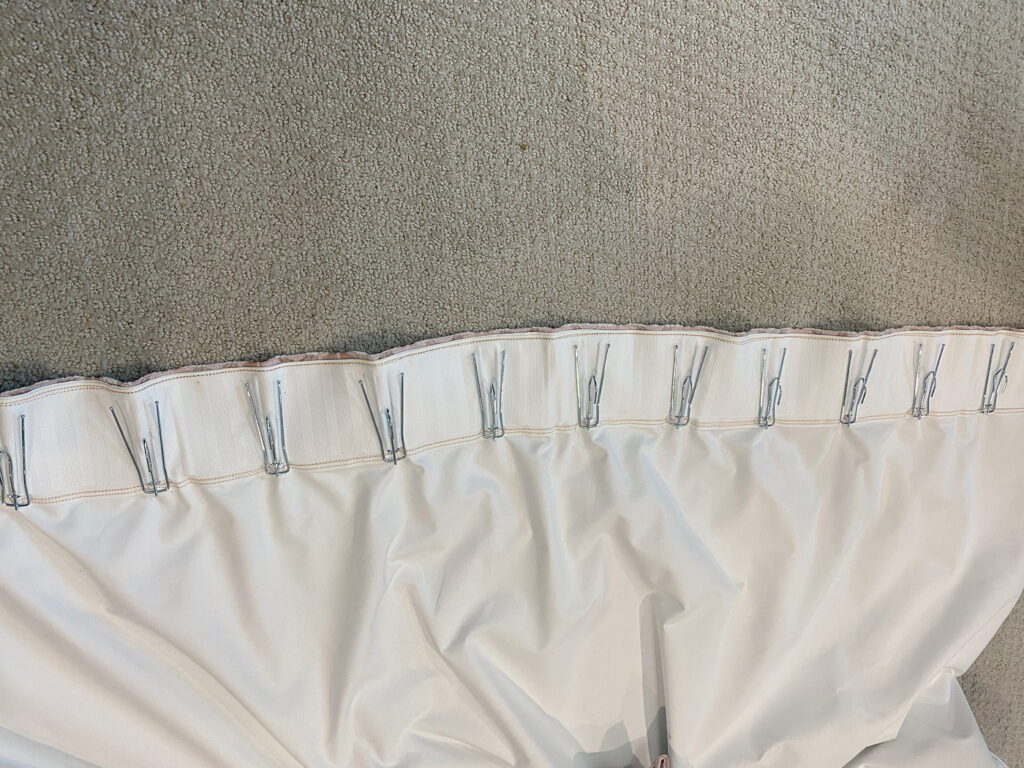
Look for the pins that have the hook about halfway down. This raises the curtains up, so that when they are attached to the small rings on the rail the curtain covers the track.
This would also be important if you wanted your curtains to be room darkening. Installing the pin as close to the ceiling and the track reduces light leak with morning sunlight.
Also note: Creating pleats will reduce the amount of coverage your curtain gives your window. Be sure to take that into account. Alternatively, you could use curtain hooks. The only drawback there is that you will need to measure the placement of each hook to keep your curtain’s length consistent.
Because my curtains didn’t have tape for pins, I sewed it on top of the curtain and lining. If you have existing standard curtains you want to use with the powered curtain already, you could just add pleat tape.
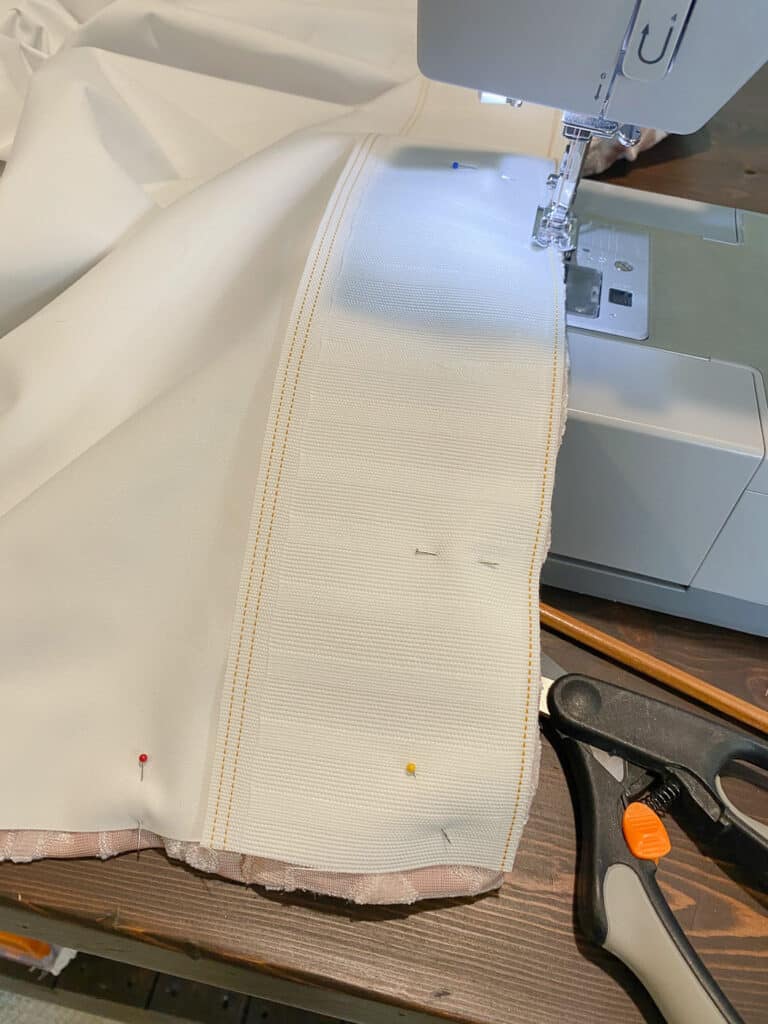
The pleat tape allows you to evenly space the pins. It also adds a good deal of stiffness to the top of the curtain. (I only like the pleat tape at Hobby Lobby. The tape I have found at JoAnn Fabric is too flimsy.)

Also note, that I didn’t use all of the prongs in pleat pins to create a deep pleat. Each one of those prongs should go in a separate pocket in the tape. I only put two of the four prongs in a pocket so that I had a longer width of fabric. The more holes the pins go into the more fabric width the pleats use of your fabric. Take this into account if you want true pleats when you buy or sew your curtains. If you don’t allow for enough width the curtains will not meet in the middle to close completly.
Hiding the mechanism and the Power Cord
My curtain almost completly covers the power strip. My plan is to add a piece of sticky velcro to the power pack and the curtain to keep it covered.
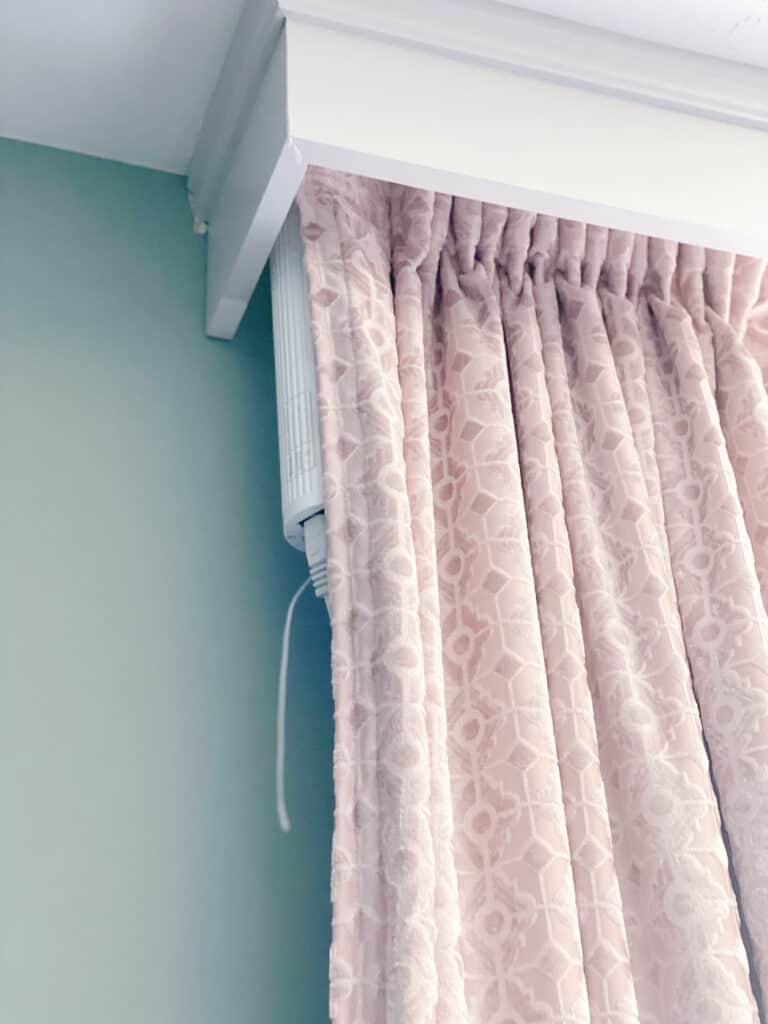
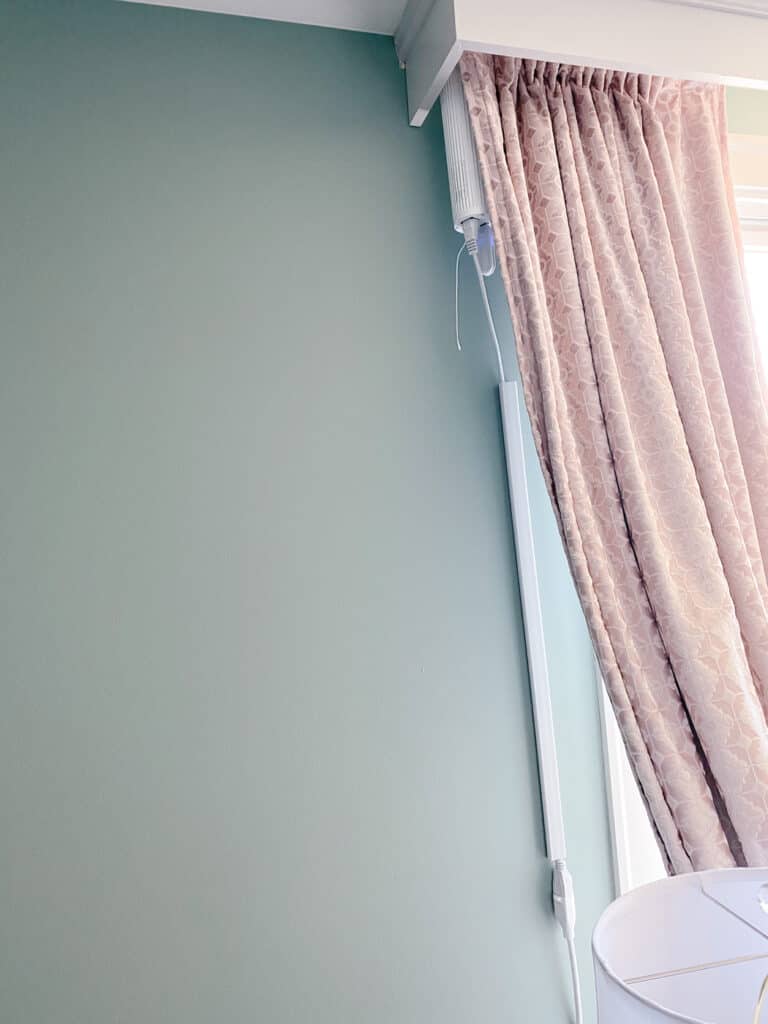
For the cord, I add a strip of cord cover on hand. I cut it in half to add one section above the plug and the other section on the extension cord.

If there was one complaint I would make about this system it would be to ask for a longer cord. I don’t know anyone who has an outlet that high on their wall.
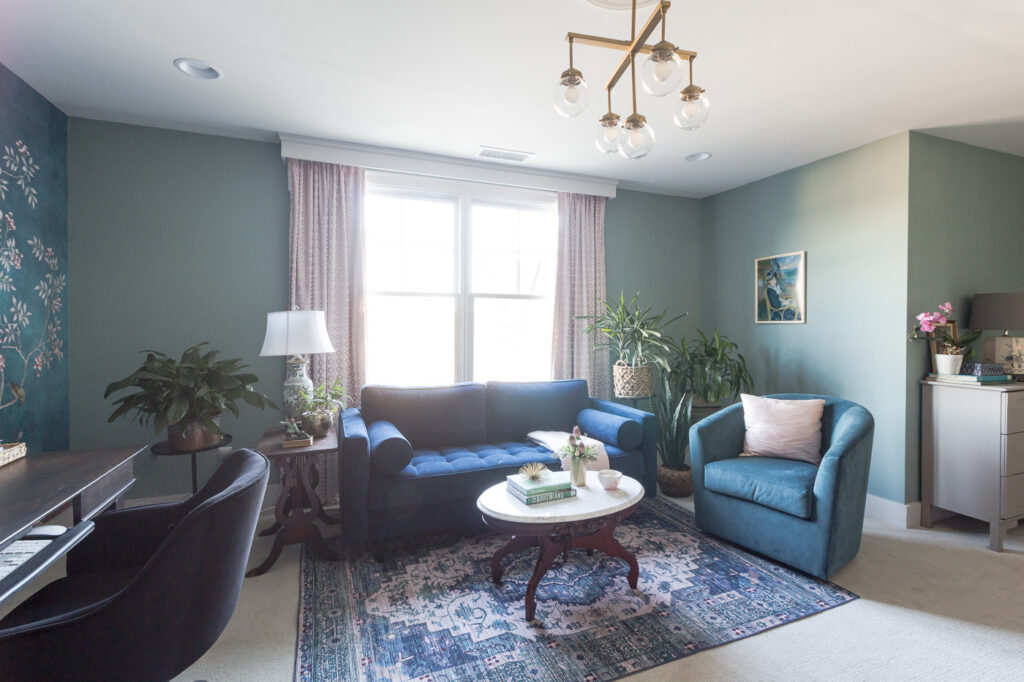
I totally love the way this looks AND the way it functions! It is absolutely one of the most seamlessly executed DIY’s to date! I highly recommend the Zemismart Drapery System!

The opening and closing is programed on a timer. The curtains open around 7am and close at 5:30!





No Comments