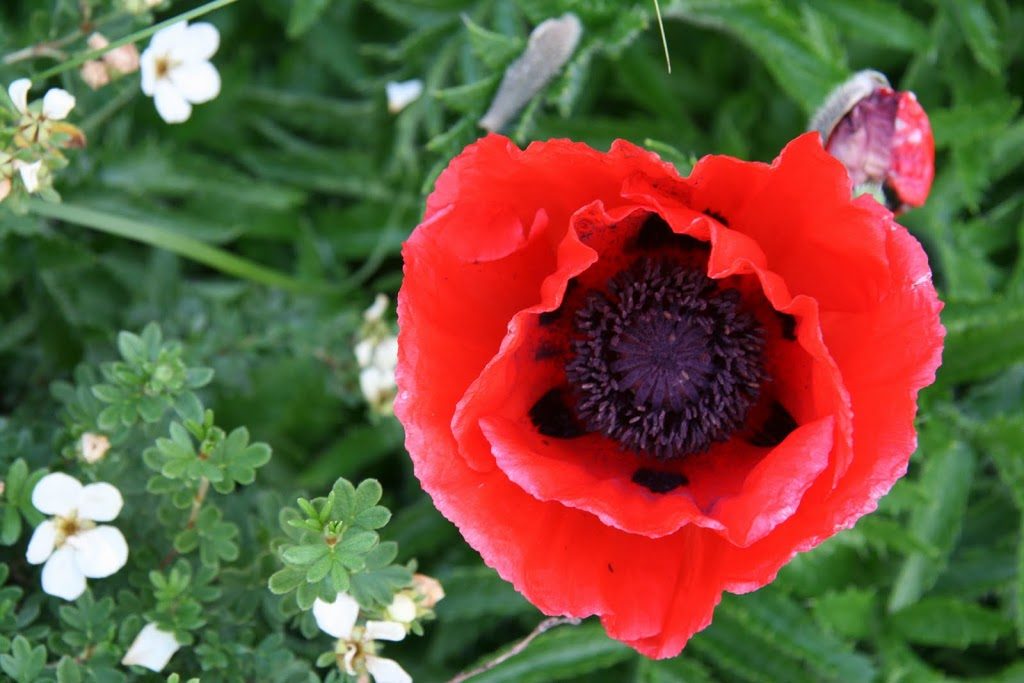
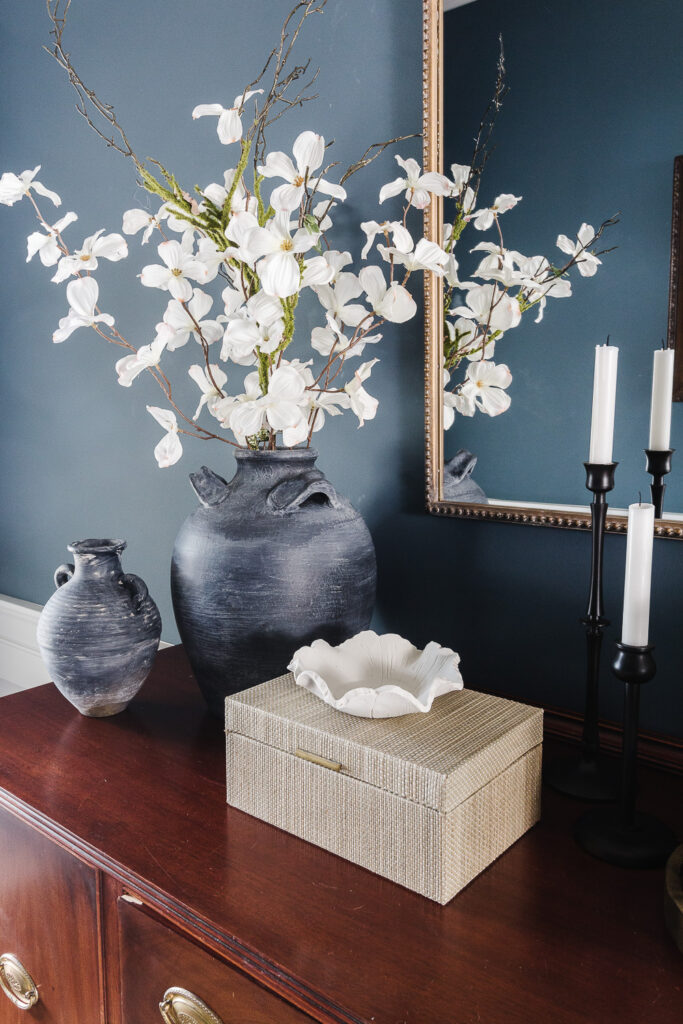
I have long been infatuated with ruffle bowls! I love the organic shape, the seemingly imperfect movement. When I started to consider what craft I would like to make for this spring, I thought why not make a ruffle bowl that is also a flower I couldn’t think of a more lovely flower to emulate, that also naturally has a ruffled edge, than the poppy! I grew them in our front flower bed when we lived in Missouri and have yet to be successful again
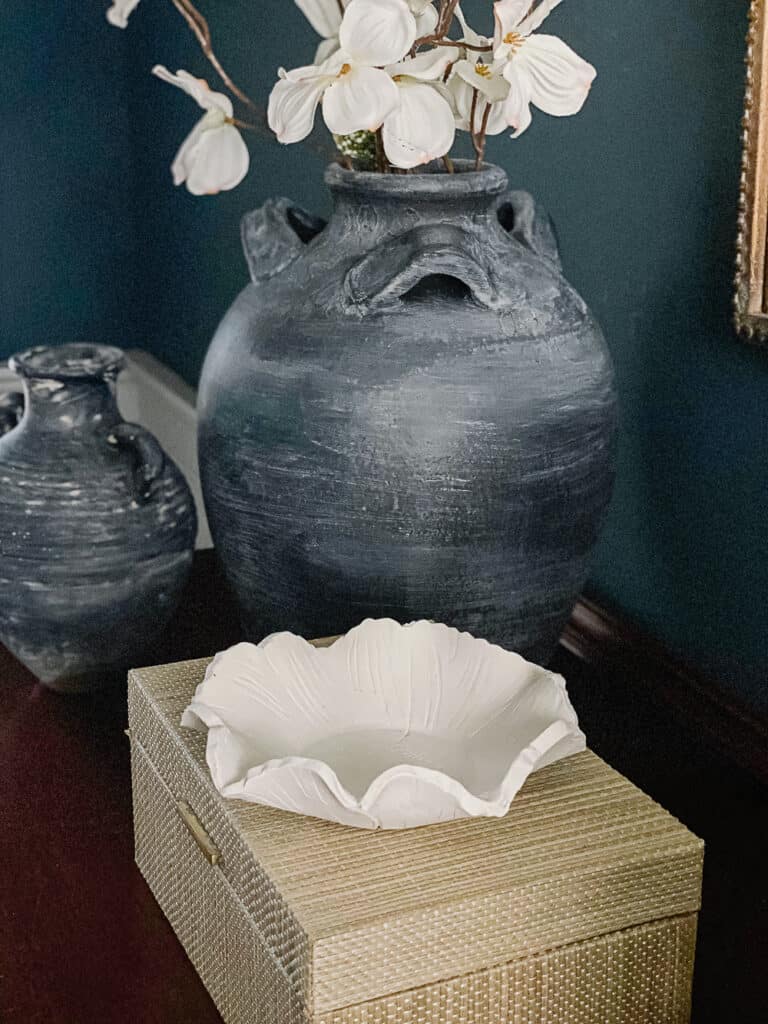
For ease of creating without a kiln, I turned to polymer clay. I’ll admit right off the top that I had no previous polymer clay experience. So, if I can do this, I know you can and I’ll show you how! I even created a printable file and a cut file so that this craft can be easily replicated. Trust me, even if you aren’t “artistic” you can do this!
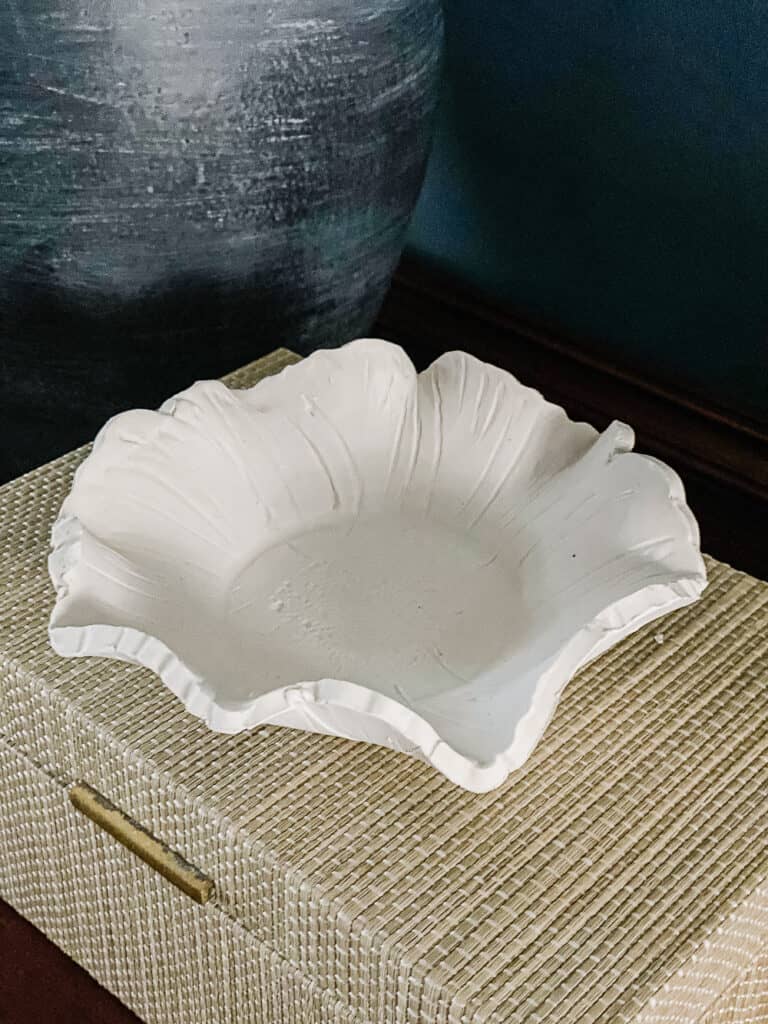
The other completely honest fact I’m going to share is this poppy flower bowl was my third attempt. I’ll tell you what went wrong so you can avoid my rookie mistakes.
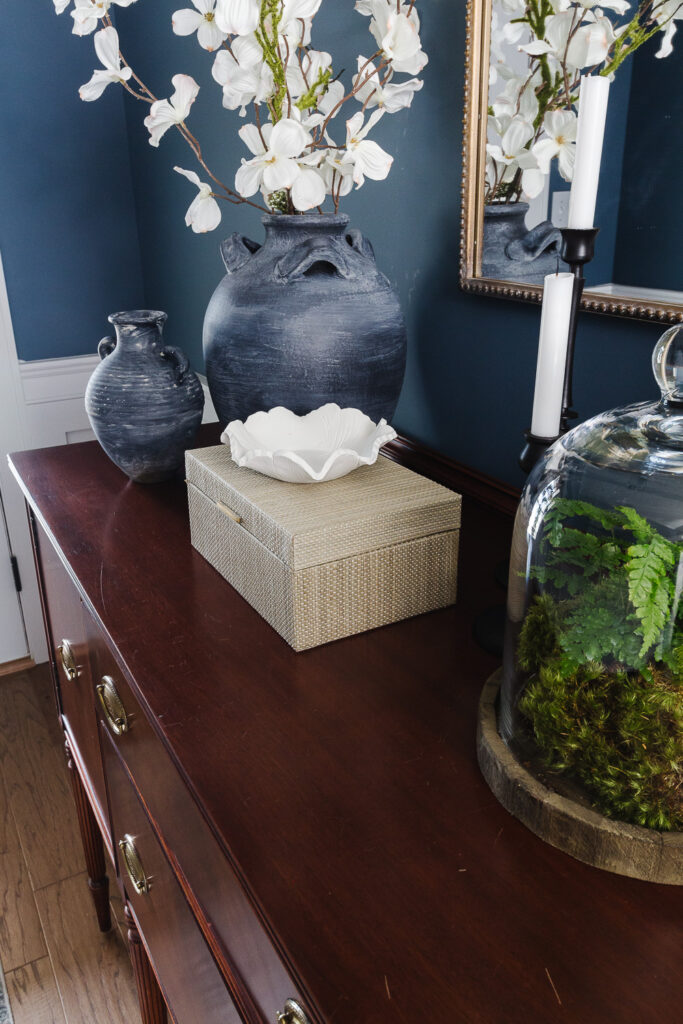
As much as I am totally in love with it, I haven’t decided if it’s actually finished or not. I ran out of time to work on it and still participate in the Seasonal Simplicity Spring Craft Hop. Be sure to check out the other absolutely beautiful crafts linked below!!
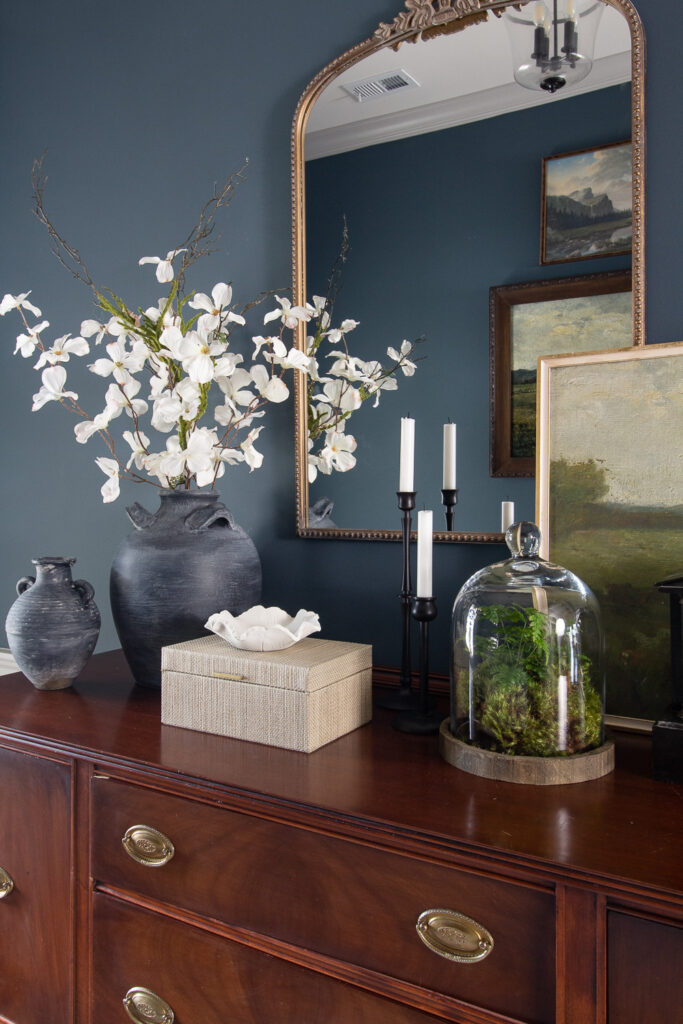
I will likely sand the edges a little more, possibly paint it and maybe add a subtle shimmery glaze. But the flat, organic look is very appealing too.
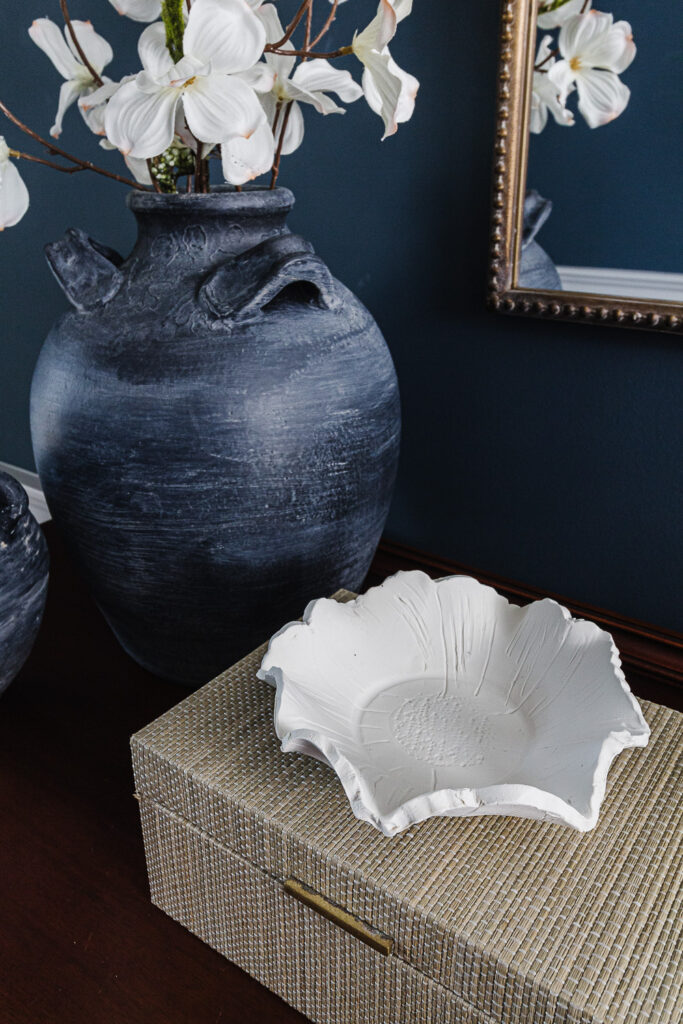
How to make a Poppy Flower Ruffled Bowl with Polymer Clay
Supplies
- Polymer clay, oven bake, like Sculpey Original
- Clay tools, optional
- Rolling pin
- Aluminum foil
- Heat safe bowl
- Thin plastic gloves
- Poppy Flower printable, Trace and Cut file
- printer paper
- cardstock
- Sanding block or sandpaper
- Cricut, optional
Instructions
- Print the trace file. Cut the template either with a Cricut or by hand on cardstock. Note the registration mark on the printed trace file and transpose it at the same location on the template/cut cardstock shape.
- Divide enough clay to make the flower. The finished size is about 7″ in diameter. Preheat oven to 275 degrees.
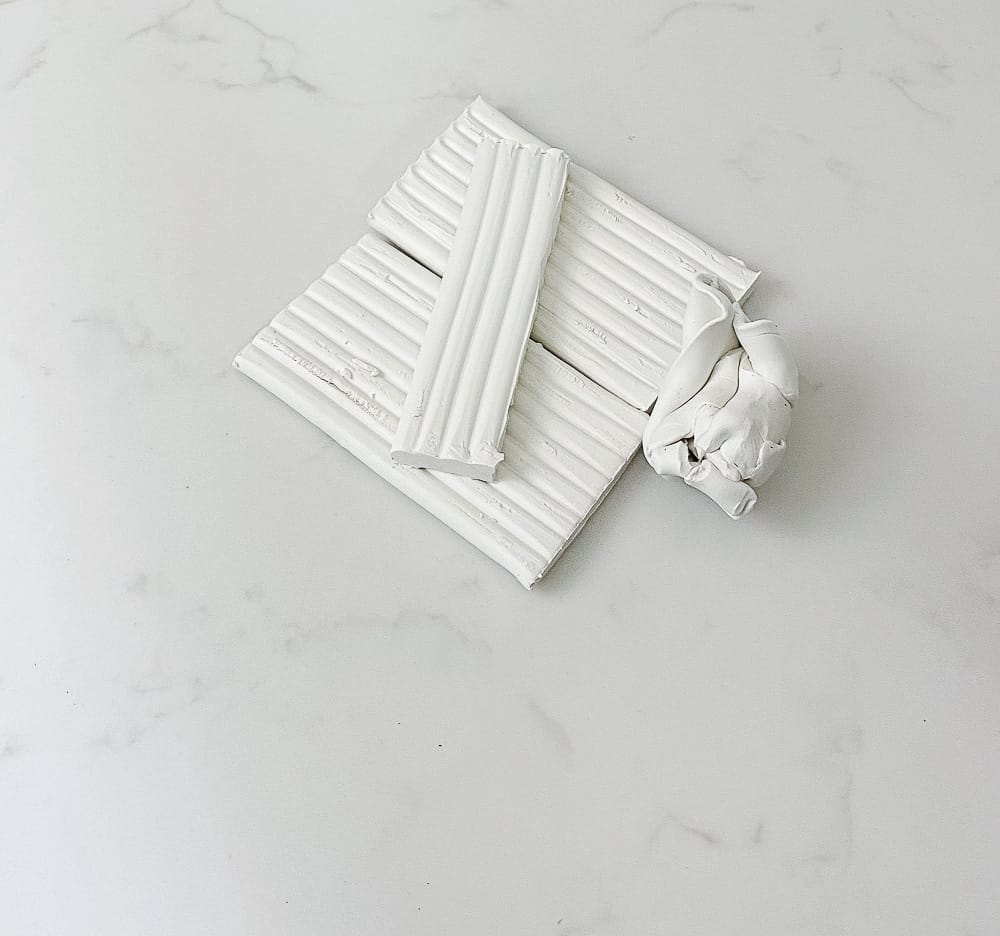
- Knead clay with warm hands. I worked with getting small sections soft and then added the pieces together. In the video, you’ll see I used my hot mug of tea to warm my hands. That was a suburb trick I stumbled upon!
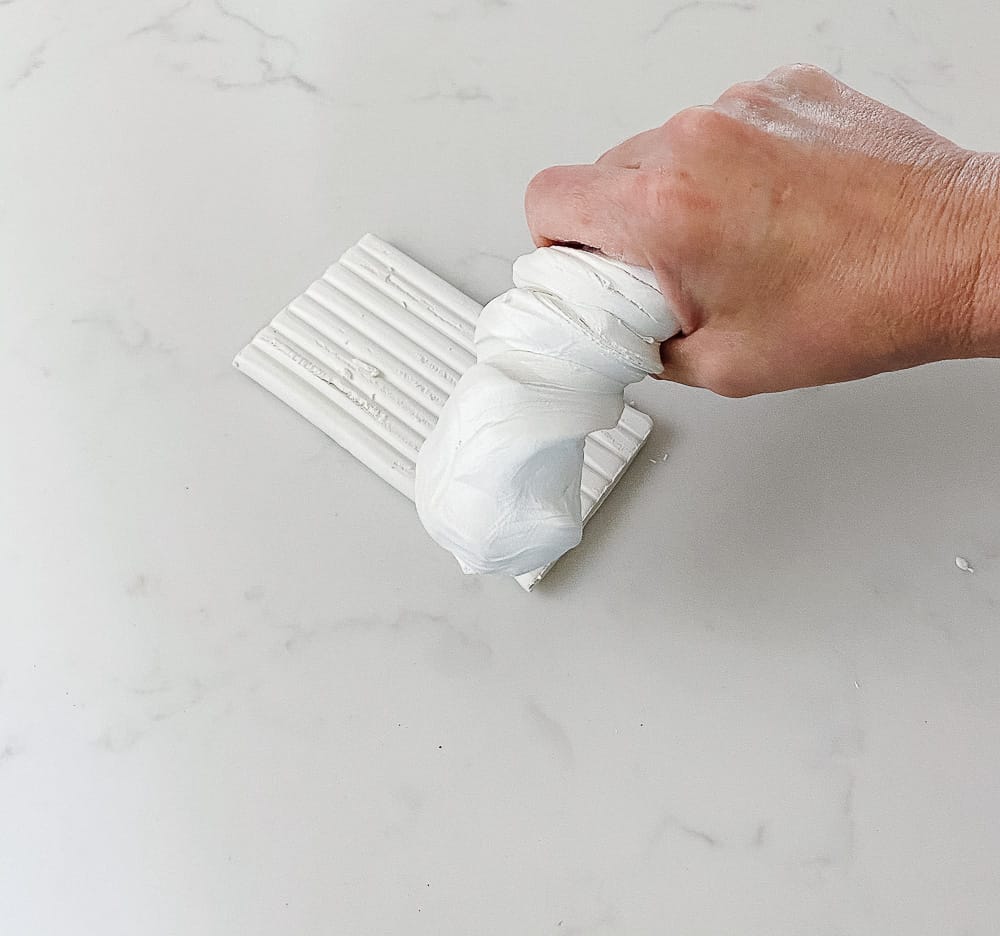
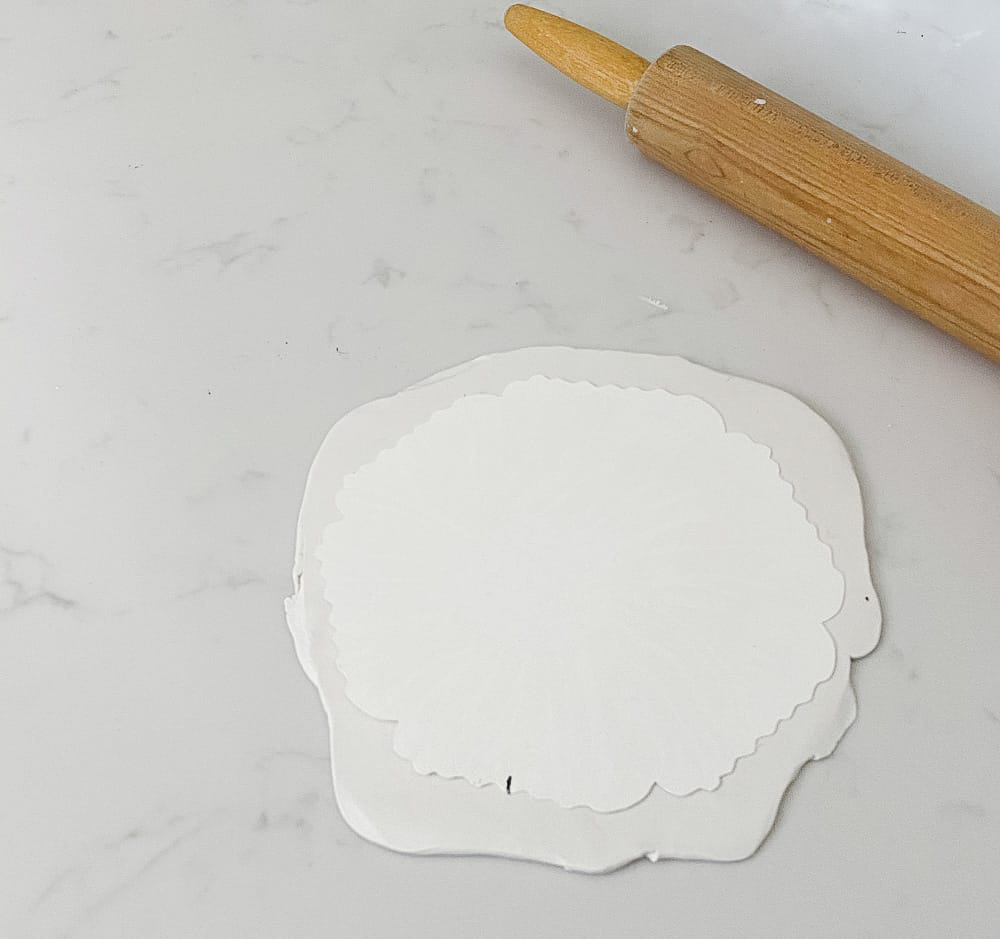
- Roll the clay out to a little more than 1/4 of an inch. (I’ll show you the actual thickness I cut below.)
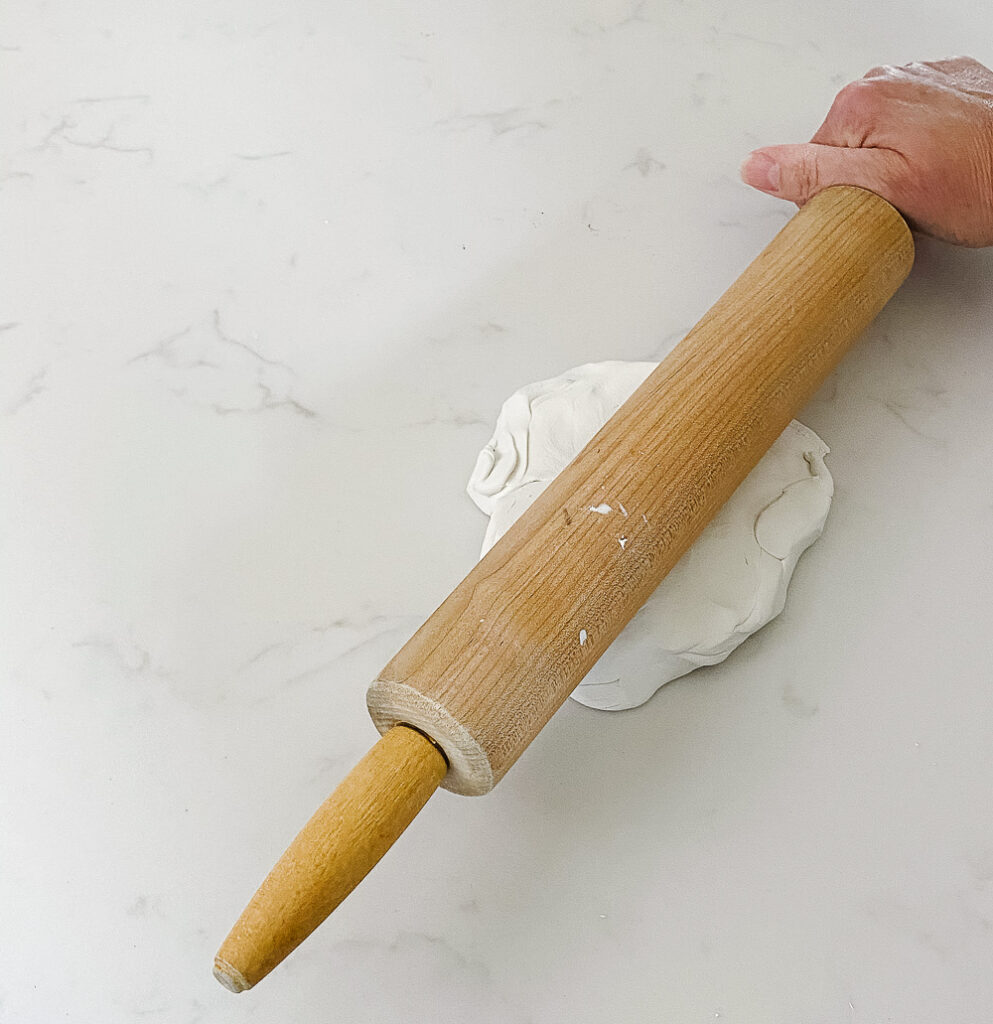
- Place template/cut file on top of clay. Cut it out using a plastic blade.
- Remove excess clay. Note the thickness of the clay in this photo. The previous attempt was thinner and it cracked.
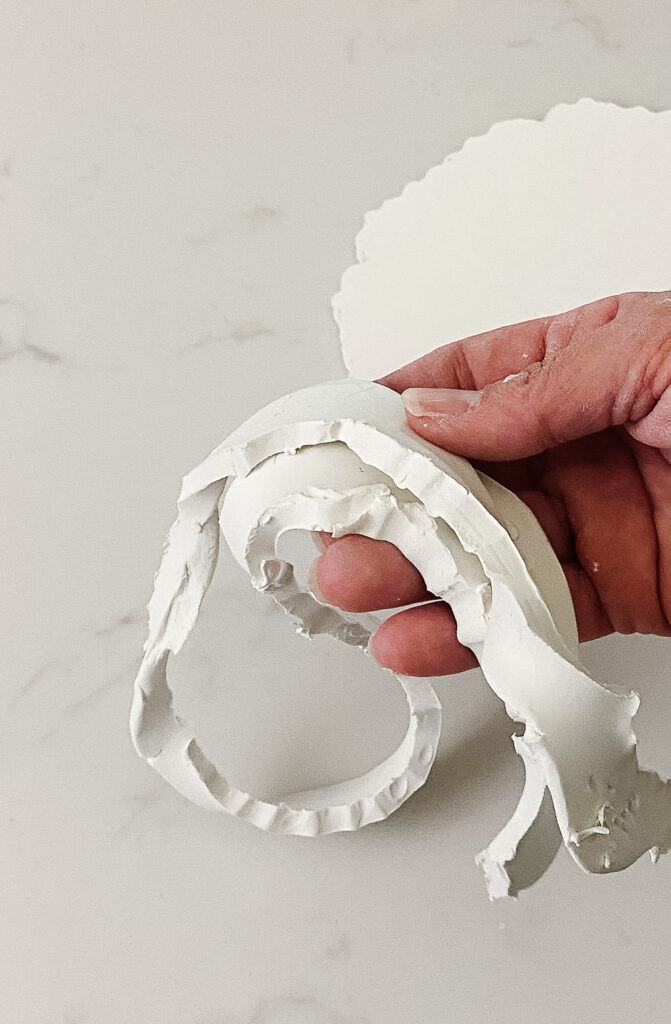
- Remove trace/cut file and note registration mark. Add a knife or some other marker to the clay.
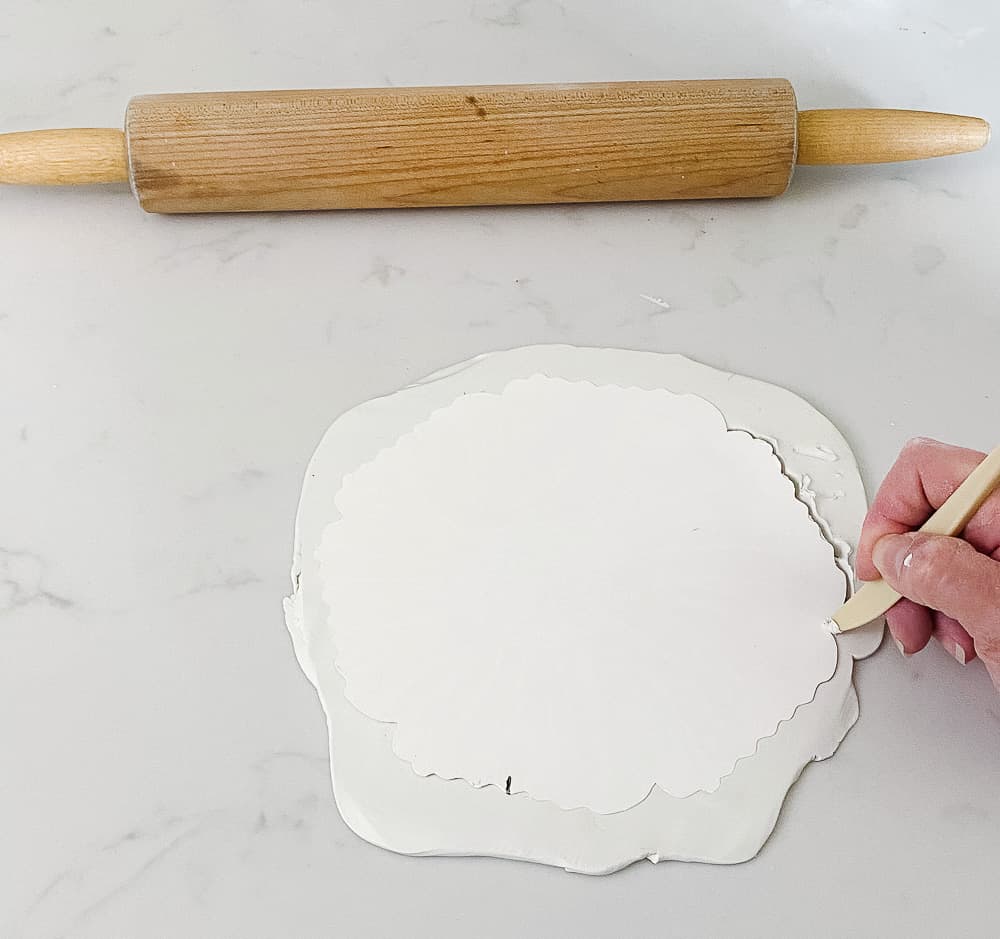
- Replace cut file with the Trace file. Pay close attention to the registration mark.
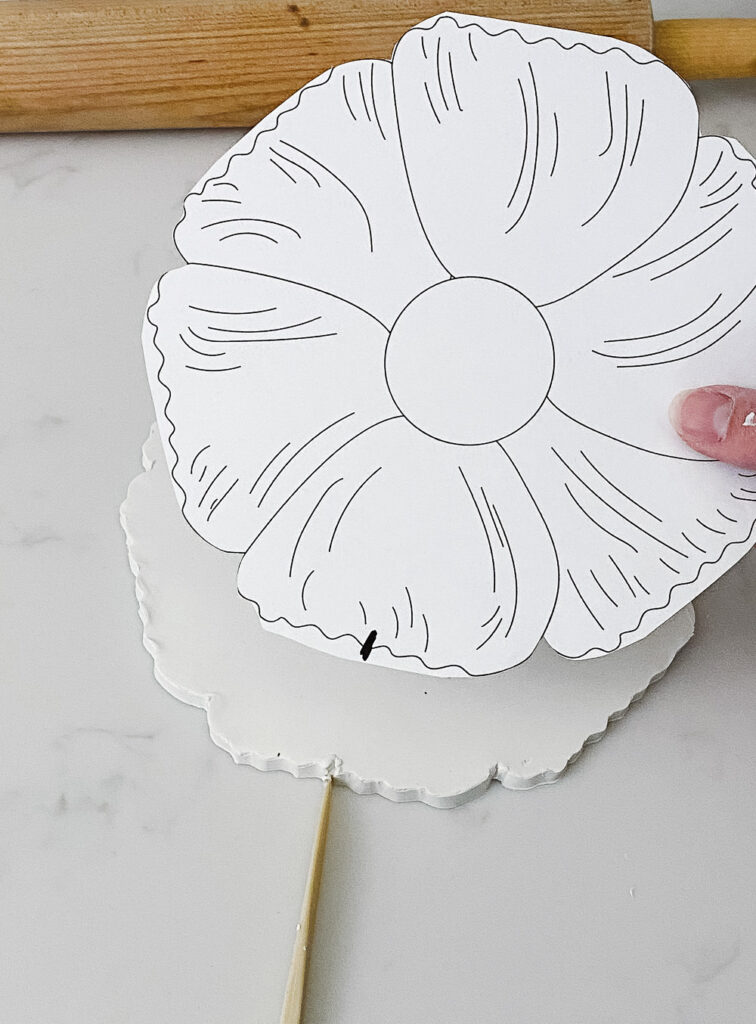
- Using a blade with a more blunt curve, trace the lines of the flower. Apply just enough pressure to make an indentation but not make a hole in the clay.
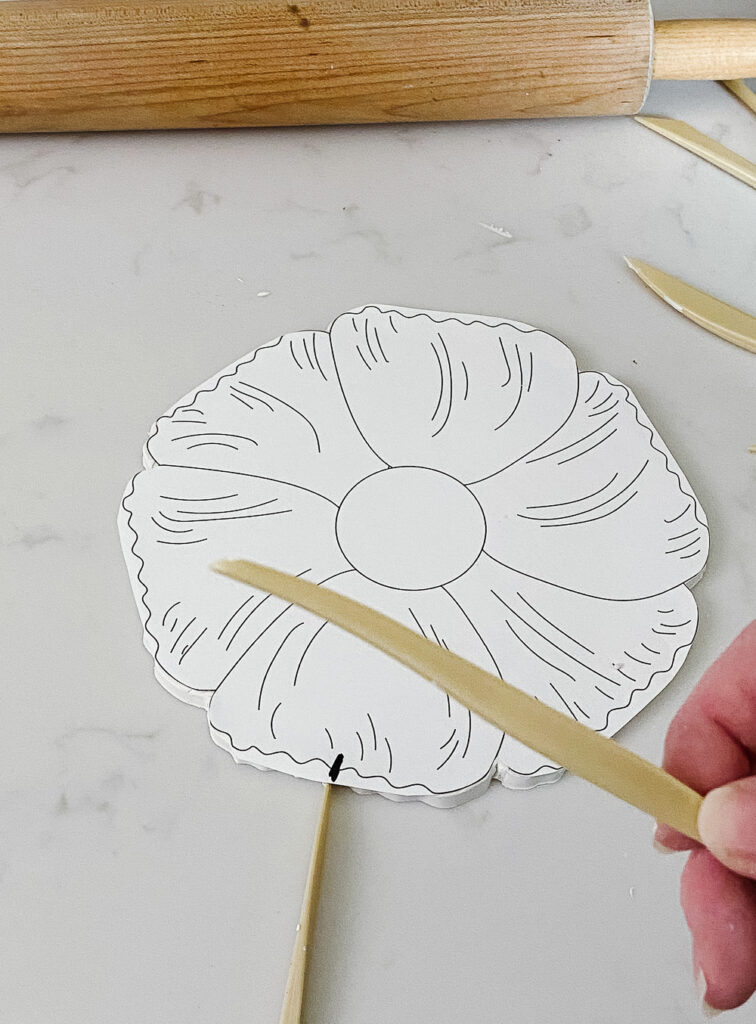
- When done, lift the tracing paper off.
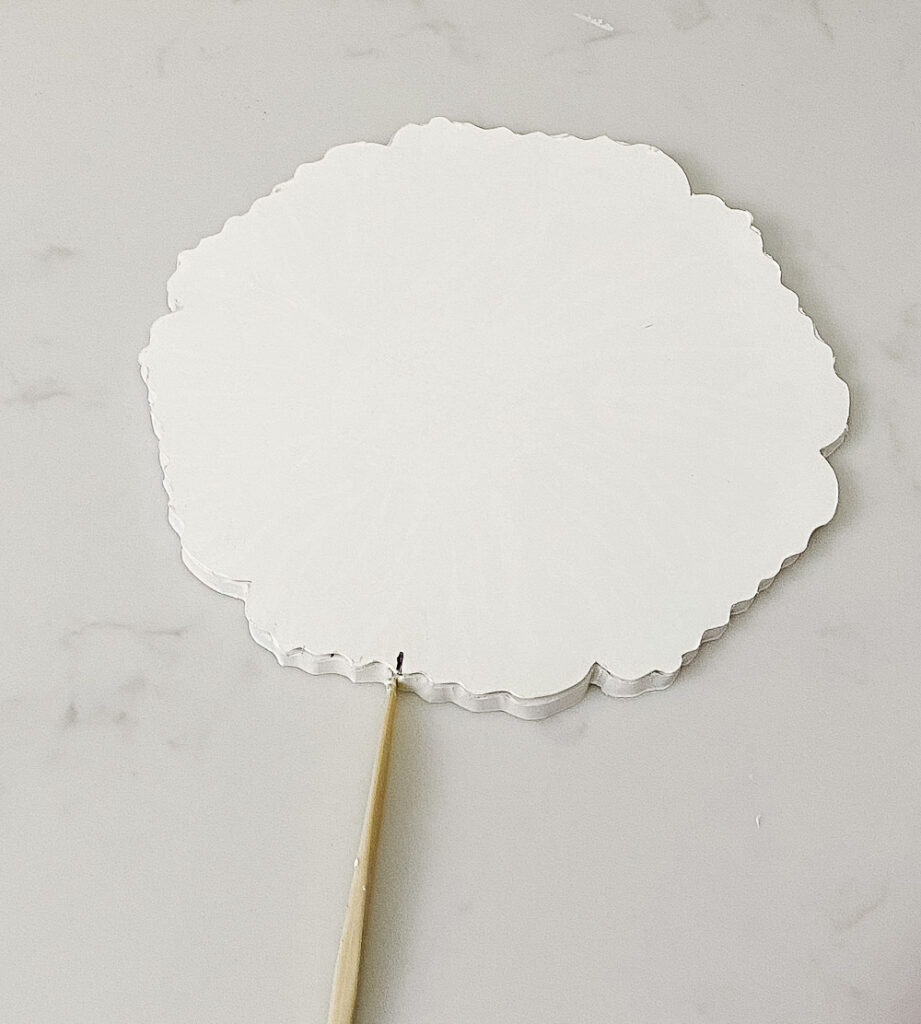
- Using a dotted texture tool or similar instrument, create a texture in the center of the poppy.
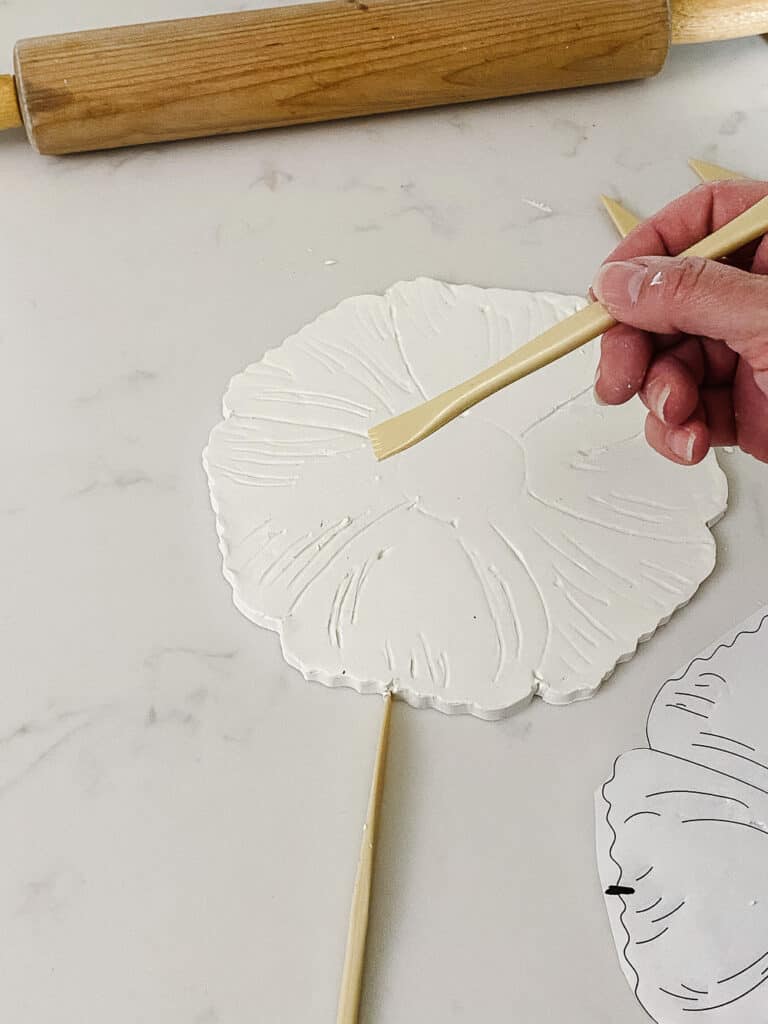
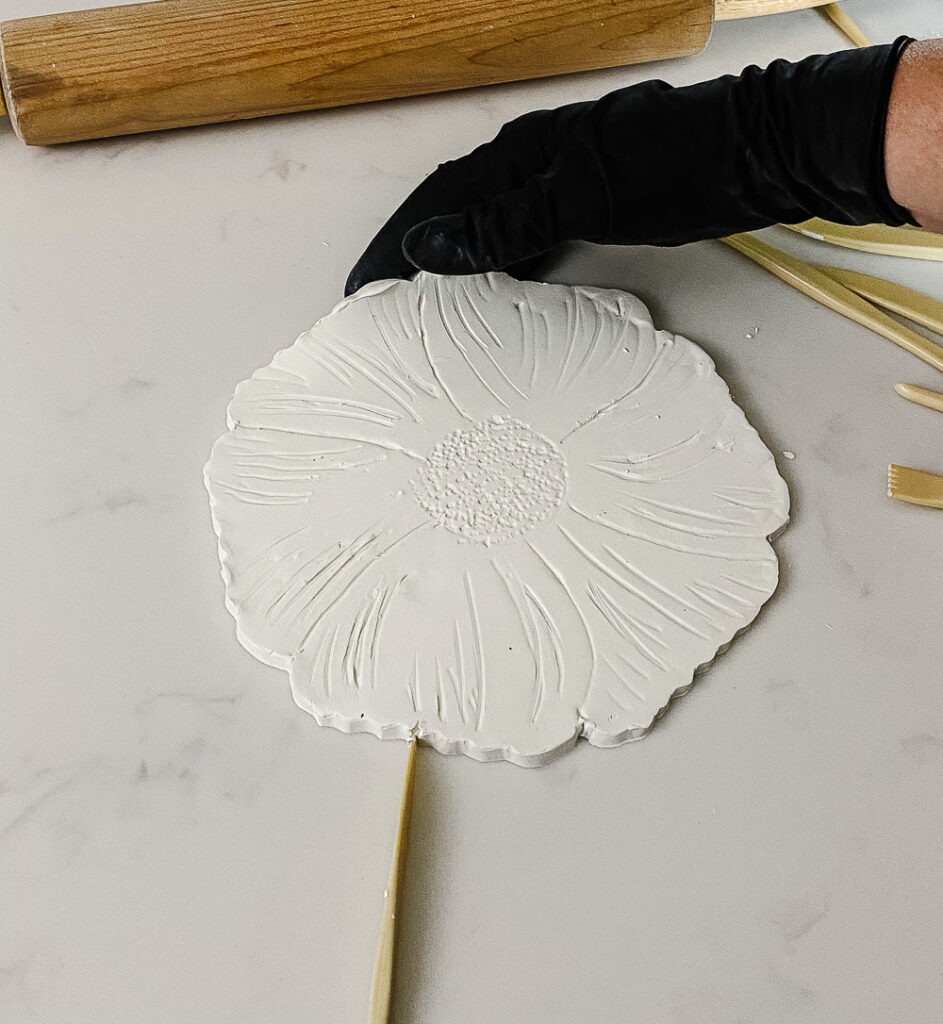
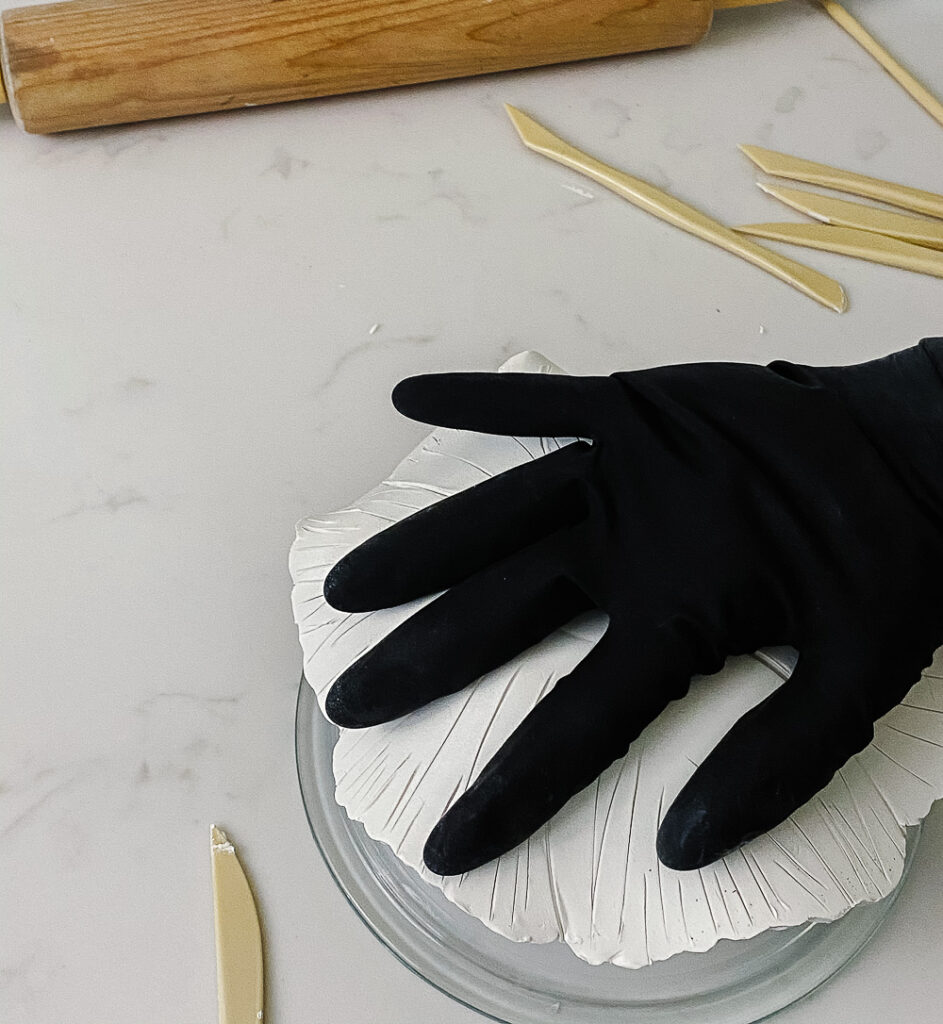
- Once you are happy with the textural indentations, get ready to flip the flower over. I found it extremely helpful to do this step with plastic gloves on. You can skip this step but it was the best way I found to keep from getting fingernail marks in the clay.
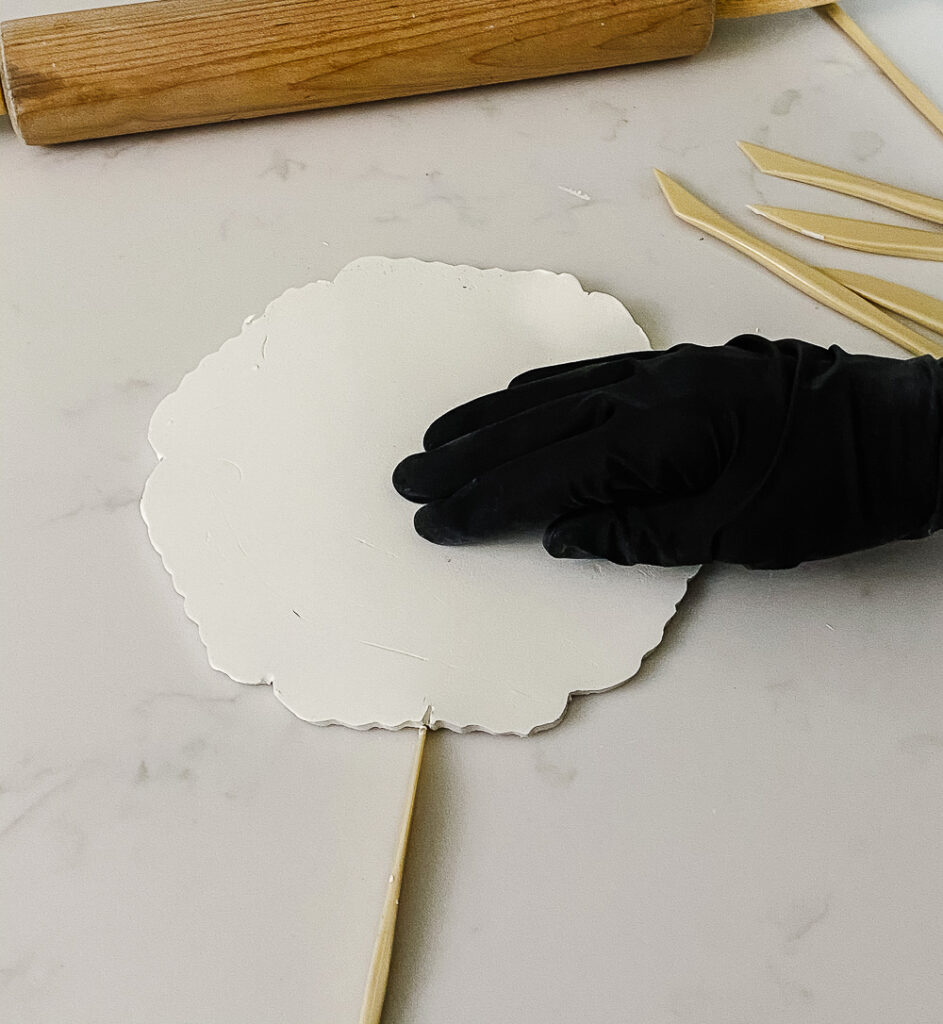
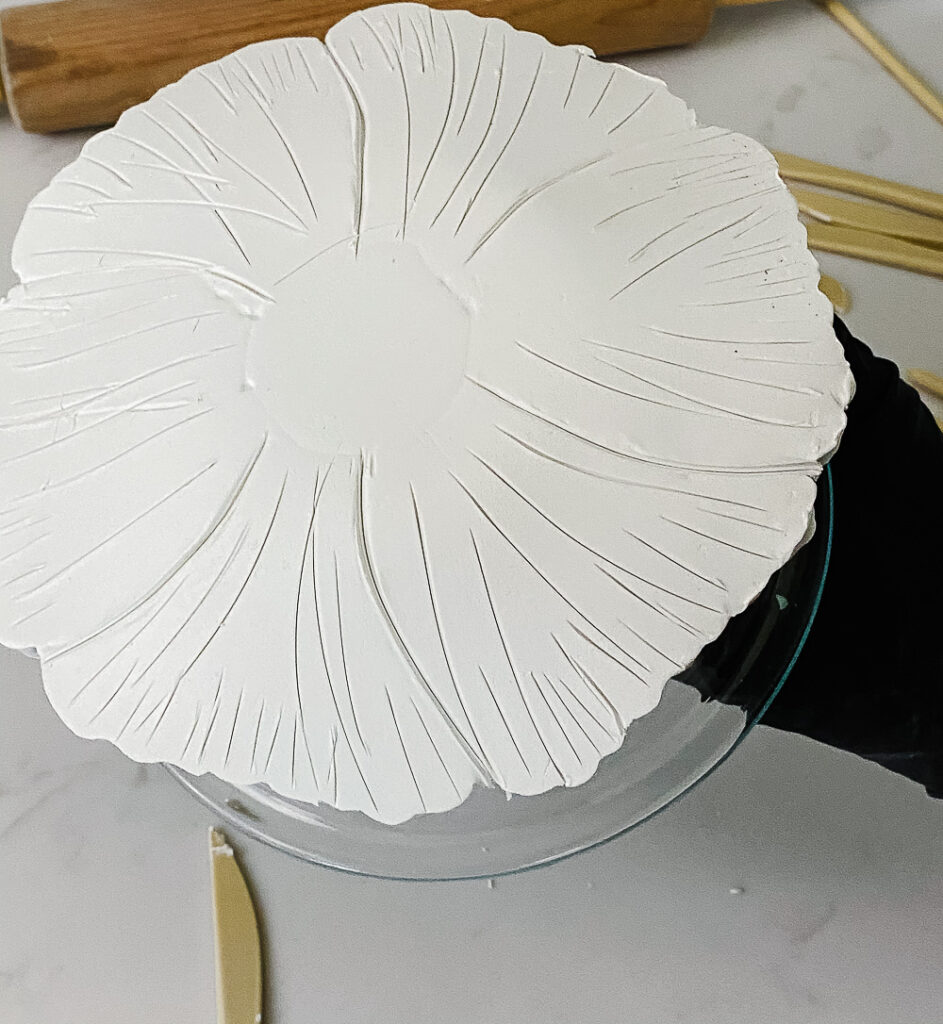
- Place the tracing paper on the backside of the clay flower. Trace the lines. Once I was comfortable with the amount of pressure and had the basic shape I began to freehand the lines.
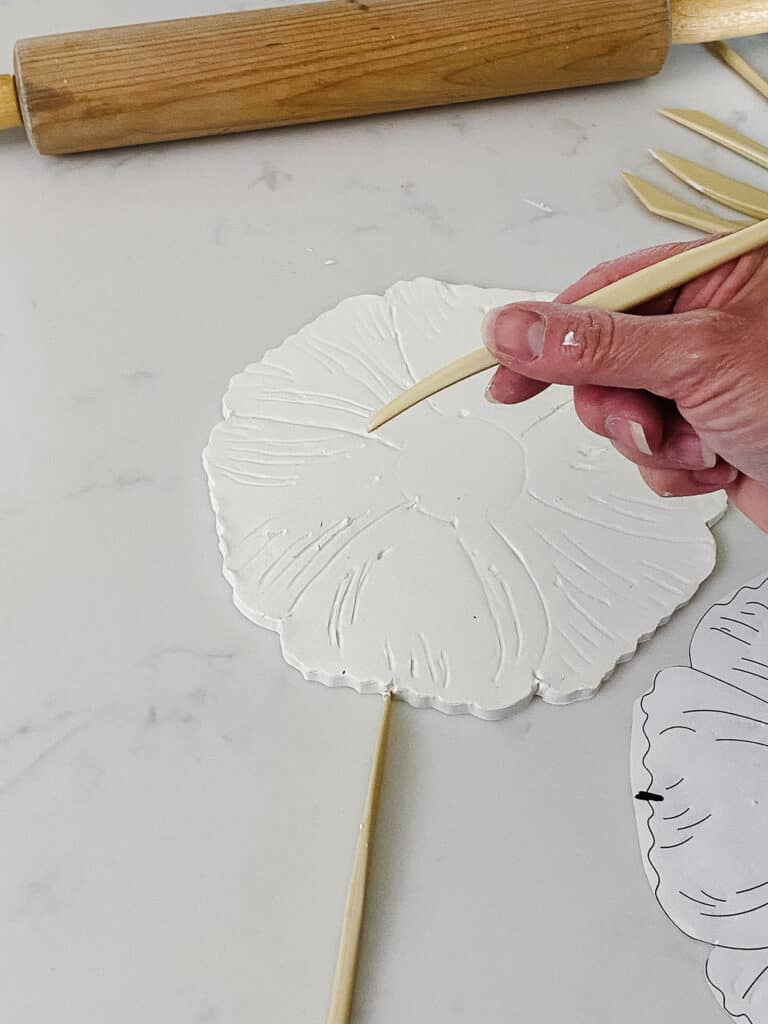
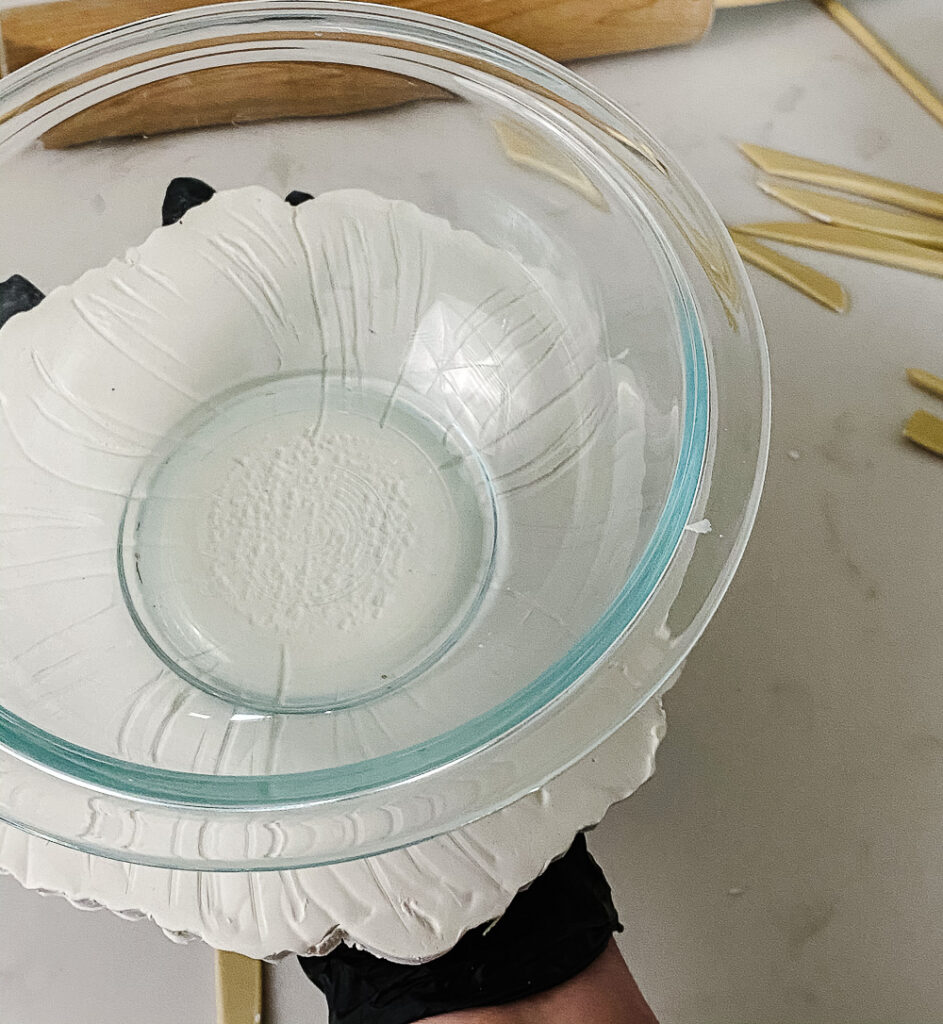
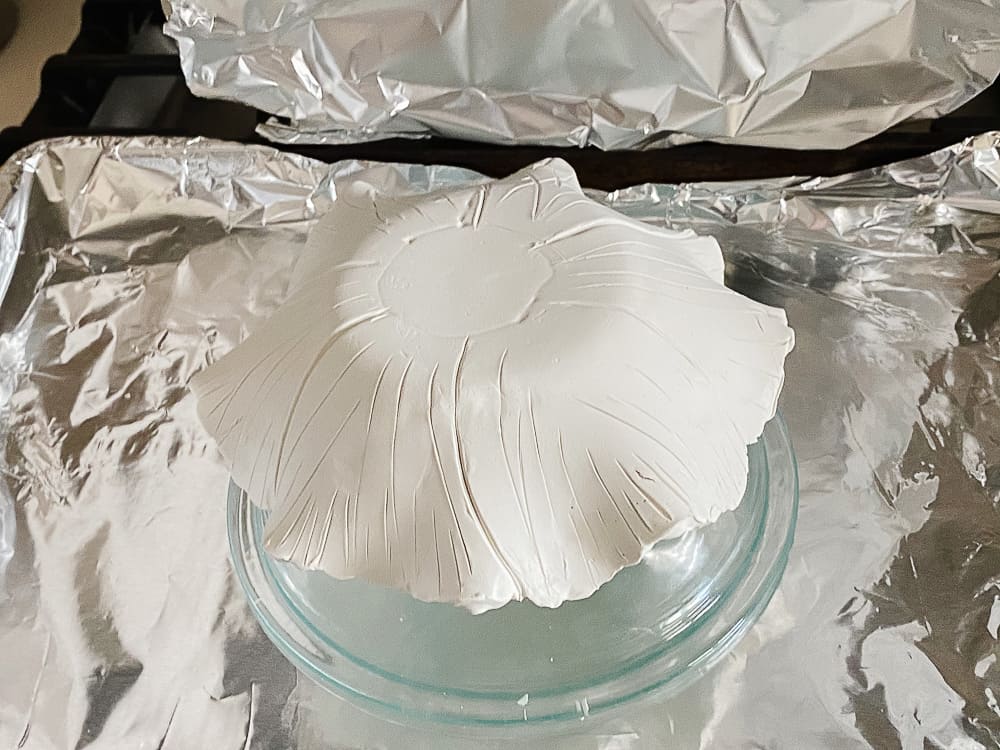
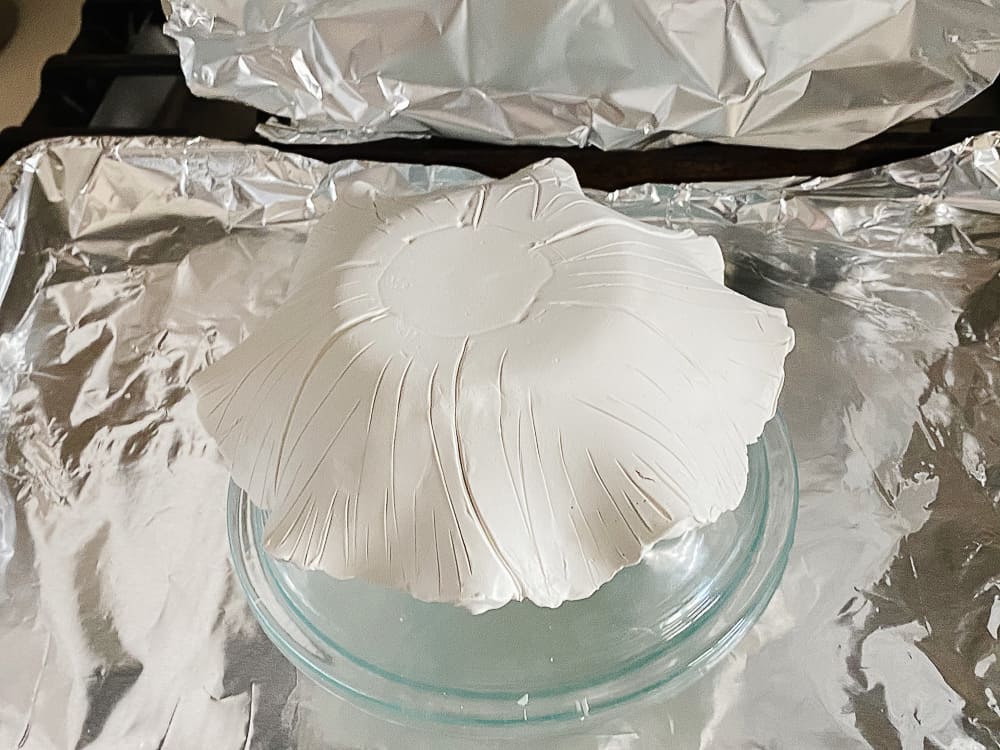
- Once you are happy with the details. Transfer the flower onto a glass bowl. I found it helpful to flip the flower back over and center the bowl with the center of the flower.
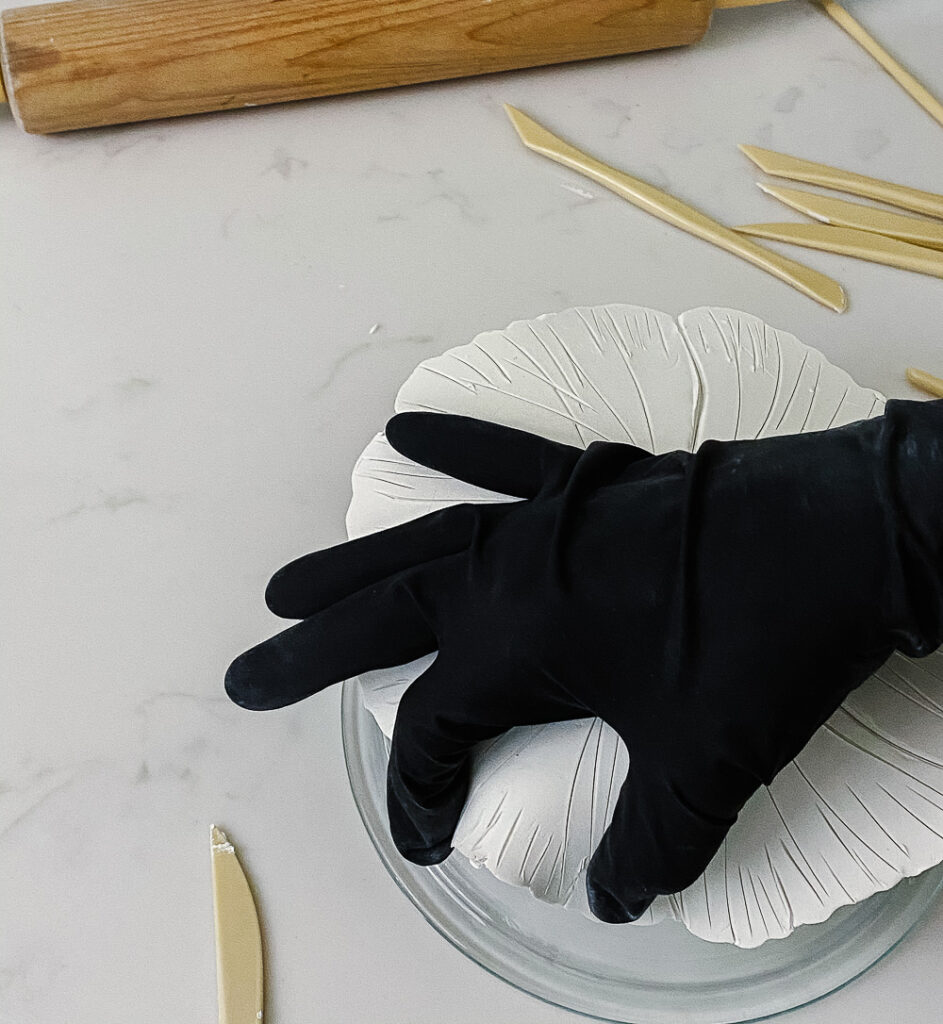
- Begin to gently press the flower around the bowl and create small pinched ruffles.
- Transfer bowl to a cookie sheet covered in aluminum foil and create a tent to prevent browning.
- Bake for 30 minutes at 275 degrees. Ovens may vary. Repeatedly, I read directions that suggested adding a thermometer to your oven to check the actual temperature. My oven may run a little low and that could be why I needed 30 minutes. See directions supplied with the clay for more details.
- Allow the flower to cool to touch and loosen it ever so slightly from the bowl.
- Then cool completely before inverting the flower.
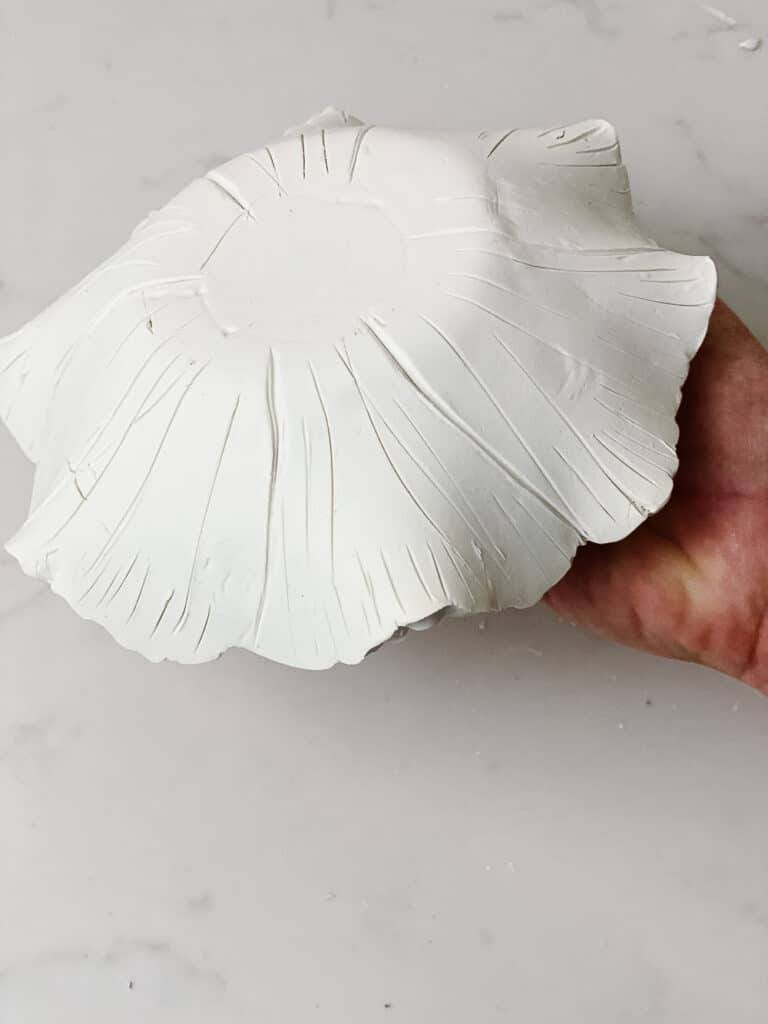
- Using a sanding block, sand any rough edges.
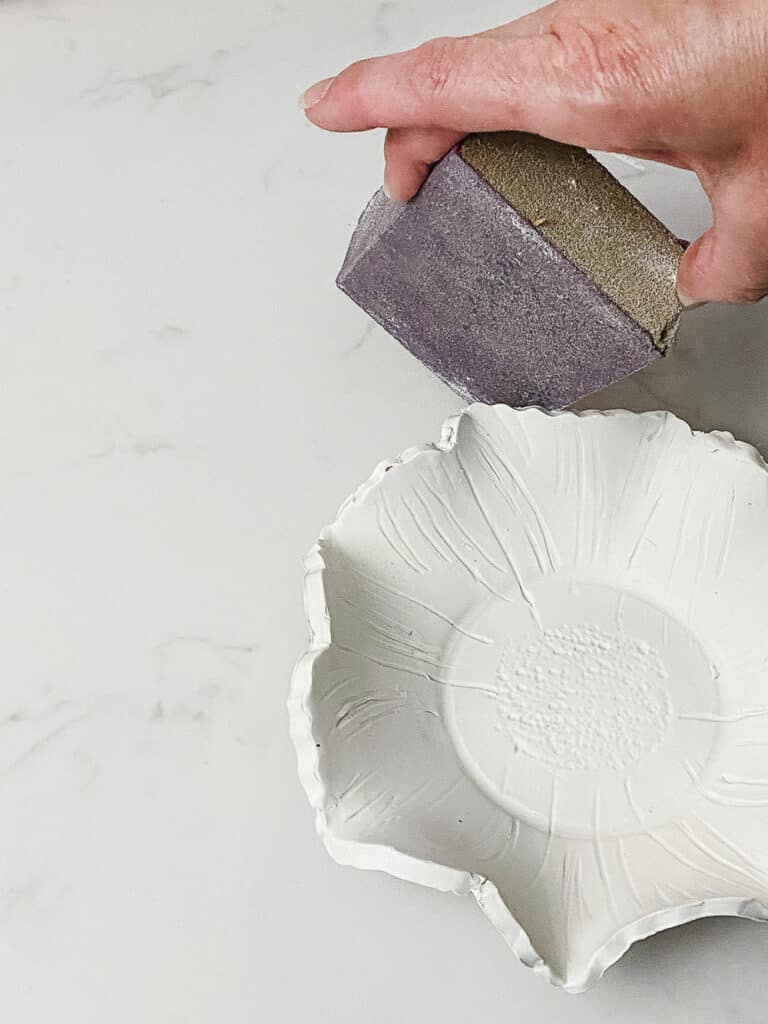
Enjoy your creation as is, or finish with acrylic paints, glazes, or poly. (I read on numerous sites not to use nail polish.)

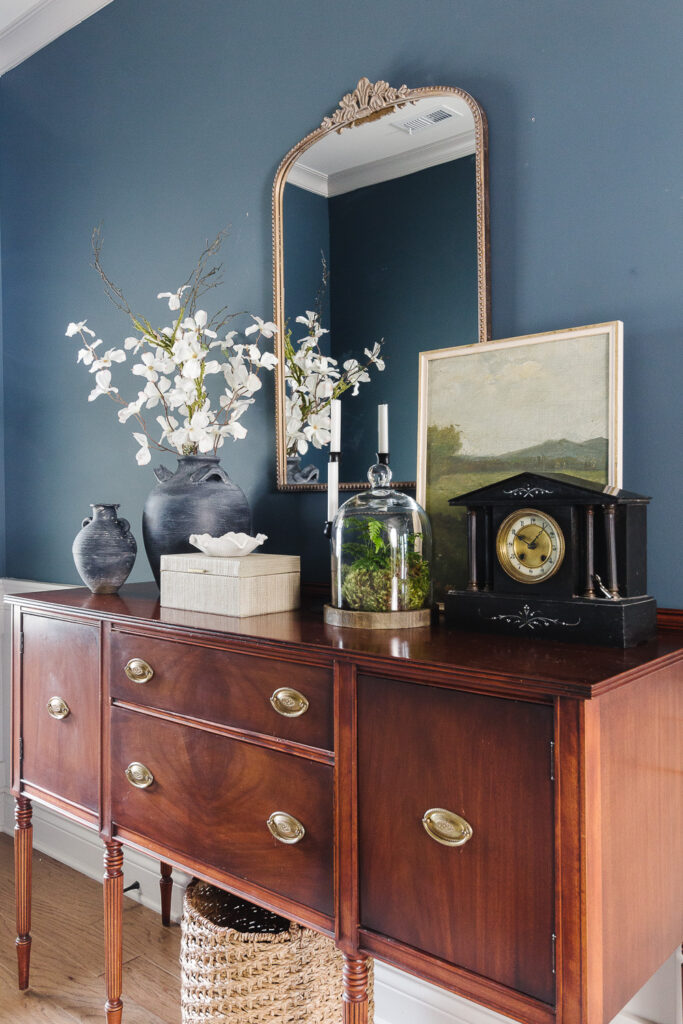
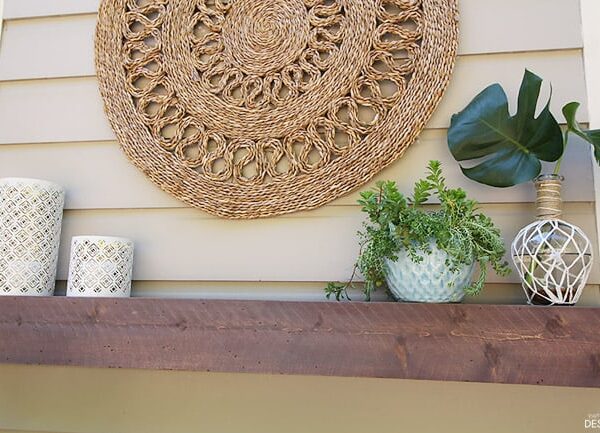
Then, display your work of art in a spring vignette like I did. Although, I have a feeling it will stay out long past spring. Don’t you think it should??
I love being a part of these Seasonal Simplicity round ups! I hope you take the time to visit each one. My friends created such inspiring crafts for you this season!
Be sure to Pin this for future reference and share!
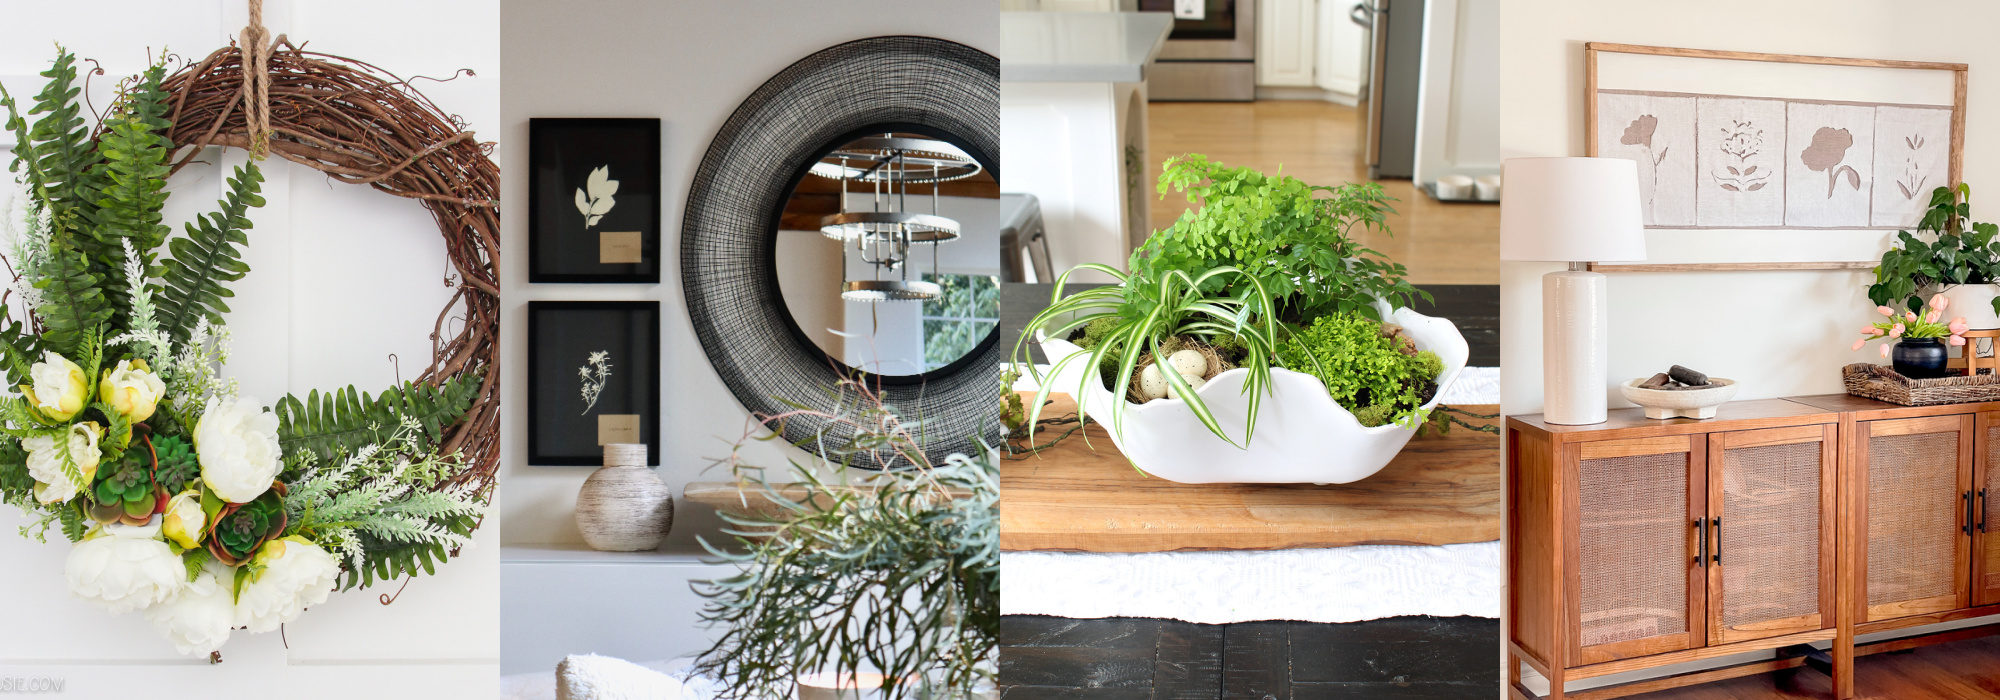
My Best Spring DIY Craft Projects at The Happy Housie
DIY Black and White Botanical Art – My Sweet Savannah
Tropical Spring Centerpiece – Clean & Scentsible
DIY Textile Artwork that Changes by Season – Grace in My Space
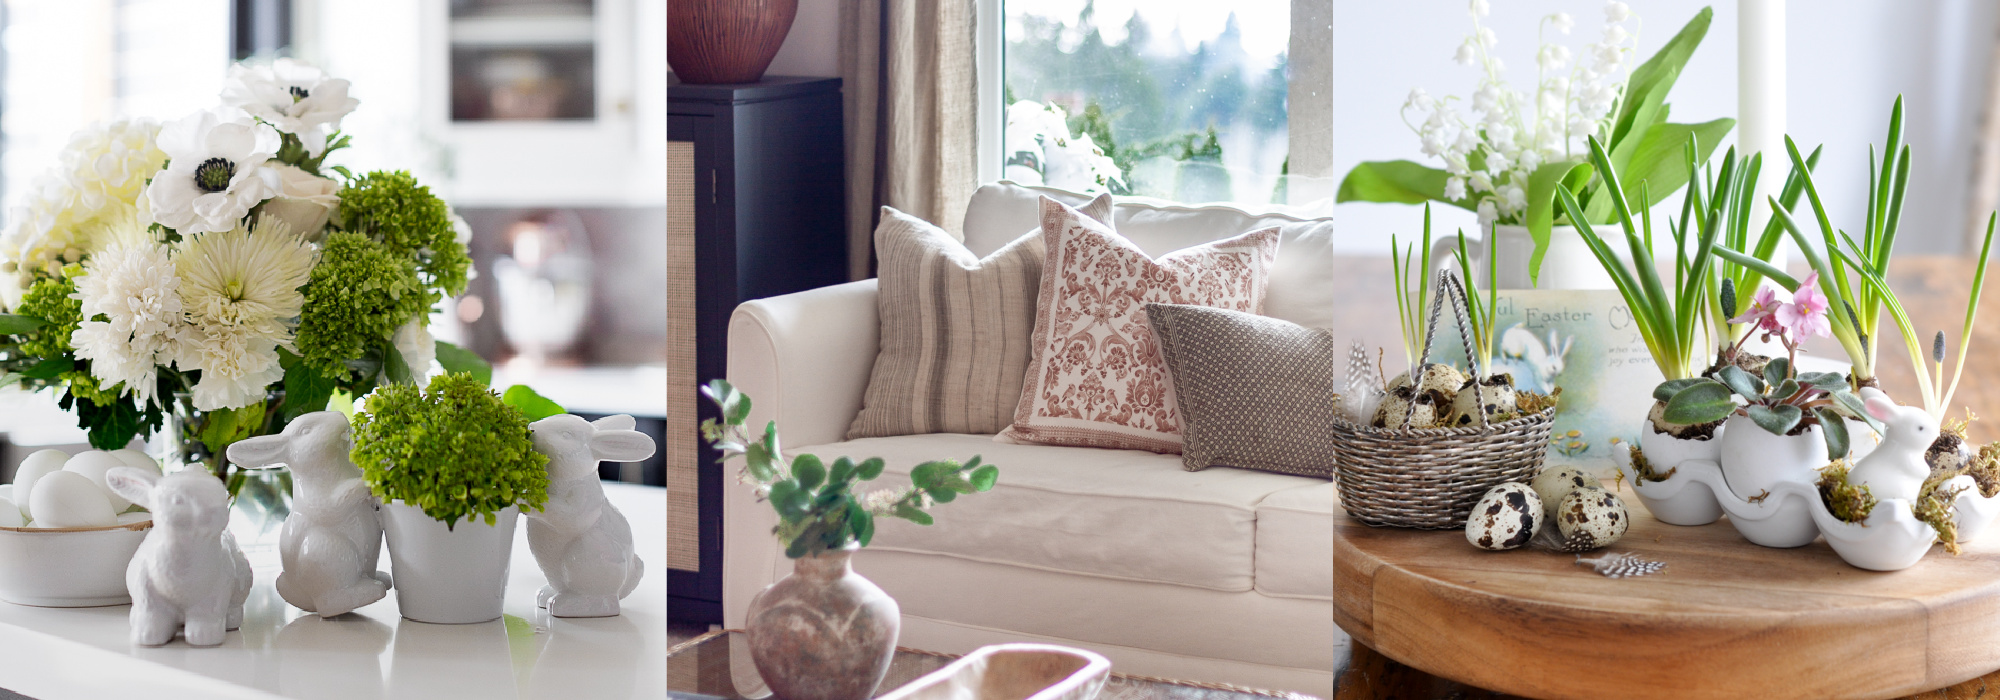
Bunny Bowl Dupe – Craftberry Bush
How to Sew a Zippered Pillow Case from a Spring Cloth Napkin – Zevy Joy
DIY Eggshell Planter – Life is a Party
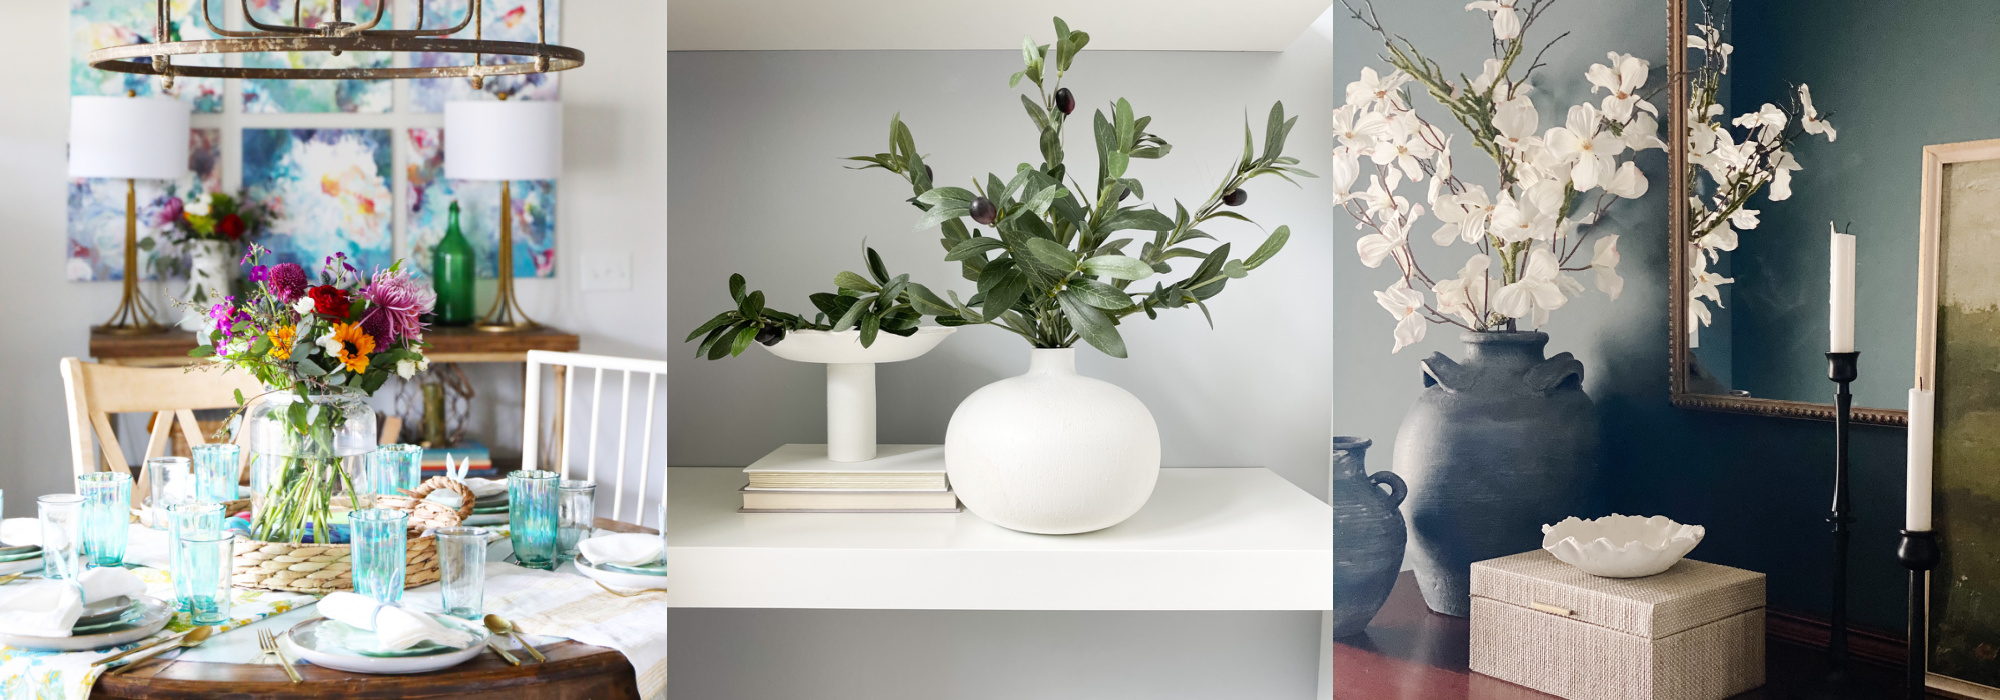
Bunny Ear Napkin Rings – The Handmade Home
DIY Vase Makeover with Paint and Baking Soda – This is Simplicite
Flower Petal Bowl – Deeply Southern Home
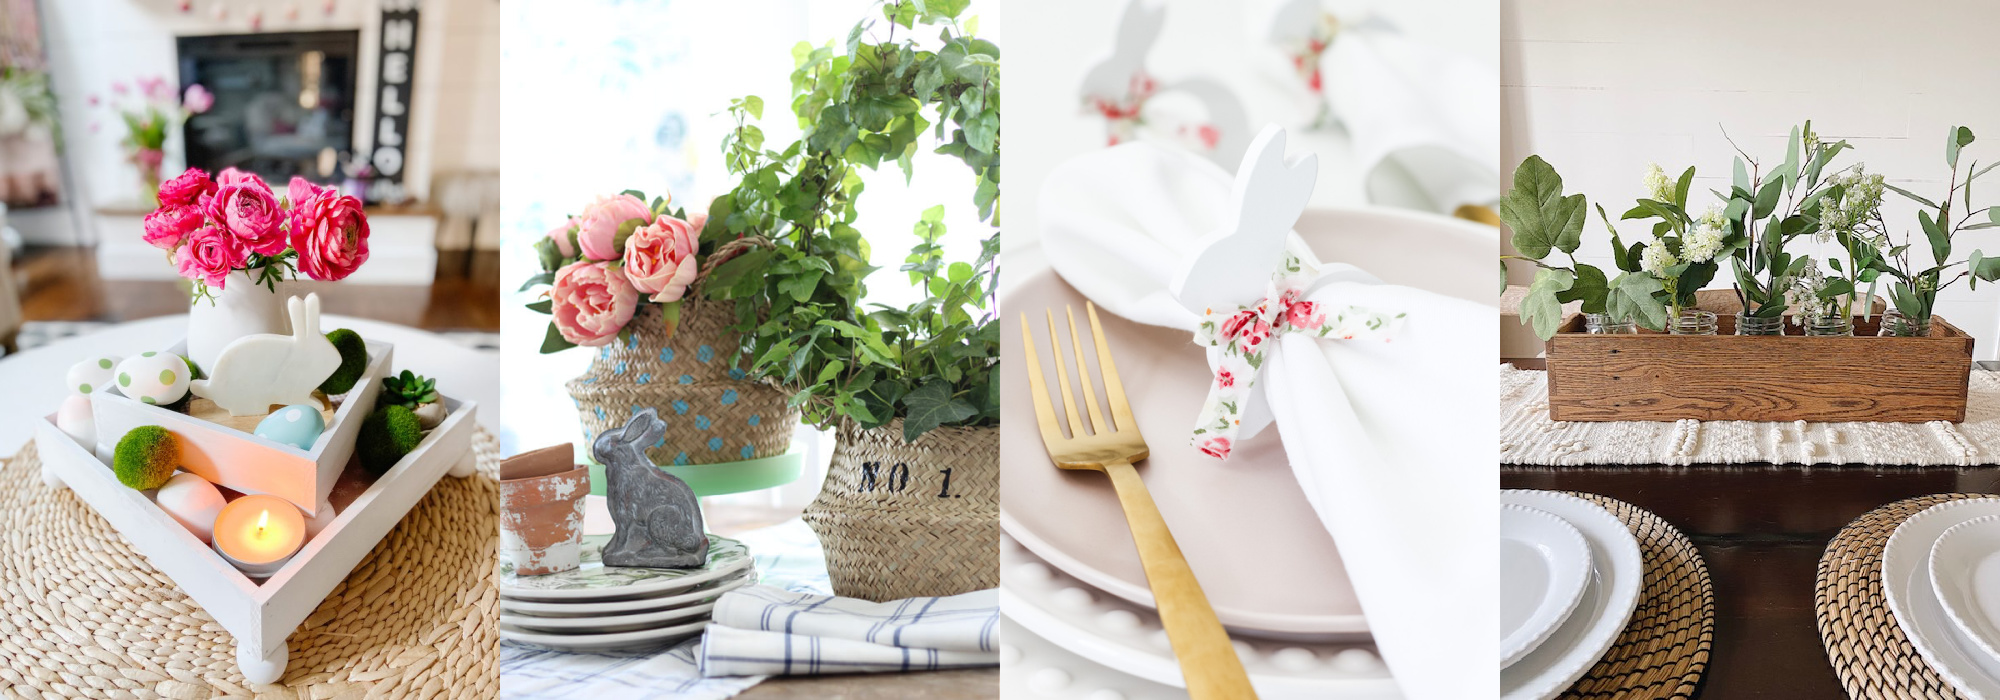
DIY Spring Footed Stacking Tray Centerpiece – Tatertots & Jello
The Easy Way to Stencil a Sea Grass Basket – The Tattered Pew
Easy Easter Napkin Rings – A Pretty Life
Easy Spring Mason Jar Centerpiece – She Gave it a Go






1 Comment
Giftbasketworldwide
March 26, 2021 at 1:02 amMagnificent piece of Work!