Little by little, I’ve been chipping away at small projects to completely makeover our teenage daughter’s bedroom. She has had a clear vision for her room before we even moved in. I’d like to say we’ve collaborated on the design, but truly she came up with the design objectives and color story. I was mostly just the chief idea bouncer and facilitator.
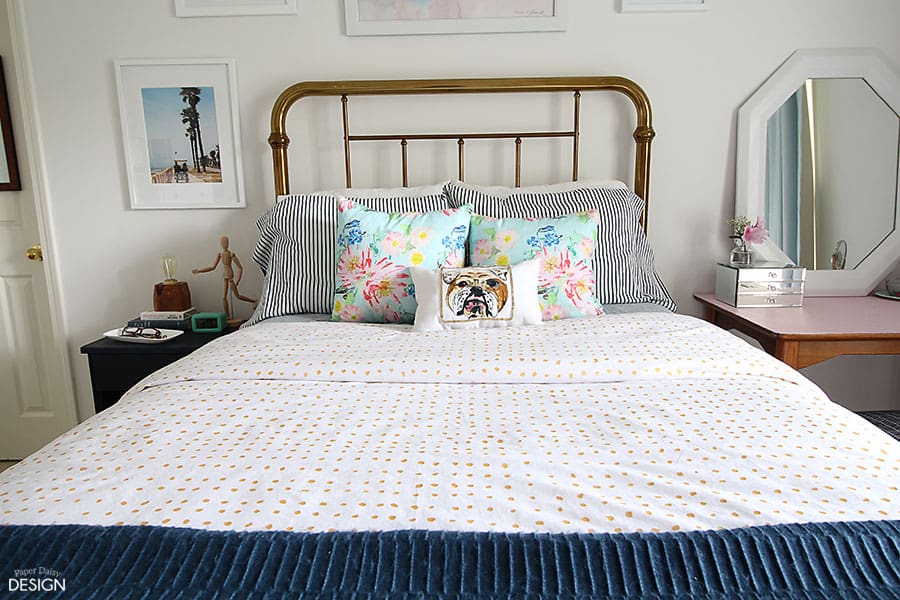
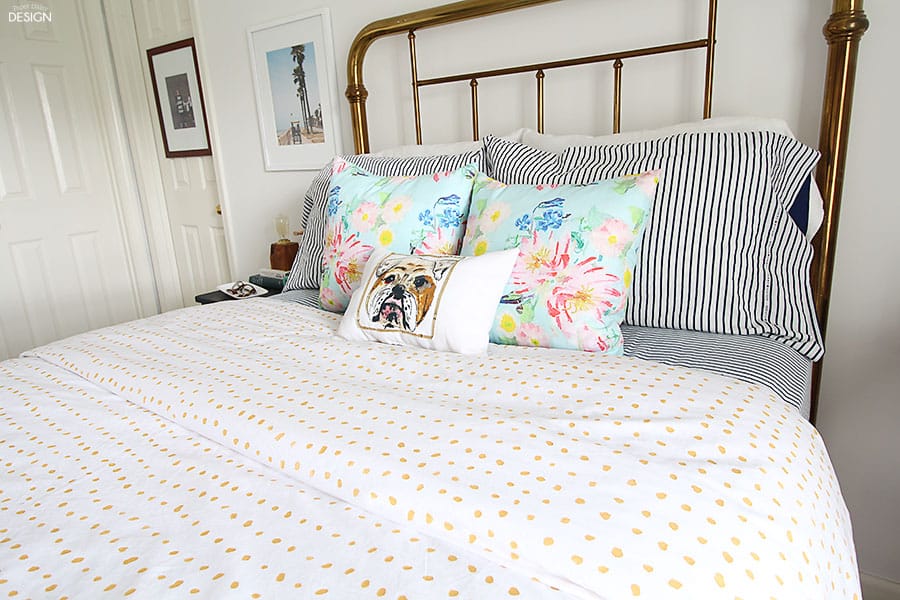
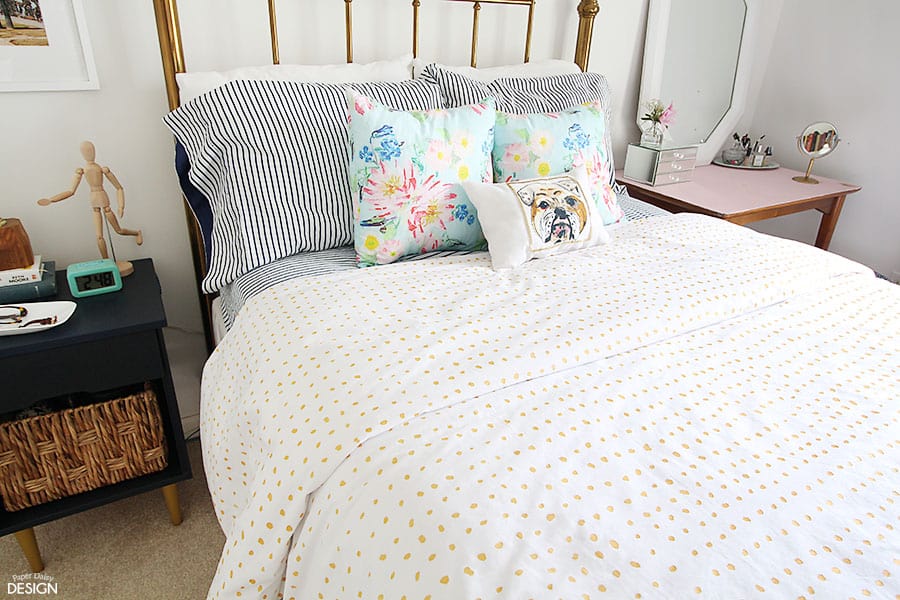
One of the things she was passionate about having was a white and gold polka-doted duvet to coordinate with her “new” vintage brass bed. But she didn’t want anything mass marketed (i.e. not anything by Pottery Barn Teen). She obviously has a great deal of faith in my DIY skills because she thought I could just whip this out easy, peasy. But I’m smart enough to know that creating a dot pattern on something this large, by hand, could have been the makings of a DIY nightmare.
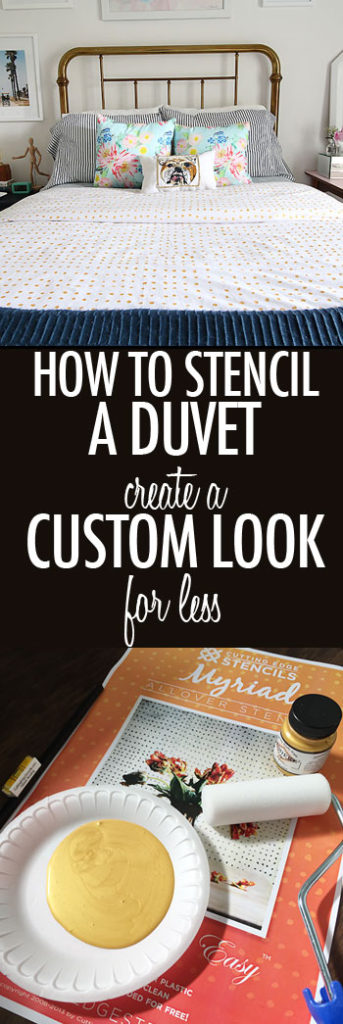
Enter this little customizable lifesaver from Cutting Edge Stencils, the Myriad Allover Stencil.

Cutting Edge Stencil-Myriad Allover
The slightly random dot pattern was very forgiving to work with on something as large, shifty and difficult to handle as a full sized duvet. It’s something that was easy to do and would have been super quick project to finish if I hadn’t have run out of paint with only about 3 more patterns to go.
Here’s how to make your own customizable stenciled duvet:
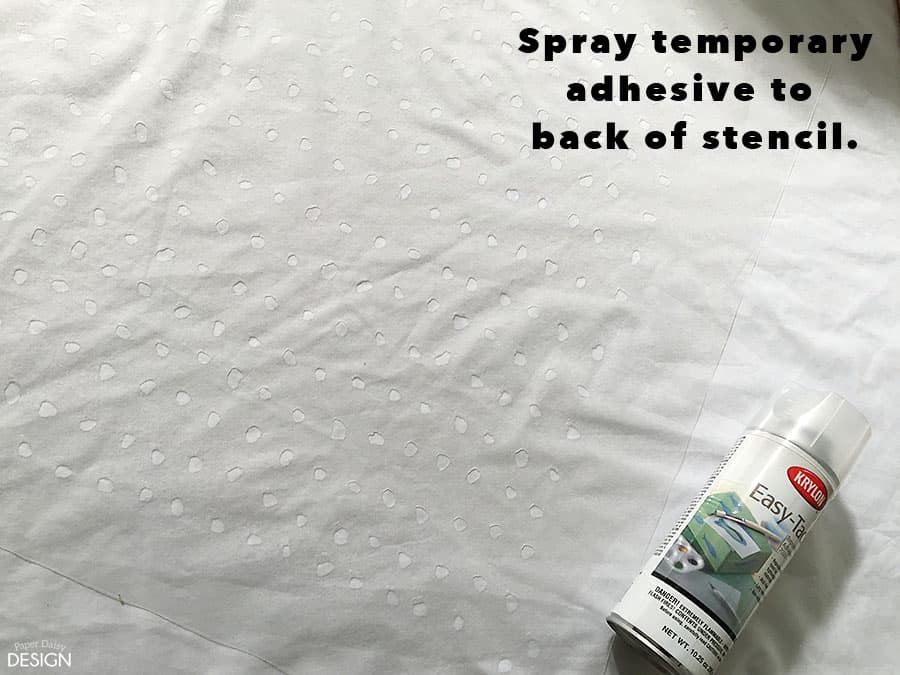
1. Spray your stencil with temporary/stencil adhesive.
When stenciling a wall, I usually skip this step, but something so shifty as a cotton duvet makes it is a necessity.
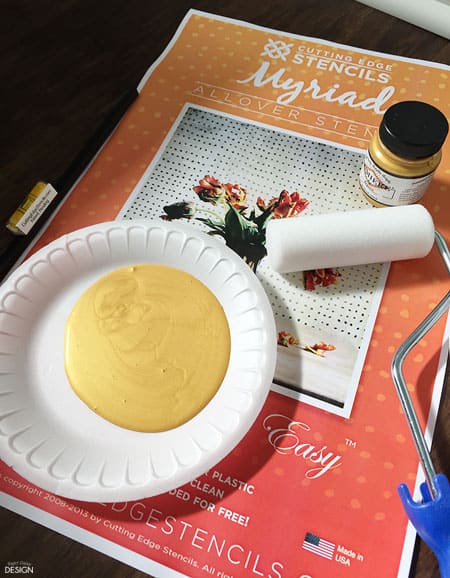
2. Use a roller and paint suitable for fabric.
Finding the right gold paint that was bright and not too stiff was something that I researched before starting. I ended up using this one, Jacquard Lumiere Metallic Acrylic Paint 2.25 Ounces-Metallic Gold (affiliate link) recommended by the good people at Cutting Edge Stencils. It is a beautiful, light gold and has a nice metallic quality. I did not add fabric medium to the paint and while I wouldn’t call it soft, it is pliable and not uncomfortably stiff. (I will say that I haven’t washed it yet. I imagine it will get softer upon washing.) To cover the entire duvet, I needed three small bottles of the paint.
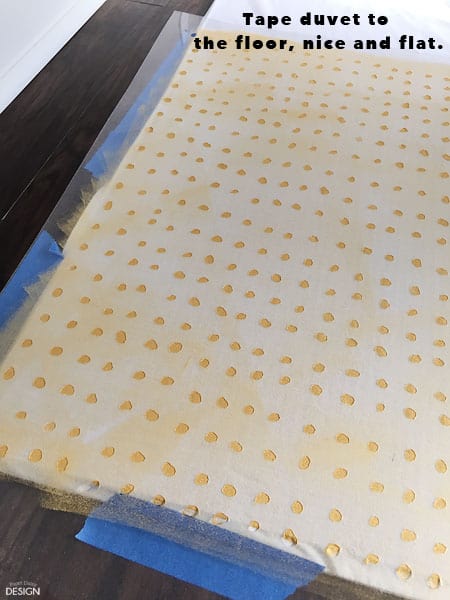
3. Tape at least one edge of the duvet down to the floor. Insert a large piece of cardboard in between the top and bottom layers of the duvet. Use drop clothes if necessary to protect your floors, also tapped down.
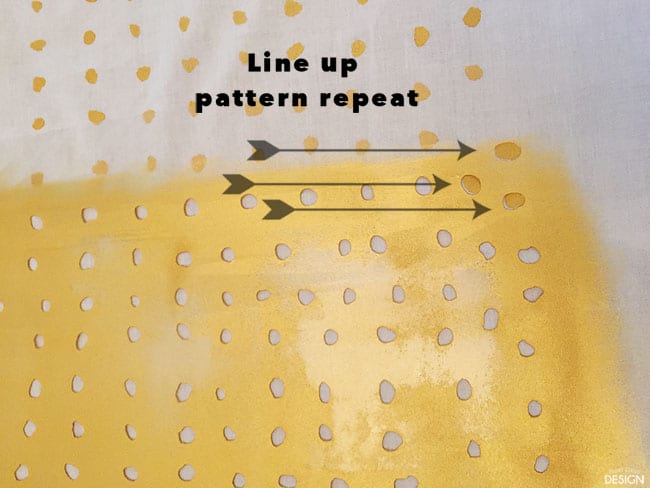
4. Repeat rolling paint on the stencil working up and down fashion and then across the duvet. Line up the pattern repeat dots as you go. It moved fairly quickly and would have been much faster if I would have had a space large enough to spread out the entire duvet flat. I would do this in a larger space like a garage next time.
5. Allow it to dry and make up your new customized bed! (I found the paint dried very quickly and had no problems with smearing.)
So, now you’ve got a new trick up your sleeve for creating unique bedding…use a stencil! And to help you get started on this project or any stenciling project your heart desires….
Cutting Edge Stencils is offering a $50 Gift Certificate to one lucky reader.
US Residents ONLY
And guess what? This is not the only custom piece I made for her bed.
Subscribe to my blog and don’t miss the rest of this bedtime story!!






16 Comments
Velaundra{at}Velsworld.com
April 21, 2015 at 9:53 amI really love this! Super easy and very affordable plus let’s not forget how adorable it is.
Great post!
Leslie
April 22, 2015 at 6:39 pmI know right? Isn’t it just the most fun, common dots and yet so different .
Jenny D
April 22, 2015 at 8:50 amI would totally pick the myriad stencil for my baby girls nursery. It’s exactly what Ive planned on doing in black and white! I used the cutting edge Otomi stencil in my foyer and it was incredibly easy to use and makes such a big impact in our home!
Jennay
April 22, 2015 at 10:16 amThere are so many great stencils to choose from. If I had to pick it would be the Roses All Over stencil or the Zinnia Grande Flower stencil!! Love them ! So fun!
Susanne
April 22, 2015 at 11:15 amI love this stencil for doing a large project. Thank you so much for the giveaway.
Jessy @ The Life Jolie
April 22, 2015 at 2:12 pmWhat a cool project- I never would have thought to stencil a duvet but it makes sense. I love it! Would you mind if I post a text link to this on Friday (I link back to things I like each Friday)?
I stopped by from The Scoop.
Leslie
April 22, 2015 at 6:40 pmSure, that would be so cool! Thanks for the feature.
Susie K
April 22, 2015 at 4:48 pmI am in love with these stencils. If I won I would like this stencil: Marrakech Trellis Allover Stencil (long). 🙂
Claire Nelson
April 22, 2015 at 8:33 pmI’ve been wanted a brass bed forever and you just gave me the perfect inspiration to get one. I may even attempt to do this. Thanks!
Gretchen
April 23, 2015 at 6:32 amLove the dot pattern and gold paint you used!
Been wanting to paint my daughter’s duvet as well.
Thanks!!
Toby Wollin
April 26, 2015 at 6:00 amI love stencils – I’ve done fabric for all the pillows on my couches with stencils. Easy and gets great results.
Nichole B.
April 27, 2015 at 6:29 amThis turned out adorable. So smart! What a difference some gold fabric paint and dots made to that duvet!
Megan Foley
September 23, 2015 at 1:09 pmSuch a cute idea! Where can I find the striped sheet set?
Leslie
September 24, 2015 at 8:17 pmI think they were from Home Goods or maybe TJ Maxx.
20 Easy DIYs To Transform Your Bedroom | Oak Furniture Land Blog
March 6, 2017 at 4:50 am[…] DIY Polkadot Bedding by Paper Daisy Design […]
Think and Make Thursday Link Party #29
August 2, 2017 at 12:45 pm[…] Myriad Dot Stenciled Duvet – Paper Daisy Design […]