Last time I posted the full reveal of our outdoor patio makeover (don’t continue if you haven’t read that post) for the backyard. Today, I am back with full details on the plant selections and my approach to establishing new beds, especially a shade garden.
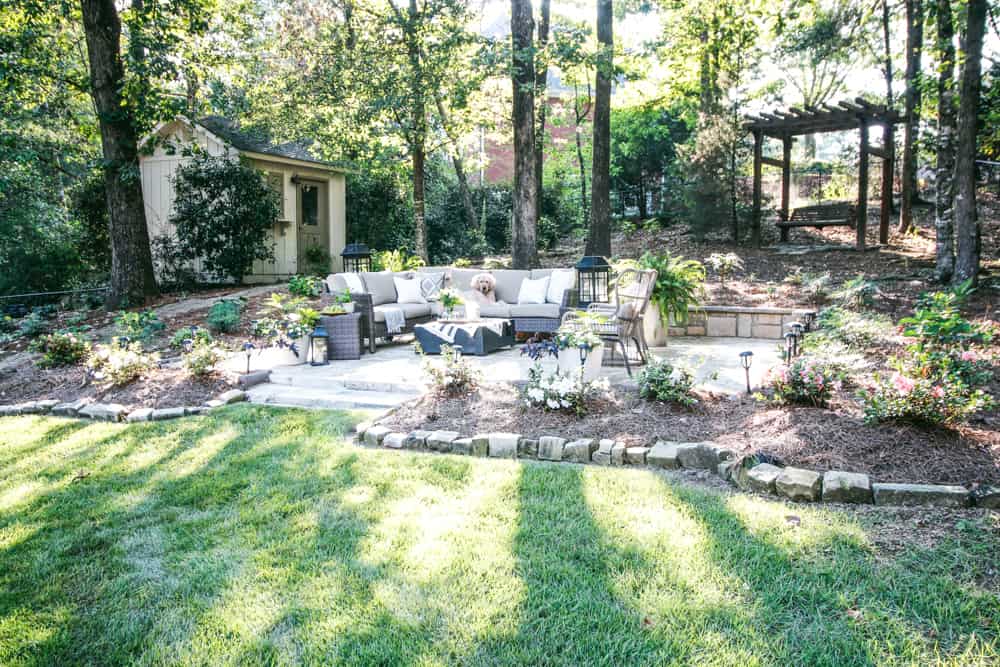
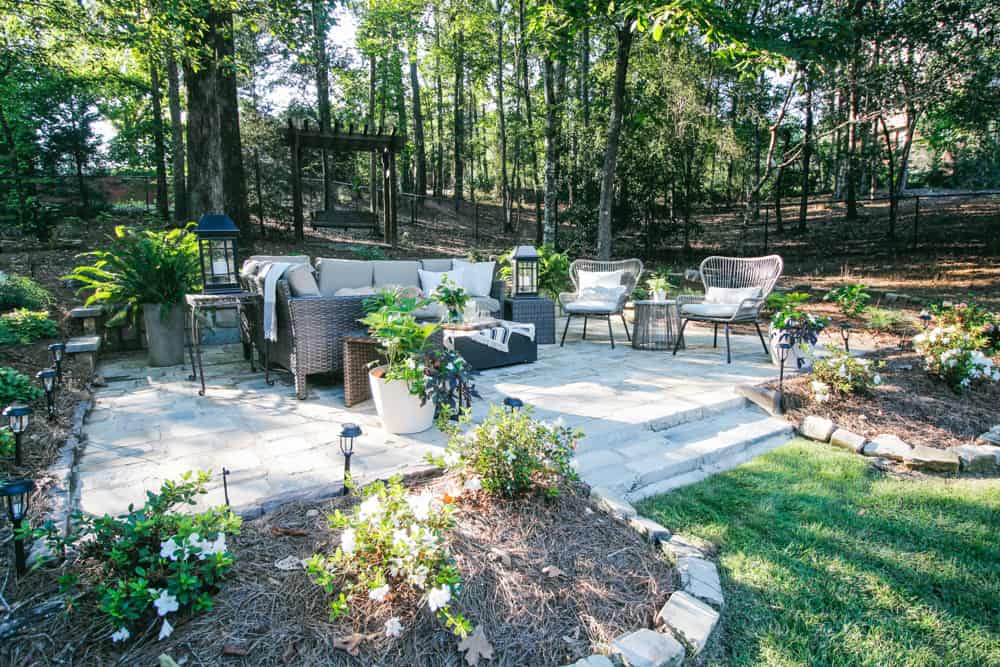
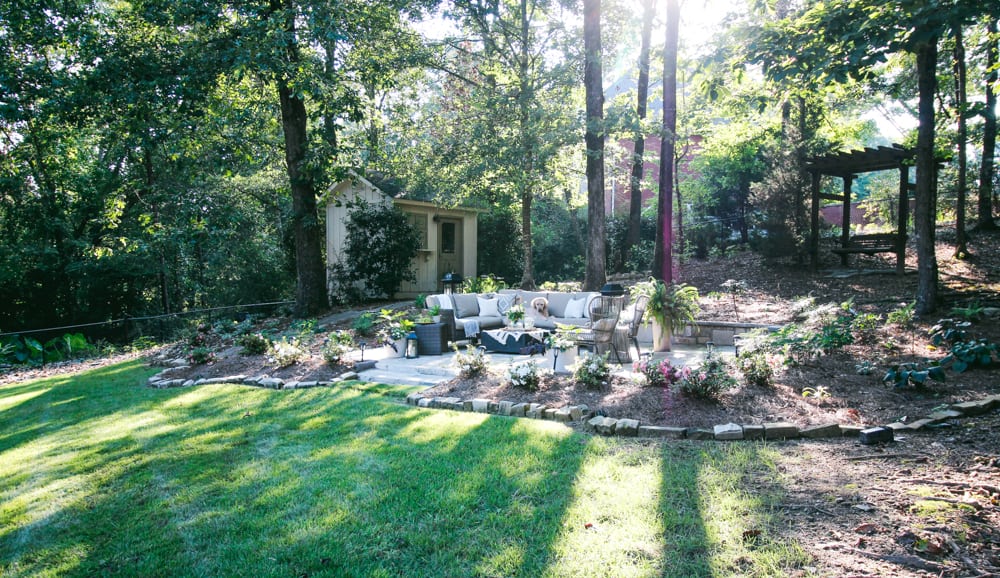
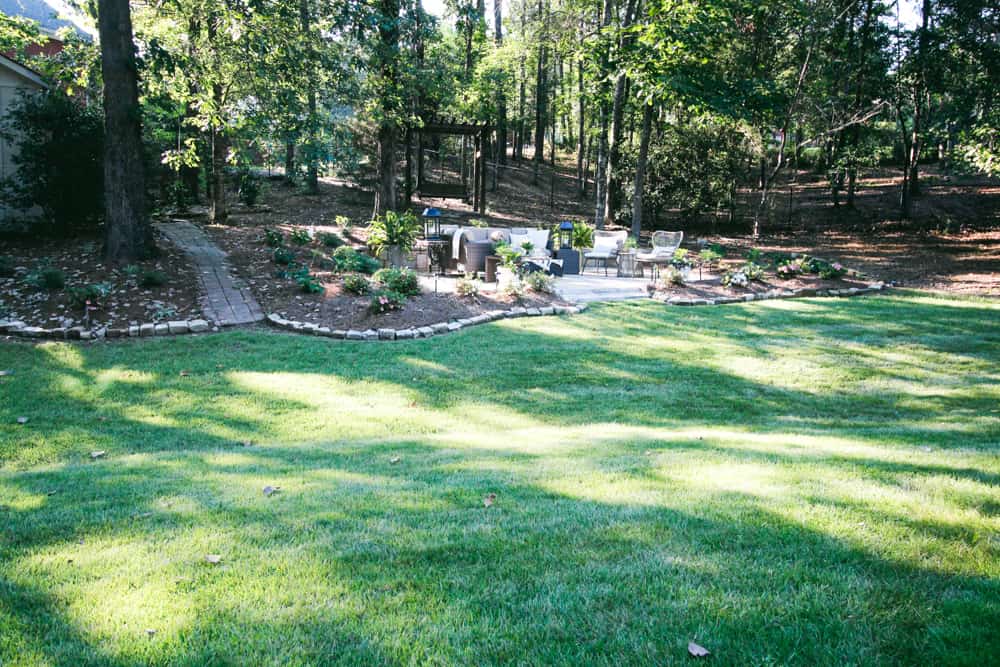
The overarching goal of this landscaping plan was to create an enveloping retreat around the patio with a mixture of unique and traditional shade garden plants. Our backyard is not completely private, but the neighbors are far enough away and there is a sufficient amount of trees to certainly feel like they aren’t staring out at you.
However, the hope is that as the plantings grow in the next few years the garden will eventually make this area feel more concealed and even more like a destination. Landscaping reaps immediate rewards, but often with making an investment in time and money the greatest returns happen in seasons to come.
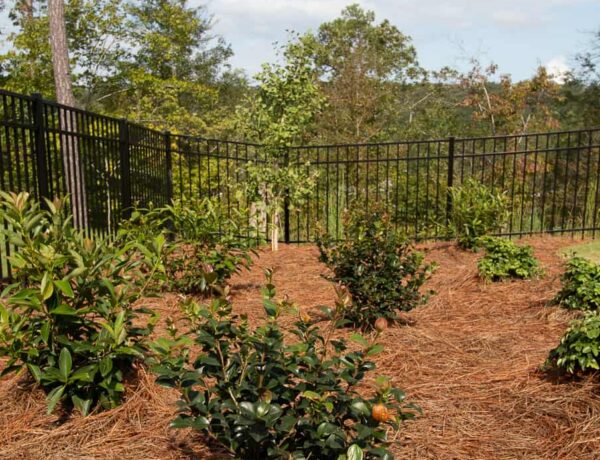
I chose a mix of perennial bushes and plants for the sides and concentrated the evergreens in the front and mixed the two in the back. Realistically, this space will mostly be used while the perennials are green and full, so there was no need to use exclusively evergreens.
This post is sponsored by Southern Living Plant Collection & Encore Azaleas. They provided most of the plants for this landscape. All thoughts, opinions, and photographs are my own unless otherwise stated.
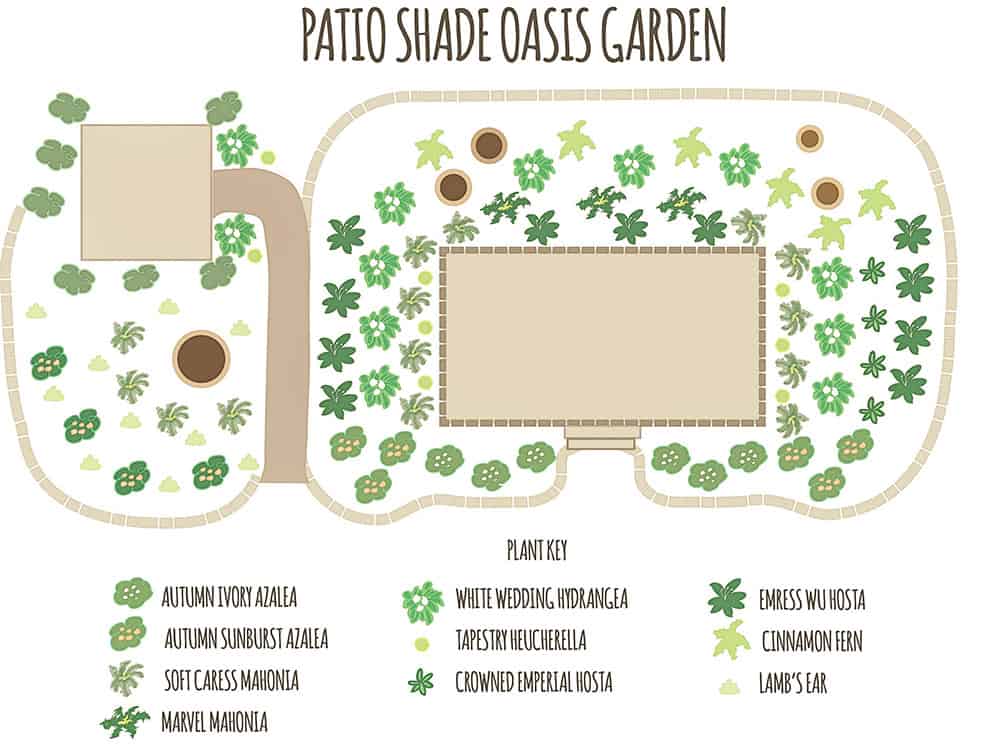
Here’s a look at the shade garden plan drawn up.
The front portion of the garden area receives at least some sun. By noon the whole area is only dappled in sun. I found it a bit of a challenge to find plants that would work well in these conditions and meet my goal of a southern tropical oasis with at least some evergreens.
Plant Selections for a Shade Garden
Because landscaping is an investment in time and money I look for plants from the Southern Living Plant collection to fill the bulk of my beds. I trust the quality of the research that goes into the plants they develop.
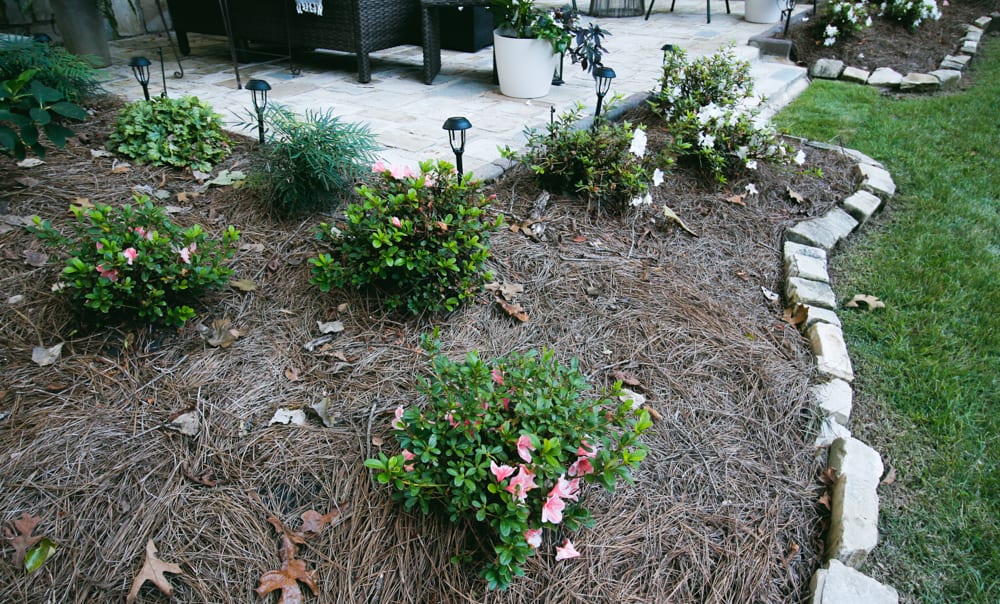
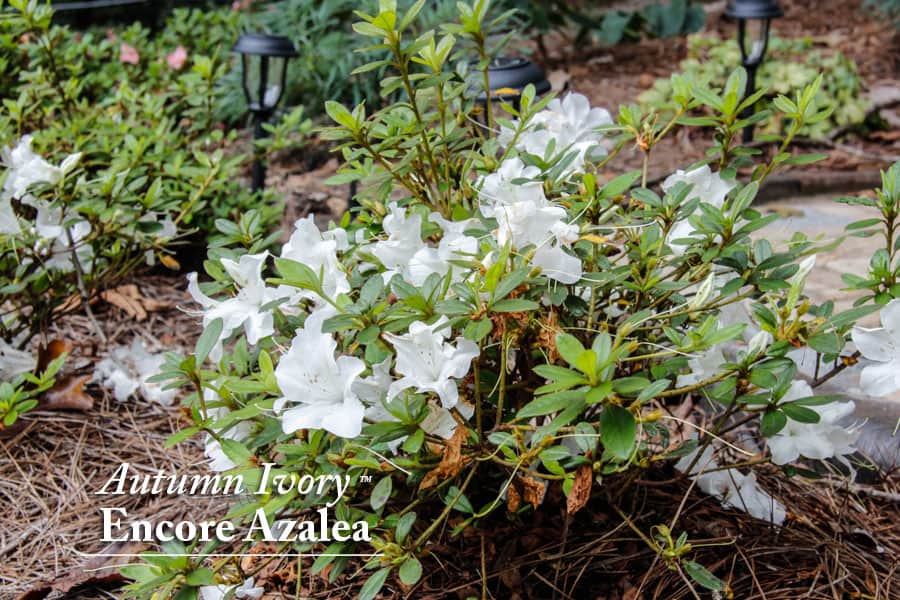 The Autumn Ivory Encore Azalea is a new variety of intermediately sized, reblooming azaleas. The ruffled edge of the blooms is so graceful and visually expands each beautiful pure white bloom.
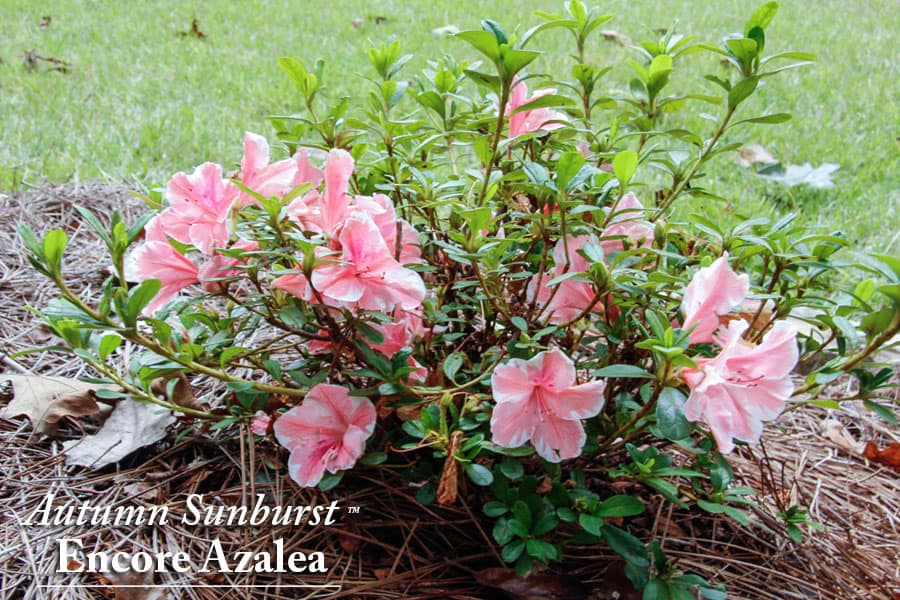
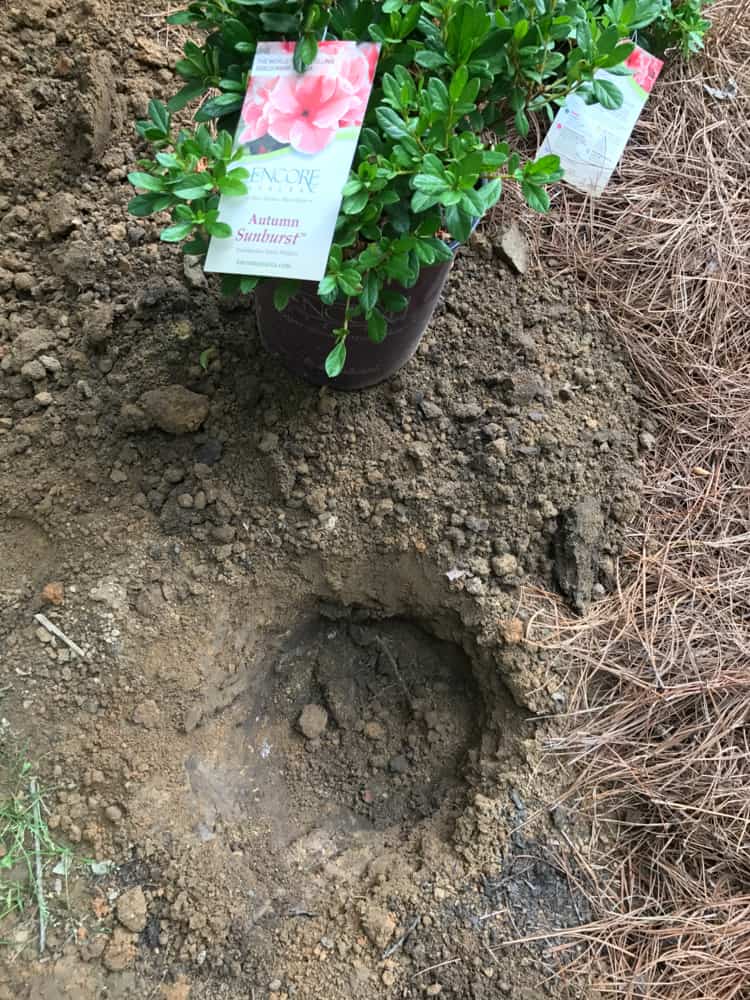
That same ruffled leaf detail is repeated in the Autumn Sunburst Encore Azalea in two clusters on either side of the patio. This variety is also highlighted by variegated leaves of coral pink and white throughout the growing season.
The “Marvel’ Mahonia is a striking, upright evergreen. When all of the other perennials are dying back, the green foliage and yellow, fragrant sprays of flowers appear in the late fall and winter. I created a border of them in the shaded part of the garden behind the patio.
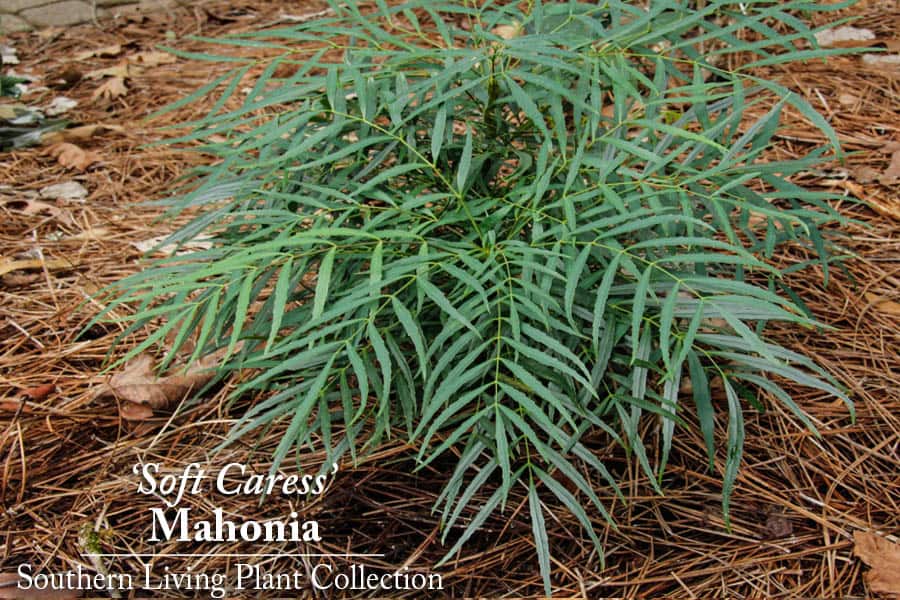
Along both sides of the patio, a border of ‘Soft Caress’ Mahonia will mature to about 3 feet tall and also provide a textured evergreen hedge around the patio. Like its sister plant above, the Soft Caress will bloom in the fall and winter but has much softer foliage.
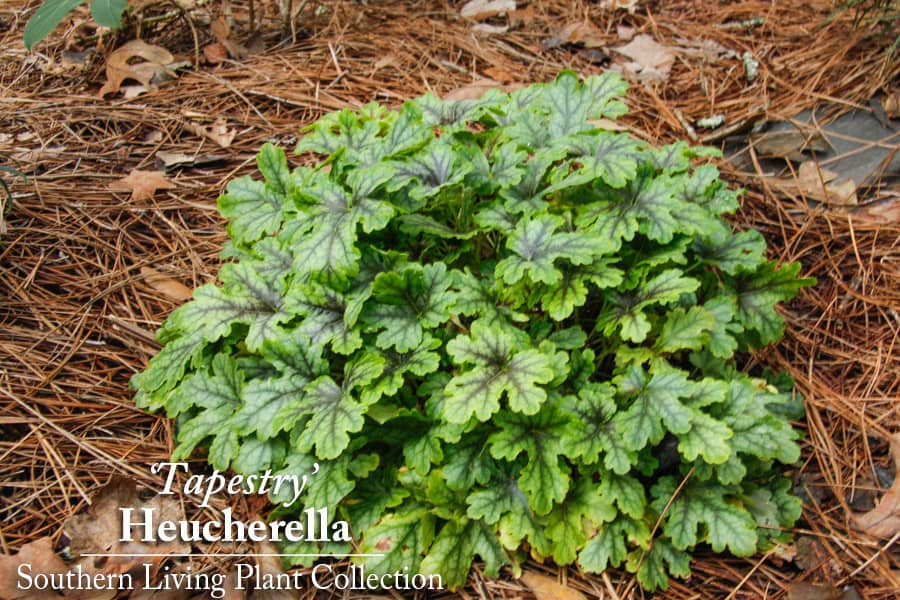
Between the Soft Caress along the patio, I interspersed the ‘Tapestry” Heucherella. This smaller, mounding plant is perfect for an accent border plant. The leaves change throughout the seasons, starting out blue-green in the summer and changing to dark green in the fall and winter. It also has lovely pink flowers in the spring.
No southern shade garden should be without hydrangeas. I am so looking forward to the many blooms to come next spring and summer on the White Wedding® Hydrangea. It has a more compact nature than most and sturdy stems to support the oversized blooms.
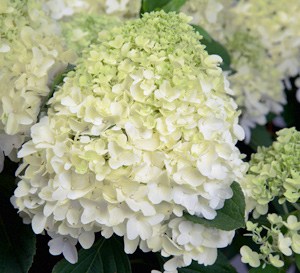
From Southern Living Plants
Also, a more common addition to a shade garden is a variety of hostas and ferns. I plan to expand the bed every year to fill the entire shaded area with more varieties of each.
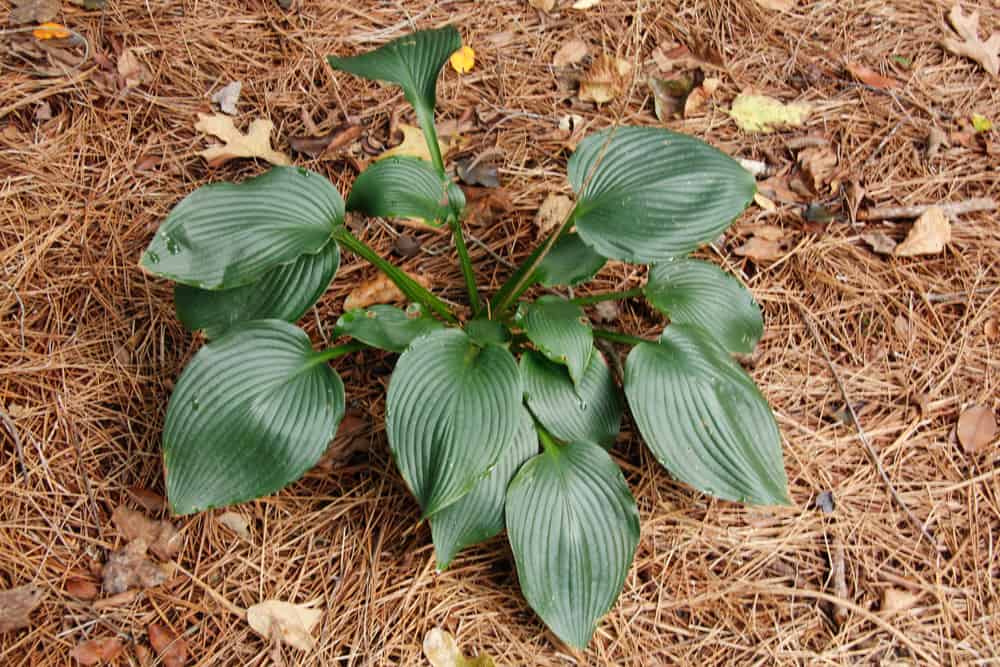
This giant hosta with textured dark green leaves is the Empress Wu Hosta.
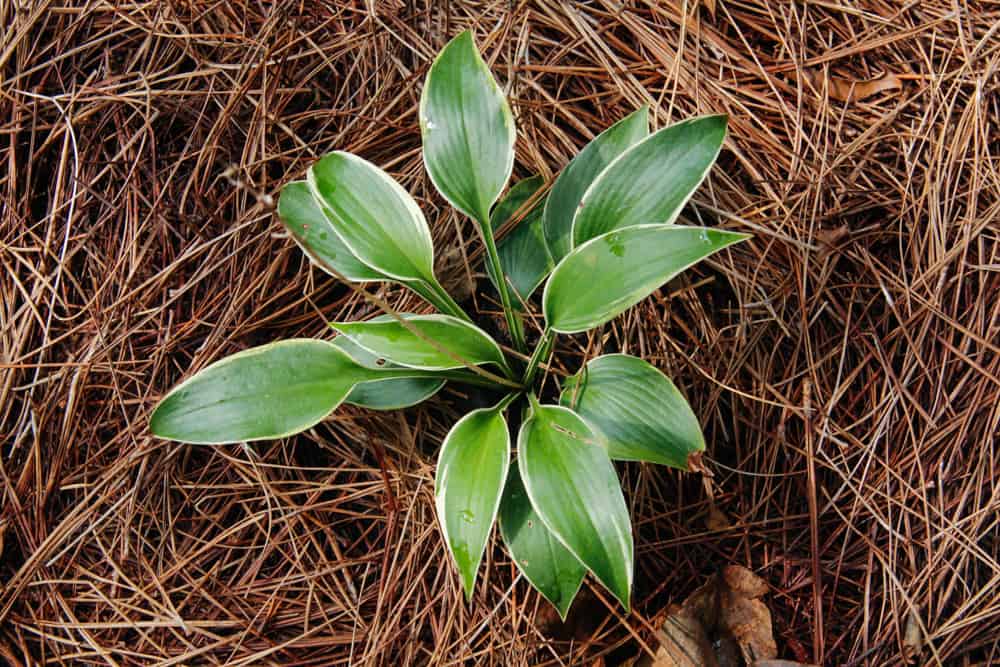
Interspersed between the Empress is the smaller, variegated Crowned Imperial Hosta.
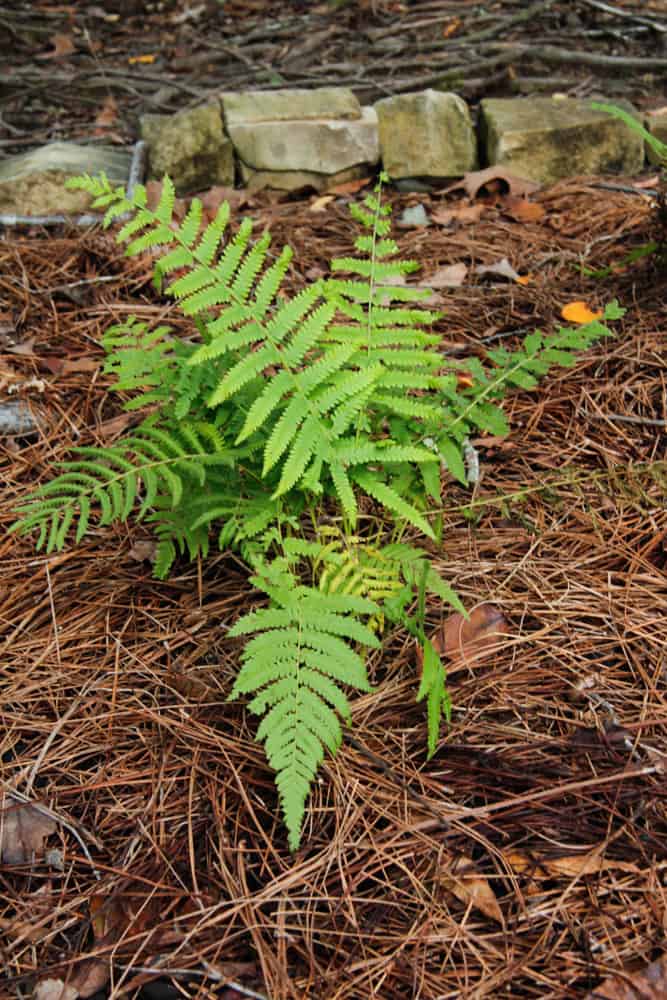
Right now, the only fern of note in this area is several cinnamon ferns.
These ferns are expected to grow up to 4 feet wide and produce fronds that resemble cinnamon sticks.
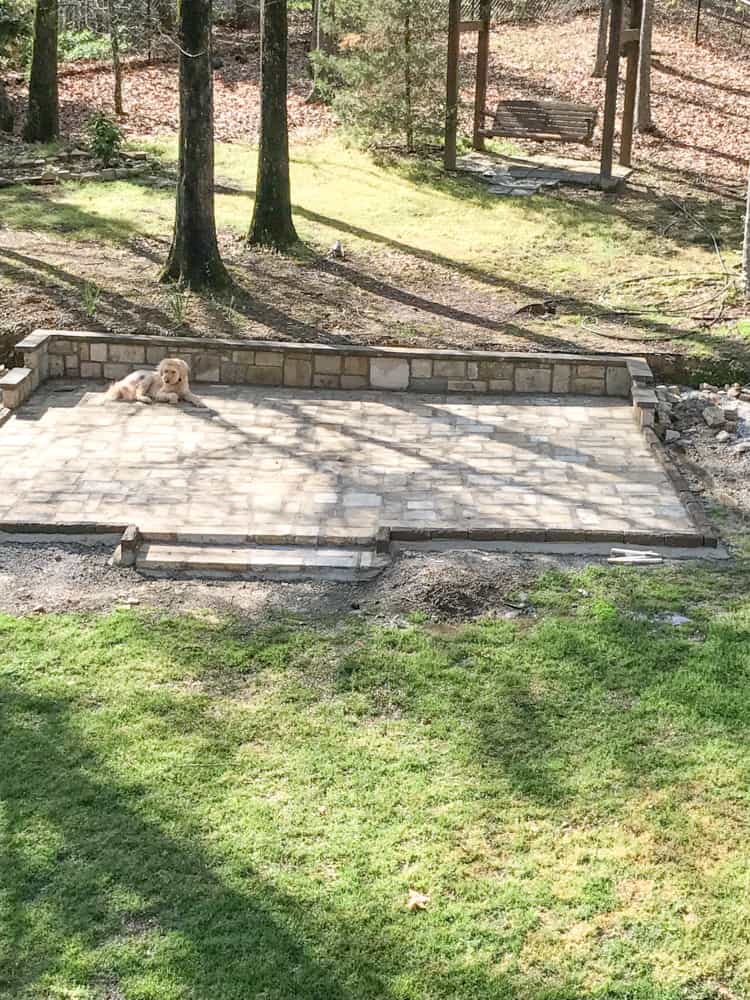
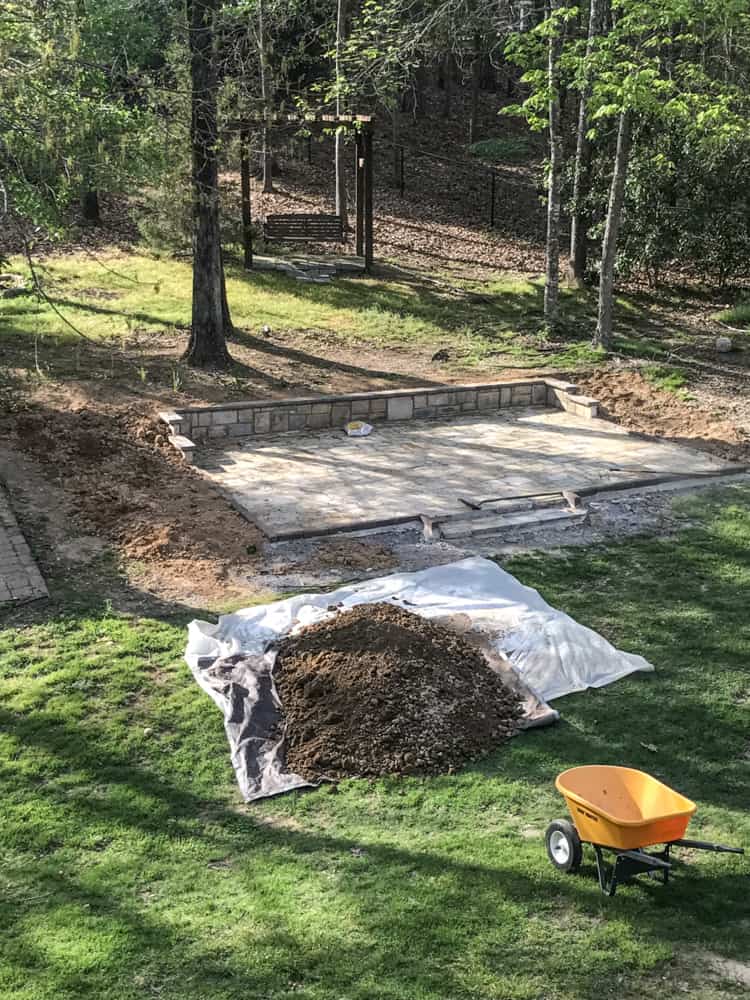
Now let’s talk about one of the most critical steps in building a new bed: preparation after our stone patio was built from reclaimed stones, the areas to the left and right needed to be made level with the surrounding areas.
In our past plantings, we’ve just hauled in bags of topsoil and compost, but given the large quantity of dirt needed, we decided to have two yards of dirt delivered.
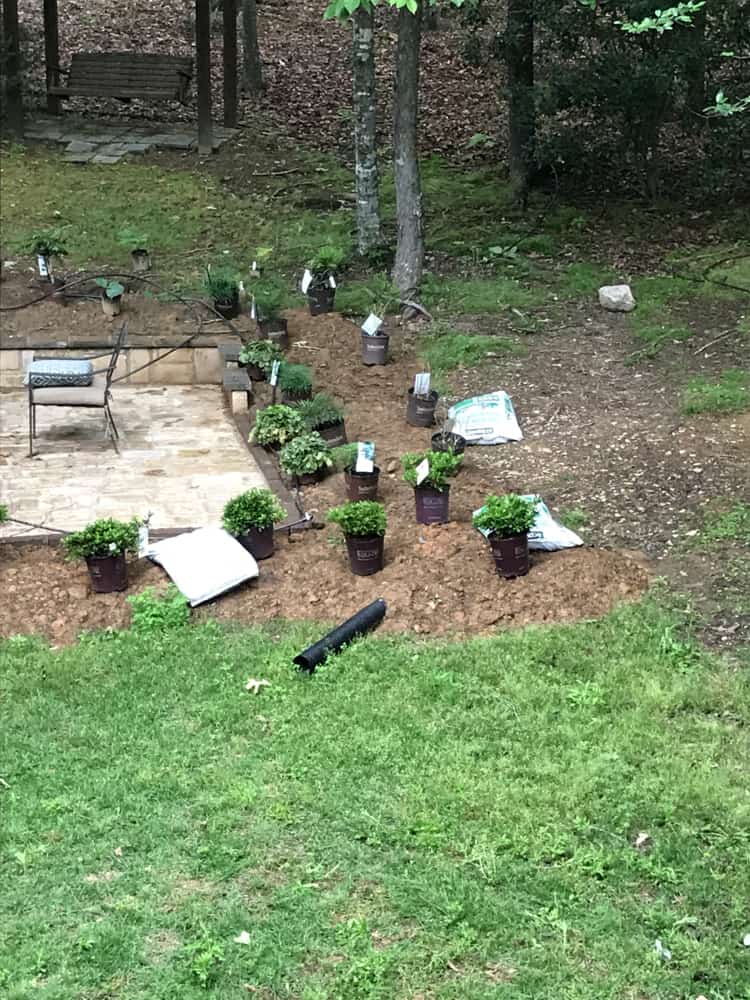
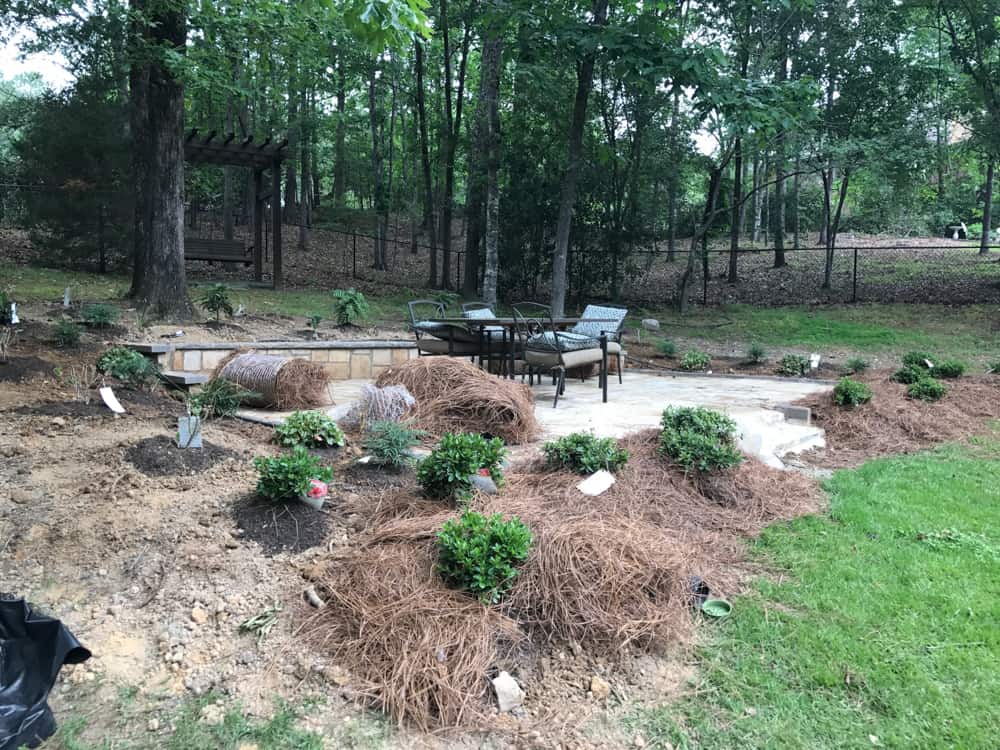
Once we had the dirt spread around the patio, I moved all the plants into the general location based on my plan.
It was a lot of plants!!
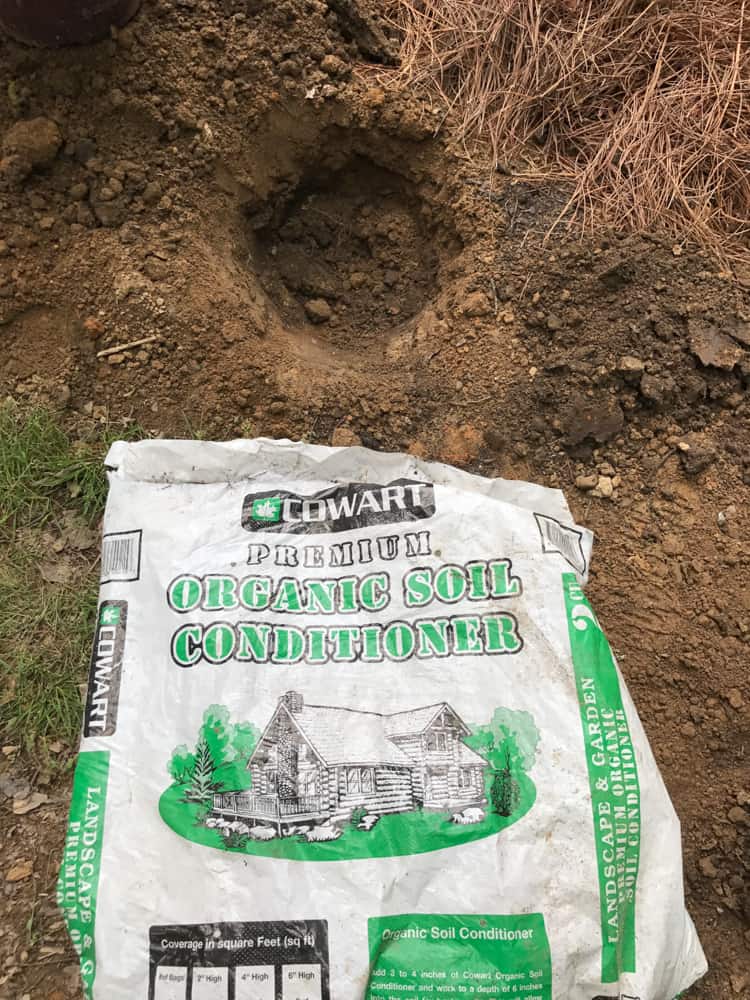
I amended the soil around and in the hole for each plant with organic soil conditioner. Soil conditioner enhances the soil by providing nutrients and increases aeration so that the roots of the plants have room to grow and thrive.
With a generously sized hole dug, I added soil conditioner to the bottom of the hole and then mixed the conditioner in with the surrounding soil with a goal of about 80% soil conditioner and 20% topsoil.
Each plant was topped with an additional soil conditioner to provide extra water retention.
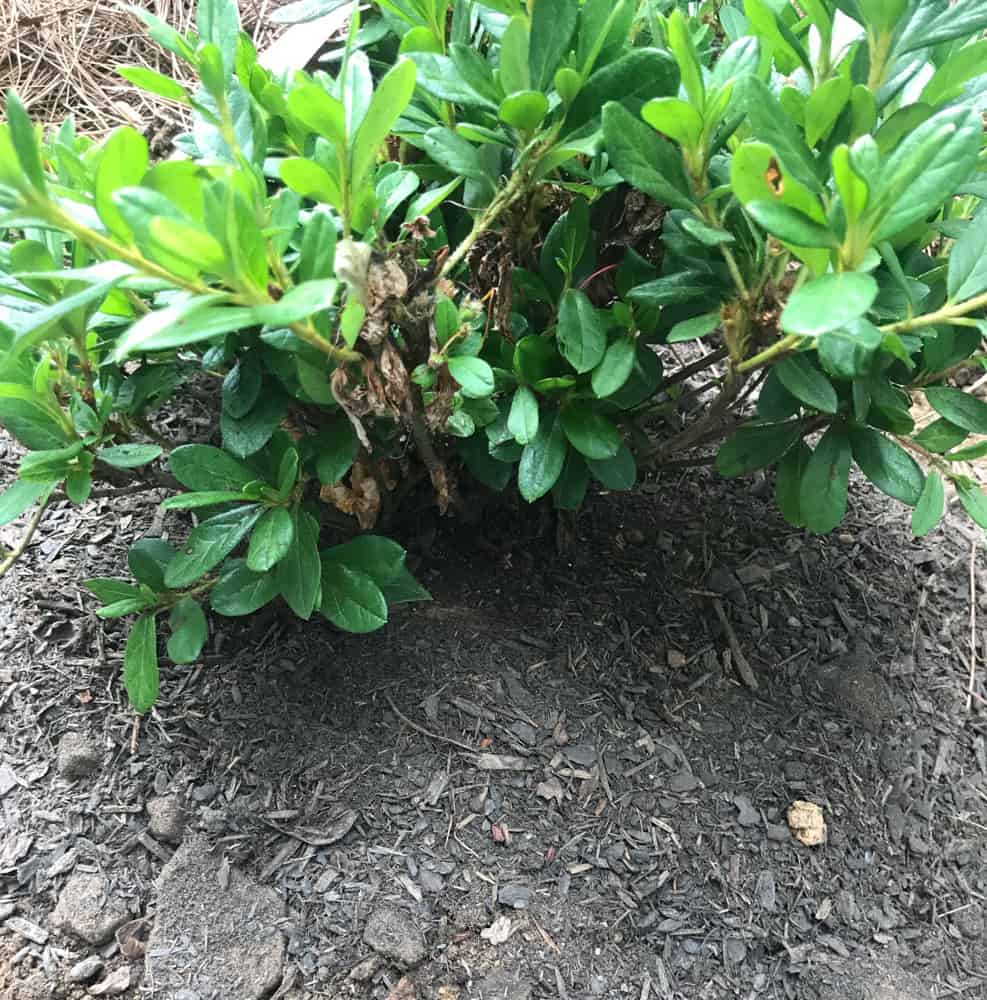
Before applying mulch on the beds, I used landscape fabric. I cut holes or slits in place over the plant and then carefully pull the plant through.
After much trial and error, not just on this planting experience but on several others as well, my favorite brand of landscape fabric is not the one above. I find this brand to be a bit slick. The landscape fabric I like best is the Scotts Pro Landscape Fabric, Medium Duty. In my opinion, it is very sturdy and lets the right amount of moisture through the fabric and the mulch does not slide off as quickly as other brands. Of course, it provides maximum weed protection, which is why this is such an important step. No one likes to weed a garden, and I am a firm believer in taking the extra steps in the beginning (when you are excited about the new garden) to prevent weeds from invading and ruining my beds.
Once the fabric was down and secured with pins, I applied pine straw mulch for moisture retention and aesthetic purposes.
We also tapped into our existing sprinkler system to add short spray nozzles to cover the new beds. We ran the line on top of the ground for convenience since this area doesn’t come into contact with lawn equipment like the weed eater or lawn mower. Once the new plants are established, much less water will be required.
I should mention that we swear by the Rachio Smart sprinkler controller. It is a smart system that, once installed, is operated by your smartphone or Alexa. It even keeps track of your rain forecast and will cancel a pattern if rain is expected, reducing consumption and, most importantly, our water bills.
I hope our new shade landscape was inspiring to you and I look forward to sharing the progress of our landscape around the new patio. If you didn’t check out the post about the construction and materials used for the patio, be sure to check out this post HERE.
This post is sponsored by the Southern Living Plant Collection. They provided most of the plants for this landscape. All thoughts, opinions, and photographs are my own. Affiliate links have been included for your convenience.
SaveSave
SaveSave
SaveSave










1 Comment
Jessica Hunt
March 15, 2019 at 6:20 pmwhat kind of grass do you have?