Add Instant Glamour & Drama to an Ordinary Bathroom
Today, I am sharing a unique little piece of our daughter’s bathroom you might not have noticed. Something that added the perfect touch of glamour and drama to her ordinary bathroom.

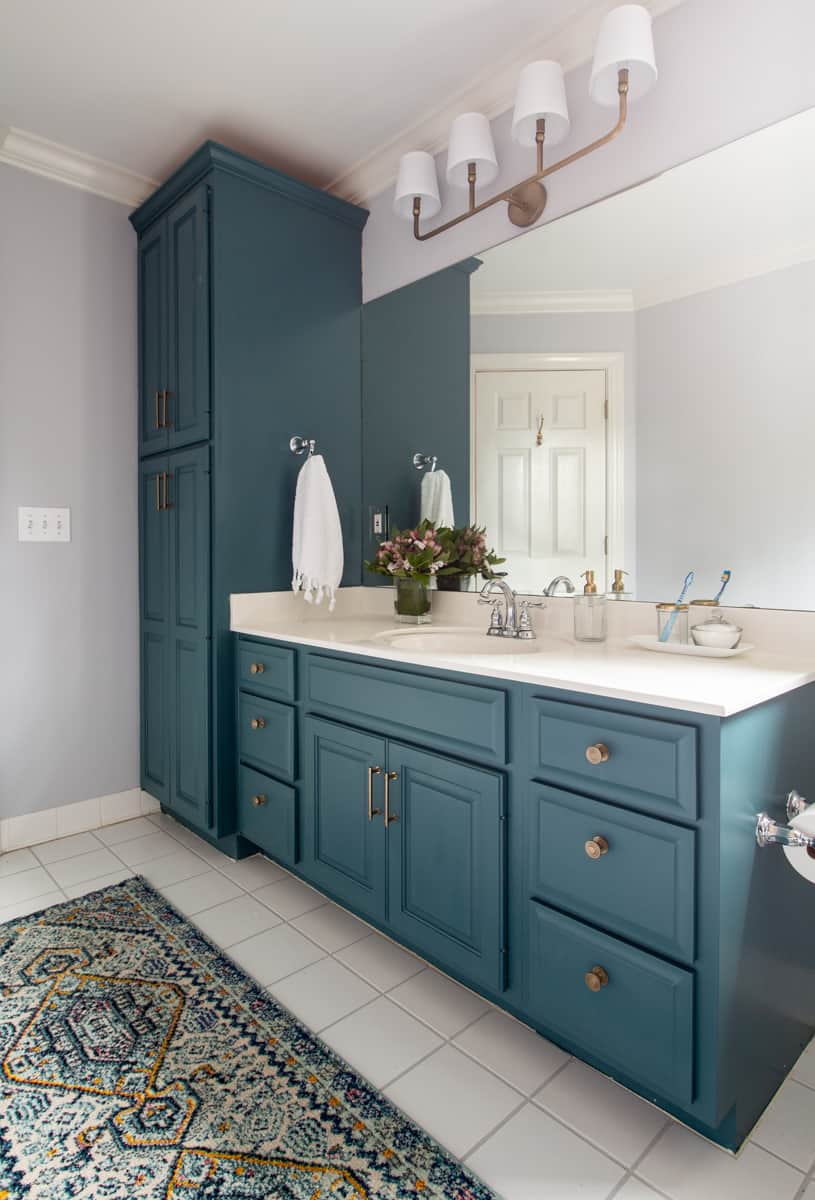
Of course, the beautiful teal cabinets provide a dramatic pop of color in a relatively serene grey and white color palette.

The second, equally dramatic element in the room is the velvet shower curtain.

But, mounting this show-stopping acrylic rod to the ceiling expands the room, adding drama to the ho-hum shower surround. The acrylic rod’s striking, understated elegance becomes the room’s jewelry.
Why did you mount a rod to the ceiling?
Not only does it expand the room visually, all of the acrylic rods I found were not made to be used as shower curtains. After a great deal of research, I found a low profile bracket with an adjustable depth that would be suitable for ceiling mount where a bar could slide into it. I also loved the idea of mounting it to the ceiling for the novelty of it. (The rods I used originally were from Bed Bath and Beyond. Since they are no longer in business, I have found a source that is the same or very similar. Sources are linked below with affiliate links.)
How to mount an acrylic rod shower curtain rod to the ceiling
Supplies
Acrylic Shower Curtain Rod (Warm Gold, 60″ wide rod and trimmed down to 58″)
Acrylic Curtain Rod Rings (2 sets in warm gold)
Drywall anchors (Be sure to find ones that fit the matching screws.)
Screw Driver
Drill
Supplied Allen wrench
3 yards of platinum velvet fabric
pleat tape
pleating hooks
shower curtain liner
Directions
- Attach the bracket to the ceiling with anchors. The anchors provided were not sufficient. Be sure to mark the left and right locations of the brackets accurately with a tape measure. I measured from the back wall. (Be conscious of where you want the curtain to fall in relation to the tub.)

2. Slide all three of the brackets onto the rod and temporarily attach. Have the third (center) bracket loose on the rod and then mark where it should go. I did this because I feared, if for some reason, my measurements were off, the rod would not fit into the brackets perfectly.


3. Remove the rod and attach the middle bracket where marked, using drywall anchors.


4. Add rings and round bracket loops where you want them to be on the rod. I divided the rings in half with equal amounts on either side of the center bracket.

5. Attach decorative end cap after the rings. I chose to leave one ring on the left of the last bracket.


6. With rod installed, measure for your curtain.

I made custom curtains so I hung the fabric up and measured for my hem. I also measured for the shower curtain liner.
If you don’t sew or don’t want to here is a ready made curtain that would be closest to the right length for the ceiling in this bathroom. You could then use the clips for both the curtain and the liner.

The grey velvet was from Fabric.com. I linked the exact grey in the supply list.

I used pleat tape and pleat tape pins to finish my curtains. (Be sure your pleat tape is very sturdy. The first tape I purchased was too flimsy and I had to rip it out and start over!!)

I wanted the curtain and the liner to be attached separately because I like the custom finished look of not seeing the clips. I used the included clips to hang the liner. I had planned to attach the curtains with the pins into the loops on the rings that hold the clips.
But then, I didn’t like how you couldn’t see enough of the rod, so I added a jump ring. I purchased a small piece of chain from Home Depot and separated the rings from the chain. This created miniature “s” hooks.

One of the hooks looped through the ring and the other, kept in a closed position was used to hold the pin from the pleated curtain.

I liked that from the front you can’t see any of the clip or the small ring, just the large pretty ring and the acrylic rod.
So, what do you think?
Just a small amount of effort for an unexpected bit of elegance in an ordinary bathroom, right?

This is a full series of posts updating this ordinary bathroom.
Learn the right products to use to paint your bathroom cabinets.

How to plan a bathroom makeover online. Helpful tips and sources.


Beautiful! I wondered how you attached it to the ceiling. Thanks for the tutorial!
It took some planning to find a way to attach a rod to the ceiling and still make the curtain functional. Thanks for reading and following along!!
Beautiful! What paint color was used on the cabinets?
Love this shower curtain rod. Love everything else too, and truly Southern.
Hello, can you resend the links to the acrylic rod & gold hoops you found? The link do not work anymore.
Thank you!
Beautiful! Could you please send the link for the curtain rod and the brackets?
Can you please send menthe link to buy the lucite shower curtain rod
I don’t believe that product is sold at the site I purchased it at anymore, but here are a few current options.
https://rstyle.me/+9Spd-imhvH0o4gjxUOnf2w
https://rstyle.me/+EGak91wTtP55kPRrgCkMMQ
Hi! Where did you source the liner from- was it just a normal basic shower liner or did you make/customize one?
Hi,
I emailed you before. I did not find the link to buy the shower curtain rod that Bed Bath and beyond no longer sell.
Hi again,
I meant to ask not about the curtain rod, but the brackets. I have looked everywhere and do not find them
Thanks
Where do you purchase the curtain rood and brackets?