The power of paint to transform a room, especially a bathroom, never ceases to amaze me. What also amazes me is the power of high-quality paint to make the job easier and hassle-free.
This post has been sponsored by KILZ®. All thoughts and
opinions are my own.
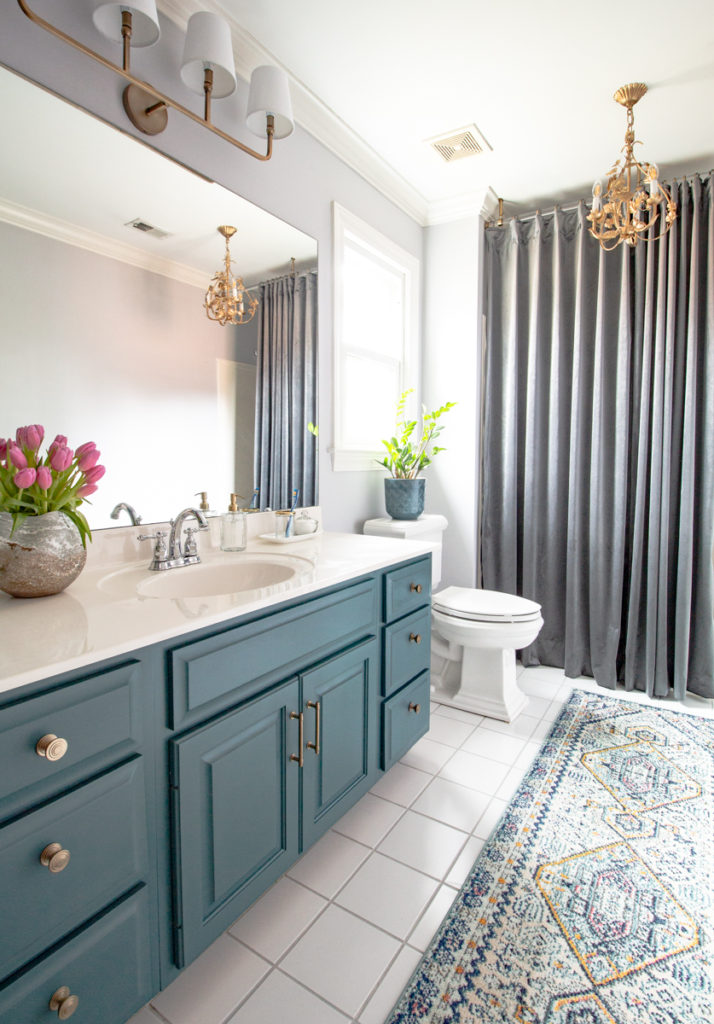
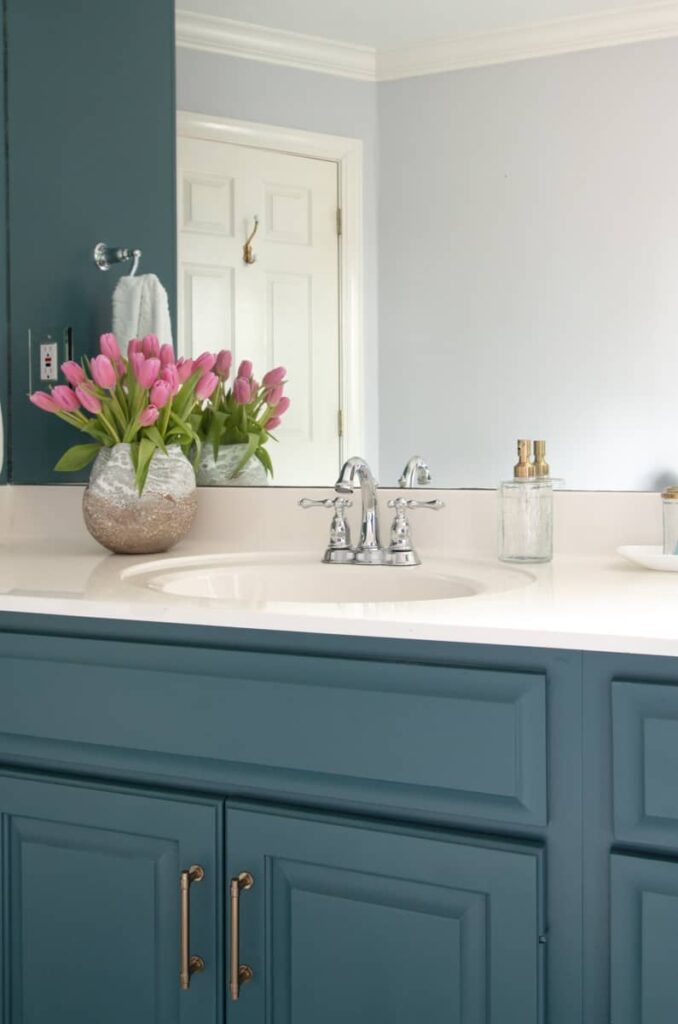
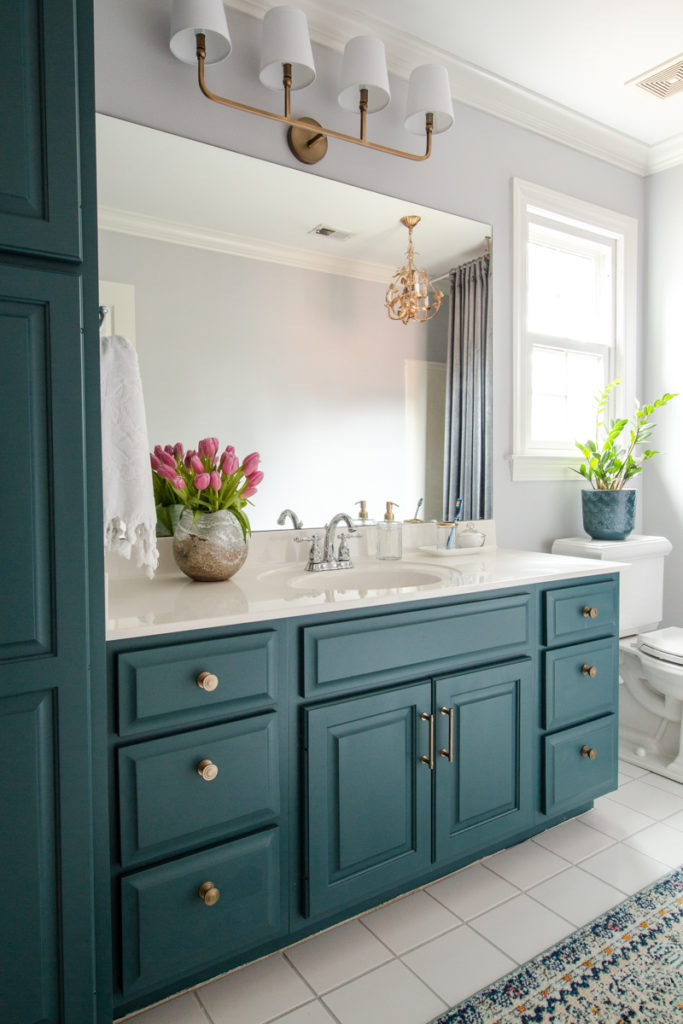
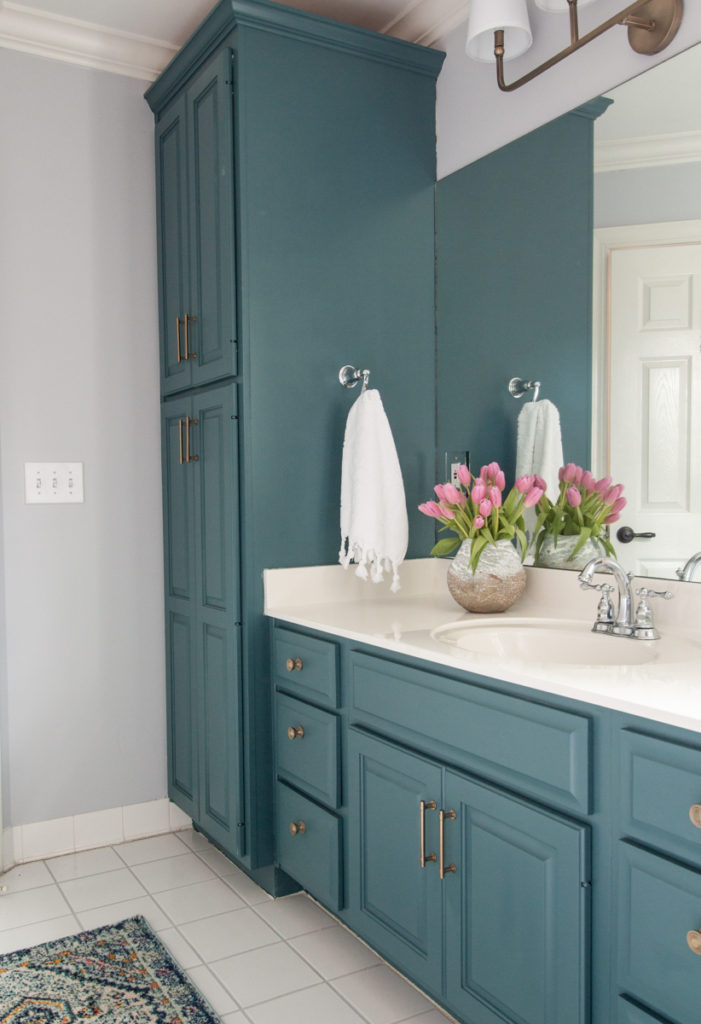
For a fresher look in our daughter’s upstairs bathroom I envisioned teal cabinetry and grey walls. KILZ ® TRIBUTE® Paint & Primer had the perfect shade of teal to bring the vision to life. I used OCEANS DEEP #TB-60 in satin. I’ve used several shades of teal recently and this one is by far my favorite. It has a touch of grey in the mix which makes it vibrant without being too bright.
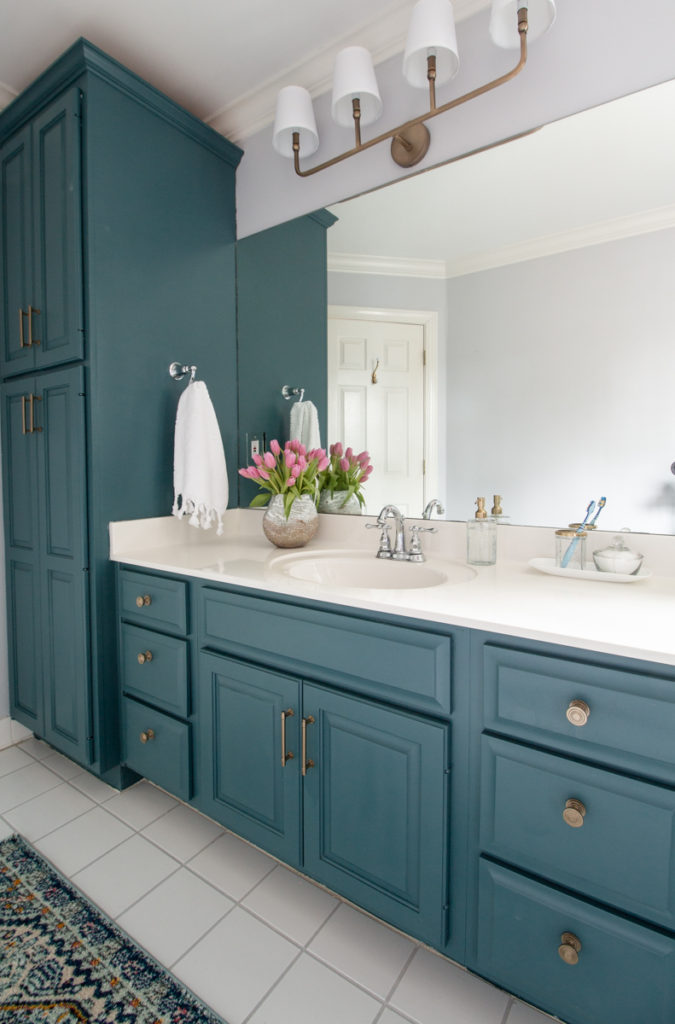
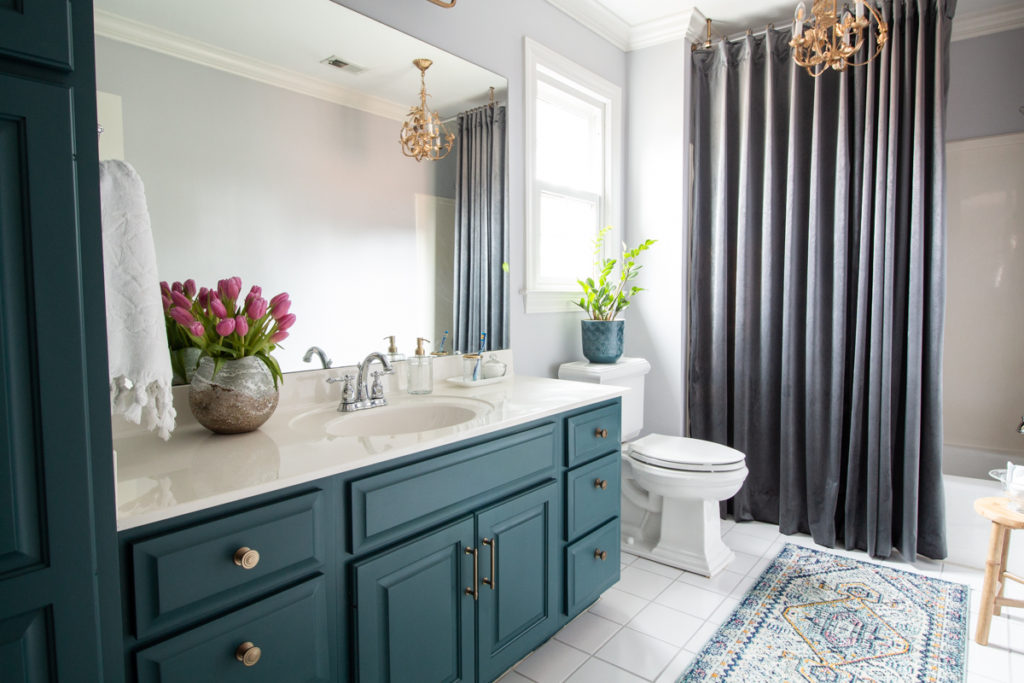
For the walls, I used BRUSHED METAL #TB-32. A soft grey with hints of blue and violet to make it a bit more cheerful than your average grey. I would recommend this color for a room that receives warm light, like in a south facing room.
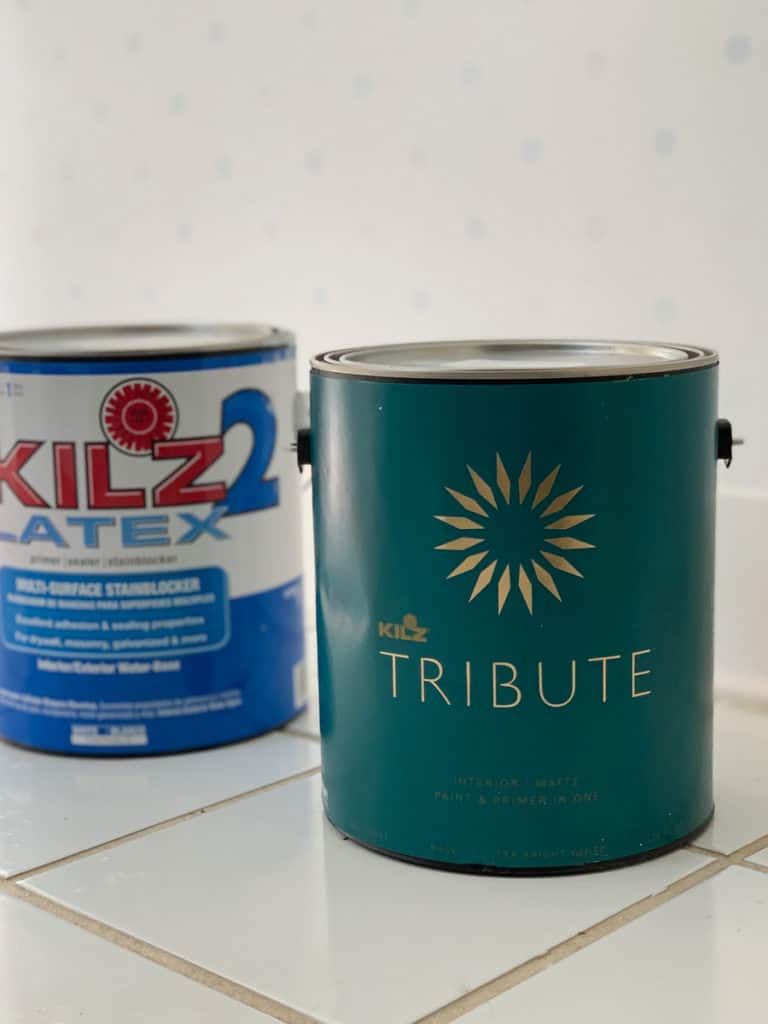
Of course every good paint job starts with a great primer. But before we get too far ahead, let’s take a look at where we began.
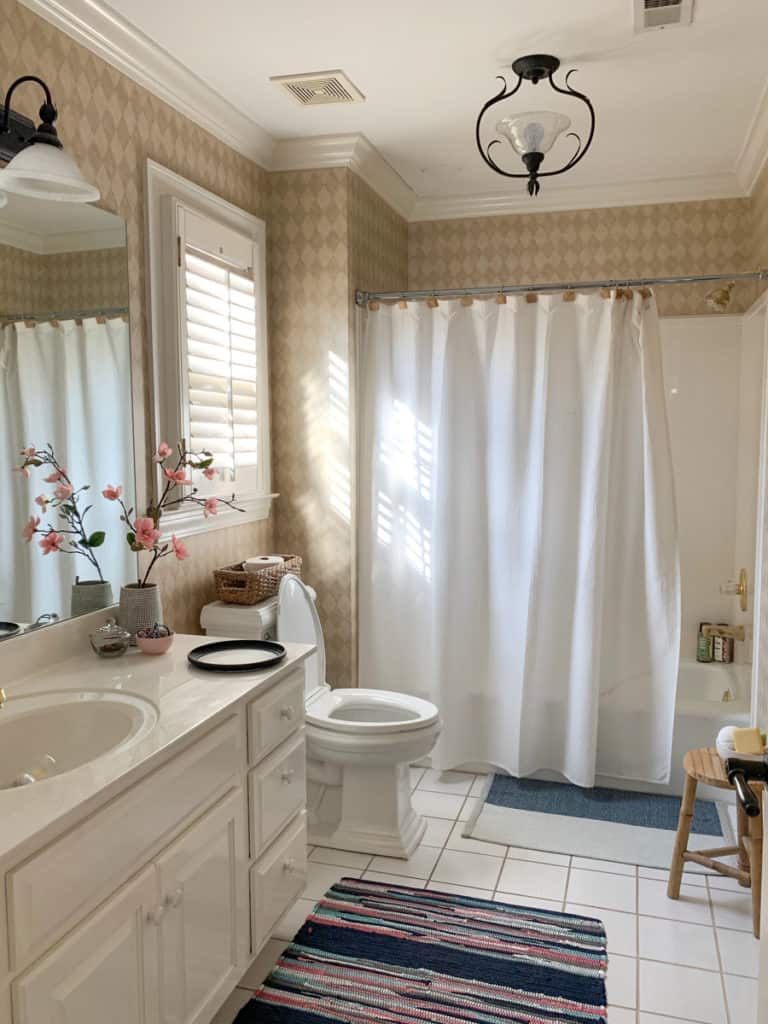
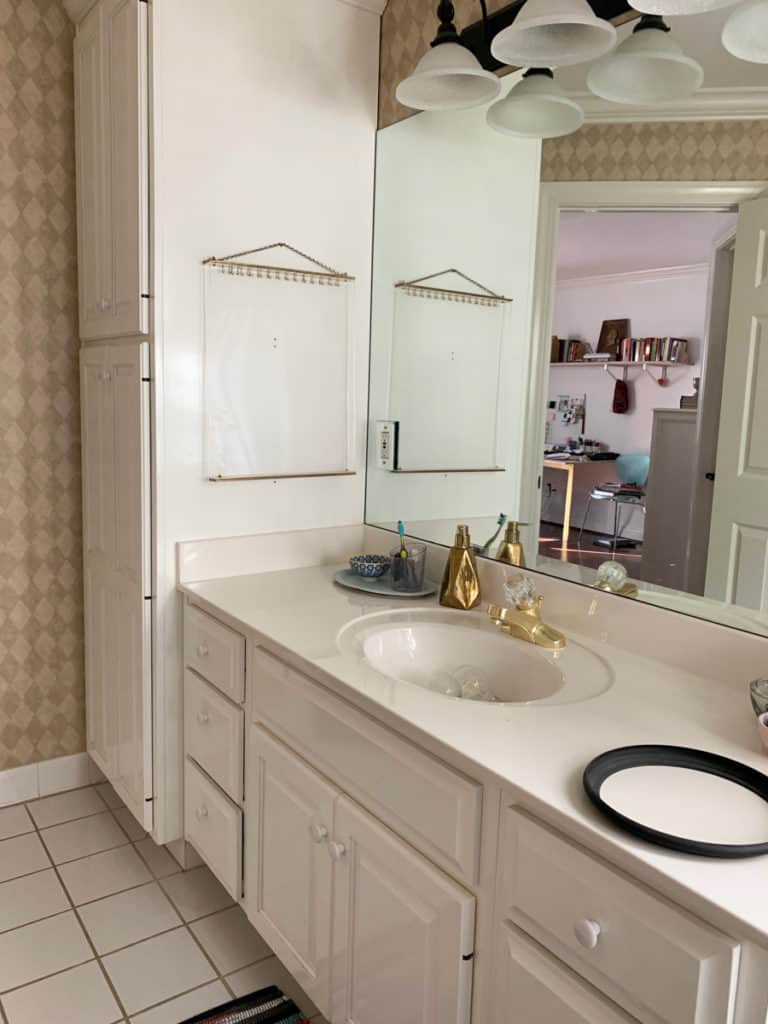
It’s a nice sized bathroom but the dated fixtures, wallpaper and the uninspired cabinets make the room feel just that. Uninspired.
The first order of business was to remove the wallpaper. I’ll cover the process in another blog post, but it went much better than expected despite a surprising discovery…
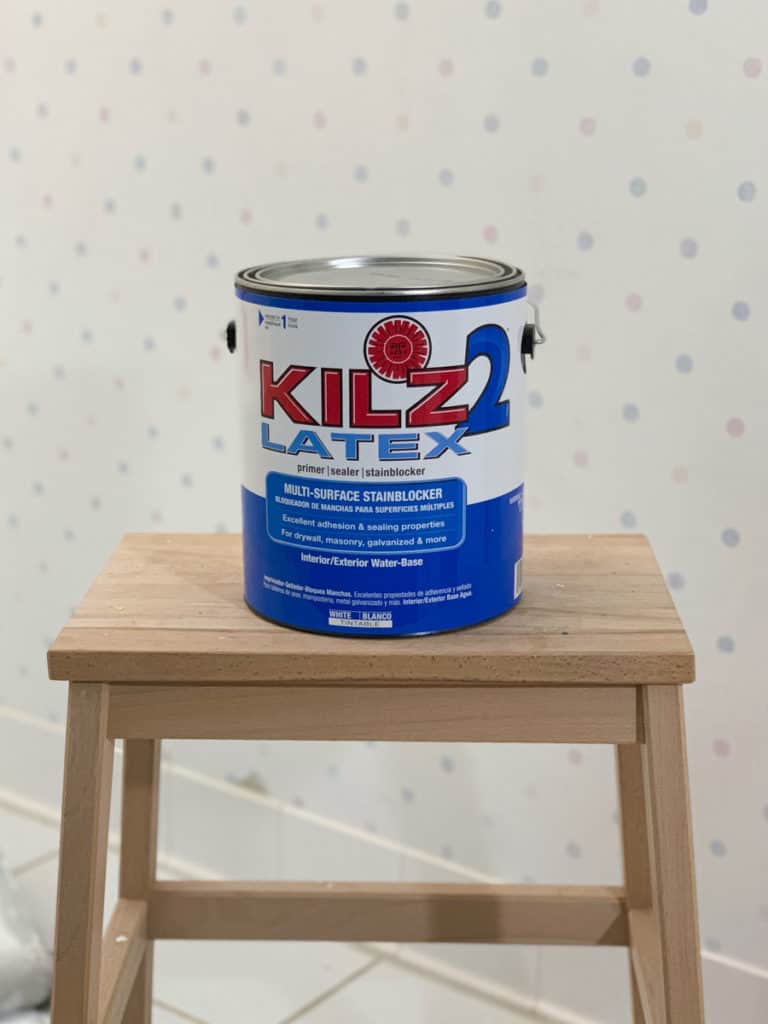
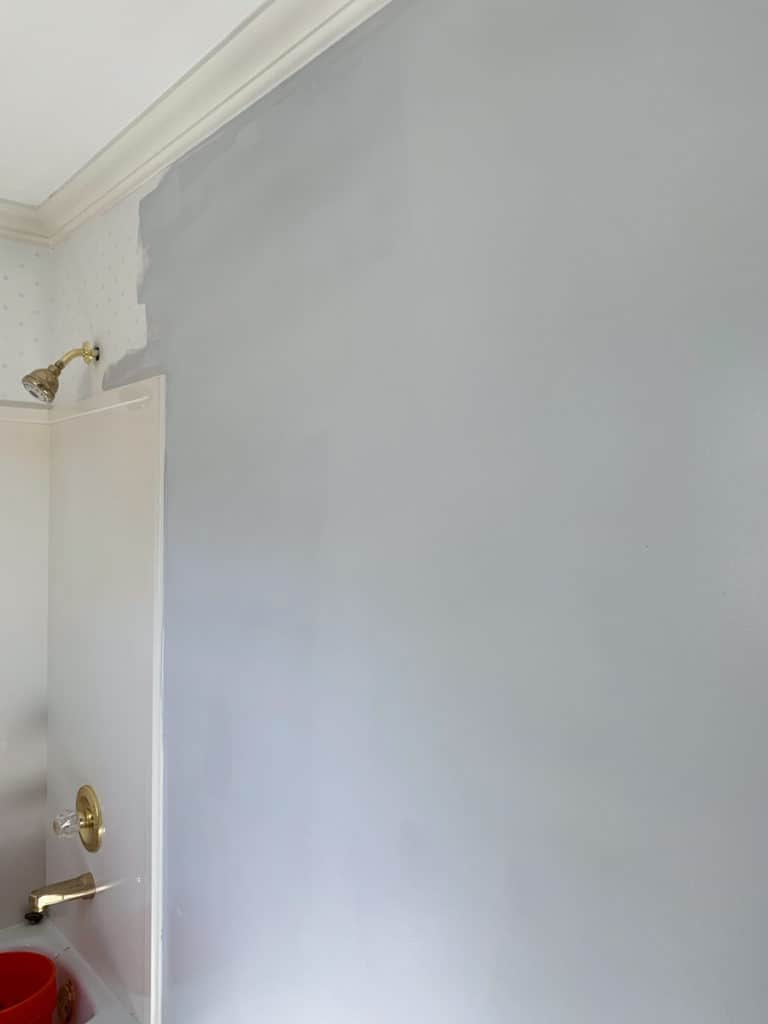
There was a second layer of wallpaper under the first and it was polka dotted!! Once the walls were cleaned of all residue, I primed the walls again with KILZ 2® LATEX Primer. This helps enhance adhesion of the paint to the surface, helps hide the designs/marks on the wall. Doing the primer coat will help ensure a better result (It was obvious this layer of wallpaper had been primed previously, and that was part of the reason the wallpaper came off so easily. Like I’ve said before, a good primer is a vital step in so many home improvement projects.)
Then it was time to move onto the wall paint, KILZ ® TRIBUTE® Paint & Primer. The quality of this paint was more than evident after just a few passes with the paint roller.

It completely covered and hid all traces of the polka dots in one pass! In fact, it hardly needed a second coat.
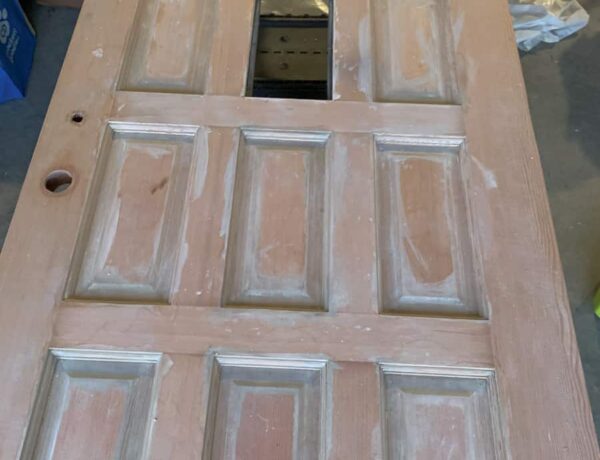
Because the cabinets had what I think was the original paint/factory finish, I was certain to give them a good cleaning, a light sanding and then a wipe down with a sanding deglosser before applying KILZ 2® LATEX Primer. This will create a uniform finish which hides imperfections, light marks and blemishes while also enhancing the paint’s grip to the cabinets.
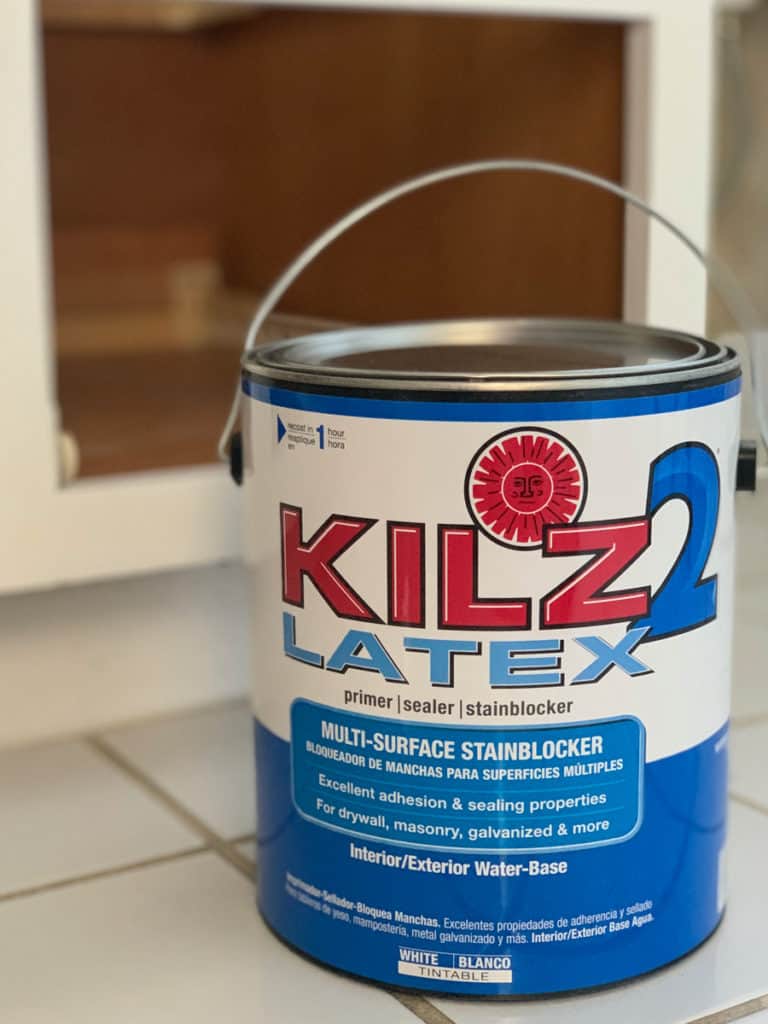
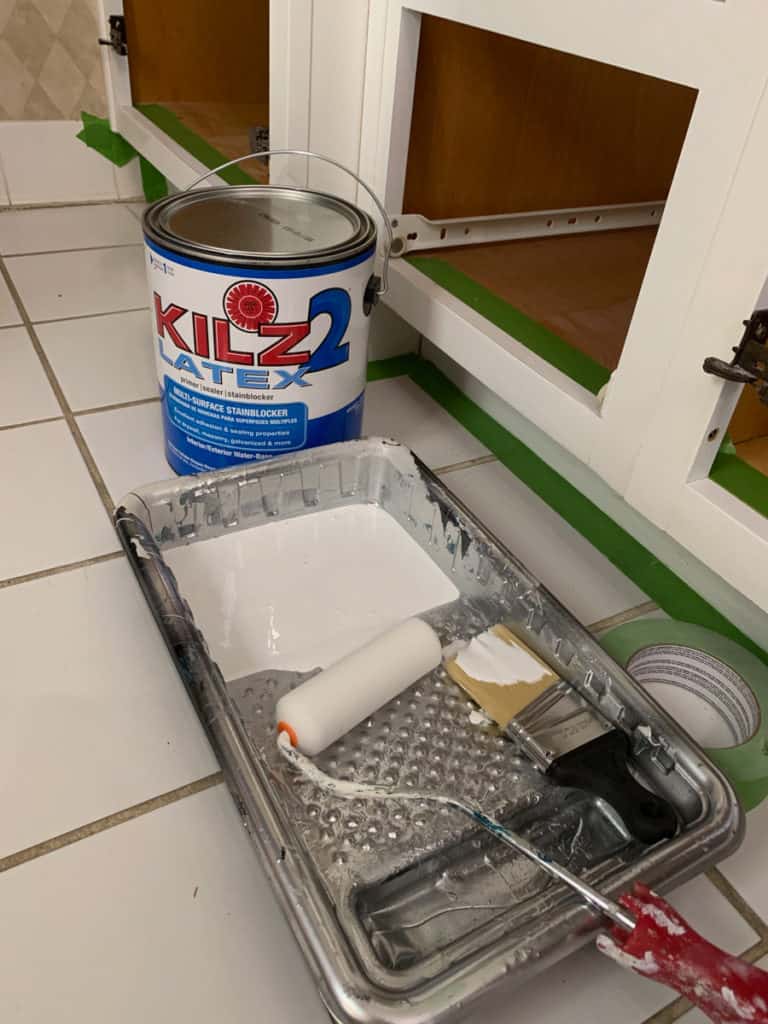
My preferred method of painting cabinets is to roll the base and spray the doors and drawers.
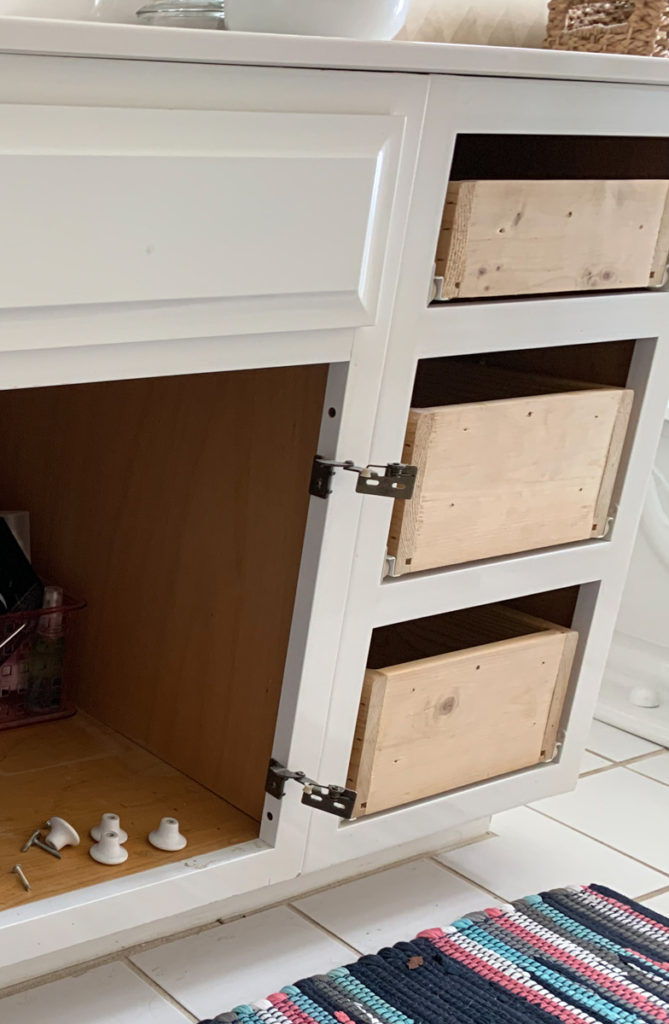
This was a first time for removing the drawer fronts instead of the drawers in a cabinet painting project. I found it very difficult to put the fronts back on straight and level because we forgot to label the drawers as well as the fronts.
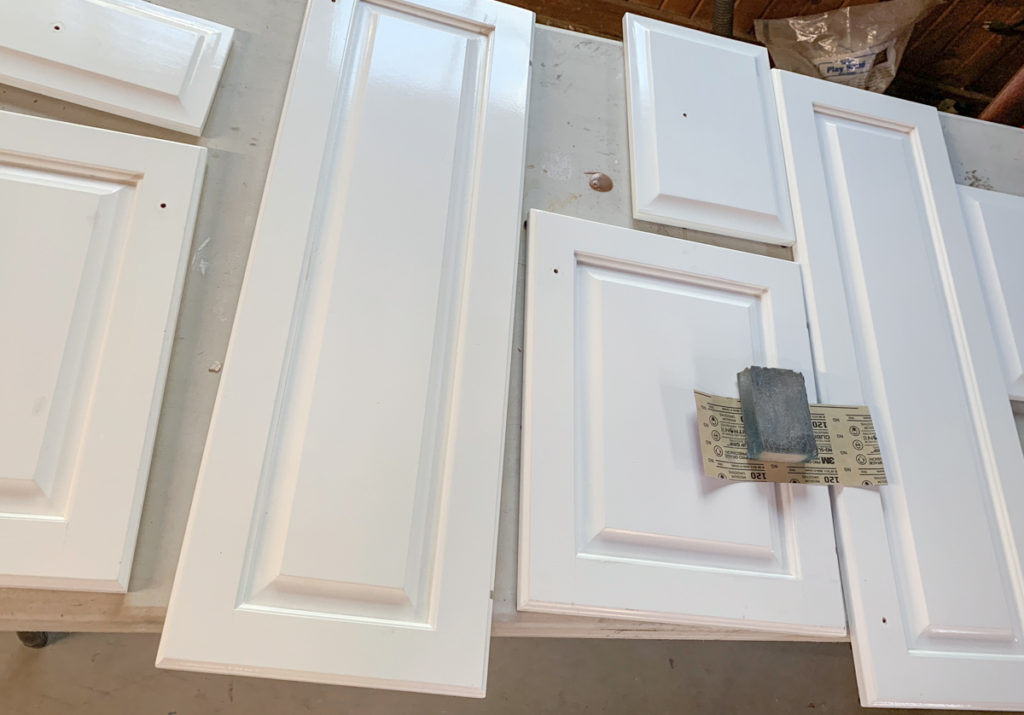
I followed the same prep procedure with the cabinet doors and drawers. Clean, sand, degloss then spray.
Did I mention this paint is available online at either Amazon or Build.com? That’s right. You can shop for paint from the convenience of your home and have it delivered right to your door.
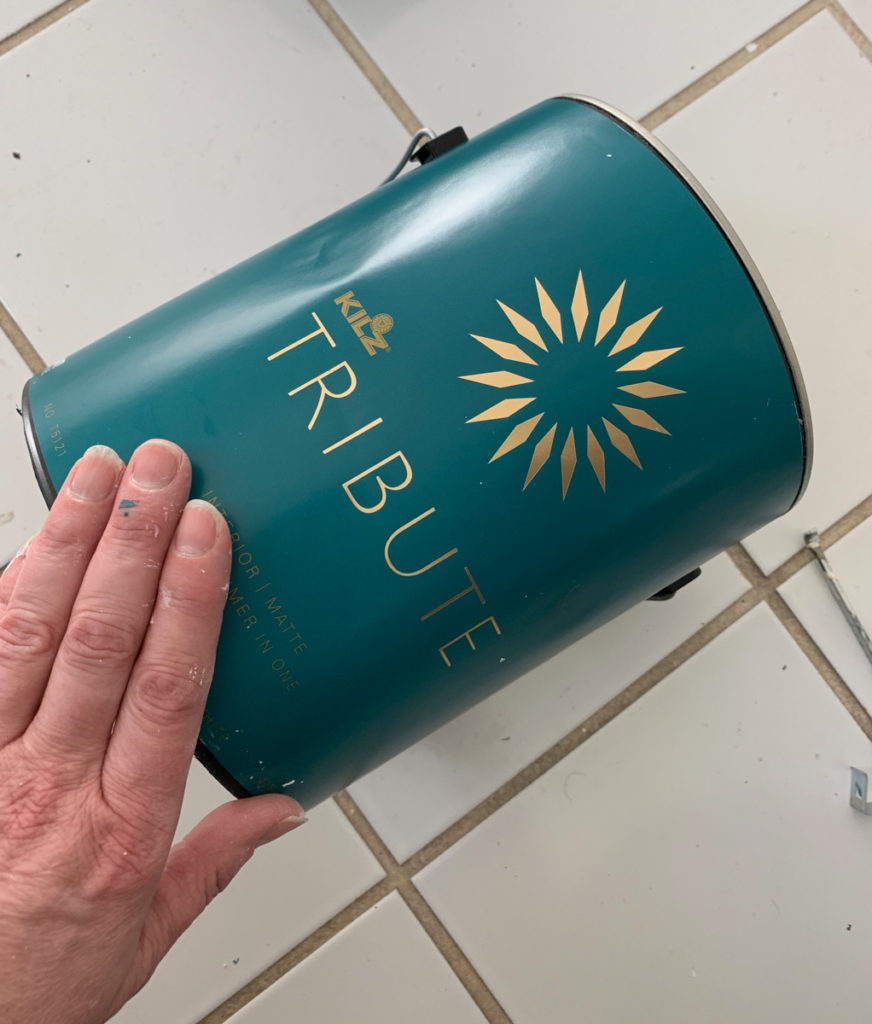
I like to give the paint a good shake and roll before I open the can. I lay it down on its side and roll it back and forth on the ground.
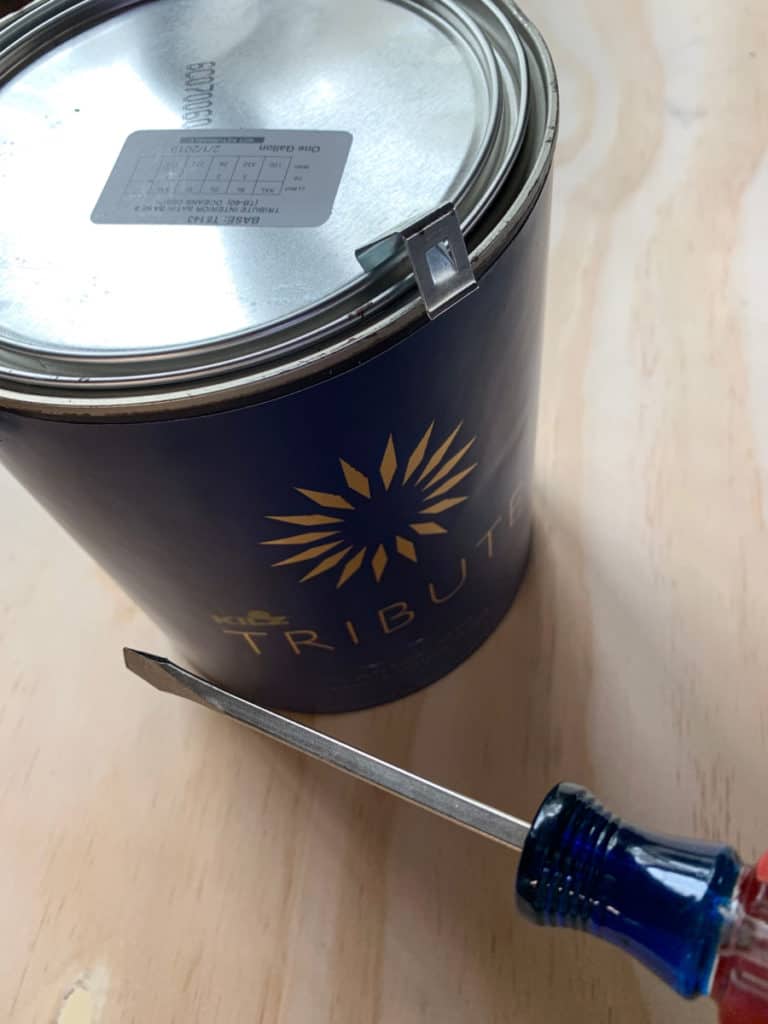
The paint comes securely packaged in custom paint boxes and encased in a sealed plastic bag. After removing the cans from the packaging, simply remove the clips with a screw driver and then open the can as usual.
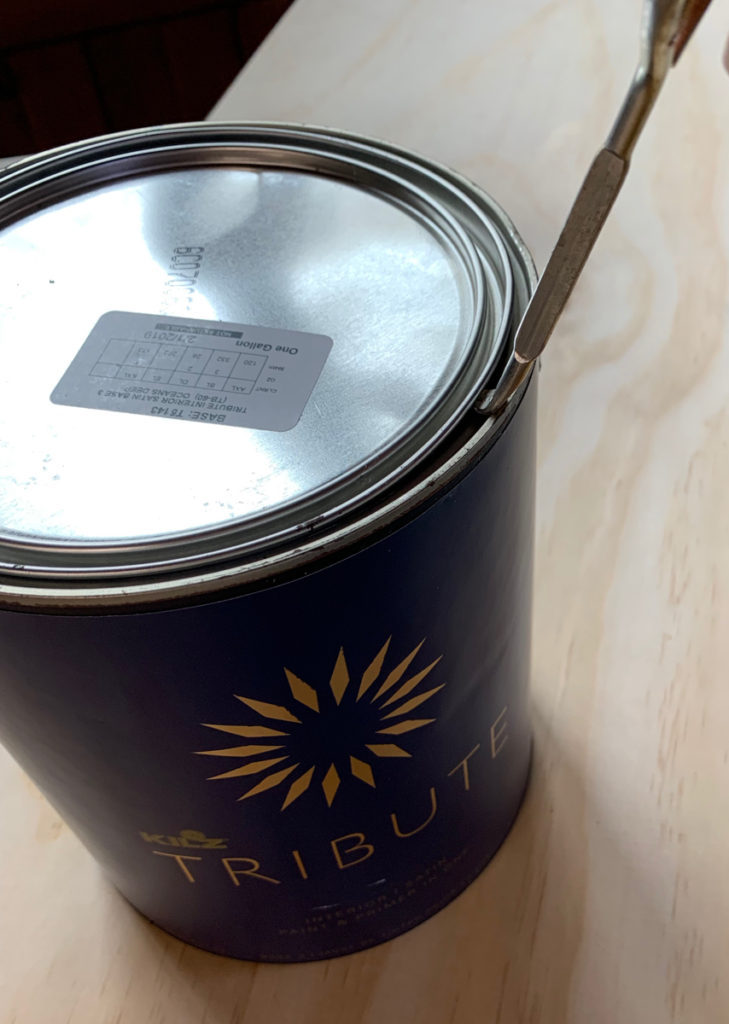
If you follow me on Instagram, then you may have seen my unboxing Story. I love giving y’all all the behind the scenes on Instagram. Give me a follow here.
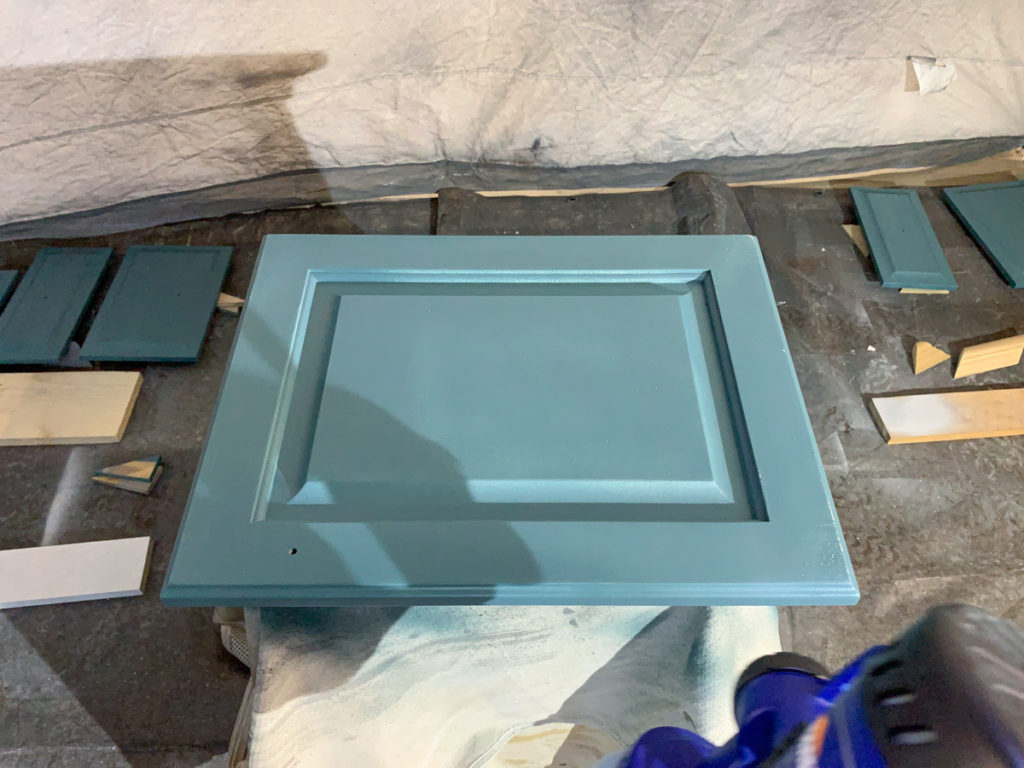
Then it was time for paint. I sprayed two coats of Oceans Deep in the satin finish.
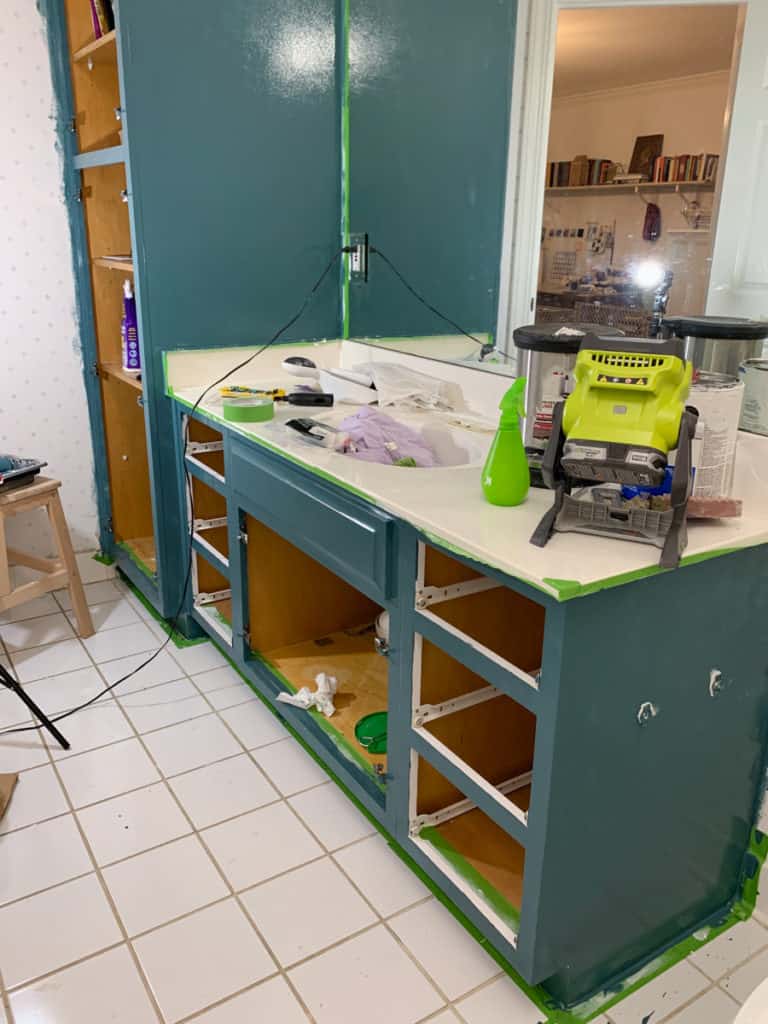
I also applied two coats to the cabinet bases.
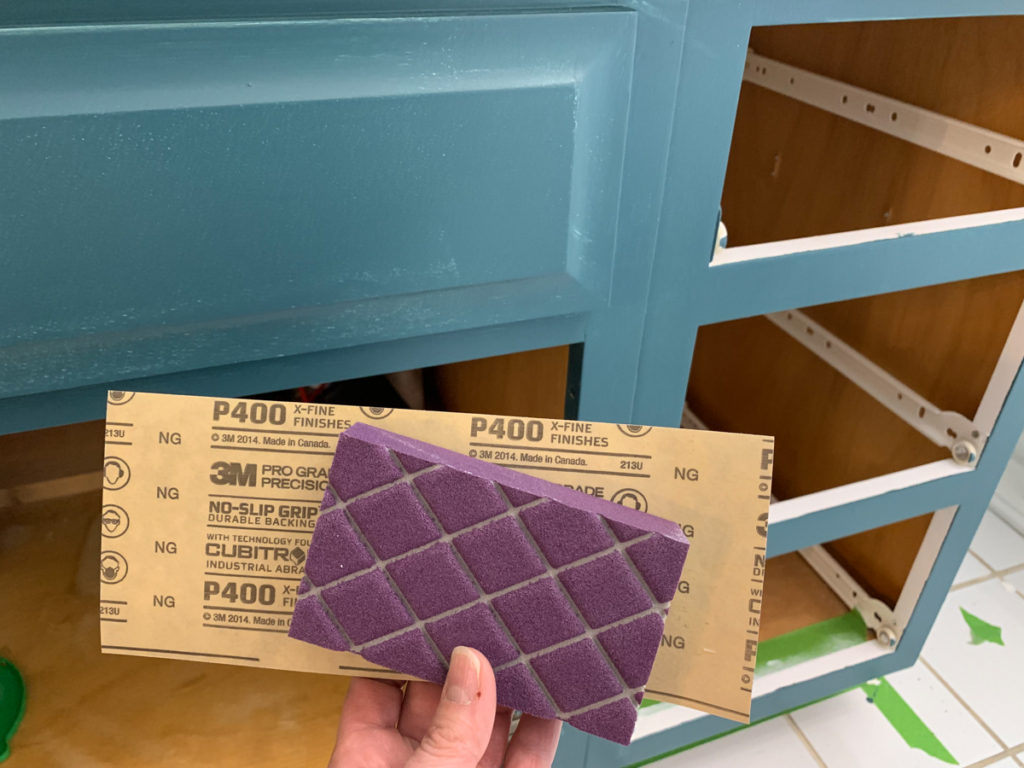
In between coats, I sanded with 400 grit sand paper to insure that I had a nice smooth finish.
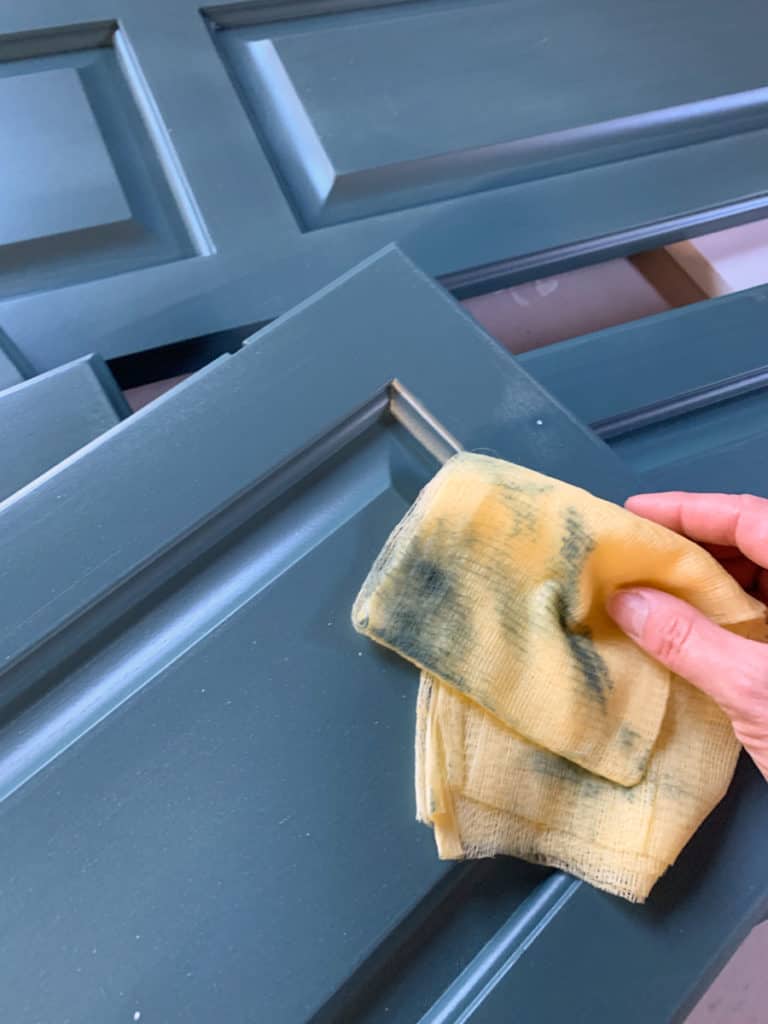
After sanding, I wiped the doors with a soft cloth and then a tack cloth. It’s an extra step that makes a huge difference in a beautiful, professional looking finish.
You may be wondering how I picked the right shade of paint from a computer online?
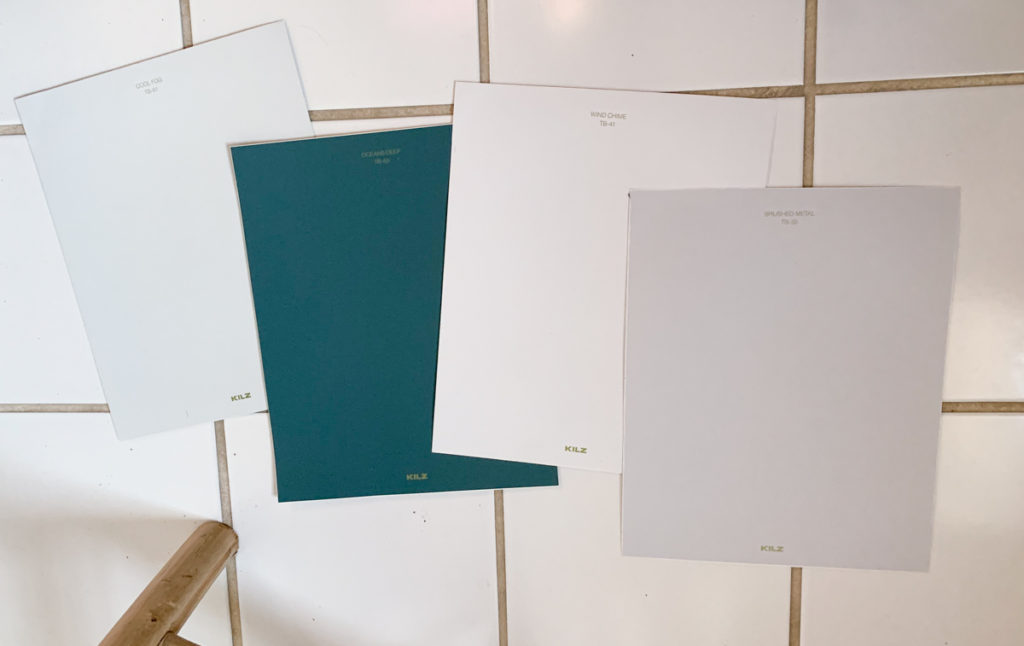
I ordered peel and stick samples of the exact shades I was considering. You can also order sample pots, but this is super easy and mess free. Amazon is now offering free KILZ Tribute Peel & Stick Samples and free shipping is available for Amazon Prime members! Check out all 100 colors available including whites & greys, yellow & oranges. greens and blues! You can also order wet paint samples, but this is super easy and mess free.
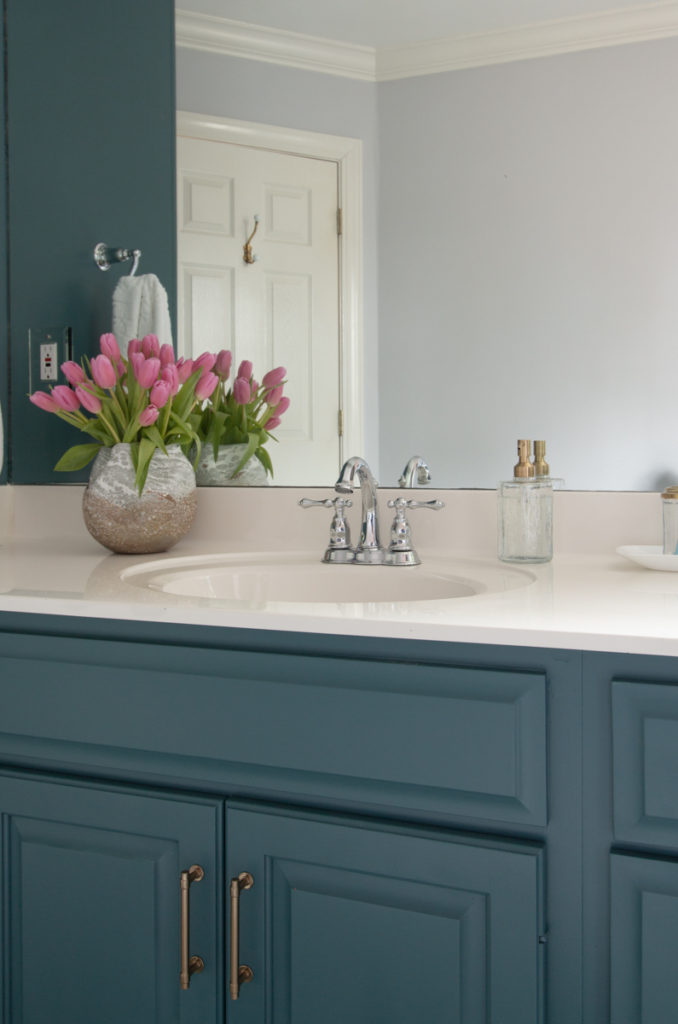

We couldn’t be happier with the results of this budget friendly makeover with paint!
Want more details about this room? Check these follow-up posts below.
For more details on planning a bathroom makeover online and sources for outfitting this room.
For a complete guide to removing wallpaper without damaging your walls.
For how to install an acrylic shower curtain rod and sources
So tell me, what would you transform with paint in your home?




24 Comments
Vanessa
February 25, 2019 at 10:01 pmWOW! Leslie the bathroom makeover is amazing! I like that idea of the peel and stick paint samples!
Please give Freddie a hug. ?
Leslie
February 27, 2019 at 2:07 pmThank you so much! She is very excited to come home to a “new” bathroom next week! Will definitely give him all the hugs!!
Hannah
December 16, 2020 at 9:59 pmI have loved teal for a long time and now finally able to put some in my designs. Do you mind sharing your favorite teal/blues/greens paints? I get overwhelmed and they always look so different on the wall vs the store swatch. Thank you!
Millie
February 25, 2019 at 10:40 pmThis bathroom makeover is so pretty! I had no idea Kilz had regular paint; I thought they just did (amazing) primer. Love so much about this room: the cabinet color, the shower curtain, the rug. Can’t wait for all the details! I’m crazy impressed with how well the paint covered those polka dots – never would have guessed a paint could do that. The fact that it is Kilz explains a lot!
Leslie
February 27, 2019 at 1:53 pmYes, their paint is very high quality, as demonstrated by the way it covered those dots!! This is the second line of paints I used from KILZ and have been very pleased with the durability too!
Kelly
February 26, 2019 at 5:27 amWhere did you get your rug?
Leslie
February 27, 2019 at 2:00 pmFrom Build.com I really love it in here!! Here is an affiliate link.https://rstyle.me/~aNC55
Julie
February 26, 2019 at 2:17 pmLOVE what you have accomplished here! Looks beeeeeeeutiful!! How long did this take because I know you can’t rush through it. What would I love to tackle? All the oak cabinets in my home, which hubby already has told me ‘not happening’ He’s a purist and not into painting wood and especially these oak cabinets. So we have this joke that if he dies first, I can do it……..so I’m taking very good care of myself!! lol
Leslie
February 27, 2019 at 2:04 pmIt’s definitely a project you could tackle in a weekend if you didn’t need to remove wallpaper. 😉 I also had a plumber come and handle that part for me since my husband was traveling for work at that time. Something bigger like a kitchen would likely take a couple weekends or maybe a little more, depending on the number of cabinets.
I would find a way to convince him that he will still have a solidly built kitchen of oak and painting them does not decrease the value of them anymore. in my opinion. So many high end kitchens are built these days with painted cabinets, it’s not like wood tone cabinets garner a higher dollar figure on resale.
Start with one bathroom and I bet you could convince him to proceed from there!
Good luck!!
Leslie
Hannah
December 16, 2020 at 9:57 pmI have loved teal for a long time and now finally able to put some in my designs. Do you mind sharing your favorite teal/blues/greens paints? I get overwhelmed and they always look so different on the wall vs the store swatch. Thank you!
Dian Owens
February 26, 2019 at 7:59 pmWhat a beautiful room transformation! You always find the prettiest colors, and execute the design plan with precision. I bet your daughter is over the moon with her new space.
Leslie
February 27, 2019 at 2:06 pmThank you so much! She is very excited to come home to a “new” bathroom next week!
Lindsay
November 20, 2020 at 2:40 pmSo pretty! What color are the walls ?
Debbie - MountainMama
March 1, 2019 at 11:37 amWow, what a great transformation!!! My daughter’s bathroom will need a complete overhaul when she moves out since she’s completely destroyed it with her piggy ways. This might just be the answer for her vanity!! Beautiful job!
Floranet
August 4, 2019 at 11:33 pmGreat work! Couldn’t’ have been better.
musicya
November 12, 2019 at 2:14 pmStunning Writing!! Keep up the good work.
Renee
January 7, 2020 at 9:35 amLooks amazing! How did you update the tile?
Turnstile gate
April 4, 2020 at 11:02 pmThanks for sharing
Amber
April 17, 2020 at 3:14 pmHi there. This is gorgeous. I am using your instructions to paint a vanity in our bathroom for the first time. Did you sand and wipe with the tack cloth between coats of paint or after the final coat? I couldn’t tell from your description, but you said it’s important, so I don’t want to get it wrong.
Thanks for the help!
Amber
Leslie
May 6, 2020 at 8:52 pmIt kind of depends if you feel like you need to sand between coats. Most of the time I do, but not always. If you sand, yes, following with a Tack Cloth is very important to wipe off the sanded paint. Hope this helps!
palizafzar
October 24, 2020 at 5:38 amPlease accept my endless gratitude.
Nicole
November 13, 2021 at 6:54 pmHey there,
Your link for the rug is broken, could u please tell me the brand?
Thanks!
Katie
August 15, 2023 at 10:26 amHi there! Did you also buy the drawer pulls & knobs from Build.com? The ones you chose look fabulous against the teal!
Leslie
August 24, 2023 at 1:04 pmI’m sorry they are not linked. They must not had been from Build.com. It has been quite a few years now, so I can’t reliably give you a source. My apologies.