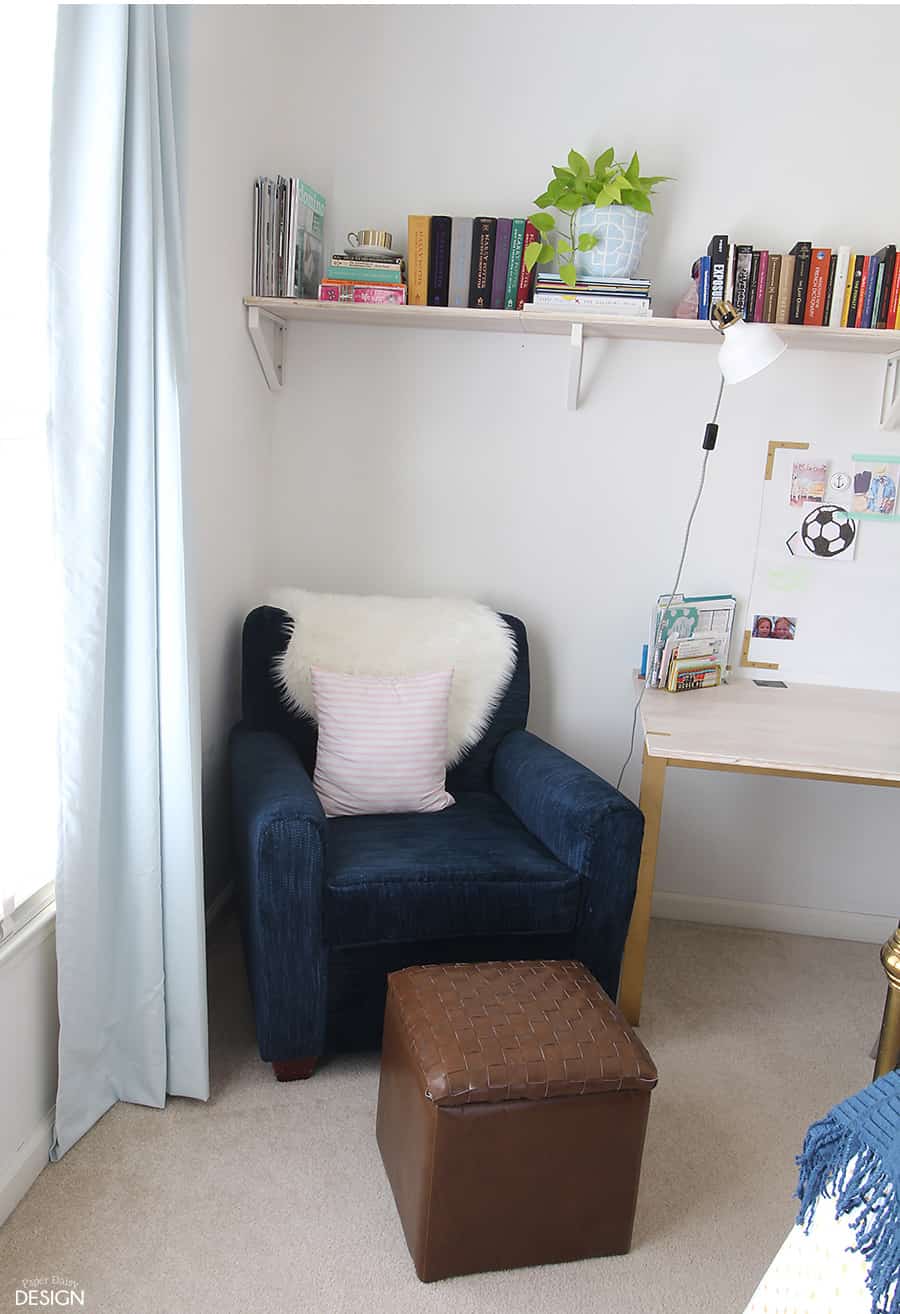
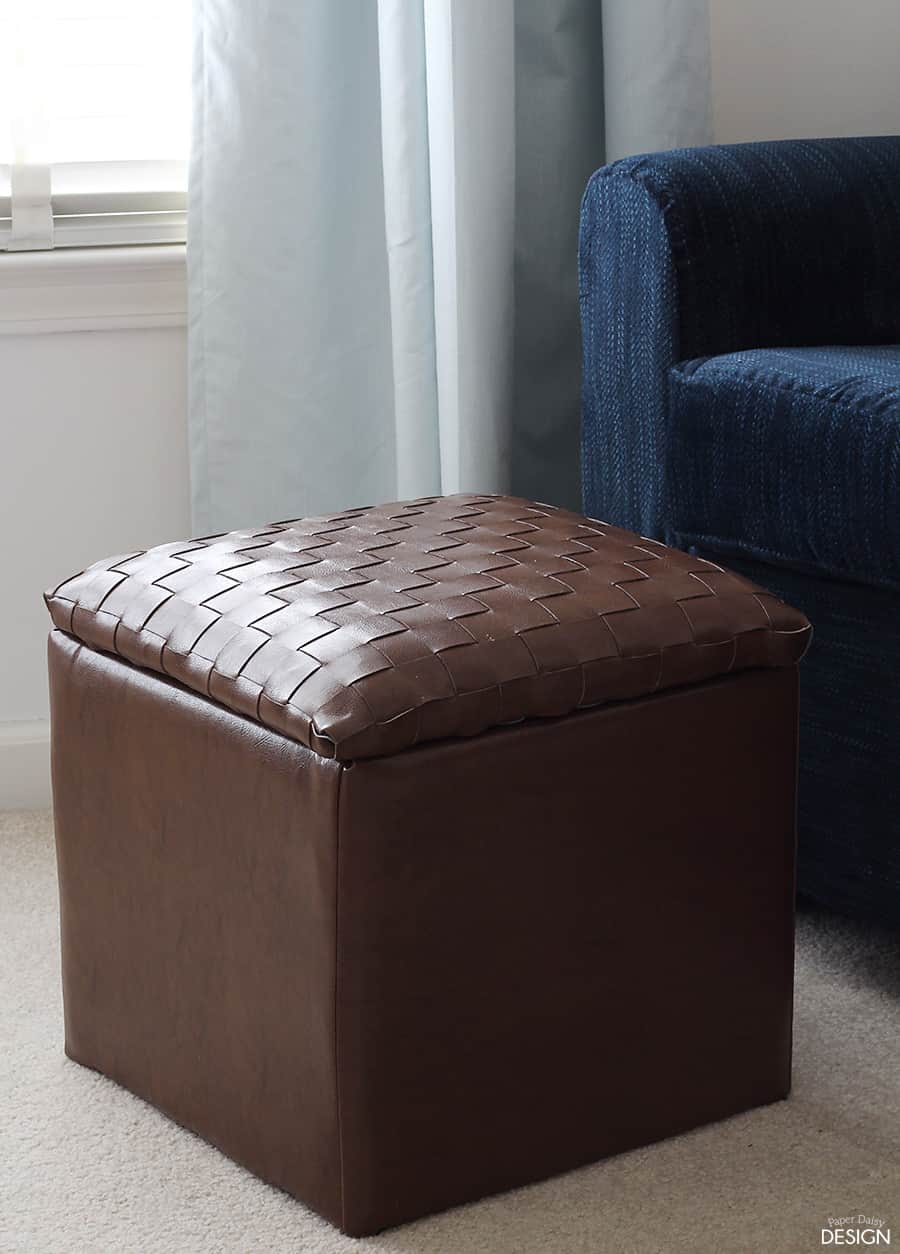
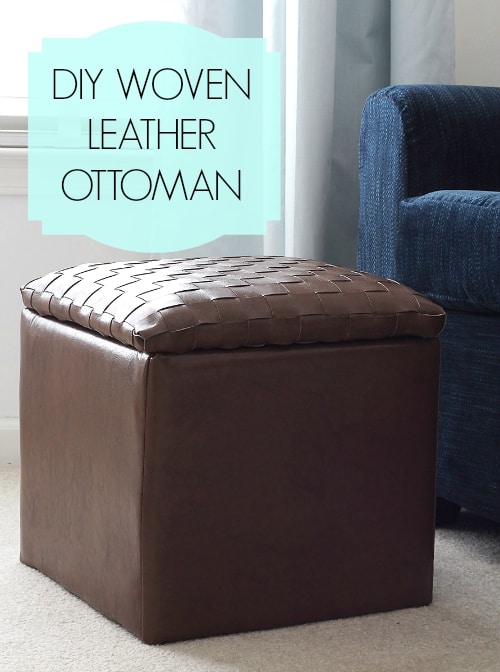
My absolute favorite DIY in the Young Modern Vintage Bedroom Makeover is the leather woven storage ottoman to accompany her reading chair. It may seem a little complicated to weave leather for an ottoman, but I promise it is an easy DIY.
All you have to do is channel your crafty summer-camp-self. You know those woven creations you proudly came home with after a week of summer bliss? Those cotton potholders or paper baskets? Yup, this is just that easy.
The only difference with this project is you are weaving with “leather” and the results are much, much more sophisticated.
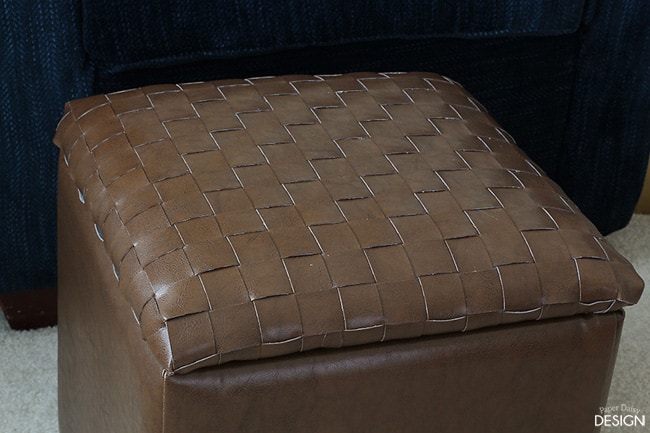
About the “leather”, we were unable to find any real leather locally in the color we desired for this project. But we were very picky about finding a vinyl that looked like the real deal. The hand of this “leather” is very soft and does not have a plasticky feeling at all. My friend used white leather and it looked great, but she did need to use some white leather cleaner to remove some of the staining.
Here’s what you will need. (Affiliate links provided for your convenience.)
Storage Cube Ottoman
Leather fabric, about 2 yards, this one is from Hancock Fabrics
Sharp scissors, These are my favorite for fabric projects.
Rotary cutting wheel
Large metal ruler
Self – Healing Cutting mat
Stencil tape or low tack painters tape
Batting, if necessary
Sewing machine
Staple gun
Fabric glue
Directions:
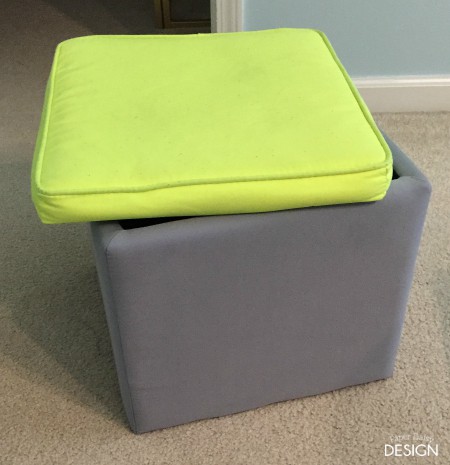
1. Start with a very basic, very inexpensive, cube storage ottoman. (If I remember correctly, this one was purchased years ago from Target on clearance after back to school ran it’s course, for around $8.) You can see it was well used at this point, but nothing a little extra batting couldn’t fix.
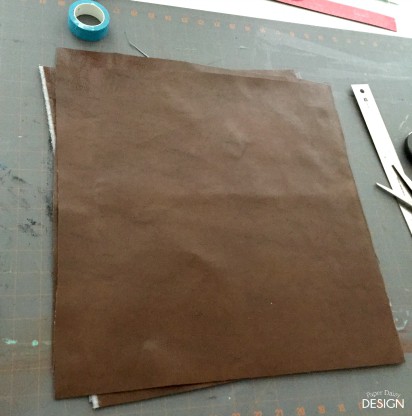
2. To cover the base of the cube. cut 4 pieces of leather about an inch wider and taller than the cube.
Instead of pinning the pieces together for sewing, use tape to hold the seams together and avoid getting holes in the leather.
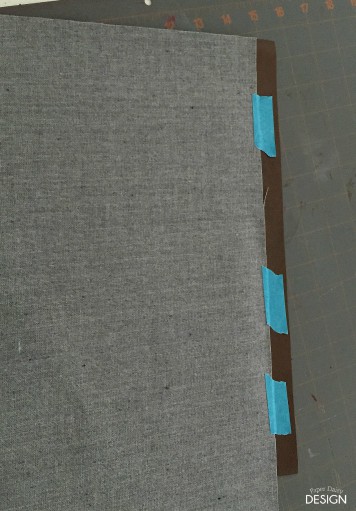
Then, working around the cube, sew the pieces together to make a square sleeve.
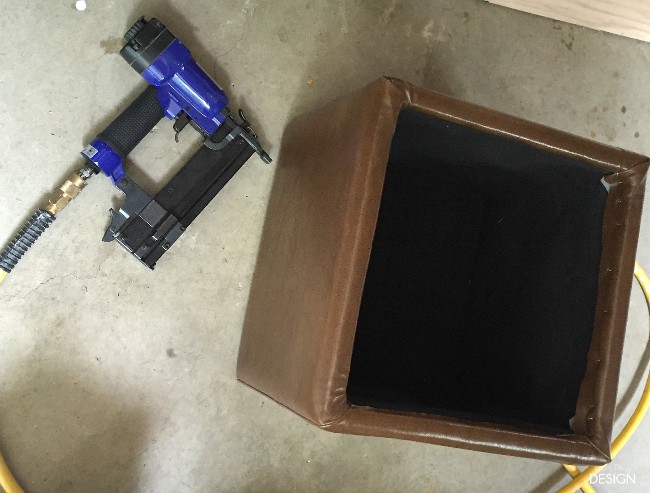
3. Using a staple gun, staple the top and bottom of the sleeve to the cube, folding corners around and down.
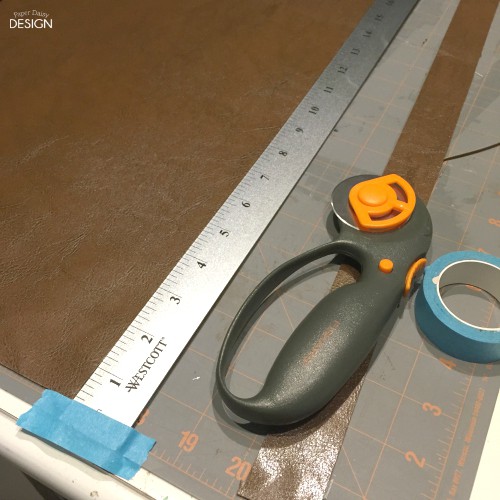
4. To create the weave, begin by cutting strips of leather about an inch wide. I used the width of my ruler as my cut width which was 1 1/4″. For good measure, the length of the strips should be a good 2 to 3 inches longer than the length and width of your top. Also, don’t forget to add in the depth of the top as well. With a rotary blade, use one hand to firmly hold the metal ruler and the other to cut with the blade.
I found it was very helpful to tape the ruler down to my work surface for each cut to keep it from slipping on the leather.
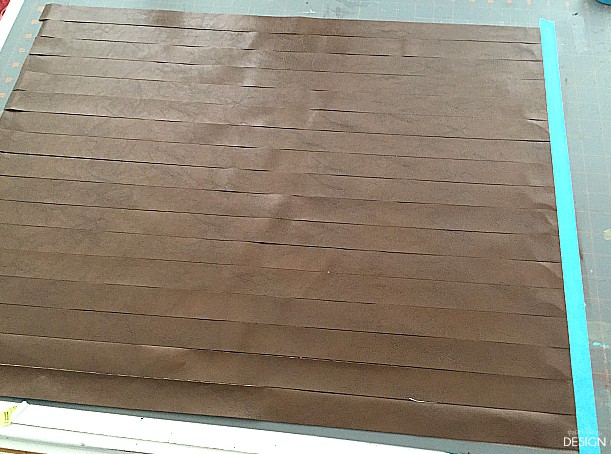
5. After strips are cut, enough to cover in both directions, line enough of the strips up to cover the ottoman and tape them down with no space in between.
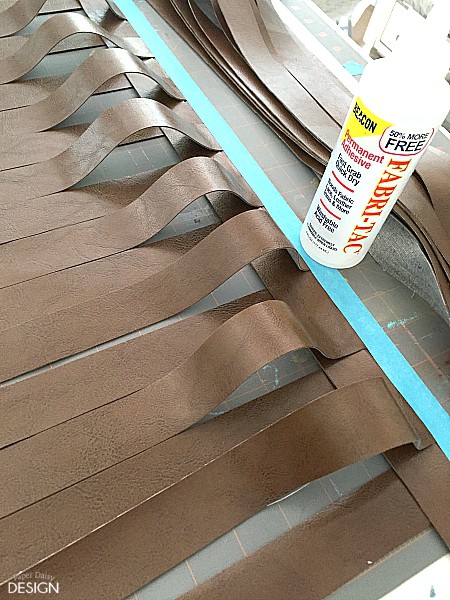
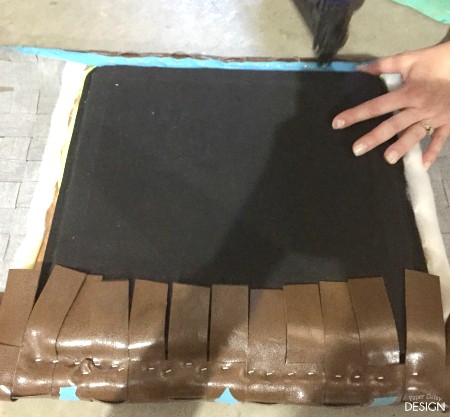
6. Begin weaving the horizontal strip of leather, under every other vertical strip making sure the top of the strip is snug against the top of the starting piece. I found it helpful to raise the strips I was weaving under up as shown.
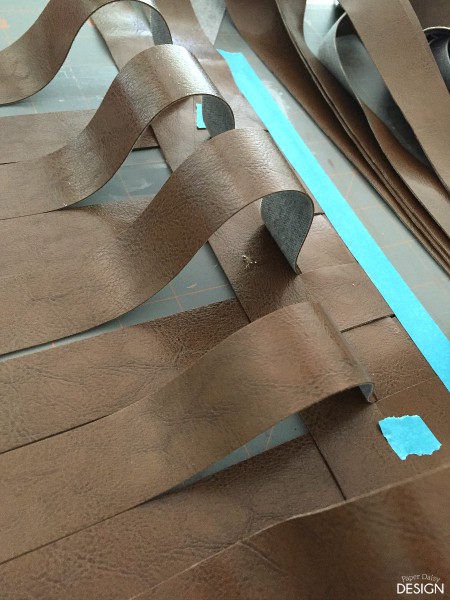
7. Once each strip is in place, add a dot of fabric glue under every other strip and smooth the strip down. Continue repeating the alternation of over and under creating a weave as shown.
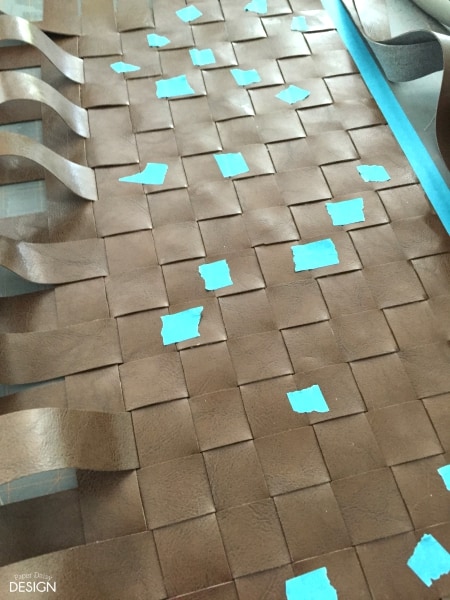
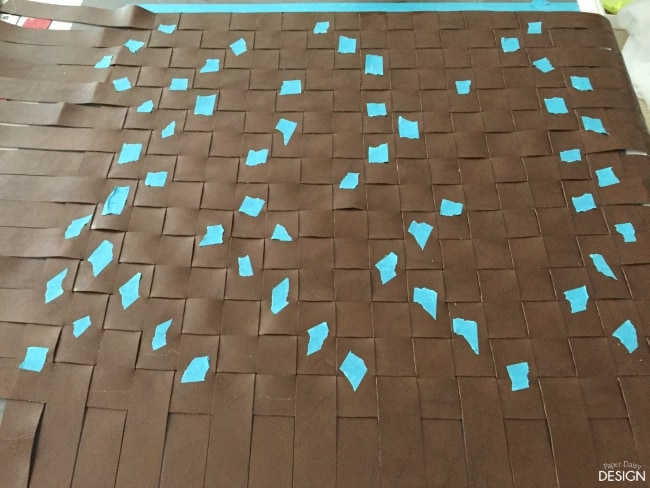
8. Because the leather is slippery and a tight weave is desired, it is helpful to add alternating small pieces of tape as you move down the weave.
9. Once the weave is large enough to cover the top of the ottoman, carefully remove the woven fabric from your work surface. Leave all the tape in place while you upholster the ottoman.
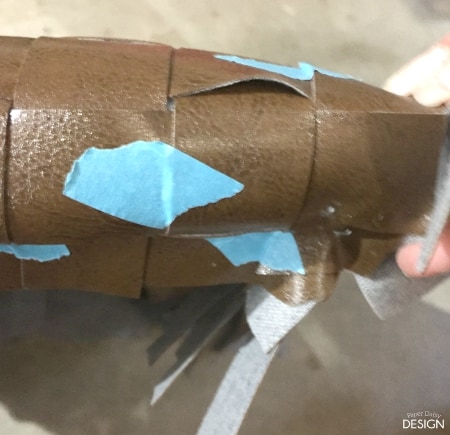
10. Carefully turn weave upside down and place ottoman lid on top and begin stapling on one side of the square and then the opposite side.
While upholstering with the weave is not much different than any other fabric at this point, special care was given to the corners. It really depends on which portion of the weave ends up on the corner as to how handle the corner. Some corners, the last strip could be wrapped around the corner and tucked into the weave, others easily wrapped over the edge.
11. Gently remove tape and marvel at your woven wonder!
Get weaving friends! You can do this. I’d love to see your woven masterpieces. I promise I’ll be as proud of you as your parents were of your when you returned with summer camp creations!





13 Comments
Jelli
July 28, 2015 at 1:46 pmNow that is fancy-looking! I’d have never guessed this was a DIY project. I love ottoman’s because they hid trinkets and magazines so well to make a room look polished. Great job on this!
andi
July 28, 2015 at 2:45 pmi wish i could do it like that – i wish i could….
sacha
July 28, 2015 at 5:18 pmThis is awesome I’m starting to like all DIY…will look around your page for more. Thanks for sharing.
Denise
July 28, 2015 at 6:30 pmReally cool! I was thinking about featuring this on my blog tomorrow.
Jonathan Key
July 28, 2015 at 8:04 pmWhat a great idea! Love DIY projects.
Pamela
July 28, 2015 at 8:07 pmThis is amazing! Thank you for taking the time to make it easy for us to do. I’m a fan of all things leather.
Jennifer DeFrates/Heaven Not Harvard
July 28, 2015 at 8:20 pmThis looks relatively simple for as elegant final product as you made! Not sure I’ll tackle this soon, but maybe next room redo.
Mary Collins
July 28, 2015 at 8:52 pmWhat an excellent job you did. It looks like a professional did it. I am not brave enough to try such a project.
Leslie
July 29, 2015 at 6:04 pmSeriously, if you can weave paper you can do this. The upholstery on this piece is super simple too! Just wrap it over the edges and staple!
Marissa
July 29, 2015 at 1:42 amThis is so great… Easy enough, I will keep this in mind as we are remodeling
Marissa
Roxanne
July 29, 2015 at 7:14 amI can’t believe you MADE that! SO impressive!
Kathryn Griffin @TheDedicatedHouse
August 15, 2015 at 9:43 pmHi Leslie! Wanted to let you know that the Weekly Feature Series is live for one more chance for you to shine. Here is the link so you can check out your feature. http://www.thededicatedhouse.com/2015/08/weekly-feature-series_15.html Have a lovely Sunday! Toodles, Kathryn @TheDedicatedHouse
Shawl Blog
November 6, 2017 at 9:23 amLeather Ottoman Cover Daisy
[…] uld be wrapped around the corner and tucked into the weave, others easily wrappe […]