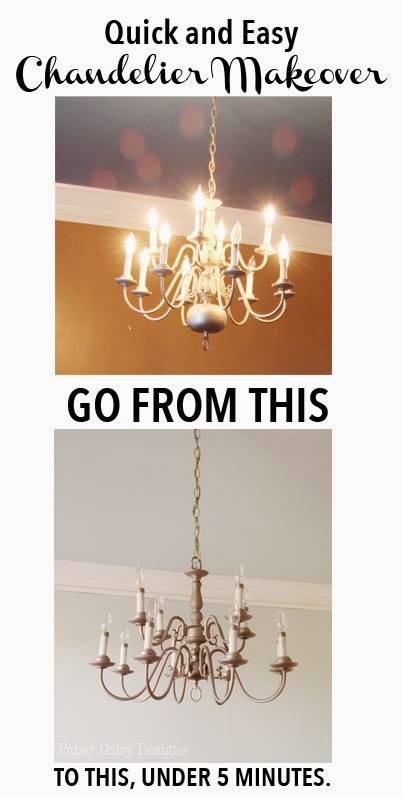
Chandelier Makeover in minutes
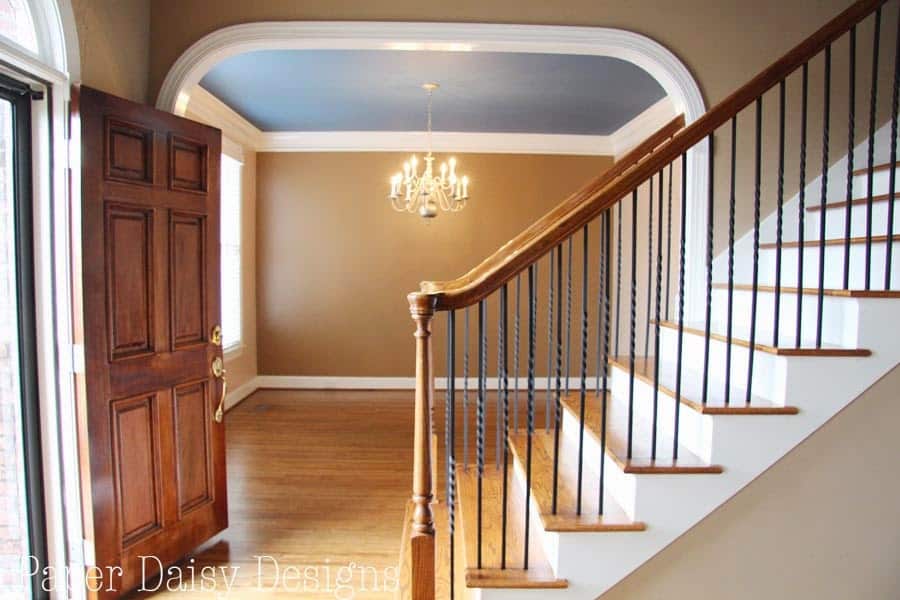
Today, I’m sharing the first makeover from the new house that doesn’t involve paint! If you look closely in the photos above maybe you can spot the subtle change.
I must admit I’m not thrilled with the lighting throughout the house. The dinning room fixture, was one in particular, that got the little wheels in my head spinning about how it could be made over because if you’ve shopped around for lighting. Oh my, they are expensive.
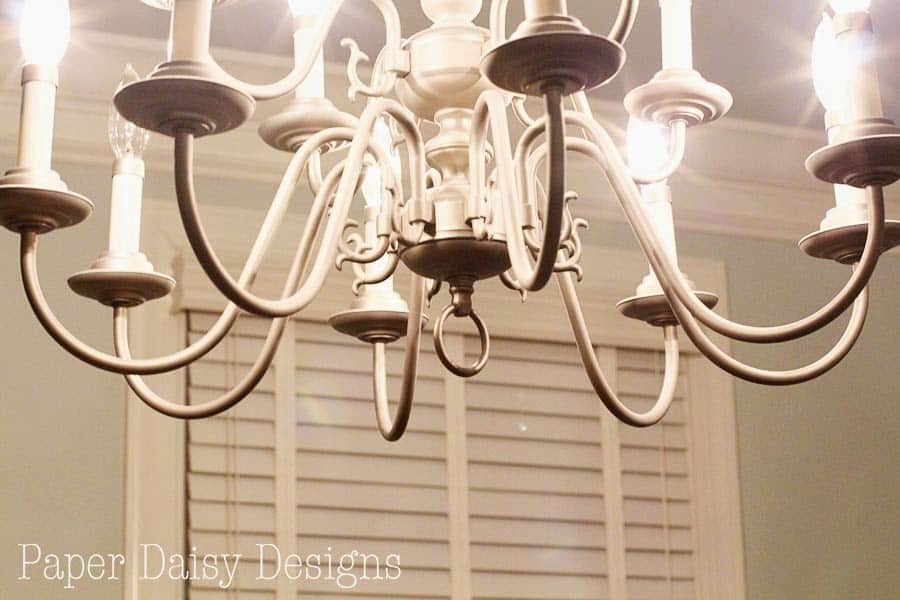
Initially, I thought this chandelier had been a brass fixture updated with satin nickle spray paint finish. Upon closer inspection, it appears the finish is original.
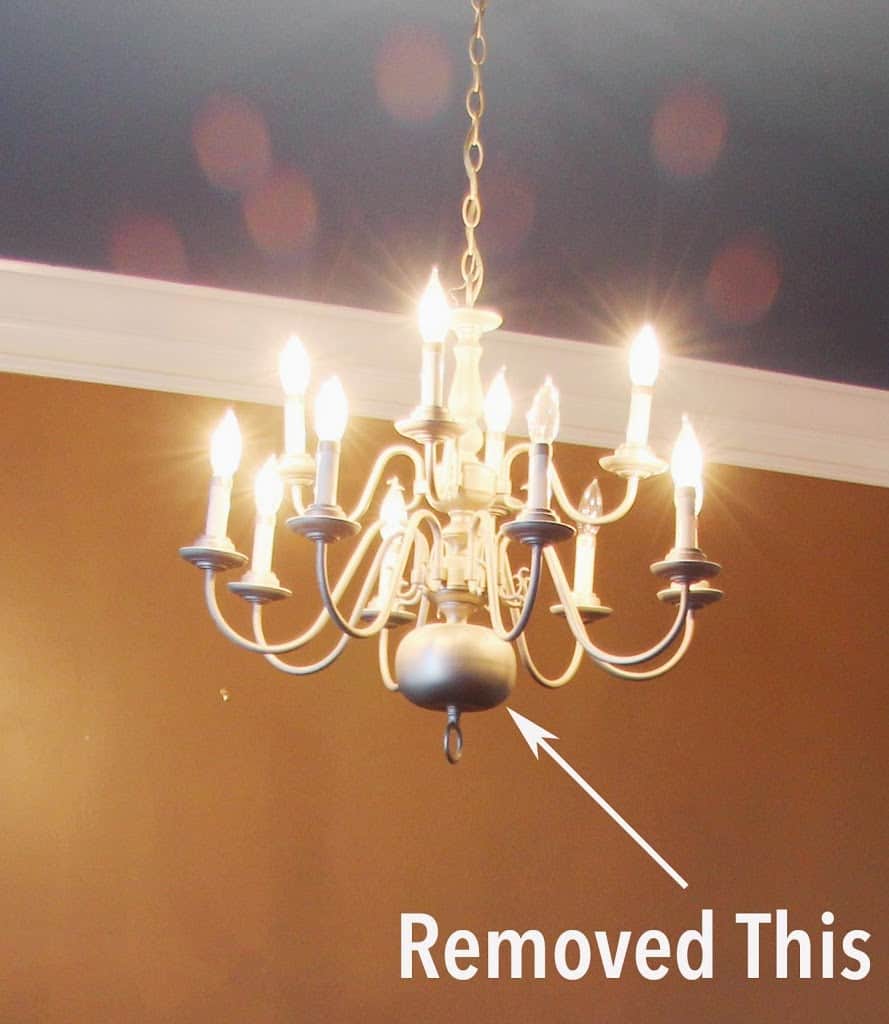
My main “beef” with the fixture had to do with the large ball at the bottom. It looks like every other very tired and dated brass fixture you see all over suburban homes in America built around the 90’s. (Which kind of surprised me for showing up in this house, since it was built in 2000.) Within hours of arriving in Birmingham, I was chomping at the bit to try my makeover theory.
Here are the parts that got removed initially. Sorry these photos are so blurry or dark. It was one of those late night, crazy, got to do this right now moments.
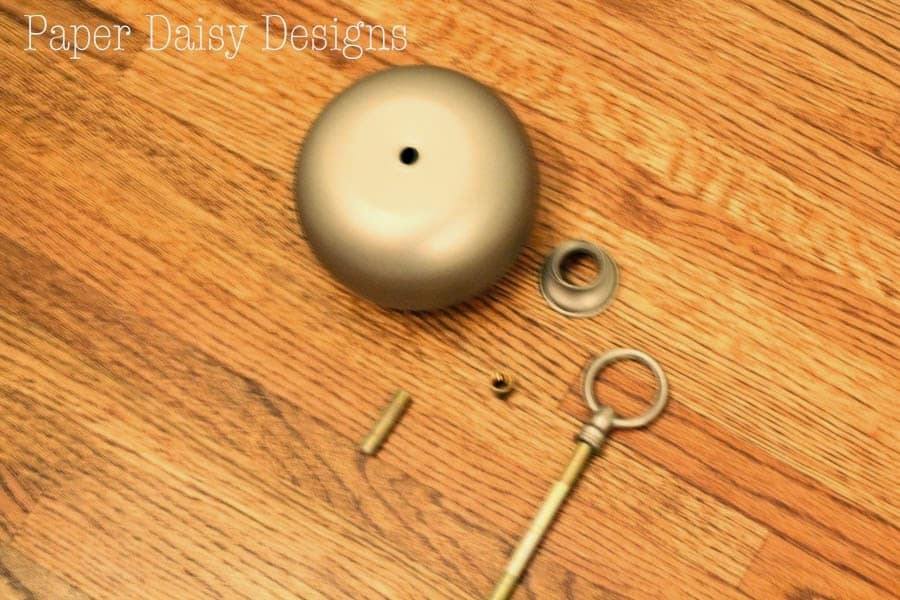
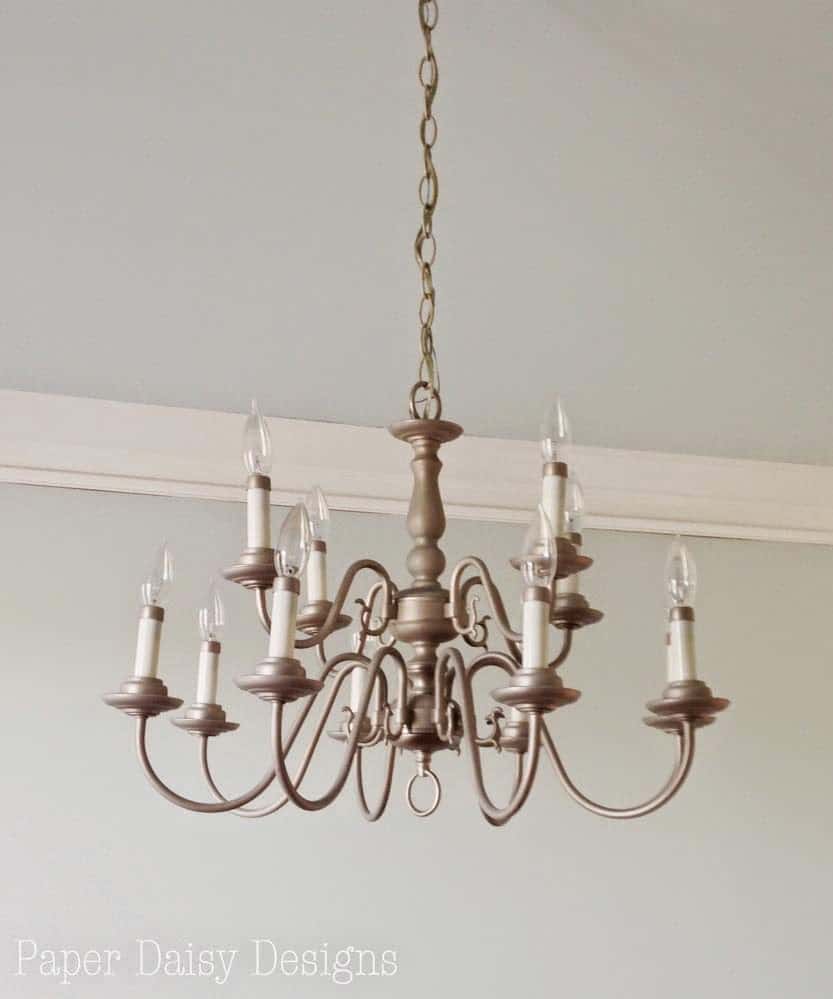
The loop attached to the long rod, got put back at the end, as well as the short rod.
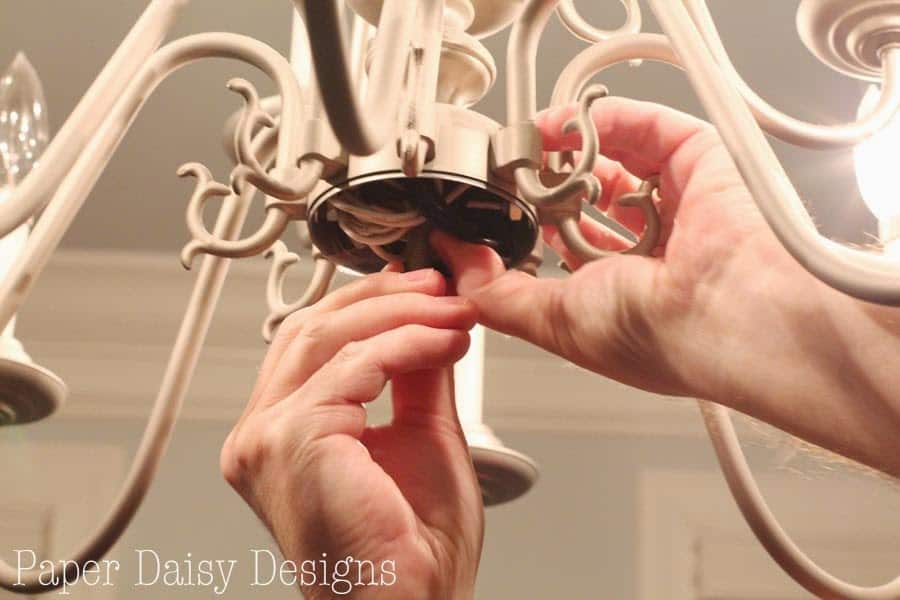
We simply unscrewed the loopy thing at the bottom of the fixture, pulled off a few nuts, removed the big “ball”, unscrewed the long thread, and pushed the wires in to the base.
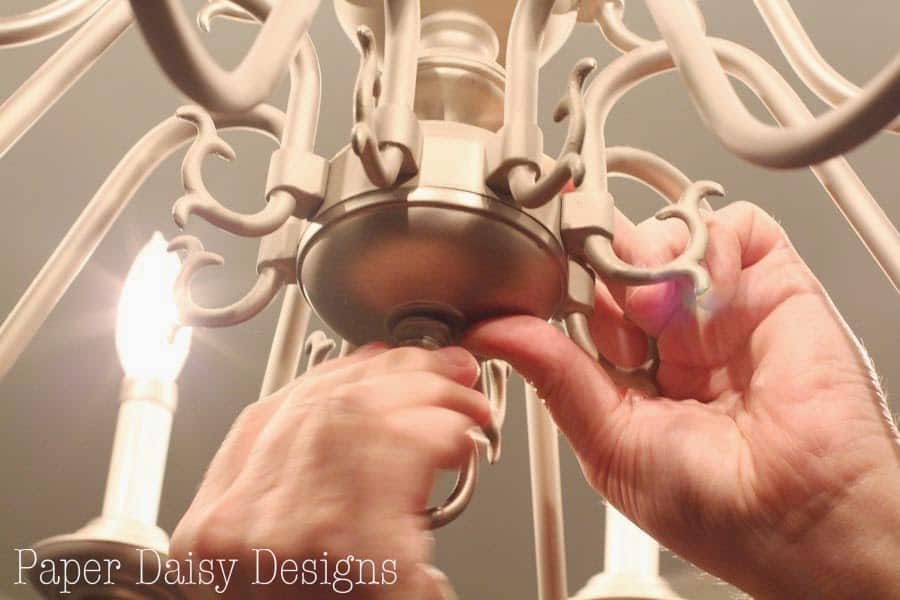
Once we put the short thread back in, we covered it back up with the existing metal case/lid.
And then put the original loopy thing back on the short threaded rod.
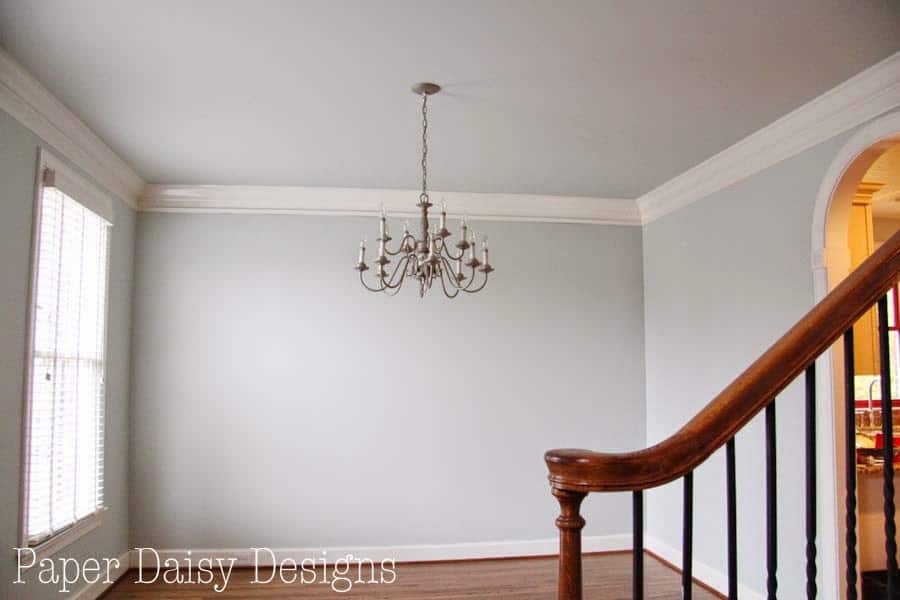
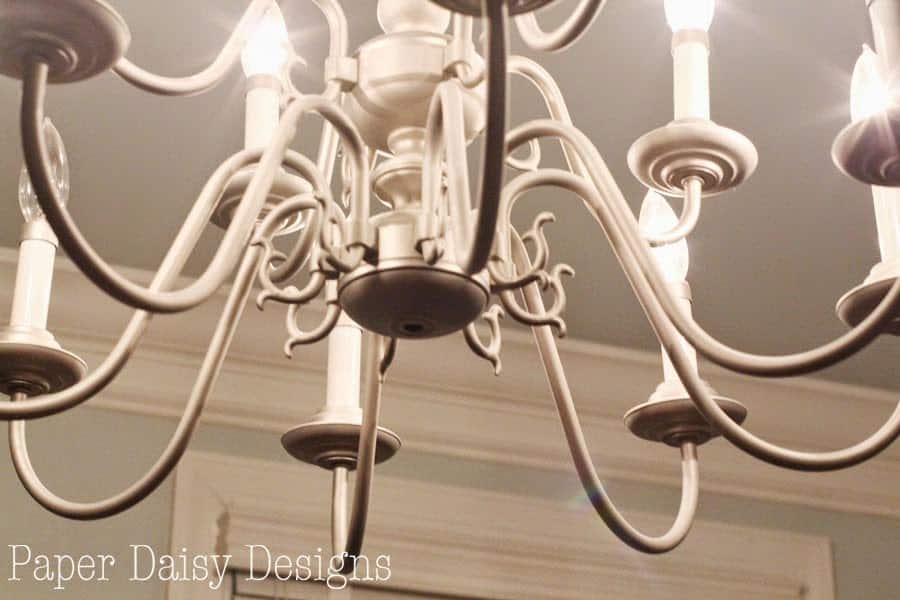
Voila! No more dated ball at the bottom!
Leave it to crazy me to fret over how to fix this for a month, fix it and then go out and buy an antique chandelier to replace it with anyway.
Oh well, it may end up getting a further makeover with a coat of paint and hang either the kitchen or the living room. 😉
Just think of all the dated brass chandeliers we could save in this world with this trick and a coat of paint!!


Amazing how much difference a little change can do. I have one of those lights and would love to do a makeover on it.
WOW, I never thought about removing the ball of the chandelier like that and it makes such a difference! Great tip, thanks for sharing at The Makers!
Huge difference!
Such a great makeover! And easy! Love it and so did everyone else!! You are one of the features today at the Sunday Showcase from the Make it Pretty Monday party at The Dedicated House. Here is the link so you can check out your feature. http://www.thededicatedhouse.com/2014/04/sunday-showcase-from-make-it-pretty_27.html Hope to see your prettiness again at the bash tomorrow! Toodles,
What paint did you use?
I tried to do this to my similar chandelier but the rod connected to the loop is just so long that it won’t fit flush into the fixture. The rod hangs out by inches. It appears your ring detatches from the screw whereas mine does not. What do you recommend?
Christy, You might could try using a hacksaw to cut the rod. The only drawback with doing that is that it might make the threads hard to use where you cut it. Hardware stores also sell rods that might could be purchased to the right length, but you might have to just get lucky with that. Sorry!
just put a couple of nuts where you want to cut the rod.one will give you a reference to cut by and the other will keep the nut used for reference from turning while you cut. Then unscrew the nut off the cut end to clean up the threads.
Love this! I have the exact same chandelier. Can’t wait to paint it and take that hideous ball off! lol
That’s Great!! Love it when you can transform something so easily!!