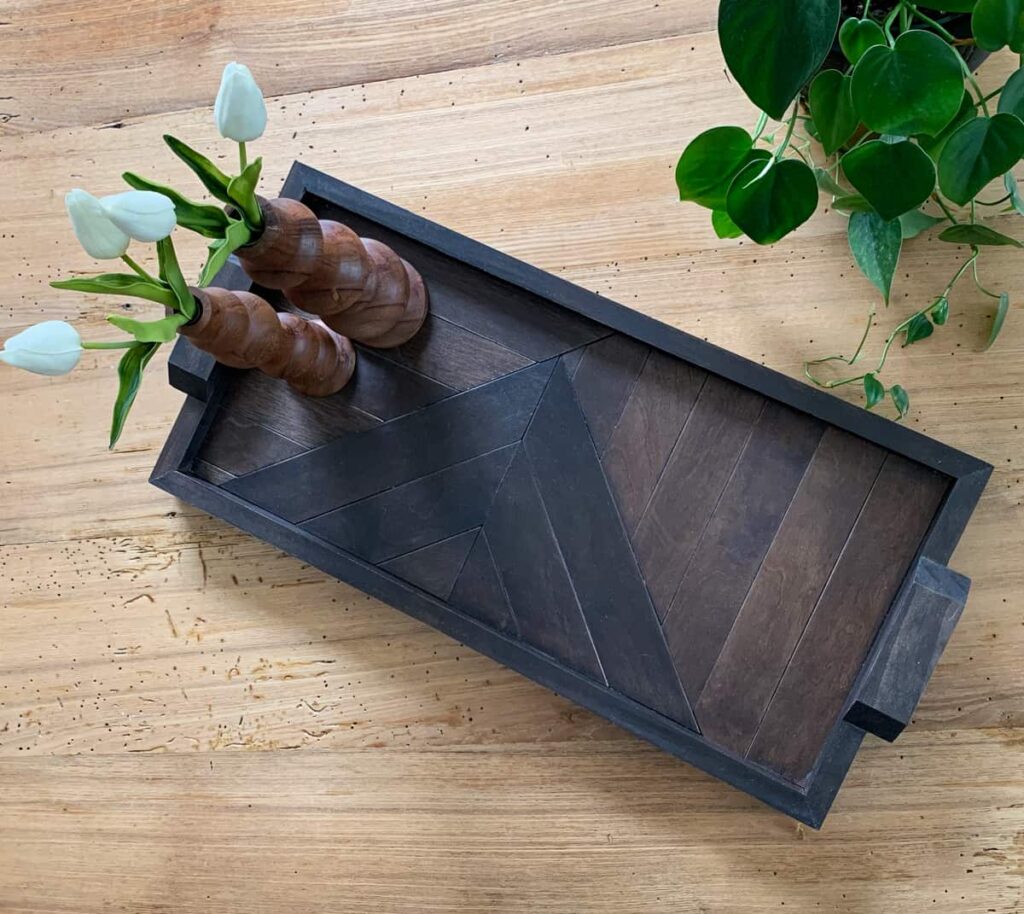
I am so excited to share this DIY geometric serving tray with you today for several reasons.
- I created this tray as part of my first local live TV segment a few weeks ago and had no idea it would take me this long to finally get the tutorial together.
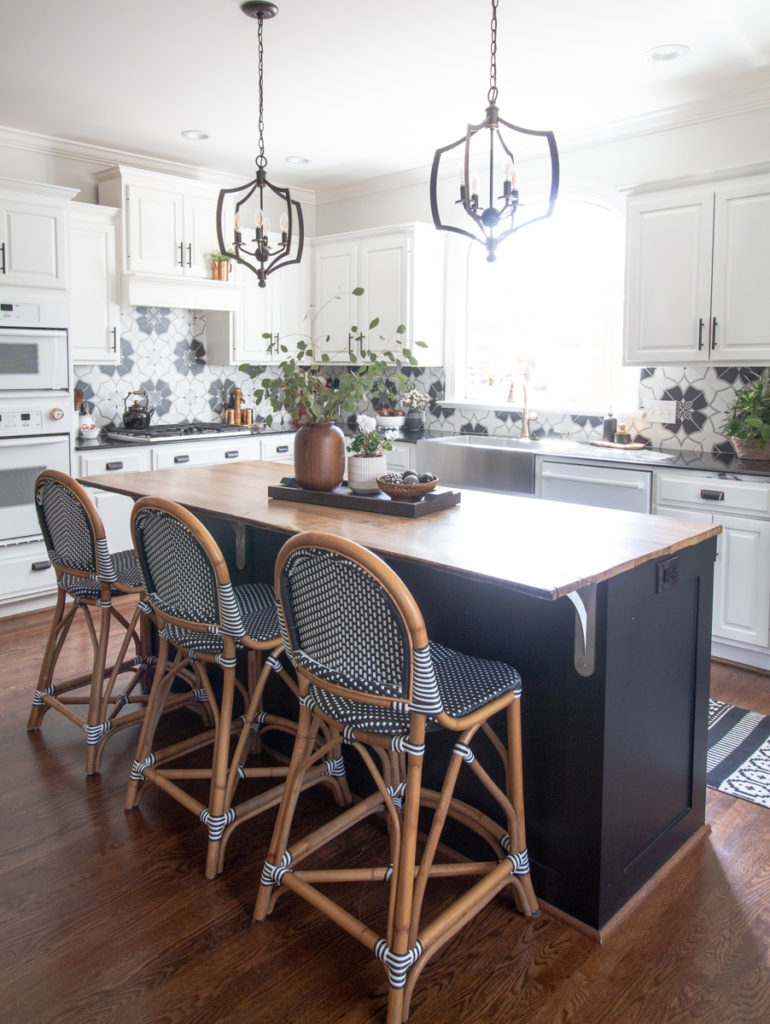
- It gives me an excuse to show you how I styled our kitchen for spring.
- It is part of my good friend Jen at Noting Grace’s fantastic round-up of DIY’s for spring!! Be sure not to miss them all linked at the bottom of the post!!
Spring in the Kitchen
If you aren’t into pretty pictures, then just slide on by while I share.
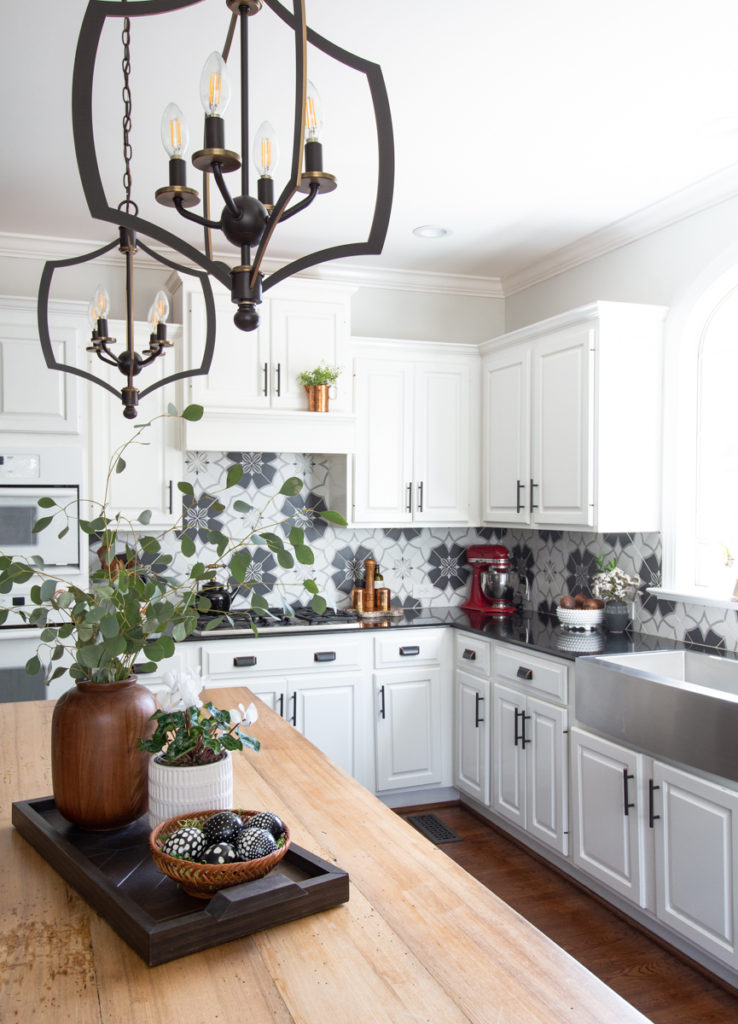
First off, you probably noticed I styled a few more things on the tray. Yes, I realize I’m completely covering the design, but I found these amazing black and white eggs at Home Goods and knew they had to be in my kitchen! Right?
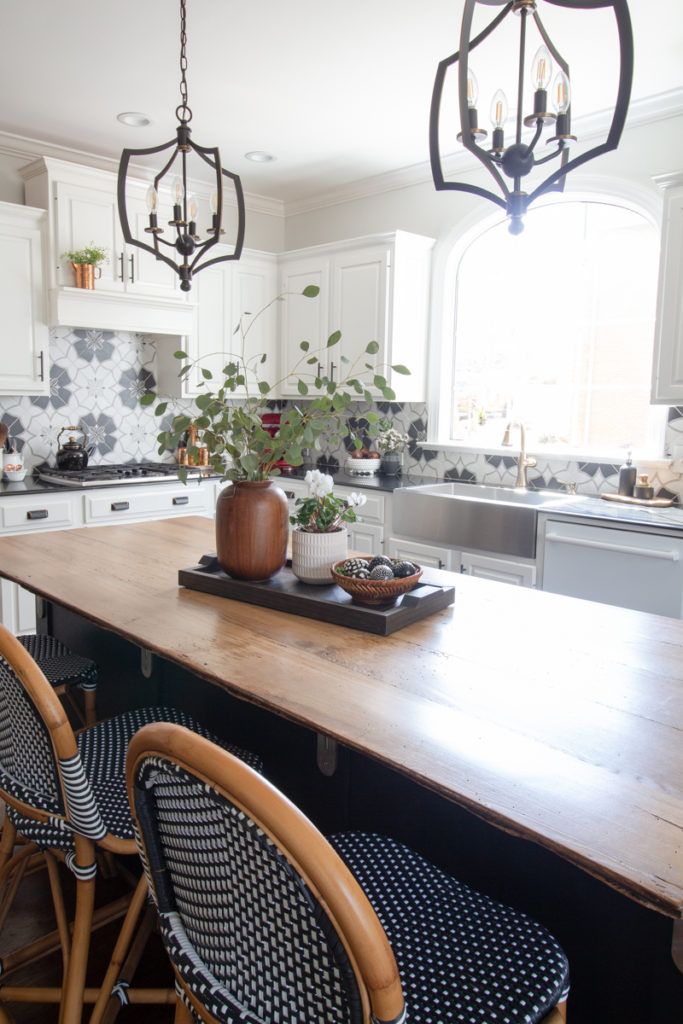
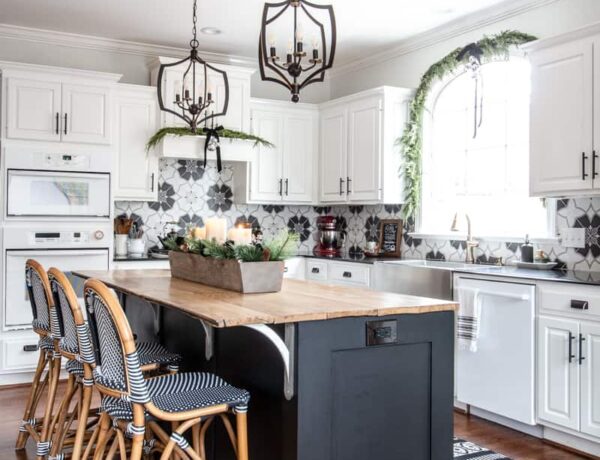
I designed the tray to fit perfectly between my pendants, but you can easily modify the design to fit any proportions that work for you.
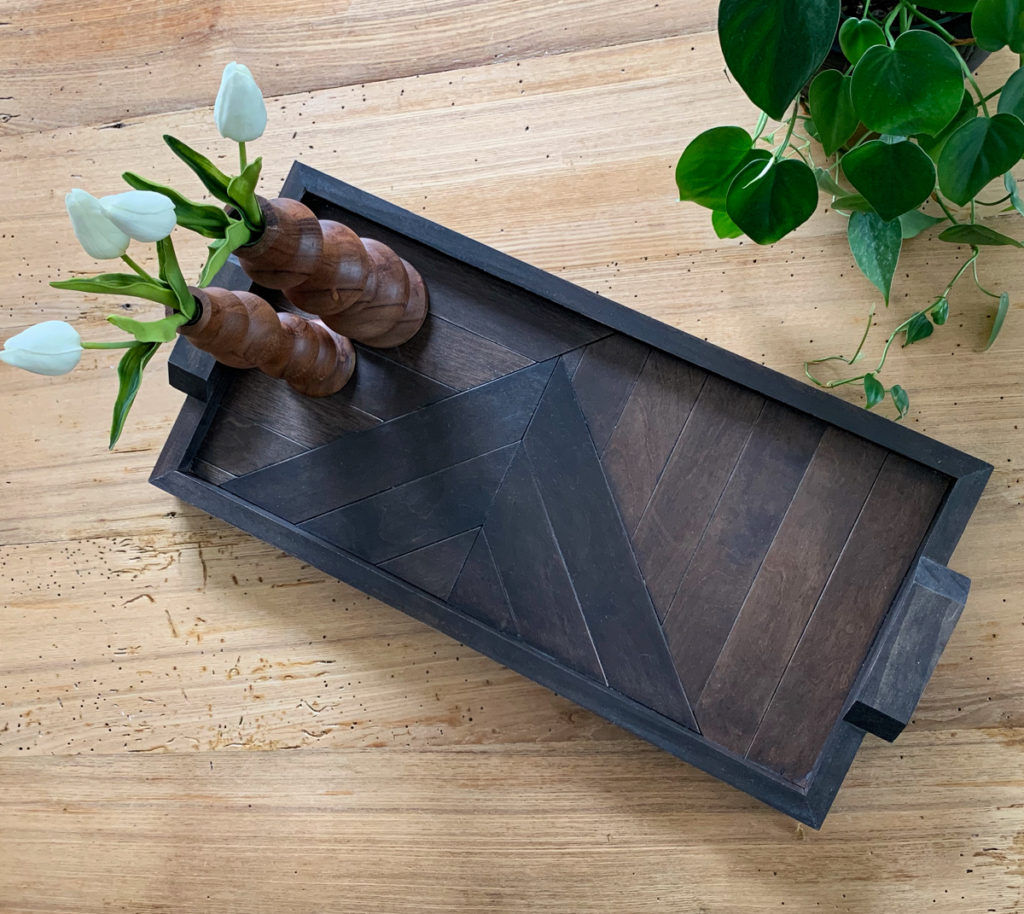
How to Build an Easy Geometric Tray
The base of my tray is plywood veneer. Cut to the exact size of your tray. Mine is 10″ x 21.5″
Materials
- 1/4 inch plywood veneer, no more than a 2×4 sheet should be necessary depending on the size of your tray
- 1 1×2
- wood glue
- sandpaper
- stain
- clear sealer or finish
Tools
- Miter saw
- Multi-tool
- Tape measure
- Pencil
- Clamps
- Vice Clamp
Directions
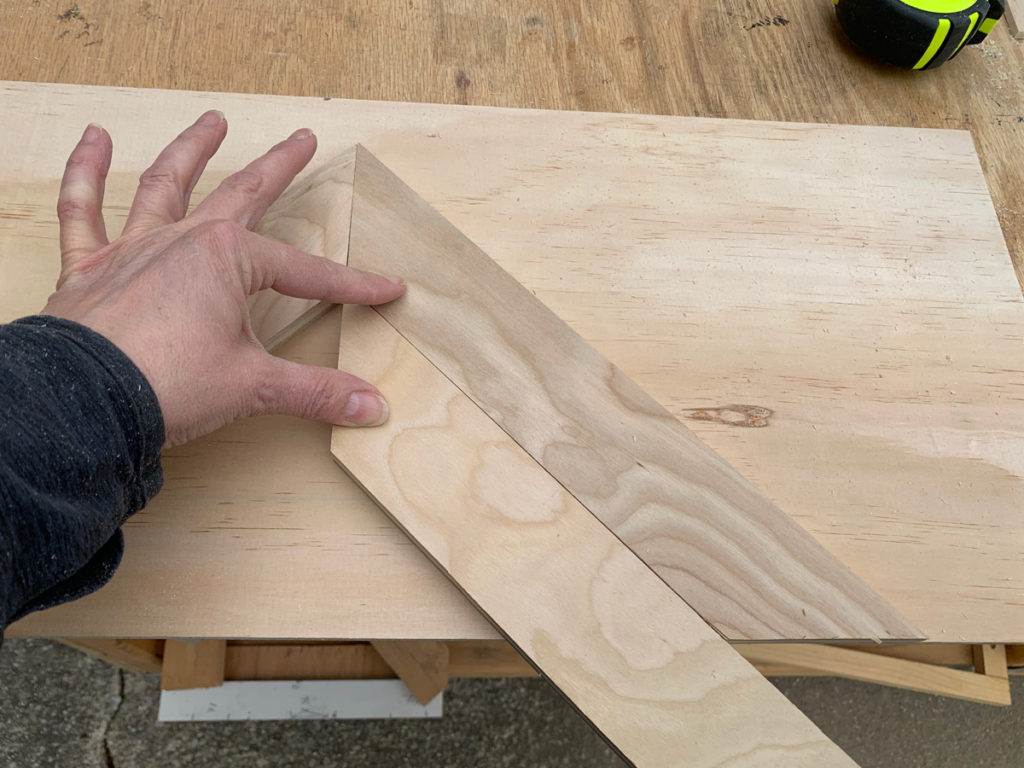
- Cut strips of 1/4 plywood veneer into 2″ strips. Then, cut two pieces at 45 degrees in opposite directions to form a triangle.
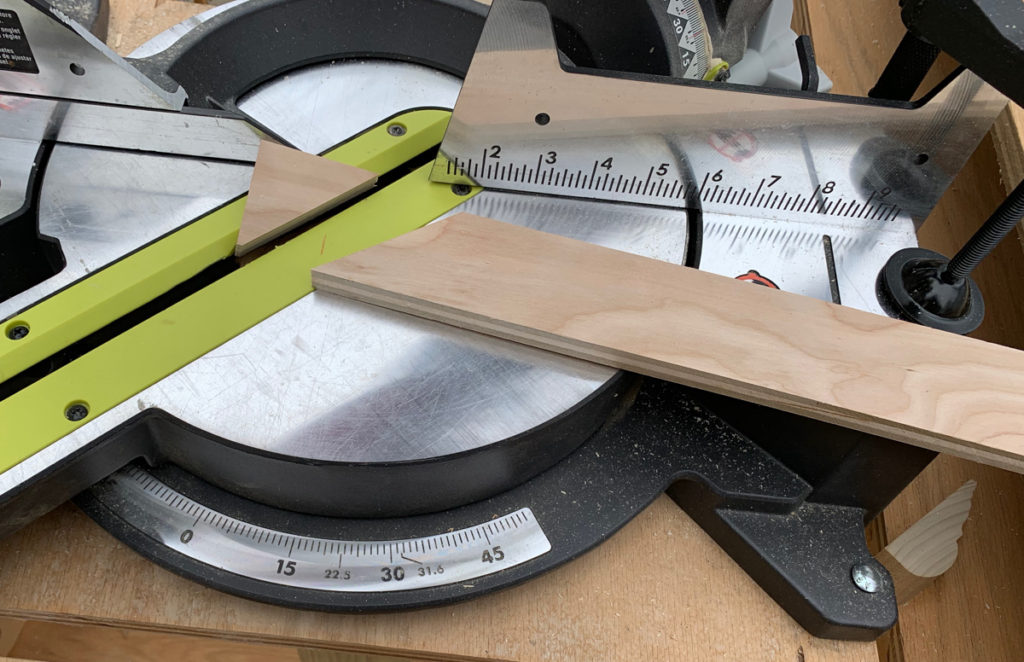
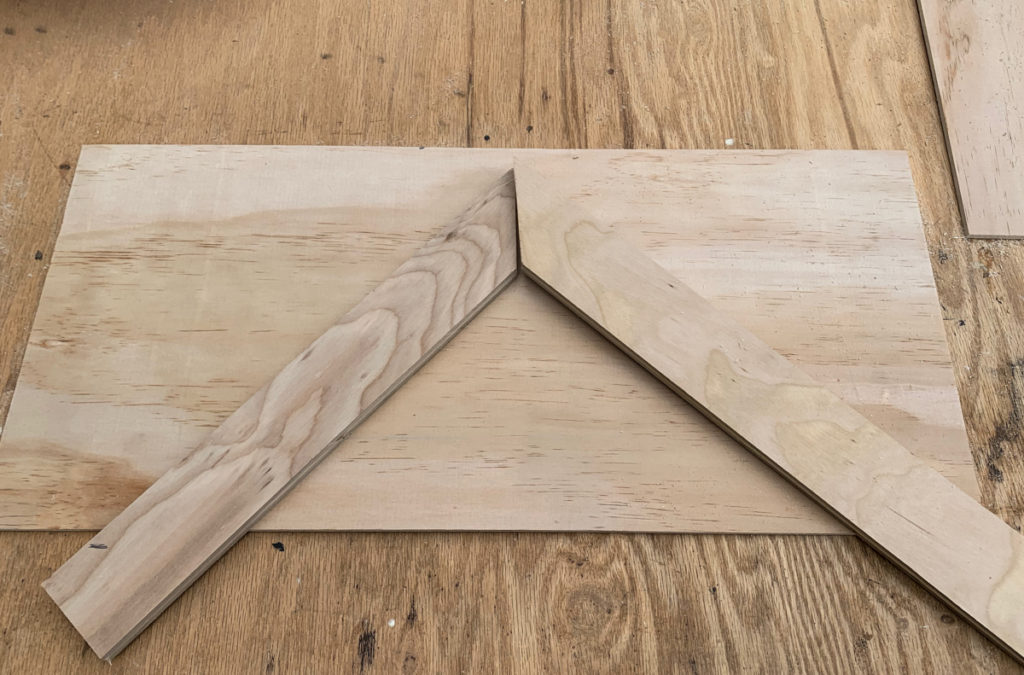
2. Draw a line and cut the bottoms so that they fit perfectly on the base of the tray. This will also be a 45 degree angle.
NOTE: I shifted the triangle over away from center for interest.
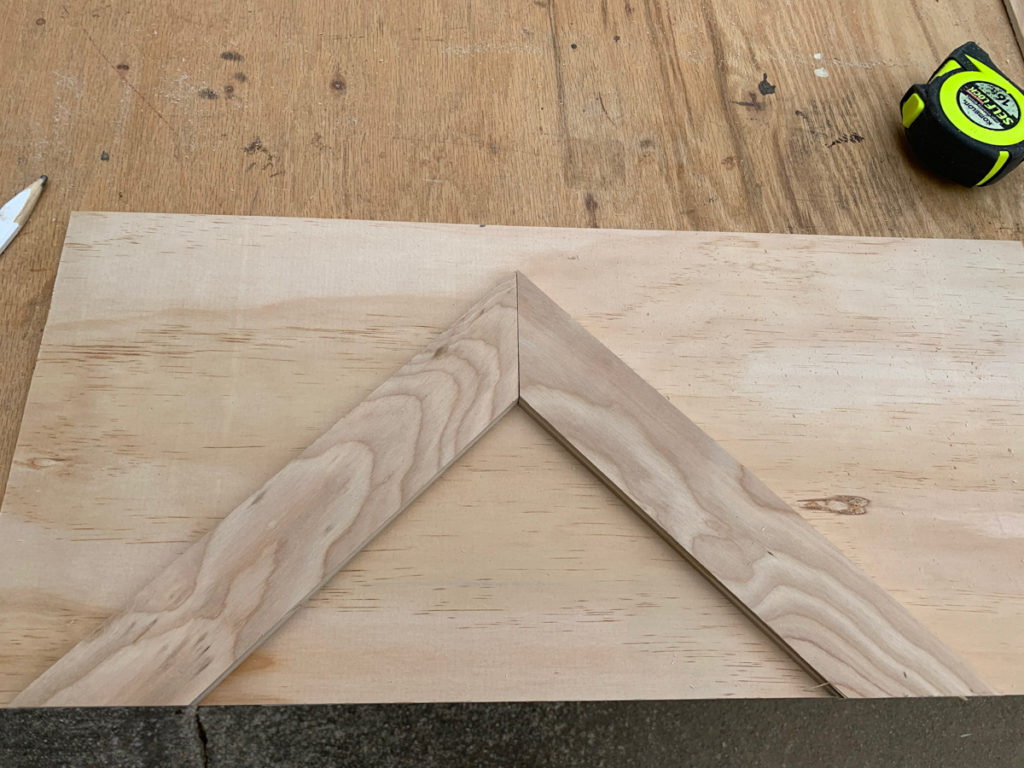
3. Continue cutting the strips to fill in the triangle.
As the pieces get smaller, I find I am more comfortable using the pusher from my table saw to hold the wood instead of my finger.
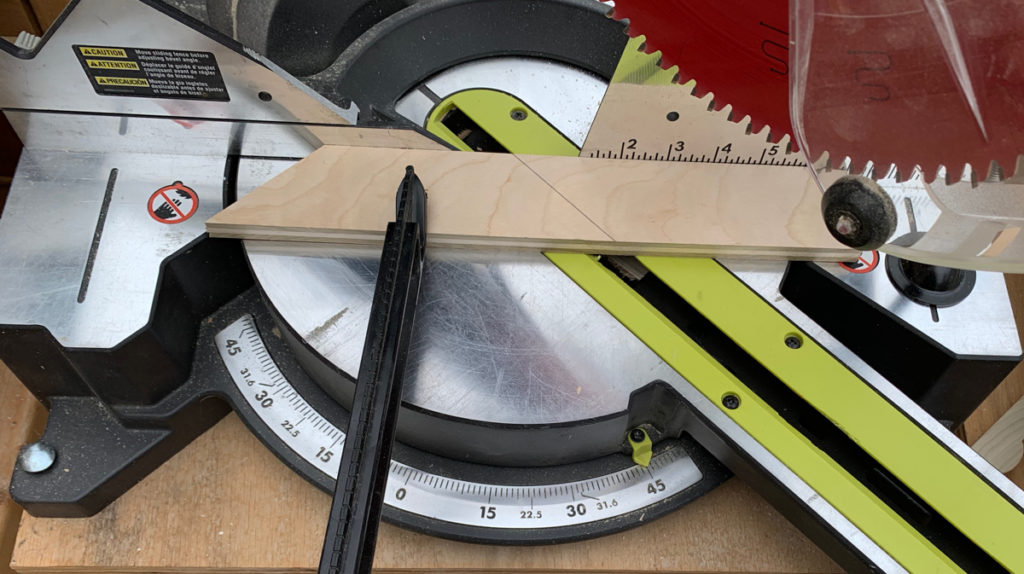
The last triangle pieces are just too small to cut with a miter saw.
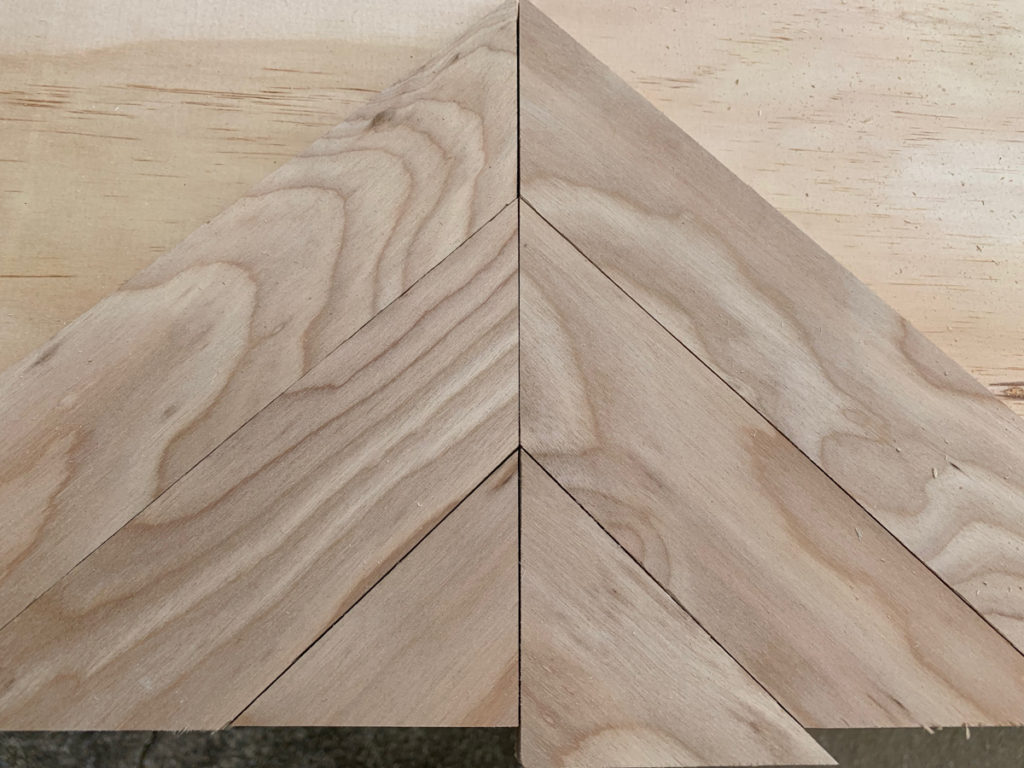
4. Use a multi-tool to cut a straight bottom edge..
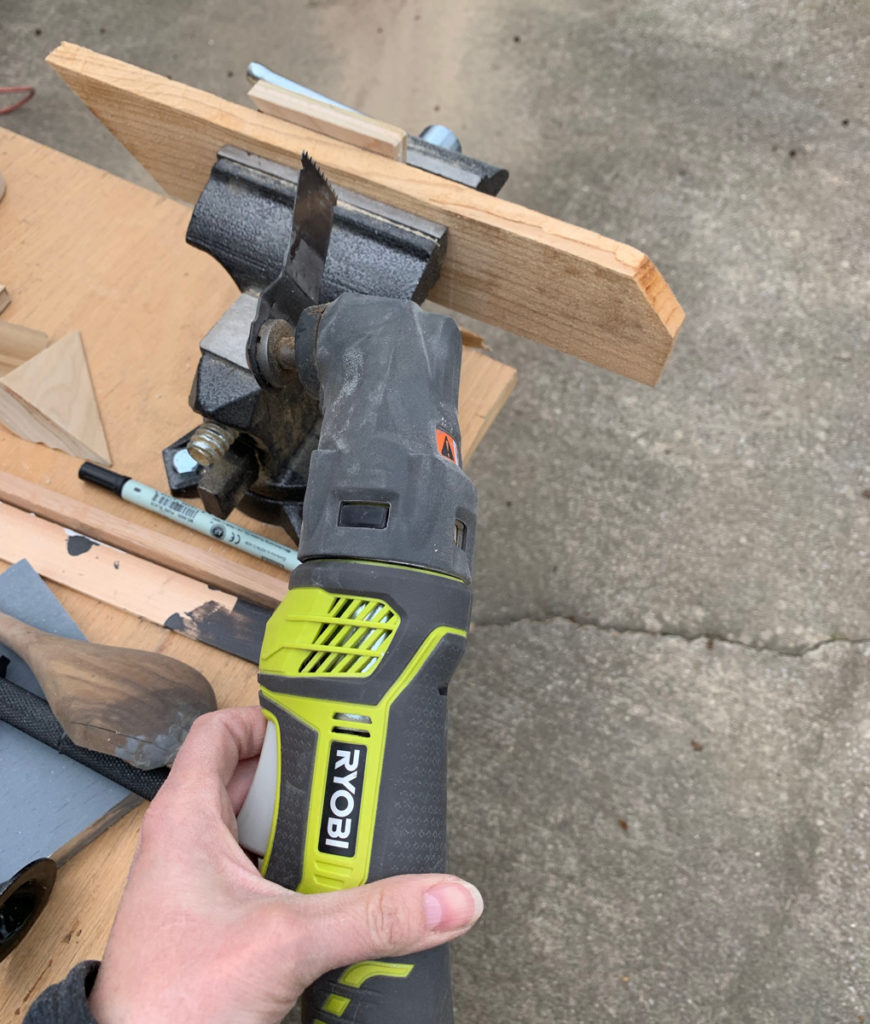
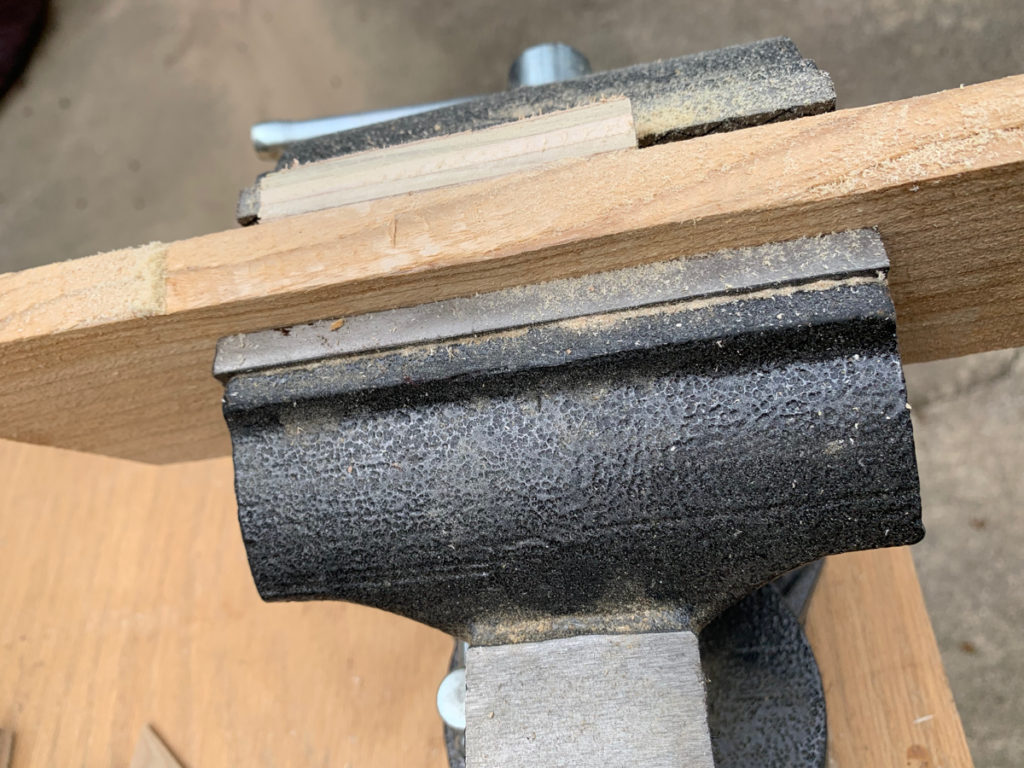
To do this, I place my triangle in a vice clamp with another piece of wood that becomes my guide
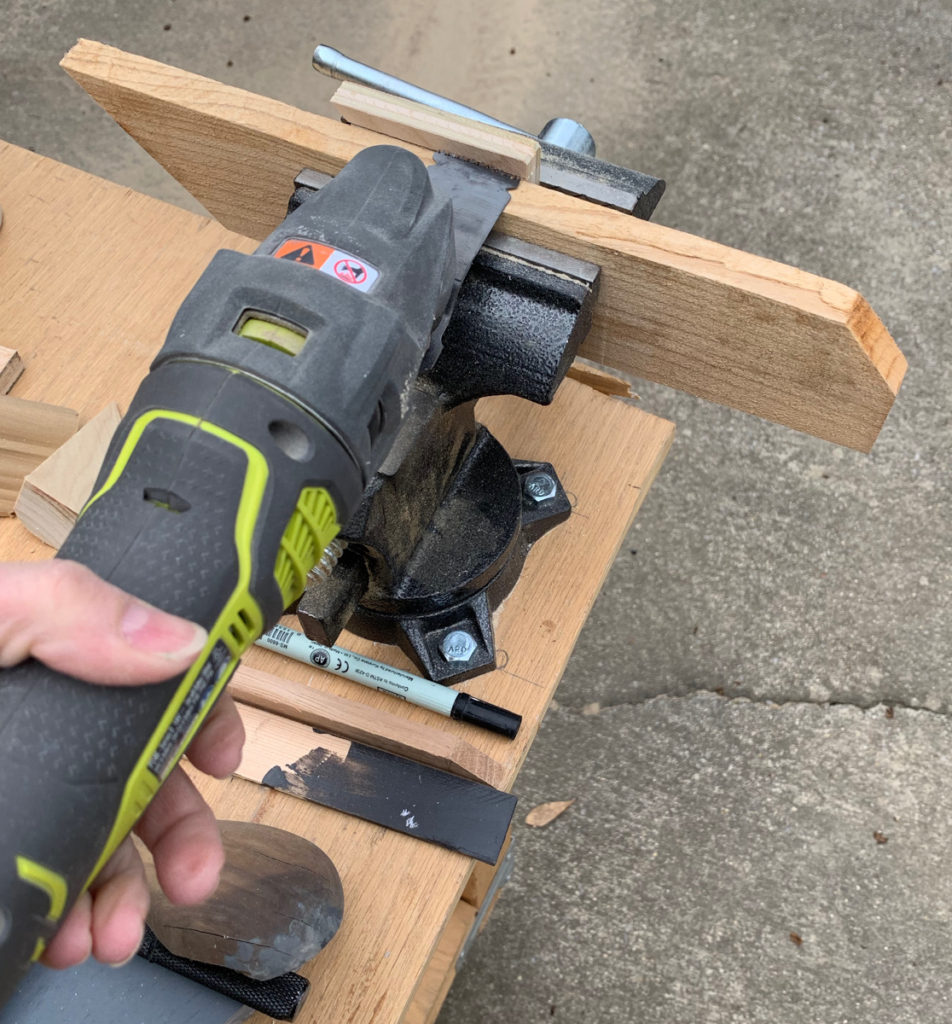
Then I run the blade across the guide to safely get a perfect cut on a very small piece of wood.
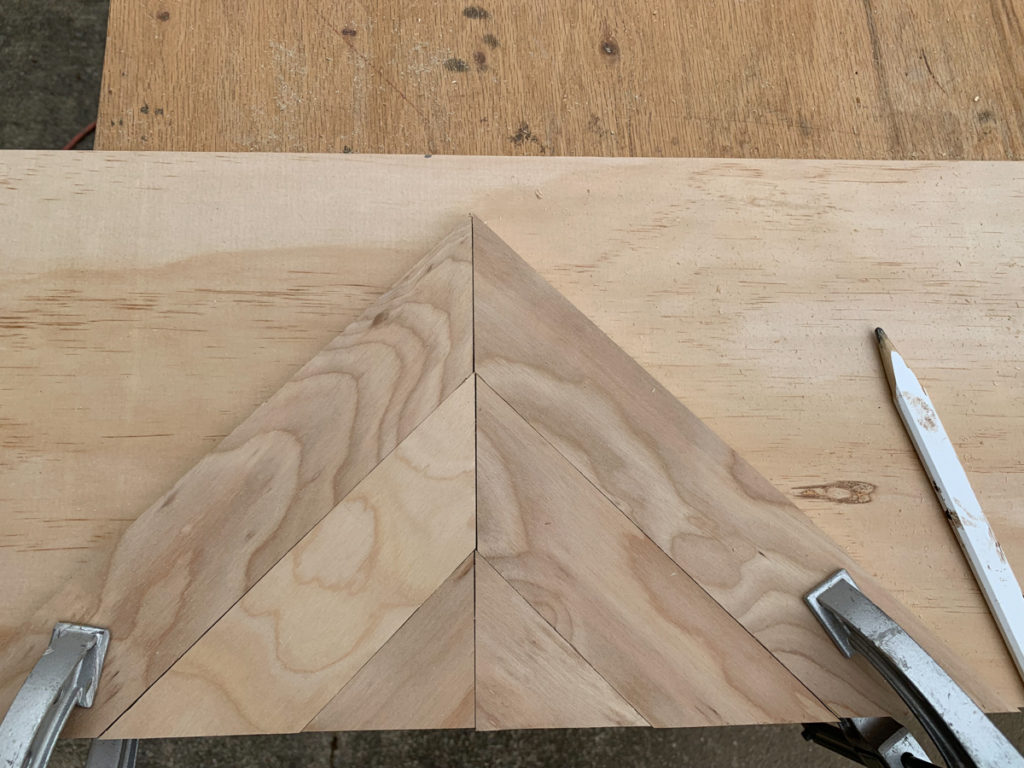
5. Begin adding horizontal strips to make a pattern around the triangle.
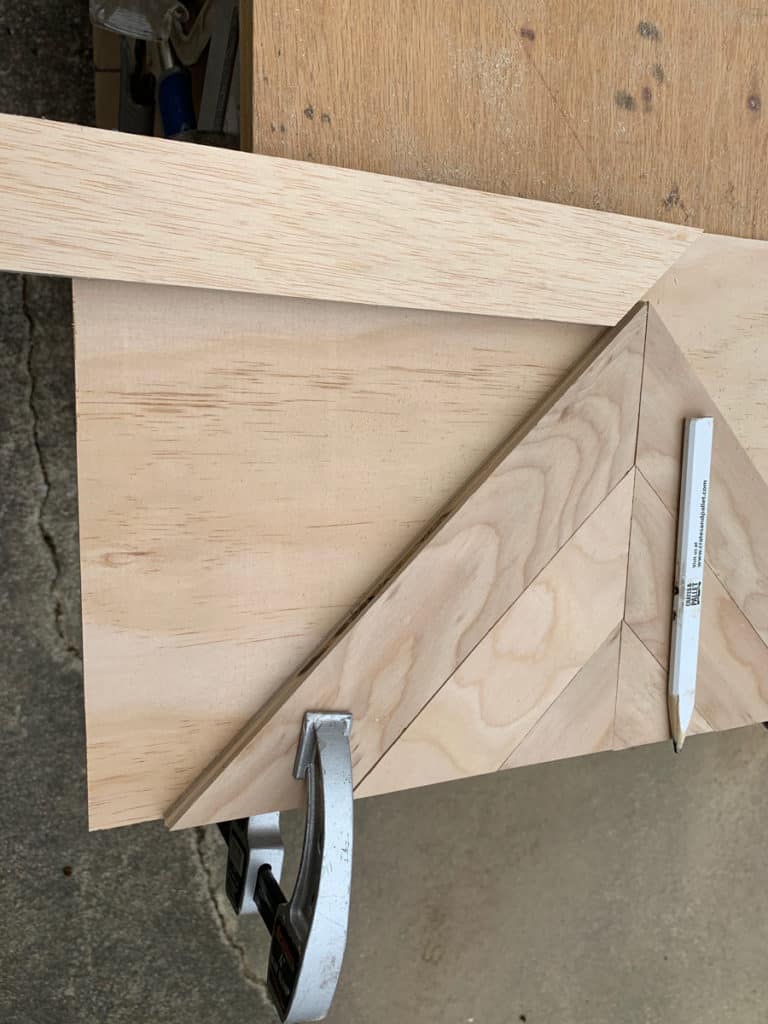
Just as before, cut a 45 degree cut and line it up with the triangle. With a pencil draw a line from underneath to become your guide for where to cut the straight end. (Below)
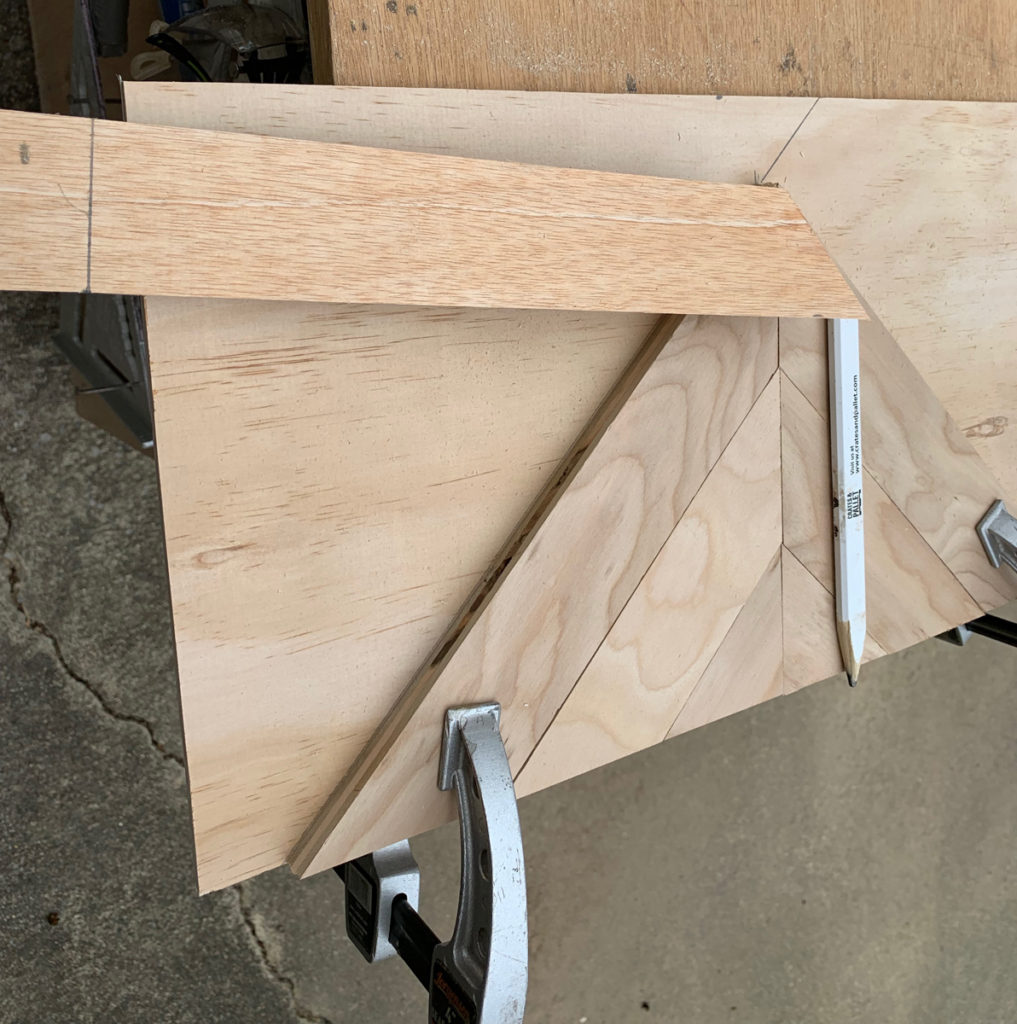
Note: It is extremely helpful to clamp the outside edge of the triangle so that it does not slip while you are dry fitting and placing your horizontal strips.
6. Repeat this process for the vertical strips.
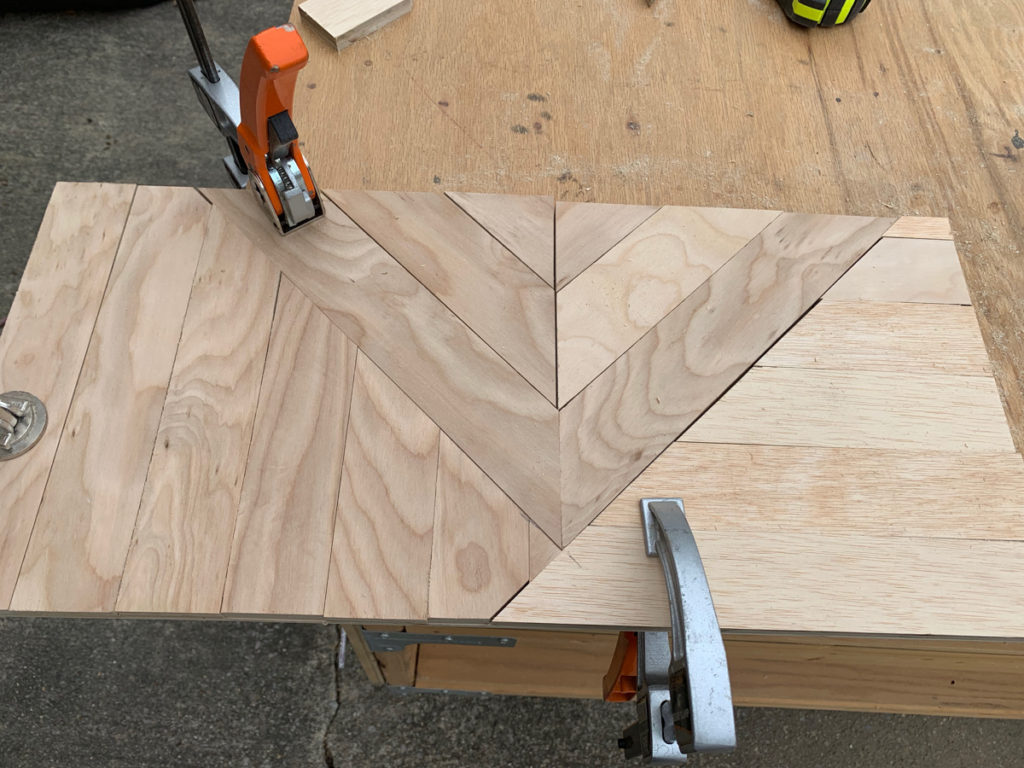
7. Using 1×2’s frame the outside of the tray. Feel free to use a butt joint if you’d like.
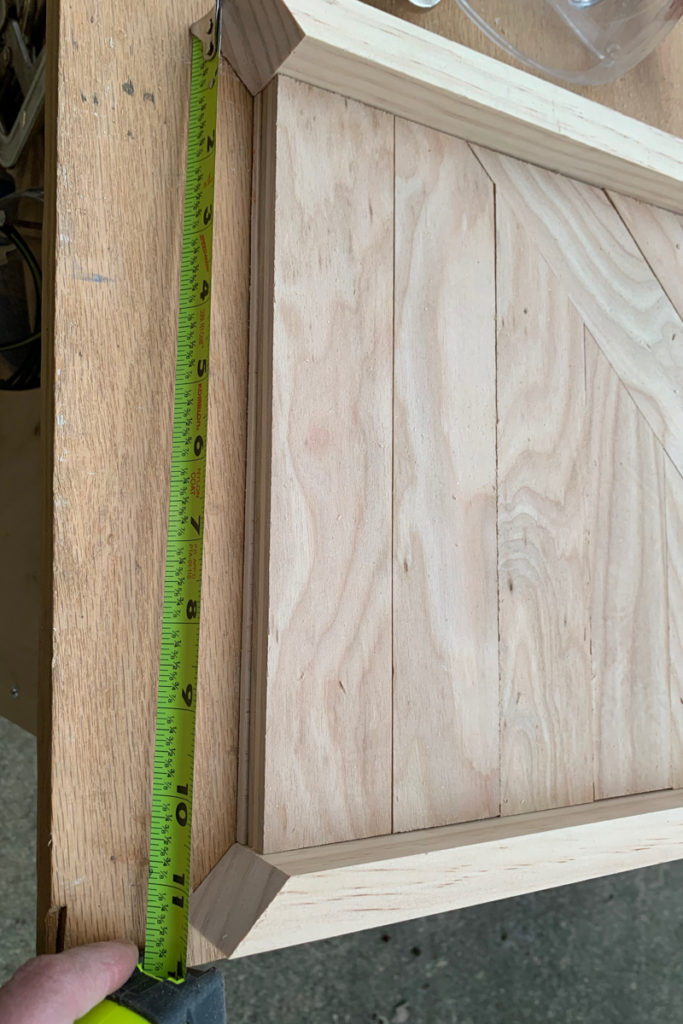
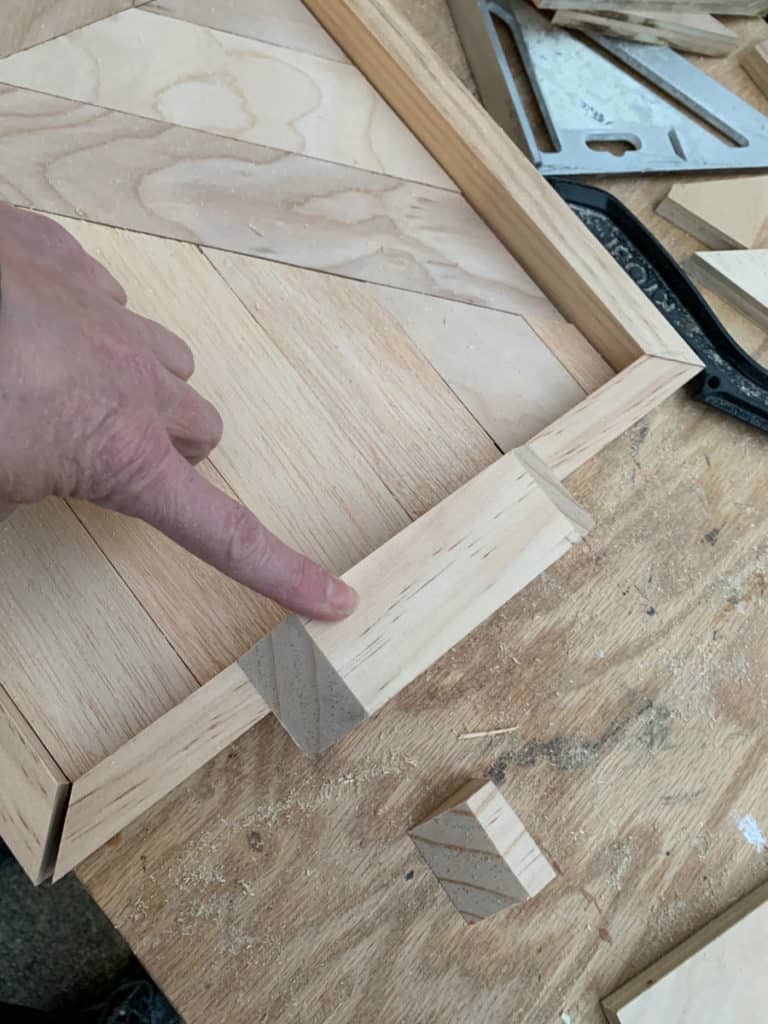
8. I also cut small handles out of the 1×2’s. I used opposing 45 degree cuts on either side.
9. Carefully number your slats before disassembling.
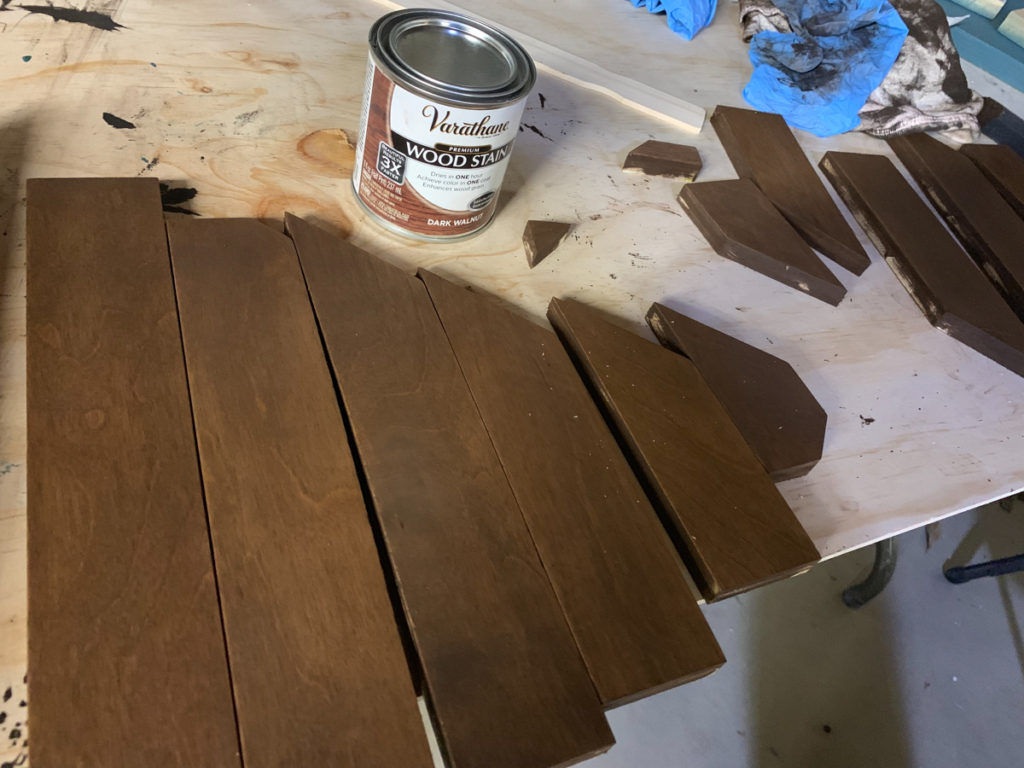
10. I chose to pre-stain my pieces so that I could use different finishes. The light is dark walnut, the darker color used for the triangle is Kona, both by Varathane
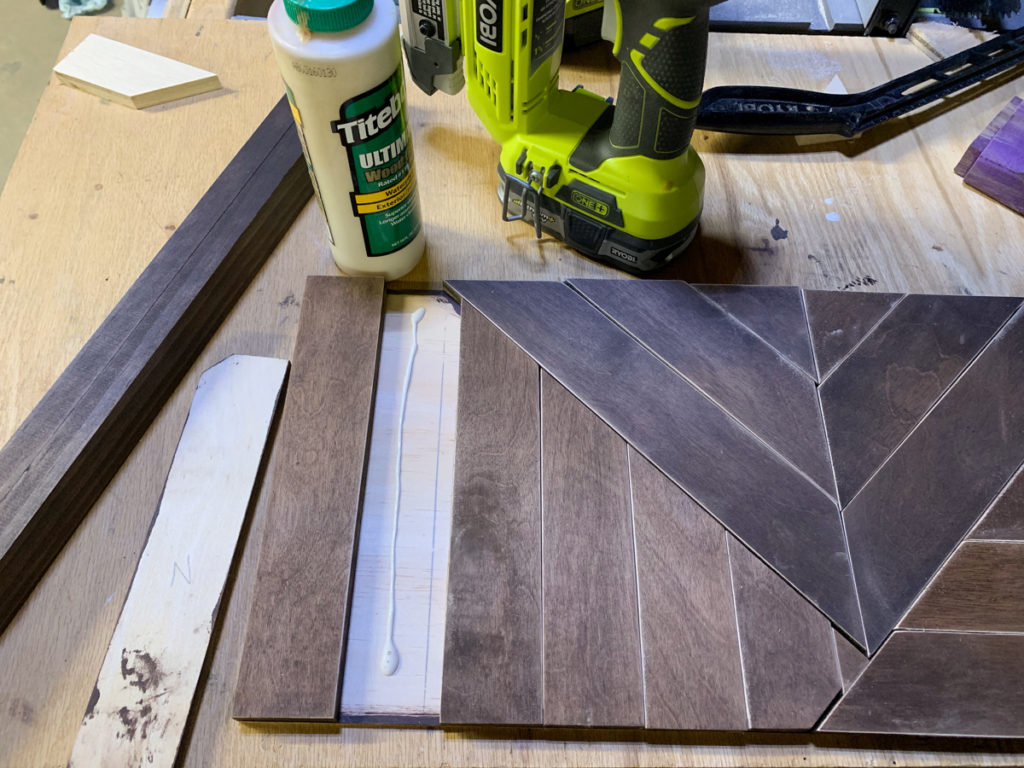
11. Once the finishes were dry, I sanded the edges to create a more defined pattern. Glue and nail the strips into place.
12. Nail frame and handles to the tray.

13. Apply a topcoat sealer. I like to sand with 400 grit sandpaper between coats for a super smooth finish.
There it is! It might look a little complicated, but I promise it is super simple. If you can turn a miter saw to 45 degrees you can do this!!
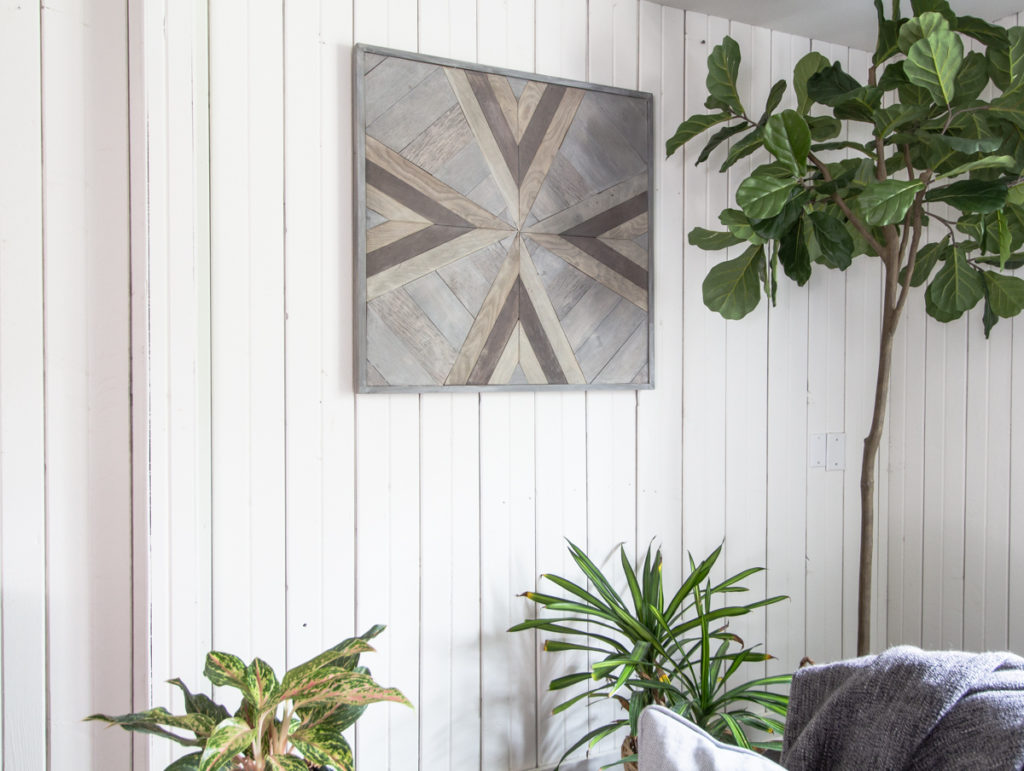
This project was actually inspired by a larger project that I created last fall to cover our electrical panels in the basement. If you are more of a visual-in-action learner, I created a video tutorial for the project. The same techniques to create the tray were used there as well.
Here is a link to that video tutorial. Build Geometric Wood Art
Be sure not to miss these amazing DIY Spring Projects!!
I DIY-ed That Spring Blog Hop

MONDAY

Repurpose & Upcycle | Thrify and Chic | A Blue Nest | Noting Grace
TUESDAY

My 100 Year Old Home | The Tattered Pew
The Homemaking Momma | She Holds Dearly | Seeking Lavender Lane
WEDNESDAY

Worthing Court Blog | Joy In Our Home | White Arrows Home
Uniquely Taylor Made | Making It In The Mountains
THURSDAY

Beauty For Ashes Home | Cuter Tudor | The Red Painted Cottage
The Honeycomb Home | Designs By Karan
FRIDAY

Deeply Southern Home | Rocky Hedge Farm
Twelve on Main | Life On Summerhill





10 Comments
Jen @ Noting Grace
March 22, 2019 at 9:10 amOh my sweet friend! I love this so much! You kitchen is so inspirational to me and this tray is DIY perfection!
I’m so glad you joined us for I DIYed that!
Leslie
April 8, 2019 at 7:52 amThank you for getting us all together! It was fun to share!
Jordan
March 26, 2019 at 11:45 amSuch a wonderful DIY! And your kitchen is so gorgeous!!
Leslie
April 8, 2019 at 7:51 amThank you!!
Katarina - Sukhirugs.com
March 31, 2019 at 9:05 pmYour kitchen is so beautiful! I love the contrast of dark and light colors. The accent wall is also very beautiful, as well as the jungalow vibe. The tray does seem a little bit complicated to make, but I’m sure I’ll get a hang of it once I start. I love yours though, it’s definitely a center point of your kitchen. Thank you so much for sharing this!
Leslie
April 8, 2019 at 7:51 amThanks! It does seem complicated but once you get going it is very straight forward! Good luck and let me know if you build one!!
laura
April 3, 2019 at 3:11 pmleslie! this is amazing! sharing on my weekend post, the weekend edit. Thank you for always supporting my Instagram page! With this puppy, my house has taken a back seat to projects. Not to mention our house looks like a daycare center with this puppy! ha! But we love this little rescue from Chattahoochee! xo laura in CO
Leslie
April 8, 2019 at 7:50 amThank you! Trust me my house looks the same!! Toys everywhere!! I tried to corral them in a basket and he chewed on the basket!!
Jill
December 30, 2019 at 5:20 pmGreat tray! How did you attach the handles?
Jill
December 30, 2019 at 6:01 pmNever mind – I see that they were nailed on!