Week 4, the halfway point of the One Room Challenge and it feels like I am working backward on our Main Bedroom Makeover this season! In years past, I’ve always started with the largest, most challenging build projects. This time I’ve been devoting my time to the equally important but smaller DIY’s first because of the impacts of Covid on my project. Hopefully, this switch-up will make the race until the end less stressful because I won’t have a long list of projects still to check off.

What is the ORC?
Thanks to Linda, the founder and organizer of this amazing bi-annual Interior Design event, the One Room Challenge™ there have been thousands of amazing room makeovers over the years. The event encourages and inspires room makeovers of 20 Featured Designers and hundreds of Guest Participants, like me. The official media sponsor is none other than Better Homes and Garden!
If you need to get caught up on the previous week’s progress updates and design plan check out these posts.
Week 1- the Intro || Week 2- Design Plan || Week 3 -Powered Curtains|| Week 4 Small DIY’s
The Design Plan
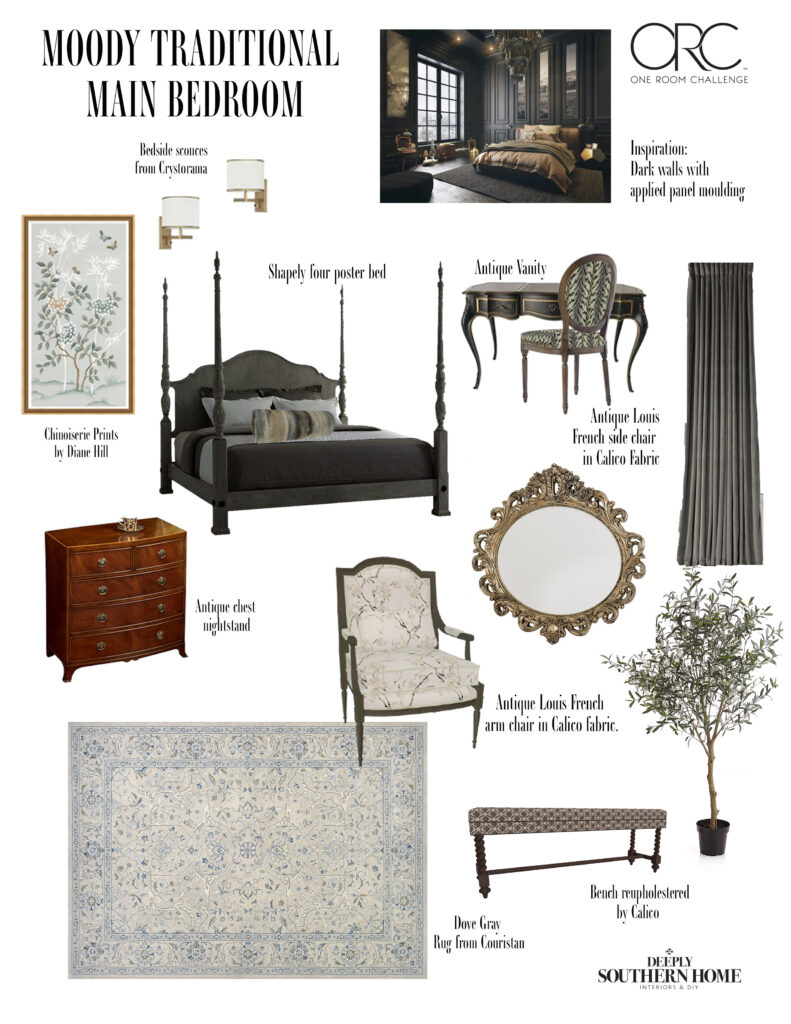
Before we get into this week’s projects, I wanted to look back at the plan as a reminder for where we are headed.
Reupholstering the Louis Arm Chair
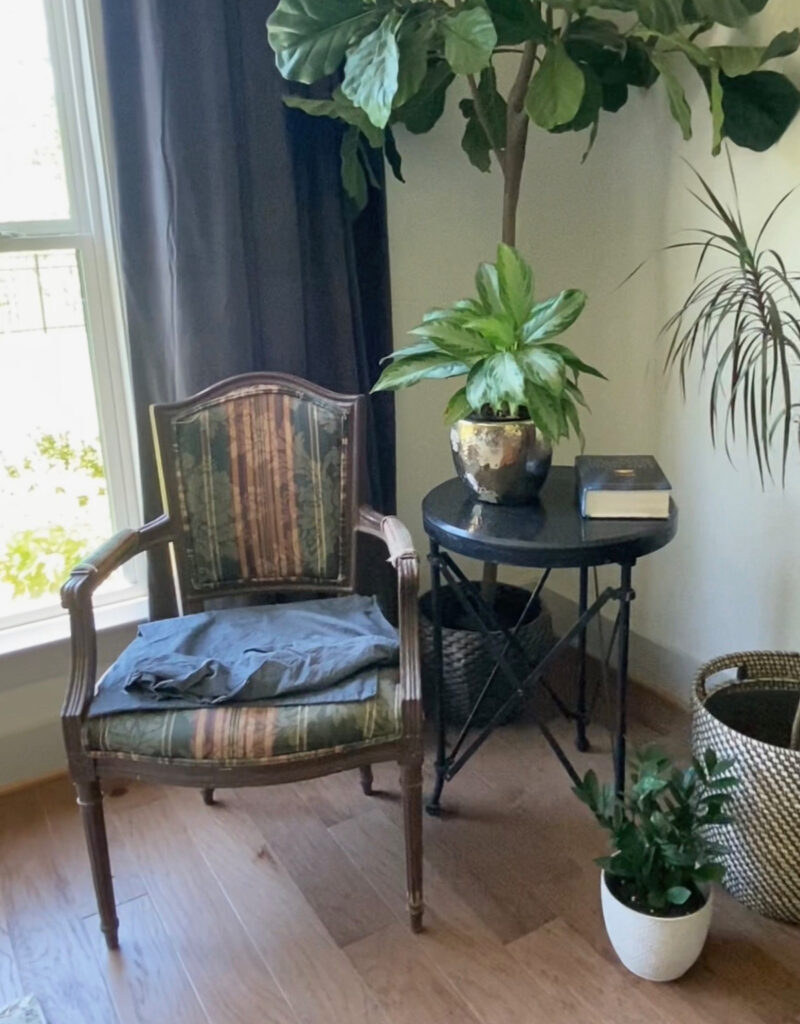
This is what this chair looked like for as long as I have had it. My daughter commented this week that the chair has sat in our attic for over 10 years waiting for a makeover. And a makeover it has finally received!
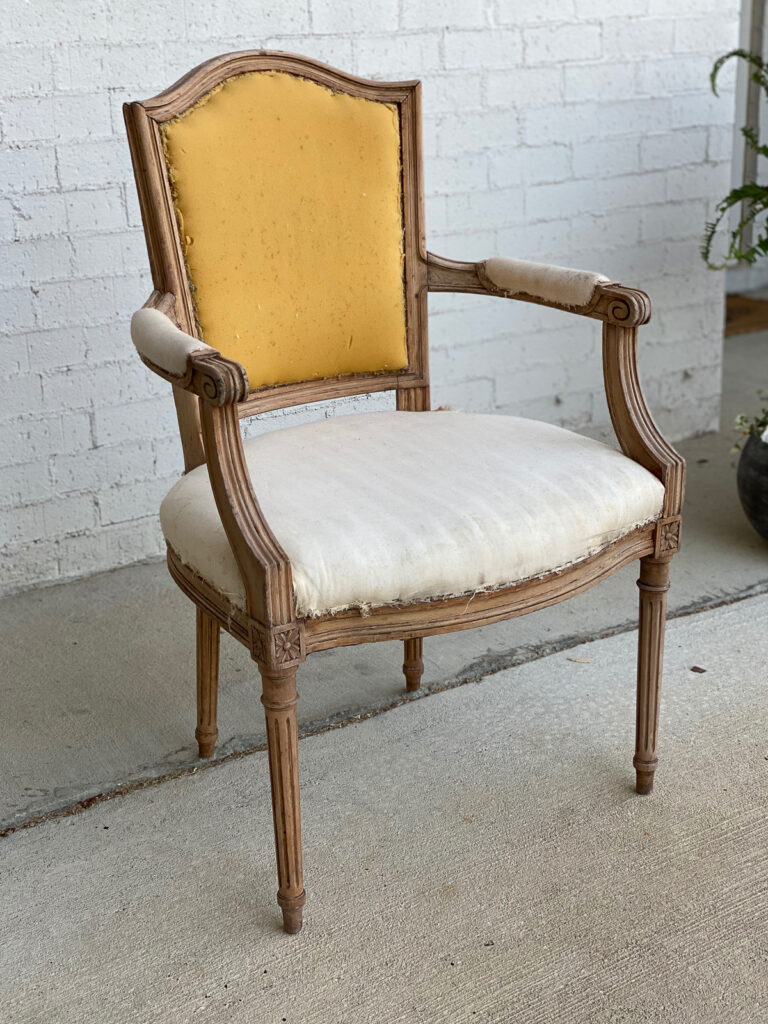
At the end of last week, after hours of stripping several layers of paint it looked like this.
Then I applied an Ebony Stain.
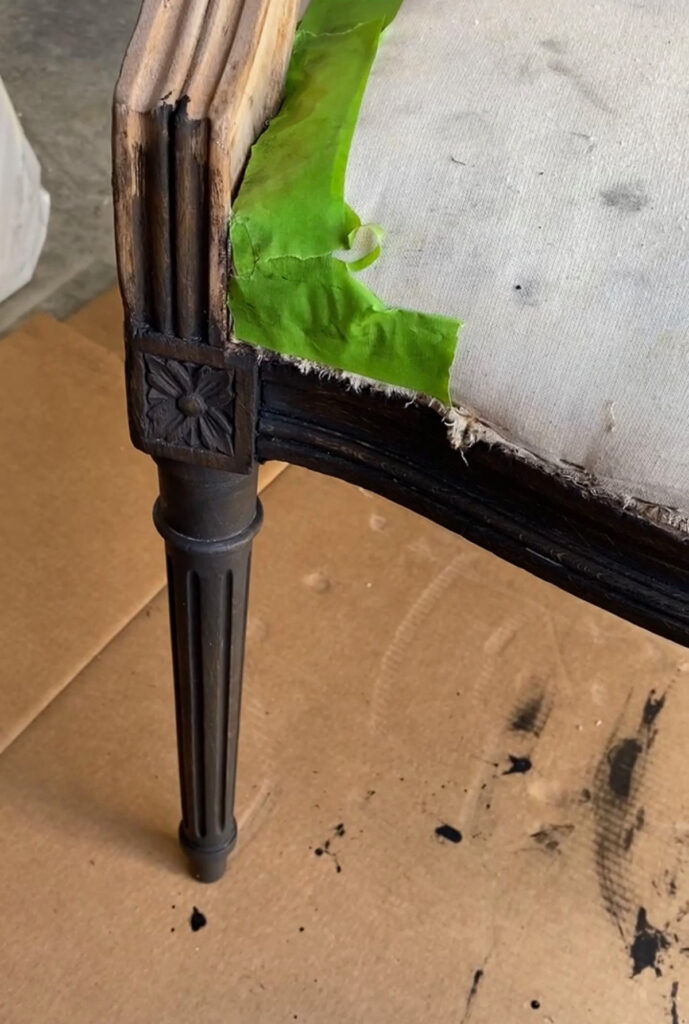
With many of the other pieces of furniture painted, I needed to be conscious of including wooden finishes as well.
The Emilia fabric in Dove from Calico, has a touch of ebony flowing through the modern chinouisere inspired pattern. Instead of painting the chair black, which would have been so much easier honestly, I stained it this deep, rich color.
I am extremely pleased and know it was worth the effort.
I began cutting the fabric to the general shape of the chair and then after fiddling with an ill functioning staple gun, I brought it to the garage and used a pneumatic stapler.
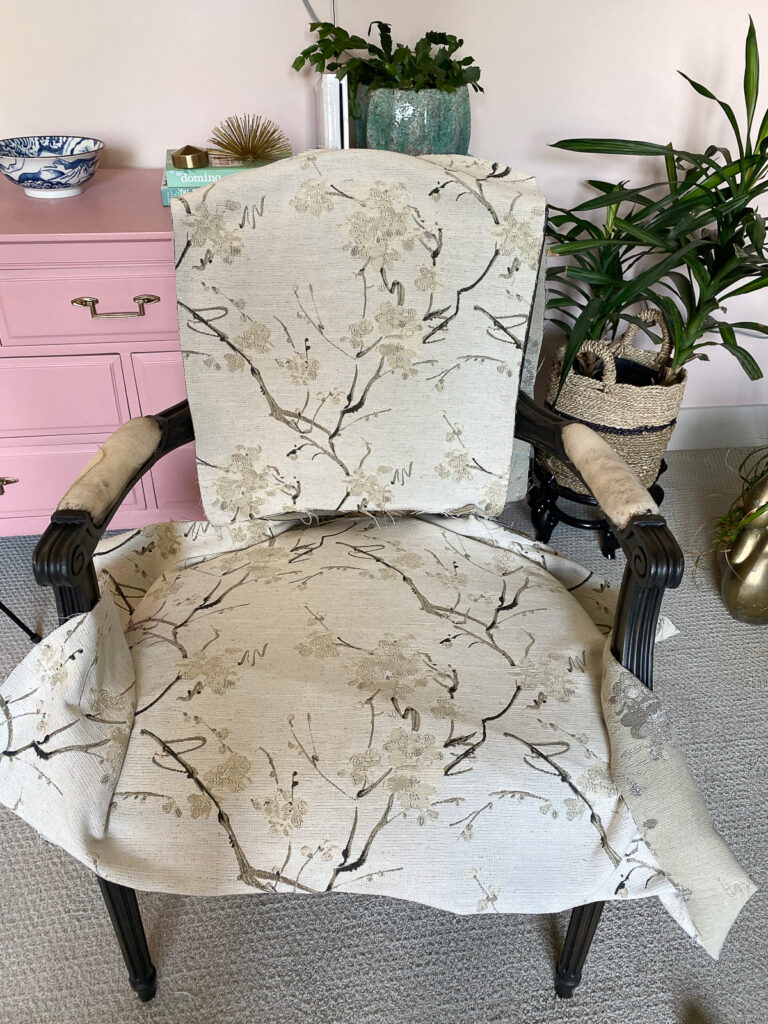
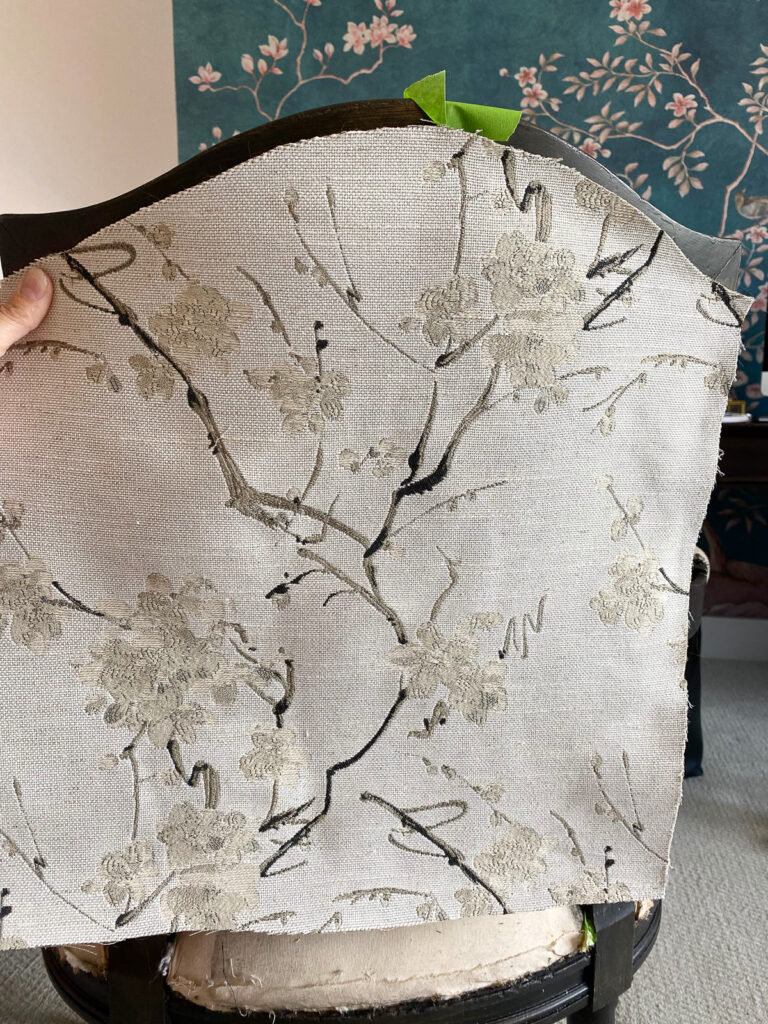
I was working very intently and not sure I was comfortable with sharing a tutorial. I am sure there are much more qualified people that have done so.
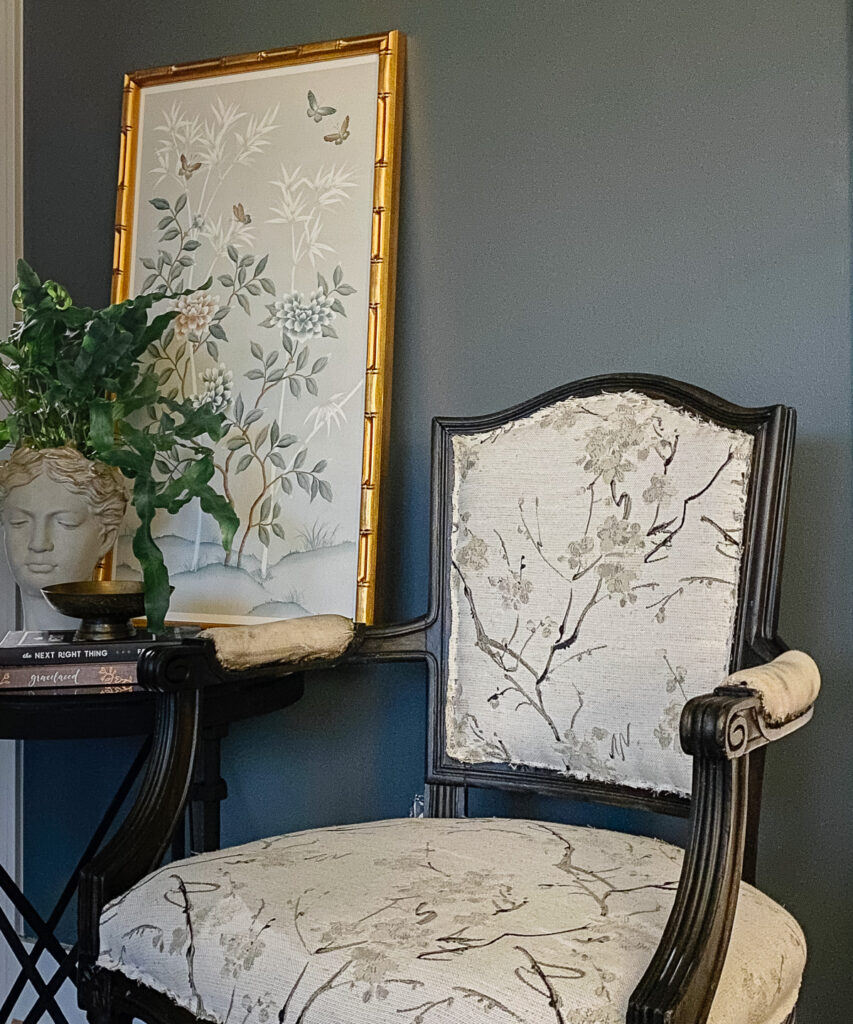
It still needs the double welting trim, but that is being made for me by the Calico workroom. I’ll trim up the fabric better and glue the trim on when it arrives. It does feel good to have this chair mostly complete and I am thrilled with the way it’s turning out.
Refinishing the Bench
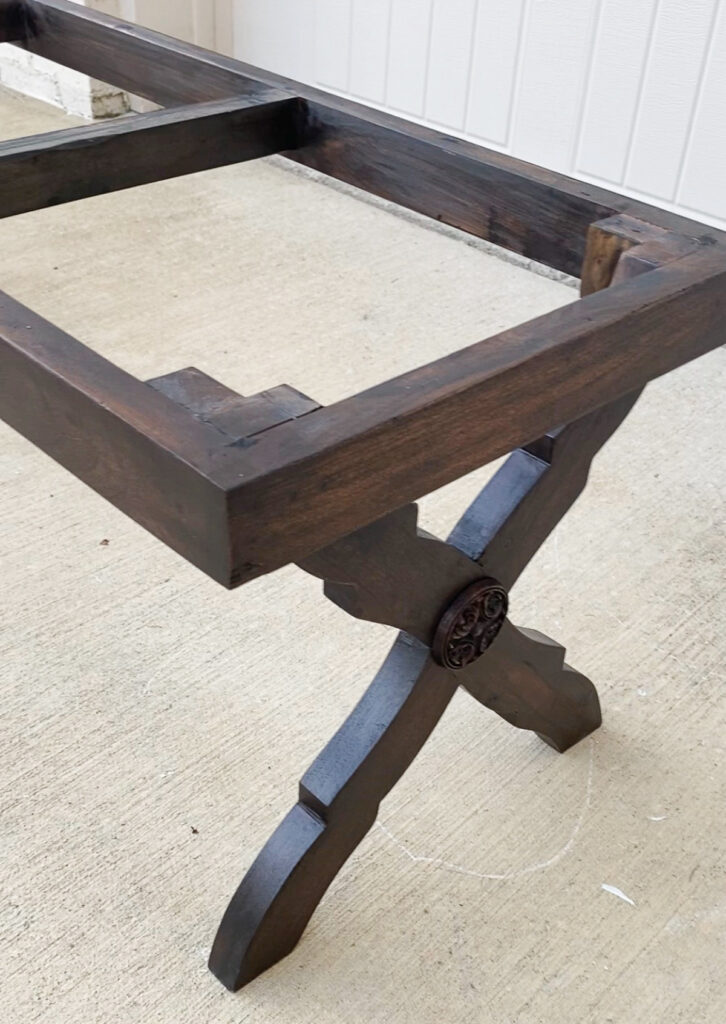
In front of the bed, a new bench with a custom box cushion is being made by Calico. I was drawn to the shape of the bench but knew right away this finish was all wrong for the room.
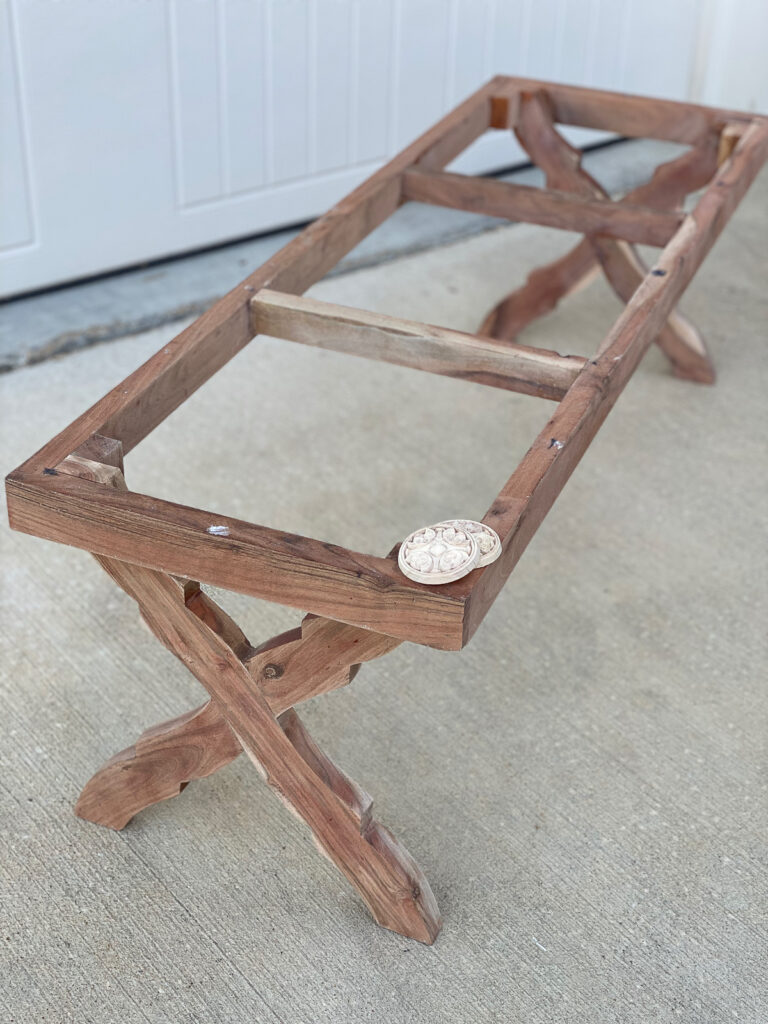
Last week, I sanded the clear finish off. This week I gave the bench the special treatment I like to use when wood has a high-contrast veining or is inexpensive wood.
It starts with chalk paint or milk paint wash and then is followed by a stain. I have a full tutorial and how to here.
I stained the medallions I purchased to embellish the “x” up to the same tone as the darker parts of the wood on the bench.
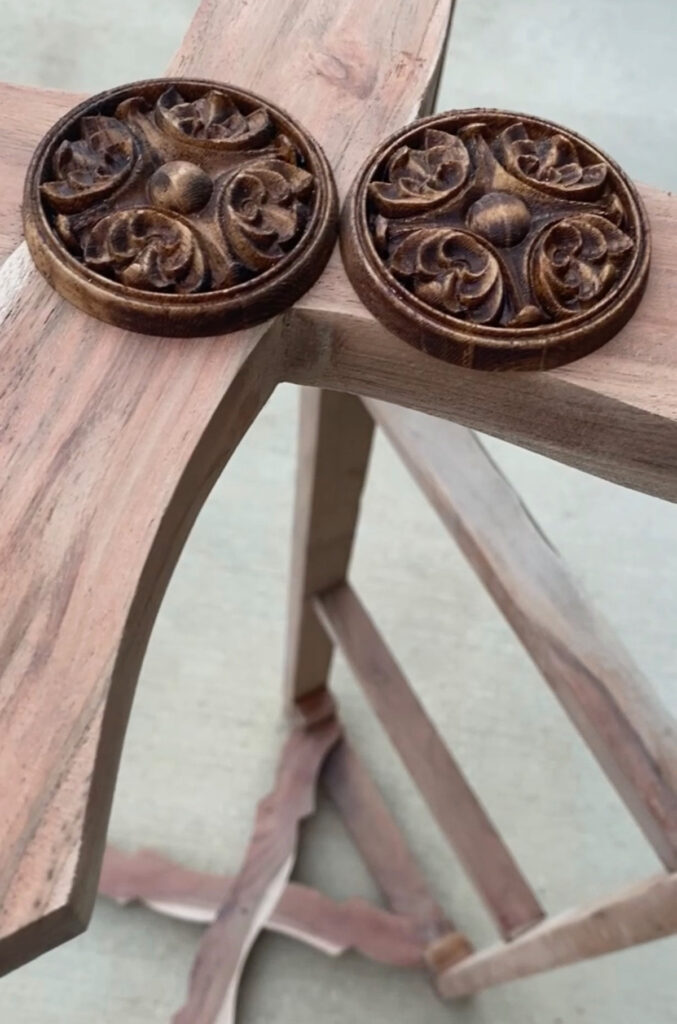
If you follow me on Instagram or Facebook Stories, you likely saw the entire process.
Here is a sample of the cut velvet that is going on the bench, also from Calico. It’s called Social from the Luxe Collection in Carbon.
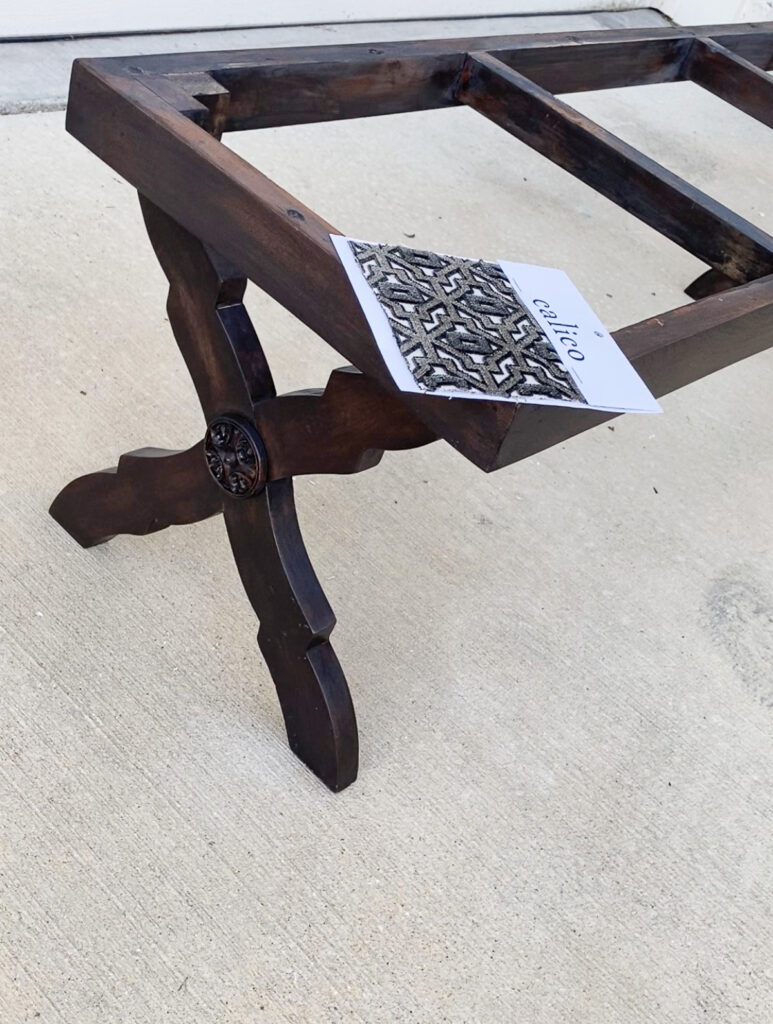
I love how this technique completely toned down the variation in the wood grain and the orange tones of the original wood.
Modifying the side table
I added this photo here again so you could notice this stone topped side table. I actually purchased it for the last room makeover for our main bedroom at our previous house.
I still love the design of a telescoping table, but it was much too high to sit next to the French chair.

When all of the tables I searched for and wanted were on backorder, I asked my husband if he thought he could cut the bottom 3 inches off of the legs? I figured I didn’t have much to lose because it was just too tall for anywhere else too.
And by golly, it worked! He used a hacksaw and cut them right off!
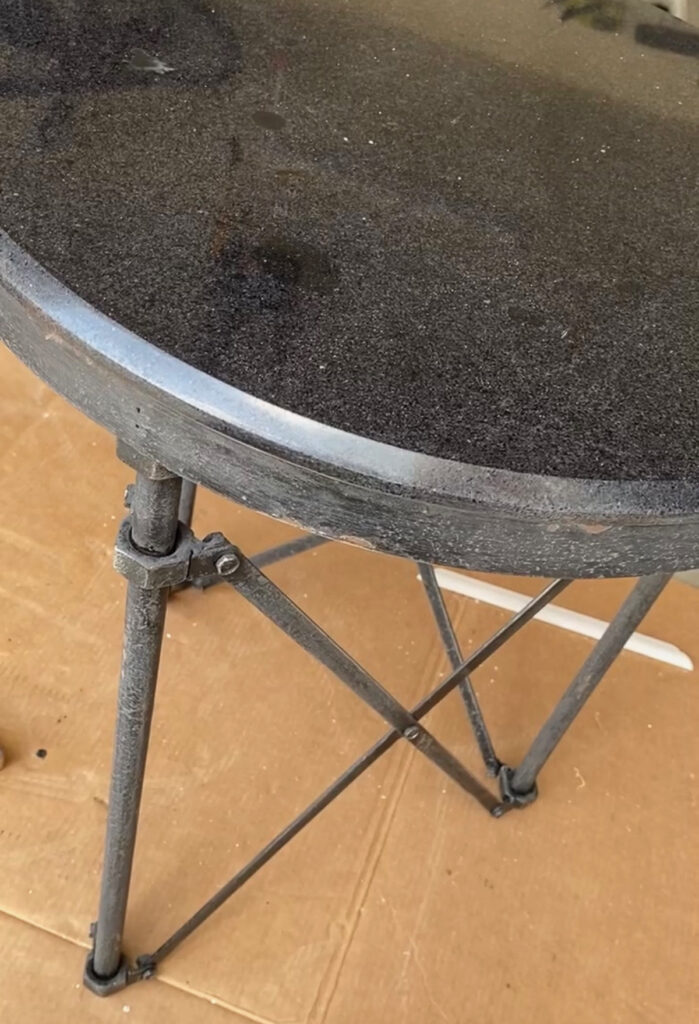
One disappointing feature of this table was the rough finish.
I attempted and sand it off in hopes of potentially painting the base gold. While I was able to smooth the texture out some, it wasn’t enough to make a gold finish work.
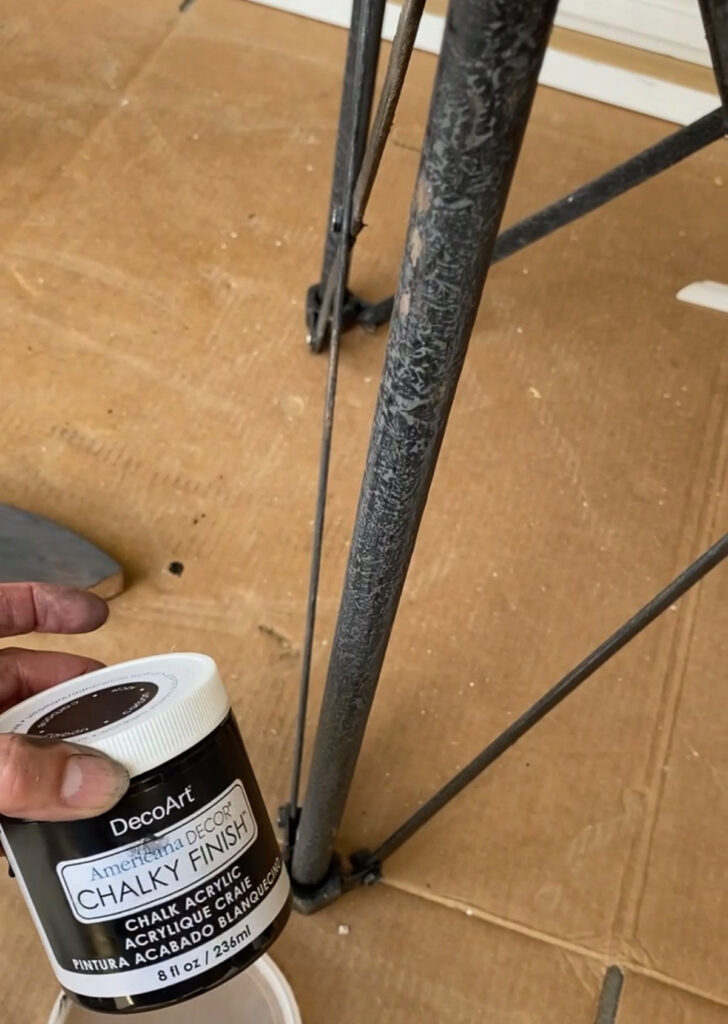
Instead, I gave it a coat of black chalk paint and I’m very happy with the way it looks now.
The proportions are so much better now, right?

Framing the Art
The easiest project I completed all week was framing the art I purchased for the room from Diane Hill.
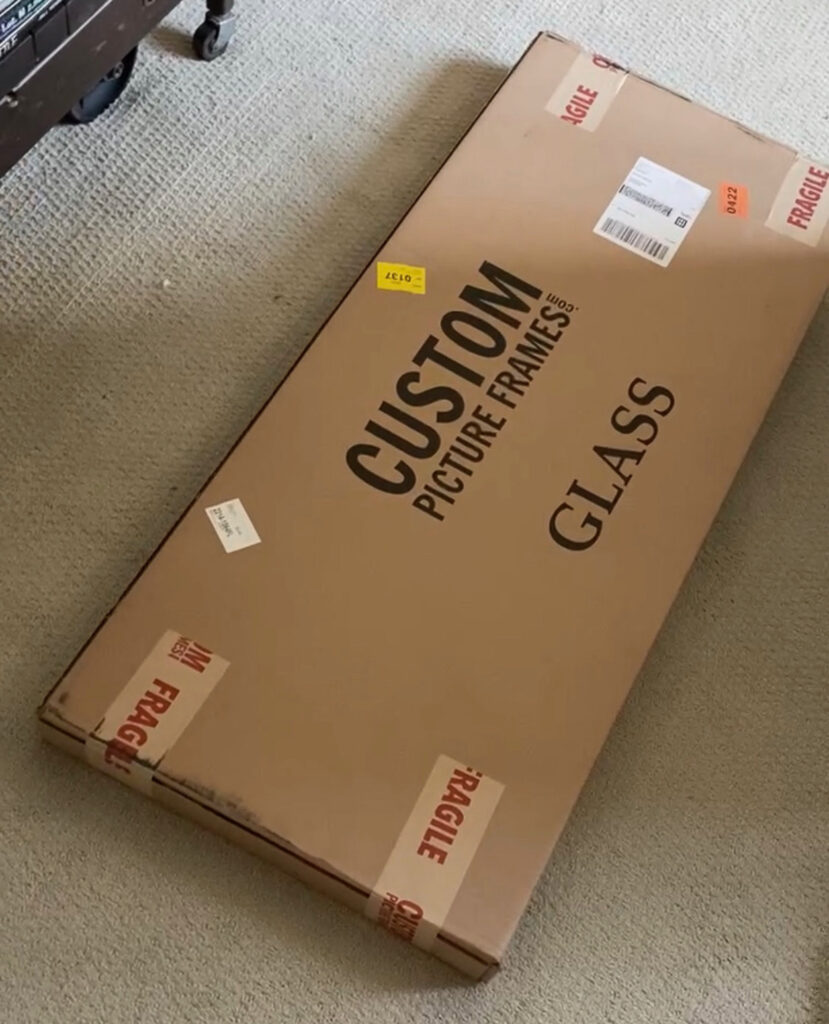
I partnered with Custom Picture Frames.com and the frame arrived rather quickly after I gave them my exact measurements.

It was refreshing to see how well they had packaged the frames. They arrived in absolutely perfect condition.
All I had to do was flip up the tabs, remove the protective film on the professional quality acrylic and insert my art!
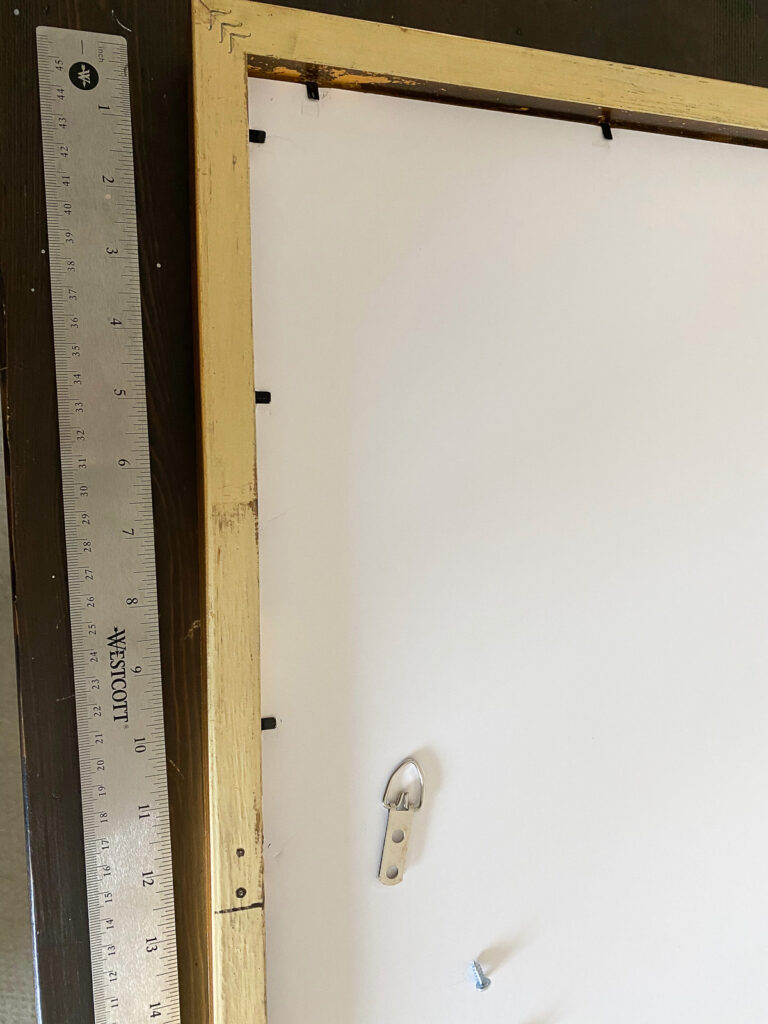
I also added the supplied hardware exactly where I wanted it to hang. The cost savings of this little bit of DIY is very significant. Check them out yourself!
I highly recommend their service and will be returning to them again for all of my framing needs. I am very impressed!
Final Selection
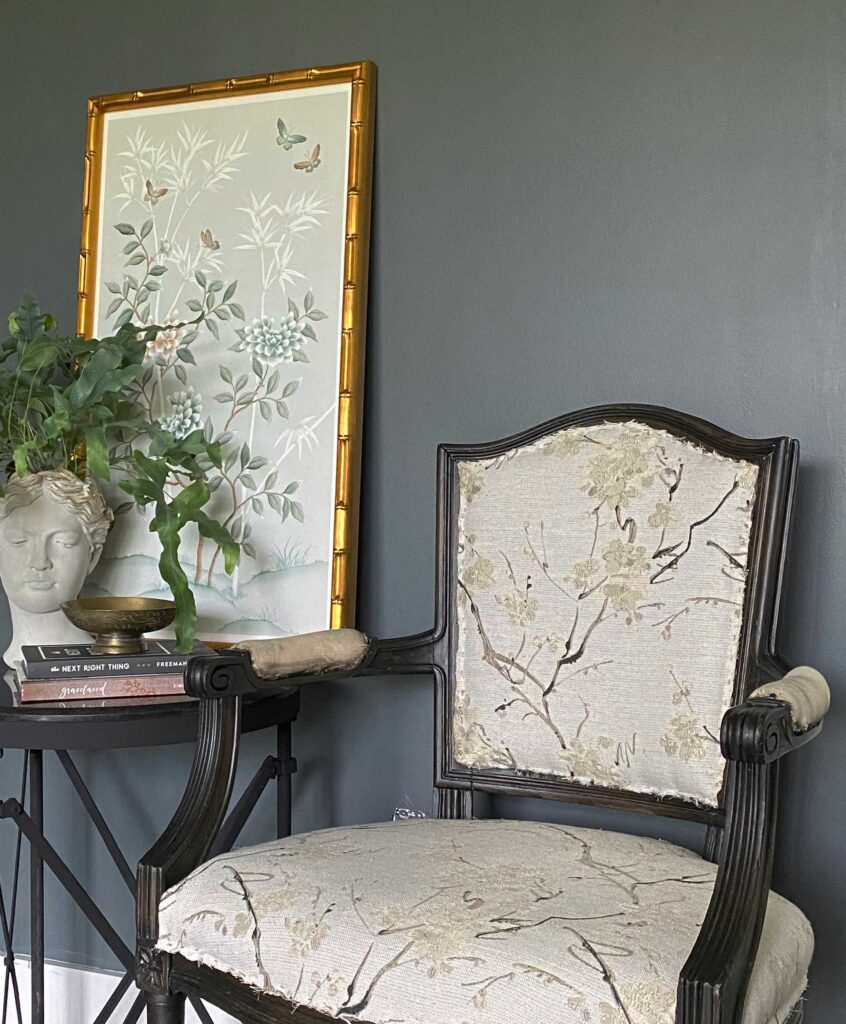
After going back and forth over paint samples for literally months, I finally made a decision on the wall color in this room. Even though I plan to spray the moulding and the walls, I painted this section of the room just to be sure. I love it!

It is perfectly dark grey with blue undertones. The most interesting thing about how I fell upon this color is I saw it and loved it in my client’s home. It’s such a chameleon that I initially thought it wouldn’t be right for this room, but it totally is! It’s Roycroft Pewter by Sherwin Williams.
Part of the struggle with choosing the paint color for this room is the way this wall in particular gets blown out by the large bank of windows across from it. Every color loses it’s intensity and the undertones are highly evident and not necessarily in a good way.
What’s ahead?
My contractor is scheduled to install the coffered ceiling this weekend. He will be out of quarantine and hopefully ready for work. I have checked in on him to see how he has been feeling. Thankfully, he hasn’t had any complications.
Once the coffered ceiling is up I can begin installing the panel moulding. Next week I’ll explain why the ceiling had to go first. I can’t wait to see this vision come to life!!
Spring 2021 One Room Challenge Sponsors for Deeply Southern Home
This makeover would not be possible without the support of my amazing sponsors!

Novo Building Products and Empire Moulding and Millwork || Calico Fabrics
Crystorama || Custom Picture Frames || Boll & Branch || Charleston Hardware Co.
Be sure to follow along with the Featured Designers and my fellow Guest Participants. The One Room Challenge is centered on the community not competition. The goal is to cheer each other on toward the goal of a beautifully, completed room. As always, special thanks to the One Room Challenge media Sponsor, Better Homes and Garden and to Linda owner and creator of the One Room Challenge.




No Comments