During the design and planning of my new Vintage Industrial Cart Craft Table, I decided to create a knock off of the finish from Restoration Hardware called Salvaged Brown. I hoped it would be perfect way to create a realistic-looking vintage finish.
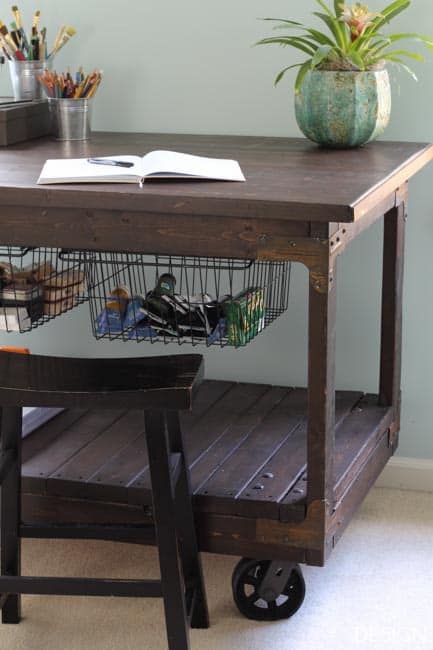
Because the table was to be constructed completely out of 2×4’s, achieving an aged, old-wood finish was going to be a challenge. If you’ve ever stained the humble 2×4 before, then you know the finish often ends up blotchy and sadly, just kind of cheap looking.
Even with the care of proper sanding and use of wood conditioner, I have found only moderate improvements can be made to the overall look of the finish. You certainly don’t end up with a finish that mimics the authentic patina of something like this vintage workbench.
In my search for more inspiration, I took a little field trip to my local Restoration Hardware and ended up purchasing a wood swatch of the Salvaged Brown finish. The photo below is what the sample looks like on top of a table with the actual finish.
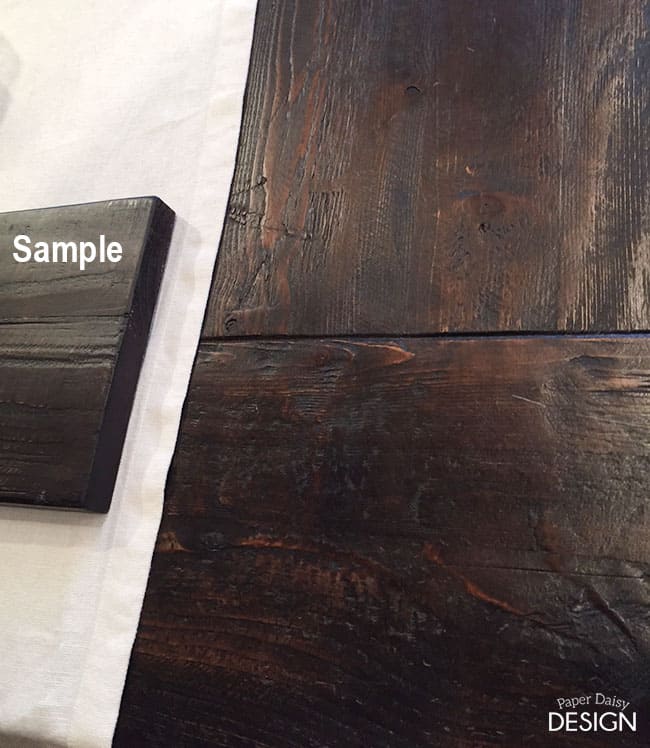
I must admit I was encouraged when I read the back of the sample, “Finish is hand applied to solid reclaimed pine.” At least I was starting with the same species of wood!
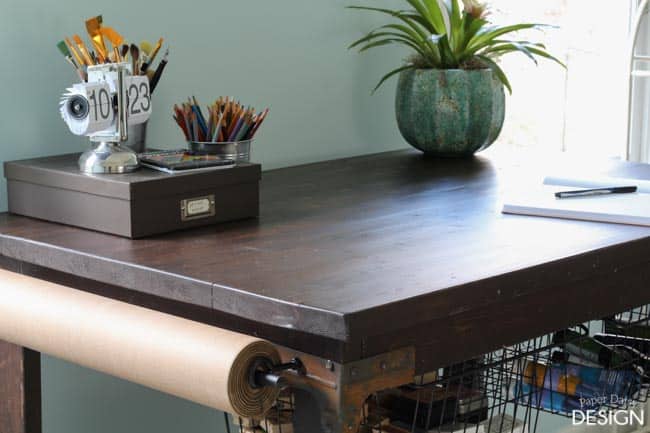
Here are photos of my “Salvaged Brown” craft table cart.
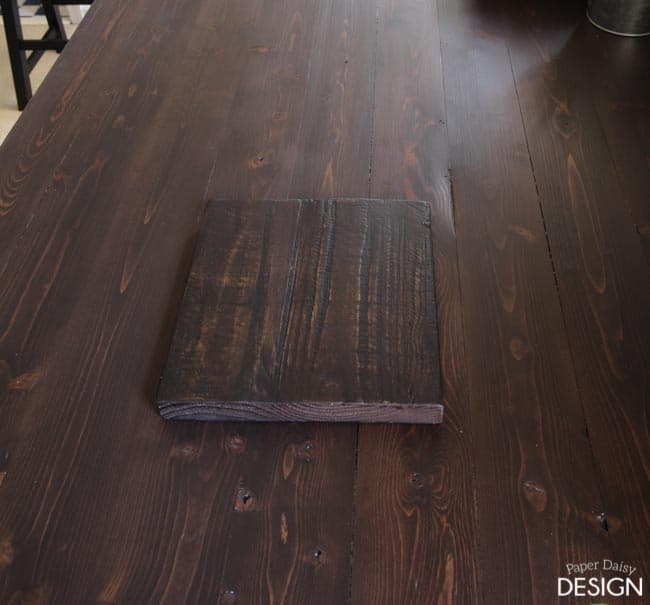
I should note that the lighter parts you see on the sample are likely from wear. The swatch was supposed to be kept in a protective sleeve, which I was not given.
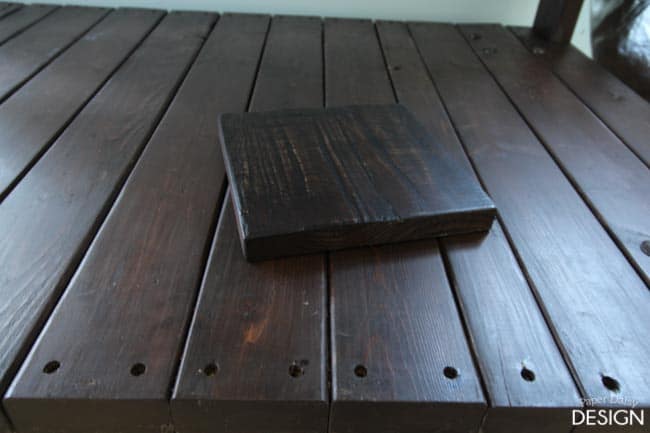
So, what do you think? I honestly couldn’t be happier with the way it turned out! I’m pretty certain I’ll stop walking past the the vast selection of pine at the hardware store for my next build. This finish was really easy to do.
Before I started on my craft table, I worked on quite a few test boards. Please excuse the bad lighting in the photo below.
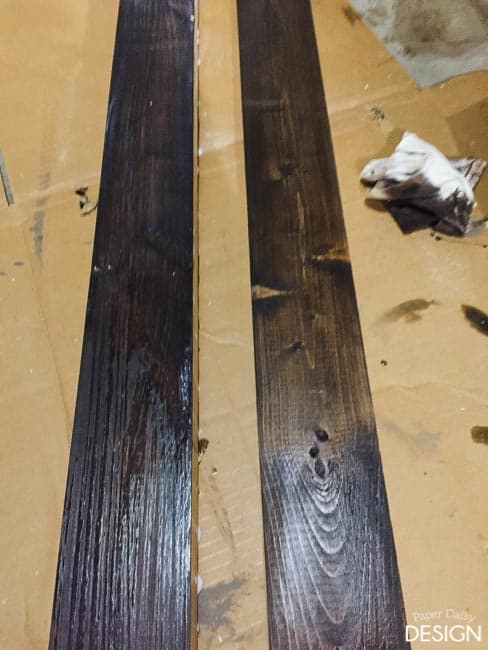 The piece on the left is the finish I ended up using. The upper portion of the wood on the right had wood conditioner applied before the stain. You can see it still looks blotchy and uneven across the grain. The top coat had been applied about 5 minutes before this photo was taken on both of these pieces.
So, are you ready to create this rich salvaged brown finish for your next build?
How to Create a Restoration Hardware Salvaged Brown Finish
This post contains affiliate links for your convenience.
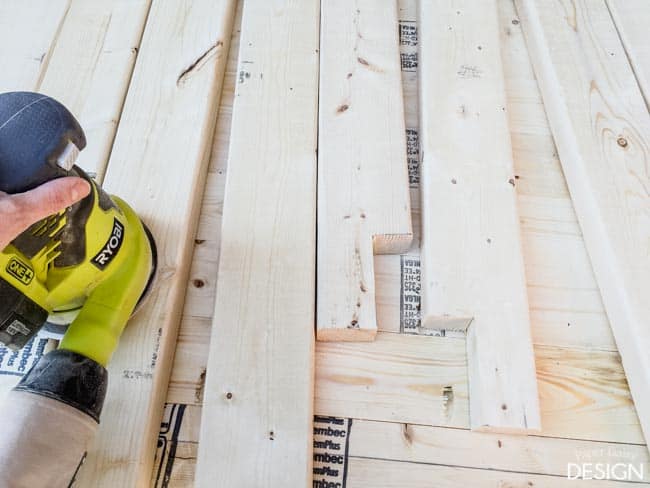
1. Begin by sanding the pine very well. Start with using at least 120 grit sand paper and an orbital sander like this one.
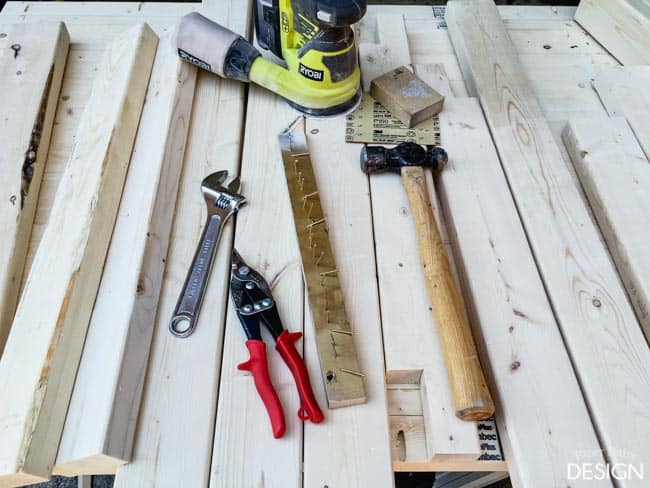
2. Now you are ready to give your new wood and aged distressed finish. Below you see my cast of characters. A wrench, wire cutters, a hammer and a scrap piece of wood with nails driven into it about 1/4 of the way.
For the craft table top, I used the same distressing tools, but took care not to distress the actual area I would be using. I had previously worked diligently to plane the jigged pieces of 2×4’s together and get super smooth. The top will often be used for writing and sketching, so I didn’t any bumps or dents.
It’s kind of hard to tell, but I distressed the heck out of the edges of the table.
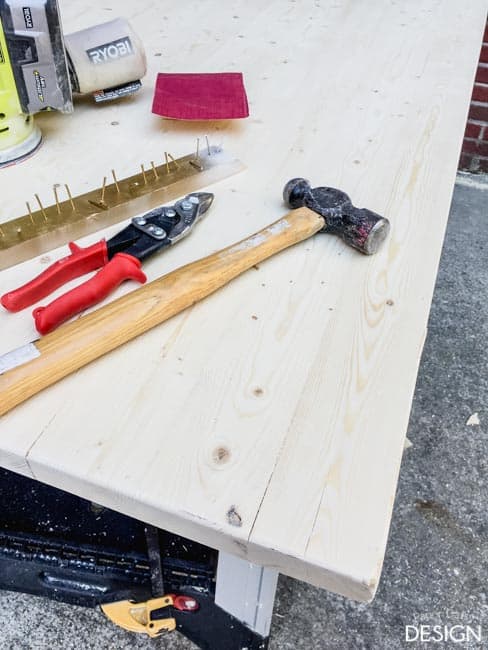
3. After your wood is distressed to your liking, give it another sanding with 200 grit sandpaper by hand, with a sanding block. The goal with this this step is just to wear down the distressing enough so that it looks like it’s been there for a while. A fresh, sharp dent it is not likely to appear on an old piece of wood.
4. Now you are ready to mix up some milk paint. Yes, milk paint! It is my favorite little secret ingredient in this technique. It binds to the new, fresh wood very well but doesn’t really get blotchy like stain does, even with wood conditioner.
I was provided a sample Amy Howard At Home Toscana Milk Paint to use for this tutorial.
All opinions, ideas and techniques are solely my own.
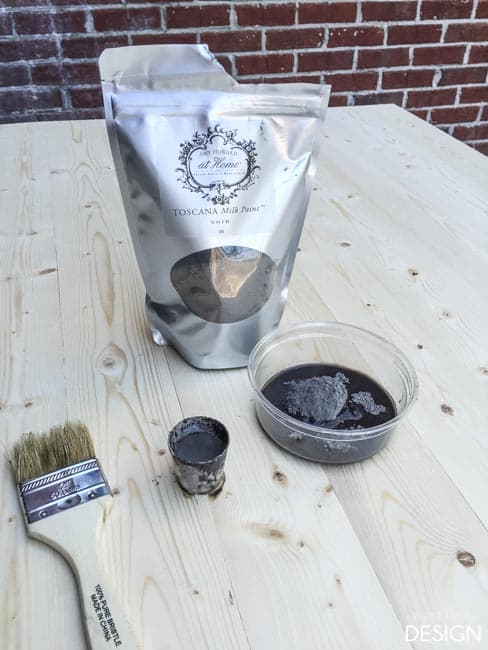
Because I wanted to create a wash, not actually “paint” the surface of the wood I mixed the powder and water to a 3:1 ratio using a medicine cup. I think that’s about 2 tablespoons.
3 Parts Water to 1 Part Paint
5. Then I began applying the wash with a chip brush.
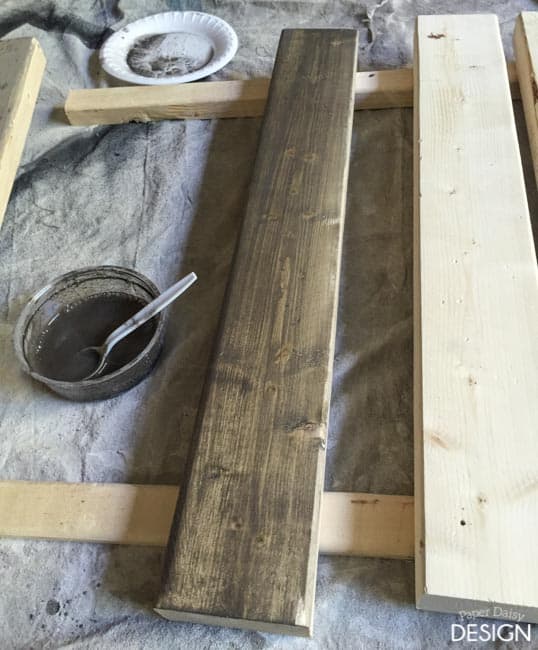
If the wood had divots or dents I swirled my brush around and filled the indentations with the wash.
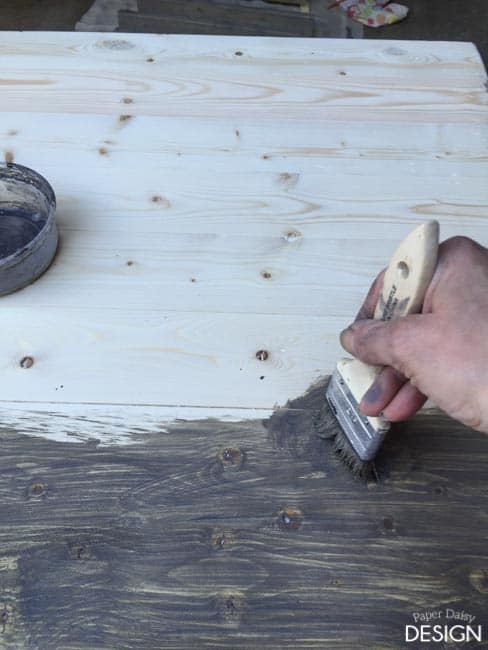
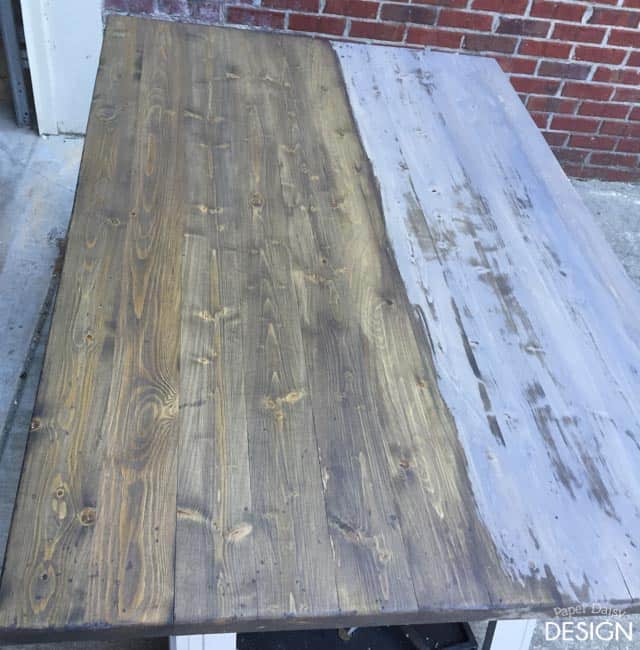
This is a photo of what the table top looked like once it was complete. The milk paint begins to dry fairly quickly.
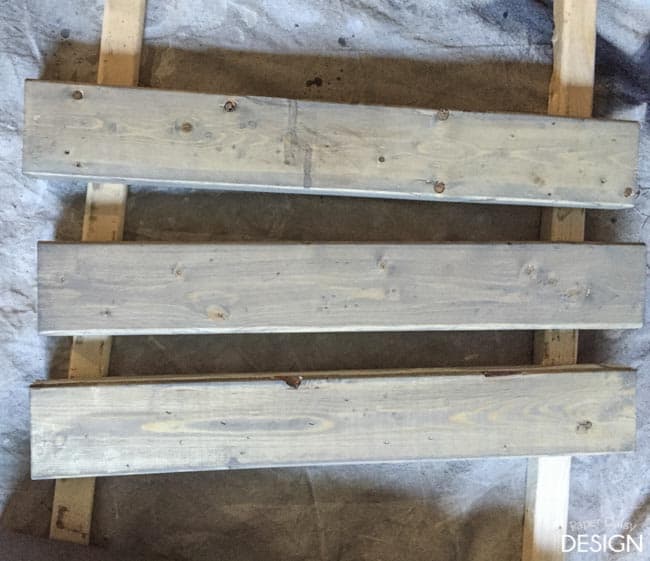
Here is a photo of what some of the leg pieces looked like completely dry.
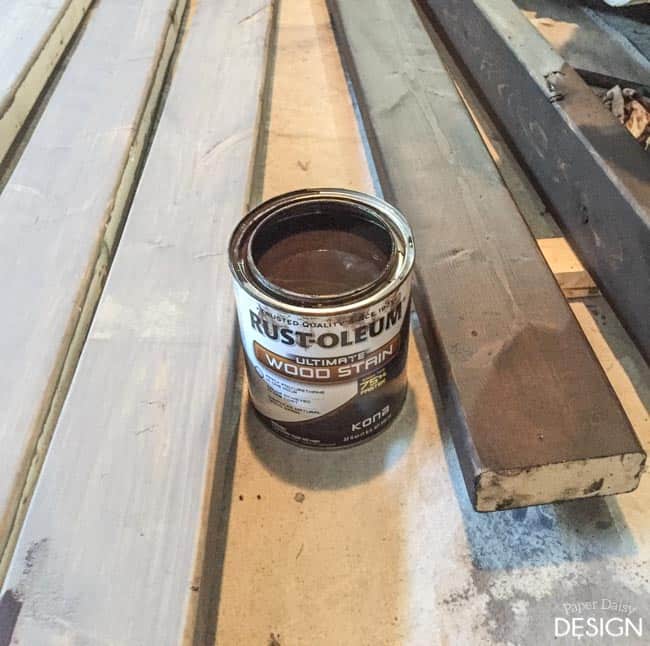
6. Now it’s time to apply the stain in the color Kona by Rustoleum. I should advise you that this color is not widely available in select hardware stores. I ordered mine here.
I like to use a cotton rag, like an old t-shirt to spread my stain for a hand-rubbed finish. My technique is kind of like rubbing off the stain as you go.
7. As your rag becomes saturated with stain, you will need a second rag properly wipe the stain off of the wood.
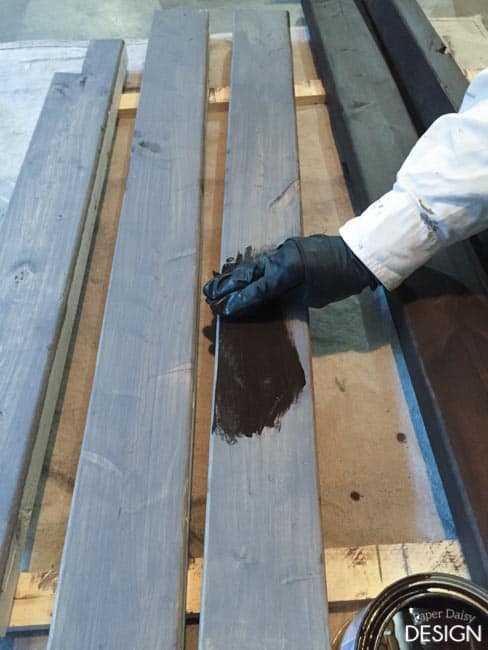
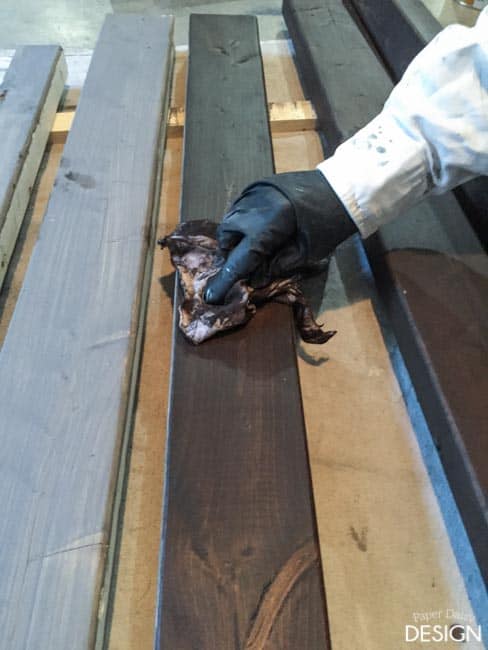
Because I know a picture is worth a 1,000 words, here’s another photo series of applying the stain.
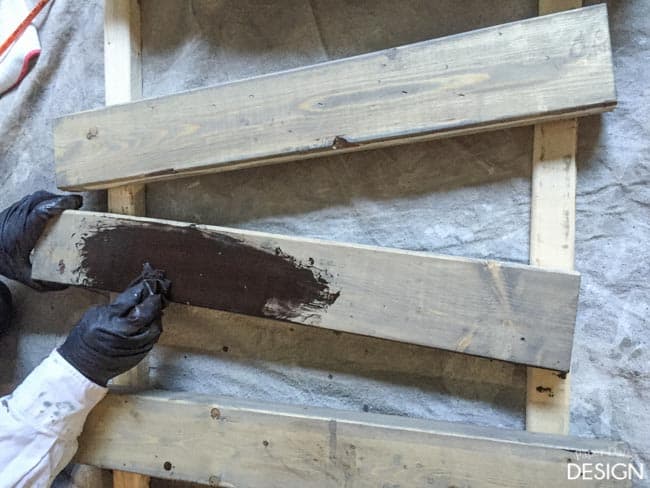
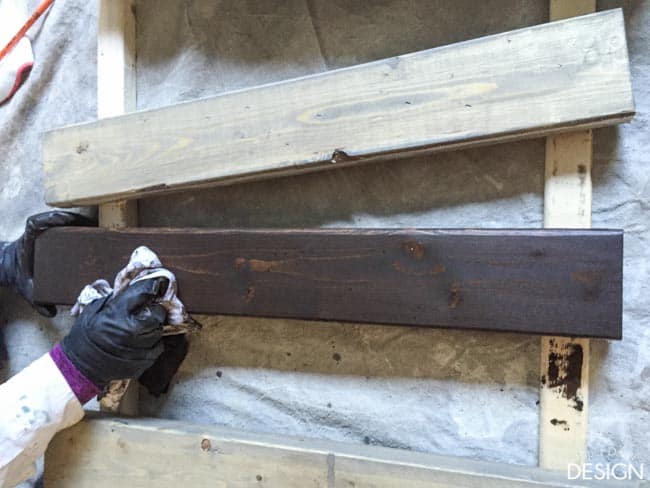
I found the finish dried pretty much like as it looked when it was applied. If you feel like it needs to be darker, apply a little more stain and wipe gently. Conversely, if you feel like it is too dark, get a new rag and wipe until you are happy.
For some of the larger knots I applied a bit more stain with a small brush and just barely wiped it up, but took care not to create a puddle.
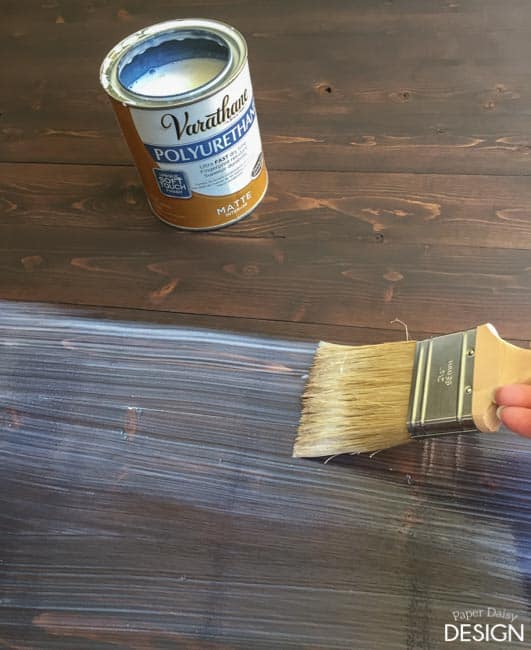
8. For my top-coat finish I used Varathane Polyurethane in a Matte finish. Unfortunately, this is hard to find as well. Here’s a link.
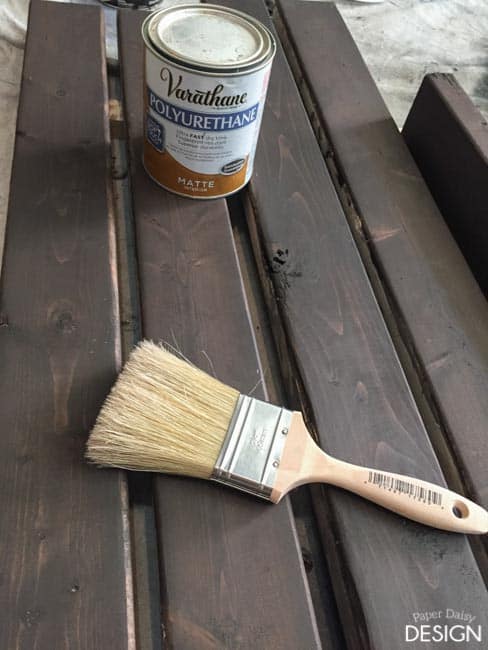
To apply this finish, you want to use a good quality stain/finish brush.
One of the things I really, really like about this for a top coat, besides the flat matte finish ,is how easy it is to use. As long as you don’t let it puddle and work in nice even strokes, the little ridges and streaks you see below totally disappear.
8. If your piece of furniture is not going to be wiped or scrubbed on a regular basis you are done! I will be adding a second coat to my craft table top for extra protection. If it were a table top I used in the kitchen I would likely use 3 coats just for the extra security. There’s nothing worse than having to refinish a table in a year or two.
I am seriously in-love with this finish. I used to avoid building with pine because I really disliked the way the finish looked inconsistent. But now, I can’t wait to save some money and build more furniture with pine!
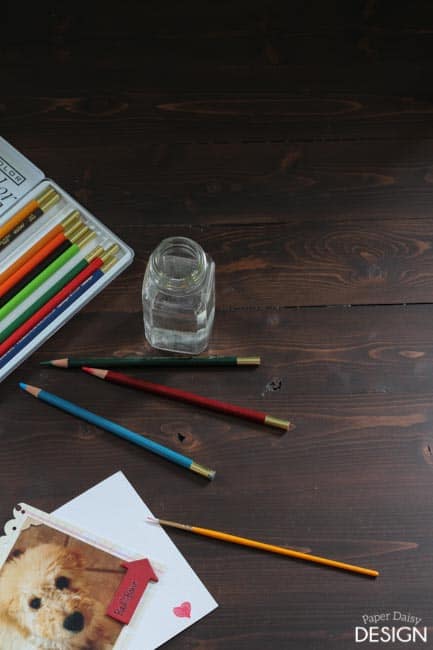
Here is another look at my Vintage Industrial Cart Craft table.
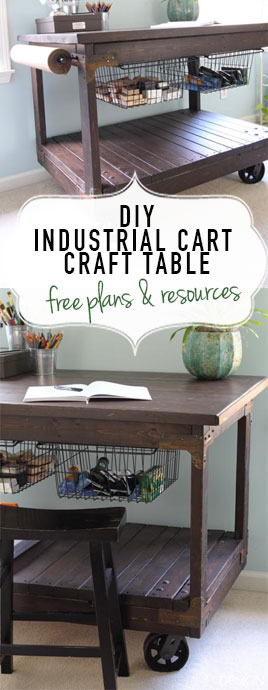
Want to build your own? Click here for the complete tutorial of this easy to build craft table cart!




10 Comments
Kim G
March 4, 2016 at 2:09 pmExcellent tutorial. I even like it just after the milk paint coat! That is almost exactly the color we want our DIY kitchen cabinetry to turn out. So, your blog today was a two-fer!
I love the craft table too. The addition of the craft paper roller on the end really makes it.
Judy Fry
March 14, 2016 at 2:29 pmLooks great. I like the use of milk paint & then the stain! Awesome
Aprende a restaurar con tu mesa favorita como un experto |
October 25, 2016 at 10:40 am[…] Fuente: paperdaisydesign […]
DIY Craft Table: Vintage Industrial Cart Inspired Craft Table -
January 16, 2017 at 6:58 pm[…] would do the trick. I share the complete details on how I created this finish in a follow-up post, click here. Y’all, I couldn’t be more proud of how fantastic these humble 2×4’s […]
Totts
February 4, 2017 at 10:34 amI used this exact method on a coffe table. I tested a part of the table after I applied 2 coats of this poly (after a week of curing) and I can leave visible scratches with my fingernail. It almost feels like a wax. So I lightly sanded the top and applied a 3rd & 4th coat and let cure another week. Same thing. Did you have the same issue?
If I put the table out to use it will look terrible in a matter of days.
Leslie
February 4, 2017 at 1:12 pmhave not had any issues like that. I use mine as a craft table so it definitely sees a good bit of rough action. And we recently moved and I can promise you those guys did not treat it gently.
What type of top coat did you use? Maybe you didn’t wipe off enough or used too much milk paint? It’s really hard to say.
I’m sorry you are having issues. I have had a similar type of issues when I used a wax as a top coat that was too heavy but I intentionally used a stronger top coat with this piece just as I would with any furniture that receives a good bit of wear. Tabletops, desks and the like, I always use some type of polyurethane finish.
Hope this helps! Good luck. I would suggest sanding it down a little to remove any excesses and try again??? I don’t think you’d have to strip it. Just possibly a heavy sanding.
Leslie
20 Restoration Hardware Inspired DIY Projects- A Cultivated Nest
May 3, 2018 at 1:43 am[…] DIY Salvaged Brown Finish Industrial Cart from deeplysouthernhome.com […]
Build a Rustic Sofa Table & Make New Wood Look Old | DeeplySouthernHome
July 10, 2019 at 12:32 pm[…] Here’s another great finish to try. This technique is a perfect knock-off of Restoration Hardware’s Salvaged Brown finish. Transforms the cheapest woods into a high end salvaged finish. Click here for the tutorial. […]
Teri
June 10, 2020 at 3:07 pmI’m dying to know how you finished the hardware! I looked around for a post on how you did it & couldn’t find one but I MUST know (I say that in the most loving & appreciative way 🤣).
Elizabeth
April 17, 2022 at 3:30 pmI love what you have done here. Can I ask what color of milk paint you used? The link above doesn’t work anymore and I want to make sure I buy the right color. Thank you!