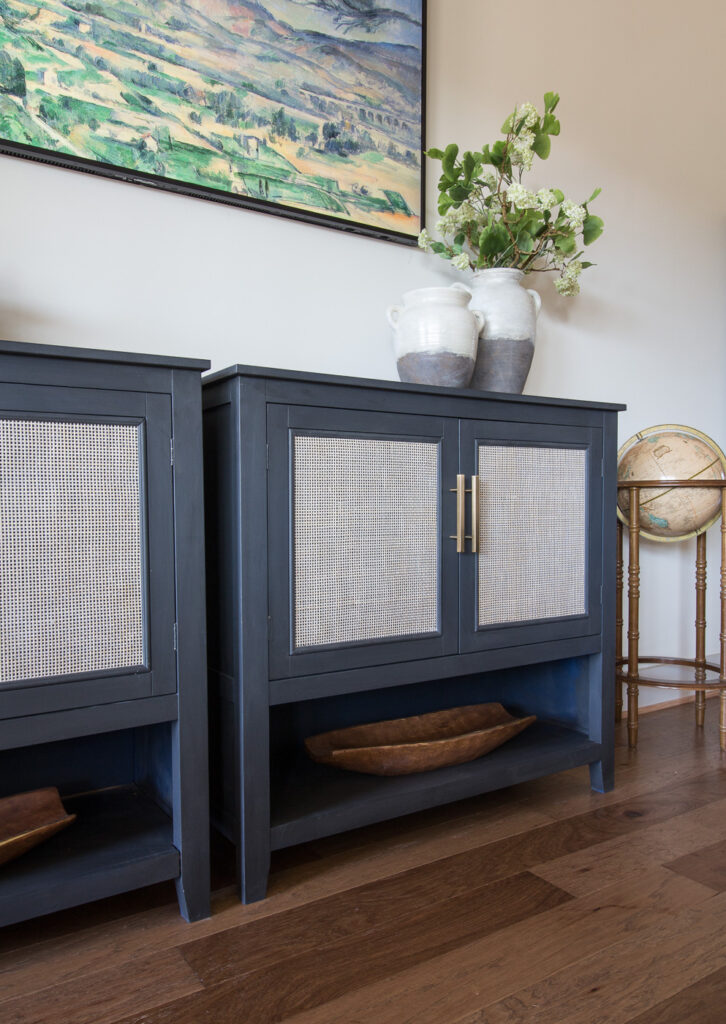
Welcome to the inaugural edition of New Again. My blogging buddies and I hope to make this a monthly challenge where we bring new life to an old piece of furniture or home decor and share how we did it. Look for a link-up at the bottom of the blog posts to check out their great DIY projects!!
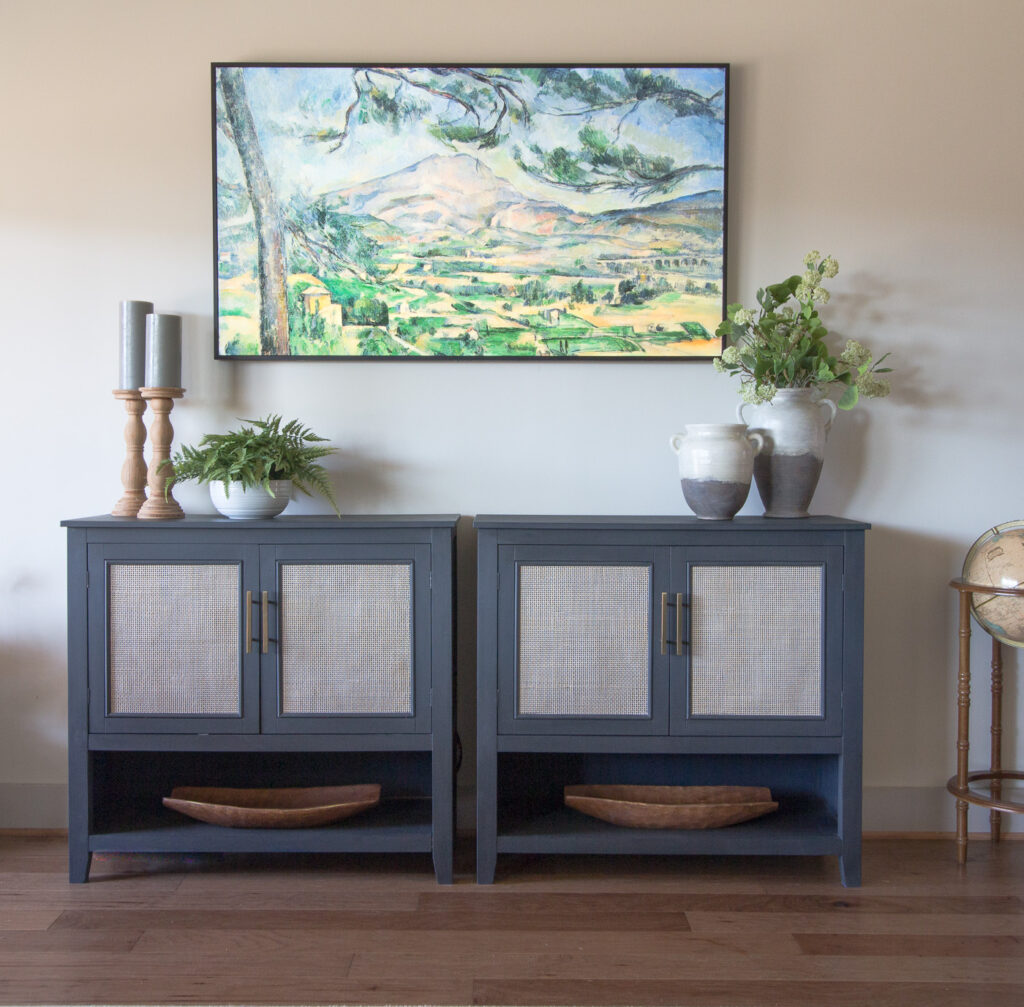
For my project, I gave a simple upgrade to some basic cabinets I originally painted for my Fall 2017 One Room Challenge.
This post contains affiliate links for your shopping convenience. I make a small commission for sales at no cost to you.
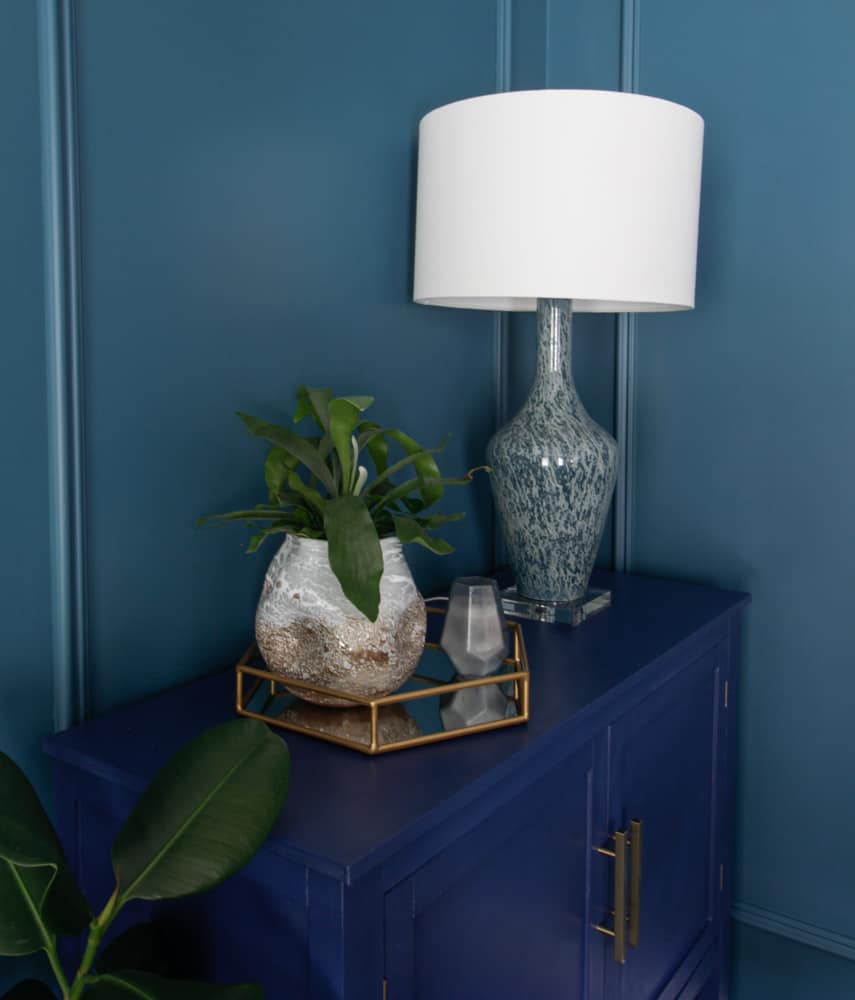
I hunted for the perfect pair of console tables during the challenge to no avail. I really wanted a pair of vintage side tables, even purchased a pair and they were too small.
I ended up buying these cabinets after I realized finding another pair in a short enough time to make the deadline of the 6 week makeover would be nearly impossible.
To customize them for the room I painted them in Aubusson Blue chalk paint by Annie Sloan.
My Basic tips for Painting Furniture with Chalk Paint
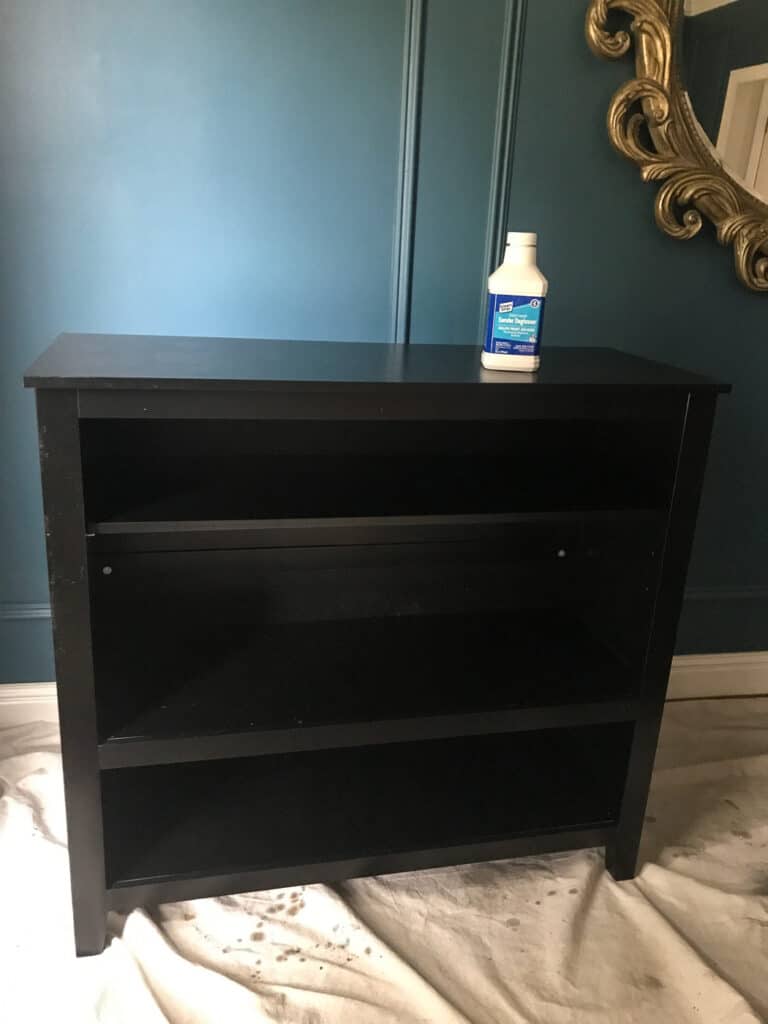
- I always wipe my furniture down with Sanding Deglosser before painting. I usually do this immediately after I give it a good cleaning with a wet rag. I only use a cleaner if necessary.
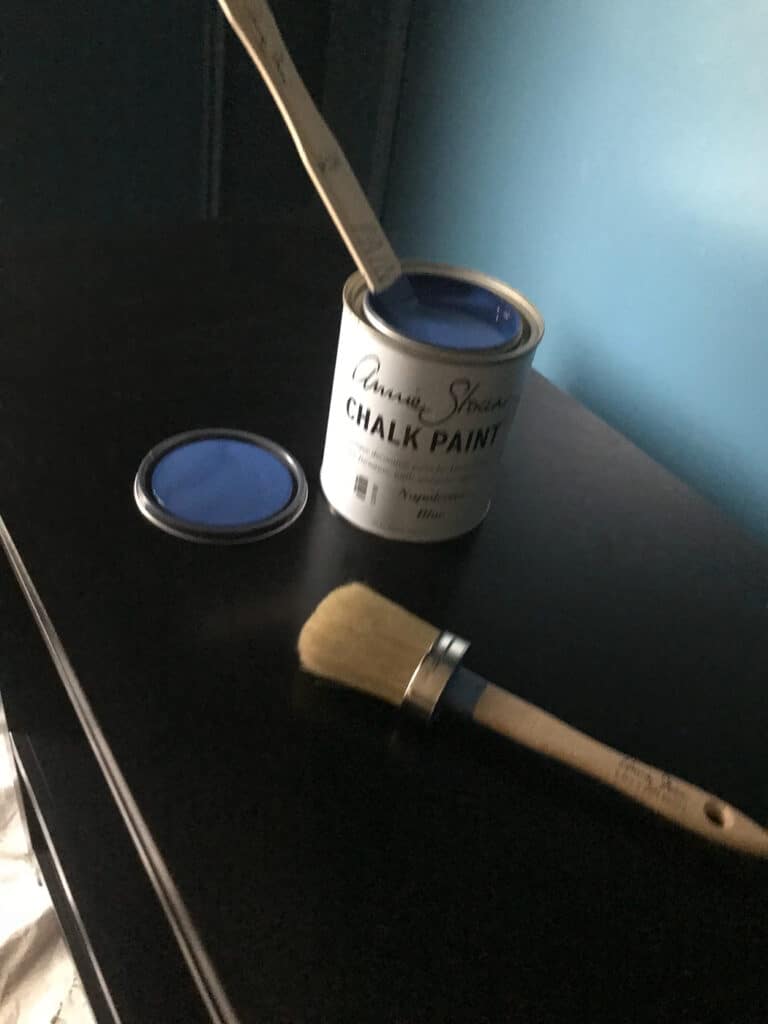
- I like to use this type of brush specifically for chalk paint. I find it does a good job of insuring an evenly distributed coat of paint.
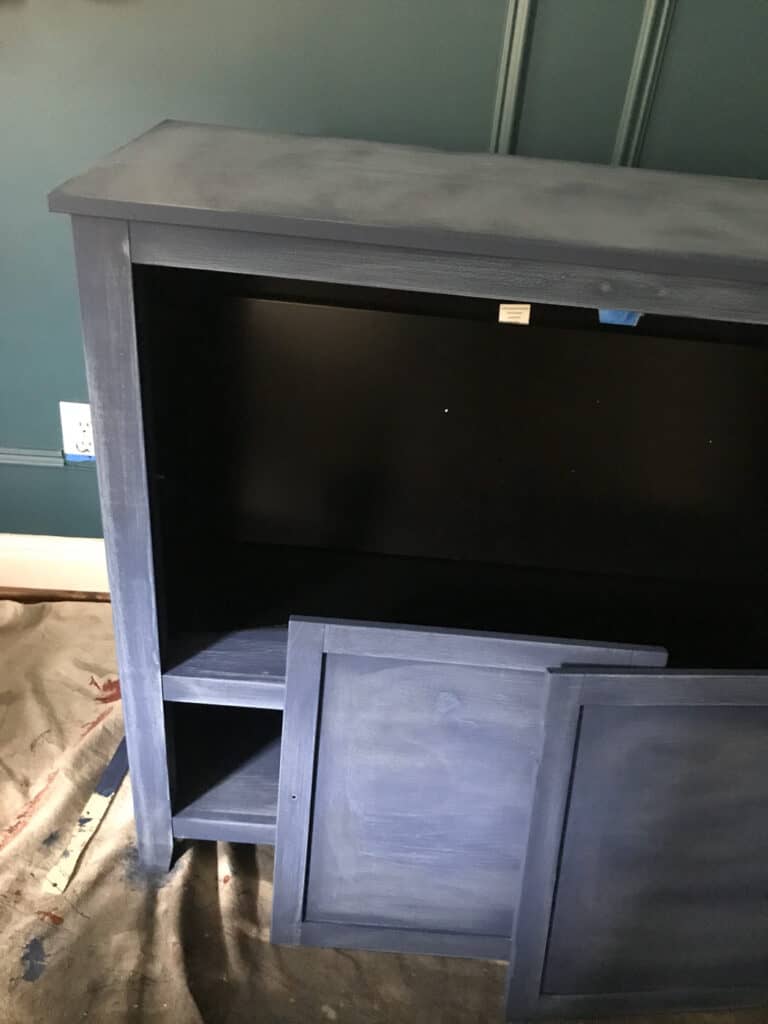
- Then, I sand between each coat with 400 grit sandpaper. This reduces the brush marks to just what gives you that hand painted look.
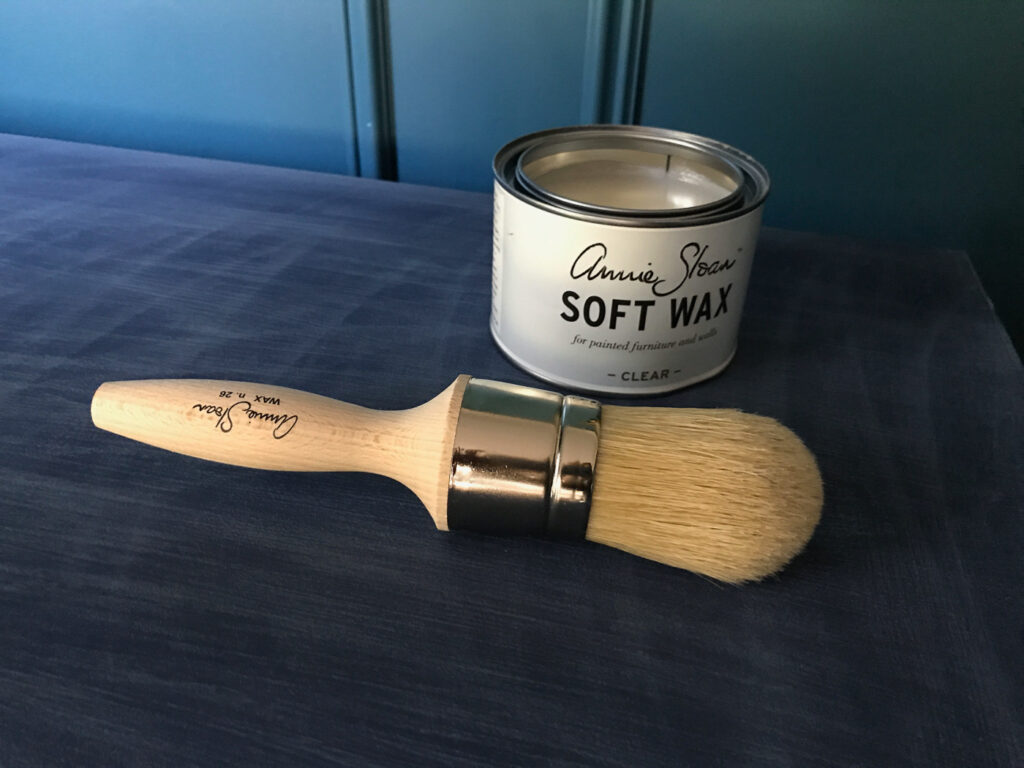
- You can see here I sanded right before I added the wax. Here too, I find a brush specifically designed for wax works best. Give the piece a nice even coat and buff once it is no longer tacky.
When we moved into the Lake Ridge House, I decided to push them together to use under our TV. The plan is to add a fireplace to this wall but I wanted a nice presence here until that time.
Interestingly, the pieces of furniture that faired the best in our DIY move were the chalk painted pieces. The wax definitely provides a sturdy finish.
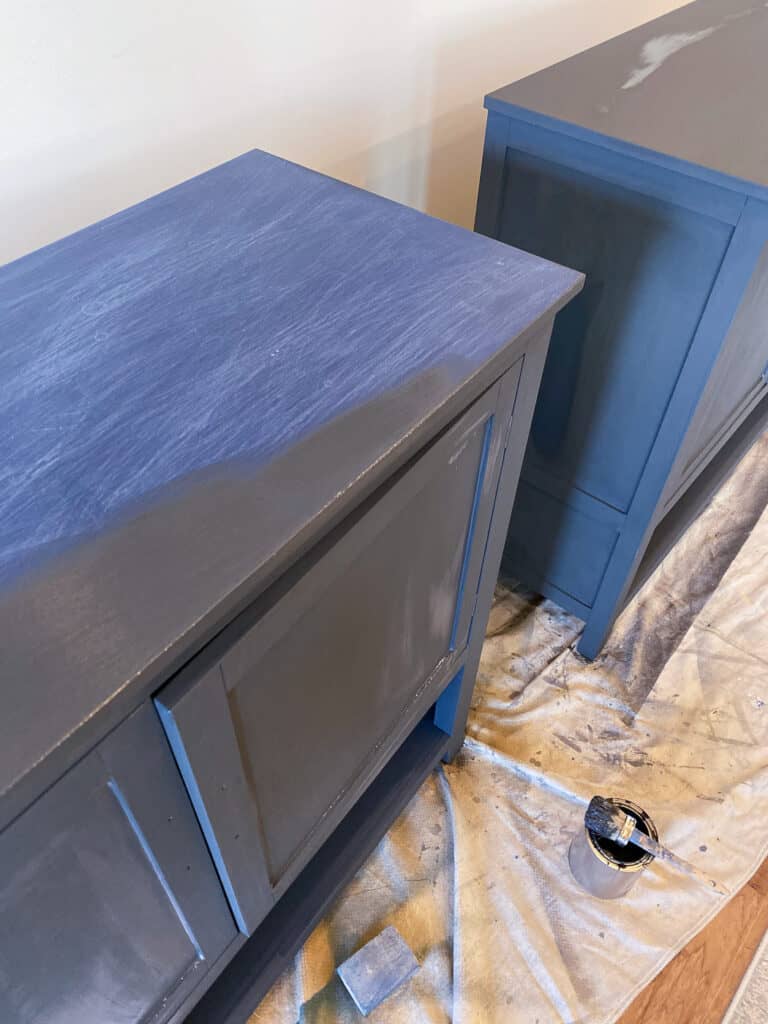
This time I painted the consoles with Annie Sloan Graphite Chalk Paint. It is a beautiful, deep grey to better coordinate with the living room color palette.
After the fresh new color was finished I wanted to add some texture to the piece. I was very fond of the re-emerging trend in caned furniture. An updated version of the classics, which is always my favorite kind of trend. Because even after the trend goes away, you still have furniture that is rooted in classic design.
Apartment Therapy noticed that cane furniture was “everywhere” in May of 2019 and House Beautiful claimed Cane, Wicker and Rattan the #1 one trend in furniture for 2020.
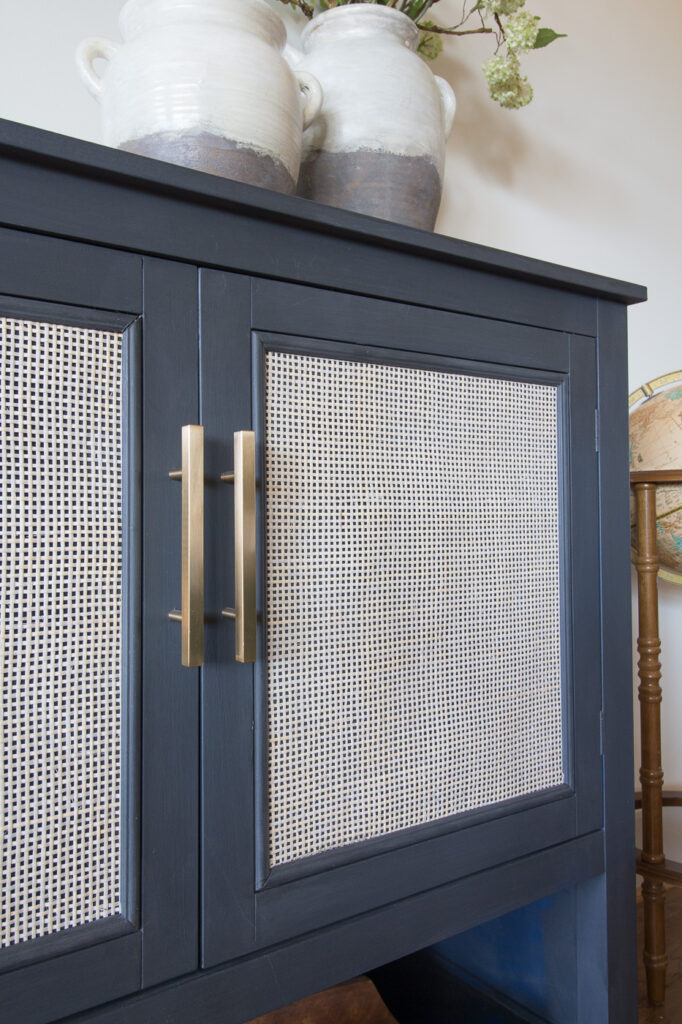
These basic, clean lined cabinets were the perfect candidate for this feature. Most of the new furniture with cane details are very expensive. These consoles cost me less than $175 a piece. I did have to assemble and update them myself but now I have a custom piece I love!
This is what I purchased from Online Fabric Store. The quality was very good and the price was about the best I could find.
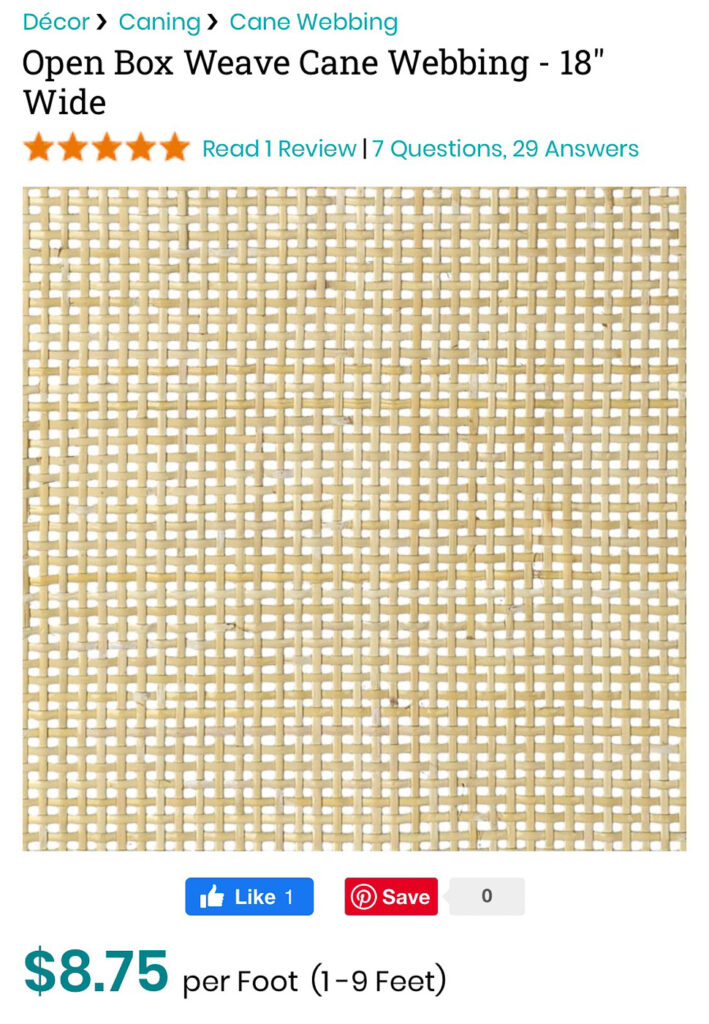
Here are a few pointers to note while ordering your cane webbing.
- Be sure to avoid waste by finding a roll that has a width that is close to the width of the door you will be adding cane.
- The style I chose is a flat, square weave, which is not as open as traditional canning.
The best way to share this type of tutorial is with a video.
Other helpful reminders
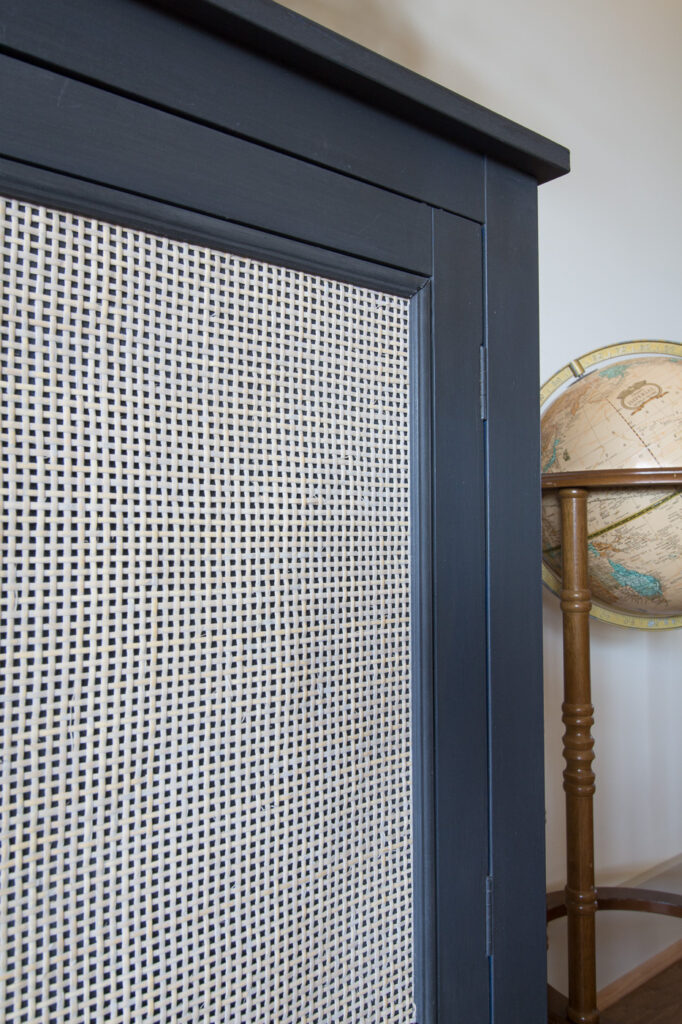
I chose to not cut out the center of the cabinet. This type of caning and installation looks best with a hard surface behind it.
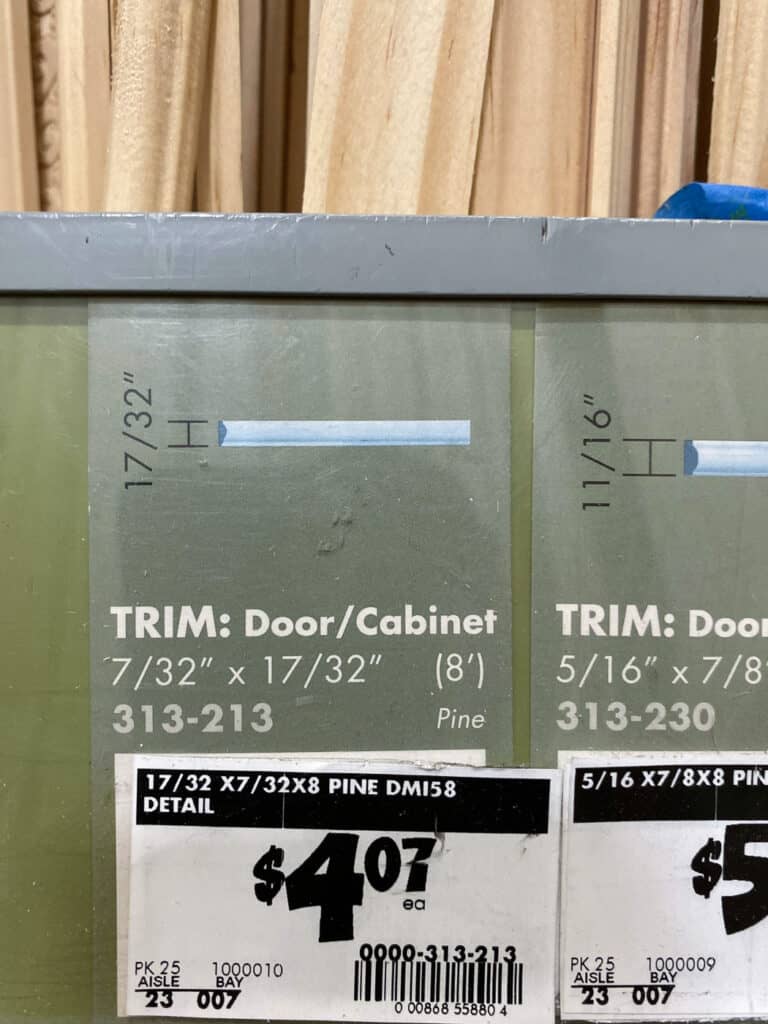
I finished off the edges of the cabinet with this very skinny cabinet moulding. It covers where I glued the edges of the cane to the cabinet and secures it again.
After I got the first piece of cane cut I double checked the size. When I did so I realized that the cane was a bit more yellow than I wanted for this room.
So, I decided to give the caning a wash of Paris Grey chalk paint. (Added about a tablespoon of paint to 1/4 cup of water.)
Be sure to check out the rest of these fabulous makeovers and repurposed DIY projects!!




7 Comments
Lindsey Manning
March 10, 2020 at 7:33 amI LOVE the new cane fad and these cabinets turned out beautifully! Well done!
laura
March 10, 2020 at 7:47 amThese look like high dollar pieces from a designer store. I love them.
[email protected]
March 10, 2020 at 7:52 amHI Leslie
I have been eyeing your cabinet on social media. Okay, you answered my question with the not cutting out the cabinet fronts. It looks amazing and I love that you didn’t cut out the fronts. And, painting the cane to tone down the yellow! Looks amazing!
laura
PS put me on the waitlist for this challenge group ;0)
laura
Jennifer Fancher
March 10, 2020 at 9:01 amWow!! This looks gorgeous, Leslie! I love how the pulls look next to that caning! Bravo!
Kristin
March 10, 2020 at 10:26 amThese turned out so amazing!! I love the cane on the front and the color!! So inspiring!!!
Jordan Kahn
March 10, 2020 at 10:30 amI love the idea to add caning! It adds so much to these!
Margaret Morton
March 11, 2020 at 10:24 amLove the cabinets. I am always making over thrift finds. I get updated one of a kind pieces for my home for next to nothing. Definitely will add cane now. I have a project in mind. Thanks