This is a sponsored post written by me on behalf of FrogTape®. All opinions are 100% mine.
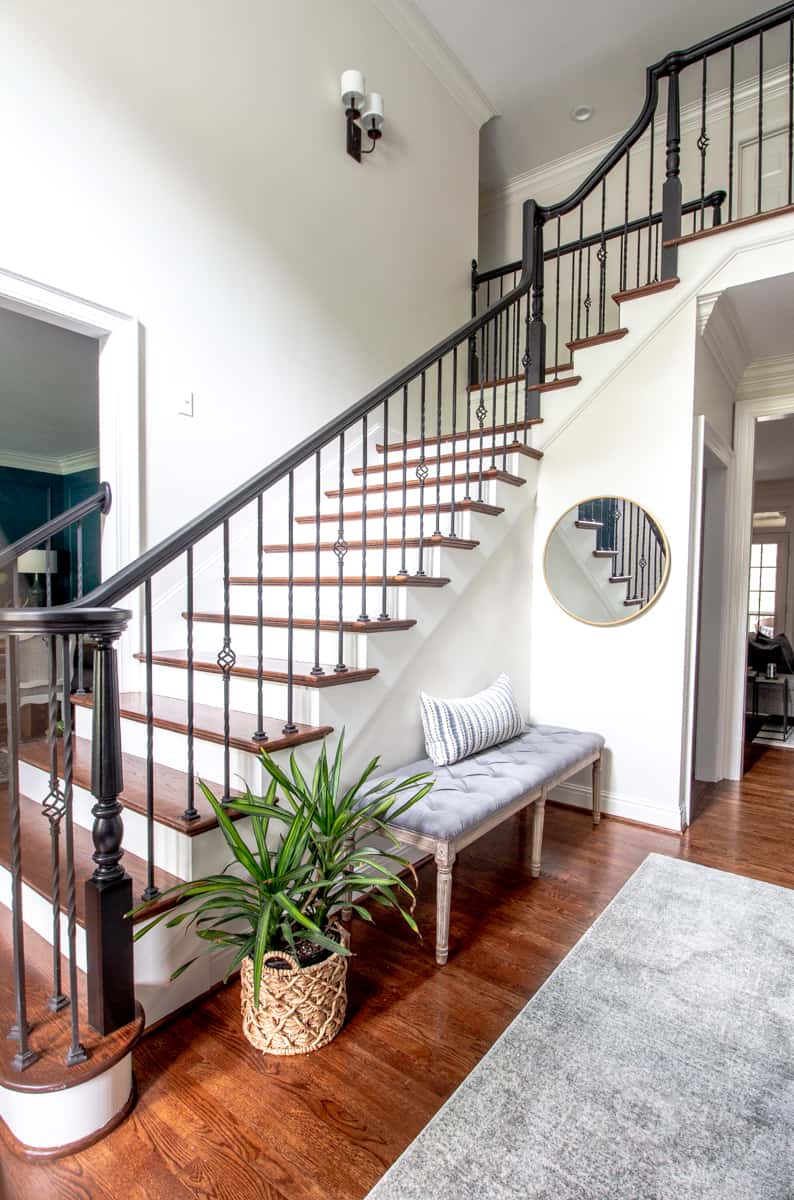
In today’s tutorial I am sharing how to paint trim, stair risers and handrails with perfectly crisp lines every time!
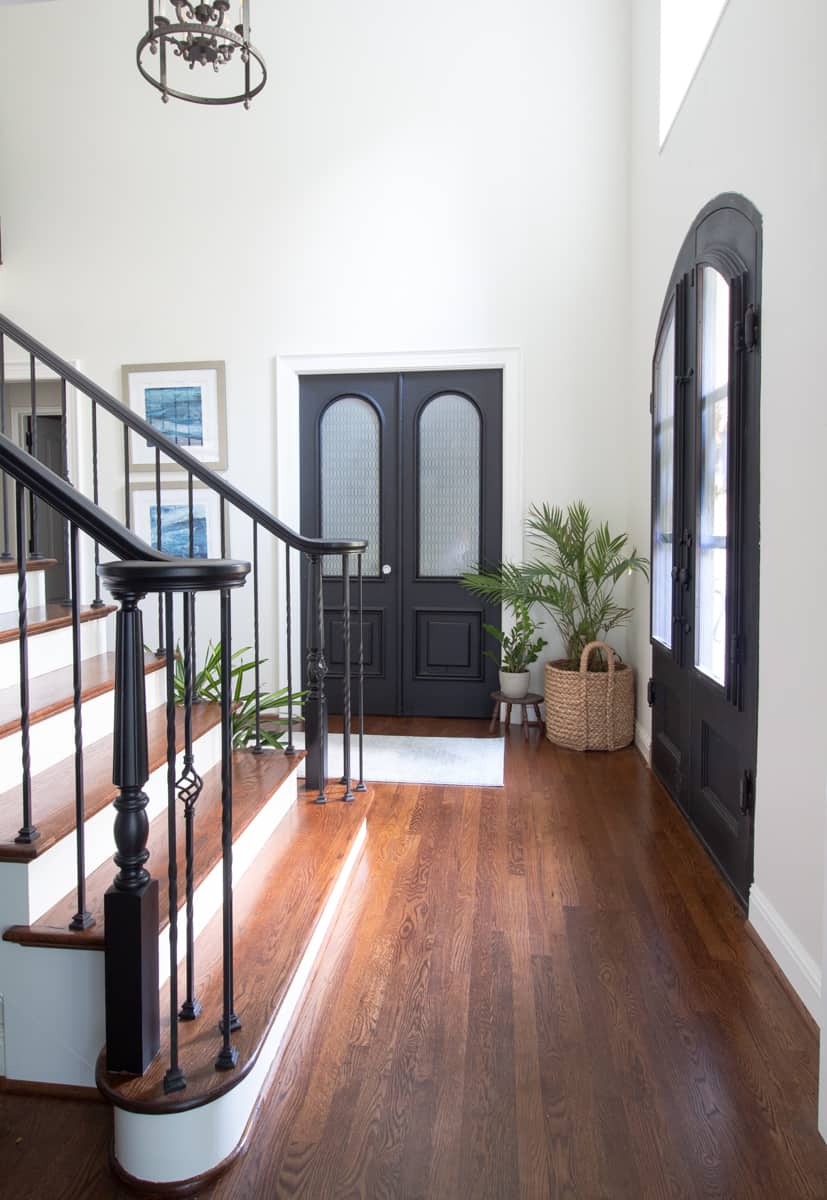
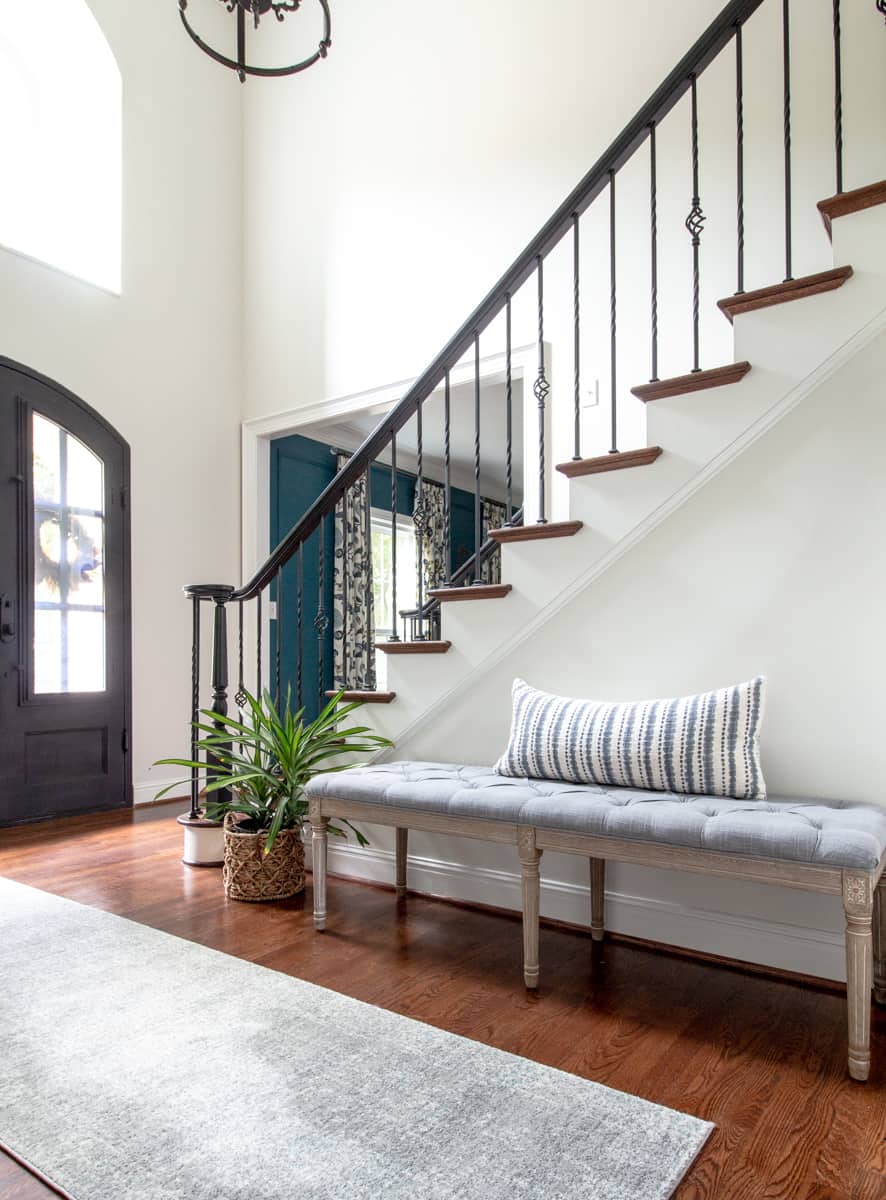
This is one of those projects I’ve set aside for longer than I should have. Now that it is done I couldn’t be happier with the fresh, crisp white paint and the new and improved look for the stair handrail. And of course, I regret not doing this sooner!
I guess it is inevitable that stair risers get dirty and scuffed, but as a result of having our floors refinished there was evidence of the mess they made in the process.
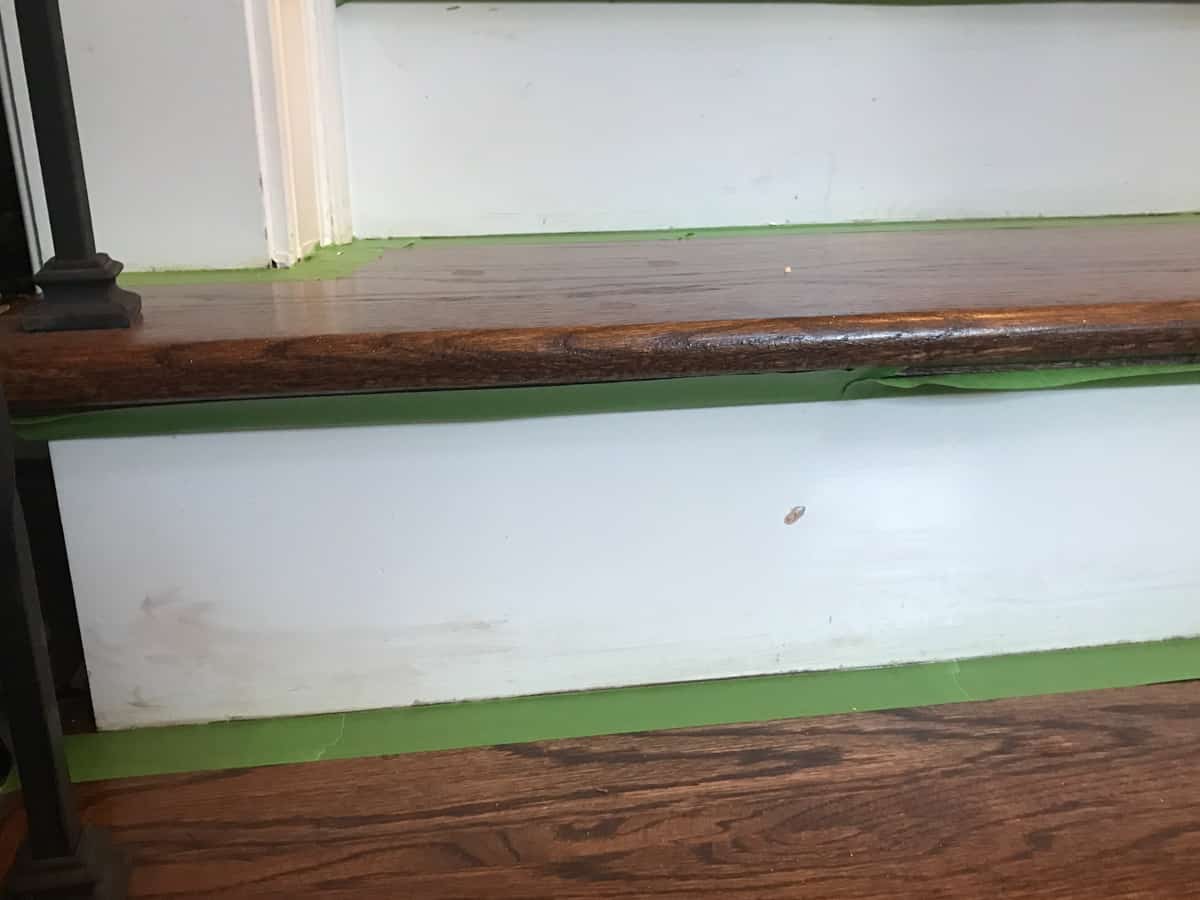
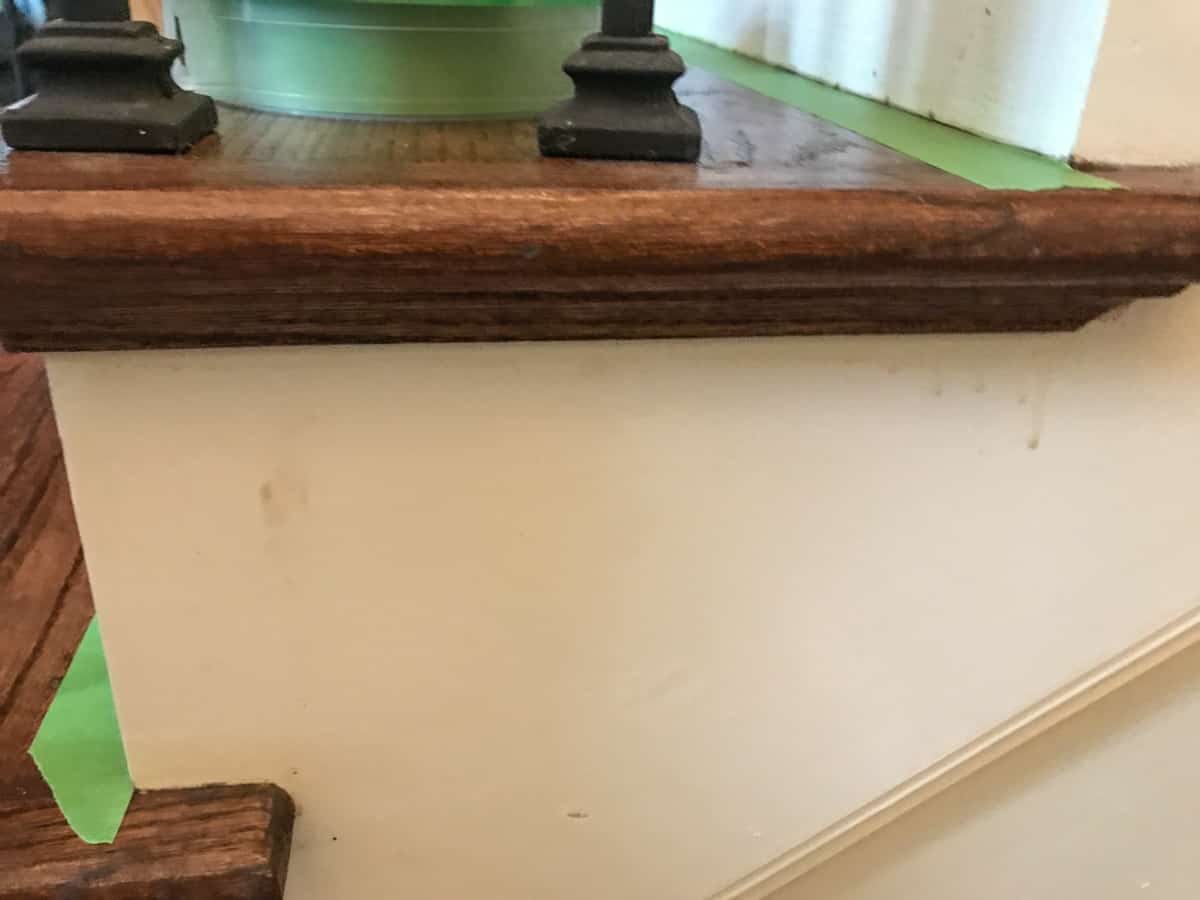
A job this precise requires painters tape you can count on. The finish on the stair treads would be ruined otherwise. All FrogTape® brand painter’s tapes are treated with a unique PaintBlock® Technology . A super-absorbent polymer reacts with the paint and instantly gels to form a micro-barrier that seals edges giving you crisp, clean paint lines the first time!
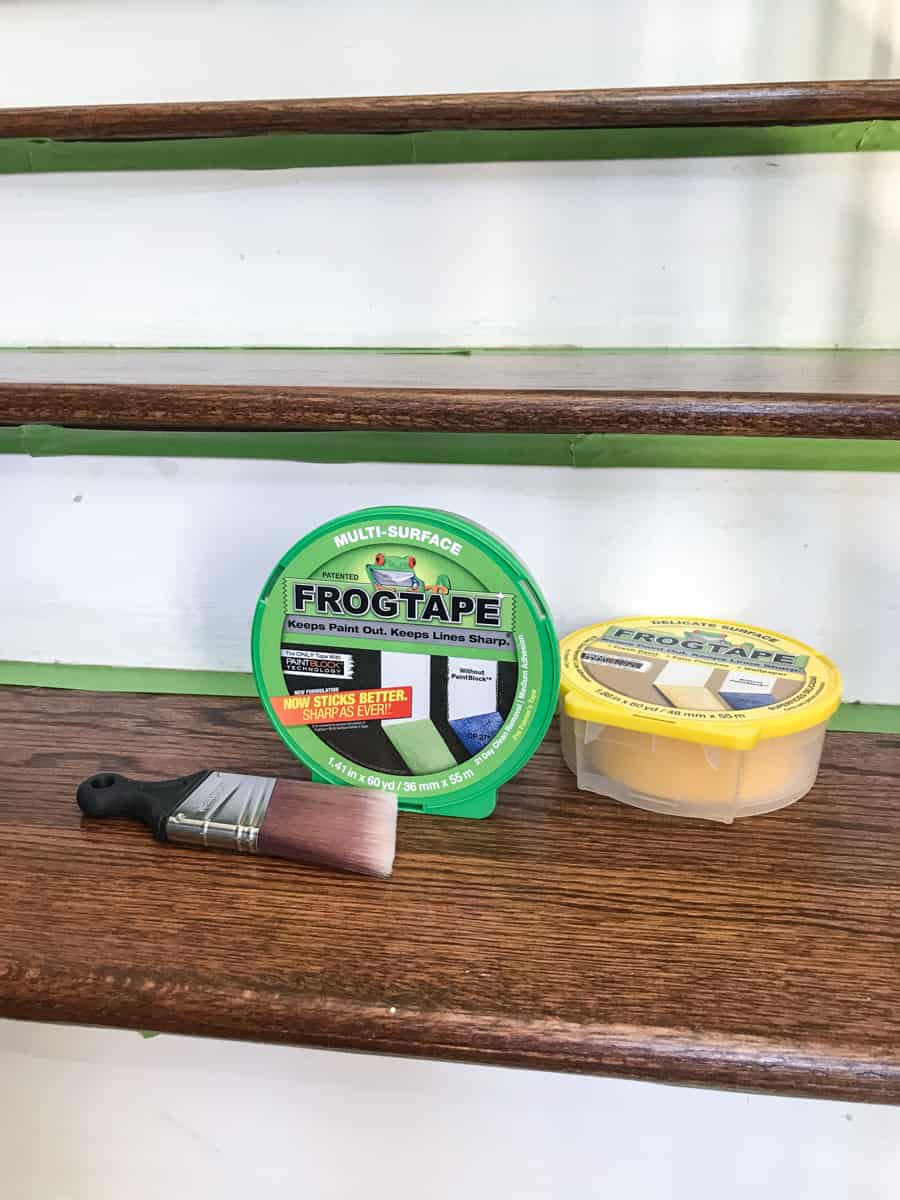
We also painted the trim all along the stairs and foyer. The walls had been painted when we moved in, but in our crazy, paint everything before we move in mode, the work was not perfect and we skipped touching up the baseboards entirely.
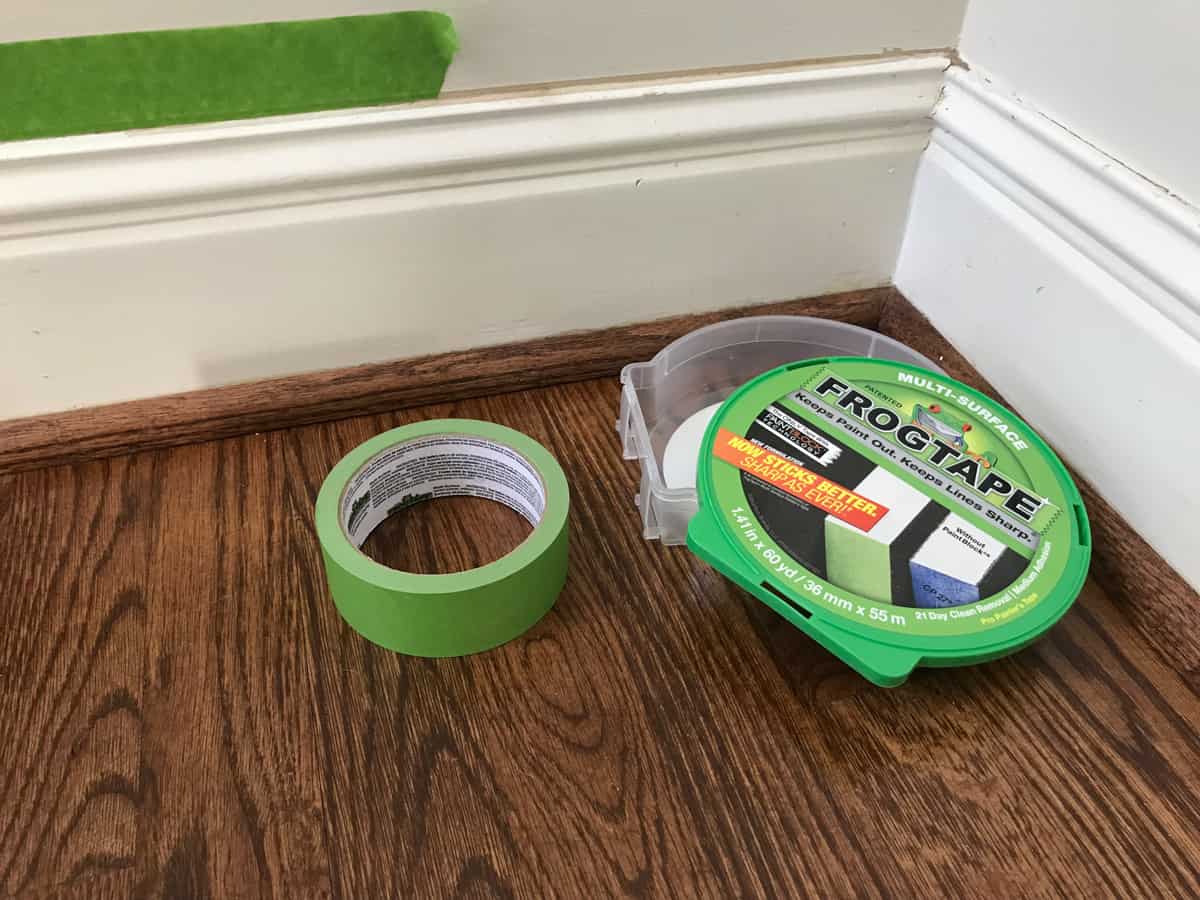
After applying FrogTape® to the top of the baseboards, I ran another strip along the shoe molding. It is important to run your fingers along the edge of the tape to insure a tight bond.
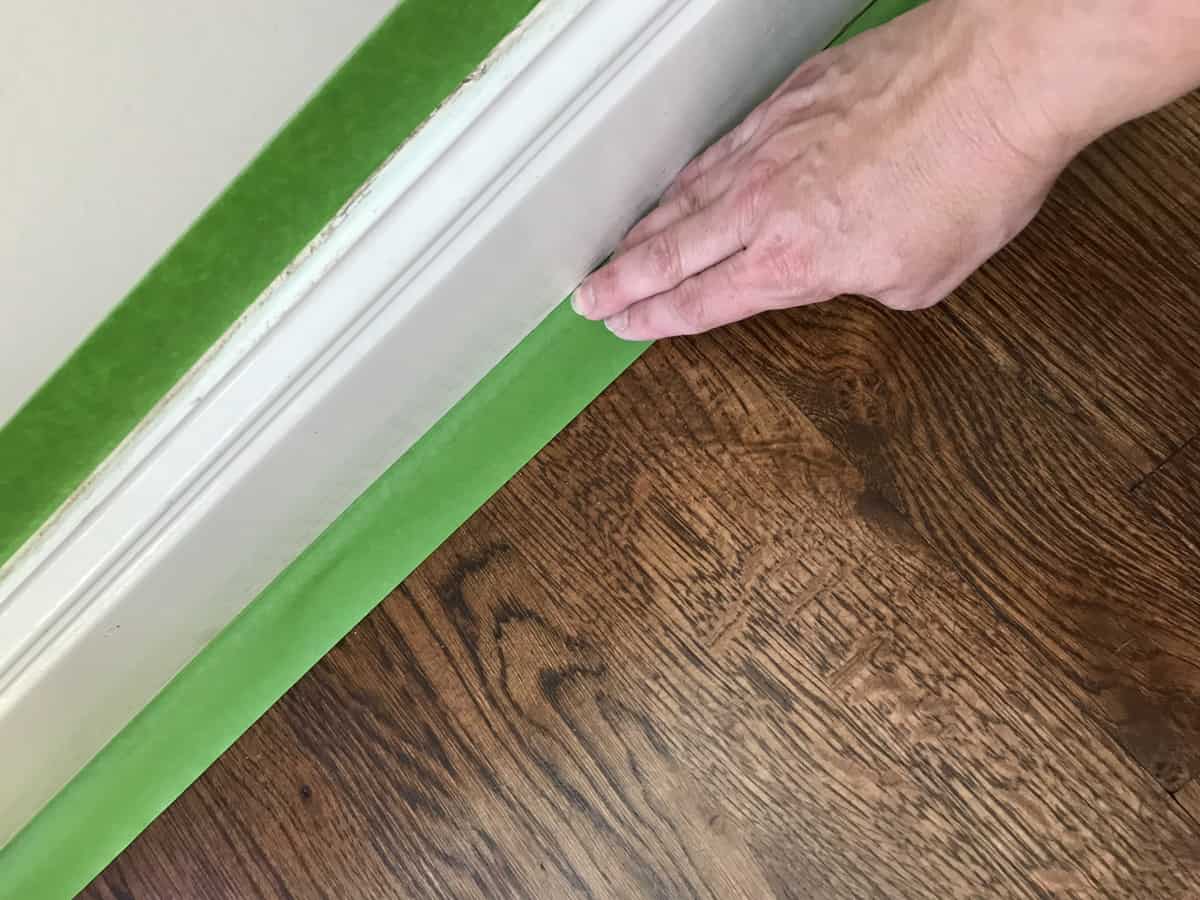
Then it was time to paint! Painting really goes so much quicker with a thorough tape application.
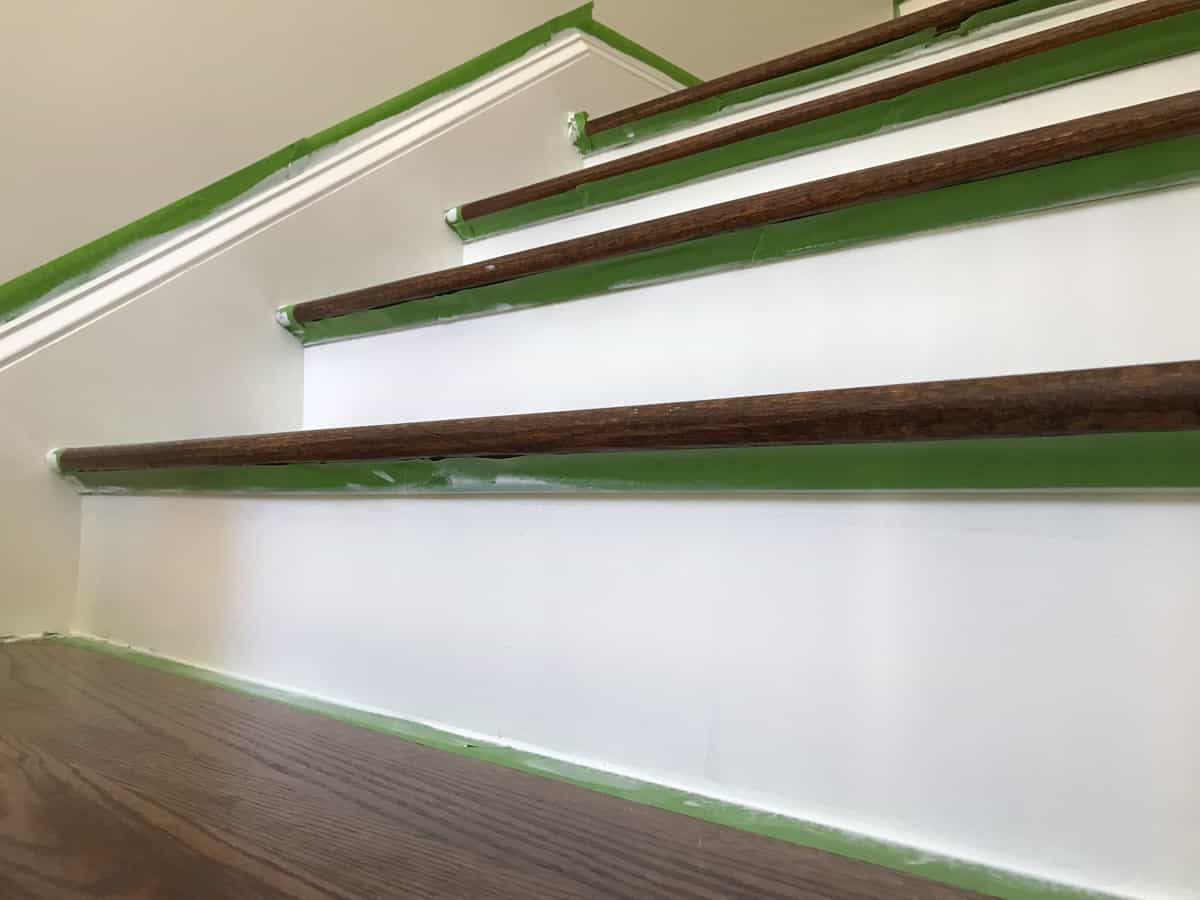
Of course, proper preparation is key. Before I even started applying tape we cleaned all surfaces with a damp rag.
For the handrail, which was obviously stained previously, I cleaned it with soap and water to remove all grime and oils. Followed by a good wipe down with sander deglosser.
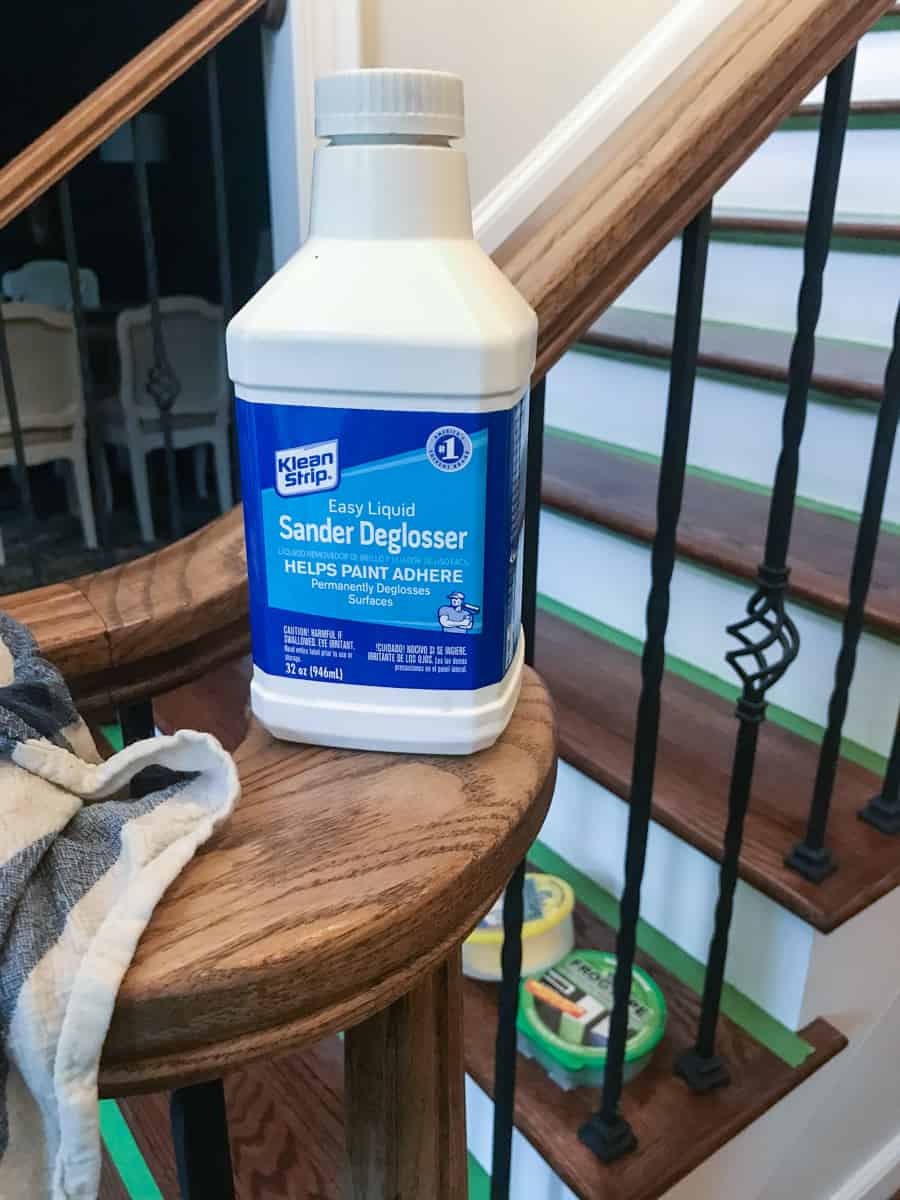
After everything was dry, I wrapped each iron rod with tape where it met the handrail. This actually went much faster than I had anticipated.
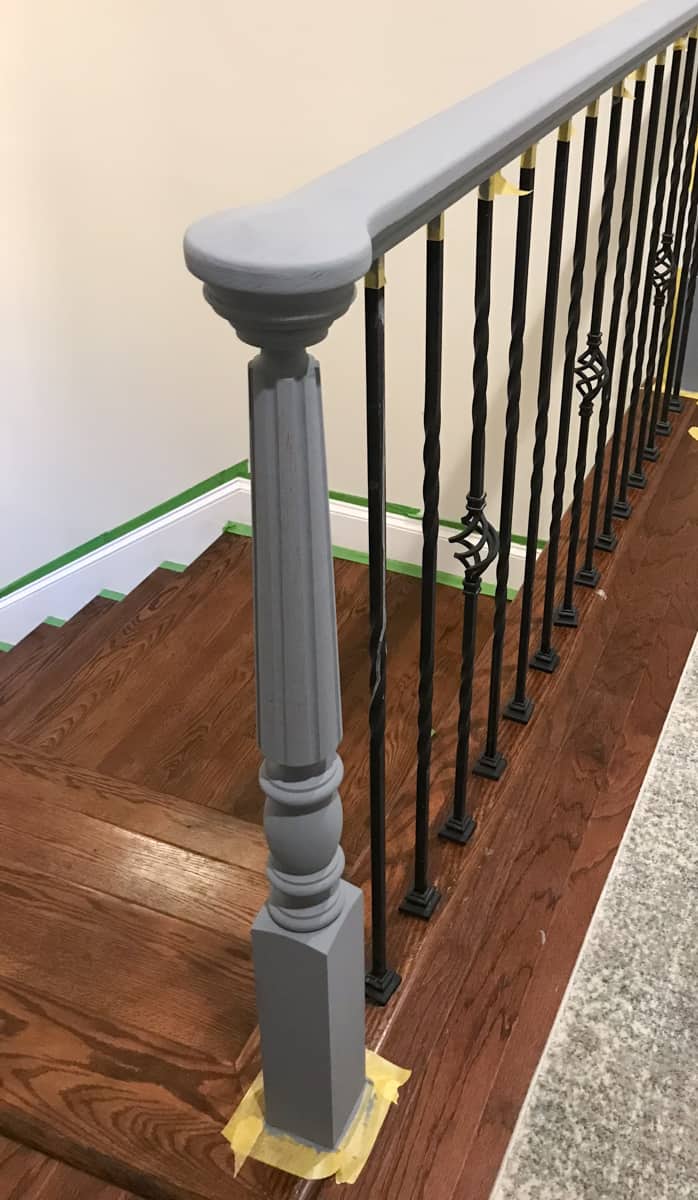
I primed the handrail with a tinted primer, followed by paint. To make quick work of all the nooks and crannies I found it was best to use two kinds of brushes.
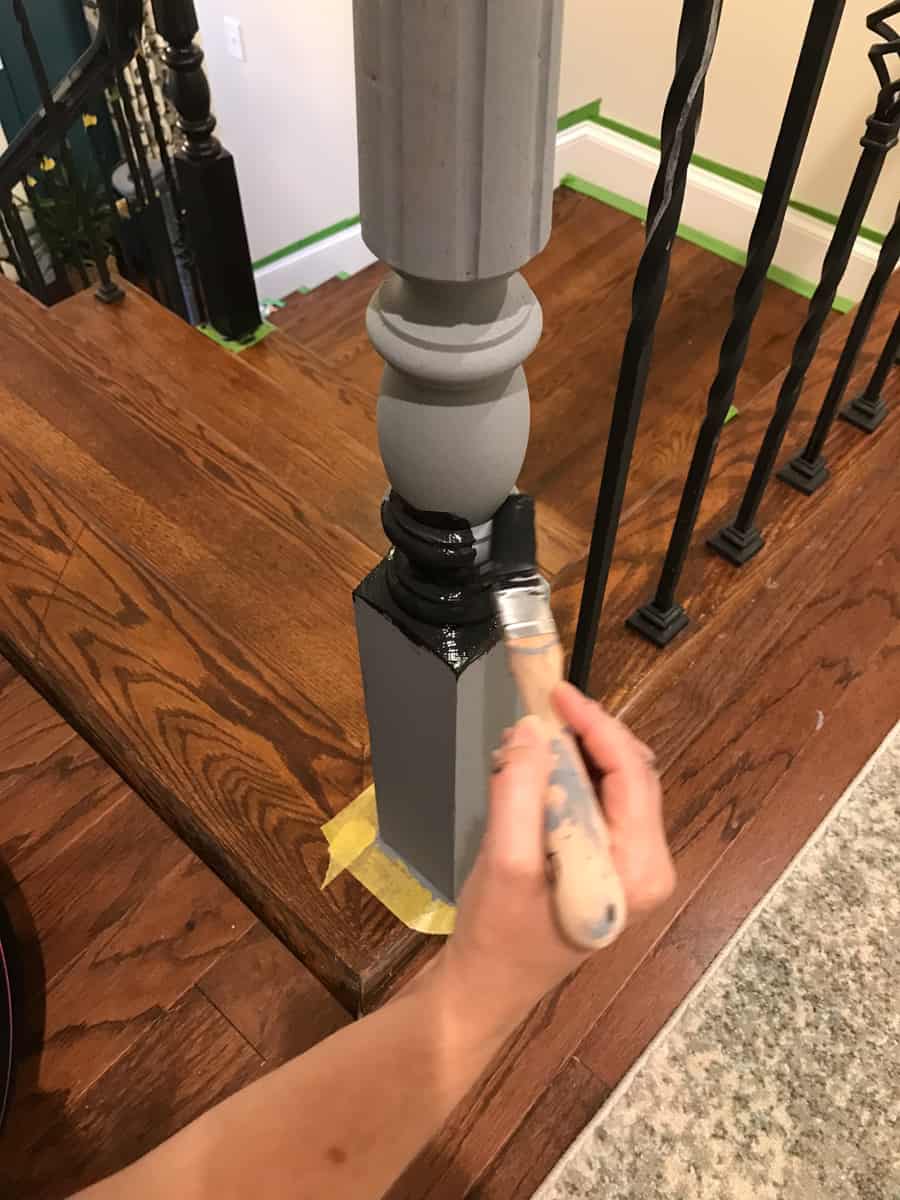
I used this small angled brush for the curves and crevices.
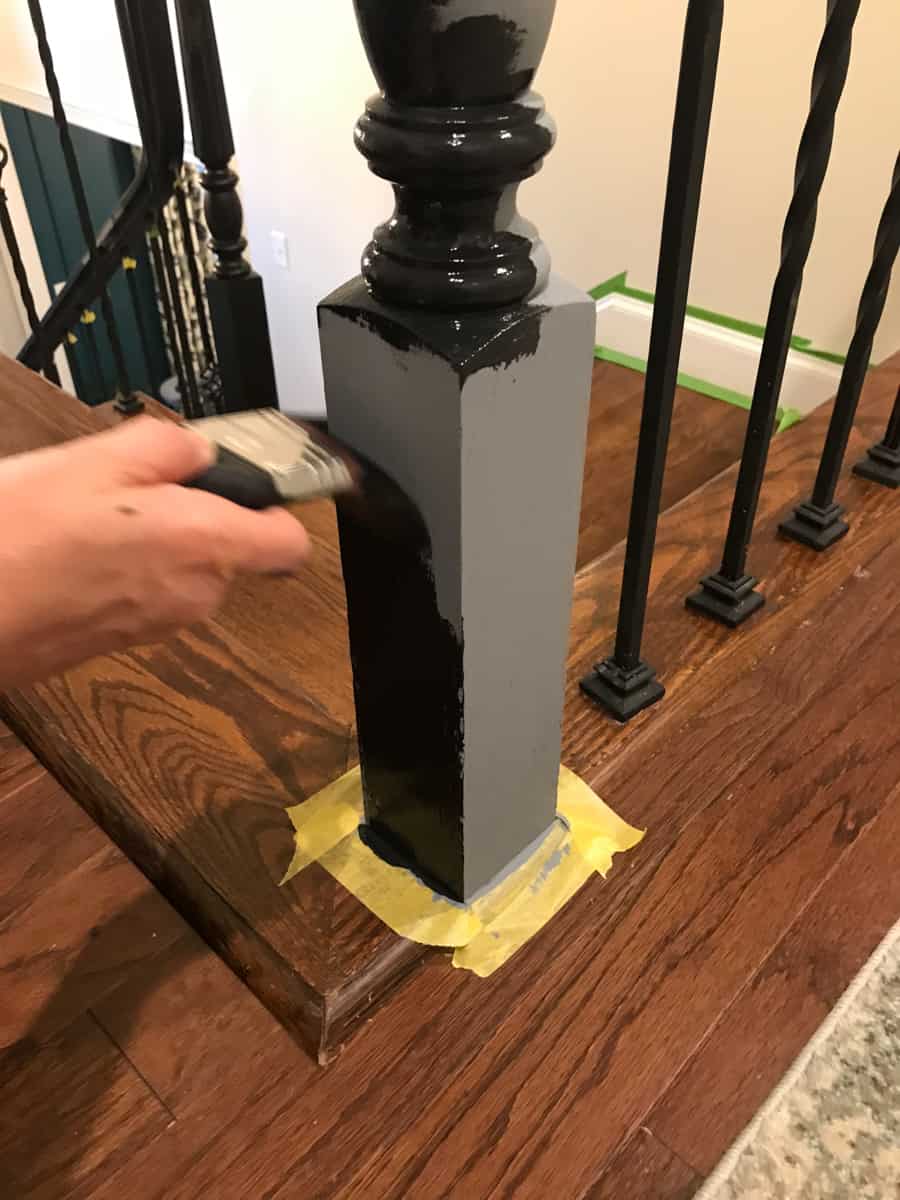
And a flat angled sash brush for the flat areas. It may seem like a hassle to use two brushes but I’m a firm believer that the right brush is essential for a great paint finish.
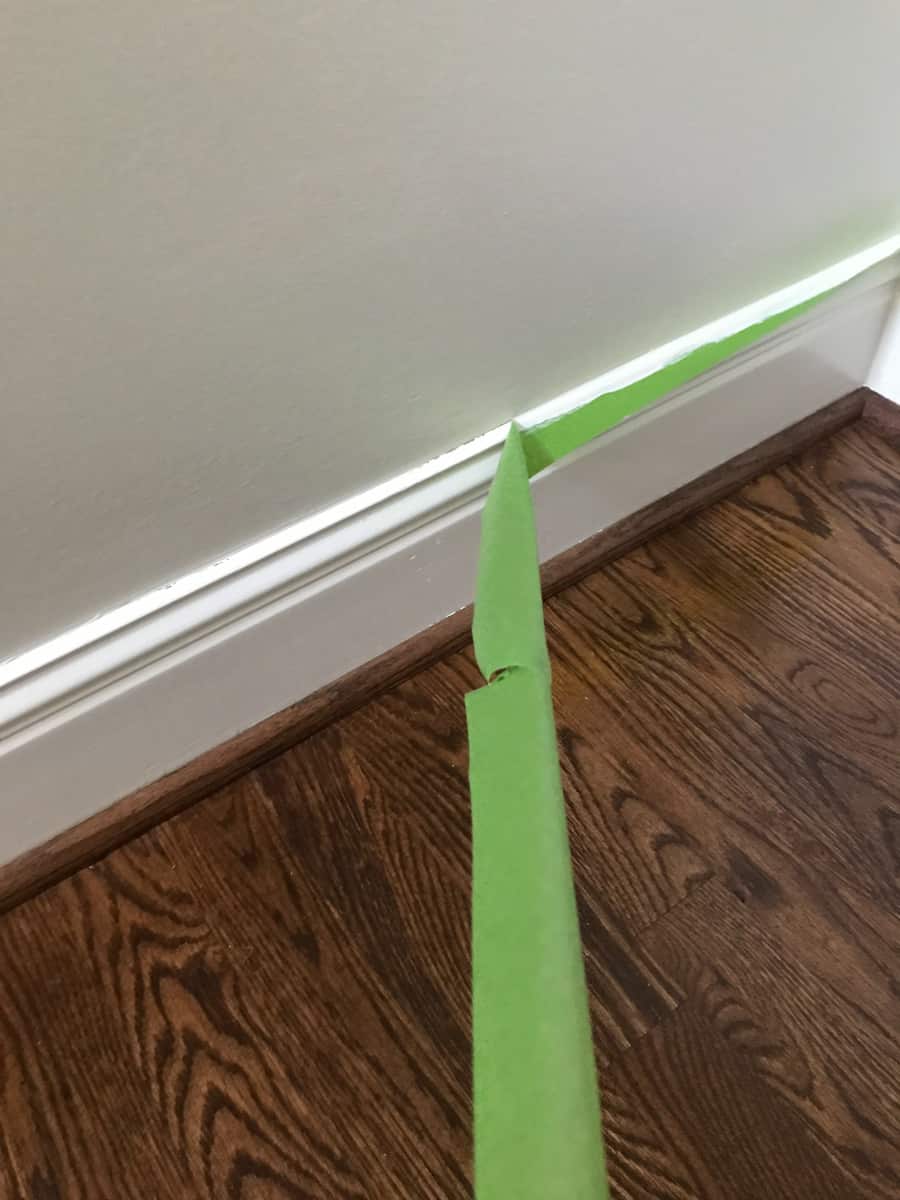
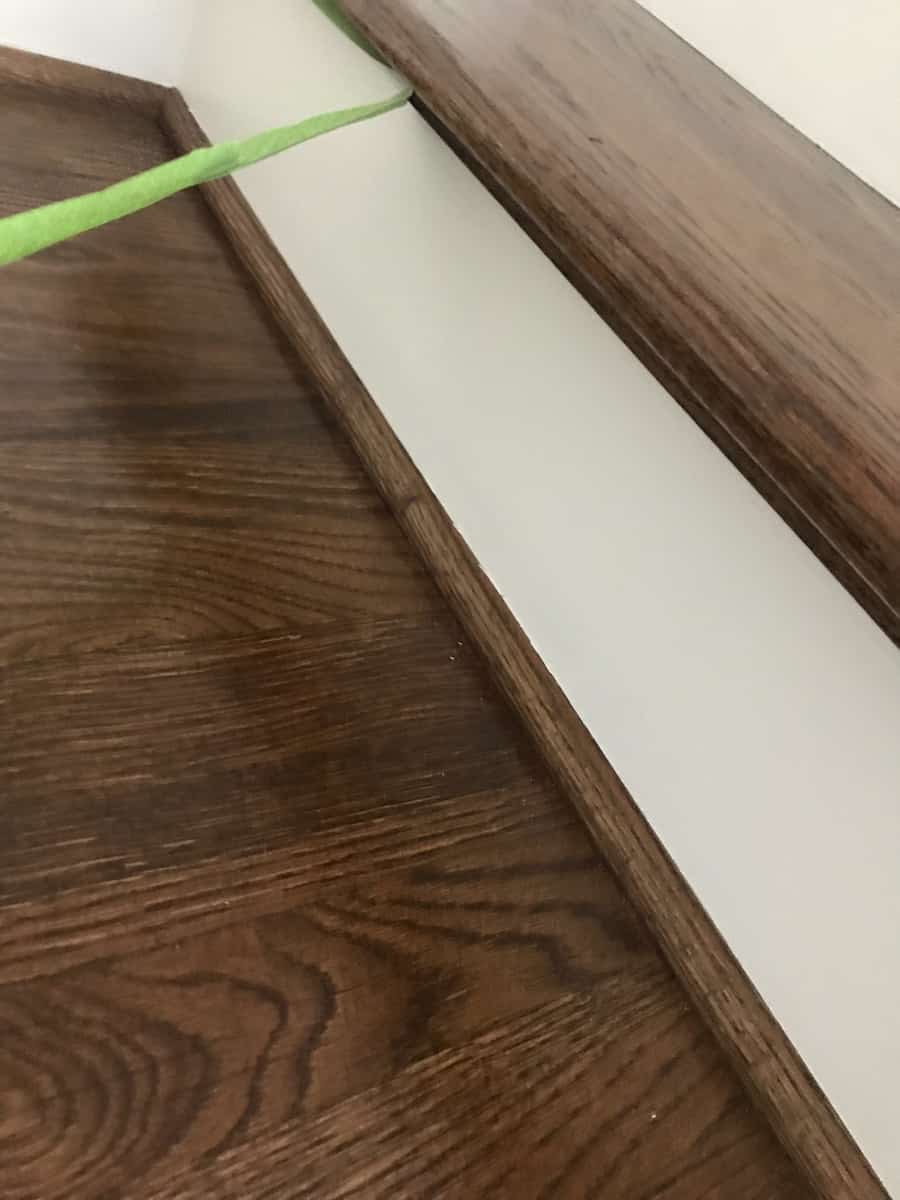
Once the paint was dry, it was time to remove the tape. I have found that FrogTape® is the easiest tape to remove. It always comes off in one fell swoop and of course leaves a perfectly clean line!
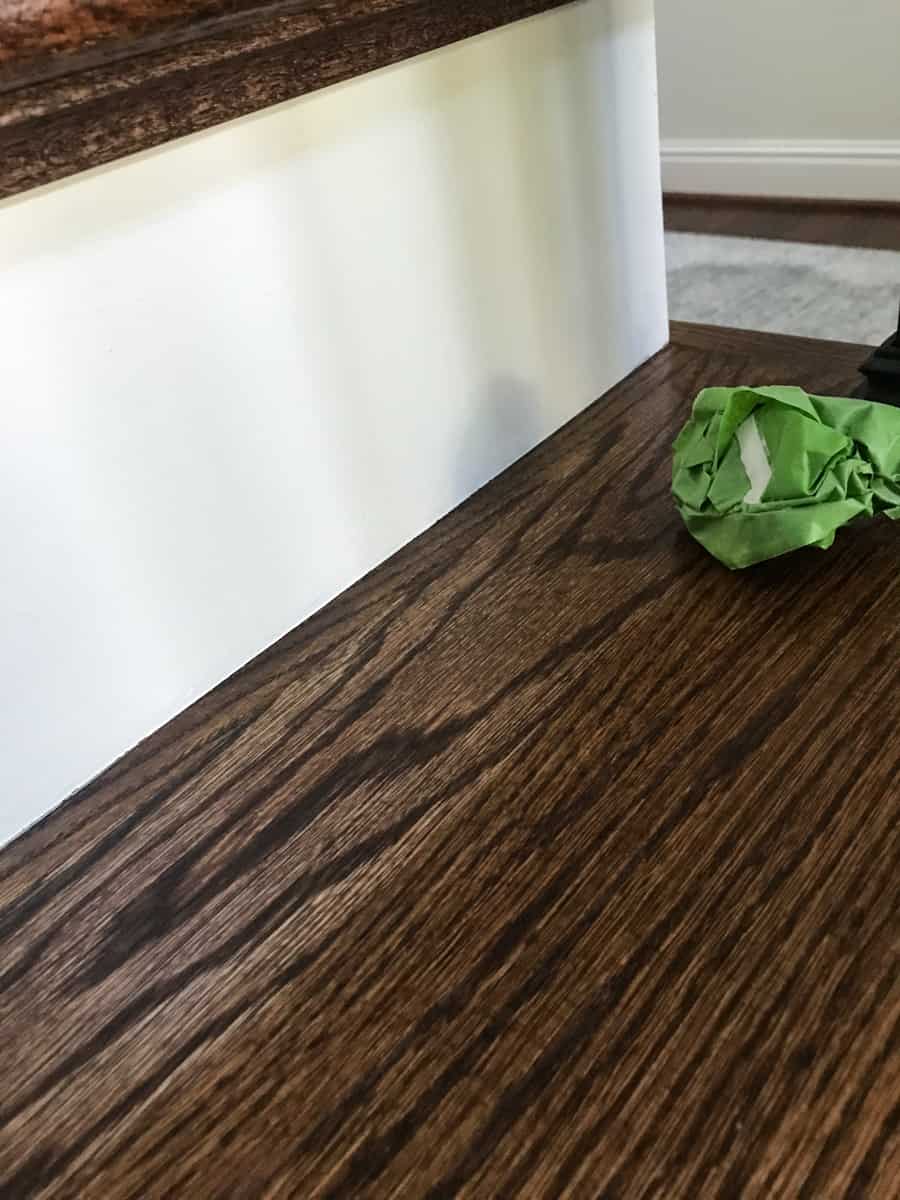
Do you see how crisp that edge is? Amazing, right?
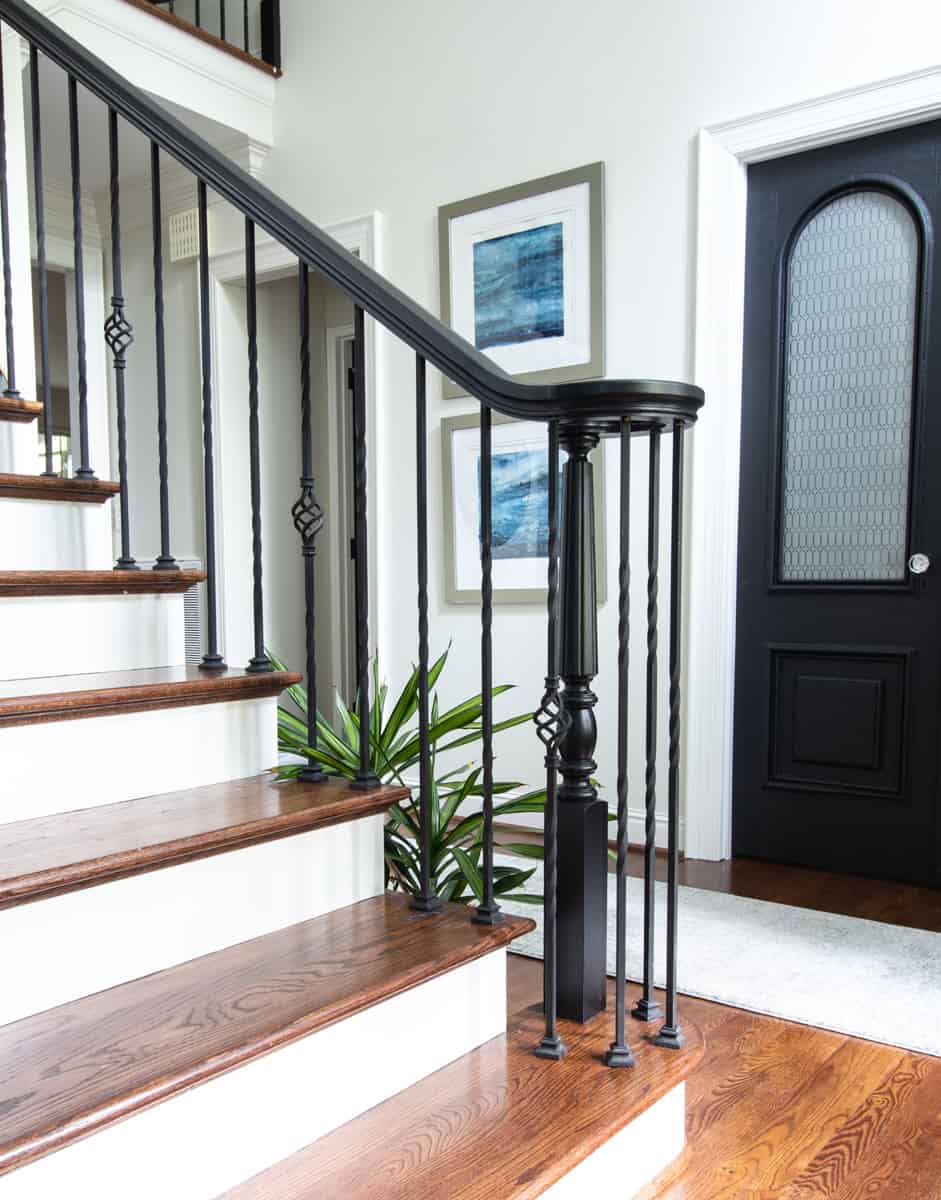
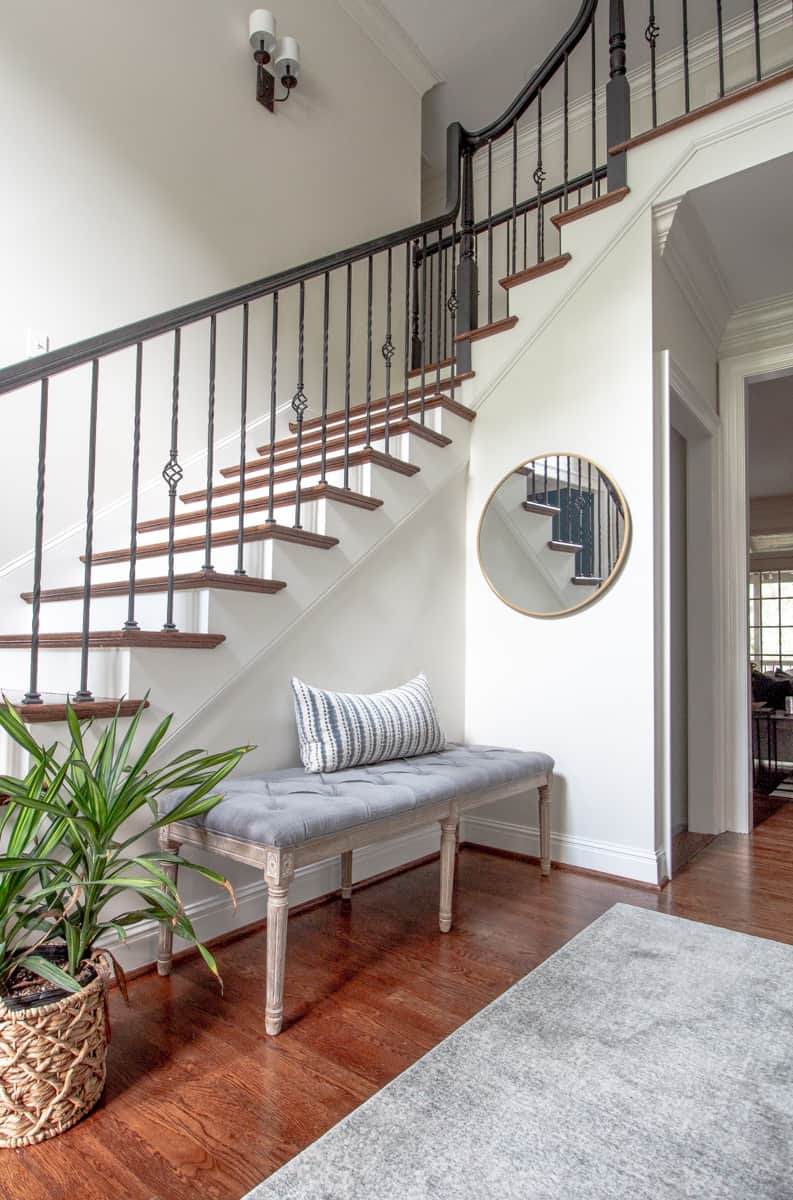
Esthetically, the black handrail not only works with the other black elements in the foyer, but gives this traditional design a more modern vibe. After the addition of the antique doors to the library/office it seemed like the perfect choice. You can see how this open space was transformed into a library here.
In my rush to tell you how vital FrogTape® was to this project I forgot to share a stepped back view of the before images.
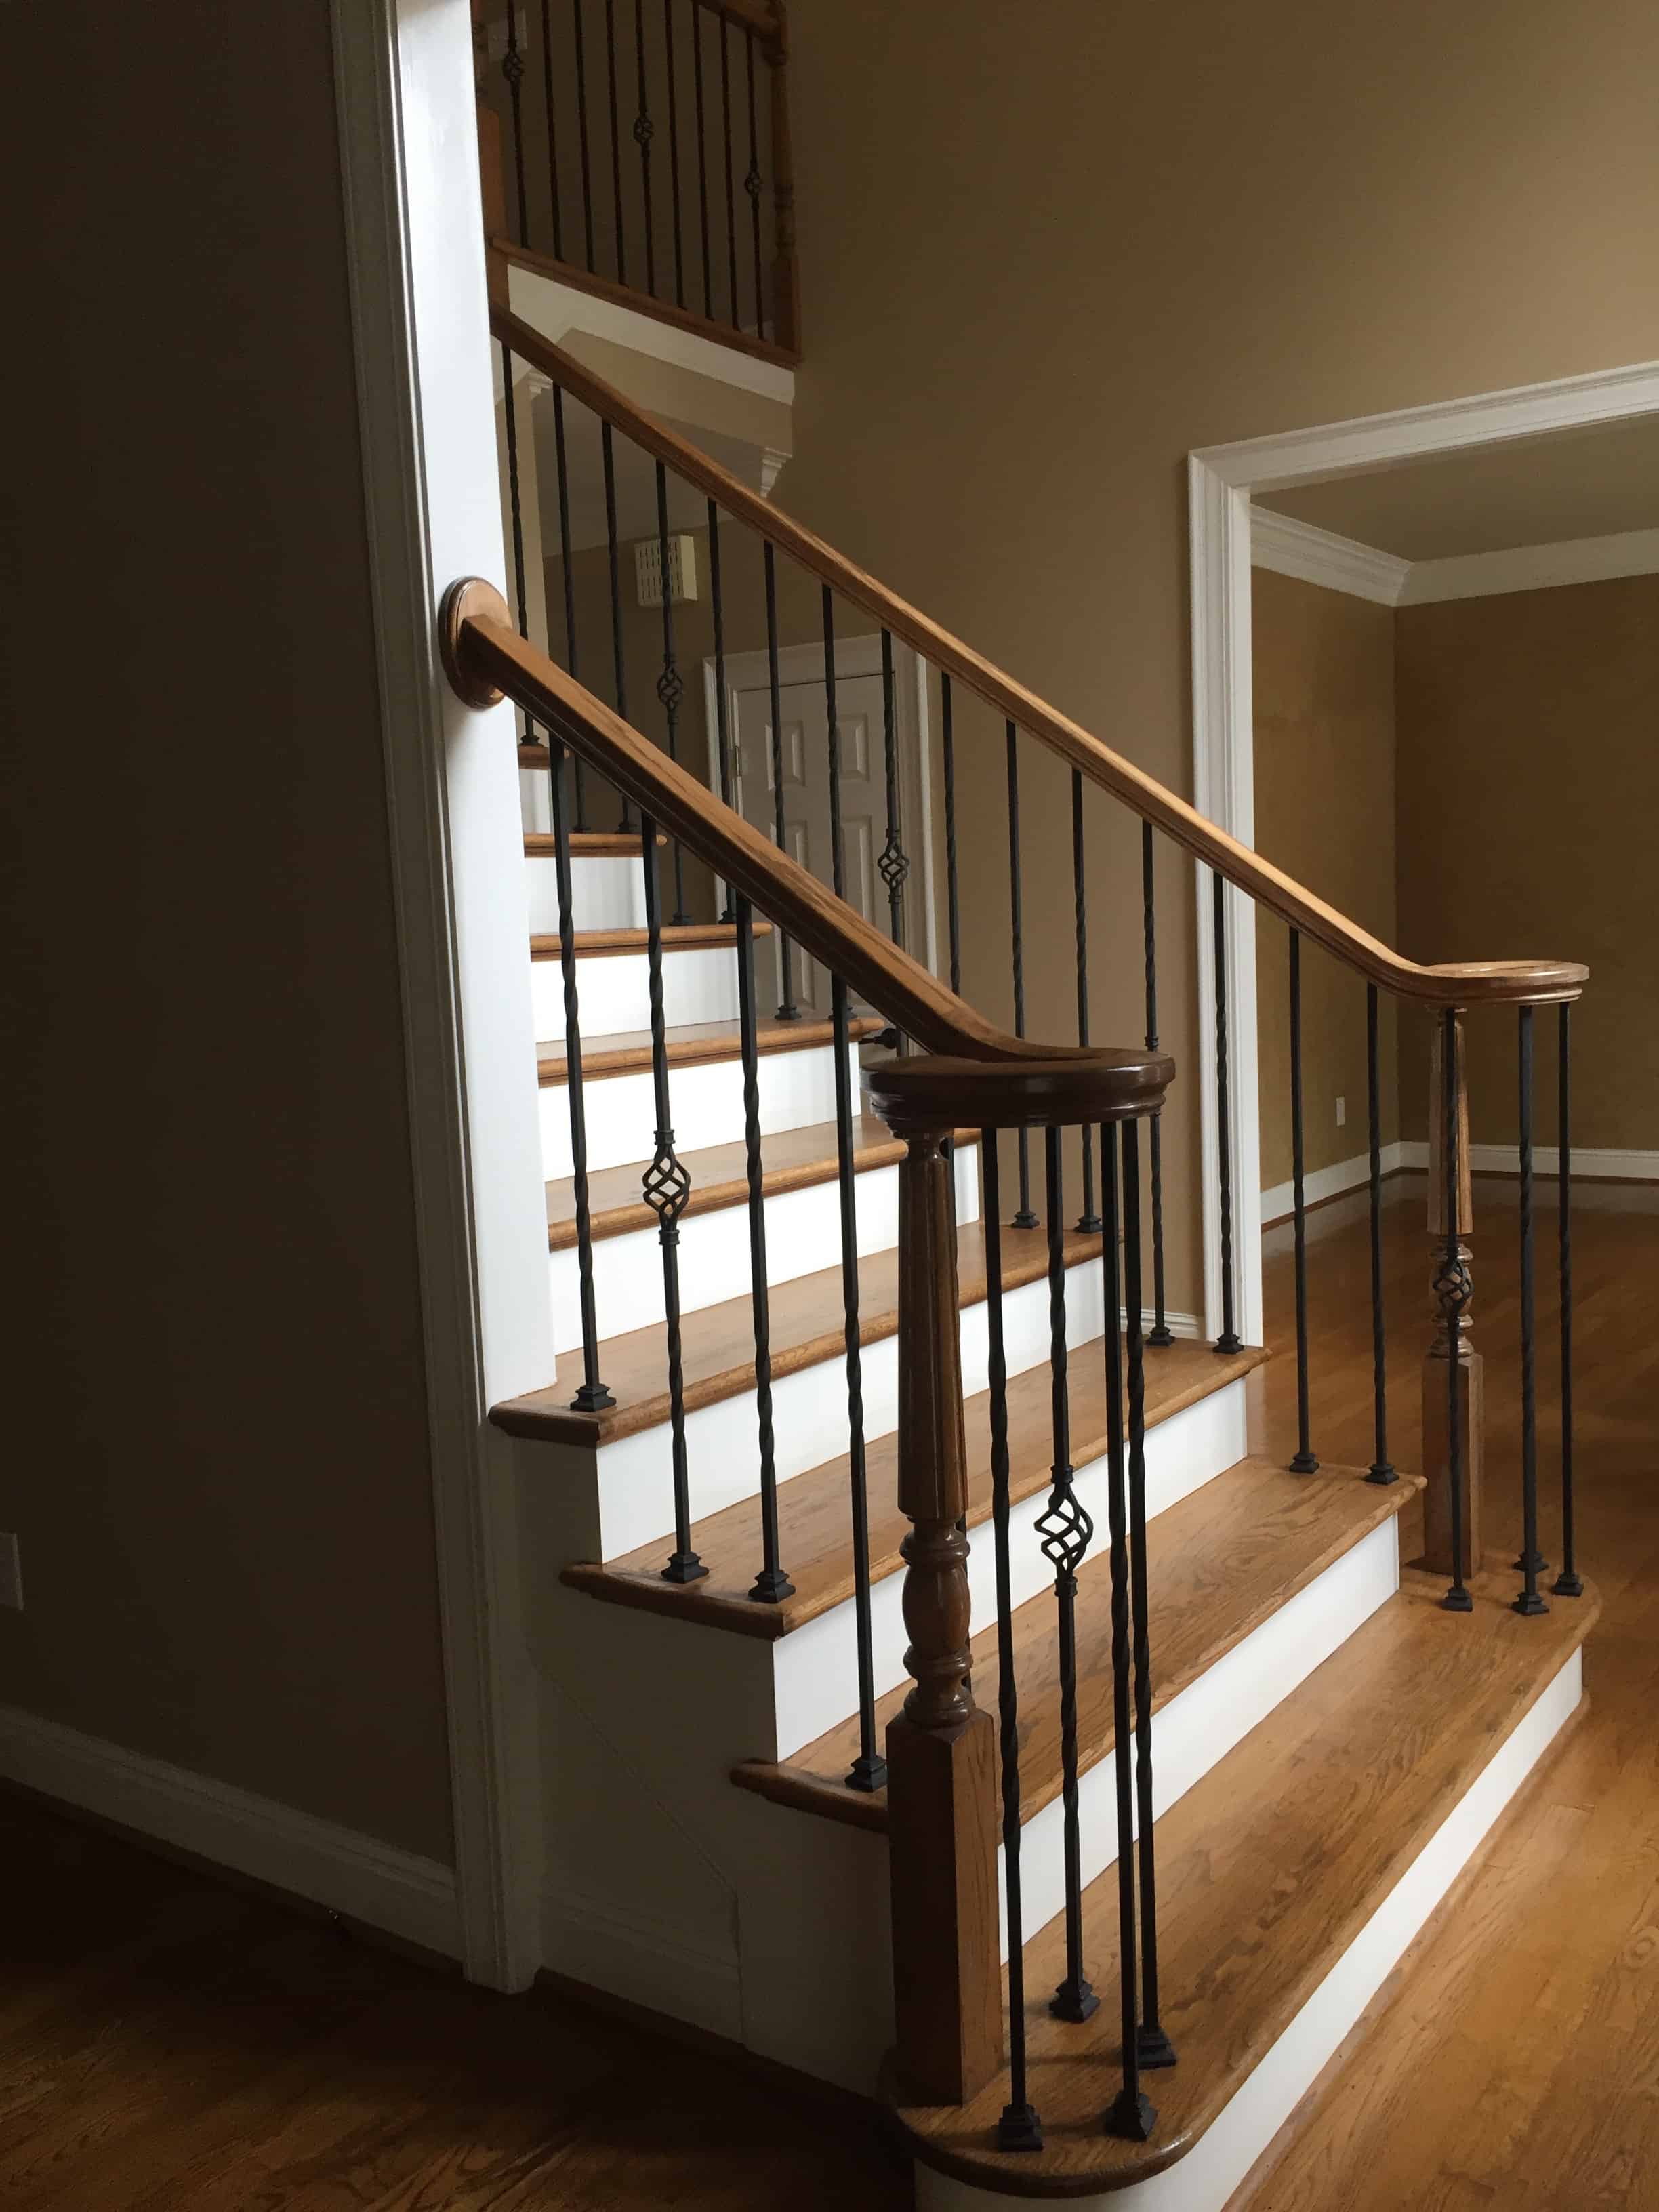
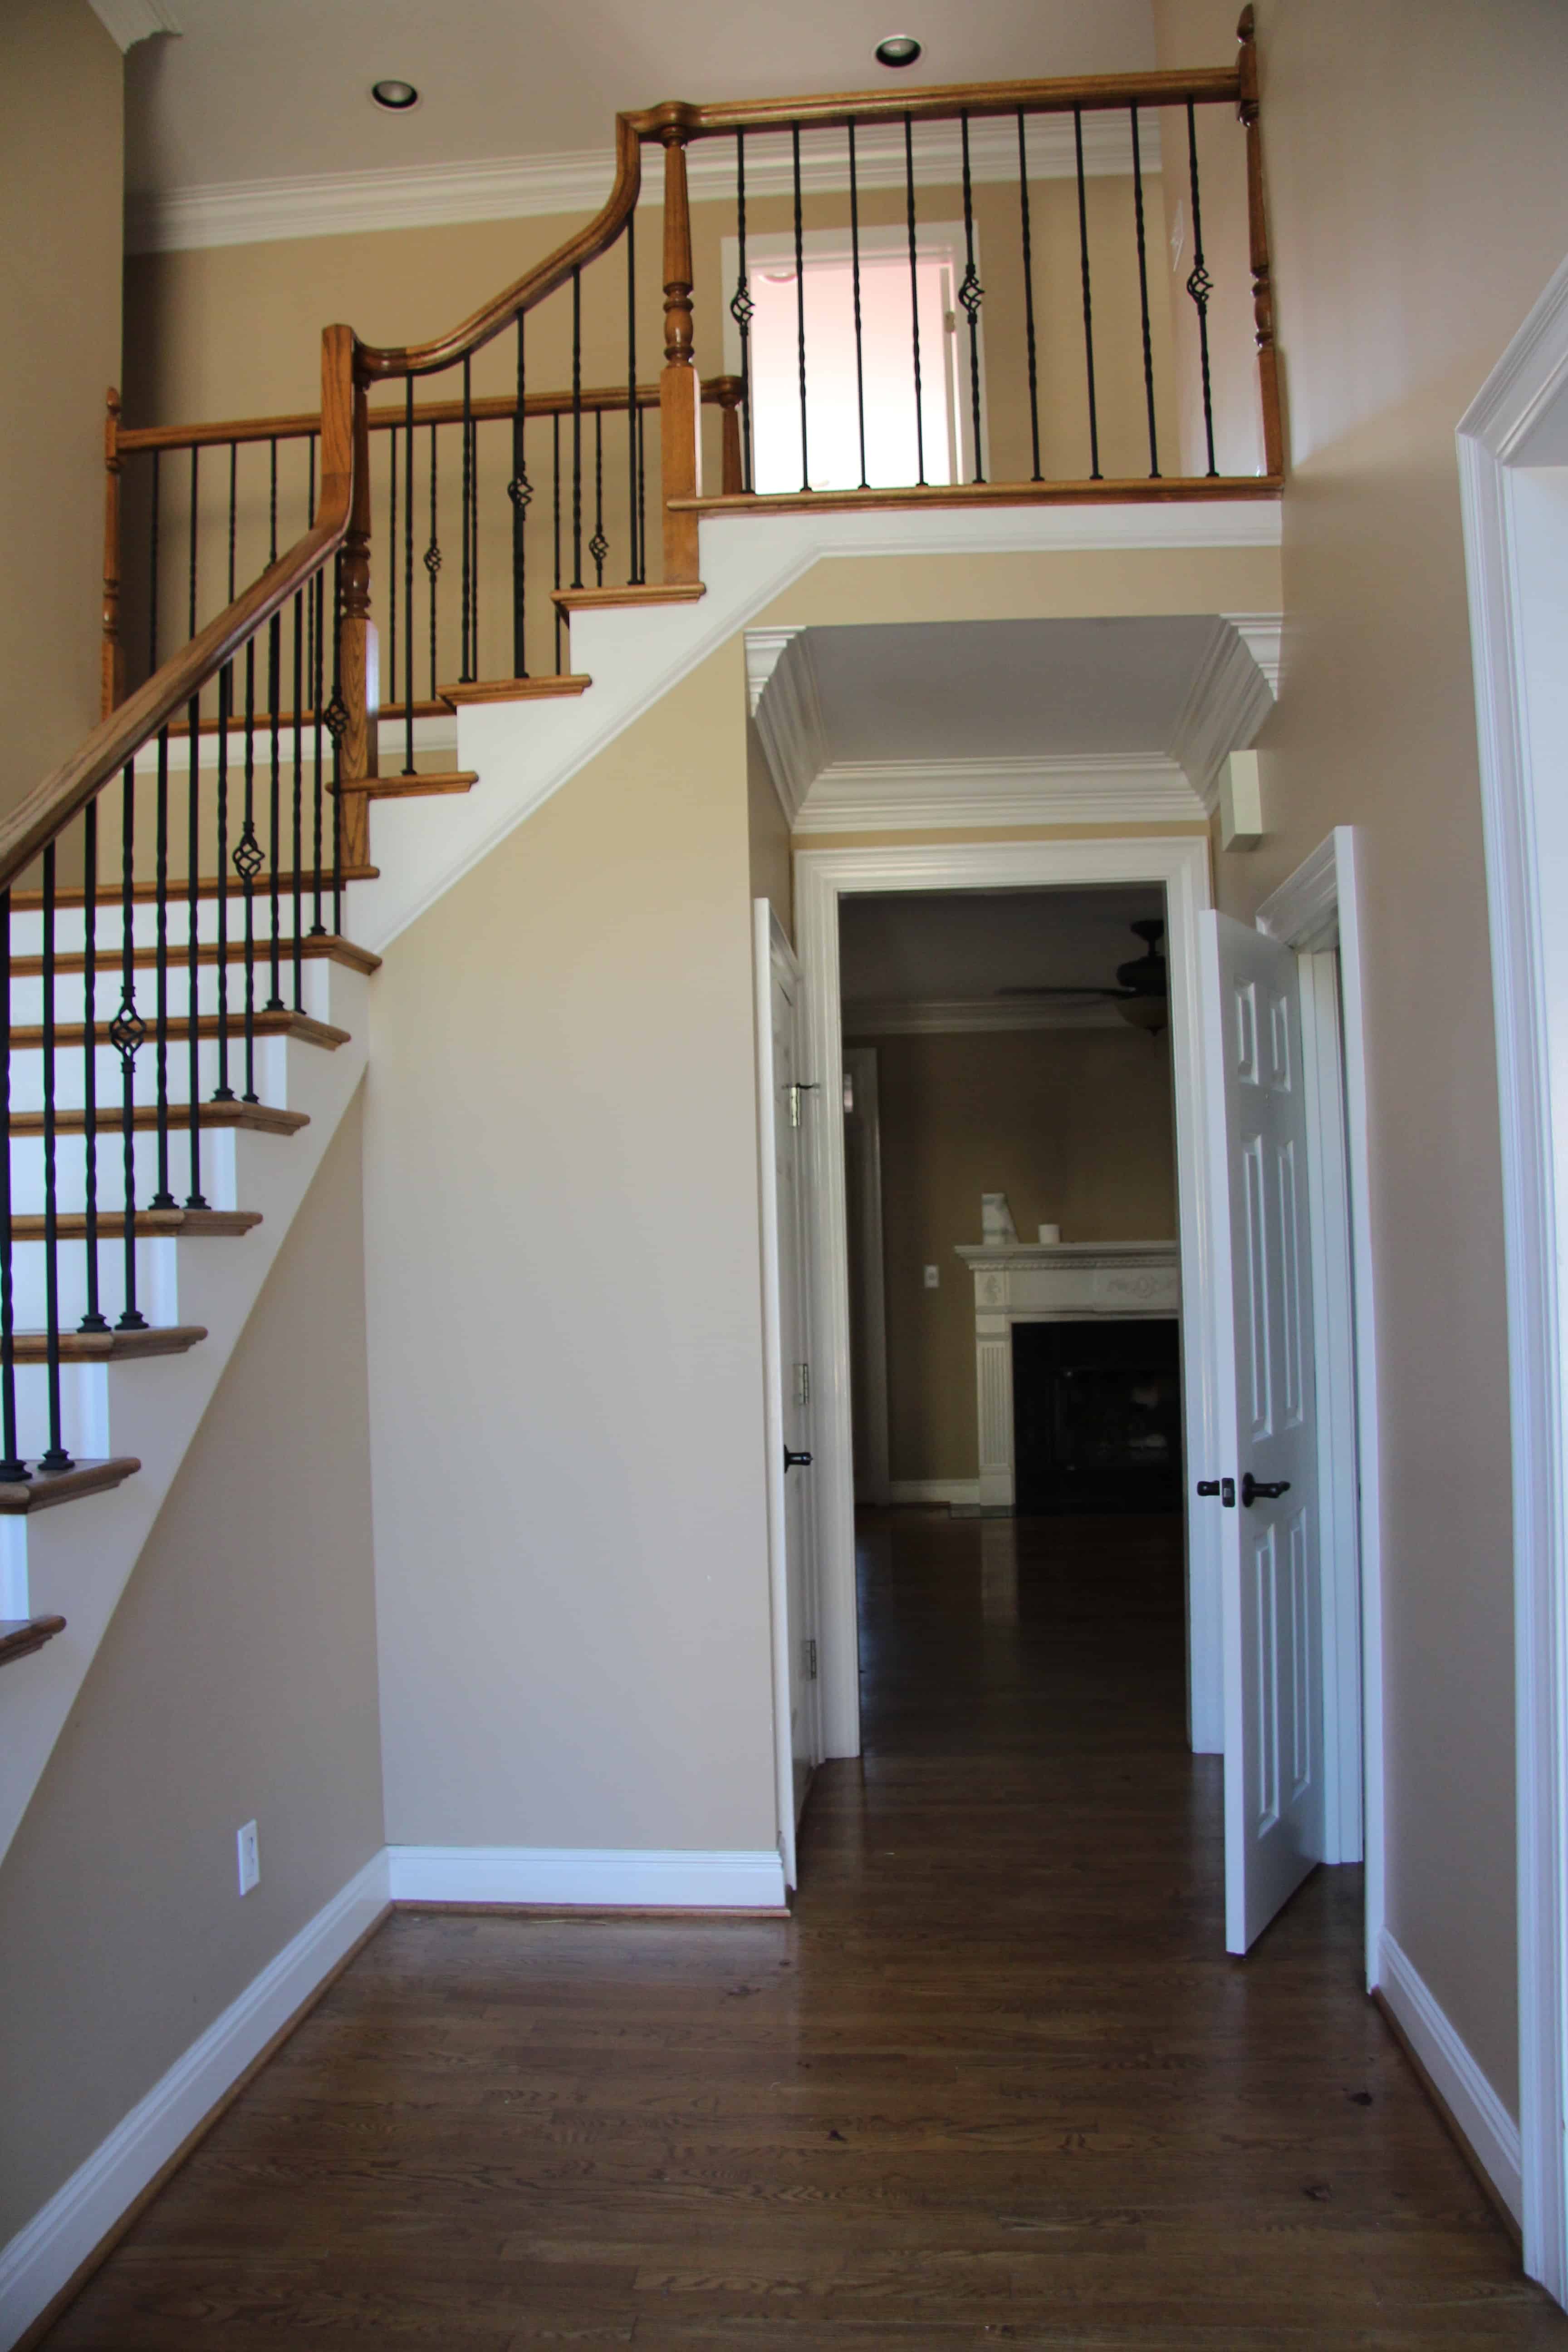
This is what the front door area looked like before we renovated.
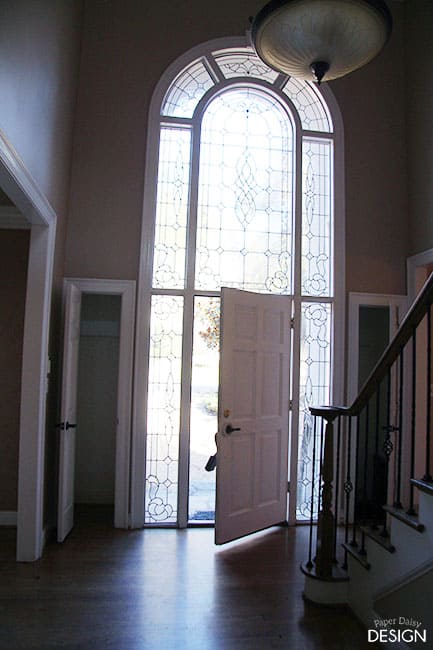
Below is what the foyer looked like a year ago. The floors had been refinished and the walls painted white.The closet just across the basement stairs became a vestibule for the powder bathroom. You can see that transformation here.
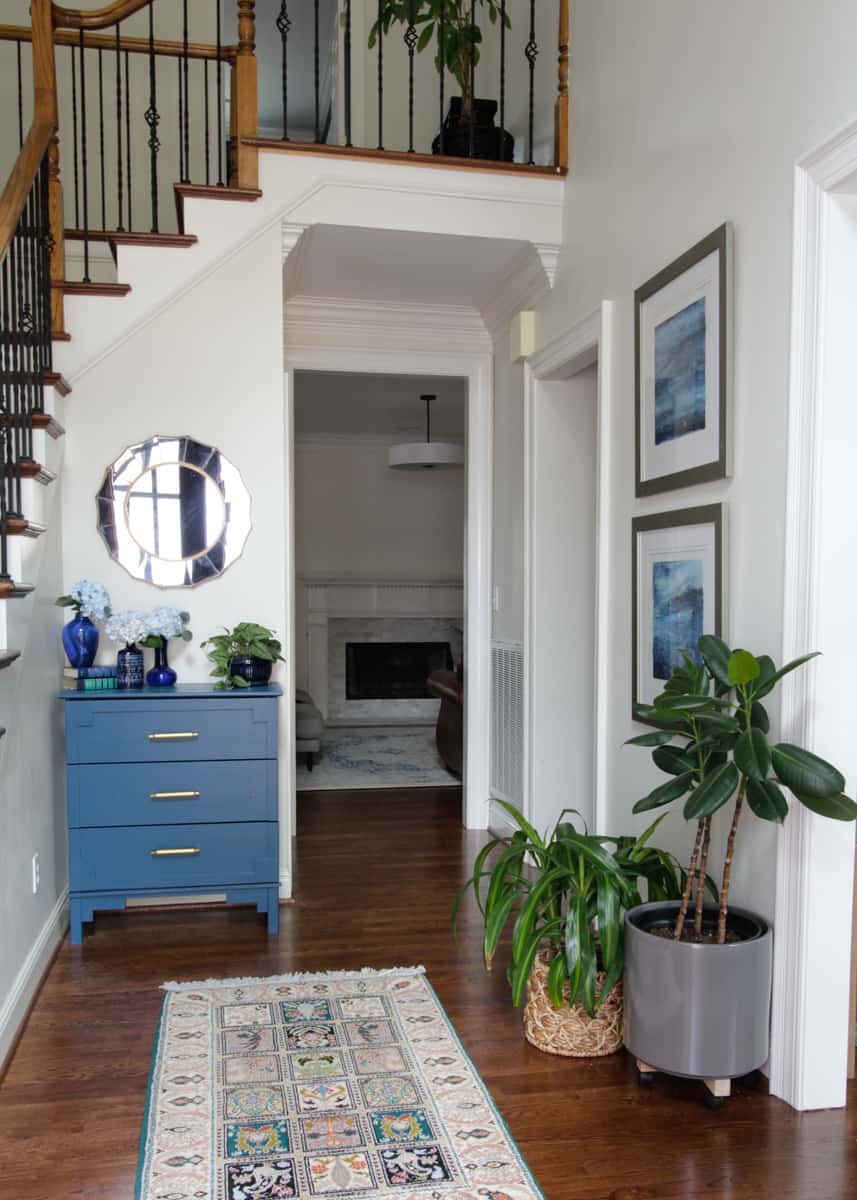
It was a definite improvement, but now the transformation is finally complete.
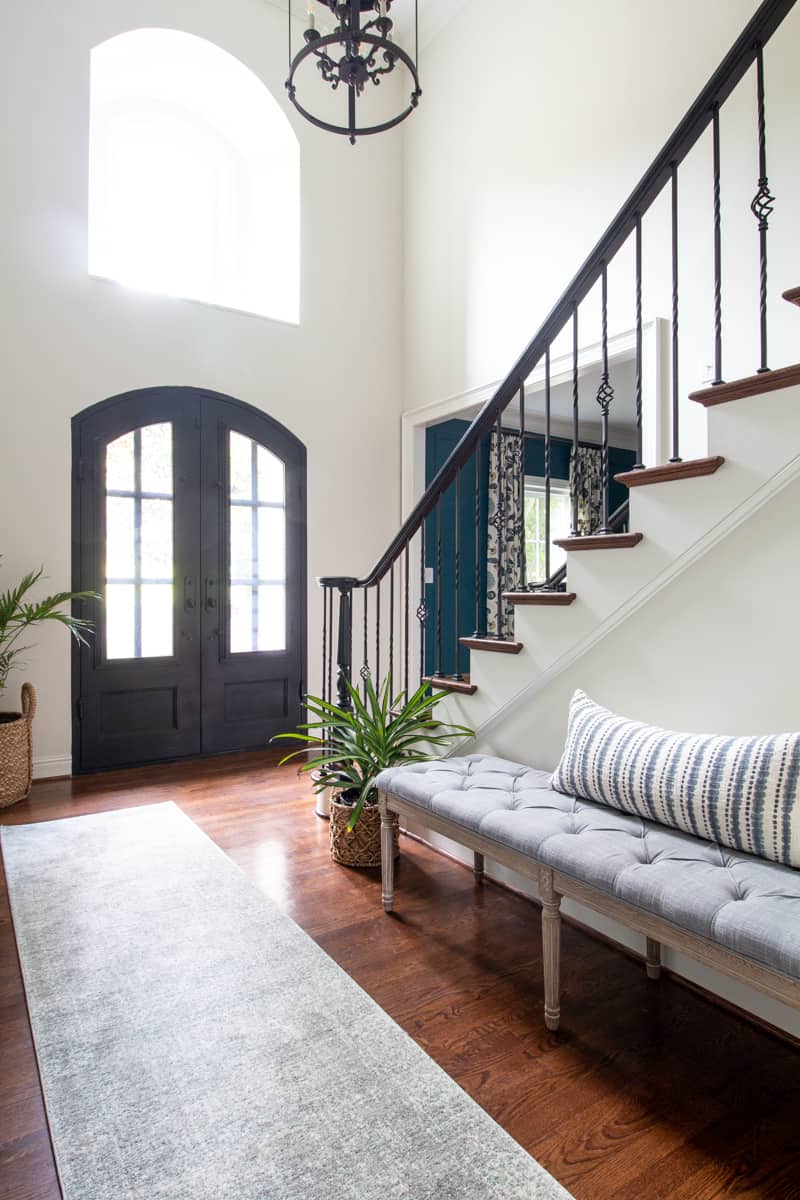
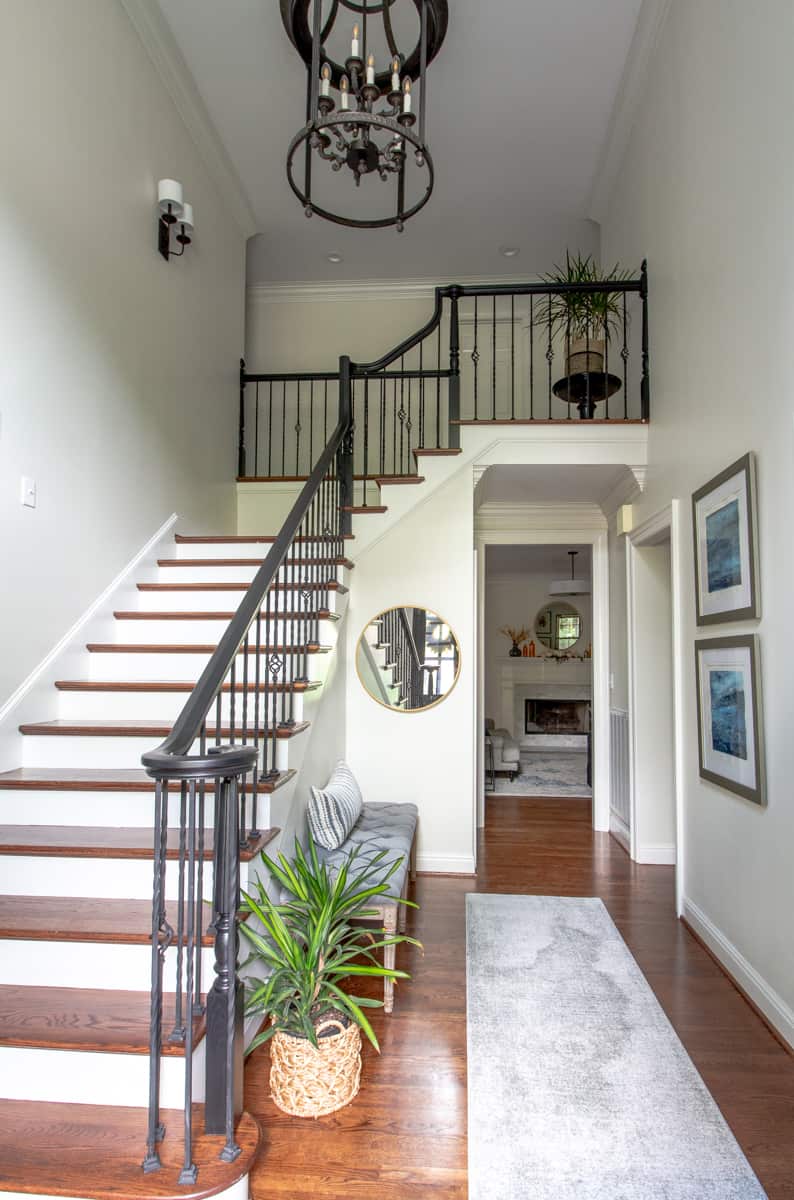
If you are regular reader, then you’ll notice I took this opportunity to “shop my house” and play around with the way the foyer is styled.
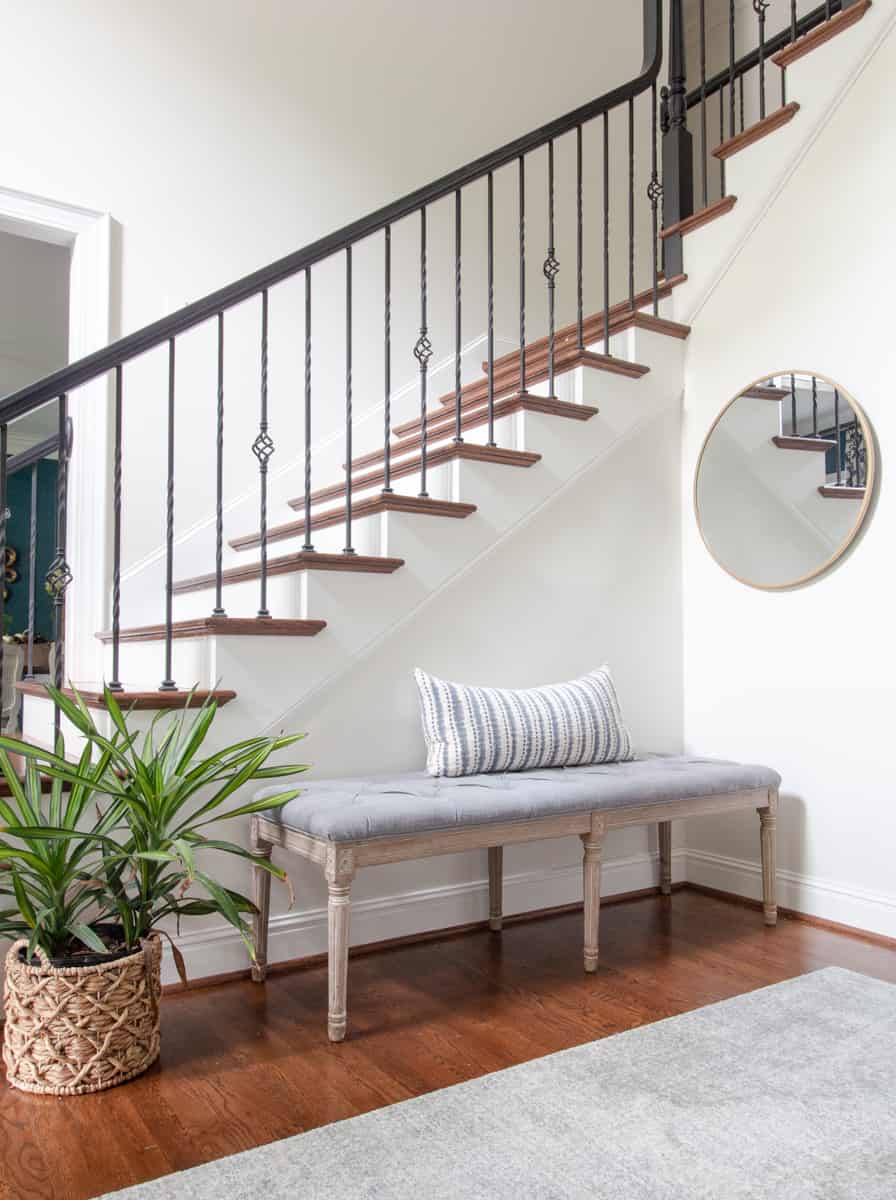
I love this look so much that I am certain I will find a way to make at least some version of this a full-time reality in the near future!
No matter what paint project have you been putting off, I am here to tell you, go and do it! And be sure to do it right with FrogTape®





13 Comments
Debra
September 28, 2018 at 5:24 amWHAT a transformation!!! Loving it. The white paint makes such a bright difference and the black railing is beautiful. Puts everything all together beautifully. I’m in the process of doing the same thing and cannot wait for the finish. Again, just beautiful!
Romeogirl
September 28, 2018 at 8:26 amThat looks amazing!
Leila
October 16, 2018 at 10:16 pmHey there! Looks amazing! Would you share what type of paint (latex, satin, etc) you used? I’m considering this same exact project at my house. Thanks!!
The goof proof way to paint a room, fast! | DeeplySouthernHome
July 10, 2019 at 10:36 am[…] Paint Handrail, Stair Risers and Trim Perfectly Every Time! […]
John
December 3, 2019 at 2:22 pmTransformation looks great! What color did you use on the walls?
Adriana Acosta
April 11, 2020 at 8:09 pmBeautiful job ! Can you please share what kind of paint did you used ? Thank you so much !
Emily
April 16, 2020 at 2:10 pmI am wondering this as well! What primer and paint brand were used for this project? And what colors and paint type? Thank you!
Leslie
May 6, 2020 at 8:56 pmI used a tinted primer. If I remember correctly it was a Sherwin Williams primer. The paint I know for certain was this one.Emerald Urethane Trim Enamel. It’ is the absolute best. I would not use anything else to paint something that needed to be durable and have a touchable finish. The “hand” on this paint is unparalleled.
https://www.sherwin-williams.com/homeowners/products/emerald-urethane-trim-enamel
Leslie
May 6, 2020 at 8:58 pmI used Sherwin Williams Emerald Urethane Trim Enamel. It is the absolute best for this kind of project.
Diana Fernandez
July 10, 2020 at 11:48 amWhat is the name of the color and finished used for the handrail? Thanks!
Carmen
August 29, 2020 at 3:28 pmI love your upholstered bench with pillow! Where did you purchase these?
Thanks!!
Jodi
June 26, 2022 at 8:12 pmHi, can you please share the white paint color used on the walls? It’s beautiful!
Leslie
August 5, 2022 at 8:08 amIt’s White Duck by Sherwin Williams.