SEW cute in Lucketts Green
I’ve had this old sewing table for many years now. My mom purchased the table and the old Singer “Rocketeer” used when I was little. I remember it occupying space in her bedroom throughout my childhood. I happily accepted both when she moved, but it wasn’t until I moved my studio into a larger room upstairs this summer that I actually had designated space for the table.
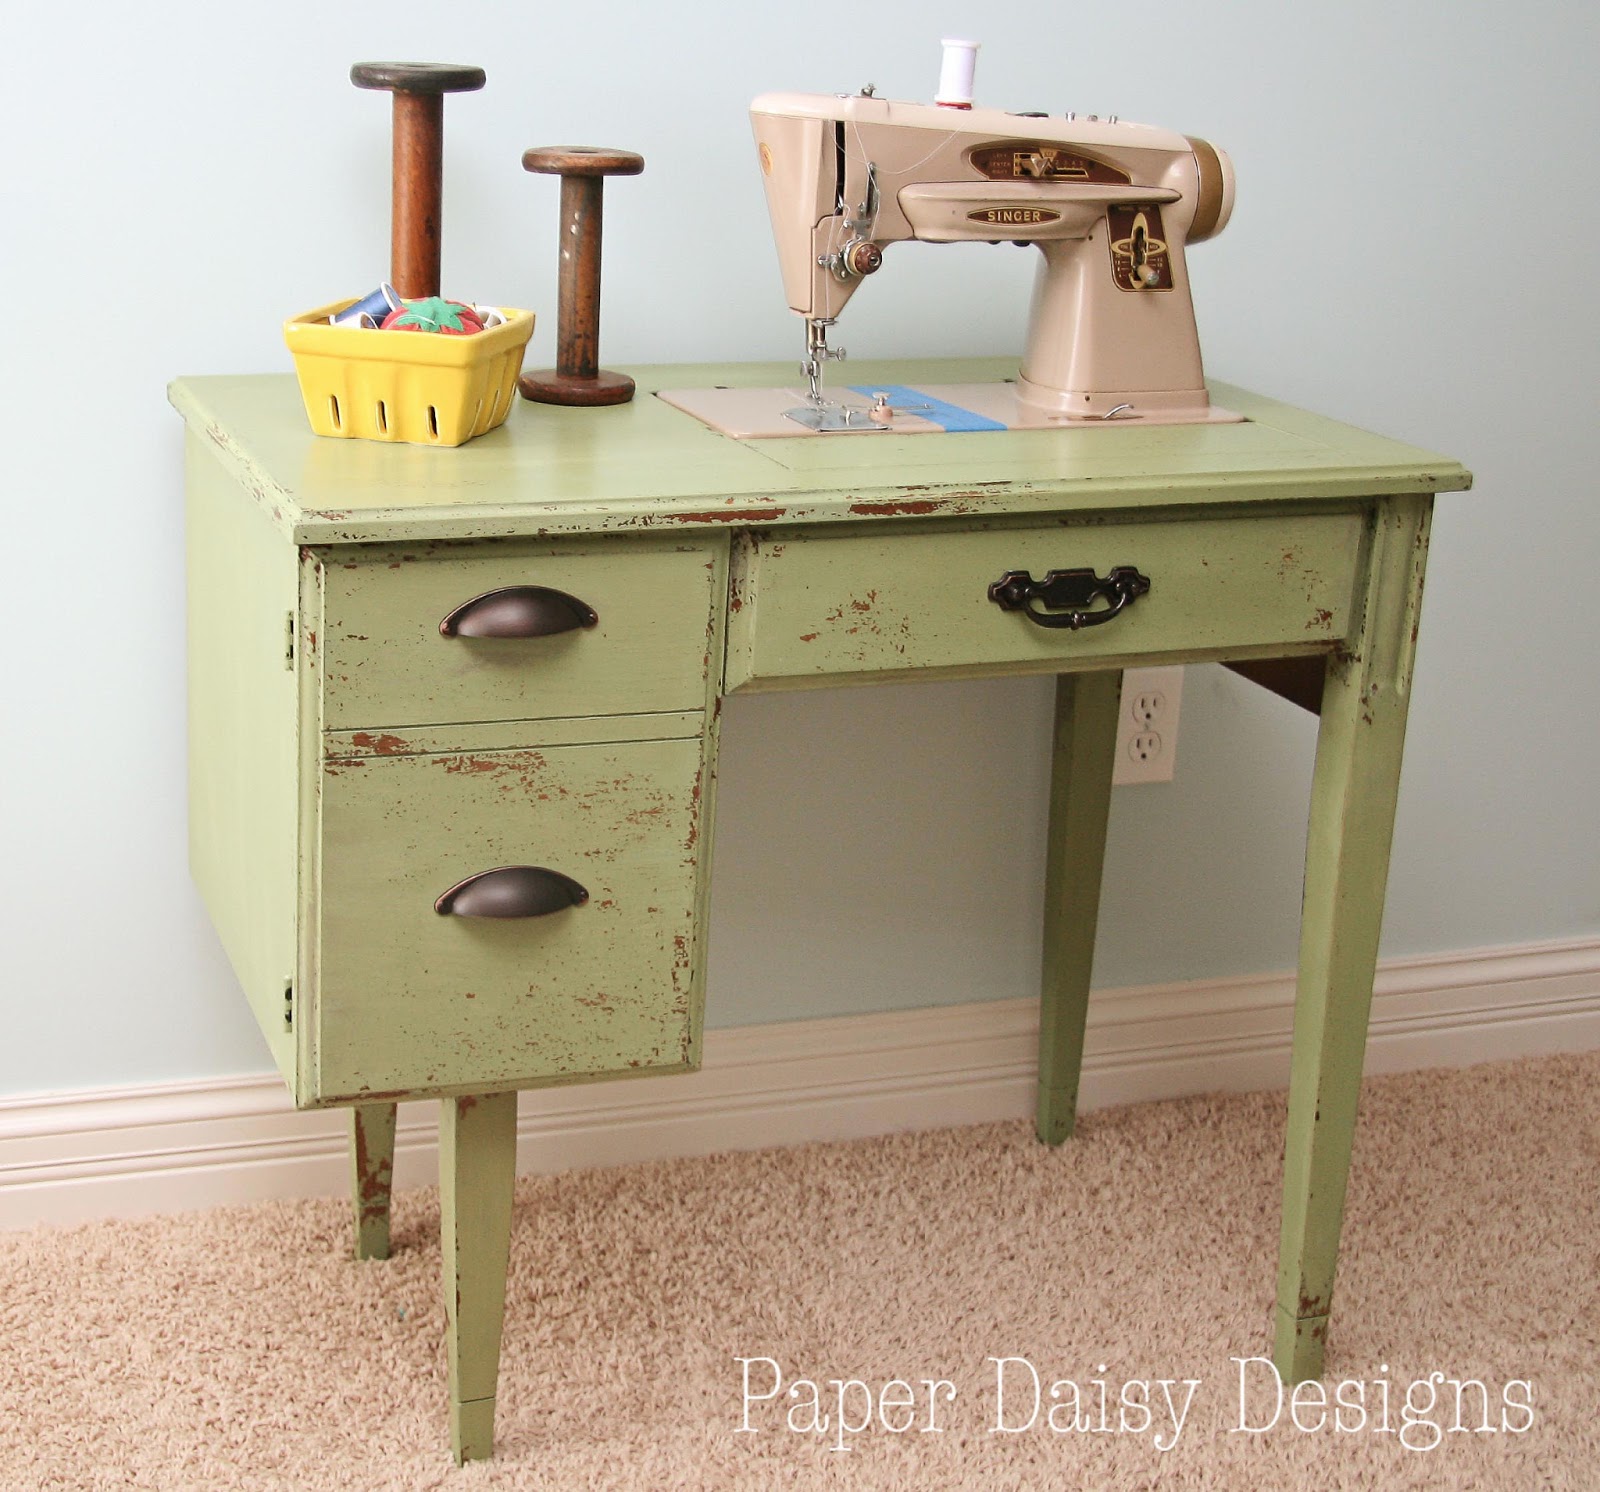
I figured Miss Mustard Seed’s new milk paint, in Luckett’s Green would be a good choice. It totally fit the color palette I used in the room and I was anxious to give it a try.


Here is the before, because no good furniture redo post would be complete without the before shot.
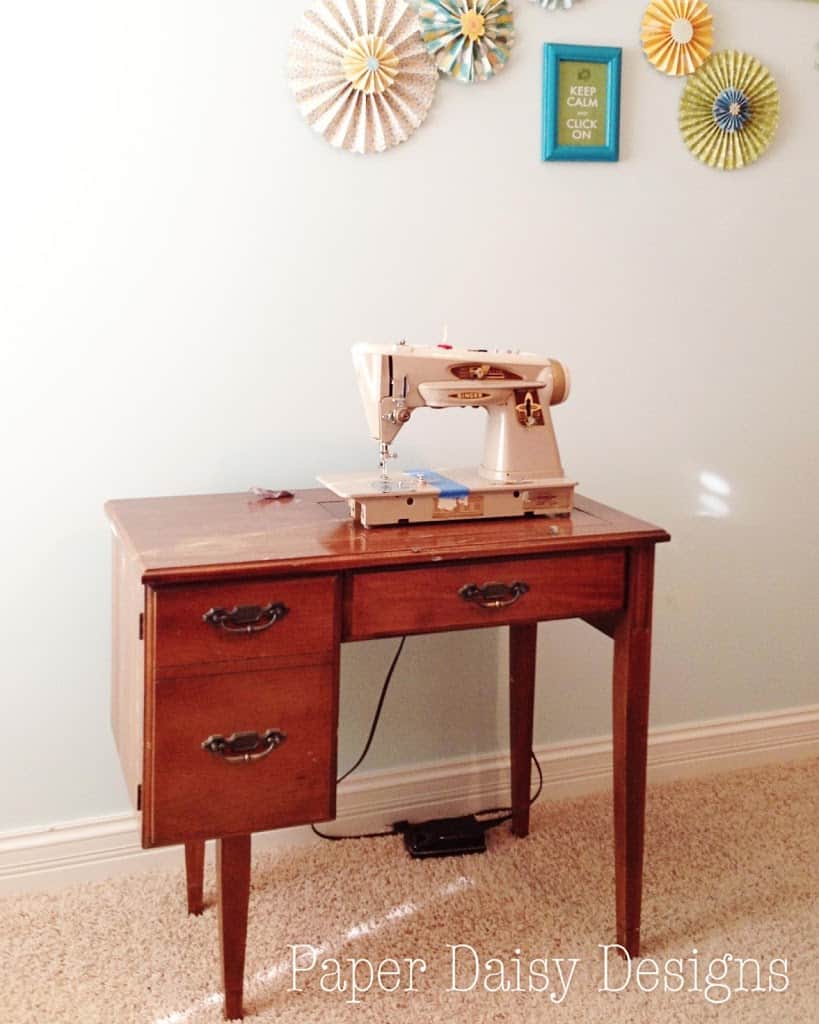
I had lost the set screws that allowed the sewing machine to fit down in the table. My dad recommended trying the hardware store, and he was right they had them! Now the sewing machine can sit flush with top as it was intended to. 🙂
I added cup pulls and painted the original hardware with oil rubbed bronze spray paint and a little copper acrylic for highlights on the middle. I’ll keep looking for something more interesting and fun.


Apparently, I’m only a go with the flow kind of gal, when things work the way I want. ;)I don’t want you to leave you with a negative impression of Miss Mustard Seed’s Milk Paint. There are some really positive things about it.
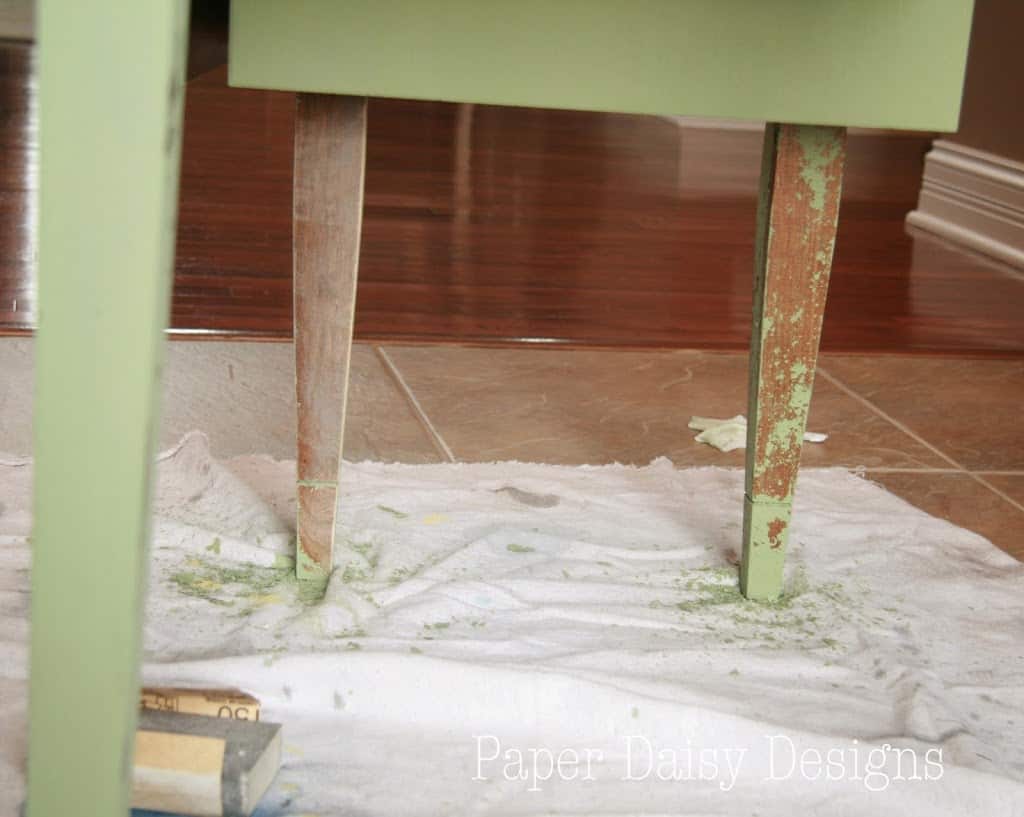
There is absolutely no odor, in my opinion. I did this paint job in my foyer. I think you can see that in the close up further up. 😉 EDITED: Others have said that it smells, but I didn’t notice it or if it did it didn’t bother me or anyone in my house. Maybe because I mixed small quantities at at time.
The paint goes very far. If the legs hadn’t chipped as badly as they did, I could have painted the whole thing with only the 1 oz sample I ordered. In the end, I had to order more, but that was okay because I wanted to try another piece in her lovely yellow, Miss Mustard Seed. I’ll post that project next week. Very different, much more positive results.
Other than a few cushions, this was the last piece to do in my studio. I’ll be sharing the reveal of that once I get those cushions sewn.And now I have a bright, fun place to do just that!
I’m so happy with the way the color works with my paper medallion collage. If you’d like a tutorial on how to make over-sized ones like these, leave me a comment and I’ll see what I can do. 😉
Linking up Here:
Anti Procrastination Tuesdays @ New Nostalgia
Crafty Tuesday @ Blooming Homestead
Create and Share @Trendy Treehouse
Share it Link Party @ Winthrop Chronicles
Cottage Style Party @ Lavender Garden Cottage
Show me What Ya Got @ Not just a Housewife
Knock Our Socks Off @Mom4Real
Mod Mix Monday@ModVintageLife


I love it! The chipiness makes it perfect : ) Visiting from Redoux.
Hi Leslie, your sewing cabinet turned out great! I haven't used the milk paint yet, but I'm like you…I like to have some control over how and where it chips. But I guess that's part of what makes it look so charming when it's all said and done…it doesn't look planned out. Looking forward to seeing your studio reveal! Hope you're having a great weekend.<br /><br />Debbie
As soon as I saw the title of your post, I knew you were using MMS's milkpaint. I haven't tried it yet, but I'm a huge fan of Marian's so I might just done it. <br /><br />The Luckett's Green was perfect for your desk I think. It's really a lovely piece and you did an awesome job!<br /><br />Thank you for sharing with the rest of the world! Always great to see creative
Absolutely awesome…..you did a great job….love it…..just started following you…would love to have you stop by an visit me at pinecreekstyle.blogspot.com<br />Have a great weekend, NeeCee
I want to know how to make the wall decor…please please? thank you!
I would love a tutorial of the oversized wall medallions. Thankyou. I love your little sewing table, as well.
Beautiful! I love how this turned out, such a lovely patina.
I featured your super cute sewing cabinet today on Mod Mix Monday!
Thanks Nita! I'm honored to be featured!!