All the Decisions: Primary Bathroom for the One Room Challenge
It is week 3 of the One Room Challenge. In addition to some small progress, I will focus on many of the decisions and options weighed to get the room to this point.

If you are new to this event, it’s an exciting time for the One Room Challenge™! The ORC is celebrating its 10th year!! I have to give many thanks to Linda for having the vision to create an event to challenge and inspire designers and design enthusiasts all over the world to complete a room makeover in 6-8 weeks! It’s just incredible to see this community come together each season and cheer each other on!
This is now my 11th season participating in the One Room Challenge™. With more than 13 room makeovers completed, I have visual proof that this challenge changes homes and lives. Many of those transformed rooms are even being enjoyed by other families! (If that math seems a little off to you, it is because in my 8th season I was honored to be a Featured Designer and I tackled our living room, dining and foyer.)
If you missed the first two weeks here are links to get you caught up.
Week 1 Vision and Overall Plan || Week 2 Full Design Plan & Inspiration
Progress on the Paneling
Adding panel moulding around the room will give the room the European Luxury style I want to achieve. The moulding I am using from Novo Building products is designed to be a chair rail. But I used this thicker profile in our Moody Main Bedroom makeover during the One Room Challenge last spring.
While it doesn’t look like much progress from the photos, almost all of the pieces are cut for installation of the panel moulding.
One of the hold outs for deciding the size of some of the main pieces of moulding was waiting for the arrival of the gilt mirrors. (affiliate link)
They arrived on Saturday and I could not be happier with the size, scale and the style. I feel like they are just ornate enough to be glamorous without being over the top.

We hung one to get a feel for the placement with the scoces, and once I started hanging the panels I realized the mirror needs to come down a couple inches.

I planned for the box around the mirror and sconces to be level with the door casing. When we hung the mirror we just hung it based on a visual reference and not an actual measurement. (Please tell me we are not the only ones that try to “just eyeball it” from time to time?!)
We will get that moved and I can install the top piece around the mirror correctly.

One of the more awkard decisions I have to make is how to finish out the little box that goes around the light switch.
I can probably do a better job of asking for input on Instagram Stories, but the issue is the lower boxes are designed to be 20″ tall.

So my delimma is to make an awkward box around the switch or just cap it off and embrace the irregularites of that tiny space next to the vanity.
You can see on the left of this photo, that the lower boxes are perfectly proportioned for the space under the window.

On the right, behind the door, the middle and top box is incomplete at the moment, but you can see where each box breaks logically.
Neither is a perfect decision, and I will likely crowd source for an answer. If this all makes sense to you, please feel free to chime in by leaving a comment!
My goal is to get all of the panel moulding finished before Monday morning when my contractor is coming to start demolition of the floor.
The slow pace of this ORC is not surprising to me given the number of client projects I am also currently juggling. On the off afternoon or hour or two here and there is pretty much how I’ve been able to get any of this done.
This is exactly why I am so thankful I was able to hire my contractor to help out. He will be finishing up one of my client projects this week and can start work at my house immediately after. So, look for big changes starting next week!
Flooring Decisions
If you saw the design plan, you know one of the key elements was a black and white checkered floor. I ultimately landed on marble tile, but I had considered several less expensive options like porcelain tile.
While I certainly believe that the look could be achieved with porcelain tile, the deciding factor was the existing subway tile shower that is staying. There was no way to avoid one of the tiles looking like it didn’t match or was an afterthought.
Choosing marble on the other hand, removed the tension with the white subway tile in the shower. It’s not uncommon to mix ceramic tile and marble.
Once that decision was made, I ordered new samples from my supplier so that I could see the current look of the marble being quarried and what was in stock.

Given the white subway tile with grey grout, the warm color of the walls and the light grey trim, I selected these two below.

Both are a honed finish and I hope will have just the right amount of movement.
While the existing paint colors can easily be changed, I am hoping to keep them as I do like them both. I think that is a decision I will leave until the tile is in completely.

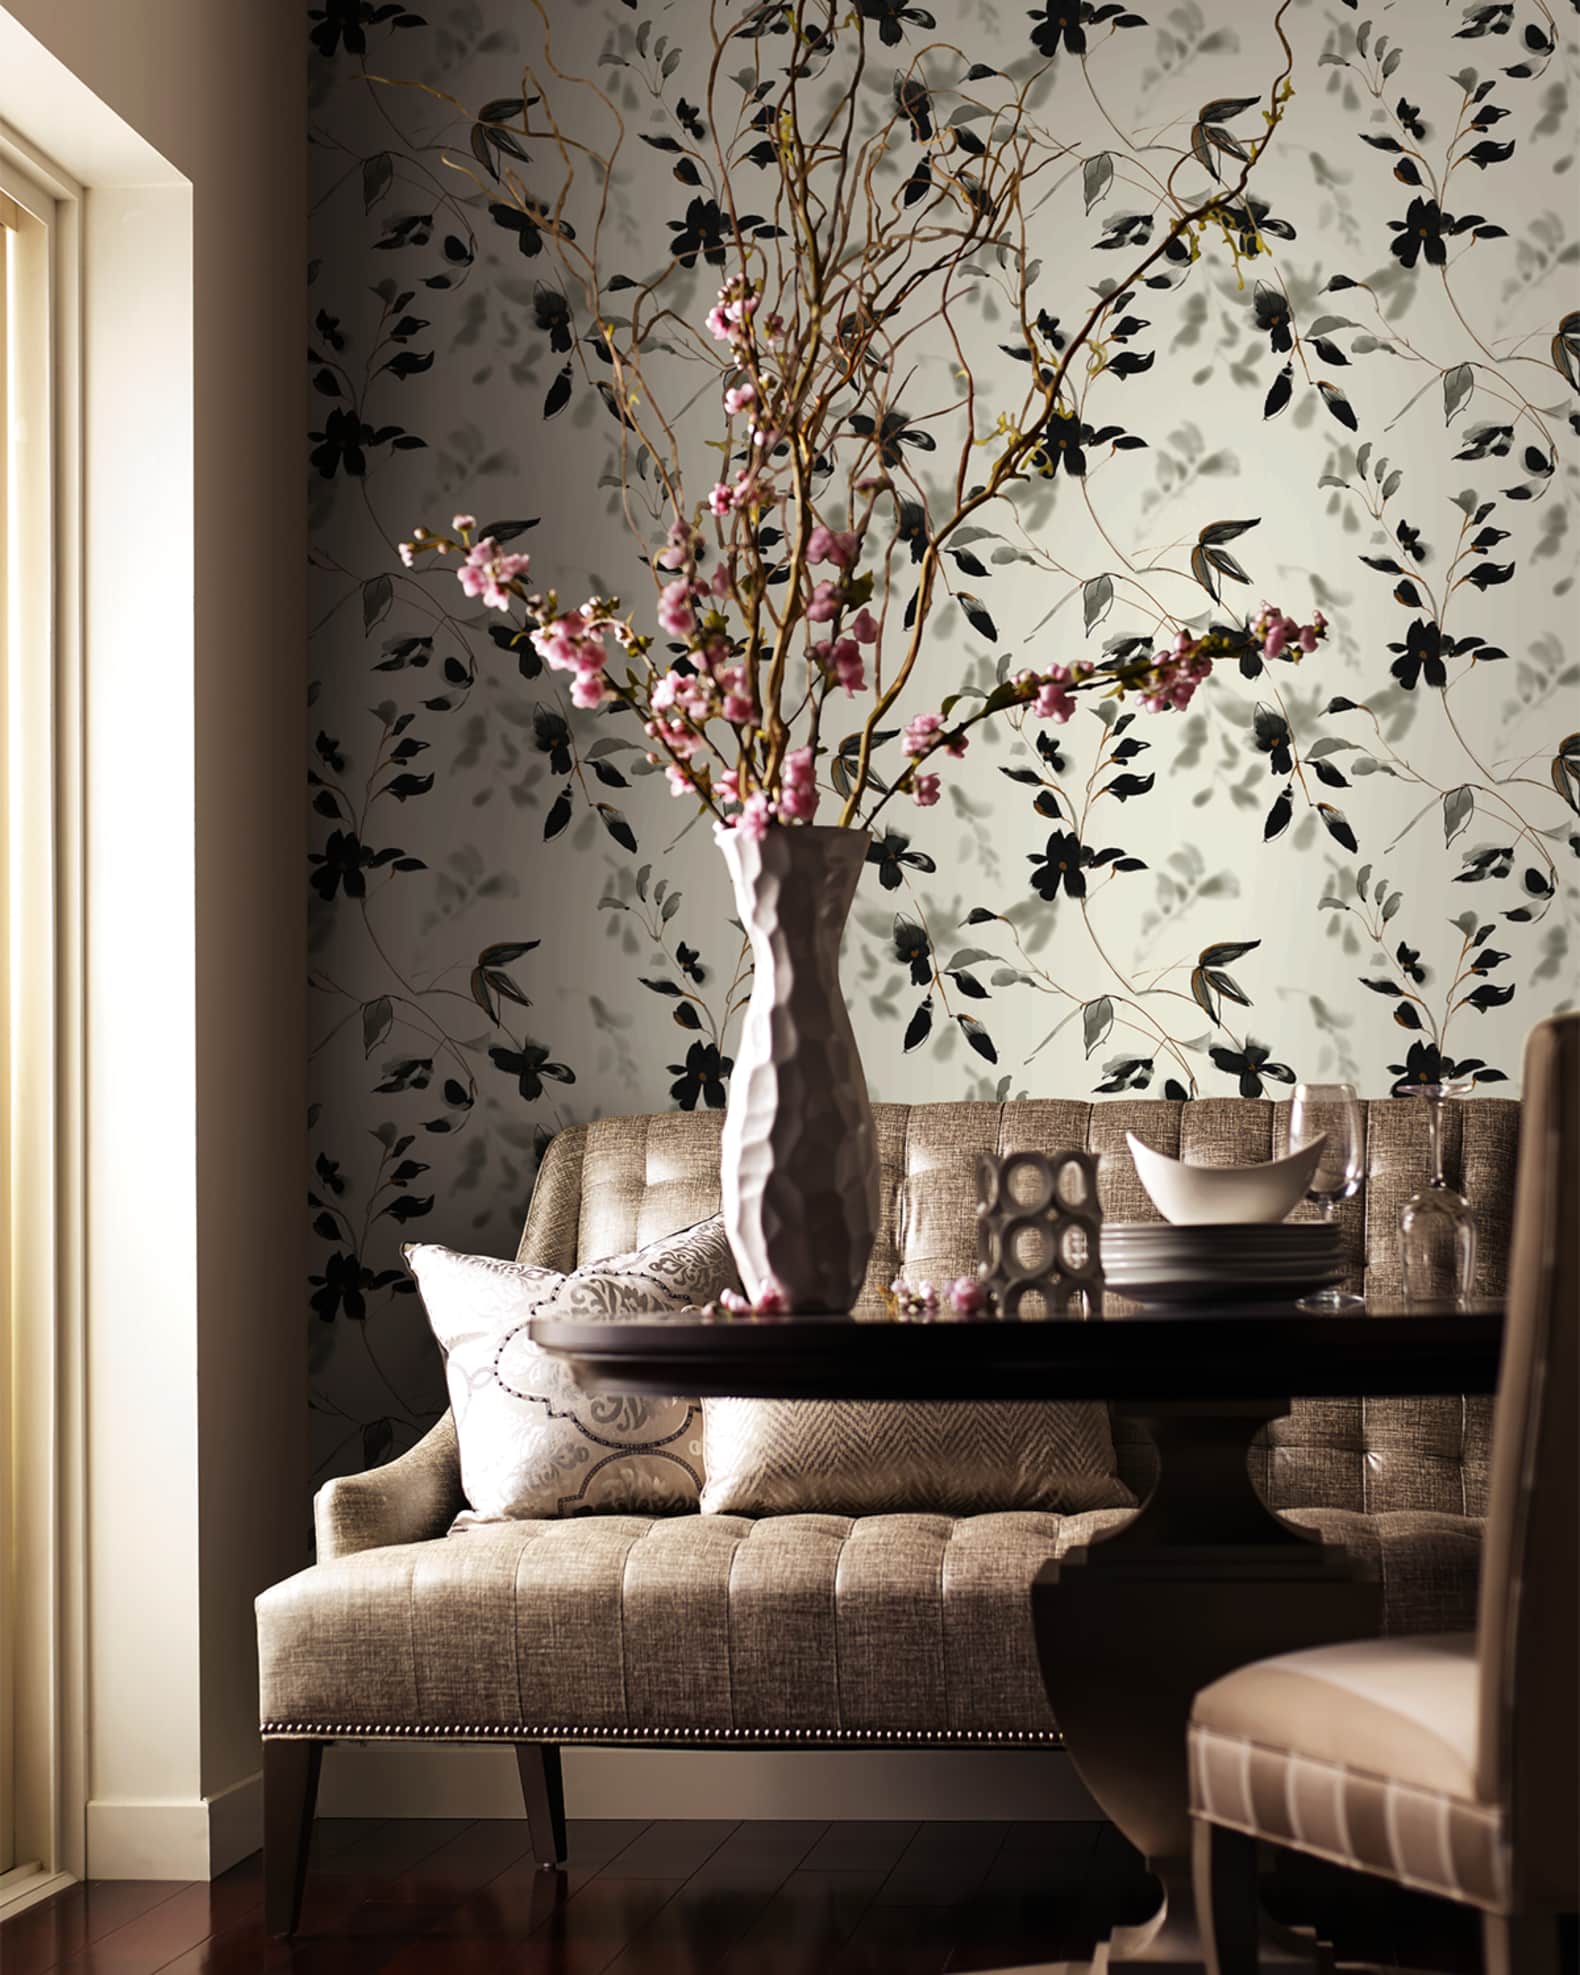
Wallpaper and Fabric
The drapery is fairly new and will stay. I love what these drapes from Calico, one of my sponsors, adds to the room.

A while after these custom drapes went up, I realized how much better the look would have been if I had added a roman style shade to cover the upper portion of the wall. I’m sure it’s no surprise I am making that happen now!
I couldn’t be more thrilled with the selections! With the help of the in-house designers at Calico, who know their fabrics like the back of their hands, I chose this tiny stripe from Kravet and fringe to dress up the bottom edge.

Once the fabric arrives, I’ll be making the shade myself. So, if you are interested to see how it comes together, be sure to give me a follow on Instagram.
Also from Calico, I am adding wallpaper to the water closet!
I have narrowed down a few options, but at this point, I decided to wait until I pick up all of the tile and lay it out to make a final decision. I will be picking up the tile tomorrow.

My heart instantly went to the dark black background with the Tea Roses by Magnolia Home. But the pattern is a bit too stiff and formal for the slightly playful spirit of the drapes.

My second choice is the flocked Forest Fern design in black, also from Magnolia Home. My reservation with this option is whether or not, once the pattern fills the room, it is too busy with the pattern of the marble checkered floor.

The best option is likely the water-colored floral at the top of the options, the Linden Flower by Candace Olsen, which for some reason I have a hard time getting super excited about. Not because it’s not beautiful, but it wasn’t my initial vision.
But when you look at it in a room view like this, I definitely can see it.
While an event like the One Room Challenge is a great time to pull back the curtain and share my thought processes, it does feel a little ironic that my clients pay me to make these countless decisions every day and yet I am still toying with my options. If I had to guess, it’s because for my clients I tend to go with my gut and/or let them make the final choice between two options.
So, given all I have presented, my goal this week is to finish the panel moulding and make some final decisions, before it’s too late!
Sponsors
This week I introduced you to a few of my sponsors. I am extremely grateful for their contributions.

Vintage Tub & Bath || Novo Building Products and Empire Moulding and Millwork || Calico Fabrics
Bemis || Custom Picture Frames || Charleston Hardware Co.
Be sure not to miss finding other participants at the One Room Challenge™! There is sure to be inspiration from every design style! Because it is the 10th anniversary there are exciting features in store with the new media sponsor, Apartment Therapy!


Wow, I’m loving how everything is turning out! The wallpaper in the water closet is going to be amazing!
It looks great Leslie. Hmm. that light switch is the sticky widget. What is the neatest solution? My first thought was box the light switch.
Cannot wait to see the end product. Our 20 year old primary bathroom is dated, but functional. It is on the list, but our never-ending landscape updates run away with the bathroom budget. Happy Weekend! Laura in Colorado