Planning a Custom Shared Closet for the One Room Challenge
Week 4 of the One Room Challenge and the heavy lifting has begun. I share a look at “progress” and the plans for our custom closet makeover.
If you are new to this event, it’s an exciting time for the One Room Challenge™! The ORC is celebrating its 10th year!! I have to give many thanks to Linda for having the vision to create an event to challenge and inspire designers and design enthusiasts all over the world to complete a room makeover in 6-8 weeks! It’s just incredible to see this community come together each season and cheer each other on!
This is now my 11th season participating in the One Room Challenge™. With more than 13 room makeovers completed, I have visual proof that this challenge changes homes and lives. Many of those transformed rooms are even being enjoyed by other families! (If that math seems a little off to you, it is because in my 8th season I was honored to be a Featured Designer and I tackled our living room, dining and foyer.)
If you missed the first three weeks here are links to get you caught up.
Week 1 Vision and Overall Plan || Week 2 Full Design Plan & Inspiration || Week 3 Decisions & Progress

Planning the Closet
We have been contemplating and making rough sketches for our closet off and on for weeks. I have a pretty clear vision for what I want the closet to look like, but ironing out the functional details have been challenging.
I will say, this is not the first or even second closet we have planned. In each of our last two houses in Birmingham we have ripped out the existing wire shelves and built closets that suited each of us.
The most popular one on the blog was from back in 2015. I had a fairly small closet but was able to convert it into an adorable dressing closet with plenty of storage. You can see those plans here.
The next closet was even better! It had a much larger footprint and I used a glass cabinet to store most of my shoes. The glass cabinet was “reclaimed” from a neighbor’s trash not knowing what exactly I was going to use it for. I never ended up writing a blog post about it because we moved not too long afterward. These photos are from the listing.

It was with this closet how genius it is to have your shoes behind glass doors. The shoes I wore less often never got dusty!
So, in preparation for the upcoming ORC and the closet makeover, I set myself to find a larger cabinet. I had even considered modifying a small china cabinet!
But as luck would have it, I found this piece on Facebook Marketplace and knew it was perfect!

The Before


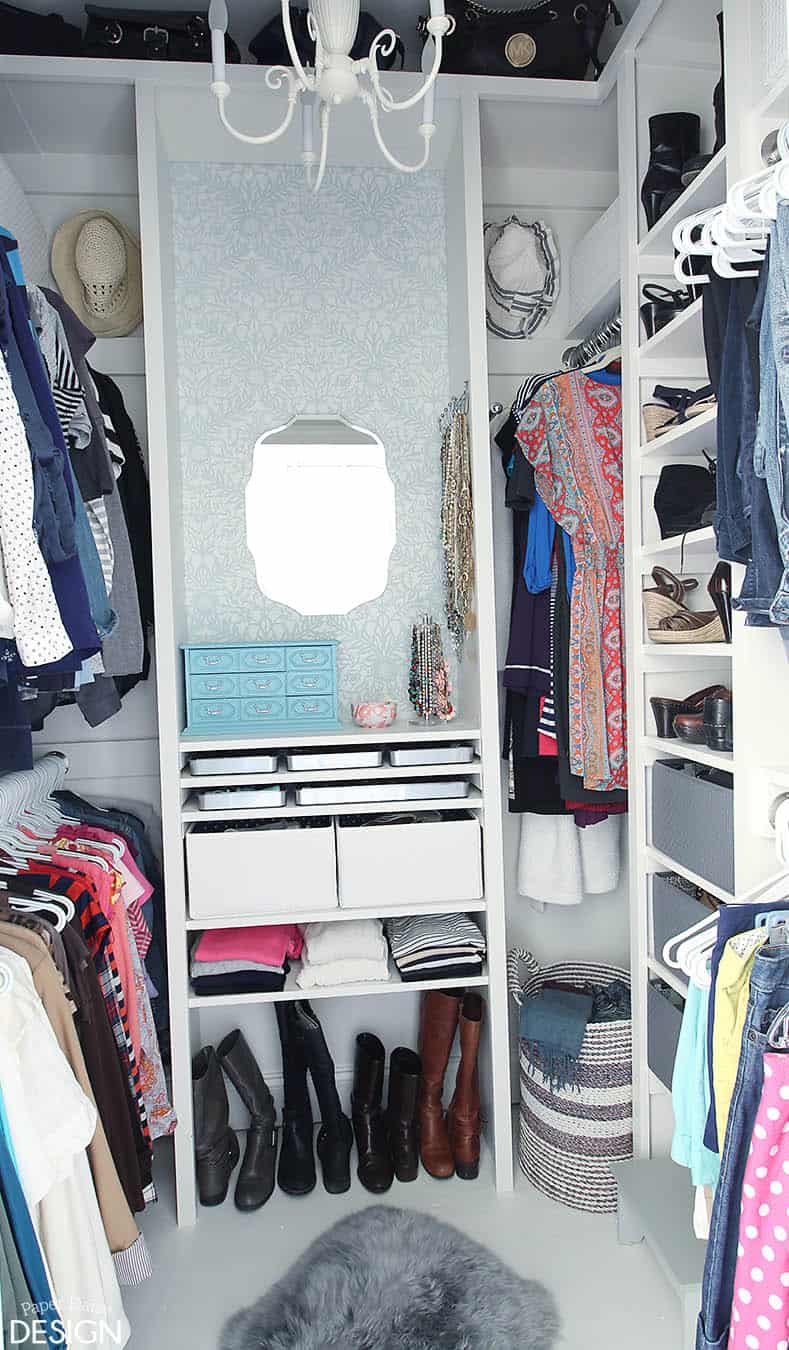
As you can see, we now share a closet. It a decent size. 149″ wide by 79″ deep
We added dressers for each of us in the space we were not utilizing and we quite like that closed storage. We knew incorporating these existing dressers was now a must.
Closet Inspiration
I shared these images during the first week of the challenge.

I loved the heavy crown moulding and the combination of open and closed storage. If you look in the reflection of the mirror you will see a tall cabinet too!

This one also has a strong built-in feeling with crown moulding at the ceiling. I also like that it’s not painted white, but not too dark either.
The Closet Plans


This is the main wall you will see as you walk in. The lightly shaded areas are the returns for each side. While not a perfect scenario, it is extremely difficult to eliminate storage that is partially hidden if your closet is to wrap around 4 walls.

When we cleaned out the closet this past weekend, I went through every piece of clothing and ended up donating 3 big bags of clothes! I think this closet should have plenty of room!
It will be interesting to compare these plans to the actual execution in the end. I’ll be sure to update you of any changes. I feel like I have thought out every detail, but you never know once construction begins.
Demo
My contractor arrived on Tuesday and made quick work of removing the tub and tile floor. Soon after I took this photo, he started carving out the concrete for the location of the new drain and water lines.

Sealing the marble
I picked up the marble tile last week and began the process of applying 2 coats of sealer before installation. But before each batch could be sealed they also needed to be cleared of any dust and allowed to dry.

It’s quite a big task that has taken me several days to complete. I have one small batch to finish on Wednesday morning.
I must say I am extremely pleased with the marbles I chose! I can’t wait to see it installed.
It is probably time to revisit that lengthy list of To-Do’s
Remove tub and plumbingDemo floor tile- Remove baseboards
- Install heated subfloor
- Run wiring for heated floors
- Install tile
- Grout floors
Seal all stone- Install new tub
- Install new tub filler
- Replace baseboards
Install panel moulding- Install new faucets
- Install new sconces
- Install new mirrors
- Paint moulding/walls
- Install new curtain rod
- Install wallpaper in the toilet room
- Install roman shade
- Build new tub caddy
Remove carpet in closetDemo shelving- Build custom closet system
- Prime and paint closet
- Install new light fixture
- Accessorize and decorate
- Photograph rooms
Now that my contractor is on the job, I feel certain we will be marking off these projects rather quickly.
Sponsors
I could not create the room I have envisioned without these amazing brands! I am thankful for their continued support and partnerships.

Vintage Tub & Bath || Novo Building Products and Empire Moulding and Millwork || Calico Fabrics
Bemis || Custom Picture Frames || Charleston Hardware Co.
Be sure not to miss finding other participants at the One Room Challenge™! There are sure to be inspirations found in every design style and room! Because it is the 10th anniversary there are exciting features in store with the new media sponsor, Apartment Therapy!


