It feels like so much has happened since last week! So much so I had to go back and read over what I shared in last week’s update blog post.

In case you don’t remember either, we left off with the floors demoed and I was spending my afternoons cleaning and adding two coats of sealer to the marble tiles.
If you missed the first four weeks here are links to get you caught up.
Week 1 Vision and Overall Plan || Week 2 Full Design Plan & Inspiration || Week 3 Decisions & Progress || Week 4 Closet Plans & Demo Begins
This post contains affiliate links for your convenience.
Installing the Heated Floor
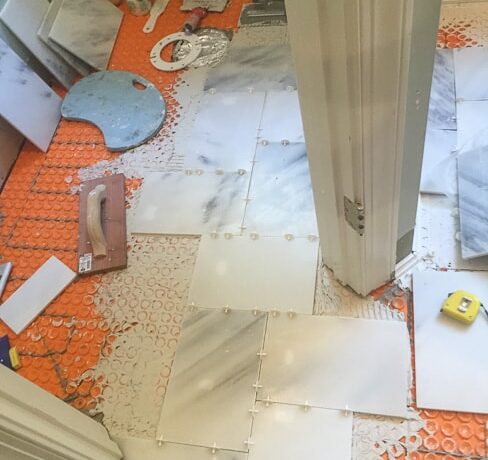
After demo, but before tile could go in, my contractor installed the Ditra Heat System from Schluter.
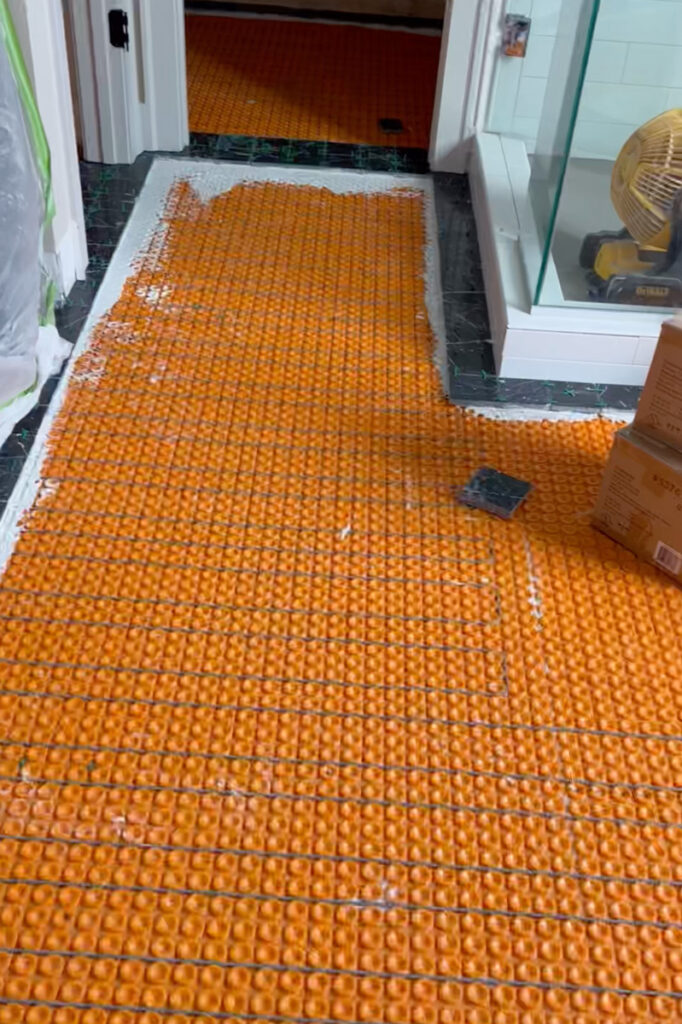
We used this system in our previous two bathroom renovations and truly loved it and found we really missed it.
The heated floors were one of two reasons for this renovation. The other being replacing the tub with one that was more suited for relaxing in, not just sitting.
After they installed the heated system and followed all the necessary electrical checks, they began the black marble band around the rooms.
I must admit, as much as I prefer images of black and white marble with a band of black around the room, I wasn’t 100% convinced it was the right choice for this room. But a project in my own house is a great testing ground.
Black Hex Tile in the Shower
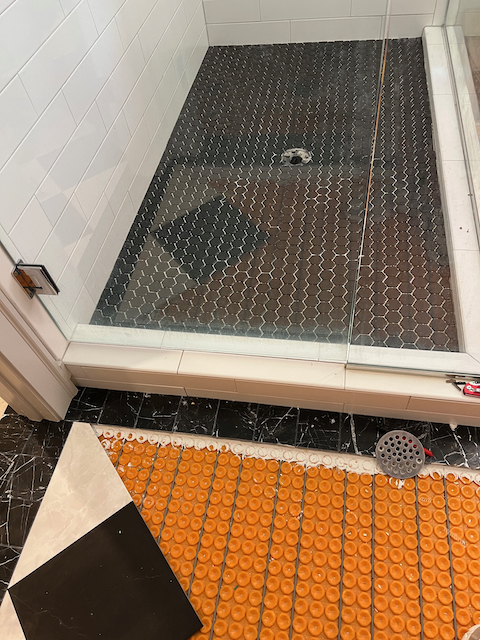
On the topic of testing grounds, they also primed and re-floated the existing shower floor. The original floor was poorly installed penny tile. Because the grout job was bad, it held water and was an absolute nightmare to keep clean.
Knowing that the right sized tile for a shower floor is critical, I went with a 1 1/2 hex matte finish ceramic tile. Even a 2 inch mosaic can be difficult to accommodate the slopes needed for a shower and remain perfectly smooth. A 1 inch mosaic works great, but with smaller tiles you increase the amount of grout. I am hoping this 1 1/2 inch is the perfect compromise.
You’ll just have to trust me when I tell you, the depth and richness of the color of this tile is amazing. Even my husband was impressed with the choice. We both love the contrast on the floor and how it ties the shower in with the checkerboard floor.
Black and White Marble Tile
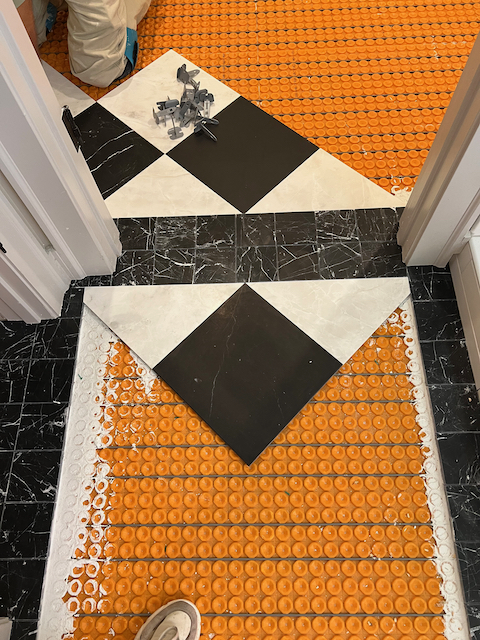
Now that the marble is going in, I couldn’t be more pleased with this selection. The black tile is a honed black marble. We ordered a sample to see how much movement was in the current lot because I wanted it to be fairly quiet. We hit the jackpot with the larger, 12x 12 tile. The 4×4 for the border has more fine white veins but the smaller scale helps lessen it.
The white marble is Himalayan White. Overall, it is a fairly tonal marble with soft grey and a slightly warm undertone. We requested samples of over 5 white marbles to find the one I liked best for this room.
Having installed marble myself, I know how important selecting just the right tile is to the overall esthetic.
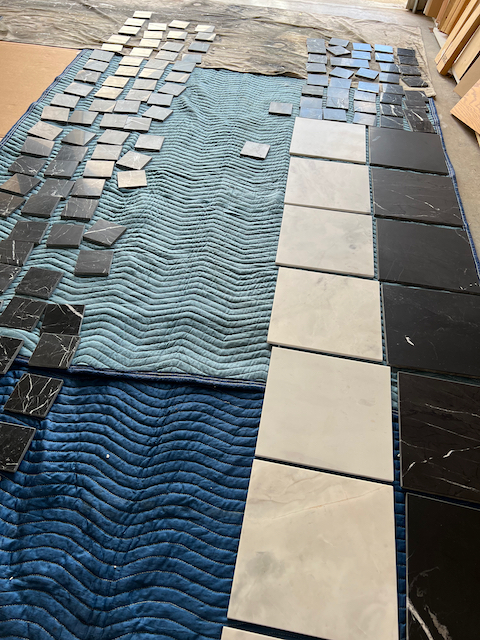
As I was sealing the tiles, I sorted them into tiles that should have large veins or spots cut off and those that were “key tiles” for the dominant areas of the floor.
Thankfully, I have a great relationship with my contractor and he was fully on board with me laying out the main sections of tiles.
I laid out most of the large part of the bathroom floor in the garage and the closet layout here beside the window that they worked next to.
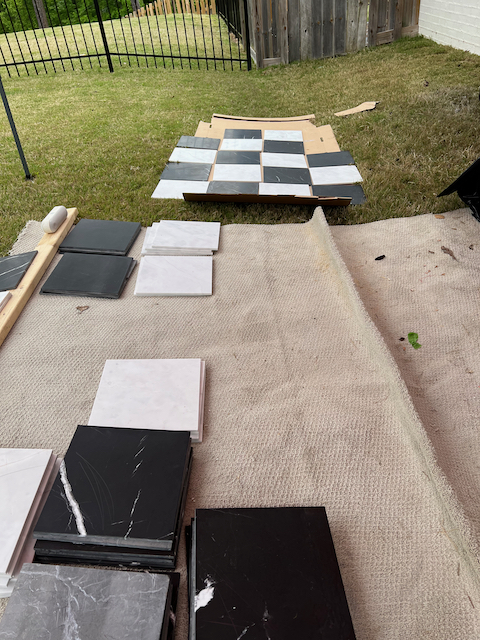
You can also see the stacks of tiles that were to be cut strategically.
This attention to detail might be considered obsessive, but I think having the amount of movement and colors of the white marble be “perfectly random” so that you don’t end up with a section that is overly busy and then almost solid.
Given the results of the closet, I think the effort was not wasted!
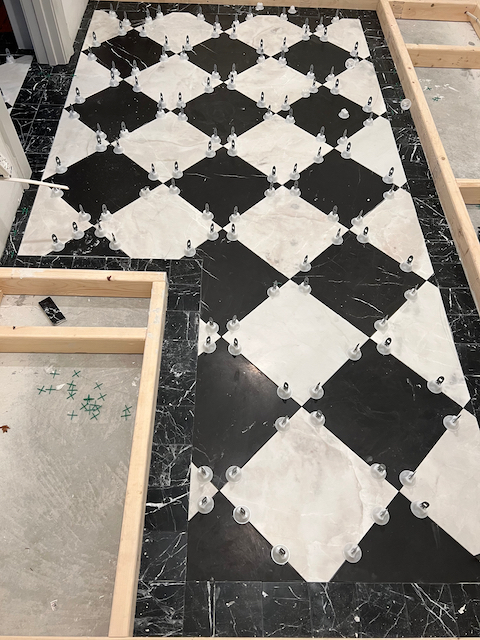
By the end of the day on Tuesday they had worked their way to the toilet room. This was essential for the next week! We have family coming in for our daughter’s college graduation! Having only one toilet in the house is doable for that many people but it’s probably not the most convenient.
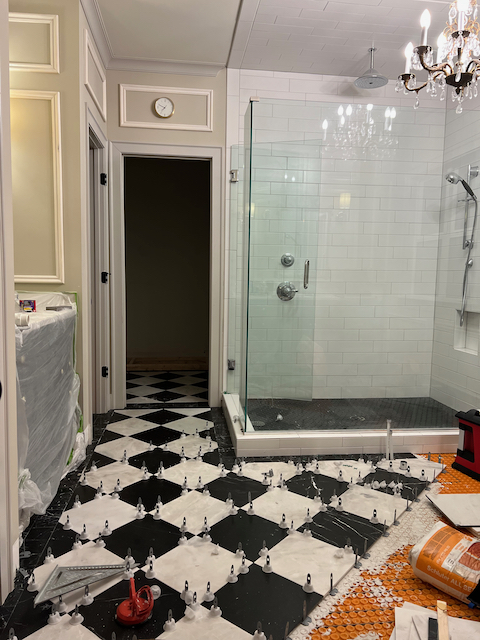
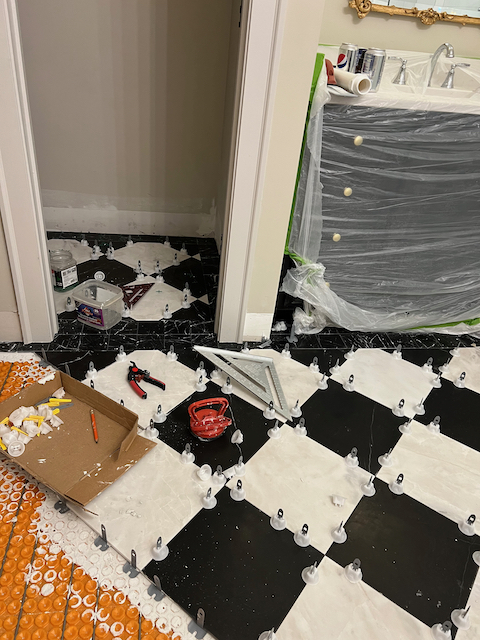
We will be pushing it to the very last minute! They will return on Wednesday to grout and set the toilet right before our family arrives that evening.
We will be down to just one shower, but that is much more manageable. We can easily set a showering schedule. (As I write this, know it didn’t come out without a little chuckle.)
Starting the Wallpaper
I decided to take advantage of the toilet not being in the water closet to start wallpapering in there.
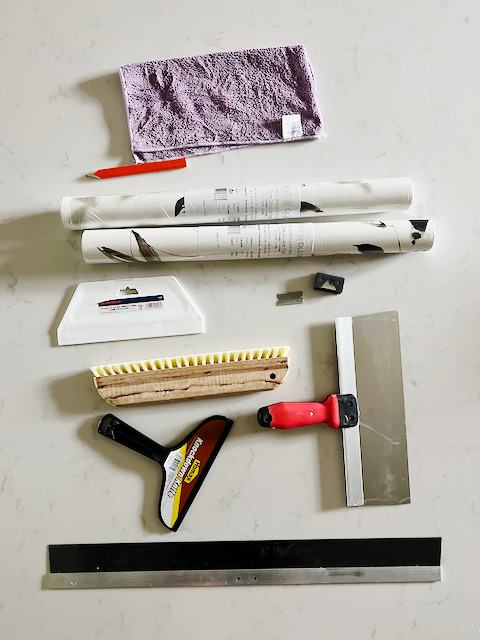
If you have ever wallpapered around a toilet you know it is quite the feat!
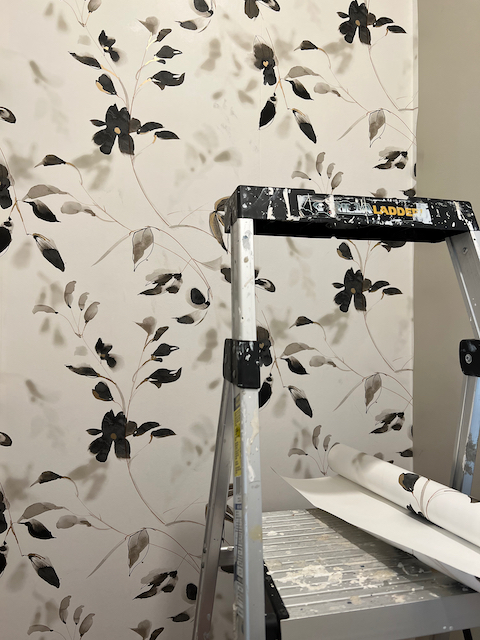
It has been a few years since I used pasted wallpaper and it took me a bit to get the hang of it. I was happy to read the tips my friend had given me a few years ago. You can find that post here.
I did notice when I read the article, after so much time has passed, the room was so small and that my friend did most of the work. I was just there for a helping hand. It would have been nice to have had a helping hand this time, but I got what I needed done!
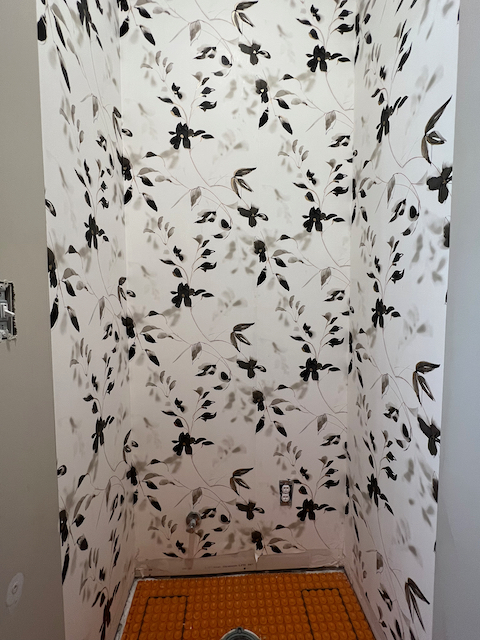
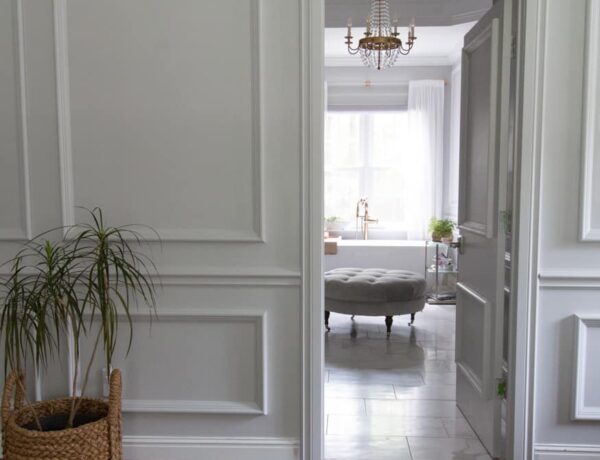
The wallpaper, from Calico Corners, is called Linden Flower by Candace Olsen for York. I am very happy with how it looks in the room and can’t wait to see if from the doorway.
Because of our graduation this weekend, there will likely be little progress to report next week. I also will be going to see my mother. She has been in the hospital, and I want to spend some time with her.
It feels good to cross off a few things the lengthy list of To-Do’s
Remove tub and plumbingDemo floor tileRemove baseboardsInstall heated subfloorRun wiring for heated floorsInstall tile- Grout floors
Seal all stone- Install new tub
- Install new tub filler
- Replace baseboards
Install panel moulding- Install new faucets
- Install new sconces
Install new mirrors- Paint moulding/walls
- Install new curtain rod
- Install wallpaper in the toilet room
- Install roman shade
- Build new tub caddy
Remove carpet in closetDemo shelving- Build custom closet system
- Prime and paint closet
- Install new light fixture
- Accessorize and decorate
- Photograph rooms
- Take a long bath and relax!
SPONSORS
I could not create the room I have envisioned without these amazing brands! I am thankful for their continued support and partnerships.
Vintage Tub & Bath || Novo Building Products and Empire Moulding and Millwork || Calico Fabrics
Bemis || Custom Picture Frames || Charleston Hardware Co.
Be sure not to miss finding other participants at the One Room Challenge™! There are sure to be inspirations found in every design style and room! Because it is the 10th anniversary there are exciting features in store with the new media sponsor, Apartment Therapy!





1 Comment
Rebecca
May 9, 2022 at 3:33 pmLooks great! Love the wallpaper. Thank you for the tips! 🙂